Small Sewing Room Ideas That Feel Spacious and Organized
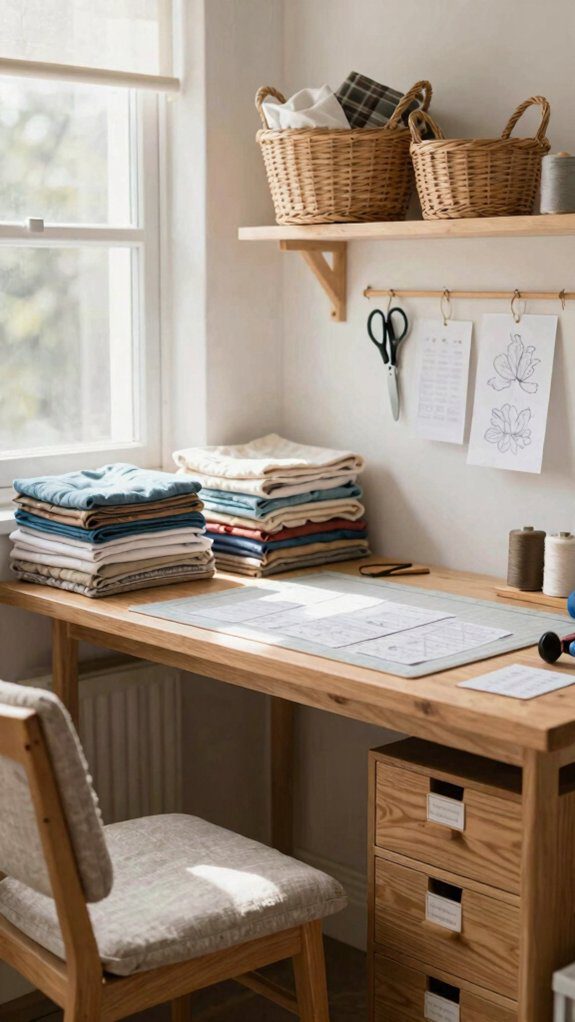
I like to start by zoning a small sewing room into cutting, sewing, and storage spots because that keeps chaos from taking over. I use a wall shelf, clear bins, and a fold-down table, then park my machine near a bright window for color work. A slim rug and warm LEDs make the room feel cozy, not cramped, and pegboard keeps tools handy. Stick around because the sneakiest space-saver comes next and it’s worth it!
Love cozy DIY projects? 💕
Get free printable guides, exclusive tutorials & surprise craft goodies straight to your inbox.
Disclosure: This post may contain Amazon affiliate links, at no extra cost to you. Content on DiyCraftNest is created with research support from AI tools and carefully reviewed, edited, and fact-checked by the lead author, Daniel Pat, to ensure accuracy and reliability. Learn more
Key Takeaways
- Zone the room into cutting, sewing, and storage areas to create a clear, efficient workflow.
- Choose compact, multifunction furniture like fold-down tables, wall-mounted desks, and slim carts to save floor space.
- Use vertical storage with pegboards, shelves, clear bins, and drawer dividers to keep tools visible and clutter off surfaces.
- Maximize natural and task lighting with a bright window, daylight-balanced lamps, and light-colored walls to make the room feel larger.
- Keep daily tools within arm’s reach and use calm, coordinated storage to create a tidy, inviting sewing space.
Why Small Rooms Can Work Better
Even if your sewing room is tiny, I’d argue that can actually be a big win! I like smaller rooms because they lower the psychological scale, so everything feels less overwhelming.
With fewer visible distractions, I can keep necessities close, stay focused, and work faster. And honestly, a snug room can boost acoustic comfort too—less echo, more calm, no giant cave vibe!
That’s why I don’t fight the size; I use it to create a warm little studio where fabric, thread, and ideas feel manageable, and where you can actually belong with ease and a smile every day.
Layout Strategies That Maximize Space
I like to start by zoning a small sewing room into a cutting spot, a sewing spot, and a storage spot, because clear zones make the whole room feel bigger—yes, even the thread pile has to behave!
If you’ve got a tricky corner, I’d turn it into a corner-based setup with a compact table, a wall shelf, and a bin or two, so your tools stay close without crowding the room.
For narrow room solutions, I’d line furniture along one wall and keep the center open, which gives you a smoother path, less bumping, and way fewer “oops, sorry!” moments.
Zoning your workspace
When a small sewing room starts to feel like a fabric parade, I like to split it into three tiny zones: cutting, sewing, and pressing.
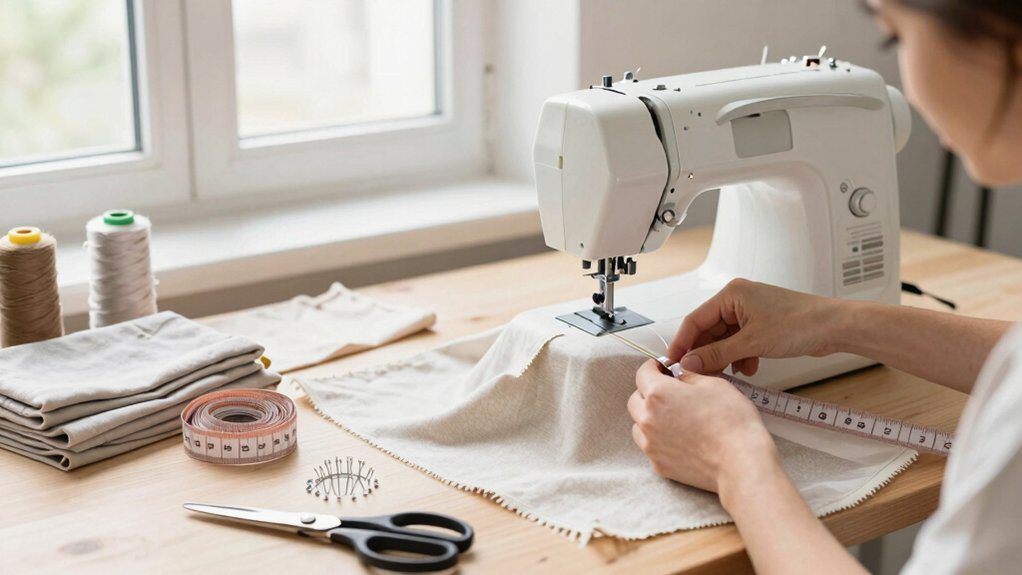
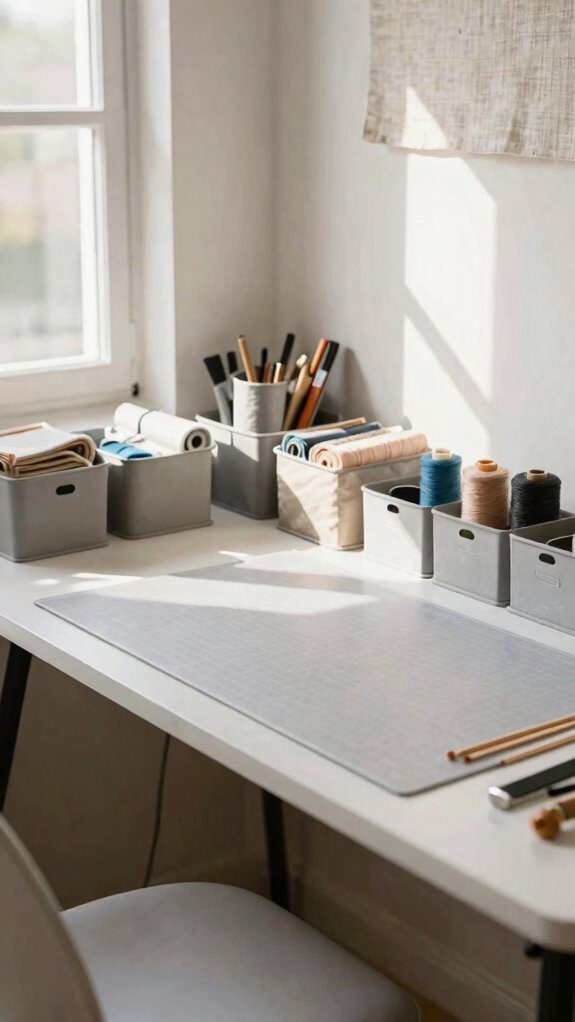
I place my cutting table perpendicular to the window, and I keep 3–4 feet clear on each side. Then I build workflow stations with only daily tools, plus a task lamp by the machine.
A pegboard above the sewing spot frees shelf space, and project boxes under the table keep material flow calm.
Corner-based layouts
A corner can be your sewing room’s secret weapon! I tuck my machine there, facing out, so I keep the middle open and create a cozy seamstress nook. Above it, I add a pegboard and shelves for angled storage—rulers, thread, scissors, all handy. Try this setup, and you’ll feel right at home:
| Idea | Materials | Quick result |
|---|---|---|
| Corner desk | Top + drawers | Clears the path and stores your machine |
| Fold-down board | Hinges + plywood | Swings away when you’re done |
| Fabric bins | Shallow boxes | Keep color-sorted stacks visible |
It’s simple, affordable, and delightfully tidy! Best of all, it doesn’t eat floor space.
Narrow room solutions
In a narrow sewing room, every inch has to earn its keep, so I like to place the cutting or working table against the longest wall, or right under a window, and let the middle stay open for easy walking and fabric flips.
Then I add space saving layouts: a pegboard above my machine, a slim cabinet, and shallow shelves for fabric wrapped on boards. It feels neat, not cramped!
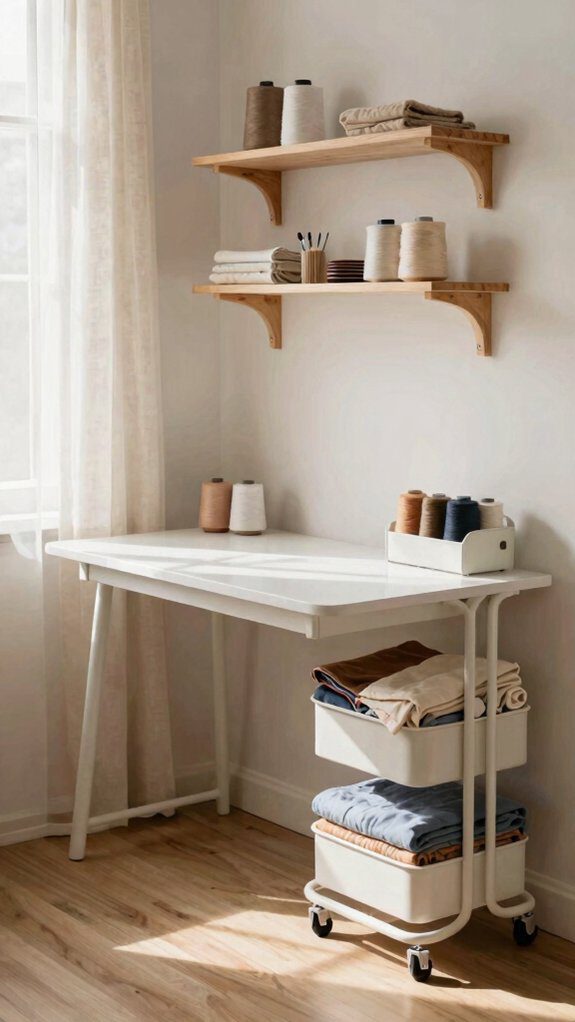
For narrow workflow optimizations, I keep scissors and pins at seated height, and tuck bulk bins away. Want a clever swap? The drawer unit with desktop works like magic.
Furniture Picks That Do More with Less
I love a foldable sewing table because it gives me a real workspace, then folds away fast and makes the room feel bigger in a snap!
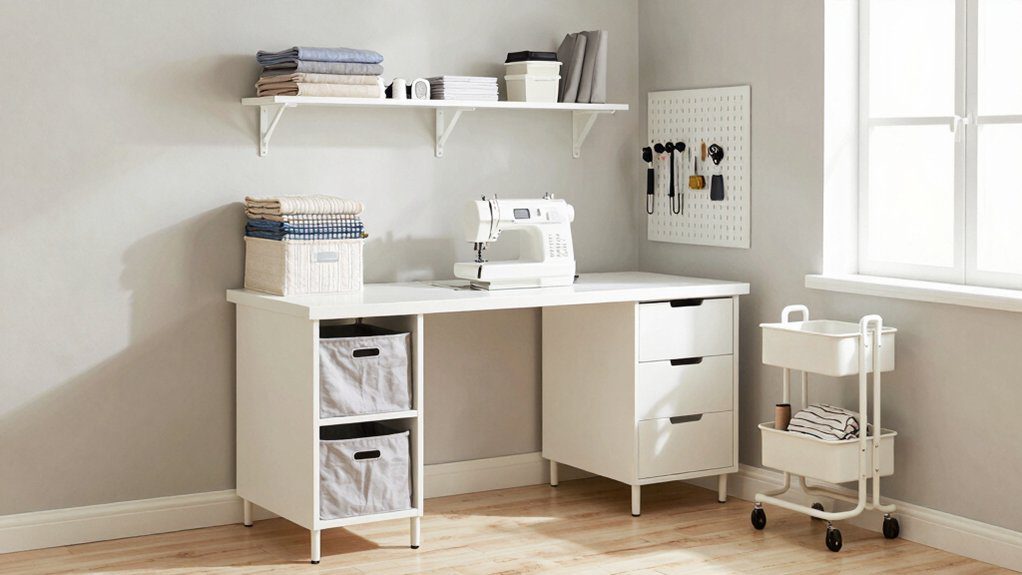
If you’re short on space, I also like a wall-mounted desk with a few simple shelves, since it keeps the floor open and the setup stays easy on the wallet.
And for the smartest win, I’d pair both with compact storage units that stack neatly, because fewer bulky pieces mean less clutter and way more room to sew!
Foldable sewing tables
Honestly, I love foldable sewing tables when a tiny room has to moonlight as everything else! I pick one with a steel frame, 100-plus-pound capacity, and little bins or thread racks so my scissors and bobbins stay nearby. A hinged leaf is my favorite trick: it starts around 24 inches, then opens to 48 for cutting, which feels like magic.
If I need to move fast, I choose a lightweight table on locking casters, or one with adjustable height for portable ironing and comfy stitching. It folds away, and my room still feels friendly for our little sewing crew, truly!
Wall-mounted desks
A wall-desk drop-leaf setup can work tiny-room magic!
I’d pick a floating desk with a 30–36-inch top that folds to 12–18 inches deep, so my room still feels open.
Add a shallow shelf or pegboard, and I keep scissors, rulers, and cutters close without crowding the surface.
For a beginner-friendly DIY, I’d use sturdy brackets, a light finish, and an adjustable LED light.
The best trick? A machine insert on a floated sewing shelf, plus a 24-by-36 fold-down cutting board.
It’s neat, easy, and honestly, kind of brilliant! That keeps me sewing, smiling, and borrowing back every inch today.
Compact storage units
My favorite tall-and-slim storage trick is a thrifted bookcase that’s only 12–15 inches deep, because it climbs up the wall instead of taking over the floor!
I line fabric on comic boards, then sort fat quarters in wire baskets and clear bins. A small drawer unit under my cutting table keeps scissors, thread, and bobbins handy, and it doubles as support—handy, right?
For the last corner, I like modular carts or stackable cubes, because they roll or stack when my project piles get wild. Add a pegboard above, and the room feels calm, friendly, and ready for sewing everywhere!
Smart Storage to Eliminate Clutter
I love starting with smart storage, because I’d rather use the wall than lose my tabletop to clutter!
A simple pegboard or slim shelf above my desk, plus a few clear bins and drawer dividers, keeps scissors, thread, and fabric scraps easy to spot, and it only takes a tape measure, a few basic tools, and a free afternoon.
For the sneaky win, I tuck project boxes and a lidded scrap bin under the table, so the room looks tidy fast—almost like I waved a magic wand, just with better labels!
Vertical shelving systems
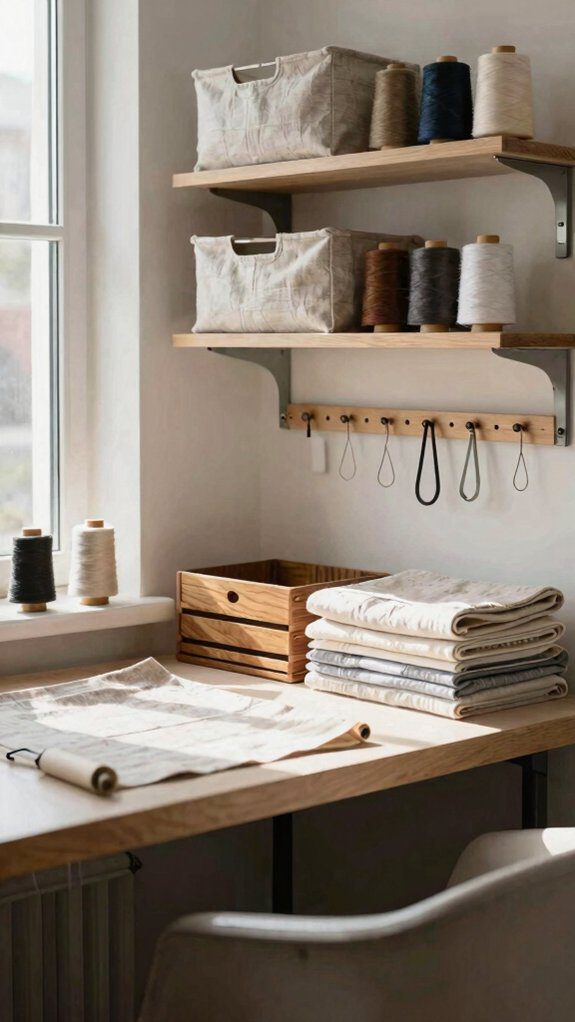
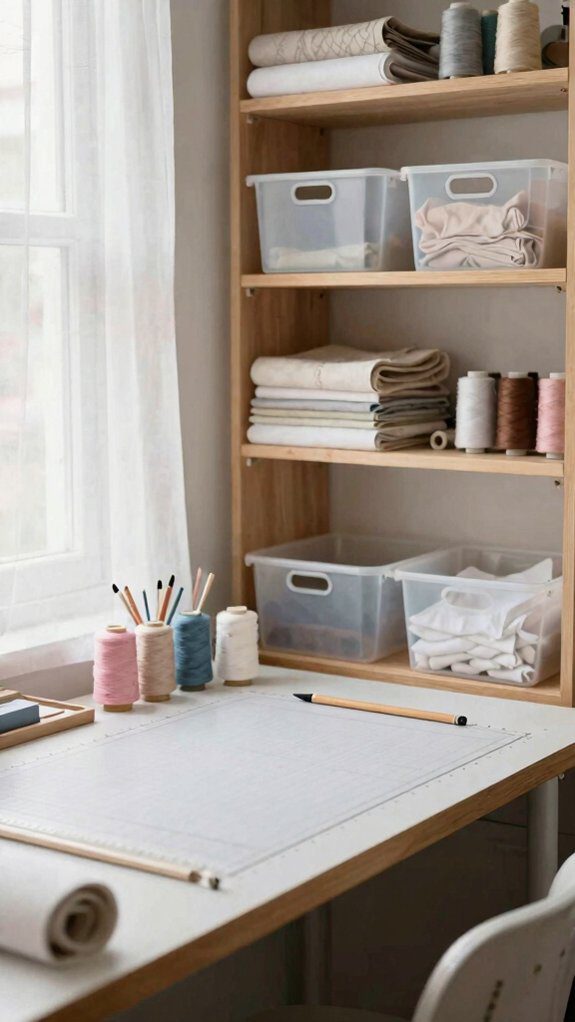
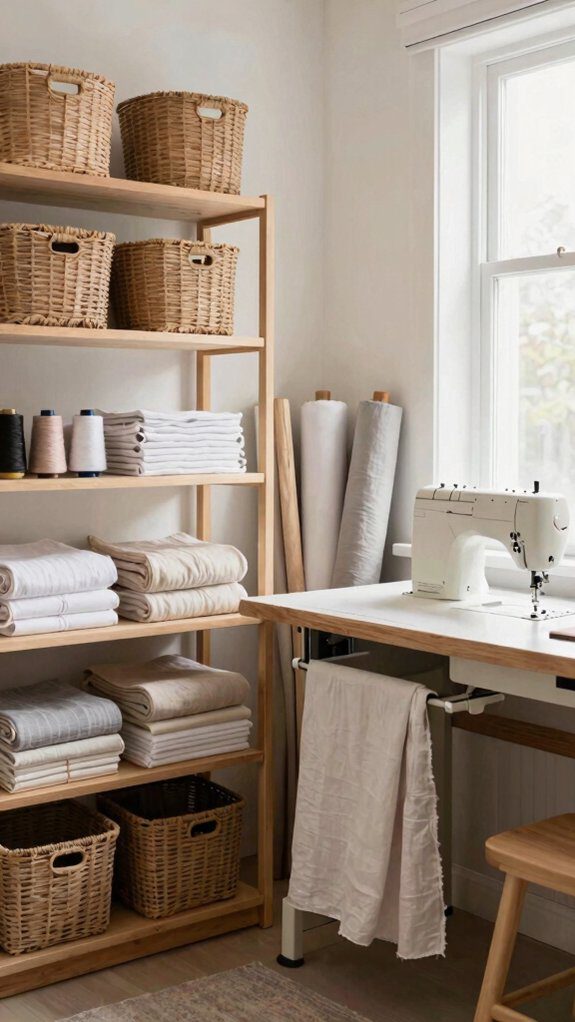
Floor-to-ceiling shelving instantly makes a tiny sewing room feel taller, and I’d start with simple adjustable shelves, a few labeled clear bins, and wire baskets so you can stack batting, notions, and overflow fabric without letting them stage a floor takeover.
I like to add hanging baskets and adjustable cubbies next, because they cost little and work fast. Mount a pegboard over the desk, then wrap fabric on comic-book boards and stand it upright on deep shelves. Add a narrow cabinet for bulky extras, and keep the prettiest, most-used items at eye level.
Wow, it feels tidy for real.
Drawer dividers
Tame that junk-drawer chaos, and your sewing tools will stop staging a tiny rebellion!
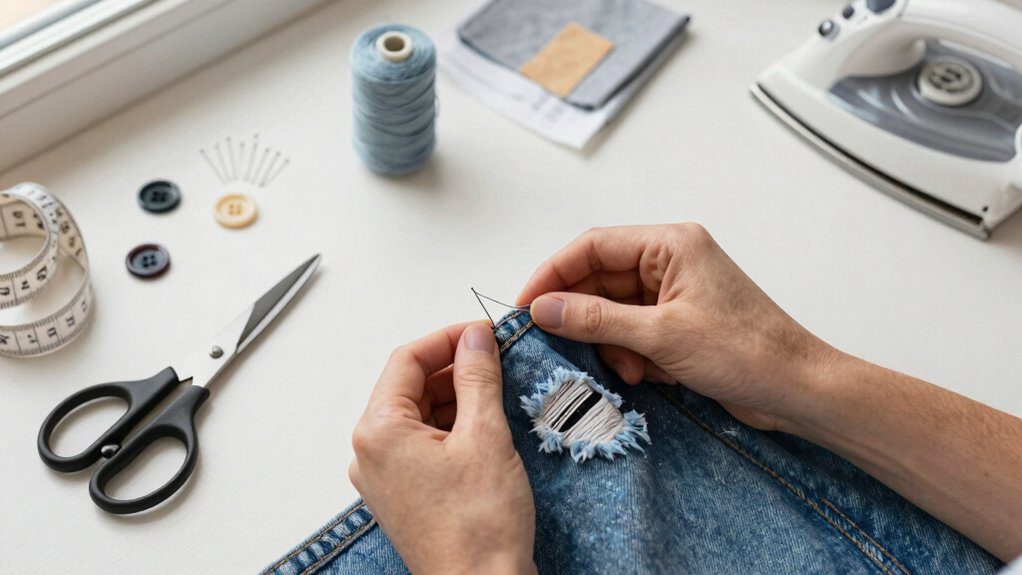
I use adjustable bamboo dividers, or cheap cardboard strips and clear lid scraps, to build snug compartments for bobbins, seam rippers, and scissors. I measure each drawer first, then slide in modular inserts so nothing rattles or disappears.
For thread, I keep one shallow drawer sorted by size, and I don’t let quick repairs spill onto my table. I reserve another for pins, elastic, and notes.
These compact organizers cost little, take just minutes, and they keep my tools where I can grab them fast.
Hidden storage ideas
After those drawer dividers get your tiny tools in line, I like to hide the bigger sewing clutter where it can’t stare back at me!
Try a tall cabinet with doors, hidden baskets, and clear bins for fabric, thread, and WIPs. I wrap yardage on boards, slide it behind the doors, then use cabinet lifts or wall pegboard for tools I grab daily.
A narrow shelf with a rod and leather loops holds project bags, while a wheeled bin catches overflow. When I shut it all away, my room feels calm, dust-free, and ready for the next shiny idea!
Lighting That Transforms the Room
I like to park my main cutting table right by the brightest window, because natural light makes colors look true and keeps my eyes from getting tired, and I only close the shutters when I need to protect fabric from sun damage—pretty handy!
For sewing, I add a bright overhead LED, a swing-arm lamp at my machine, and a slim light over the cutting mat, so I can stitch and trim without squinting.
Then I let light bounce off pale walls and shiny surfaces, which makes the whole room feel bigger, brighter, and a little more cheerful—tiny room, big glow!
Natural light positioning
By the biggest north- or east-facing window, I like to park the main cutting or ironing table just 3–6 feet away, because that steady daylight makes color-matching and tiny stitches way less fussy—no squinting contest required!
Then I add sheer window treatments for daylight diffusion, and I keep task placement simple: machine near the window, cutting mat beside it. That setup feels like joining the club!
If sun gets sharp, I use glare control with shades, and the room stays cozy and easy on my eyes. A pale rug or white wall helps, bouncing light deeper in all around.
Task lighting essentials
Flip on a daylight-balanced LED task lamp at your sewing table, and the whole room perks up fast! I keep mine at 5000K, 1000 lumens, and CRI 90+, so your fabric looks true and your eyes stay calm.
- Adjustable-arm swing lamp for seams and cutting.
- Under-shelf strips for big tables and steady glow.
- LED magnifiers near hand-stitching, with placement tips: put lights left if you’re right-handed.
That setup feels cozy, not fussy, and I can stitch longer without shadow drama. Add a ceiling light for balance, and the room feels like mine, calm, bright, cozy again.
Bright color reflections
Often, a sewing room feels brighter the second I turn my main table perpendicular to the window, especially if it faces east or north, because that soft light keeps fabric colors honest.
I layer an overhead light with two lamps and daylight bulbs, so cutting feels easy and color matching stops being a guessing game. Then I bounce extra glow off a pale wall, reflective textiles, and mirrored artwork; it’s a tiny-room trick that costs less than new furniture! Sheer shades keep sunlight gentle, and one bright accent wall makes the space feel cheerful, open, and ready for me.
Style Ideas That Keep It Cozy and Functional
I like starting with a soft white or pale gray palette, because it bounces light around and makes a tiny sewing room feel bigger right away!
From there, I keep the look minimal with a fold-down table, wall shelves, and just the tools I use every day on display, so the room stays calm instead of cluttered.
Then I add one fun accent—maybe a patterned fabric panel, a bright stool, or a little plant—because that cozy pop keeps the space warm without stealing precious floor space.
Minimalist sewing spaces
When I build a minimalist sewing space, I start with one sturdy, multi-function work surface, like an IKEA desktop over drawer units, and I keep only the tools I use every day on top, because even a tiny 1908 bungalow bedroom can feel open, cozy, and ready to sew—what a relief!
- Pegboard—scissors, rulers, thread; hooks keep quiet workflows fast.
- Comic-board fabric files—wrap yardage, stand it up, and I grab prints.
- Closed bins and two labeled WIP boxes—hide bulk stuff, keep scraps in one bin, and the room stays guest-ready, calm.
Soft neutral palettes
A soft neutral palette can do a lot of heavy lifting in a small sewing room, and I love starting with warm white, pale greige, or even a muted blush on the walls because it bounces natural light around and makes the whole room feel bigger right away.
| Item | Effect |
|---|---|
| Linen | tonal layering |
| Rug | soft neutrals |
I keep storage in matching white baskets, so the room stays calm and my fabric colors sing. I finish with warm 2700K lamps, because they’re cozy, color-true, and easy on the eyes. Small changes, big relief for beginners like you every single day!
Creative decor accents
Tiny decor accents can pull a small sewing room together fast, and I’d start with one muted statement rug under the main workspace—just measure the table, pick a washable pattern, and you’ll define the sewing zone without making the room feel chopped up.
Next, I hang a slim shelf for tools and a plant, then I swap tables for a narrow sideboard—cheap, tidy, and roomier than it looks! Then I soften the room with:
- accented trims on a bulletin board;
- vintage notions in a bowl;
- one throw pillow for cozy seasonal swaps and easy to refresh.
Frequently Asked Questions
What Sewing Machine Features Save the Most Space?
I’d pick a compact, drop-in bobbin machine with a built-in extension table and free-arm; they save room fast. You’ll love a portable serger, too, plus vertical storage nearby so your tools feel like they belong.
How Can I Reduce Noise in a Shared Sewing Room?
I’d quiet the room like a fortress of silence by adding acoustic panels, vibration isolation under machines, and soft mats; you’ll feel included, and I’ll keep our shared space calm, warm, and welcoming together always.
What Size Cutting Mat Works Best in a Small Room?
I’d choose an 18″x24″ mat for most small rooms because it gives you enough room without crowding us. If you need flexibility, I love a Foldable mat, since it tucks away and keeps us welcoming.
How Do I Protect Walls From Thread and Fabric Dust?
I protect my walls with fabric barriers and painted washable surfaces—why let dust win? I hang a simple cover, wipe often, and you’ll keep your sewing space feeling welcoming, tidy, and ours together here today.
Which Electrical Outlets Do Sewing Rooms Need Most?
I’d prioritize GFCI outlets near sinks and ironing areas, plus USB outlets by your cutting table so I can charge tools beside you. You’ll feel at home, and I’ll keep cords tidy, safe, and ready.