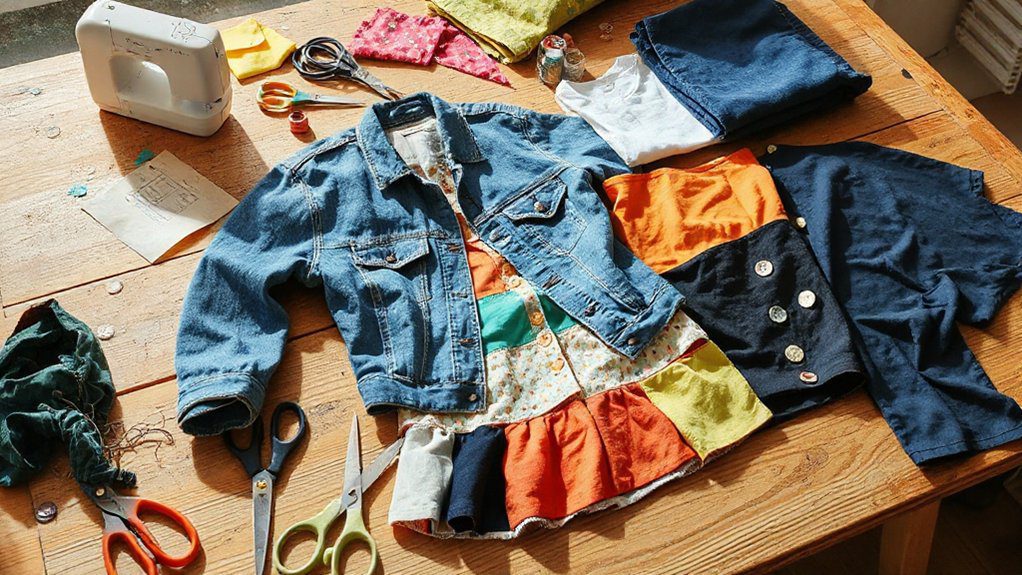
11 Sewing Machine Cover Ideas Plus How to Sew One Yourself
I’ll show you 11 sewing machine cover ideas, from simple drawstring and quilted patchwork styles to appliqué, reversible, and matching sets, plus how I’d sew one myself. Start by measuring your machine’s height, width, and depth, then add seam allowance and a little ease for a snug, no-gap fit. I like sturdy cotton, canvas, or vinyl with lining, pockets, and a handle slit for convenience. Keep going, and you’ll see which style fits your machine best.
Love cozy DIY projects? 💕
Get free printable guides, exclusive tutorials & surprise craft goodies straight to your inbox.
Disclosure: This post may contain Amazon affiliate links, at no extra cost to you. Content on DiyCraftNest is created with research support from AI tools and carefully reviewed, edited, and fact-checked by the lead author, Daniel Pat, to ensure accuracy and reliability. Learn more
Key Takeaways
- Choose durable fabrics like canvas, denim, cotton, or vinyl with lining for protection, insulation, and easier cleaning.
- Measure the machine’s height, width, depth, and full wrap-around length to draft a snug, dust-blocking pattern.
- Use a simple slip-on pattern with two front/back pieces and two mirrored side panels for a quick custom cover.
- Add boxed corners, a secure hem, and optional lining or batting to improve fit, structure, and machine protection.
- Include useful extras like handle slits, pockets, trim, and matching accessories for style and storage.
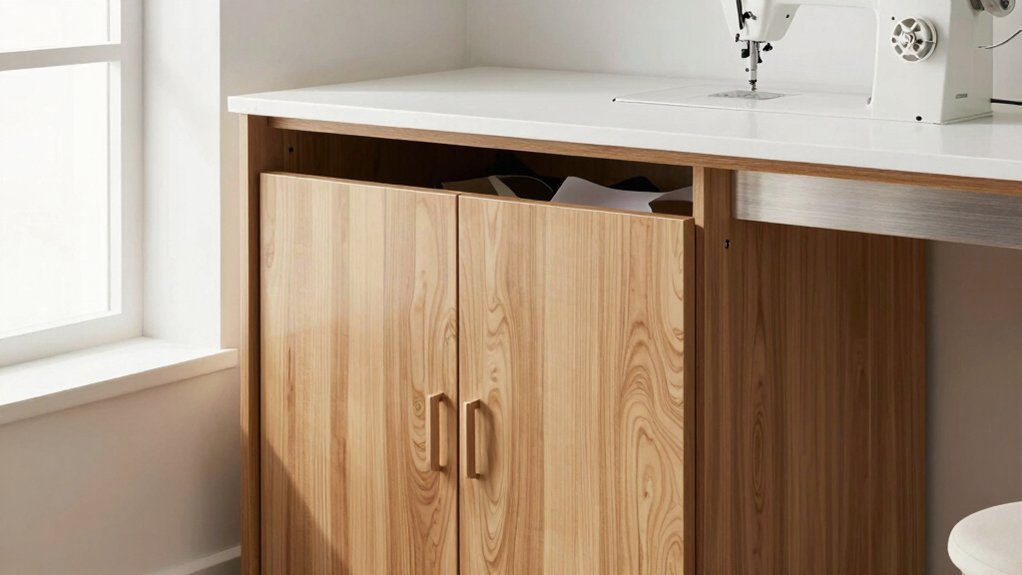
Why a Good Cover Does More Than Just Keep Out Dust
A good sewing machine cover does a lot more than hide your machine from dust, and I’d argue it’s one of the easiest ways to help your machine stay happy for years.
I like a well-fitted cover because it blocks lint from bobbin areas and motor vents, so I spend less time cleaning and more time sewing with my people. When I choose canvas, denim, or vinyl with a lining, I get extra electrical insulation, scratch resistance, and UV protection for painted surfaces. Add a little extra height, and the cover drapes securely, sealing out stray dust.
11 Sewing Machine Cover Styles to Inspire Your Next Project
Once you’ve got the protection side of things covered, it’s time for the fun part: choosing a style that fits your machine and your sewing mood.
I like a simple slip-on cover when I want a fast win; it uses just two rectangles and two side panels, so I can finish in about 30 minutes.
If I want more polish, I add batting and quilting for cozy texture.
For a custom fit, I make a trapezoid shape that hugs the machine.
I also enjoy material contrasts, seasonal themes, trim, and a handy handle slit.
Simple drawstring cover
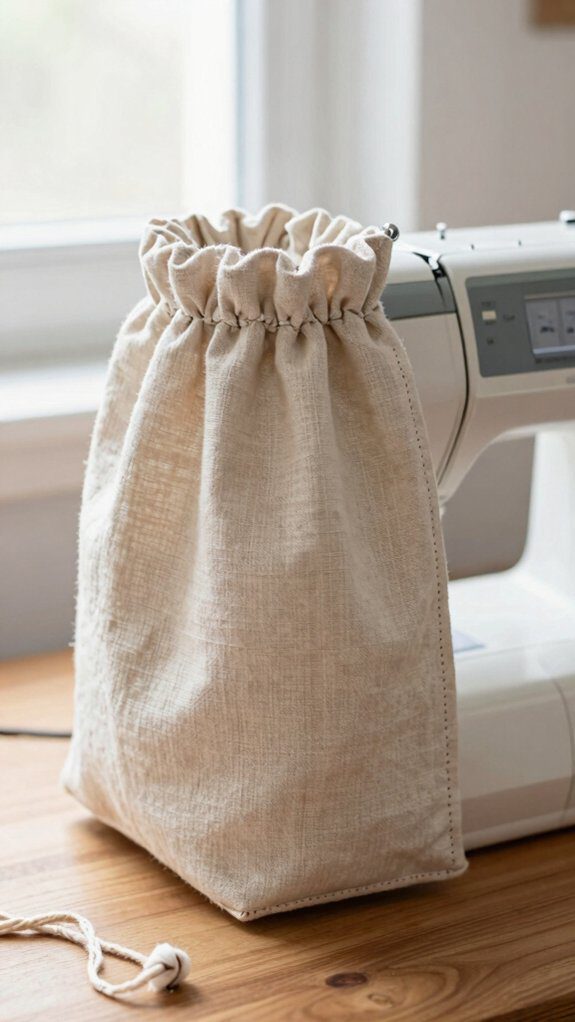
I often reach for a simple drawstring cover when I want a fast, no-fuss way to protect my sewing machine. I cut one rectangle a little bigger than the machine, then sew it into a tube and add a neat gathered top with an easy drawstring.
- Use medium-weight cotton or canvas
- Add 3″–4″ for ease
- Fold and topstitch a casing
- Thread cord with a safety pin
- Hem the bottom cleanly
This style feels friendly, practical, and easy to share with your sewing crew. I love how it slips on, cinches snugly, and comes off in seconds.
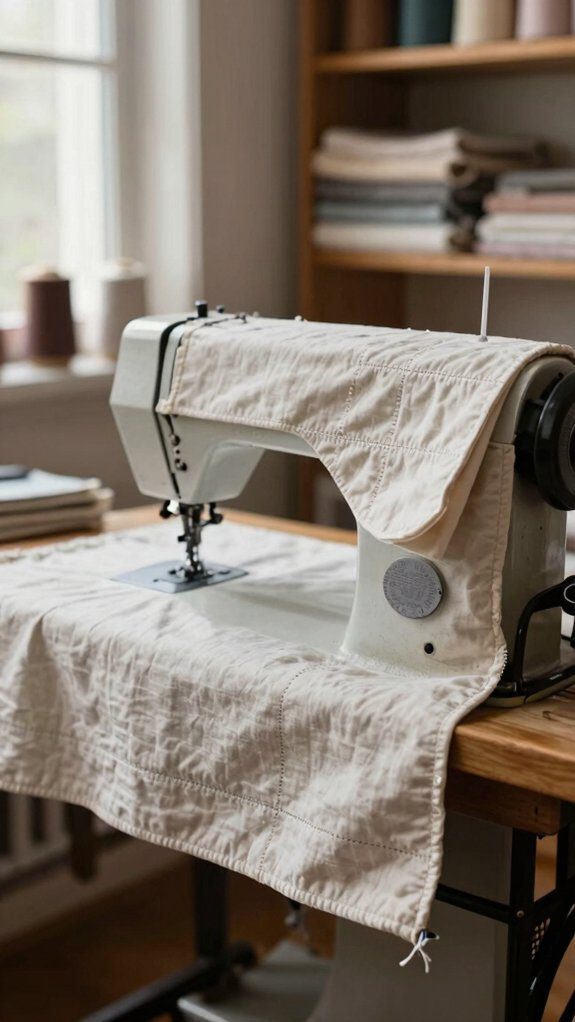
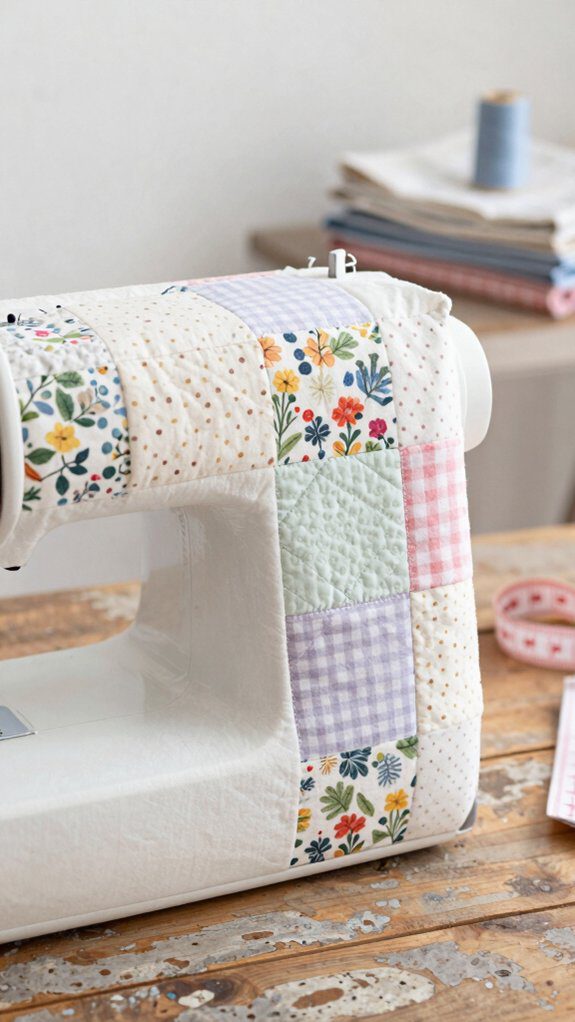
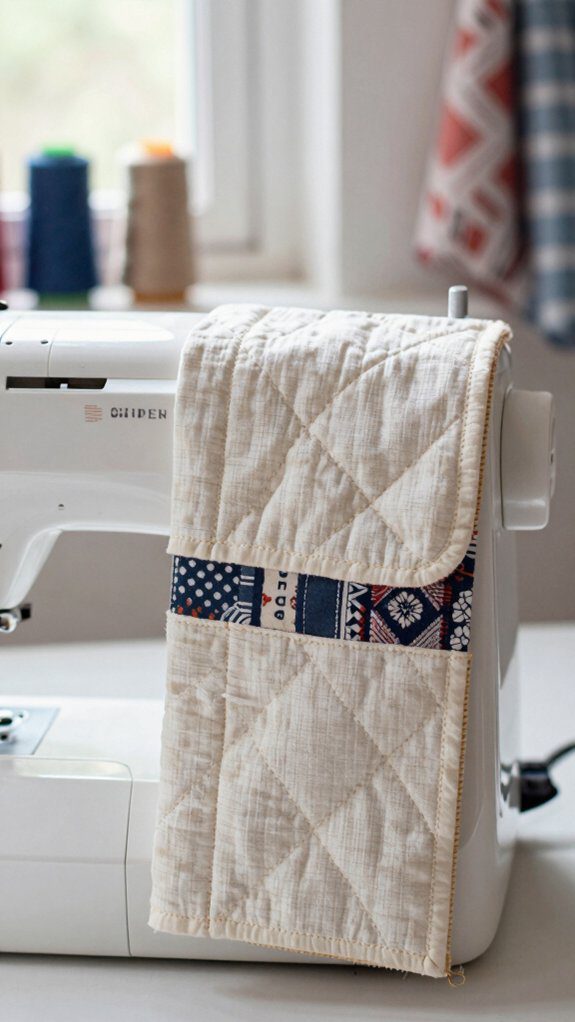
Quilted patchwork cover
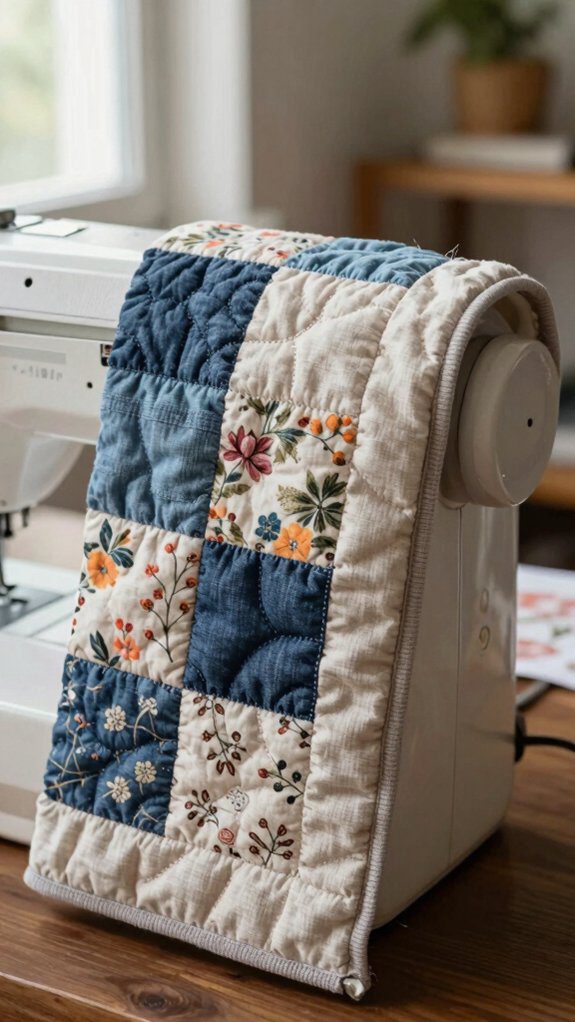
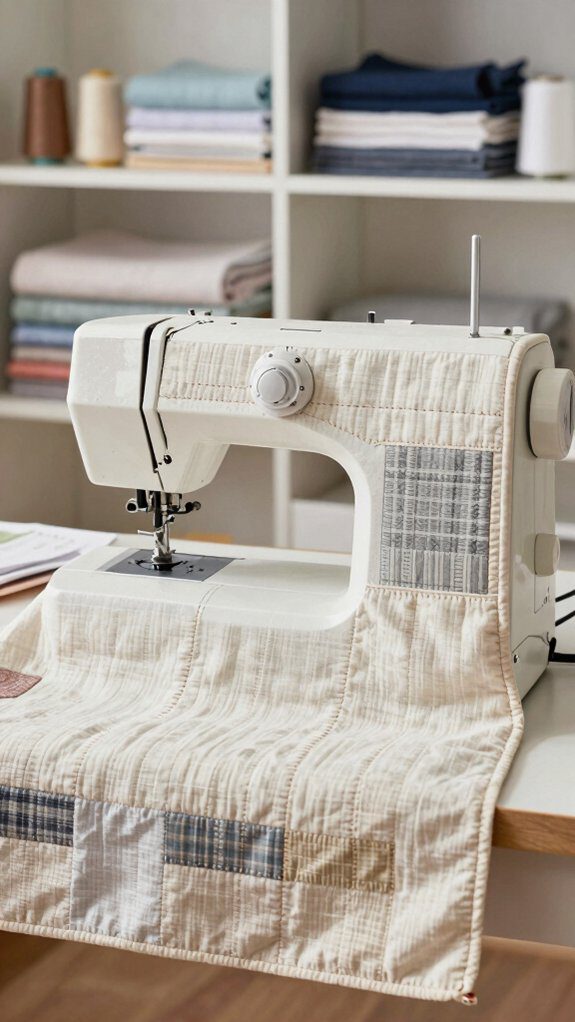
Patchwork quilting gives a sewing machine cover that cozy, made-with-love look, and I really enjoy how it turns scraps into something useful.
I pick a color palette I love, piece cotton blocks or strips, and press the seams open so they lie flat.
Then I baste the patchwork to batting, cut the outer pieces about 2 inches larger, and use a walking foot with straight or diagonal lines.
My thread choice matters, too, because strong thread keeps everything snug.
After quilting, I trim to size, sew the cover with boxed corners, and finish the bottom with lining or bias tape.
Appliqué embroidered cover
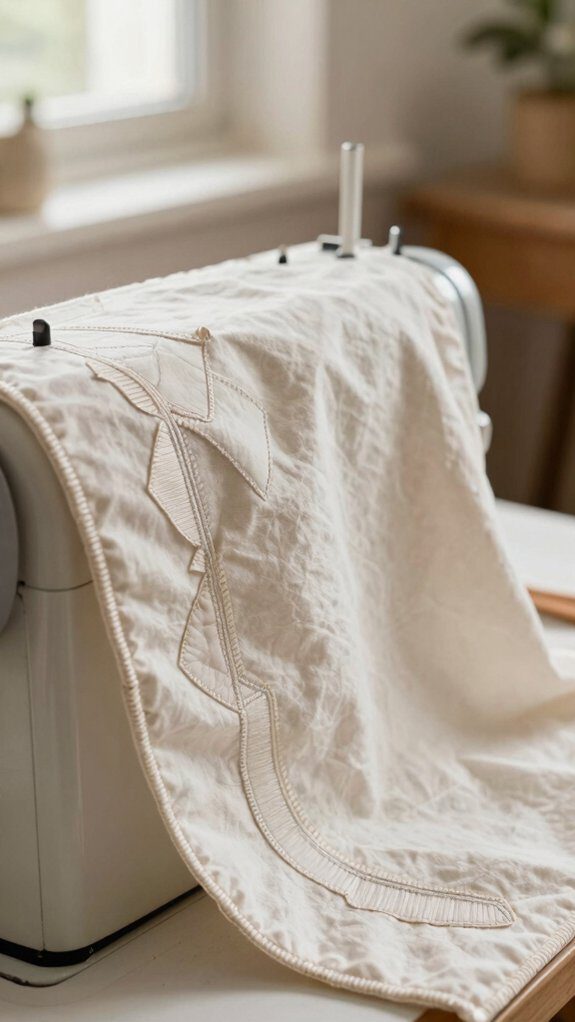
An appliqué embroidered cover can turn a plain sewing machine case into a little work of art, and I love how it lets you mix fabric, stitches, and color in one cheerful project.
I start with cotton canvas or denim, then add lightweight interfacing so everything stays neat during stitching.
- Measure your panel first.
- Plan embroidery placement carefully.
- Fuse appliqué shapes with web.
- Use polyester thread for durability.
- Practice appliqué maintenance by topstitching edges.
I keep motifs inside seam allowances, center the panel, and add batting if I want extra softness.
With these steps, your cover feels personal, sturdy, and ready to join your sewing space.
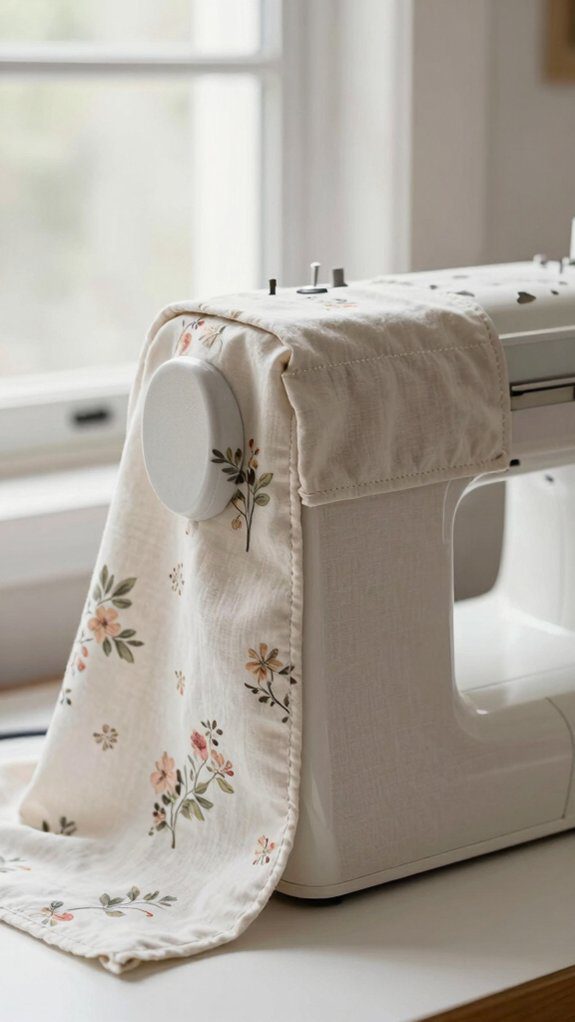
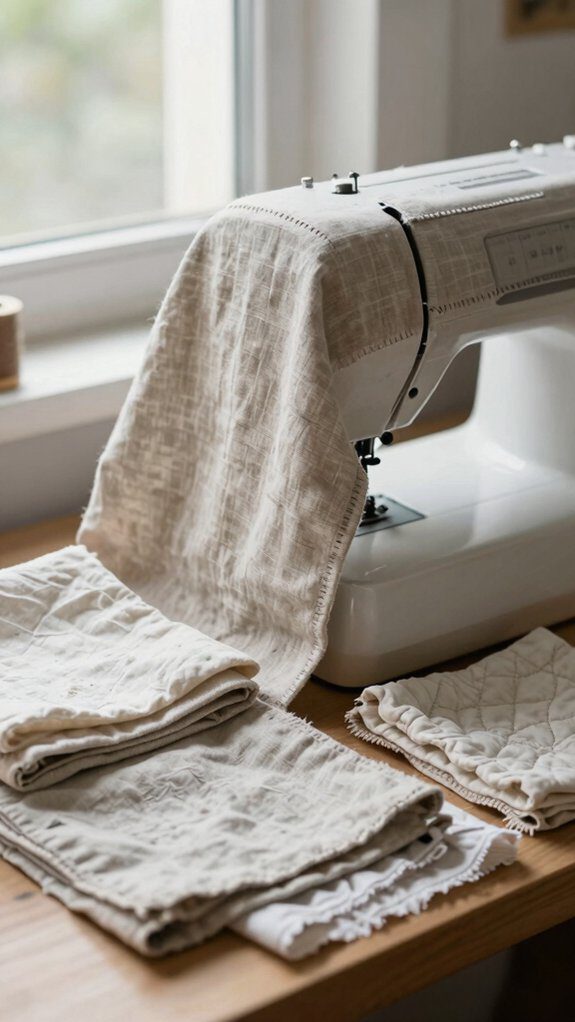
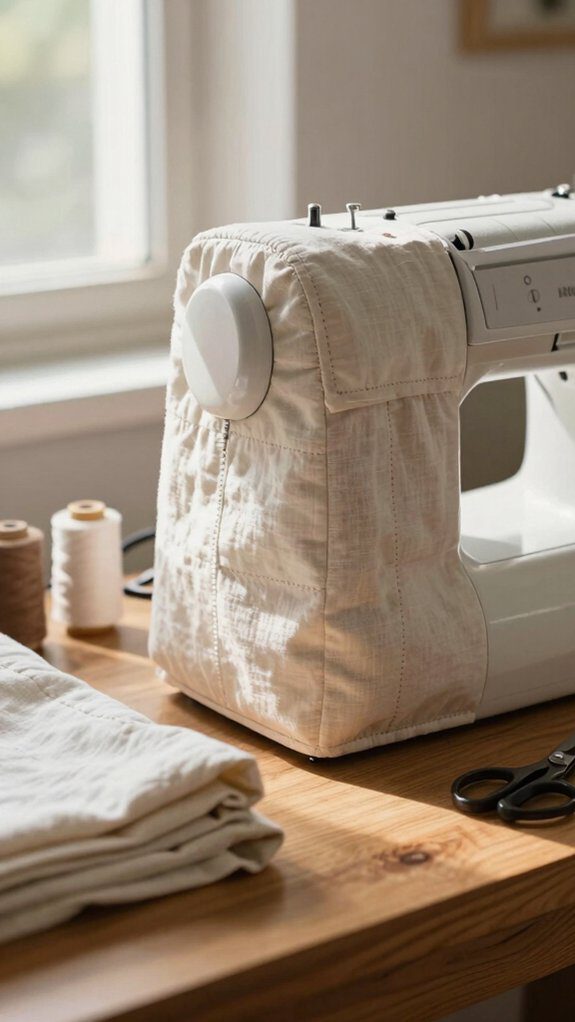
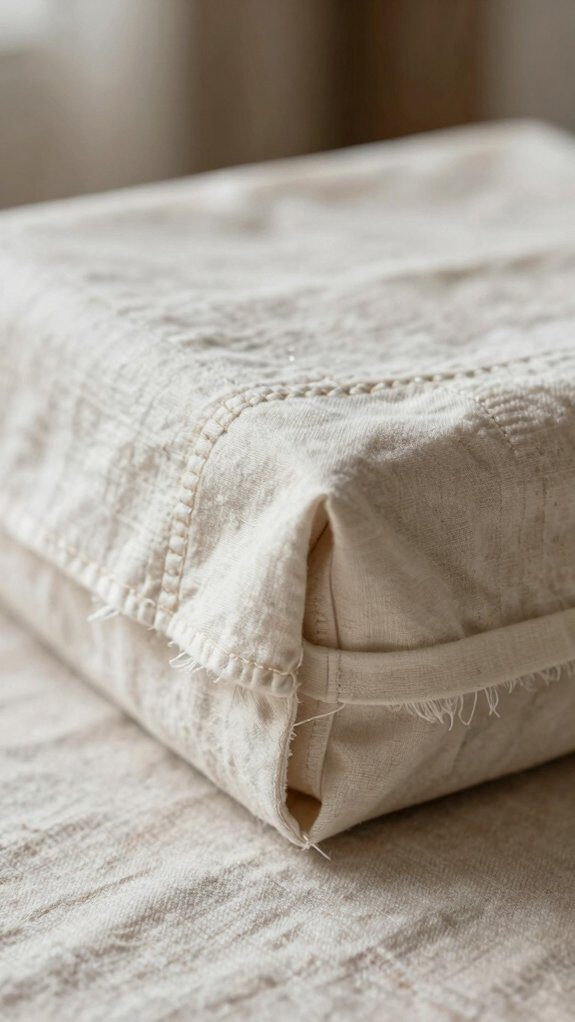
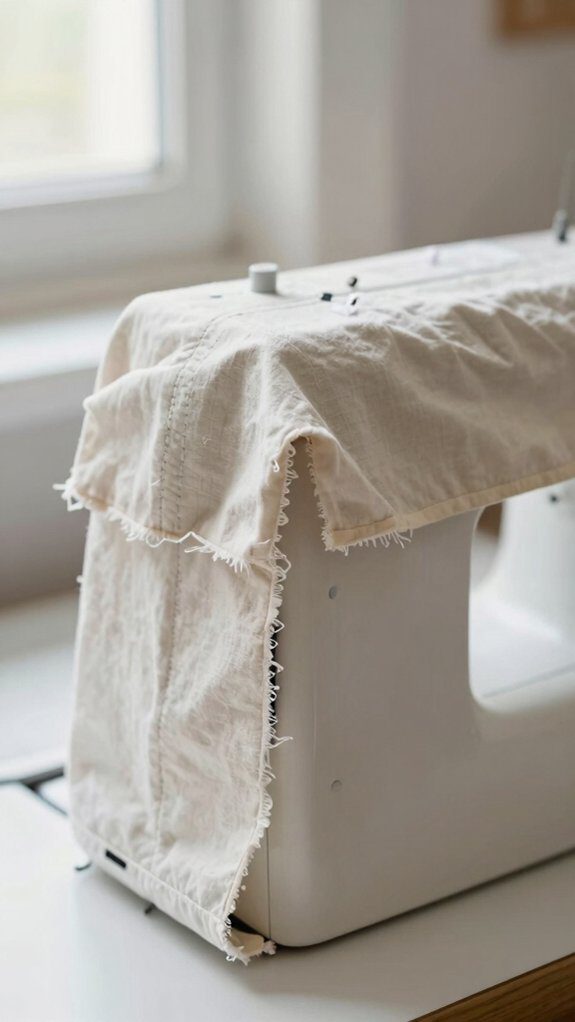
Linen and natural fabric cover
Natural textures make a sewing machine cover feel calm and timeless, and linen is one of my favorite choices because it’s durable, breathable, and looks lovely with simple topstitching.
I prewash and press mine first so it won’t surprise me later.
Then I measure my machine, cut front, back, and side pieces, and add a little extra for the top roll-over.
If I want softness, I slip in lightweight batting.
I like natural dyes for a gentle look, and I finish with neat hems and a handle slit for breathable storage that feels welcoming.
Floral cotton cover
A floral-cotton cover brings a cheerful, garden-fresh look to your sewing space, and I love it because it’s both pretty and practical.
I’d pick medium-weight cotton, about ½ yard, so it breathes, holds shape, and sews easily. Measure your machine, then add 1 inch for seams and 2 inches at the top so the fabric rolls over neatly. I like vintage floral prints for charm, and a waterproof lining helps protect the machine.
- Cut two front/back pieces
- Cut two mirrored side pieces
- Finish the handle slit
- Sew the panels together
- Hem for a snug fit
Modern geometric print cover

For a crisp, modern look, I’d reach for a geometric print cotton or canvas cover that feels clean and tailored instead of fussy. I like using about ½ yard for an average machine because the fabric has enough body without feeling bulky.
When I cut my front, back, and side pieces, I add seam allowances and extra height, then I check geometric matching so the pattern meets neatly at the center. I also pay attention to fabric drape, because a smooth hang makes the cover feel polished.
Finish the top with a neat handle slit.
Farmhouse gingham cover
Gingham charm gives a sewing machine cover that cozy farmhouse feel right away, and I love how it can make a workspace look tidy and welcoming at the same time.
I use 1/2 yard of cotton gingham in soft red, navy, or sage, then cut front, back, and side pieces to fit.
- Match checks at seams for a polished look.
- Add 1″ and extra height for drape.
- Finish the handle slit neatly.
- Try rustic piping for shape.
- Add a gingham ruffle or lace trim.
I serge the hem, fold, topstitch, and adjust after a fit check.
Monogrammed personalised cover
I love how a monogrammed personalised cover can make your sewing space feel instantly special, like your machine finally has its own little name tag. I place a 2–3″ initial or three-letter mark centered 2–3″ below the handle slit, so it stays visible and friendly.
| Choice | Tip | Look |
|---|---|---|
| Thread | Contrasting polyester | Crisp |
| Fonts | Block or script | Cozy |
| Finish | HTV or stitching | Neat |
For monogram placement, I use medium tear-away interfacing and a dense satin stitch. Thoughtful thread selection and personalized fonts help with gift presentation, too, making the cover feel made just for someone who belongs.
Reversible two-fabric cover
Switching between two fabrics can give your sewing machine cover a fun little makeover on either side. I like using seasonal fabrics so my workspace feels fresh, and I cut matching outer and lining pieces with 1/2″ seams plus extra height for the top roll.
- Sew right sides together, leaving a 3″ turning gap.
- Finish the top edge for a neat handle slit.
- Box corners to fit your machine depth.
- Trim seams, then press carefully.
- Close the opening with topstitching or magnetic closures.
If I quilt one side, I use a walking foot so both looks reverse smoothly without bulk.
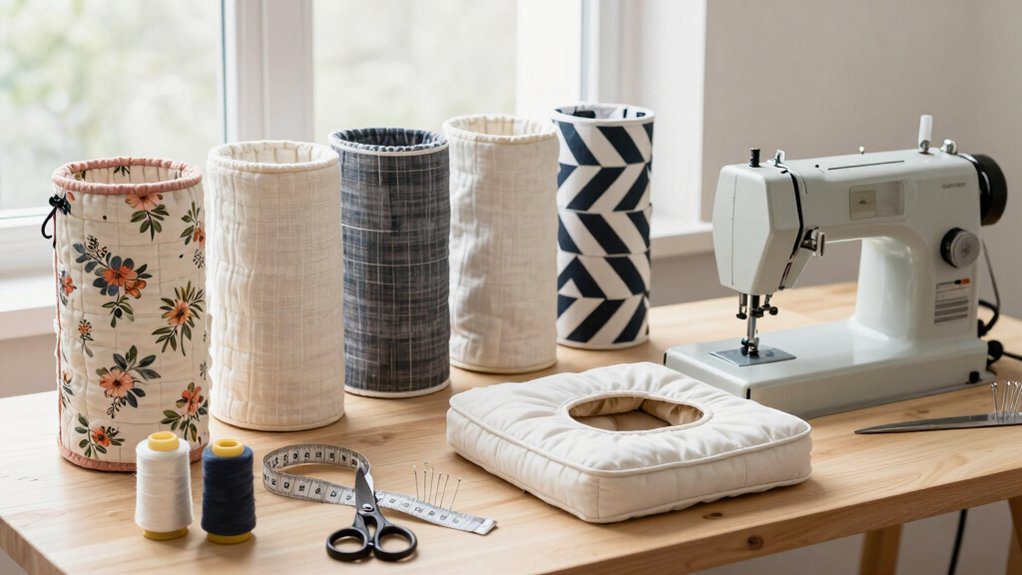
With pockets and tool storage
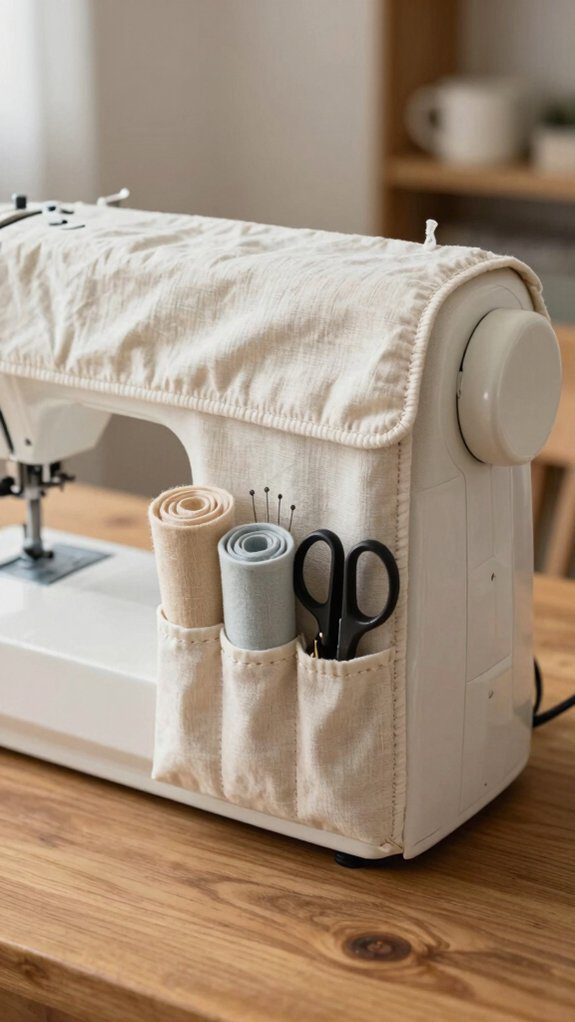
Pockets can turn a simple sewing machine cover into a handy little storage station, and that’s one of my favorite upgrades.
I add a 6–8″ deep front pocket across the full width for patterns or a small rotary cutter, then sew divided side pockets for seam rippers, scissors, and markers.
I mark placement one-third down from the handle slit so everything stays easy to reach.
For extra flexibility, I make a removable portable organizer with quilted channels and Velcro tabs.
A magnetic strip inside helps catch pins fast, and I reinforce openings with folded topstitching.
Matching set with accessories
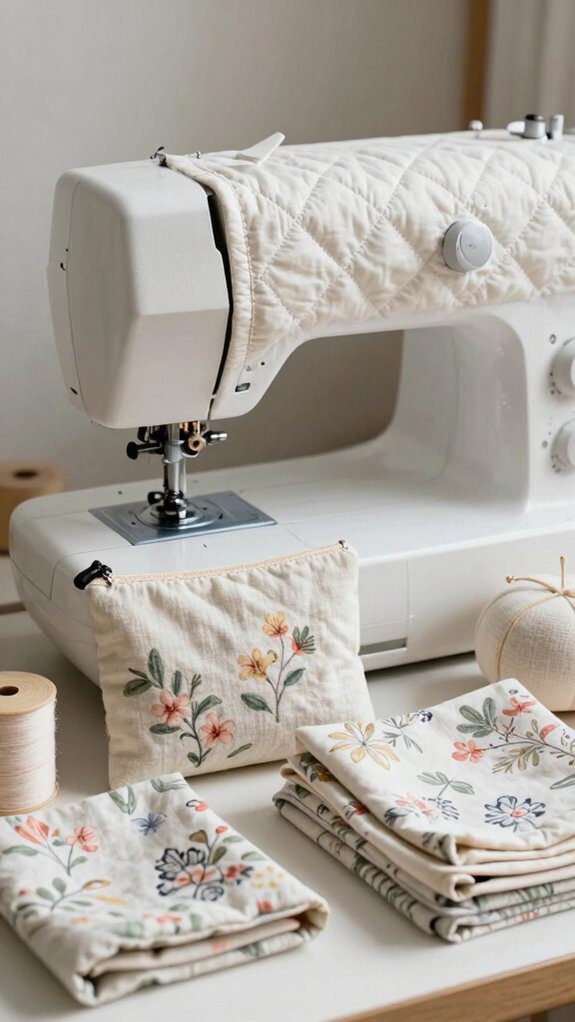
A matching-set makeover is such a fun way to make your sewing corner feel polished and personal. I’d use the same ½ yard outer fabric for the cover, then turn scraps into a pincushion and pouch. That kind of color coordination helps everything feel like it belongs together.
- Same lining and batting
- Matching trim on every edge
- Coordinated handle slit
- Small pouch loop
- Repeated embroidery motif
I love how this creates easy accessory storage and a cheerful, finished look. It’s a small project, but it makes your whole setup feel like a friendly, put-together sewing family.
Measuring Your Machine and Getting the Dimensions Right
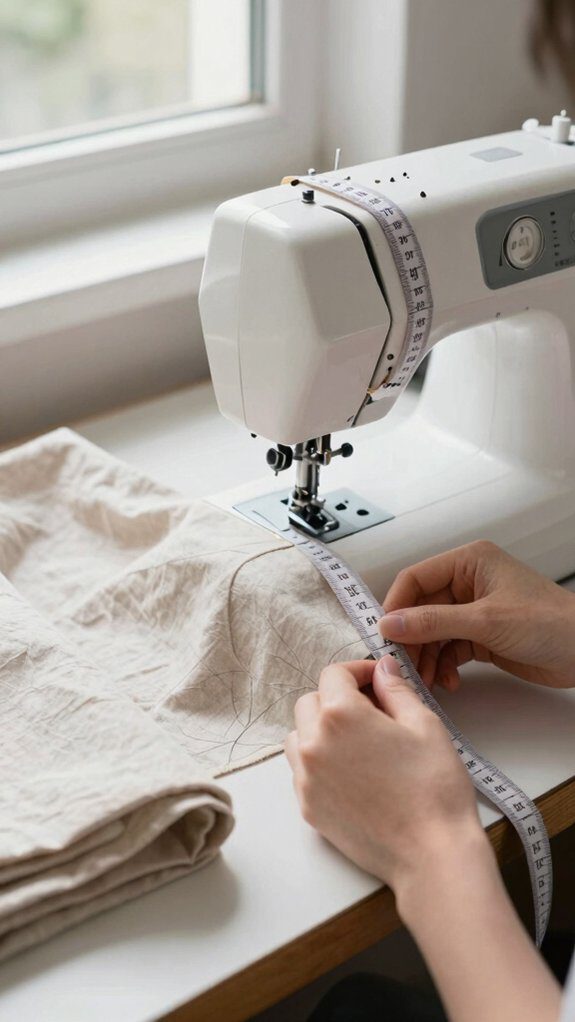
Before I cut a single piece of fabric, I like to measure my sewing machine carefully, because getting the size right makes the whole cover fit better and look much neater.
I use simple measurement tools, then do a little clearance testing with paper or tape so I know the cover won’t snag.
For the front and back, I measure from the bottom middle, up and over the highest point, then down again, divide by two, and add 2.5 inches.
For width, I measure the widest point and add 3 inches.
I also note depth and side shapes, adding 1 inch for seams.
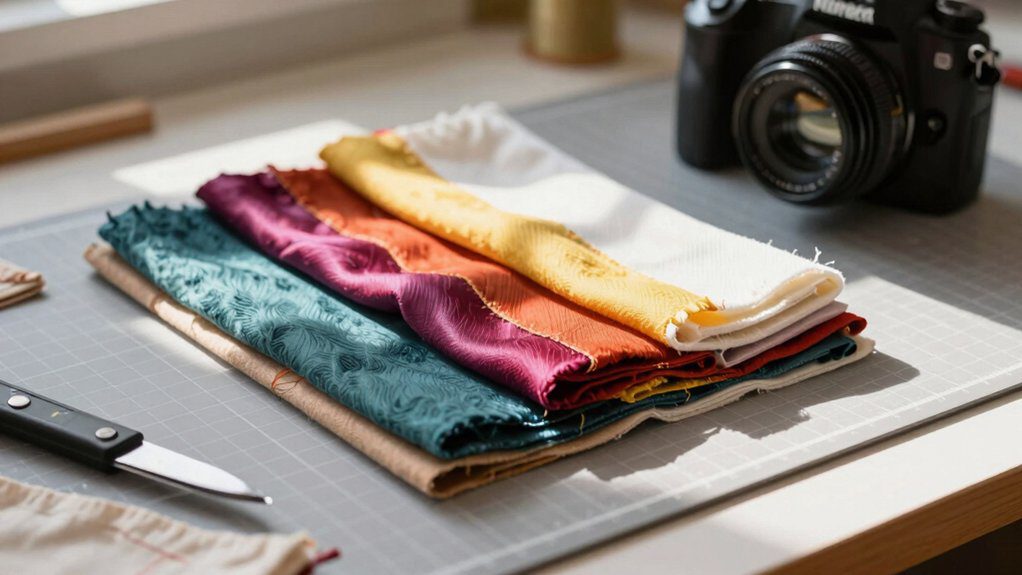
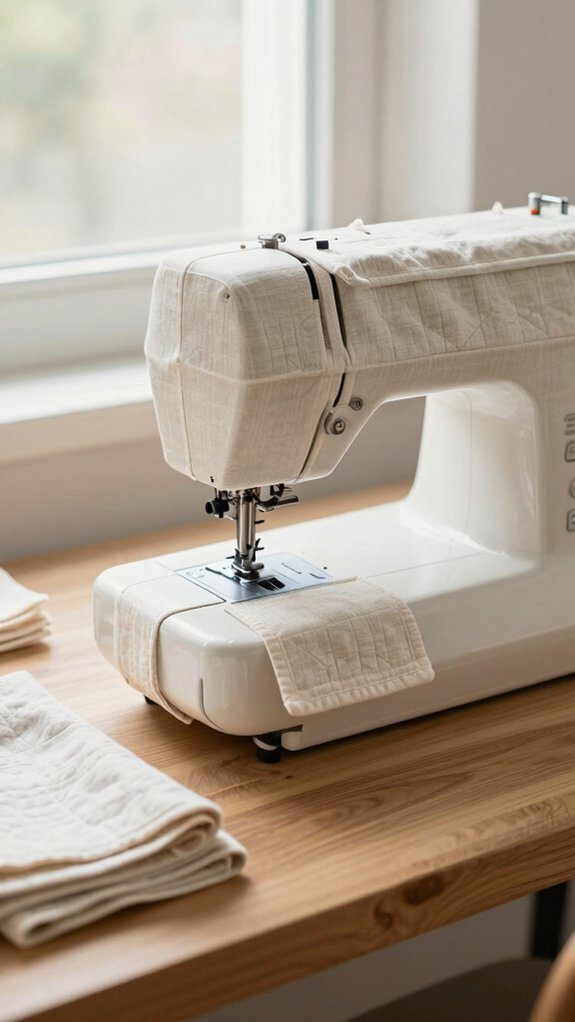
Choosing the Right Fabric — Weight, Wash, and Wear
Choosing the right fabric can make your sewing machine cover feel sturdy, look polished, and last a lot longer. I’d pick medium- to heavy-weight woven cotton, like canvas, denim, or twill, or even vinyl for a tough outer layer.
- Add batting for softness and shape.
- Prewash cotton for fabric maintenance.
- Choose washable fabric for easy care.
- Use protective coatings for wipeable surfaces.
- Match thread and needle to the fabric.
I like a 1/2 yard for most covers, and I always check that the fabric can handle dust, daily wear, and a few impatient tugs.
Cotton quilting fabric
Cotton quilting fabric is one of my favorite choices for a sewing machine cover because it’s light, tidy, and still sturdy enough for everyday use. I like its crisp press and neat topstitching, which help your cover look polished and welcoming.
Because quilting cotton is usually 42–44 inches wide, I can often cut the main pieces from a half yard if I plan well. I also pay attention to thread count importance, since tighter weaves block dust better.
Before sewing, I always wash and dry it; those prewash effects help prevent surprise shrinkage later, which feels like a small win.
Canvas and duck cloth
Canvas and duck cloth are my go-to picks when I want a sewing machine cover that feels sturdy and dependable. I love their canvas textures and duck durability for a cover that can handle everyday use. If you want a snug, dust-resistant fit, I’d choose 10–12 oz fabric, prewash it hot, and press it first.
- Use a 90/14 or 100/16 needle
- Sew with strong polyester thread
- Try a walking foot for smooth seams
- Add batting for shape and protection
- Finish edges with a serger or zigzag
I’ll also topstitch openings so your cover looks polished and feels like home.
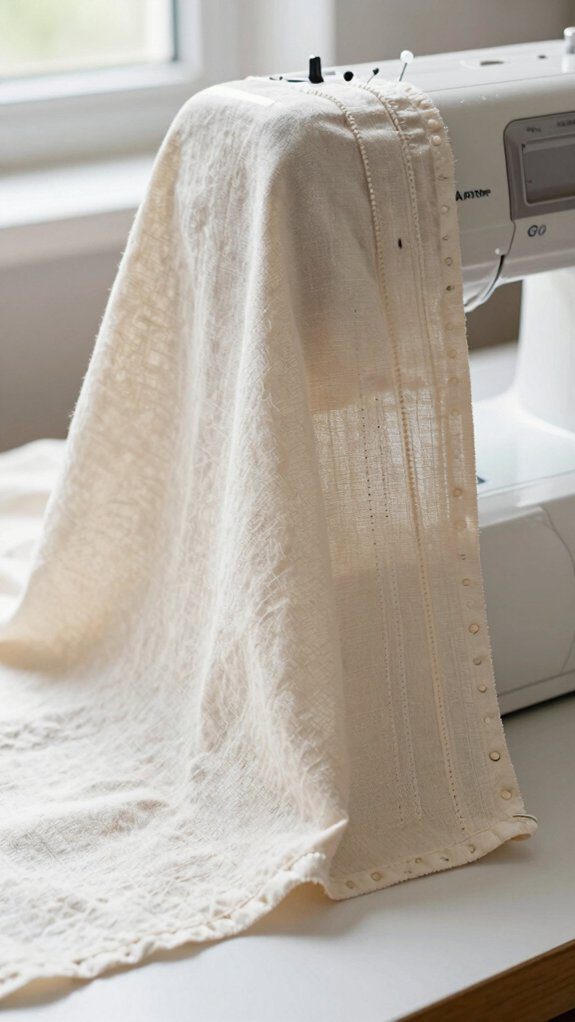
Linen and linen blends
Linen and linen blends are such a lovely choice when I want a sewing machine cover that feels clean, breathable, and a little bit elegant.
I love how flax history gives linen that classic, sturdy feel, while cotton or viscose blends soften it and help cut down on wrinkles.
For a cover, I usually pick lightweight to medium fabric, then prewash it as part of my linen care routine so the size stays true. I press it damp, sew with a walking foot, and use interfacing if I want extra shape. It feels like a smart, friendly upgrade.
Oilcloth and coated fabric
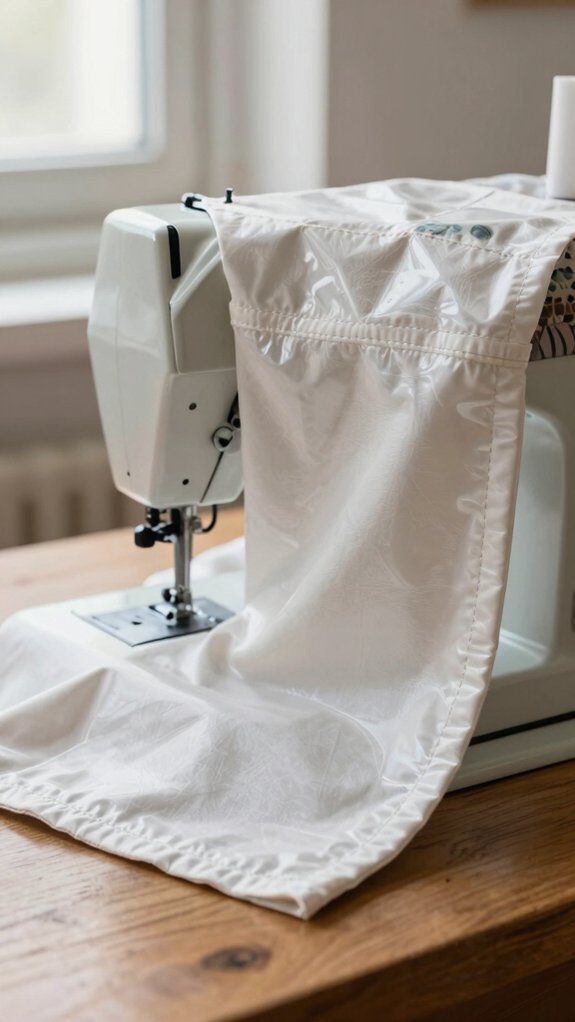
Oilcloth and other coated fabrics are one of my favorite choices when I want a sewing machine cover that’s easy to clean and good at blocking spills and dust. I love how they fit a busy sewing space, and I keep their waterproof maintenance simple with a damp cloth. For sewing, I use a heavy-duty needle, longer stitches, and a walking foot.
- Clip, don’t pin.
- Skip hot pressing.
- Use bias binding.
- Topstitch edges neatly.
- Leave a touch of ease.
I also like checking vinyl recycling options, which helps my sewing feel kinder to our shared home.
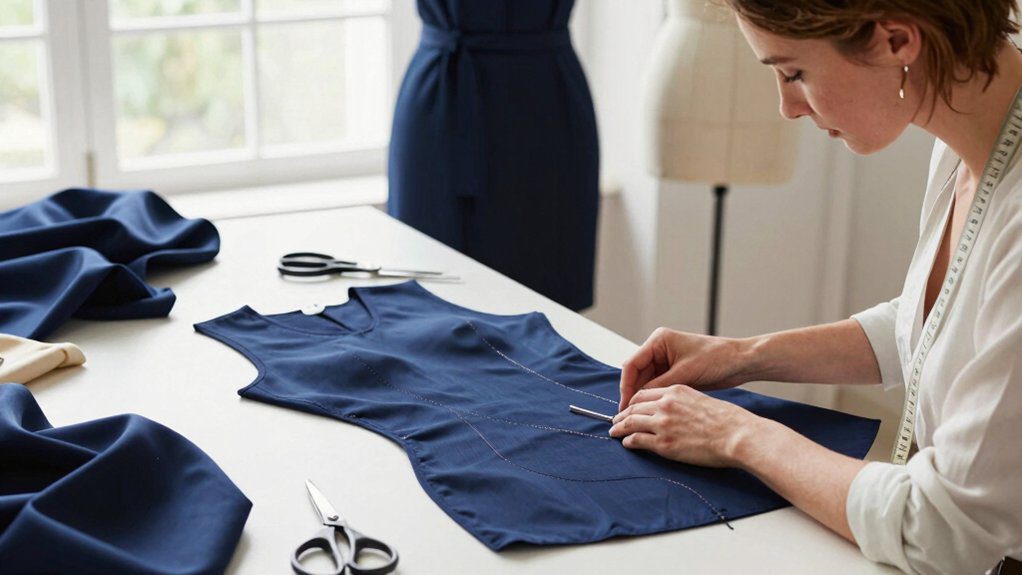
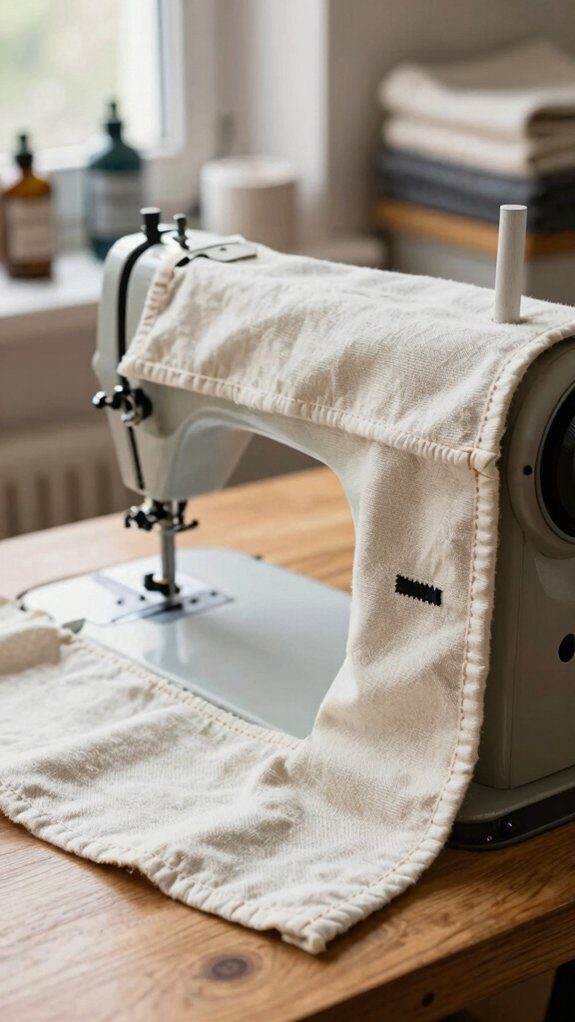
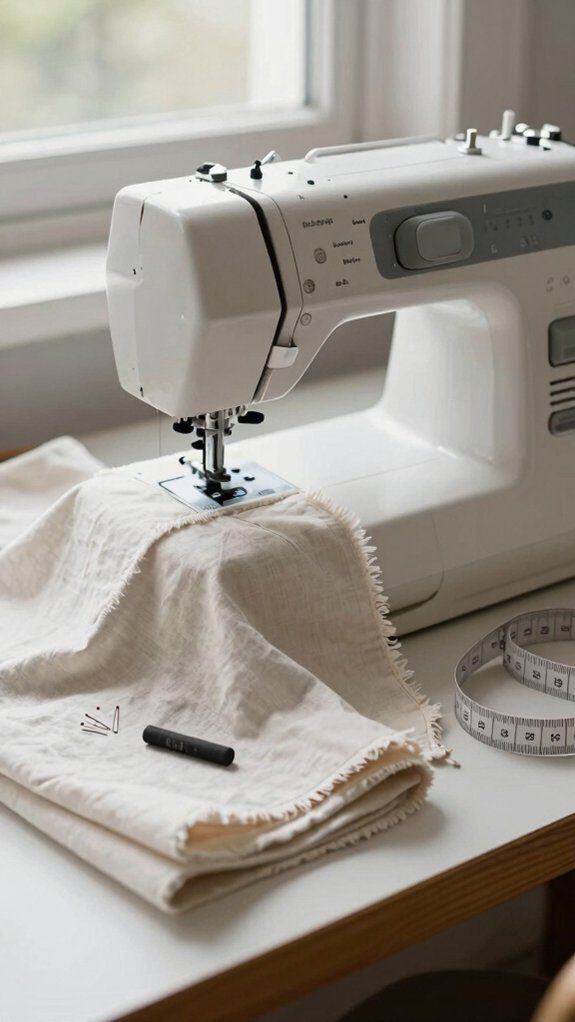
How to Sew a Basic Machine Cover From Scratch — No Pattern Needed
If you’ve already picked a wipe-clean fabric like oilcloth or another coated material, you’re in a great spot to make a simple machine cover that works hard and looks neat, too.
I measure my machine’s height and width, then add a little extra for seams and the top roll.
I cut front, back, and side pieces, then sew them right sides together, leaving a small gap for the handle.
After pressing seams, I test the fit and tweak it if needed.
I finish the hem and add maintenance tips for easy seasonal storage.
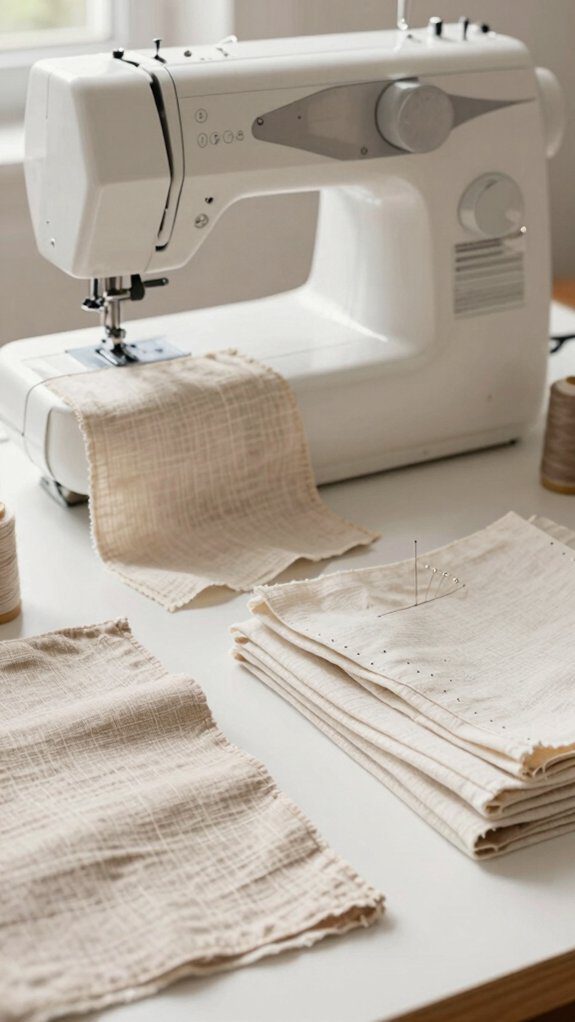
Cutting fabric panels to size
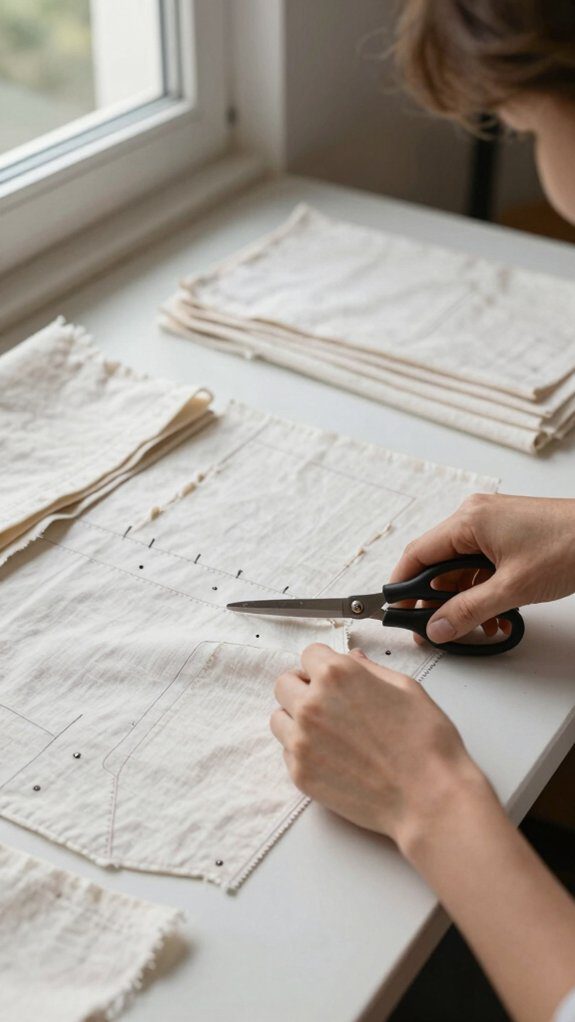
Start by measuring your sewing machine carefully so your fabric pieces fit just right. I like to add seam allowances before I cut, because that helps me avoid fabric distortion and keeps everything neat.
Measure the front and back height, include knobs, then add 1 inch for seams and 2 more for the top roll-over. I cut the bottom width the same way.
For the sides, I measure both widths, add 1 inch, and shape mirrored trapezoids if needed.
- Cut two front/back rectangles
- Cut two side pieces
- Mark top centers
- Add extra for quilting
- Trim batting generously
Sewing side seams and corners
Now comes the part where your cover starts looking like a real little jacket for your machine: sewing the side seams and shaping the corners.
I match right sides together and stitch the side seams with a 1/2″ allowance, or a bit wider if the fit feels snug. For angled panels, I pin from the top center and ease the fabric down so it lies smooth.
Then I fold each bottom corner, mark the depth, sew a boxed corner, and trim it.
I press seams open, finish raw edges, add bias tape or an elastic gusset if needed, and test the fit.
Adding lining or interfacing

For a cover that feels sturdy and looks polished, I like to add lining or interfacing before I sew everything together. I choose lightweight fusible interfacing for structure, and I trim it to match each piece after fusing it on.
When I compare interfacing comparisons, I look for the least bulk with the best hold. My favorite lining options are medium-weight cotton for dust control or vinyl for easy wiping.
- Cut lining the same size as the outer fabric.
- Add batting if you’re quilting.
- Baste layers so they stay put.
- Reinforce the handle area.
- Finish inner edges neatly.
Finishing the hem and opening
A neat hem and a clean opening can make your sewing machine cover look truly finished, and I like to tackle both with a few simple steps.
I serge or zigzag the raw edge, fold the hem up 1/2 inch, press it, and topstitch 1/4 inch from the fold for strength. If I’ve used a lining, I leave a 3-inch gap, turn the cover right side out, then stitch it closed.
For the clearance slit, I fold, press, and topstitch the opening; bias tape or decorative trim can freshen a short hem fast.
Adding pockets or handles
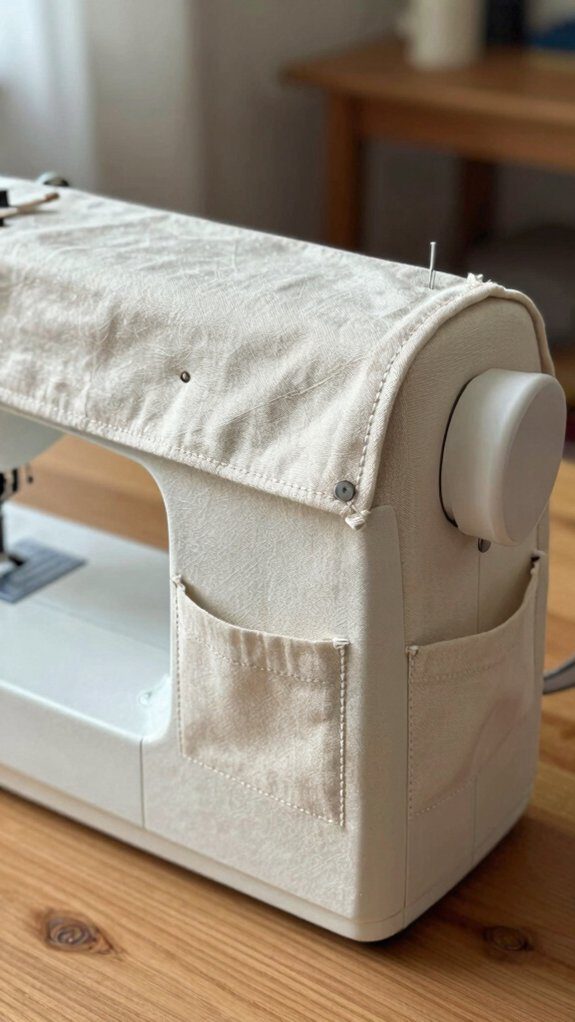
Pockets and handles can turn a simple sewing machine cover into a much more useful little organizer, and I love adding them before I finish the final seams. I stitch an outside pocket on the front for scissors and notions, then try strap pockets or magnetic closures for quick access.
- I add interior channels for tools.
- I make a sturdy top handle.
- I reinforce each stress point.
- I use a clean zippered back pocket.
- I box-stitch the handle ends.
For me, these details make the cover feel friendly, handy, and ready for every project.
Adjusting the Pattern for Different Machine Sizes and Brands
Once I’ve added handy pockets and a sturdy handle, I like to make sure the cover actually fits the machine it’s meant for, because sewing machines aren’t all built the same.
I measure the full wrap-around length, halve it, and add 2.5″ for the front and back height.
For side panels, I check the bottom and top widths, then cut mirrored trapezoids when needed.
With brand variations, I build custom templates, and I add room for flatbeds or tall dials.
If the fit feels off, I tweak seam allowances and test-fit again.
When Buying Ready-Made Makes More Sense Than Sewing Your Own
If your sewing machine has unusual dimensions, with extra knobs or a taller shape than standard covers can handle, I’d honestly consider buying a ready-made cover instead of making one from scratch. I like that choice when I want time savings, a fair cost comparison, and a polished look.
- boxed corners
- bias-bound seams
- quilted lining
- waterproof or matching fabric
- factory durability
When I don’t have a serger, bias binder, or extra patience, premade covers feel like a smart, friendly shortcut. They help me protect my machine and still feel part of a practical, stylish sewing space.
Fitting and Sizing Mistakes That Leave Gaps, Sagging, or a Cover That Won’t Stay On
When a sewing machine cover doesn’t fit quite right, the problem usually shows up fast: a gap at the bottom, sagging sides, or a cover that keeps slipping off like it’s trying to escape.
I check my measurements first, because small misses cause big headaches. For bottom gaps, I add 3 inches to the combined width and depth, or use 3/4-inch to 1-inch seam allowances. For sagging, I make fit fixes with 1/4-inch side seams or back darts. I also use tension tweaks, mirrored side pieces, and a cinched hem so the cover stays put.
Frequently Asked Questions About Sewing Machine Covers
Here are the questions I hear most often about sewing machine covers, and I’m happy to clear them up. I measure the full perimeter, add seam allowances, and then check the height so the cover rolls neatly over the top. That keeps my storage solutions snug and my travel protection reliable.
- I cut two front/back rectangles and two mirrored side pieces.
- I serge the top edges, then make a handle slit.
- I sew right sides together with a 1/2″ seam.
- I try it on before I finish.
- I hem the bottom and add trim if needed.