The Easiest Way to Start DIY Projects Without Feeling Overwhelmed
Start with one tiny DIY win, like painting a shelf or adding floating shelves, and keep it cheap, simple, and finishable in a day. Grab just a tape measure, screwdriver, level, and a few materials, then make a quick list so you’re not hunting for tools mid-project—ugh, the worst! Break it into prep, work, and cleanup, and expect one small mistake. Finish strong, and you’ll get more confidence plus a smoother next project just ahead.
Love cozy DIY projects? 💕
Get free printable guides, exclusive tutorials & surprise craft goodies straight to your inbox.
Disclosure: This post may contain Amazon affiliate links, at no extra cost to you. Content on DiyCraftNest is created with research support from AI tools and carefully reviewed, edited, and fact-checked by the lead author, Daniel Pat, to ensure accuracy and reliability. Learn more
Key Takeaways
- Start with one small, finishable project that can be completed in a day.
- Limit choices by deciding the size, style, and finish before you begin.
- Gather only basic starter tools like a tape measure, screwdriver set, level, and drill/driver.
- Make a simple plan first: list materials, steps, and safety checks before buying anything.
- Track small wins and mistakes as you work, so each project builds confidence and skill.
Why Beginners Struggle With DIY

You can feel stuck fast when DIY throws too many options at you, because one shelf, one paint color, or ten “easy” projects can all start to blur together!
Then fear sneaks in, and without clear guidance, even a small job can feel like you’re one wobble away from a crooked mess.
That’s why beginners often wait too long, but a tiny first win can calm the noise and show you what really matters.
– Too many options
So many DIY beginners hit the same wall fast: there are tons of tools, finishes, and project versions, and suddenly picking a simple weekend project feels like choosing a flavor at an ice cream shop with 40 weird options! That’s decision paralysis in action, and it’s real.
You’ll move faster when you pick a simple starter with a tool minimal setup, then set an options limit on style, size, and finish.
Keep your project scope tight, check your supplies first, and choose fewer choices.
With a clear plan, you spend less time second-guessing and more time building with your crew!
– Fear of failure
Why does DIY feel scary before the hammer even hits the wood? You’re not weak; you’re reading the room, and fear of failure grows when plans feel fuzzy or the task seems bigger than your tools.
Build a resilience mindset with small wins, not perfection!
- Pick a low-cost shelf, box, or frame.
- Use a simple guide and honest time estimate.
- Track progress, note mistakes, and turn them into learning loops.
- Practice patience, self compassion, and feedback habits.
That’s how beginner confidence grows. Finish one project, feel the buzz, and your stress management gets easier fast!
– Lack of guidance
Without a clear guide, DIY can feel a lot like trying to assemble a chair with half the picture missing—frustrating, confusing, and a little suspicious. You might start with a vague plan, then freeze, because the first step isn’t obvious. Yikes!
That’s why hands on milestones matter. Start small: paint tile floors, add floating shelves, or update closet doors. Grab a simple list, a few tools, and materials before you begin, so you don’t sprint to the store mid-project. With visible progress and clear outcomes, you’ll keep things in a manageable scope, stay safer, and finish with less mess, more cheer!
What You Actually Need to Start
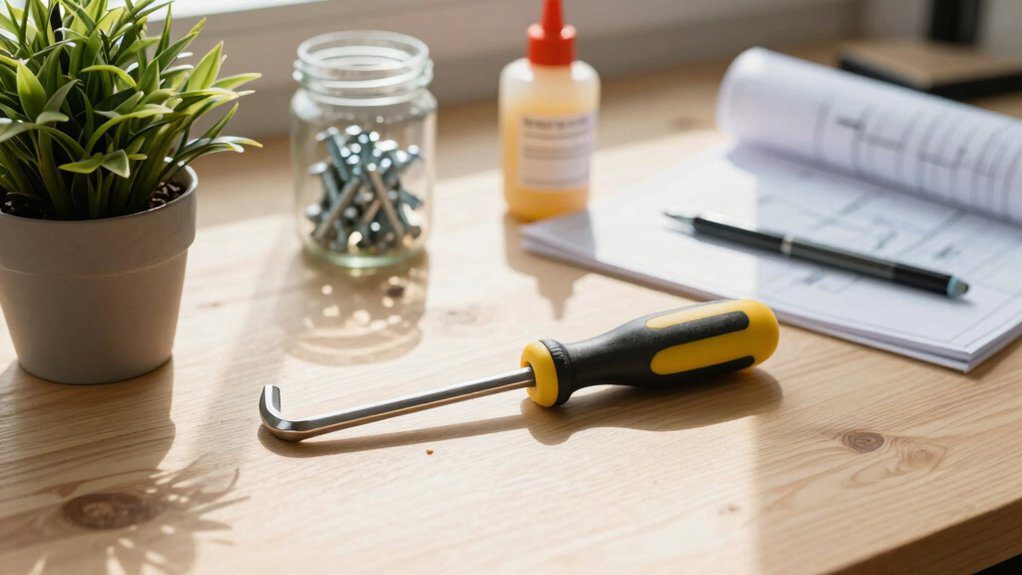
You don’t need a garage full of impressive gear to get started, just a few basic tools like a tape measure, scissors, and a screwdriver can carry you a long way.
Add simple materials for one beginner-friendly project, like wood pieces, paint, or adhesive strips, and you’ve got a clean, no-stress starting point.
Keep it small, keep it doable, and suddenly that “someday” project feels a lot more like, “hey, I can actually do this!”
– Basic tools
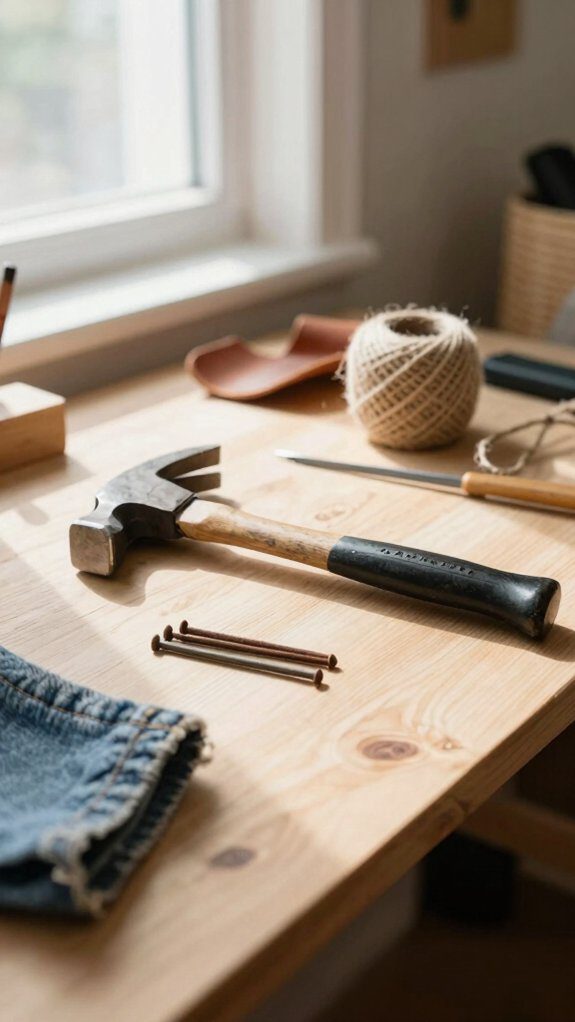
Your starter kit doesn’t need a elaborate toolbox parade—just begin with a tape measure, pencil, and small level so your first hang-up actually ends up straight, not “artistically tilted.”
Add a cordless drill/driver, a few common bits, a screwdriver set, and the basics like a hammer, utility knife, stud finder, plus safety glasses and gloves, because those little jobs get much easier when you’re not improvising with a butter knife!
Best of all, you can build it one project at a time, so you only buy what you’ll really use.
Starter kit essentials
If you’re just starting out, a small starter kit can do a *lot* more than a giant toolbox that stares at you from the corner like it pays rent!
For Budget Friendly Basics, grab:
- tape measure, hammer, screwdriver set
- utility knife, level
- drill/driver, bits
- stud finder, tape
Add Tool Safety Tips, marker, and sandpaper, and you’re in the DIY club!
– Simple materials
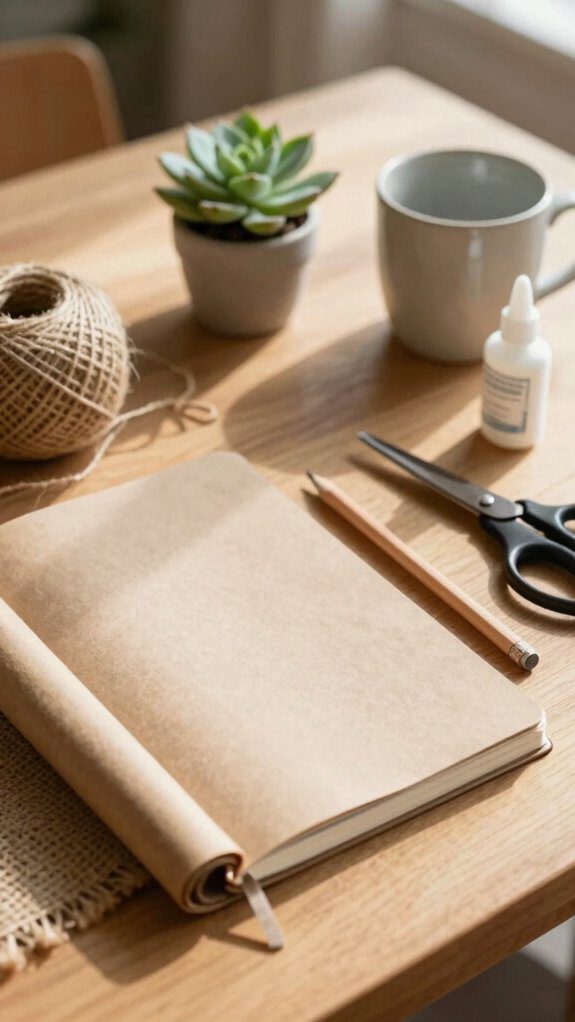
Start with beginner-friendly options that feel almost too simple, because that’s the point—you want a quick win, not a weekend hostage situation!
Grab a poster board or clipboard, a Sharpie, and a few Post-it Notes in 2–4 colors, then keep them in one easy-to-see spot so your next step never hides in a drawer.
When you only use what you need for the first tiny task, you’ll see progress fast, and that little blank-space-on-the-board moment feels pretty great.
Beginner-friendly options
Grab a small, non-scary starter kit, and suddenly DIY feels way less like a mystery and way more like a weekend win!
- Tape measure, level, painter’s tape.
- Screwdrivers, tray, labeled bin.
- Post-it steps, Sharpie labels.
- Easy project kits, peel stick hacks, budget friendly choices, quick wall updates, simple hardware swaps, minimal prep decor, beginner friendly finishes, low mess options, tool free methods—nice, right?
How to Choose Your First DIY Project
Choose a first DIY project that’s low-complexity, finishes fast, and gives you a real win, because nothing kills excitement like a half-done mess sitting around like a sad science fair project.
Think simple stuff like floating shelves, a painted tile floor, or fresh closet doors, using basic materials, a clear guide, and tools you already know.
Aim for something useful you’ll actually enjoy seeing every day, and you’ll keep your momentum rolling instead of getting stuck in overwhelm!
– Low complexity
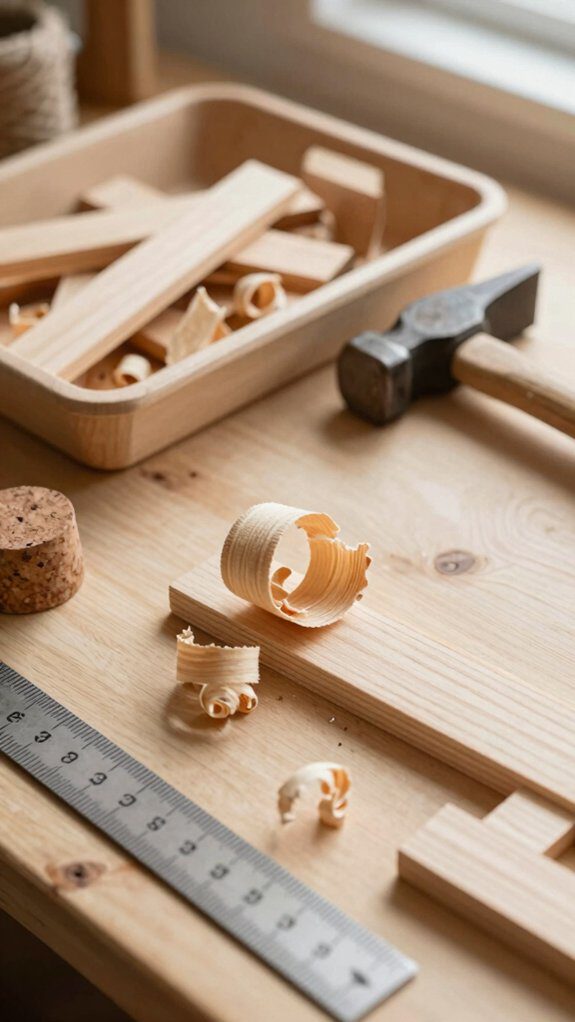
If you’re picking your very first DIY project, keep it small, cheap, and totally finishable in a day, because nothing drains the fun faster than a half-done mess staring at you from the corner like it pays rent!
- Paint a shelf: grab paint, brush, and tape; match color schemes, then roll on one coat.
- Add floating shelves: you’ll need a kit, level, and anchors; measure, drill, and hang.
- Refresh a headboard: use fabric or wood, cut, cover, and attach.
- Make a DIY art ledge: use scrap wood, sand, mount, and style it.
Stick to budget planning, avoid plumbing, and choose the project that feels like your people.
– Fast completion
Fast results matter a lot when you’re picking your first DIY project, because nothing kills the fun faster than a huge half-finished mess taking over your weekend.
You want quick wins that beat decision paralysis and build DIY confidence fast!
Try a gallery wall: grab frames, a level, and hooks, then measure, mark, and hang.
Or update one room with paint, if you’ve got a free day and some patience.
Keep your time boxing plans tight, and choose something you already know how to handle, so momentum building feels easy.
The best starter? A bathroom refresh you’ll see every morning—nice!
– Useful outcome
A good first DIY project should leave you with a real win, not a pile of mystery screws and regret! Choose something you can finish in a day or weekend, with steps and supplies already clear. That’s how you get confidence building, quick wins, and tangible results.
- Paint tile floors, with tape, primer, and a roller.
- Add floating shelves using a level, brackets, and screws.
- Update closet doors with paint, new handles, and a brush.
- Pick the best simple transformation, then set a finish line: clean up, tighten hardware, celebrate. Cheap, safe, and wow, you’re in!
Step-by-Step Approach to Your First Project
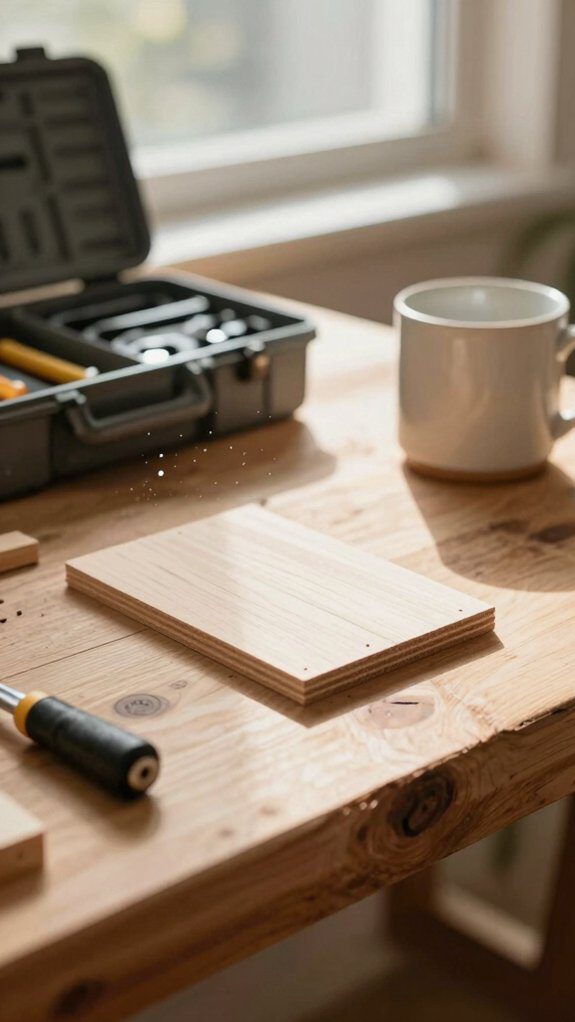
First, you’ll want to set up the planning phase by picking one small DIY project, laying out your tools, and checking your materials before you even hit the hardware store—future you’ll thank you!
Then, move into the execution basics by following a simple guide step by step, like measure, prep, paint, or install, and pause after each stage so you don’t end up with a “creative” mistake on your wall.
Finally, add the finishing touches by cleaning up your workspace, putting your tools back in order, and giving the project one last look, because a tidy finish can make a tiny job feel like a big win.
– Planning phase
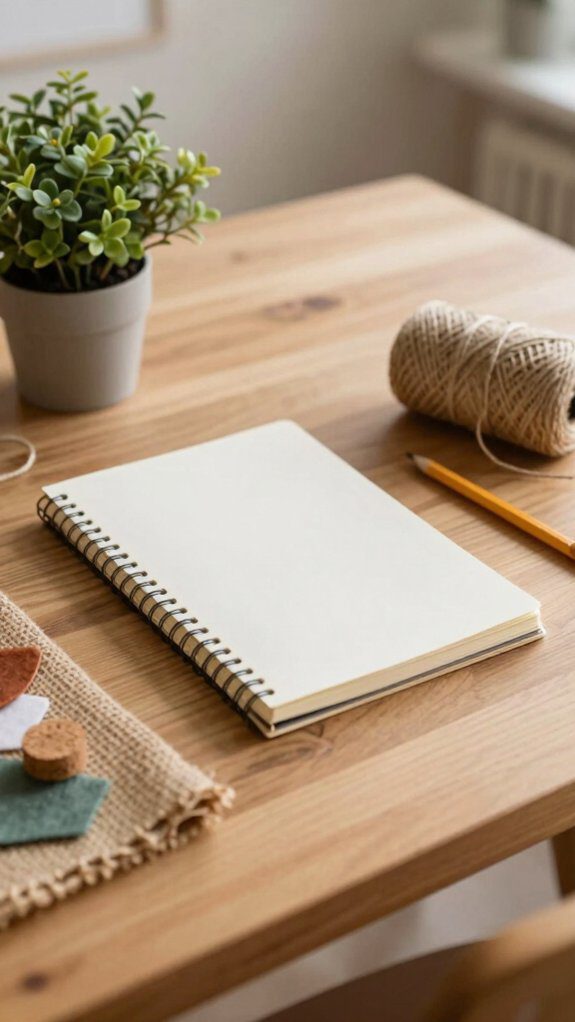
Before you pick up a hammer or buy a single can of paint, do a quick brain dump on paper, and just let everything spill out—project ideas, tasks, worries, even that “someday” shelf you keep thinking about.
That messy page helps your confident mindset, project selection, and realistic goals feel real, not fuzzy.
Nice, right?
- Number and color-code items for urgency, then do a fast risk assessment.
- Pick one cheap, one-day project for solid budget planning and quick wins.
- List tools, materials, material research, tool familiarization, and a safety checklist.
- Block each step on your calendar with time management, then track wins on Post-Its.
– Execution basics
With your plan in hand, it’s time to turn that big idea into tiny, doable moves—yay, progress! Pick one beginner project you can finish today, then make a prep checklist from your brain-dump and rank it by what matters most.
Next, use timer scheduling to block your day, even in short bursts, and split the job into prep, work, and cleanup. Set up your workspace setup with good light, then do tool staging so everything sits close by.
Finally, use step tracking on sticky notes, and pull each one off as you finish. That little win? Pure momentum building!
– Finishing touches
Nail the finishing touches, and suddenly the whole project starts looking real! You’ve made it this far, so stick with your crew energy and finish strong.
- Use your clean checklist for quick touchups and a final inspection.
- Scan for loose edges, smudges, or missed spots, then do last steps now.
- Update win tracking on your board, and pull off each sticky note for more project momentum.
- Finish with simple cleanup, even if it’s not perfect, because that confidence boost feels amazing.
If you’re unsure, look it up fast, then close it out. Loose ends love drama!
Mistakes to Avoid
You don’t want to start with a project that’s way too complex, because that’s how a simple weekend task turns into a full-on drama!
Skip the prep and you’ll probably end up hunting for tools, guessing at steps, and making extra mess, so clear your space, gather your materials, and read the plan first.
And hey, don’t chase perfection on your first try, because a solid finish beats a flawless dream every time, and you’ll learn more by wrapping things up than by staring at “almost done.”
– Starting too complex
When you’re excited to start a DIY project, it’s tempting to grab the biggest, fanciest idea and dive right in, but that’s usually where the chaos starts. Keep your Project Scope tiny, your Time Budget honest, and your Safety Limits firm, friend!
Match the job to your Skill Matching, or the Learning Curve will smirk at you.
- Skip demo, wiring, plumbing, and structural changes.
- Choose one finishable win: paint tile floors.
- Try floating shelves with basic tools.
- Refresh closet doors for a quick glow-up.
Big jobs raise Do Over Risk fast, while small wins build your crew confidence.
– Skipping preparation
Even a tiny DIY can turn into a mess if you skip the prep, so slow down for a minute and set yourself up first!
In your Weekend routines, use checklist creation to list every supply, then do material prep before you touch a tool.
A clear workspace setup, good light, and tool readiness keep you from hunting for things like a lost tape measure, which somehow hides like it pays rent.
Add timing buffers, especially for weekend projects, and skip heavy demo or wiring unless you’ve done a full safety walkthrough.
Finish with next step confirmation, so you don’t freeze mid-job.
Quick prep saves stress!
– Expecting perfection
Because DIY almost always comes with a tiny mess-up or two, it helps to expect one from the start—maybe a paint drip on your shirt, a crooked cut, or a little wood stain on the table. That’s not failure; it’s growth mindset in action!
- Set realistic expectations and slow down.
- Keep your space clean, so clutter doesn’t trip you up.
- Follow a step-by-step plan, one move at a time.
- Treat each oops as practice, because iteration benefits build beginner confidence.
With this process focus, you’ll handle imperfection handling better, stay calm, and celebrate small progress.
In the end, a learning attitude beats perfection every time—woohoo!
Real Results for Beginners
When you finish a small DIY project and see it actually work, wow, your confidence gets a real boost, and you start to feel like you can handle more than you thought.
You’ll also pick up useful skills along the way, whether you’re painting, measuring, or following a step-by-step guide, and that’s where the magic starts.
Best part? Those early wins give you the motivation to keep going, because nothing beats saying, “Hey, I made that!”
– Increased confidence
A quick win can do wonders for your confidence, and that’s especially true with DIY! You’ll feel like you belong in the maker crowd fast.
Try these quick wins:
- Paint tile floors, cheap and bold, with a roller.
- Install floating shelves, just a drill and brackets.
- Update closet doors, paint plus new knobs.
- Follow one guide, finish the last step, then celebrate!
Choose what you already enjoy, and keep a beginner mindset.
Do the first research step, then jump in, no big demo needed.
Mistakes happen, so laugh, wipe, and keep going.
Progress tracking helps you see how far you’ve come!
– Skill development
Skill grows fastest when your first project matches your current tools, time, and comfort level, so you’re not wrestling a beast on day one!
Pick a small update—paint tile floors, install floating shelves, or refresh closet doors—and use realistic goals like inexpensive, done in a day, and few tools.
That beginner mindset gives you safe practice and quick learning, because you’re building craft confidence, not chasing perfection.
Follow someone else’s step-by-step guide, do a week prep check, and keep materials ready.
Mistakes happen, sure, but each one fuels progressive improvement and better results next time.
– Motivation to continue
Even if you only have a little time, start with a small win that looks real fast, because seeing something finishable gives you instant momentum!
- Hang a gallery wall in 30 minutes, then smile at your real result.
- Rub ’n Buff small hardware in one session; use a brush, rag, and a tiny small reward after.
- Build a visual checklist with post it tracking, so weekly progress feels obvious and friendly.
- Pick one beginner-safe task, set session length, and use energy management to stop before you rush.
Those Momentum cues help you make a continuation habit, and your board gets almost blank. Nice!