Easy Sewing Projects for Beginners That Look Cute and Useful
I love starting with cute, useful sewing projects like scrunchies, bookmarks, mini pouches, and simple tote bags—cheap, beginner-friendly, and actually handy! Grab cotton fabric, scissors, thread, a ruler, and an iron, then sew straight seams, press them flat, and turn scraps into something sweet. A scrunchie takes minutes, a pouch can hold earbuds, and a tote feels impressively grown-up. If you keep going, I’ve got a few sneaky little favorites that make beginners look pro fast!
Love cozy DIY projects? 💕
Get free printable guides, exclusive tutorials & surprise craft goodies straight to your inbox.
Disclosure: This post may contain Amazon affiliate links, at no extra cost to you. Content on DiyCraftNest is created with research support from AI tools and carefully reviewed, edited, and fact-checked by the lead author, Daniel Pat, to ensure accuracy and reliability. Learn more
Key Takeaways
- Start with simple projects like pillow covers, coasters, or basic totes to build straight-seam confidence quickly.
- Gather essential tools first: sharp scissors, seam ripper, measuring tape, quilting ruler, and an iron.
- Try one-day projects like mini pouches, fabric keychains, and scrunchies for fast, cute results.
- Use beginner-friendly patterns like envelope pillow covers or small bookmarks for useful items with neat finishes.
- Turn fabric scraps into patchwork accessories, coasters, or tiny pouches for cheap, creative reuse.
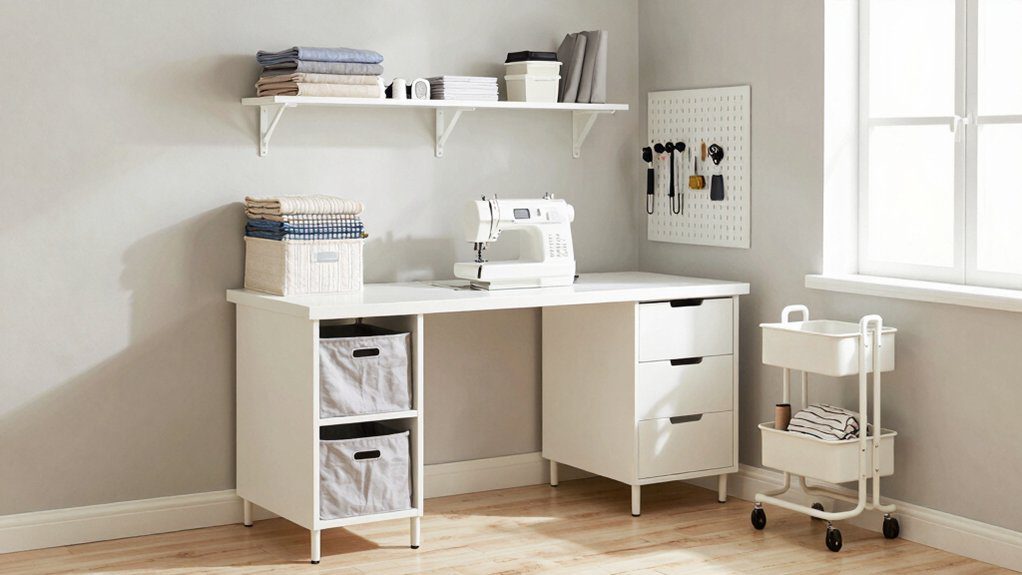
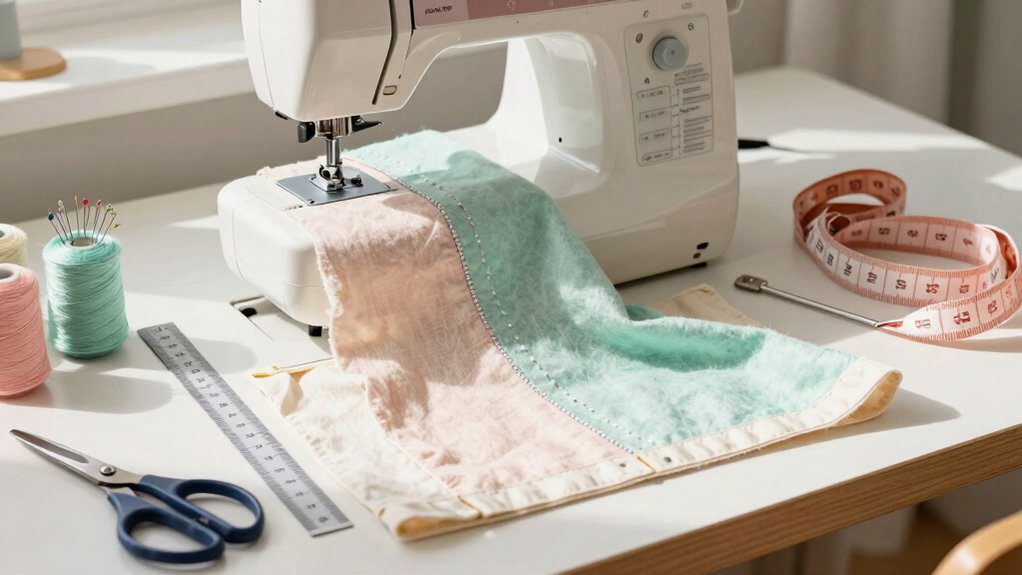
Why Simple Sewing Projects Are the Best Way to Start
When I first started sewing, I learned fast that simple projects are the best place to begin, because they let you practice straight seams without feeling like you’re wrestling a tiny fabric monster!
For Easy Pattern Selection, I pick a pillow cover, coaster, or basic tote with fewer pieces and no tricky zippers or buttons, and that keeps the stress low.
For Simple Seam Practice, I use medium-weight cotton or cotton blends, since they’re easy to handle and press, then I sew a dish towel hem or a fabric bookmark.
It’s quick, cheap, and honestly pretty satisfying!
I expect a few wobbly stitches, so I keep going, fix mistakes, and watch each try get cleaner.
That’s how beginners like us build confidence, one neat seam at a time.
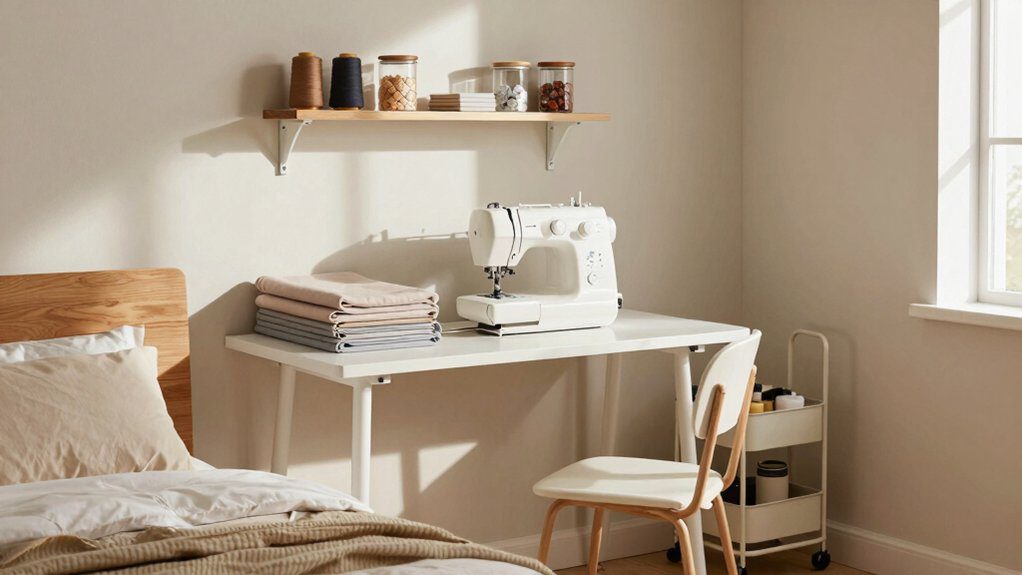
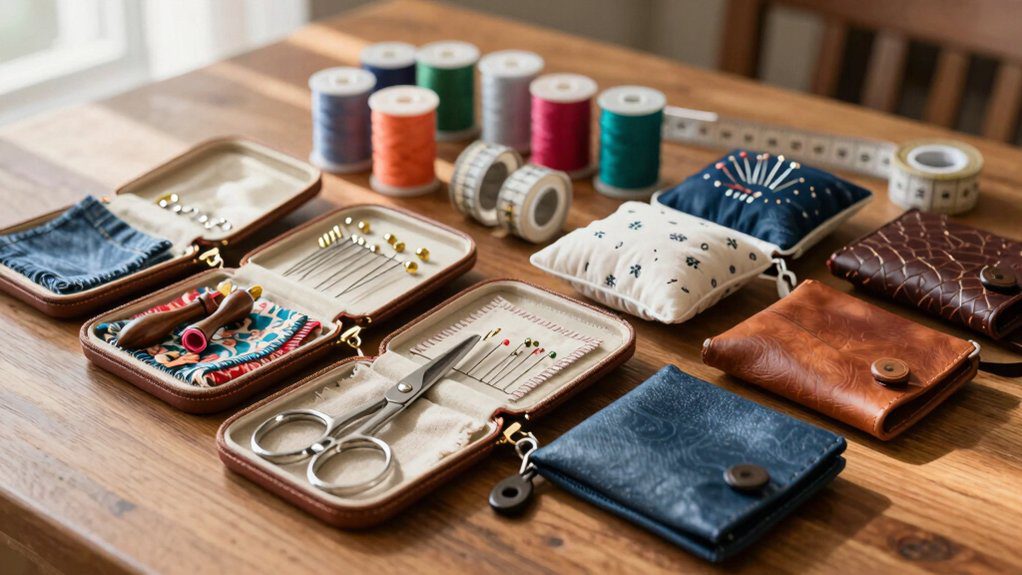
Must-Have Tools Before Your First Project
Before I stitch my first seam, I always gather a few trusty tools, because they save time, reduce stress, and keep beginner mistakes from turning into full-on fabric drama! I keep sharp fabric scissors, a seam ripper, a measuring tape, and a clear quilting ruler close by, so I can cut clean shapes and fix oops moments fast.
For Needle selection tips, I match my machine needle and thread to woven cotton, then tuck in extra bobbins so my practice rhythm doesn’t stall. Quality pins or clips hold everything steady, and an iron helps seams lay flat before and after sewing.
Last, I learn presser foot basics and use the edge as a guide for straight stitching. Seam finishing basics can come later, but these tools make me feel ready, welcome, and wow, oddly capable!
Small Sewing Projects You Can Finish in One Day
I love quick wins, and mini pouches are a great place to start, because you only need simple fabric, a zipper, and a few straight seams to make something useful in about a day.
Fabric keychains are even easier, since you can fold a small strip, press it, stitch it down, and clip on a ring for an instant little “look what I made!” moment.
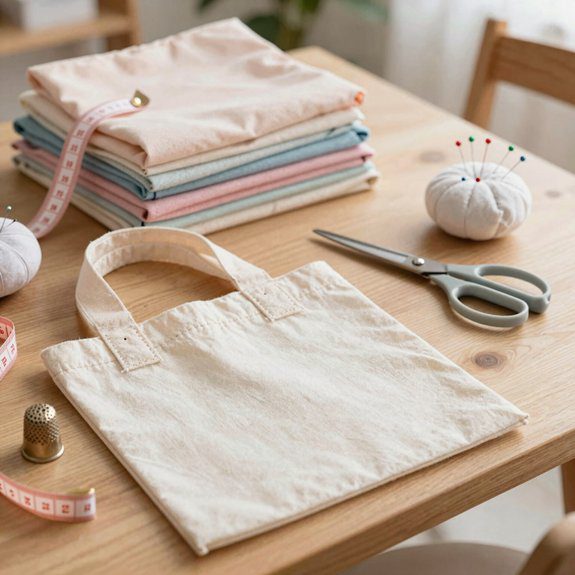
If you want the most practical payoff, simple tote bags are a fun next step, and I’ll show you how a basic shape can turn into a sturdy bag you’ll actually use.
Mini pouches
Mini pouches are one of my favorite fast wins because they look cute, feel useful, and don’t eat up your whole day! I like making a 7″ x 9″ zipper pencil pouch or a tiny fabric gift bag, and you can finish either in one day with simple straight seams.
- Sew the zipper to one panel, right side up.
- Add the second panel, right sides together.
- Unzip halfway before turning, so you’re not wrestling the pull tab.
- Press hard, then topstitch for neat edges.
When I want extra structure, I slip in quilted pouches style layers, a little fusible fleece, and fabric lining. That bit of zipper care helps everything last longer, and honestly, the finished pouch looks store-bought, but cozier.
Fabric keychains
When you want a tiny project that feels extra satisfying, fabric keychains are such a fun little win! I like using fabric scraps, because this project only needs a short strip, about 10 inches, and it’s perfect for quick gifting.
| Step | What I do |
|---|---|
| 1 | Cut a 1.5″ x 10″ strip |
| 2 | Fold it lengthwise and press |
| 3 | Fold long edges to center |
| 4 | Stitch both edges |
| 5 | Attach to a keyring |
I reach for quilting cotton, since it stays put and gives straighter results. Slippery fabric? No thanks, not today! If I’m tired or wobbly, I keep my seam ripper nearby for easy fixes. Then I sew or knot the end securely, and boom, I’ve got a cute, useful keychain that’s ready to use right away.
Simple tote bags
After a cute little fabric keychain, a simple tote bag feels like the next big win, and honestly, it’s still totally beginner-friendly!
I cut two outer rectangles and two lining pieces, sew the side seams, then make easy straps from 3×22-inch strips. You’re building something real, and that feels amazing!
- Keep your seams straight and simple.
- Stitch the straps on firmly.
- Leave a turning opening in the lining.
- Finish with topstitching for shape.
I like to add extra stitching at the strap spots, because bags get tugged, and nobody wants a dramatic strap flop.
Then I close the Turning Pouches opening, turn the tote right-side out, and press it flat.
In one day, you’ve got a cute, useful bag that looks like you totally know what you’re doing!
Cute DIY Sewing Ideas That Feel Rewarding
I love starting with cute, beginner-friendly makes like fabric bookmarks and hair scrunchies, because they use simple strips, straight stitches, and a tiny bit of fabric, yet they still feel fun and useful!
Pillow covers are next on my list, since a couple of 18″ x 18″ squares and an envelope-style back can turn plain fabric into something that looks polished fast.
And honestly, there’s nothing like finishing one of these little projects and thinking, “Wait, I made that?”
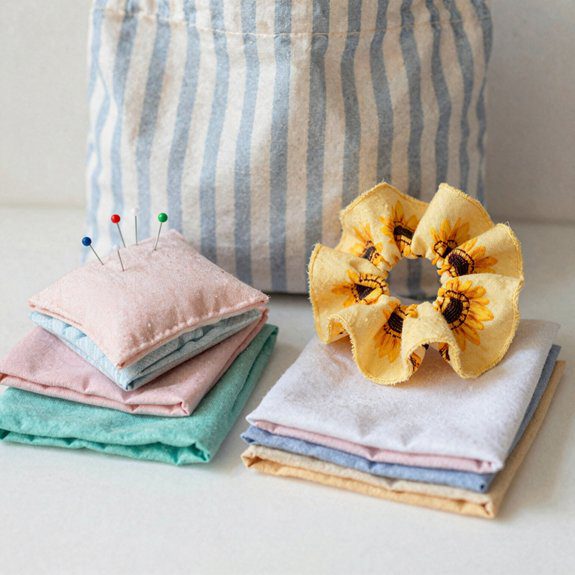
Hair scrunchies
Hair scrunchies are one of those tiny sewing wins that feel way bigger than they are, and trust me, they’re a perfect place to start if you’ve got a few fabric scraps begging for a job! I like lightweight cotton because it’s easy, comfy, and doesn’t turn into a hair pancake.
- Cut a strip about 3 in by 9–10 in.
- Sew a quick seam with a small allowance, then press it flat.
- Turn it right-side-out, and thread elastic through the tube.
For extra cute pattern placement, add lace trim before closing, so it peeks out.
A neat final press keeps it tidy, and optional topstitching helps lock everything in. Honestly, this is beginner-friendly, cheap, and a little bit magical.
Pillow covers
A simple pillow cover is one of those sewing projects that feels way fancier than it really is, and wow, it’s such a satisfying beginner win!
I like making an 18″ × 18″ cover with just two matching squares, straight seams, and a tiny allowance so it fits snugly on the pillow.
You only need cotton fabric, thread, and a machine.
I sew three sides, finish the raw edges with a zigzag stitch, then leave one side open or try envelope openings for easy stuffing.
If you want a cleaner look, zipper closures are a fun next step, but they’re still beginner-friendly.
I love swapping in contrasting prints for a fresh vibe, and honestly, the result looks store-bought.
It’s cheap, quick, and very “look what I made!” energy.
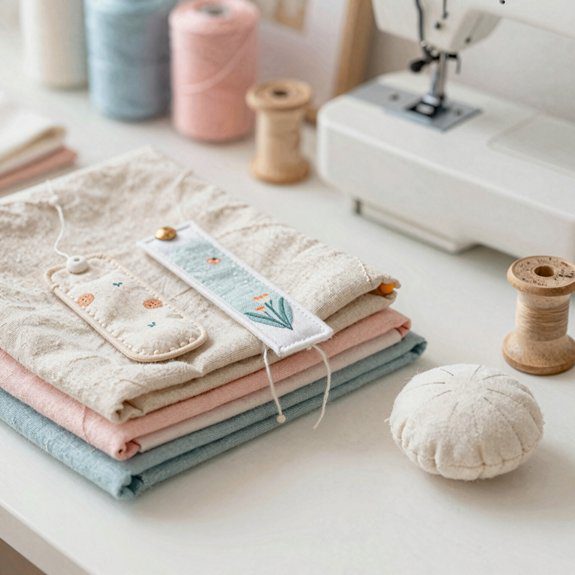
Fabric bookmarks
If you want a tiny sewing project that feels cute, useful, and oddly satisfying, fabric bookmarks are such a fun place to start!
I cut two 2 x 6 inch strips from cotton quilting fabric, then layer them right sides together and sew around the edges, leaving a small gap for turning.
- Turn it right-side out and press it flat.
- Topstitch the edges for a crisp finish.
- Keep scrap pieces the same height for fabric scrap matching.
- Use consistent seam allowance so everything lines up.
I like medium-weight fabric because it stays neat, not floppy.
These bookmark gift ideas are cheap, quick, and perfect when you want a little win.
Add contrast stitching or a bright print, and suddenly you’ve got a sweet handmade buddy for any book!
How to Use Leftover Fabric Creatively
I love turning leftover fabric into patchwork pieces, because even the tiniest scraps can become something cute instead of hiding in a pile forever!
I sort my scraps by thickness, then I stitch simple shapes into small accessories like bookmarks, coasters, or little gift bags, and yes, it’s way easier than it sounds.
If you’ve got a few odd bits left, try a mini pouch or a scrunchie with a tiny trim, and you’ll end up with a neat finished piece that looks intentional, not leftover.
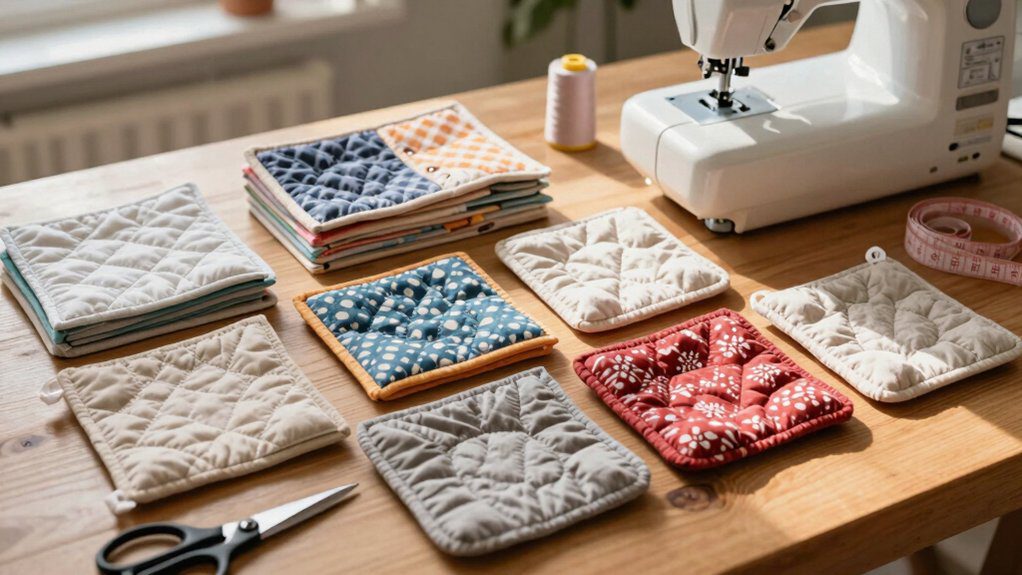
Patchwork pieces
When my scrap bin starts looking like a tiny fabric mountain, I turn it into patchwork pieces, and honestly, it feels like a mini victory lap for my sewing machine! I cut 2.5–4 inch squares or rectangles, then do a test layout before I sew, so the colors can chat before they commit.
- I mix scraps on purpose, because scrap mixing keeps the pattern lively.
- I stitch blocks with a 1/4 inch seam, and the edges line up cleanly.
- I press every seam to one side, often toward the dark fabric, so things stay flat.
- I back the patchwork with lining or batting for coasters, pouch fronts, or bag panels.
A tiny fabric scrap grid helps me use leftovers fast, and it keeps every piece beginner-friendly.
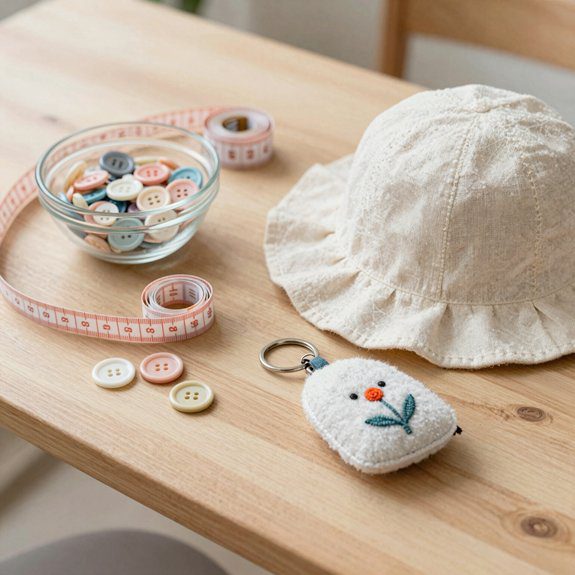
Small accessories
For tiny leftovers, I love turning scraps into small accessories that feel way fancier than the fabric pile they came from! If you’ve got scrap fabric, you’re already halfway there, and yes, it’s perfect for quick gifting.
| Project | What I use | What you get |
|---|---|---|
| Bookmark | 2–6 in rectangles | Neat, giftable |
| Keychain fob | 1–1.5 in strips | Easy to spot |
| Coaster | Small squares + batting | Handy table saver |
I sew bookmarks right sides together, leave a turn gap, then topstitch for a clean edge. For key fobs, I fold narrow strips to the center, stitch, and add a ring. Coasters are just layered squares with batting, sewn and turned. Want the cutest surprise? Make a tiny zipper pouch from a 7 x 9 body piece, then slip in pens or treats. Suddenly, your leftovers look intentional, useful, and honestly pretty charming.
How to Avoid Beginner Mistakes Without Experience
Even if you’ve never sewn a thing before, you can dodge a lot of beginner mishaps with a few smart habits, and yes, they’re way easier than they sound! I always read the full pattern first, check sizes, and mark my Perfect seam allowance before I cut—tiny prep, huge win.
- Use straight guides on simple projects.
- Test stitch length and tension on scrap.
- Sew slowly, then press every seam.
- Keep a seam ripper nearby.
I like starting with flat coasters or pillow covers, because the steps stay friendly and the materials stay cheap. If a zipper pouch looks wobbly, I stop right away and use stitch troubleshooting tips instead of hoping it’ll magically fix itself.
That “rip early” move saves me time, stress, and silly wonky edges later!