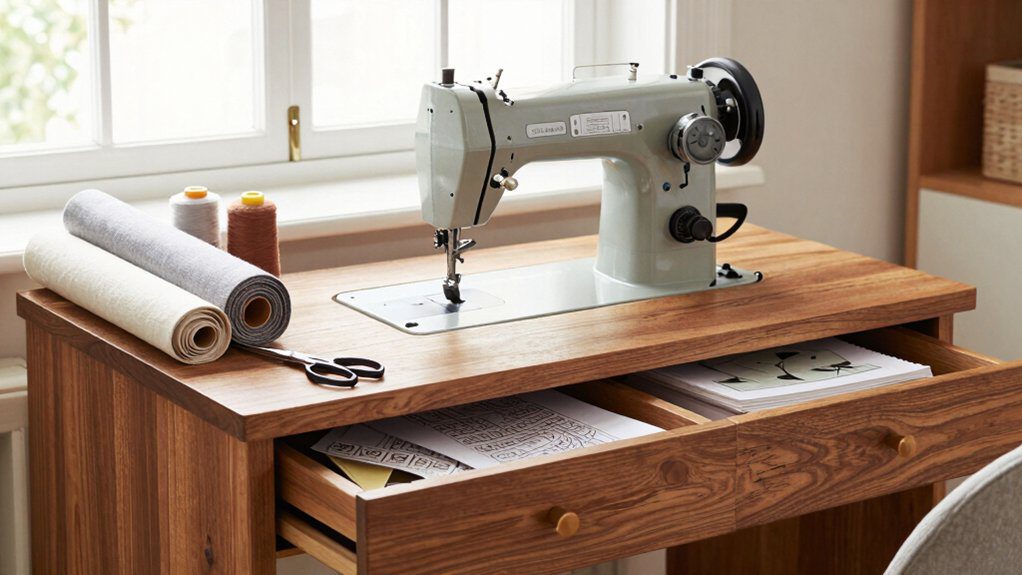
15 Sewing Hacks & Alterations That Save Clothes Fast
I keep a tiny sewing kit handy, and it saves jeans, shirts, and buttons fast! For hems, I use chalk, pins, and hem tape; for loose buttons, I double-thread polyester and knot it tight. A little interfacing, a zigzag stitch, or a quick dart can calm tears and fix awkward fit without much fuss. And if you stick with me, I’ve got a few sneaky upcycling tricks next for old clothes that deserve a comeback!
Love cozy DIY projects? 💕
Get free printable guides, exclusive tutorials & surprise craft goodies straight to your inbox.
Disclosure: This post may contain Amazon affiliate links, at no extra cost to you. Content on DiyCraftNest is created with research support from AI tools and carefully reviewed, edited, and fact-checked by the lead author, Daniel Pat, to ensure accuracy and reliability. Learn more
Key Takeaways
- Prewash garments, measure with shoes on, and use hem tape or blind stitches for quick, clean hem fixes.
- Repair popped seams and small holes with matching thread, backstitches, zigzag stitches, or fusible interfacing for extra strength.
- Fix tiny tears and knit runs fast with fusible web, darning stitches, or light interfacing to prevent puckering.
- Replace lost buttons with spare thread and buttons, using a backup knot or temporary pin for emergency wear.
- Alter fit quickly with darts, elastic waist inserts, collar stays, and simple marking tools like chalk, pins, and rulers.
Why Small Sewing Fixes Make a Big Difference
Small sewing fixes can turn a “well, that’s done” item into a favorite again, and honestly, it’s kind of magic!
I love a hem or zipper repair, because I can save a shirt or coat fast. You only need thread, a needle, and patience, plus a prewash first so your fit stays true.
When I reinforce knees or pockets, I stretch cost per wear and keep emotional attachment alive. And if pants are just a bit loose, a hidden elastic tweak brings them back without drama! Small fixes do make clothes feel like ours again for the long haul.
Quick Fixes for Everyday Wardrobe Problems
When a hem starts to flop or drag, I grab tailor’s chalk, a few pins, and a needle, then I measure it on you, fold it up, and press in a clean half-inch so it looks neat instead of wobbly!
For tiny tears or popped seams, I like matching thread and a simple hand stitch, because a few hidden stitches can make the fix disappear and save your favorite shirt from the donation pile.
And if a button goes missing at the worst moment, I sew on a spare in minutes with strong thread and a backup knot, so you’re back out the door fast—phew!
Fixing loose hems without stress
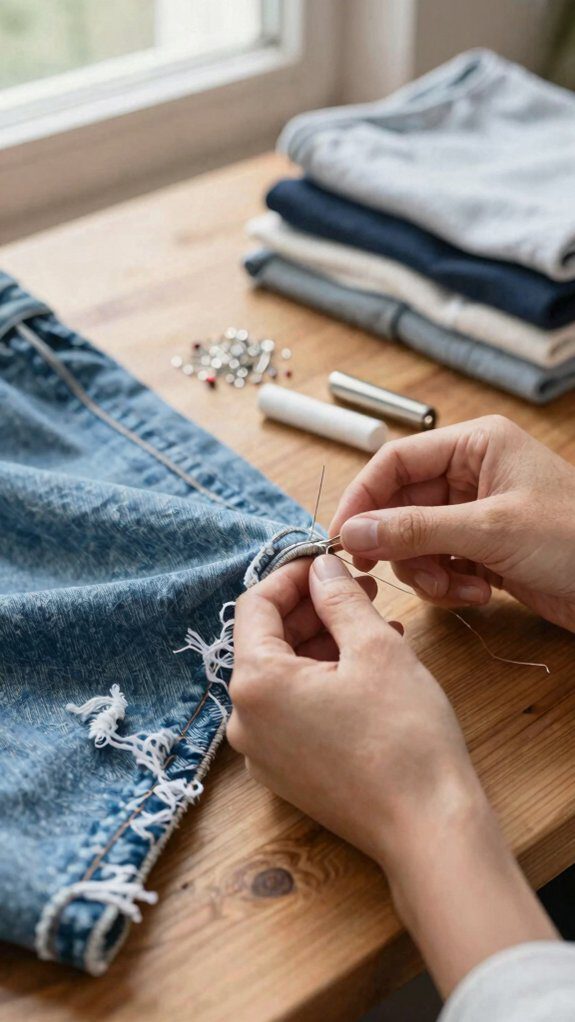
I like to tackle a loose hem right away, because a tiny row of small blind stitches with matching polyester thread can stop the flap-and-flutter drama in minutes, and I usually space them about 1/4 inch apart so the fix stays nearly invisible.
Quick kit: matching thread, tiny needle, and a cool head!
- For hand sewn hemming, I use 1/4-inch blind stitches.
- For knit hems, elastic reinforcement stops sagging.
- For a no-sew pinch, hem tape works fast.
Nice fix, right? Your clothes stay comfy, and the hem quits grumbling. It’s cheap, easy, and honestly, kind of a tiny victory.
Invisible seam repairs
A sneaky little hole doesn’t have to shout for attention, because I can make it disappear with matching thread, a tiny needle, and a scrap of lightweight fusible interfacing on the wrong side.
I keep thread matching simple: I stitch tiny backstitches over the spot, or a fine zig-zag if the weave feels loose, while invisible interfacing steadies the fibers and stops puckers.
For ladders in knits, I weave fine yarn across the run with a darning needle, then anchor above and below.
For a popped seam, I add seam tape inside and topstitch close—cheap, fast, and nearly vanished!
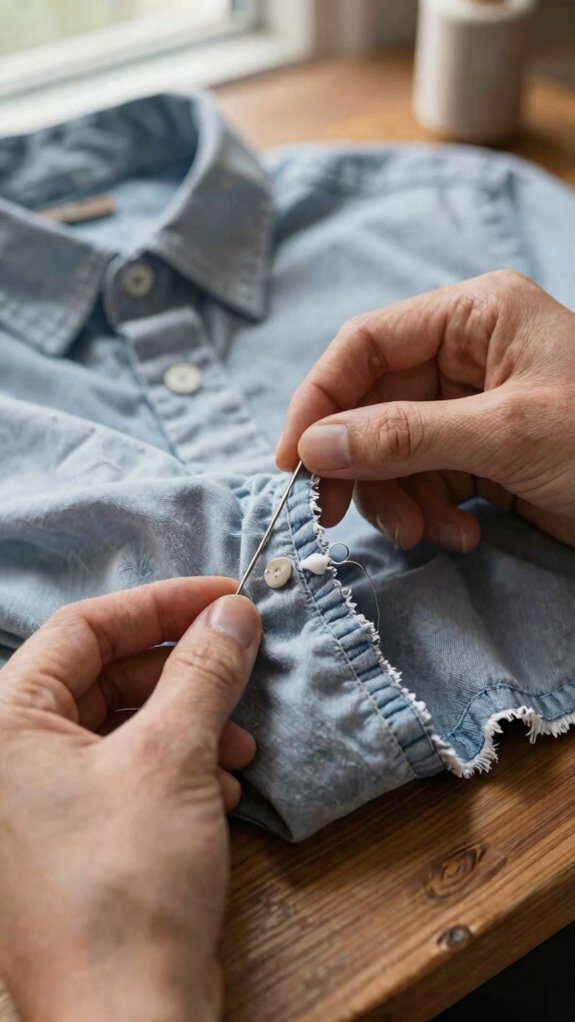
Emergency button replacement tricks
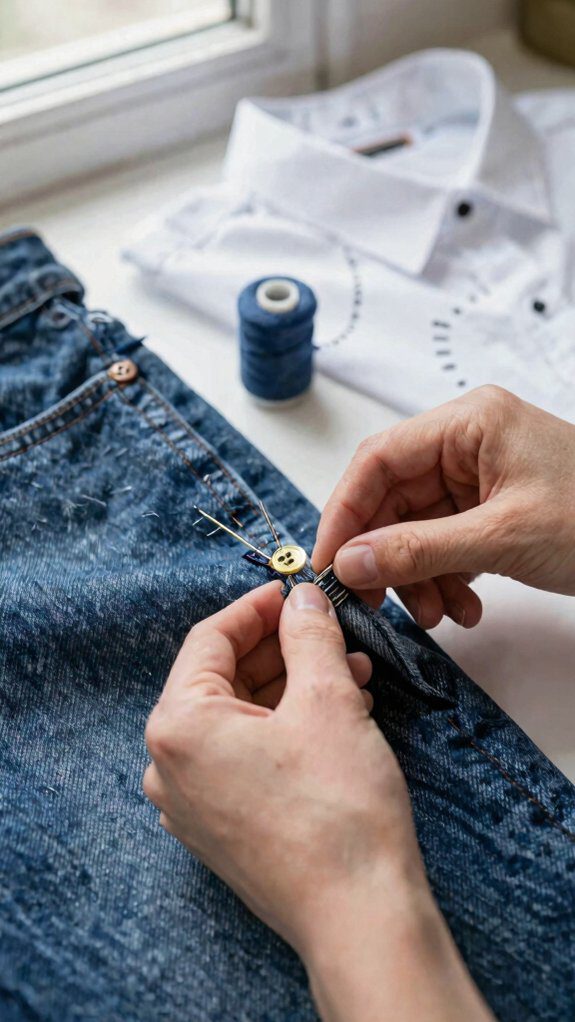
Button popped loose? I keep a tiny kit in my bag, so I can save the day fast!
- For quick fixes, I grab polyester thread, a needle, and spare buttons. On jeans, I double-thread a denim needle, and the repair holds.
- If I can’t match a button, I use button alternatives or make emergency shanks by wrapping thread under a flat button. It moves like the original, nice and easy.
- No supplies? I pin the button from behind for now, then swap in saved factory buttons later. That’s how I stay wardrobe-ready every time.
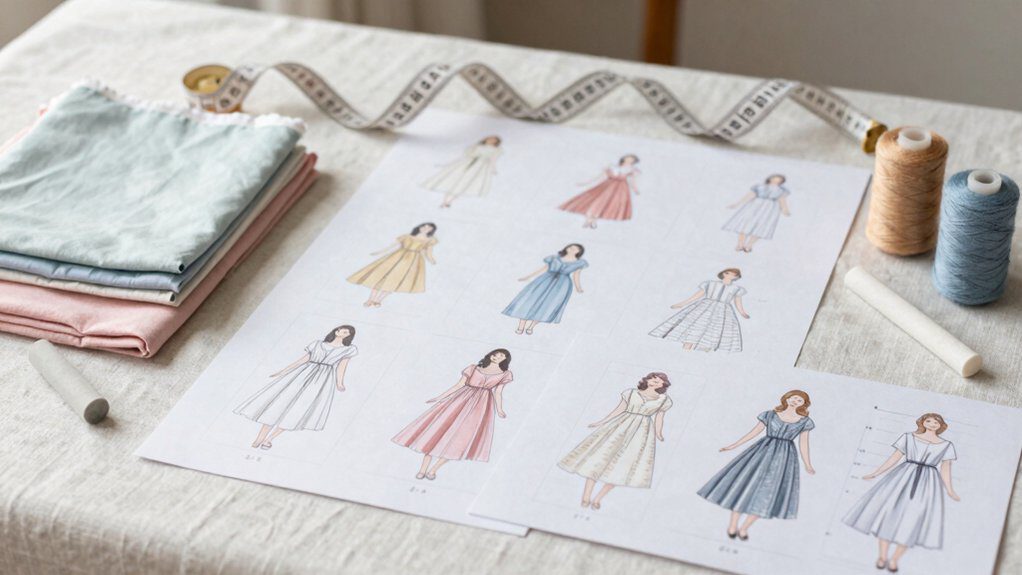
Easy Alterations for Better Fit

I love these easy fit fixes, because a tape measure, pins, thread, and a sewing machine can make your clothes feel custom-made without costing much at all.
For waistlines, I’ll stitch in a slim elastic casing or add a tiny side panel when you need a little more room, and for sleeves, I measure twice, mark the new length, and fold-and-stitch a clean hem so everything still looks neat.
And for pant length, I always measure with shoes on, leave about an inch for the hem, then reattach the original jean hem or sew a fresh one—simple, beginner-friendly, and way less scary than it sounds!
Taking in waistlines
Sneak a little comfort back into a waistband that’s pinching or gaping, and you can do it with just a small scrap of 1/2–1 inch elastic, scissors, pins, and thread. I prewash first, then wear the piece, pin the fit, and baste before I commit.
- For a fast fix, I hide elastic in the back seam.
- For a cleaner finish, I split the excess and sew waist darts.
- For jeans, I pull in tiny back darts near the yoke.
Nice, right? You’ll spend little, keep the vibe, and feel like you belong in your clothes again.
This feels easy.
Shortening sleeves cleanly
When sleeves start eating my hands, I measure the length with the garment on or laid flat, mark it carefully, and leave myself about 1–1.5 in extra for a new hem, plus a little more if I’m putting a cuff back on.
For shirts, I unpick the cuff and placket, trim to the mark, and sew it with the seam allowance intact—easy, cheap, and neat!
For knit sleeves, I cut above the cuff, trim the excess, then stretch and pin the cuff with a stretch stitch or serger; that’s my cuff reattachment trick, and it keeps the ribbing springy.
Adjusting pant length properly
Pant legs are just as easy to tame as sleeves, and I’ve found that a simple hem can make even bargain pants look custom-made!
First, I prewash them the same way I’ll wear them, so shrinkage doesn’t surprise me later. Then I use:
- chalk, ruler, and pins
- flat finish hems with precision pressing
- twin-needle stitches for knits
For jeans, I keep the factory hem when I can, and for extra length, I let out the allowance or add a matching band.
It’s a small fix, but wow, the fit feels like yours! Quick, cheap, and beginner-friendly—perfect for clothes that deserve a second life, without a sewing-room drama queen moment at all, honestly, too, and that’s why I keep cheering along.
Smart Sewing Hacks for Beginners
I like to keep a tiny hair tie near my machine, because I can loop it by the thread path as a simple guide and make threading feel less fiddly—cheap, fast, and oddly satisfying!
For marking fabric, I reach for chalk, soap, or painter’s tape, since they’re easy to use, easy to see, and wipe away without drama, which is a win when you’re still building confidence.
And when I want a clean hem without sewing, I press on hem tape or fusible tape with an iron, and boom, I get a neat finish that looks way fancier than the effort it took!
Using hair ties as thread guides
A tiny hair tie can do way more than rescue a messy bun—it can calm a fussy thread path! I loop one around the needle area for lightweight knits, and my stitches stay steady. It’s cheap, easy, and kind of genius!
- Slide a hair tie over the spool for elastic threading.
- Use one near the presser-foot bar for portable tension.
- Color-code ties so I grab the right guide fast.
You’ll save a few bucks, skip the drama, and feel like you’ve got a tiny sewing crew cheering you on whenever slippery thread tries to misbehave again, right there, too.
No-sew hemming solutions
When pants need a quick trim, I reach for double-sided fusible hem tape and a hot iron, because it’s the easiest no-sew fix in the toolbox! I prewash first, then press each section for 10–15 seconds, so shrinkage doesn’t sneak back later.
For jeans, I cut above the hem allowance, fold the extra inside, and tack it with tape or glue to keep that cool original edge. If I want a neat shorts cuff, I fold twice and fuse it down.
My favorite surprise? A tiny bias-tape extension, plus fusible trim and knit hem tape for stretchy pieces, feels almost like magnetic hems—simple, tidy, and wow, so satisfying! It keeps hems smooth, costs little, and makes me feel like I’ve got a crafty crew.
Fabric marking shortcuts
For quick, no-drama marks, I grab tailor’s chalk for dark woven fabric and a water-soluble fabric pen for light cotton, then I test it on a scrap first because some pens hang around on synthetics like an uninvited guest!
- I use a cardboard template for sleeves and pant legs, so every mark matches.
- For hems, I pin, fold, and press; that crease becomes my stitch line, easy and cheap.
- On delicate prints, I switch to chalk alternatives like a washable highlighter-style fabric marker or tracing wheel with carbon, and thermal transferables help when I need crisp, repeatable lines.
Repair Tricks That Extend Clothing Life
I like starting with small tears: if you’ve got a needle, matching thread, and maybe a tiny patch, I stitch the edges closed by hand, and the hole usually disappears before anyone can even say, “Oops!”
Next, I reinforce weak seams with a straight stitch or a zigzag on my machine, using the same thread and a quick backstitch at the ends, so the spot holds up instead of splitting again.
And for stretched collars, I slip in a slim piece of interfacing or add a few neat stitches along the edge, which brings the shape back fast and makes a tired shirt look ready for action!
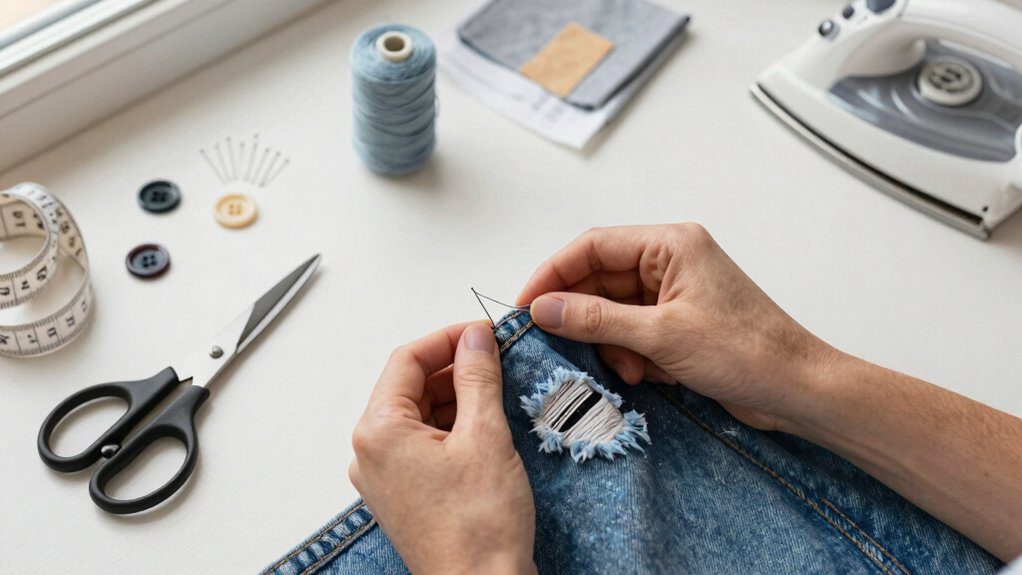
Mending small tears neatly
Because a tiny tear can snowball fast, I like to grab a narrow strip of fusible web, an iron, and matching thread before that little rip starts acting like it owns the place!
- I slip the web under the tear, press 10–15 seconds, then stitch a tiny zigzag, so the fix stays neat.
- For fine fabric, I use invisible darning and thread color matching, tiny ladder stitches, then a damp cloth press.
- When the rip’s in knit, I back it with light interfacing, keep it flat, and use a small zigzag to keep stretch.
It’s cheap, friendly, and fast.
Reinforcing weak seams
Tiny repairs are nice, but a weak seam can sneak back and split right when you’re in a hurry, so I like to grab polyester thread, a needle, and my machine, then run a 1/8–1/4 inch backstitch or zigzag right over the old seam allowance, usually with a 2.5–3 mm stitch length on woven fabric.
| Fix | Result |
|---|---|
| hand seam reinforcement | strength |
| color matching thread | blend |
I stitch bartacks at stress points, patch frayed seams inside, and use interfacing on knits; Fray Check buys a quick, tidy rescue every time.
Fixing stretched collars
Good news—your collar can bounce back! I fix mine fast with a damp press cloth, a medium iron, and a patience, and you can too!
- For knit collars, I stitch a 1/4″ elastic band into the elastic casing, stretching it slightly as I sew, so the shape comes back without shouting “repair.”
- For polos or button-downs, I slide in a thin collar stay or fusible strip, then press it hot.
- For sagging crewnecks, I trim, resew with a stretch stitch, and topstitch the edge for a neat, comfy finish.
Easy, right? Let’s save that tee today!
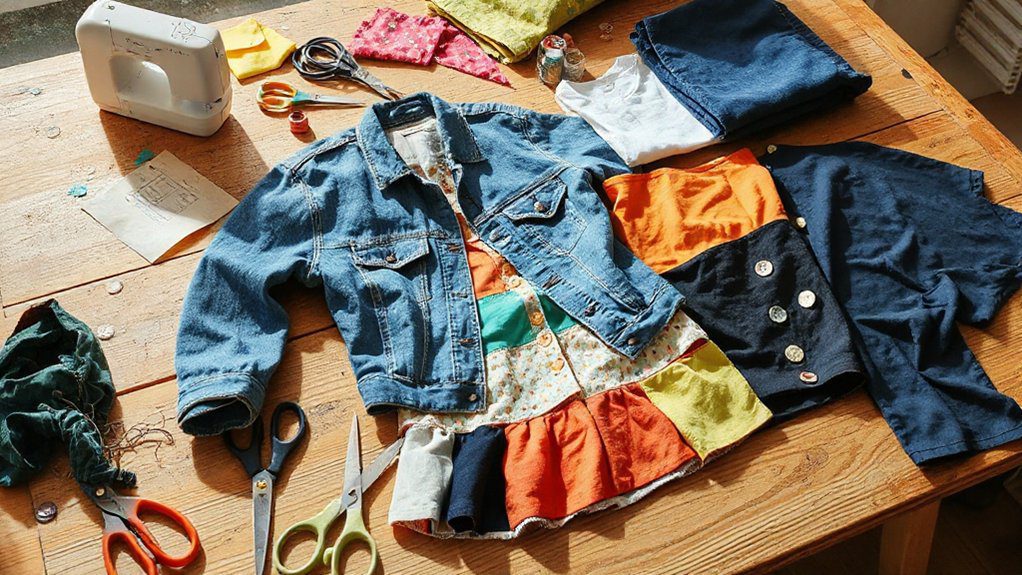
Upcycling Ideas from Old Clothes

I love turning worn jeans into shorts, and you can do it with just chalk, scissors, and a quick folded hem, or leave a raw cuff if you want that cool, no-fuss look.
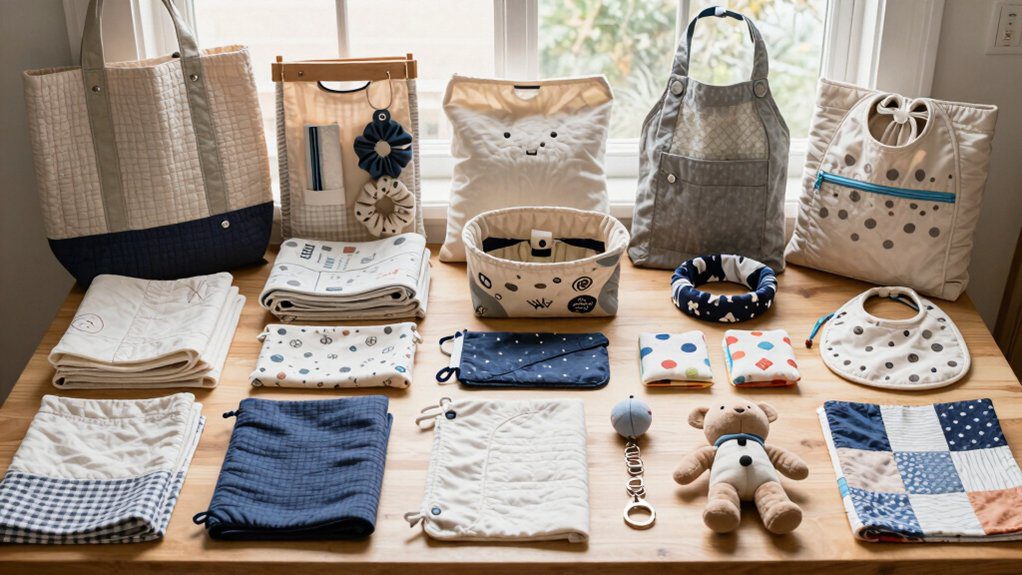
If you’ve got an old shirt, I can show you how to cut, stitch, and flip it into a handy tote bag in under an hour, which is cheap, easy, and weirdly satisfying!
And if you’re feeling bold, I’d patch damaged spots with little fabric squares or denim scraps so the repair looks like style on purpose, not a mistake.
Turning jeans into shorts
Before you grab the scissors, I always wash and dry old jeans the way I plan to wear the shorts, because denim can shrink and nobody wants a surprise “whoops, these got way shorter” moment!
- I measure 5″ or 7″ inseam, then add 1″ for cuffs or 0.5″ for hem with chalk and a ruler.
- For distressed cuffing, I cut both legs evenly, leave the hem, and wash for fray.
- If the knees are blown out, I cut above the hole, do a button fly conversion, then reattach the factory hem or add lace for a polished, store-bought look!
Shirt-to-tote bag transformations
With a tired T-shirt, I can make a cute tote in about 20 minutes, and it only takes scissors, thread, and a little patience!
I cut off the sleeves and neckline, stitch the bottom hem closed with a 1/2-inch allowance, double-fold the top edge for strength.
Want fancier? I turn a button-up shirt into a lined tote, add a boxed bottom, and keep the chest pocket or placket for storage.
For upcycled strap designs, I cut long strips, topstitch them, and use bartack.
With a pattern efficient layout, I can join shirt panels and finish seams for sturdy bags.
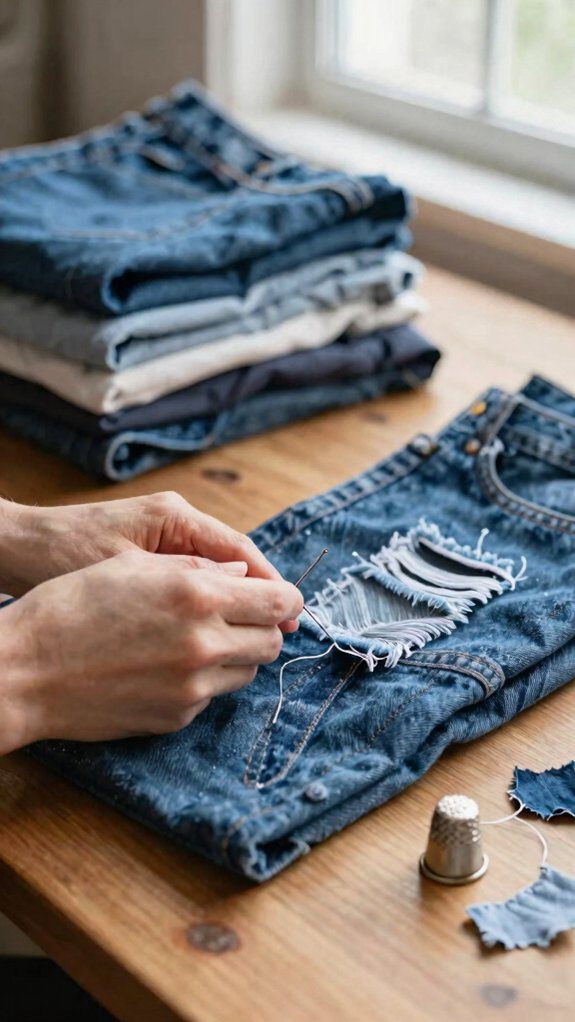
Patchwork style repairs
Cutting up old shirts and denim can turn a sad rip into something cool, and I love that little glow-up!
I patch jeans with a slightly bigger inside piece, then topstitch for strength and visible patchwork charm.
- Use scraps and interfacing for worn knees.
- Try zigzag or blanket stitches on holes; contrasting stitches look fun.
- Save sweater sleeves or collars for cuffs, hems, or elbow patches.
It’s cheap, beginner-friendly, and honestly, it makes your clothes feel like part of the crew again!
If you want to belong in the mending club, this is the friendly trick I’d start with!
Frequently Asked Questions
What Is the 3-3-3 Rule for Clothing?
I’d say the 3-3-3 rule means you wash a garment after 3 cycles, dry it after 3 cycles, and check it after 3 wears, using fabric rotation and wear tracking to catch fit issues early.
What Is the 5 5 5 Rule for Clothing?
I’d say the 5-5-5 rule means you wash and dry a garment five times, try it on each time, and wait five days before altering it, so your fabric rotation and seasonal editing fit right.
What Are Some Useful Sewing Hacks?
I love simple mending shortcuts and hemming tricks: last week I rescued a ripped jean in 20 minutes, like patching a team jersey, so you can keep your favorites fitting, together, and worn proudly again.
What Is the Most Efficient Way of Storing Clothes?
I’d use vertical storage with roll folding, because I can see everything fast, save space, and keep your clothes feeling cared for. You’ll fit right in with a tidy system that protects favorites every day.