How to Sew Dresses for Women That Fit and Flatter
I start with fabric that matches the season—rayon-spandex or linen for summer, ponte or heavier knits for winter—then I test a swatch so the dress won’t wobble or go see-through. Next, I use a ballpoint needle, trace a pattern that fits my measurements, and sew a quick muslin before cutting the real fabric. A few smart tweaks, like darts, pleats, or a hidden zipper, make the finished dress look polished, comfy, and ready for more surprises!
Love cozy DIY projects? 💕
Get free printable guides, exclusive tutorials & surprise craft goodies straight to your inbox.
Disclosure: This post may contain Amazon affiliate links, at no extra cost to you. Content on DiyCraftNest is created with research support from AI tools and carefully reviewed, edited, and fact-checked by the lead author, Daniel Pat, to ensure accuracy and reliability. Learn more
Key Takeaways
- Choose fabric first: breathable knits and ponte flatter different seasons, drape well, and support the dress shape.
- Measure bust, waist, hips, shoulders, and bicep, then sew a muslin to adjust fit before cutting final fabric.
- Use pattern ease, grainline, and stretch properly; add darts, waist shaping, or negative ease for a body-skimming silhouette.
- Sew with stretch stitches, ballpoint needles, and clean hem finishes like a twin needle or serger for polished comfort.
- Finish with flattering details such as a shaped neckline, sleeve adjustments, pockets, or a subtle zipper for secure fit.
Choosing the Right Fabric for Your Design
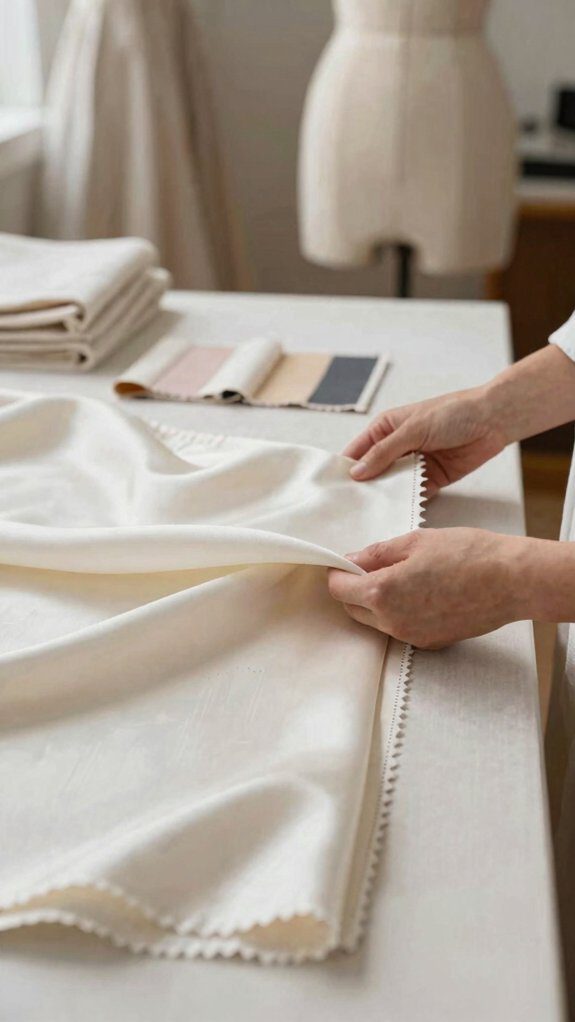
I always start with the fabric, because it sets the whole mood of your dress—lightweight options can feel breezy and fun, but if they’re too thin, they may act like they’ve got a mind of their own!
If you’re choosing between stretch and woven basics, I like to think about comfort first, since stretch helps with easy movement, while woven fabric can give you a crisp, polished shape.
And here’s the part that really pays off: I also match the fabric to the season, picking cool, airy cloth for warm weather and richer, cozier textures when things get chilly!
Lightweight fabric options
A lot of lightweight fabrics look dreamy on the rack, but not all of them behave nicely in a dress!
I reach for breathable jerseys and washable linens when I want easy comfort and a soft, friendly drape.
If you’re sewing a body-skimming style, test a small swatch first, because a cheap sample can save you from a wobbly surprise later.
I prewash mine, then check how it falls, how it rebounds, and whether it feels sheer.
For a knee-length dress, I buy a little extra, so pattern pieces fit and shrinking doesn’t steal my weekend or my sanity, honestly.
Stretch vs woven basics
After I’ve checked how a fabric hangs, I sort dress fabrics into two camps right away: knits that stretch and move with you, and wovens that need a little shaping help.
- Knit option: pick ponte with 40% stretch, then test fabric recovery with a tiny practice toile.
- Woven option: add darts or waist shaping, plus 0 to 2 inches ease, and your dress won’t fight you.
- For seam techniques, use zigzag or serger on knits, straight stitch on wovens; I love the smoother finish!
Heavy knits flatter curves best, and a quick test saves money, time, and wobble, yay!
Seasonal fabric choices
When I’m picking dress fabric, I start with the season, because the best cloth for a breezy summer sundress isn’t the same as what I’d grab for a cozy work dress! I prewash and test a 6×6 swatch, then I choose lightweight layering for summer and heavier ponte for winter, because seasonal colorways look best when the fabric behaves!
| Season | Fabric |
|---|---|
| Summer | rayon-spandex |
| Winter | ponte |
| Test | swatch |
That keeps us comfy, confident, and twirling happily! High-stretch knits can need 2–4 inches of negative ease, while ponte likes 0–1, and I plan about 2.5 yards for one knee-length dress safely.
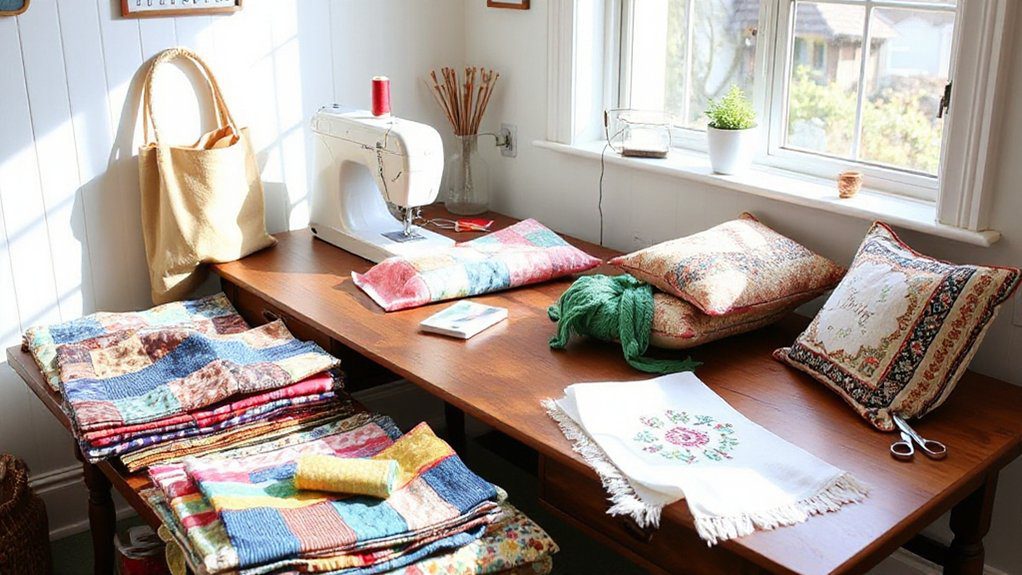
Essential Tools You’ll Need to Start
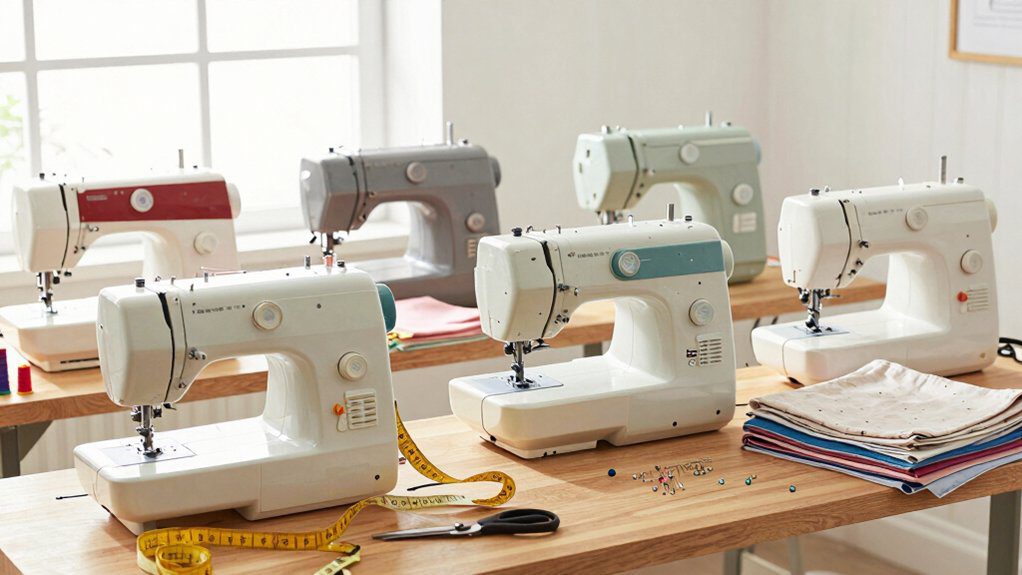
I start every dress project with a reliable sewing machine that can handle stretch stitches, because knit fabric can act like it’s got a mind of its own!
Then I keep my must-have hand tools close—pins, a seam ripper, and basting thread—so I can test the fit, fix oops moments, and keep moving without a sewing-room meltdown.
For measuring and cutting, I use a flexible tape, clear ruler, French curve, and sharp shears, and that combo helps me get clean lines and a dress that actually fits the first time.
Sewing machine basics
Before you cut your first dress piece, I’d make sure your sewing machine is ready for stretchy fabric, because knit dresses can get a little dramatic! I keep mine calm with machine maintenance and needle selection.
- Pick a ballpoint needle.
- Try a walking foot.
- Match polyester thread.
Set a zigzag or stretch stitch, keep stitches short, and let the feed dogs do the work.
If you can, a serger gives clean edges fast, and honestly, it’ll feel like joining the cool kids’ sewing club! No panic, just practice, and your dress will fit like it belongs in your closet.
Must-have hand tools
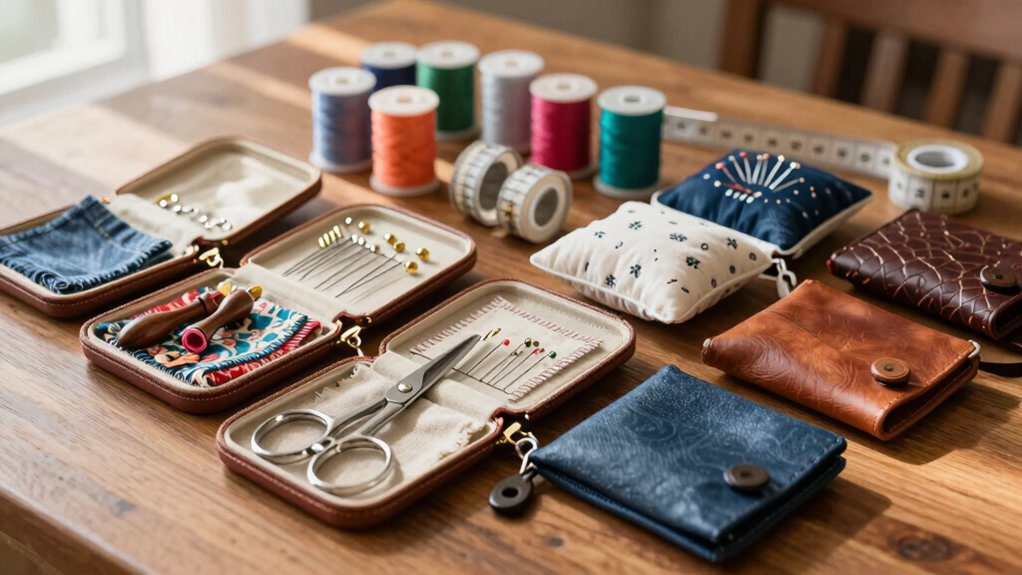
Now that your machine’s ready, I like to keep a tiny hand-tool kit nearby, because the right tools make dress sewing way less guessy and a lot more fun!
I keep straight pins, safety pins, a seam ripper, and a hand needle set in mine. A chalk marker and basting thread help me test fit, tweak darts, and fix oopsies fast.
These fabric tools feel small, but they save my sanity and help you stitch with confidence. Join me, and you’ll feel like part of the sewing crew! Best of all, they’re cheap, easy to use, and totally beginner-friendly!
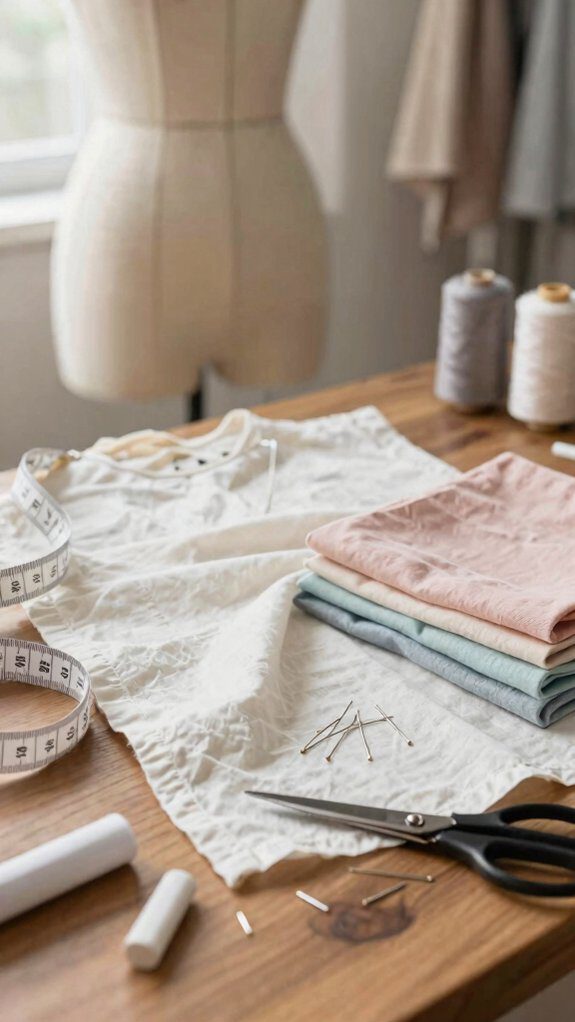
Measuring and cutting tools
Tape-and-ruler basics are the backbone of a good fit, and I keep a flexible measuring tape close so I can grab bust, high bust, waist, high hip, full hip, shoulder-to-waist, and arm length measurements down to the nearest 1/8″—fancy, but not fussy!
- I’ll use a clear 24″ ruler for pattern tracing and straight grainlines.
- A French ruler smooths curves on necklines, armholes, and sleeves.
- Sharp shears, chalk, and pins make cutting and fitting feel easy!
These measurement gadgets cost little, save fabric, and help you pin with confidence—so I feel like I belong at the machine every single time.
Understanding Patterns and Sizing
I always start by reading the pattern first, because those little lines and symbols tell me a lot more than a size tag ever will—yep, brands love to keep sizing tricky!
Next, I measure bust, high bust, waist, hips, shoulder width, bicep, and back width, then I compare those numbers to the pattern or garment measurements instead of guessing from an XL or any other label.
If the fit still feels off, I make a quick muslin and adjust the shoulders, side seams, darts, or sleeves, and that’s how I turn a “maybe” dress into a great one!
Reading sewing patterns
Ever opened a sewing pattern and thought, “Wait… how can one size be a totally different beast in another brand?” I check the envelope first, because pattern symbolism and historical sizing can play tricks.
- I compare finished garment measurements to my body, not the size number.
- I read ease, style lines, and stretch notes so the dress behaves.
- I look for cut-on-fold, grainline, and notch labels before tracing.
That quick scan saves me from sleeve drama, and it helps me feel like I belong in the sewing room. A muslin later, I’ve got a fit that actually smiles back.
Taking body measurements
Measuring up feels a little like detective work, and that’s half the fun!
I wrap my tape around your bust, natural waist, and hips, then note shoulder width, high bust, back width, and bicep size.
For posture analysis, I check how you stand, because a little sway or rounding can change the fit.
I keep measurement tracking simple: body numbers on one side, pattern numbers on the other.
For skirts, I measure from high point of shoulder to hem, then compare size charts and flat measurements.
That way, I can pick a comfy size with fewer guessy surprises too!
Adjusting for better fit
When a pattern looks close but still feels a little off, I don’t panic—I compare my bust, high bust, waist, hips, shoulder width, bicep, and back waist length to the pattern pieces, not the size label, because RTW numbers love to play dress-up!
- I pin and baste side seams, then try it on for muslin tweaks.
- I split excess evenly between both seams, so the shape stays smooth and friendly.
- I check armscye adjustments and sleeve bicep width last, because a tiny fix can save the whole dress!
Then I press curves flat and dress starts feeling like mine.
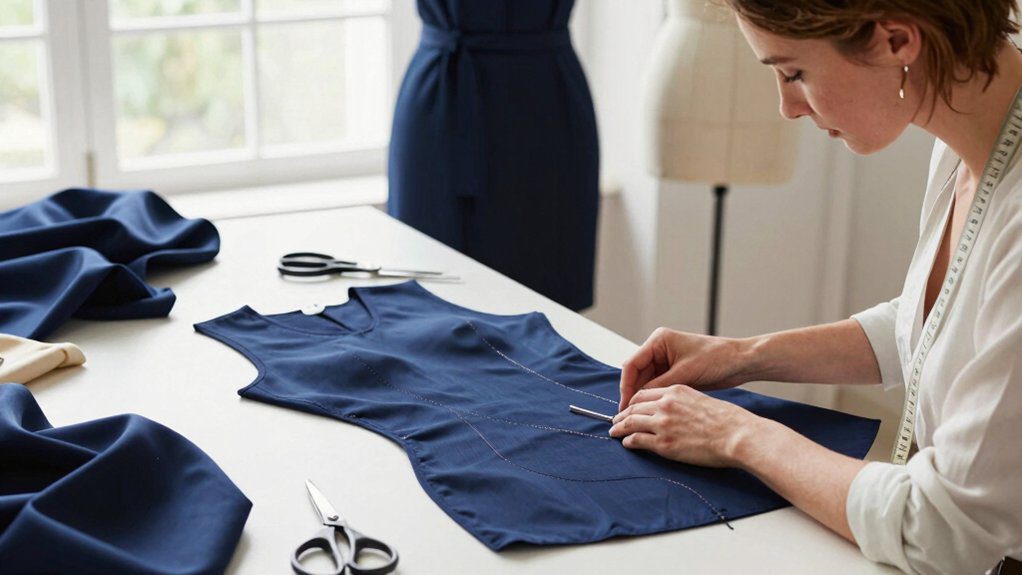
Step-by-Step Dress Construction Process
I start by tracing a fitted T-shirt folded to the natural waist, then I cut my two bodice pieces on the fold and two skirt rectangles from a knit with at least 40% stretch—ponte works great, and about 2–2.5 yards usually does the trick!
Next, I sew the shoulders and side seams with a stretch stitch, try it on, and then ease the skirt into the waist with those little pleats, which feels elegant but honestly isn’t as scary as it sounds.
From there, I’ll show you how I handle closures if you need one, then finish the neckline, sleeves, and hem so your dress looks neat, comfy, and ready to wear.
Cutting the fabric pieces
To get started, I like to trace a fitted T-shirt, folded in half, down to the natural waist so I can make clean front and back bodice pieces on the fold without a lot of fuss—easy peasy!
- I check fabric placement and grain first.
- I trace sleeve curves, then add hem allowance.
- I match skirt center marks for pattern matching.
For the skirt, I cut two rectangles for the length, add hem space, and mark pleats with pins.
I match side seams for pattern matching, and if my knit has 40% stretch or more, ponte acts like a champ.
Sewing the main structure
Now that your fabric pieces are all cut, I’m moving into the fun part—building the dress, and it starts with the bodice and sleeves!
I trace a fitted tee on the fold for a bodice, cut sleeves, sew the seam, and ease them into the armscye with care.
Next, I make skirt rectangles, mark pleats, and baste three per side so the waist matches cleanly.
With structure visualization and bias mitigation, I slide the bodice into the skirt, sew a stretch stitch, then finish the neckline, sleeves, and hem—tiny tweaks can make it feel custom for you every time, friend!
Adding zippers or closures
When I’m adding a zipper or other closure, I always check the fabric stretch first, because that little test can save you from wrestling a dress that really doesn’t want one! For a knit with plenty of give, I love hidden closure techniques, like a short invisible zipper, and I keep the zipped waistline matched after I join bodice and skirt with real confidence.
- Baste the seam, mark the zipper, and stitch with an invisible foot.
- Add interfacing or a facing at the top for support.
- Use a narrow zigzag or serger, then topstitch for a smooth, comfy fit.
Hemming and finishing
Finishing touches are where I turn a cute dress into a real keeper, and I always start with a scrap test, a ballpoint needle, and a narrow zigzag or stretch stitch—cheap insurance that saves a lot of grumbling later!
Then I finish raw knit edges with decorative serging or a faux-overlock, so they don’t sag or fray.
For hems, I fold up 3/4″ to 1″, press gently, and use a twin needle or coverstitch for reinforced hems that stay stretchy and flat.
I finish neckline bands the same way, and honestly, the dress starts looking boutique every time now.
Design Ideas to Customize Your Dress
I love how small tweaks can make a dress feel brand new, so I start with easy changes like sleeve swaps, a fresh neckline, or even cute pockets that use just a little extra fabric!
With a tape measure, matching thread, and a bit of scrap cloth, I’ll trace a new sleeve shape, trim a neckline carefully, or stitch on a pocket, and these simple steps can turn a plain dress into something that feels custom-made without costing much.
If you’re looking for the biggest wow factor, pockets are my sneaky favorite, because they’re practical, fun, and they make people smile the second they notice them!
Sleeve variations
Usually, the sleeve is where a dress goes from “nice” to “wow,” and I like to start with a fitted T-shirt sleeve curve for knit dresses, then cut it on the fold from a stretchy fabric like ponte so it moves with you instead of pinching.
- Need room? I add a modest sleeve cap and arm ease; it’s cheap and comfy.
- For fuller upper arms, I try a bicep dart or princess seam, and the sleeve looks smoother.
- Try sleeve pleats or a cap variation, then match notches; you’ll get less tugging, yay!
That’s budget-friendly, and honestly, it flatters!
Neckline styles
Once the sleeves are set, I like to play with the neckline, because a tiny change up top can make the whole dress feel new and exciting!
I start with V neck variations, using chalk, a ruler, and facing fabric; a shallow dip usually flatters most figures and keeps the look friendly.
For scoop or crew shapes, I bind the edge so it won’t sag.
If you want a surprise, try Keyhole placements near the clavicle, then reinforce them with stay tape. It’s cheap, beginner-friendly, and wow, it can make your dress feel like it belongs in your closet!
Adding pockets or details
With a few scraps of the same knit, I like to add side-seam pockets before I sew the skirt seams, because it’s such a simple upgrade and it feels extra nice when a dress can actually hold your phone—what a win!
Tiny details, big belonging!
- Patch pockets are the cheapest win: I cut two knit bags, baste at hip level, and they lie flat.
- Inset weltpockets feel elegant: I mark a slit, add interfacing, and stitch a narrow bag behind it.
- Then I can add a pleat, zipper, or button band, and the dress still feels made for us.
Frequently Asked Questions
What Is the Most Universally Flattering Dress Shape?
I’d say the A line silhouette is the most flattering dress shape, though I’d also reach for a wrap dress; both welcome many body types, soften proportions, and help you feel truly seen and included.