Sewing Machine Cabinet Ideas That Hide Clutter Beautifully
I love sewing machine cabinets that hide clutter and still feel like furniture: a drop-leaf or gateleg top gives you cutting space, drawers and spool pegs tame thread chaos, and locking casters let you roll it to the light. For a DIY win, I’d pair a BILLY bookcase or a dresser with a laminated top, then add a slide-out shelf, and you get a tidy, sturdy station that keeps the magic tucked inside—more ideas wait.
Love cozy DIY projects? 💕
Get free printable guides, exclusive tutorials & surprise craft goodies straight to your inbox.
Disclosure: This post may contain Amazon affiliate links, at no extra cost to you. Content on DiyCraftNest is created with research support from AI tools and carefully reviewed, edited, and fact-checked by the lead author, Daniel Pat, to ensure accuracy and reliability. Learn more
Key Takeaways
- Choose a drop-leaf or gateleg cabinet to create a cutting surface, then fold it flat to hide the workspace.
- Use drawers, shelves, and spool pegs to store notions, thread, and tools neatly within easy reach.
- Pick lift-top or slide-and-hide cabinets with lockable casters for ergonomic sewing and easy room reconfiguration.
- Select hidden-door or tambour-front designs in neutral, vintage, or rustic finishes to blend with decor.
- Measure your machine and floor space first, and leave 30–36 inches clear for comfortable access.
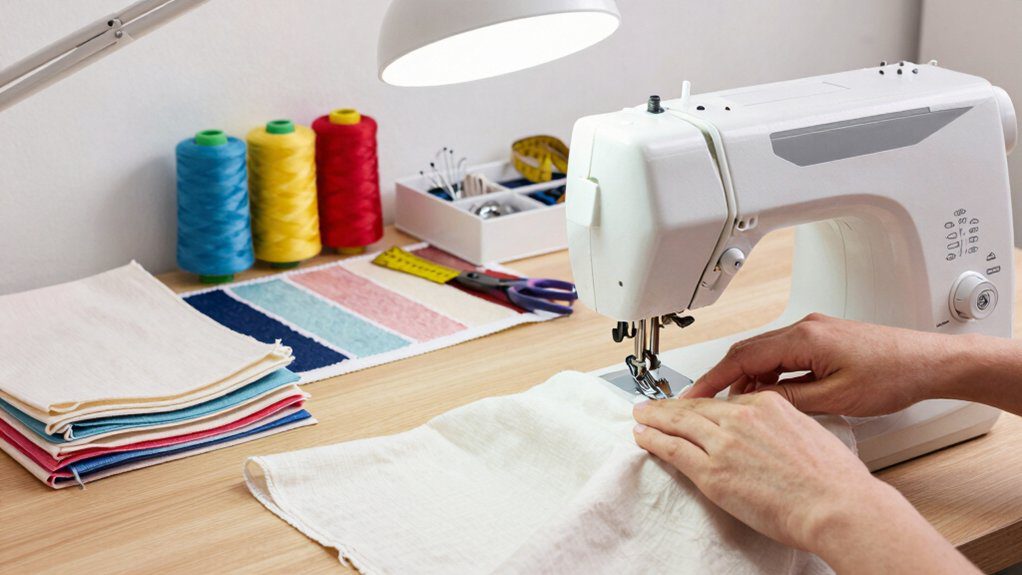
Why Cabinets Are a Game Changer for Sewing Spaces
Honestly, I think a sewing cabinet can turn a cramped little corner into a whole happy workspace!
With a drop-leaf top, I can spread out fabric when I’m cutting, then fold it flat and reclaim the floor. Drawers, shelves, and thread pegs hide the mess, so I’m not hunting for scissors like a treasure pirate. Better workflow efficiency means I finish faster, and ergonomic placement keeps my shoulders happy. If the cabinet rolls, I can slide it toward the best light, lock it down, and sew without wobble. Honestly, that feels like a tiny miracle!
It even lets me tuck the machine away, dust-free, so my sewing nook feels like part of the room, not secret.
Popular Cabinet Styles to Consider
I love starting with fold-out cabinet designs, because a simple gateleg or armoire-style setup can open up for sewing and tuck right back against the wall when you’re done—so handy!
If you want a smoother upgrade, I’d look at lift mechanism cabinets next, since they raise your machine to a comfy height in seconds and usually come with sturdy storage, which sounds upscale but isn’t too hard to manage.
And for tiny spaces, I think compact hidden units are the sneaky little stars, with slide-and-hide doors, locking casters, and dust-proof storage that make your sewing room disappear almost like magic, ha!
Fold-out cabinet designs
Tucked behind cabinet doors, fold-out sewing cabinets are a sneaky-good way to make a small space feel neat and ready for action—one minute your machine is hidden away, and the next it’s sitting on a slide-out table or drop-down leaf that feels sturdy, not wobbly.
- I’d choose hidden hinges for a clean front.
- Look for vertical storage, so thread stays sorted.
- Pick full-extension drawers and a thick top for easy setup.
- Locking casters help the cabinet stay put—nice, right!
I love gateleg styles, because they fold flush, then open wide when you’re ready to sew with friends.
Lift mechanism cabinets
Slide open a lift-mechanism cabinet, and your sewing machine pops up like it’s ready for its big moment—flatbed for quilting, free-arm for sleeves, then back down and neatly out of sight when you’re done!
I love how these cabinets feel like furniture, especially when retractable doors and filler panels hide clutter from dust. Mine has full-extension drawers, adjustable shelves, and spool organizers, so I can keep my thread close. If you’re eyeing motorized lifts, check the machine’s weight and size first, then look for locking casters and noise mitigation. It’s a smooth upgrade that makes me feel at home.
Compact hidden units
For a tiny sewing corner, I’ve found that compact hidden units can do a lot of sneaky magic without taking over the room!
- Try a Sauder-style armoire: I like the slide-out table and shelves; assembly’s the biggest chore, but payoff is calm.
- A compact Arrow cabinet adds hidden drawers, cubbies, and locking casters, so I can roll it away.
- DIY fans can build a NORDEN gateleg top with casters; it folds slim, then opens for cutting.
- For the biggest wow, I’d pick an airlift cabinet, because it hides the machine, flattens the top, and feels like a secret club!
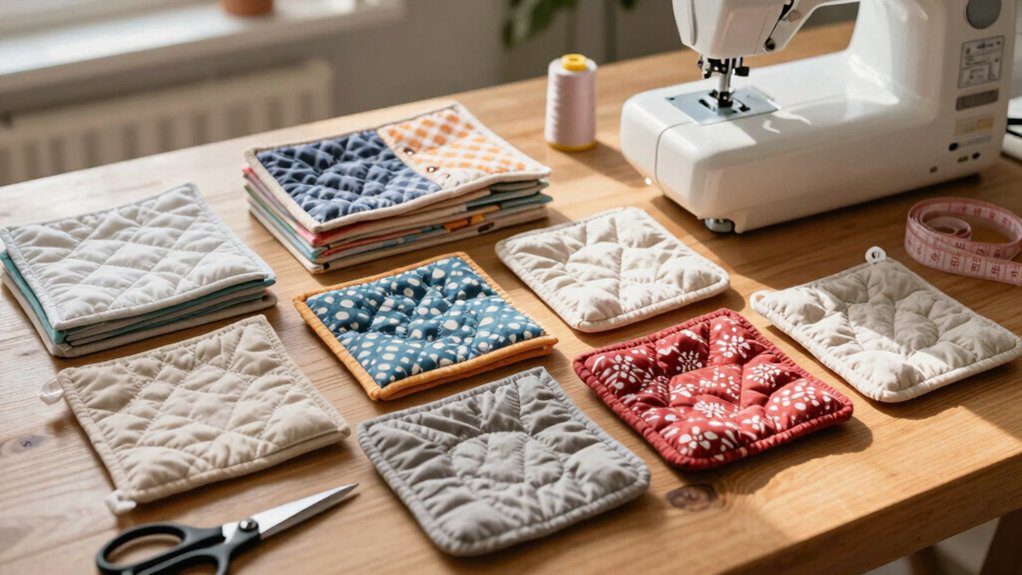
Storage Features That Make Life Easier
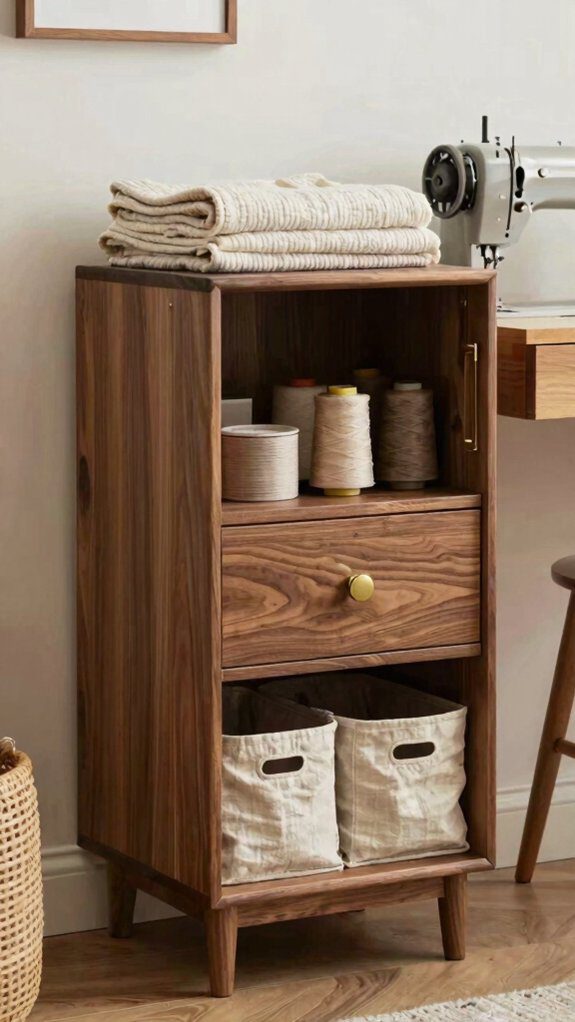
I love cabinets with built-in drawers that glide all the way out, because you and I both know nobody wants to hunt for bobbins like they’ve gone on vacation!
Next, I look for thread and bobbin organizers, since they keep spools standing tall, untangled, and easy to grab, which feels like a tiny miracle for a small sewing budget.
If you want the smartest setup, adjustable shelving is the sneaky winner, because it lets me shift space around my machine and tools so everything fits just right without a big DIY headache.
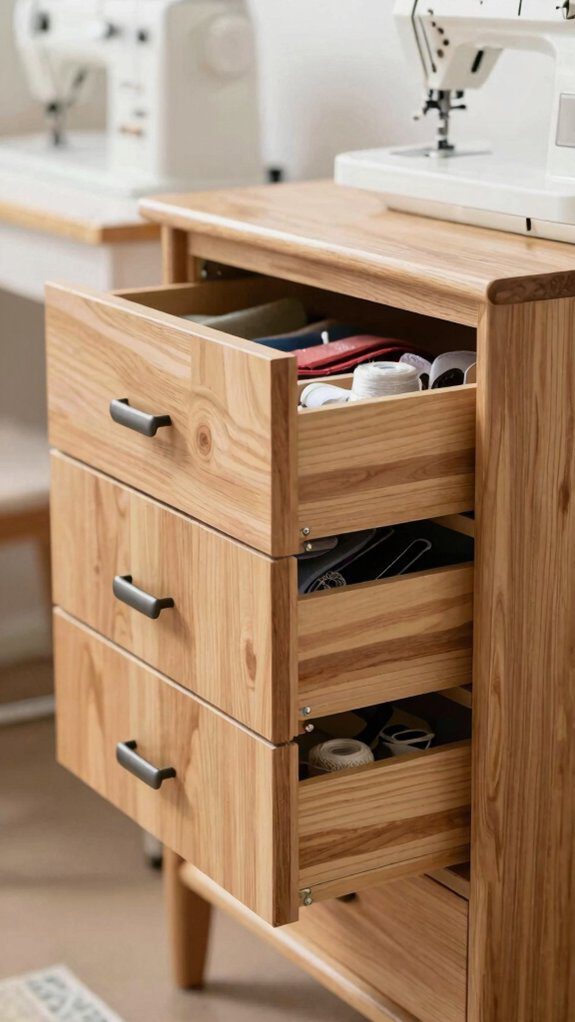
Built-in drawers
My favorite cabinet upgrade is built-in drawers, because they turn a sewing cabinet into a tiny command center, and wow, does that save time!
- I use undermounted slides so deep drawers open fully.
- I add felt lined drawers for scissors and clips.
- I slide in slim bins for rulers and long templates.
- I keep a top tray ready for patterns, and the worktop stays clear.
It’s a simple weekend upgrade, and most cabinet shops can build it without drama, so your tools, fabric, and patterns feel like they finally belong together in one calm sewing home, every day.
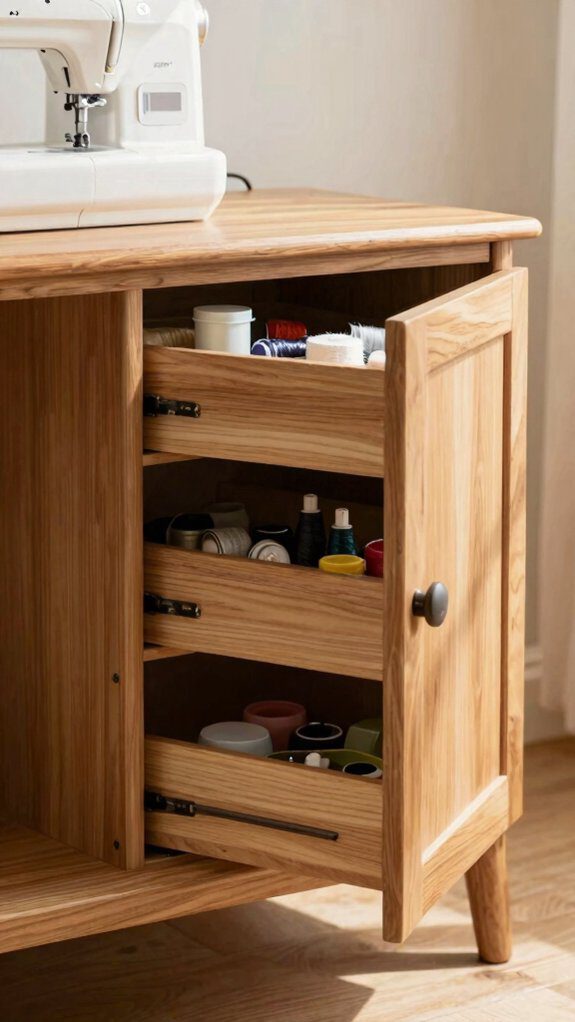
Thread and bobbin organizers
Usually, the fastest way I tame thread chaos is with a built-in 49-peg spool rack, because it turns a cabinet wall into a bright little rainbow where every color stays visible and tangle-free.
| Spot | Tool | Why |
|---|---|---|
| Door | peg rail | bobbin cards |
| Drawer | clear boxes | quick match |
| magnetic spools | no spills | |
| Front | color coded bobbins | fast grab |
I add a removable peg rail on the door, label clear bobbin boxes, and use shallow drawers with dividers. When I want a clean look, I shut the tambour door, and everything disappears fast. It’s cheap, easy, and honestly, pretty satisfying! too
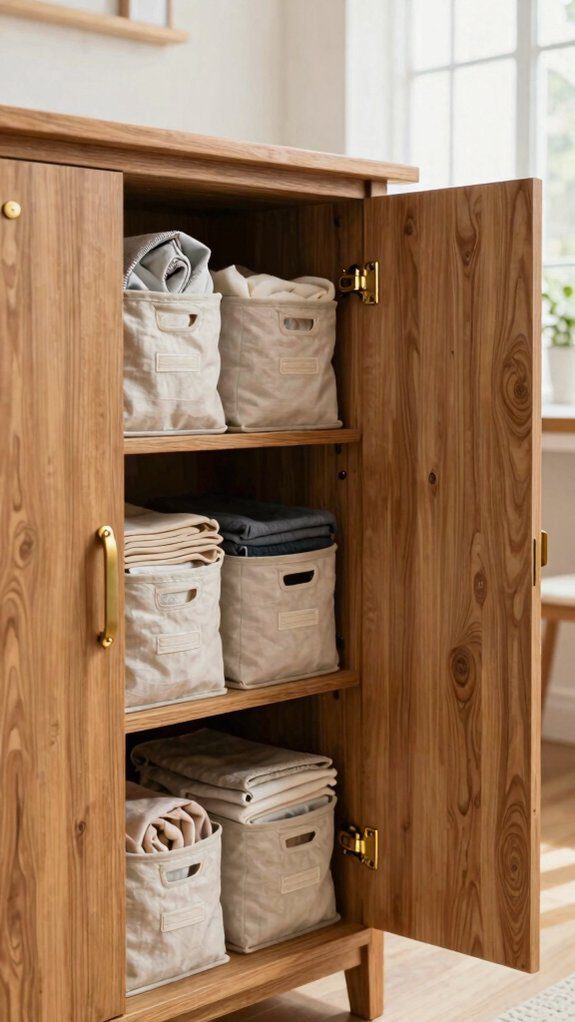
Adjustable shelving
Slide those shelves around, and suddenly a sewing cabinet starts feeling custom-made!
I love height adjustable bays because I can shift shelves in 1-inch steps for batting, bolts, and pattern stacks. Try this:
- Use sturdy shelves, 50-100 lbs rated.
- Mix shallow and deep spaces with modular dividers.
- Add a pegboard spool tray up top.
- Pair pull-out trays with full-extension glides.
That combo keeps my scissors close and my bulk stash tucked away.
Best surprise? The deepest shelf holds seasonal fabric, so my work area stays calm, neat, and totally ours for our happy sewing nook.
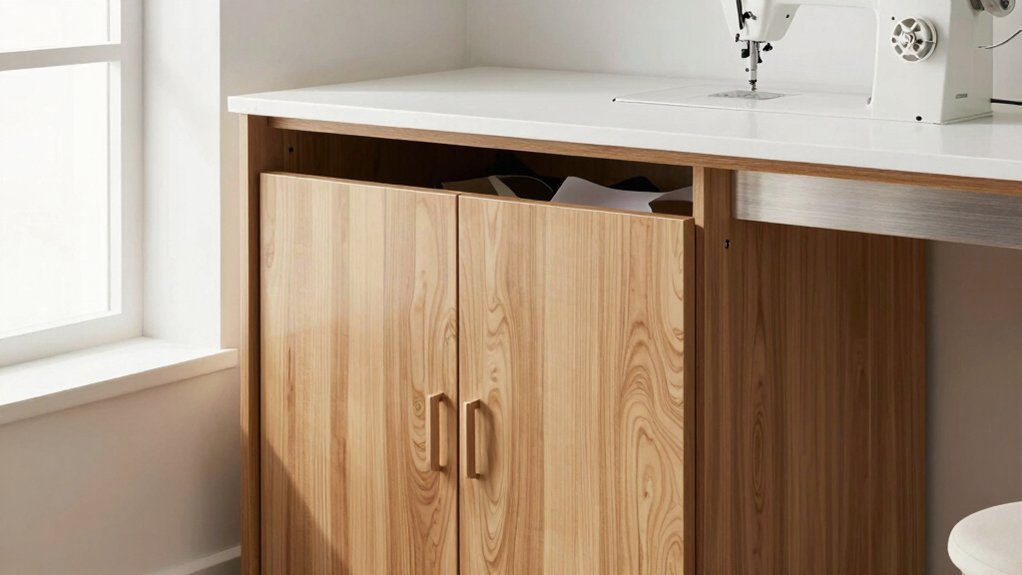
Space-Saving Cabinet Ideas for Small Rooms
I love a corner cabinet for a tiny room, because it turns that awkward empty spot into a cozy sewing nook, and that feels like a little magic trick!
If you want even more wiggle room, I’d look at slim-profile cabinets with locking casters, since a narrow base under about 36 inches wide is easier to move, stash, and squeeze into a tight layout.
And for a smart two-for-one, I’d try a multi-purpose setup like a bookcase-and-table combo with doors or drawers, because it hides the mess fast and still gives you a real work surface—nice, right?
Corner cabinet options
Tucked into that awkward room corner, a sewing cabinet can work a little magic, and I love how fold-away-leaf styles, like the Sauder Craft and Sewing Armoire or an IKEA NORDEN setup, stay slim against the wall until you need a full 36–48 inches of workspace—wow, right?
- I’d try an Arrow 9301B-style corner unit for triangle storage and thread.
- Casters give me corner mobility, so I roll it for light.
- A gateleg top with drawers keeps notions handy and tidy.
- An airlift base helps when your machine changes height.
It’s cozy, practical, and easy to love too.
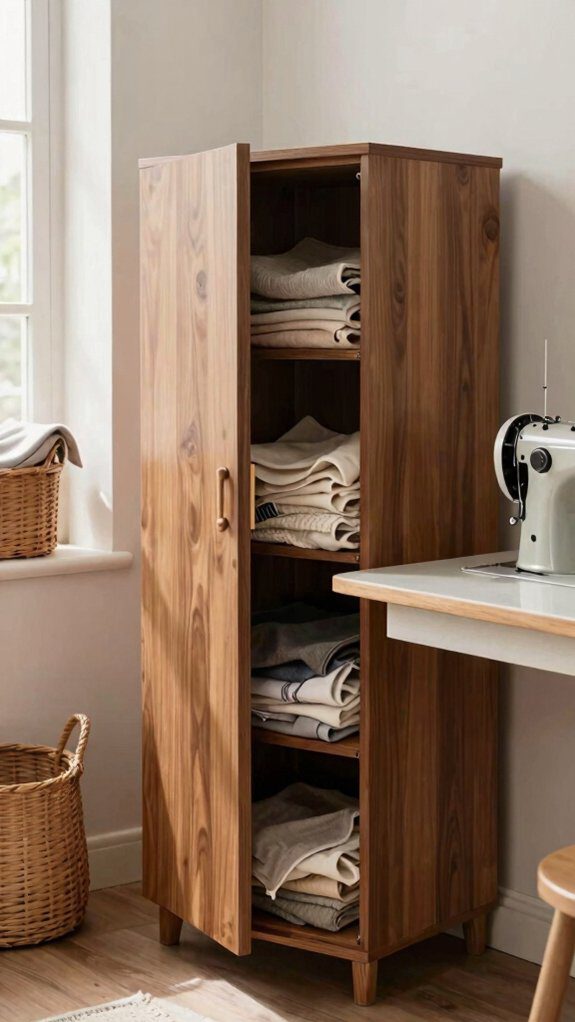
Slim profile designs
When your sewing room feels more shoebox than studio, I reach for slim-profile cabinets, because a narrow unit like the Arrow 9301B Ava can still fit machine storage, a 49-peg thread organizer, and shallow drawers without hogging the wall.
I love adding locking casters, so I can roll the cabinet toward bright windows, then tuck it back when the room gets busy. With vertical slimness, adjustable shelves, and retractable pocket doors, I keep thread, bobbins, and notions neat. That seam concealment makes the room feel calmer, and honestly, it’s a tiny miracle for small-space sewists every day, no magic wand.
Multi-purpose cabinets
A cabinet that moonlights as your sewing buddy? I love multi purpose cabinets because they tuck into small rooms and still feel like home. Try these!
- Arrow style cabinet: add drawers and a retractable door.
- Sauder armoire: use the slide out table and shelves.
- Folding top table: pick dual purpose surfaces that fold flat.
- DIY combo: pair a tabletop with drawers or bookcases for compact workstations.
I’ve found locking casters or fold down leaves make setup easy, and the room stays calm, not cramped. I’d start with the easiest one, and build from there slowly.
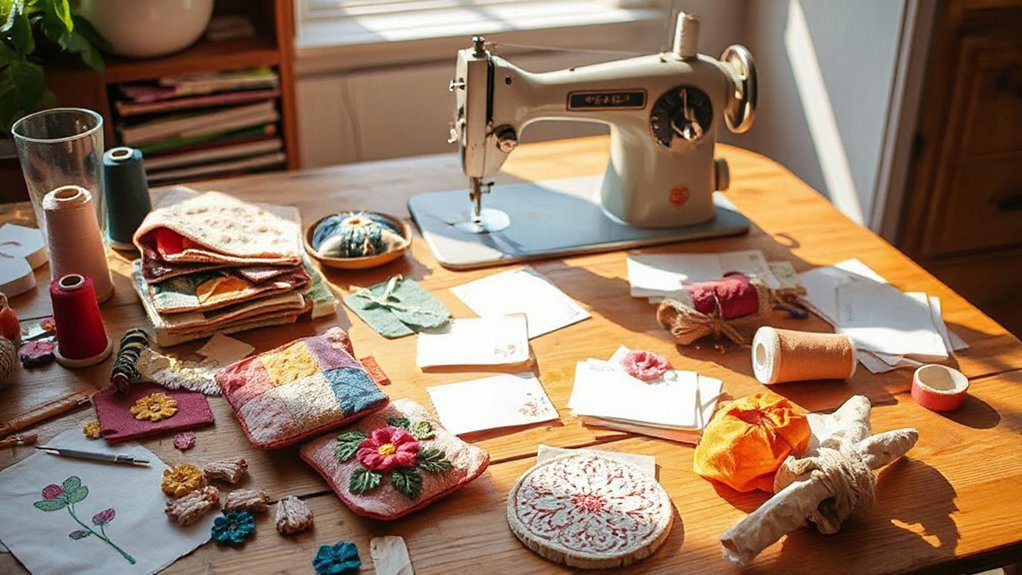
DIY Cabinet Ideas for Custom Setups
Wow, I love building DIY sewing cabinets from upcycled furniture—think two sturdy bookcases topped with laminated MDF or hardwood, and suddenly you’ve got a solid table with hidden storage for under $200, which feels like a win for both your wallet and your fabric stash!
If you want a quick IKEA hack, I’d turn a NORDEN gateleg table or a basic cabinet into a rolling setup with locking casters, a slide-out shelf, or even a lift platform, so your machine tucks away neatly and pops up when you’re ready to sew.
For the nicest surprise, I’d repurpose an armoire or add an airlift system, because it hides the machine, keeps drawers and shelves organized, and makes your whole setup look polished—without the upscale-store price tag!
Upcycled furniture builds
Old furniture can turn into sewing magic with just a few smart tweaks! I love rescuing a salvaged dresser or a painted pallet, because it feels like joining a crafty club on a budget.
- Salvaged dresser: add a top, fresh paint, and drawer dividers for an easy sewing station.
- Painted pallet: screw on legs, sand edges, and use it for thread or notions.
- Old hutch: fit peg-board spools and shallow drawers, then close the door.
- Drop-leaf cabinet: build from reclaimed wood, and flip it out for extra cutting space. It’s cheap, cheerful, and your setup won’t boss you around.
IKEA hack cabinets
If you liked rescuing old furniture, I like switching to IKEA hacks when I want a sewing cabinet that looks polished without draining my wallet!
First, I’d turn a NORDEN gateleg table into a fold-flat station, then add casters so it rolls out fast for cutting day. Next, I love a LINNMON top on two ALEX units, it gives me roomy IKEA sewing space and tidy drawers.
For cabinet hacks, I’d try a BILLY bookcase with a laminated top and doors, then finish with a pull-out machine shelf on strong glides—wow, it hides like a secret at home.
Budget-friendly solutions
A small budget can still build a sewing setup that feels custom, and I love that! Try these thrift transformations:
- I turn a BILLY shelf into a cabinet with laminated MDF and drawer glides; it usually costs $150–$300 and feels polished.
- I use a NORDEN or LINNMON/ALEX setup for a folding work zone, great for small rooms.
- I tweak a Sauder-style armoire with a cutout and slide-out shelf so the machine hides fast.
- I add locking casters and portable organizers beside tight gaps. That’s how I keep clutter quiet and creative!
You’ll feel right at home even on a budget!
Design Ideas That Match Your Home Style

I like to match a sewing cabinet to the room’s vibe, so a sleek modern minimalist piece with clean lines and simple hardware can slip right into a bright, tidy space—nice and easy!
If your home feels warmer, I’d reach for rustic wood finishes, then pair them with stain, paint, or matching metal pulls so the cabinet looks like it’s always belonged there.
And if you want a little wow, a vintage-inspired armoire with tidy doors and hidden storage can feel charming and practical at the same time, which is a pretty sweet combo!
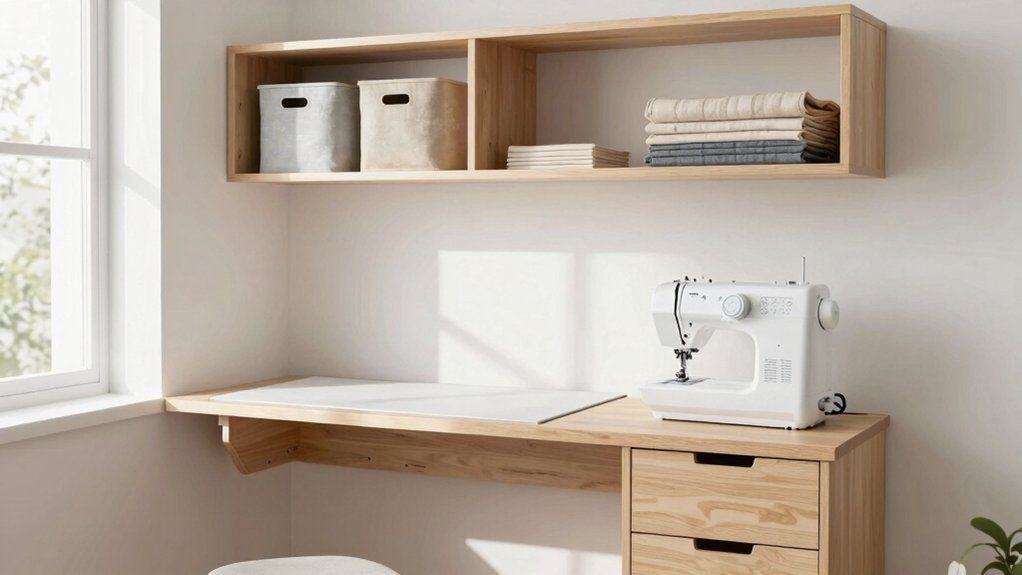
Modern minimalist cabinets
When I want my sewing spot to look more like part of the living room and less like a mini fabric tornado, I go for a modern minimalist cabinet with flat-panel doors, a neutral finish, and low-profile hardware—clean, calm, and super easy on the eyes!
I love sleek cabinetry, hidden hardware, and monochrome palettes that feel friendly, not fussy. Try this:
- Pick a compact armoire.
- Add a drop-down top.
- Use drawers and peg organizers.
- Choose locking casters, then tuck it away like a quiet little superstar. It really keeps clutter out of sight for good.
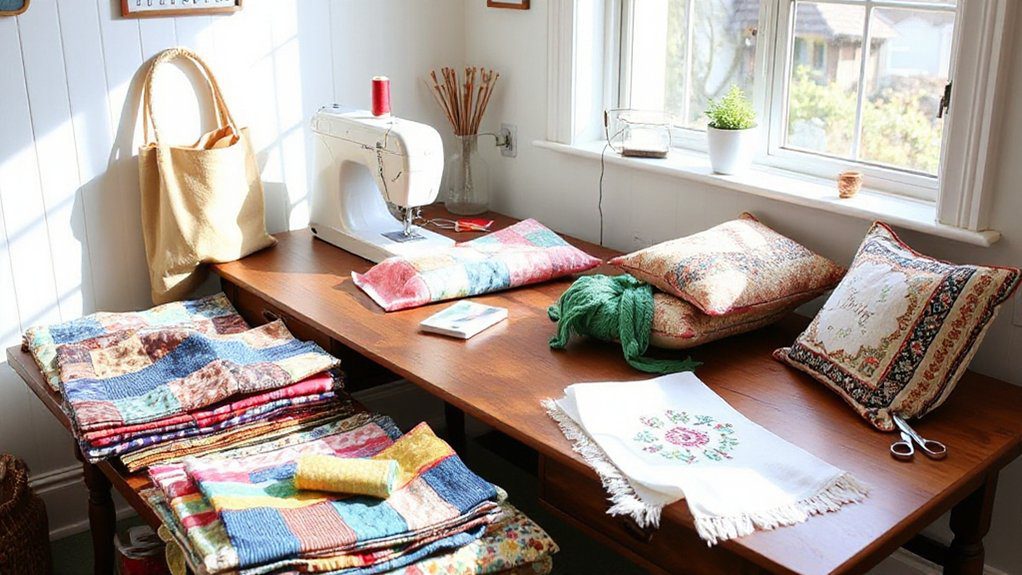
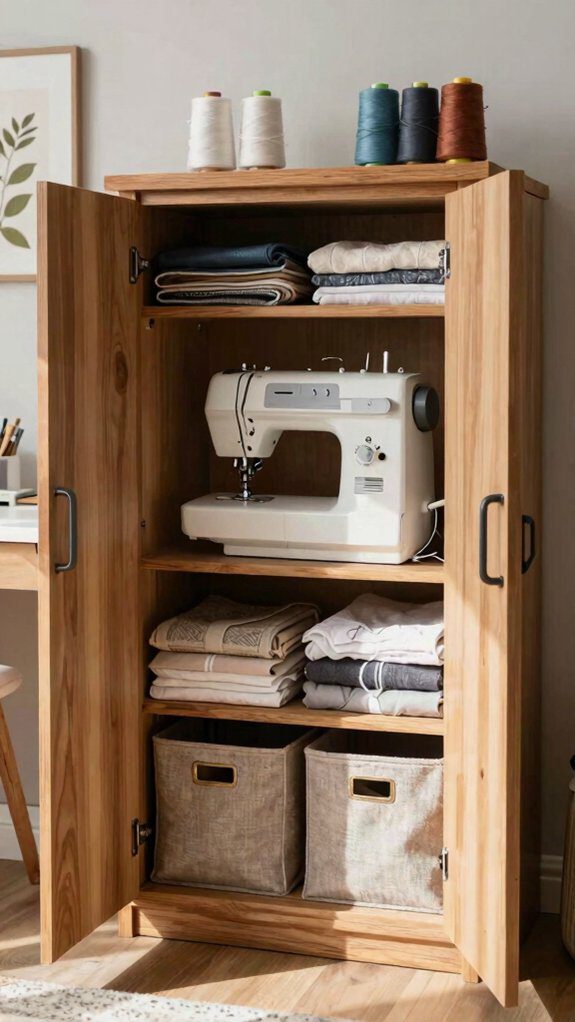
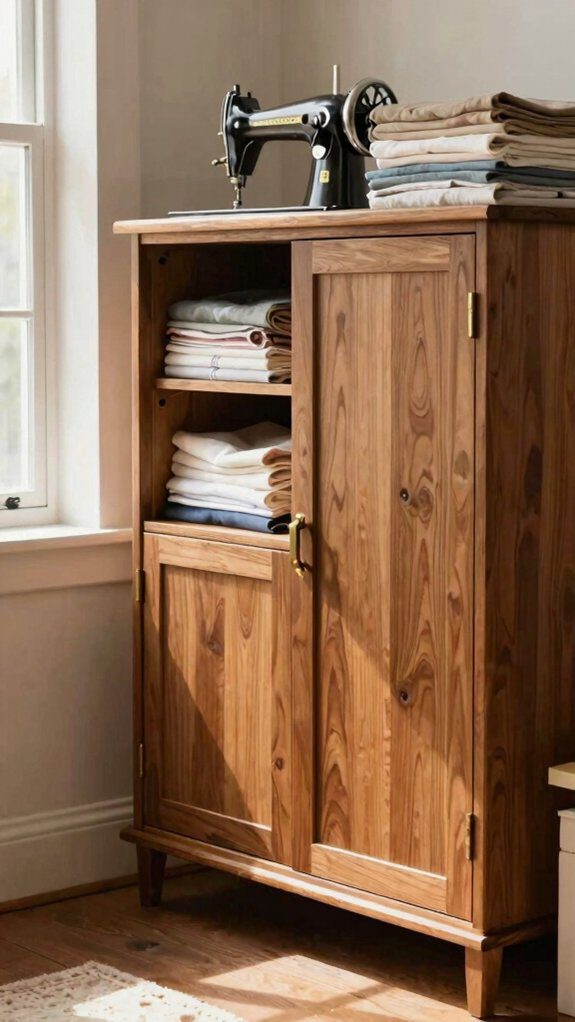
Rustic wood finishes
Rustic wood finishes can make your sewing cabinet feel like a cozy farmhouse find instead of a plain storage box! I like reclaimed pine or oak with a matte stain, because it hides tiny scratches and fabric dust.
Try amber, chestnut, or walnut gel stain, then add hand planed textures and a weathered patina for a lived-in glow.
For the rustic vibe, I’d use exposed joinery, black metal pulls, and matching barn-style doors. It sounds upscale, but it’s pretty beginner-friendly, and the result feels warm, sturdy, and ready to tuck your machine away in style without hogging your room.
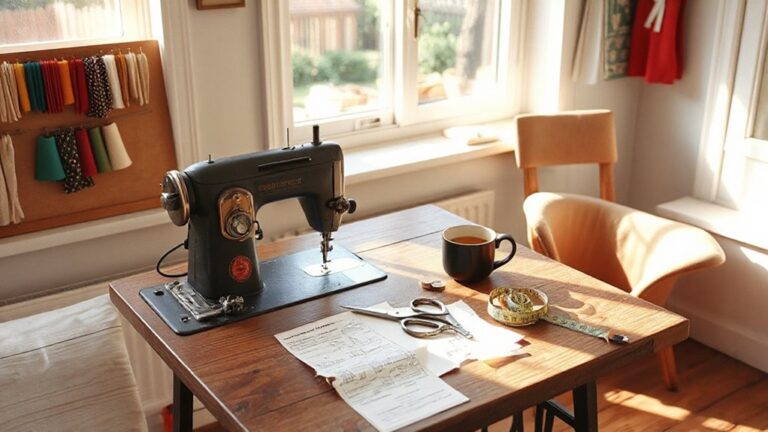
Vintage-inspired looks
For a look that feels collected, not cluttered, start with a vintage-inspired sewing cabinet like a Sauder Craft and Sewing Armoire or an Arrow Ava-style piece in distressed paint or soft wood tones.
I’d add:
- Brass pulls, beadboard, and turned legs for shabby chic charm.
- A pocket door or slide-out shelf, so the machine vanishes fast.
- Shallow drawers, spool pegs, and cubbies, keeping thread tidy.
- Locking casters and a drop leaf, for surprise workspace—heirloom revival, minus the dust! It feels friendly, costs less than a true antique, and makes your corner look like it belongs in the family too.
Common Mistakes to Avoid
I’ve seen plenty of sewing cabinet plans look amazing on paper, then turn into a hallway hog in real life, so I always measure the floor first and leave 30–36 inches in front for easy access.
Next, I check the machine cutout, because a cabinet that fits your buddy’s model might snub yours—many tops handle up to 23.5 inches wide and 14.5 inches tall.
I also want lockable casters, a drop leaf, and smart storage like drawers and spool pegs; they boost ergonomic workflow and keep maintenance routines simple.
Tiny bonus: less digging, more sewing, yay! Fast.
Frequently Asked Questions
Honestly, when I get asked about sewing machine cabinets, I tell readers to start with one simple thing: does the top drop down or fold away when the machine’s not in use?
- Measure storage first—4 to 6 drawers or shelves stops overflow.
- Check locking casters if you move it; tiny homes love that.
- For bigger machines, verify width and weight limits before buying.
- I like repurposed tables, because they hide supplies and fit your room. Safety checks and maintenance tips keep things smooth, and you’ll feel right at home! Nice little win, honestly, every time.