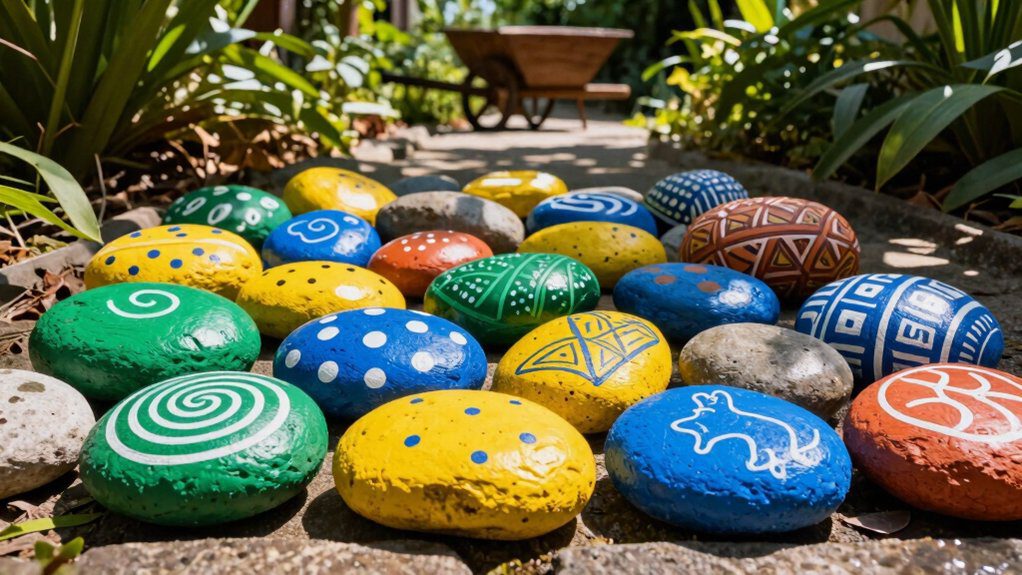
Rock Painting Ideas for Garden That Add Color and Personality
I love painting smooth garden rocks with paint pens and bright colors, because they’re cheap, easy, and seriously charming! Try plant label stones for peppers and herbs, ladybugs for a cute surprise, or glowing pebbles that shine after a sunny day. You can also make pathway markers, flower borders, or rustic mini scenes with just rocks, acrylic paint, and sealer. Start simple, then add a few clever twists—you might spot my favorite idea next!
Love cozy DIY projects? 💕
Get free printable guides, exclusive tutorials & surprise craft goodies straight to your inbox.
Disclosure: This post may contain Amazon affiliate links, at no extra cost to you. Content on DiyCraftNest is created with research support from AI tools and carefully reviewed, edited, and fact-checked by the lead author, Daniel Pat, to ensure accuracy and reliability. Learn more
Key Takeaways
- Use smooth flat rocks as plant labels with bright paint pen lettering for easy garden organization and colorful bed markers.
- Paint cute ladybugs, turtles, birds, or other animals on stones to hide playful decor throughout pathways and borders.
- Try glow-in-the-dark rocks so your garden adds personality and a soft nighttime shine after sunset.
- Add welcome words, flowers, or short quotes on stones to create cheerful, personalized accents near paths and benches.
- Paint sun, moon, pattern, rustic, or mini landscape designs for eye-catching rocks that bring variety and charm to garden spaces.
Plant Label Rocks for Garden Beds
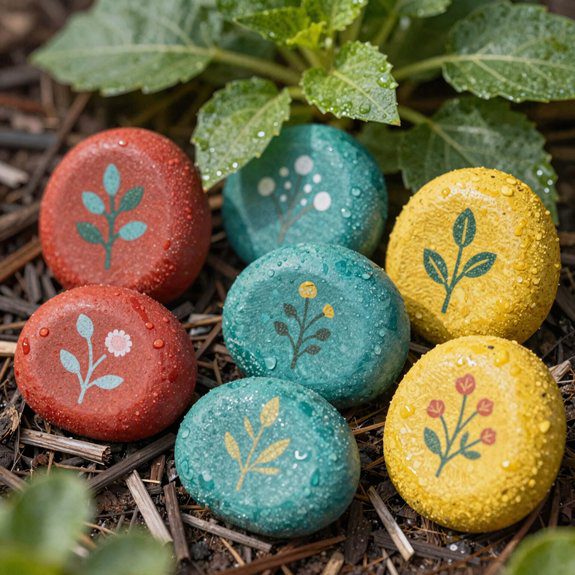
If you want your garden beds to stay organized without spending much, I love using smooth, flat rocks as plant labels—beach pebbles work great!
I sketch each name with a pencil first, then trace it with bright paint pens for clean, bold color coded labels that pop.
For seasonal planting, I place the rocks right by each bed section or seed spot, so I can spot tiny sprouts and tell similar plants apart fast, like green bell pepper from orange.
After the paint dries, I spray on a waterproof sealer, and that’s it—simple, sturdy, and cheap!
I keep a few extra rocks ready for future planting, too, which makes my garden feel easy to manage and a little more like home.
Ladybug Rocks for Cute Outdoor Decor
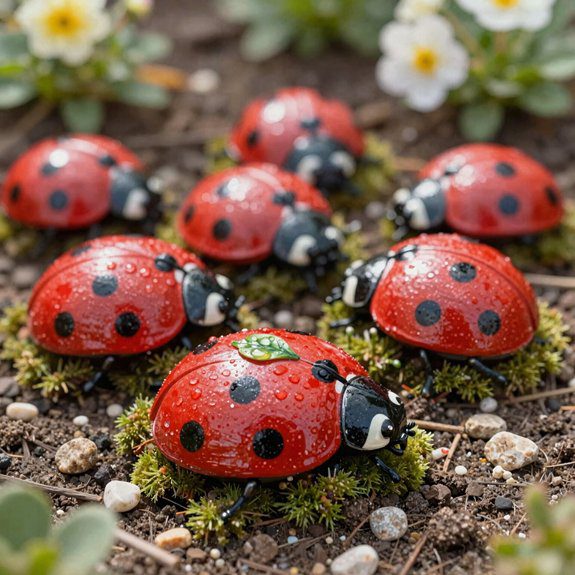
For a garden accent that feels cheerful right away, I love making ladybug rocks, because they’re tiny, bright, and ridiculously easy to pull off!
I grab smooth, flat pebbles, then paint a red body with black spots and a curved center line.
If you’re new, this seasonal stone project feels like a win, not work.
- Pick a garden scavenger find or cheap pebble.
- Paint red, then add black spots.
- Glue on googly eyes for instant charm.
- Seal it after each layer dries.
I tuck mine near paths and container gardens, where they pop fast and make people smile.
They’re affordable, beginner-friendly, and honestly, they look like tiny garden buddies!
Glow in the Dark Garden Rocks
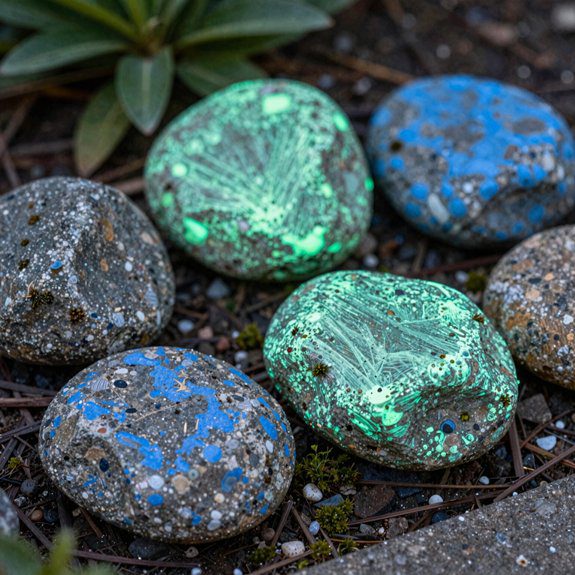
Ladybugs are adorable in daylight, but glow in the dark garden rocks take that same playful vibe and give it a little nighttime magic, too! I love using smooth sea pebbles, acrylic paint, and glow paint, because the result feels cheerful and easy to share with friends who want that same cozy garden glow.
First, I paint my design, then add glow details last for the brightest pop. After daytime charging in the sun, the rocks shine after dark, so they’re more than cute—they’re useful!
Let them dry overnight, then seal them with an outdoor spray. For stone placement tips, I tuck mine into planters, by steps, or along paths where people naturally notice them.
If you grab a glow kit, you’ll get 10 rocks and paint, which makes starting simple and fun.
Pathway Marker Painted Stones

Along the garden path, I love turning flat, smooth rocks into pathway marker painted stones, because they make planting feel organized and a little bit stylish at the same time! If you’re growing with me, these little helpers keep us from mixing up beans and basil—oops, been there.
- Sketch names or tiny arrows in pencil first.
- Use acrylic paint pens for bold, clean lettering.
- Add bright color, then a white outline so each stone pops fast.
- Try weatherproofing tips: let them dry, then spray outdoors for better acrylic stone durability.
I place mine beside rows or seed spots before anything sprouts, and that’s the magic. You’ll know what’s where, and your garden crew will feel a little more together, every single day!
Flower Design Rocks for Garden Borders
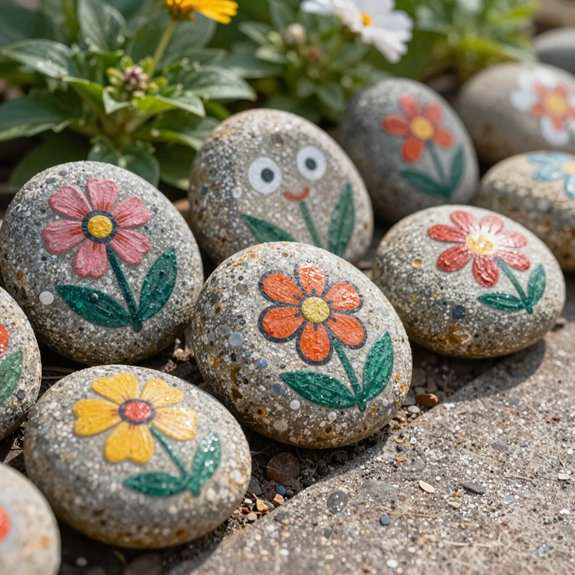
A little row of flower rocks can make a garden border feel cheerful in a hurry! I pick smooth, flat stones so tulips, roses, and orchids sit neatly on the surface, and I sketch each bloom lightly first. Then I paint a base petal color, add leaf and center accents with a small brush or paint pen, and watch the row start to shine.
If I want Colorful border patterns, I use flower stencils for a tidy look across every stone; if I’m craving a softer vibe, I free-hand them. My stencil accuracy tips are simple: hold the stencil flat and use tiny paint taps.
I also study real petals for shape and vein details, then dot the centers so the blooms pop. After everything dries, I seal the rocks for weatherproof charm.
Welcome Message Rocks for Entry Areas
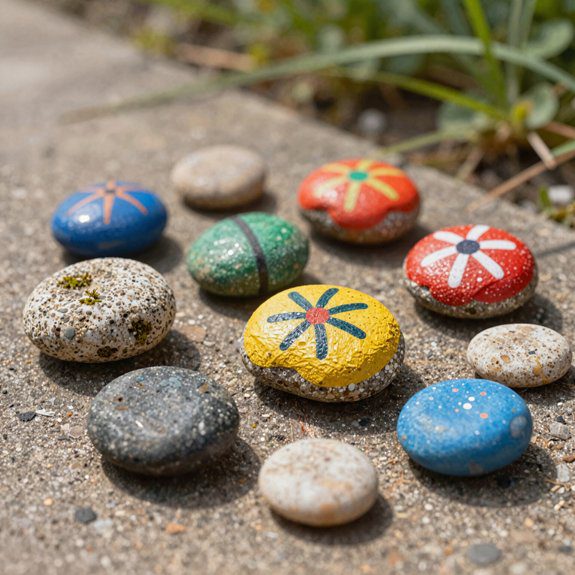
If your flower border already makes the path feel happy, let’s keep that cheerful vibe rolling right into the entryway! I love making welcome message rocks because they say, “You belong here,” before anyone even knocks.
- Choose smooth, flat stones, then sketch WELCOME or HELLO lightly with pencil.
- Use Rock lettering stencils or freehand the words with acrylic paint pens; bold letters work best.
- Try gentle color blending techniques for a bright, friendly look, and let each layer dry overnight.
- Seal everything with a waterproof clear sealer, then place a mini set by the front path, bench, or doorway.
It’s cheap, easy, and the result feels warm for about a year. I’ve found that three rocks together make the sweetest little hello—like a tiny cheering squad at the door!
Butterfly Painted Rocks for Nature Theme
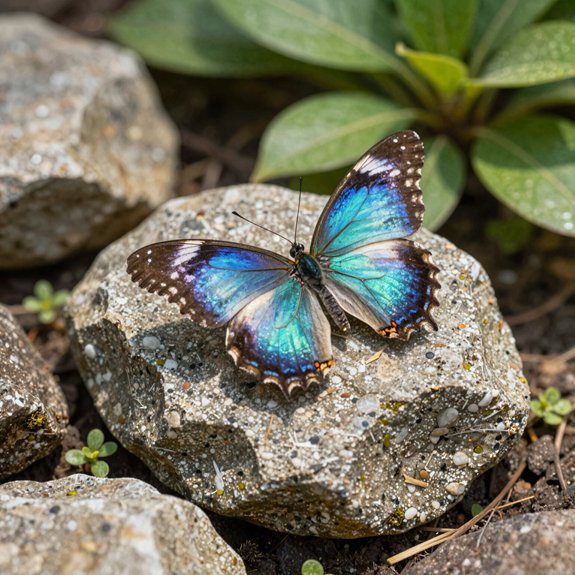
Butterflies always feel like little garden guests, so I love turning smooth, light-toned rocks into bright painted wings that seem ready to flutter right off the path!
I start with a white acrylic base coat, because it helps every color pop and keeps the fine details easy to paint.
Then I sketch the wings with acrylic paint pens, add a tiny body, antennae, and dot eyes, and I play with Butterfly color mixing to make soft blends or bold contrast.
It’s beginner-friendly, cheap, and honestly pretty relaxing!
For a finished look, I seal each rock with a waterproof clear coat, then use nature themed placement tips and tuck them near paths, planters, or container gardens where friends will spot them.
That little surprise always feels magical!
Inspirational Quote Rocks for Garden Spaces
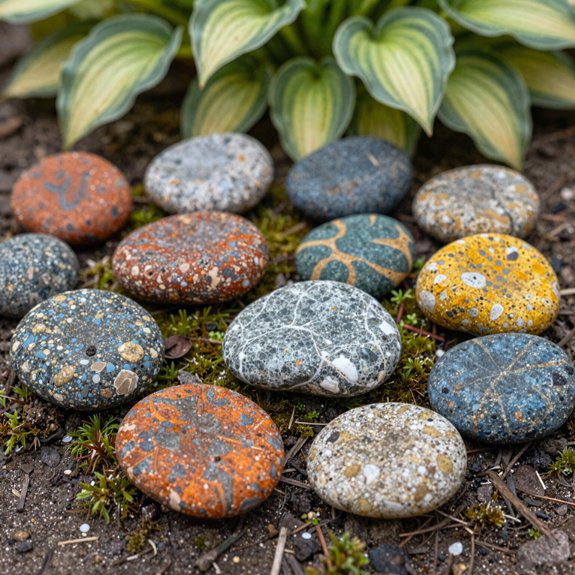
After painting those cheerful butterfly rocks, I love switching gears and making quote rocks that feel like little pep talks hiding in the garden! I pick smooth, flat stones, sketch a short line of love or compassion, and use acrylic paint pens so the lettering stays crisp.
- Materials: flat rocks, pencil, acrylics, sealer.
- Steps: lightly trace your quote, fill it in, and let it dry overnight.
- Weatherproofing tips: seal each rock with outdoor Mod Podge so rain and sun don’t fade the message.
- Quote stone placement: tuck them by paths, benches, or container gardens for a sweet surprise.
I love that these tiny notes feel personal, like a friend cheering you on. Find one, smile, take the message to heart, and maybe pass it forward!
Vegetable Marker Rocks for Garden Organization
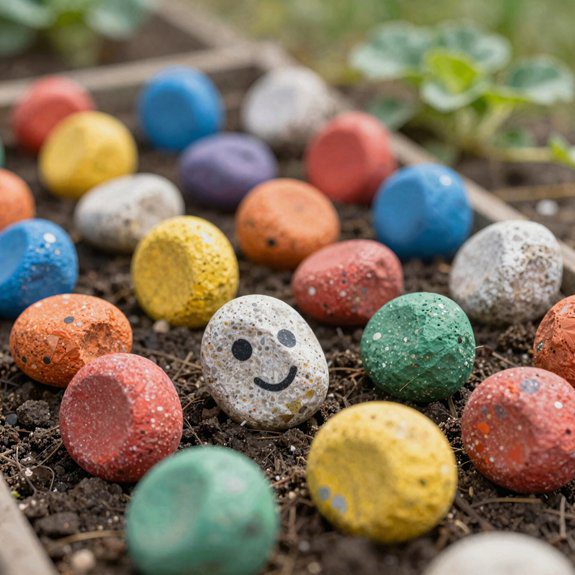
One of my favorite little garden tricks is making vegetable marker rocks, because they keep my planting beds from turning into a mystery zone by mid-spring! I grab flat, smooth stones, sketch names lightly with pencil, then trace them with paint pens for quick, clean labels.
| Plant | Rock Color | Note |
|---|---|---|
| Pepper | White | bold outline |
| Tomato | Tan | easy to spot |
| Carrot | Gray | neat rows |
| Beans | Blue | simple marker |
I match each rock to the seed starter timing, then set it right beside the transplant. Add a white edge, let it dry, and spray on a sealer for easy label maintenance tips. It’s cheap, cheerful, and honestly, it saves me from calling every sprout “maybe lunch?”
Mosaic Style Painted Garden Stones
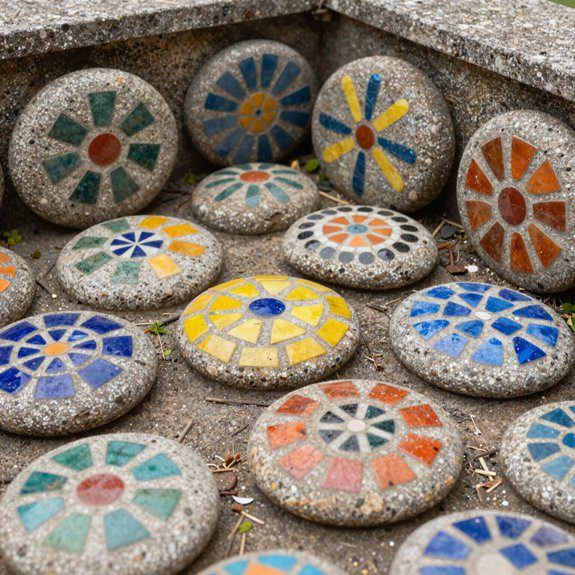
If you want your garden stones to look a little fancier than “painted rock, but make it cute,” mosaic-style designs are such a fun upgrade! I love how they bring instant color to paths and bed edges, and they still feel totally doable.
- Pick smooth, flat stones, then wash and dry them.
- Use acrylic paint or pens to block in tiny tile colors.
- Add a careful grout line technique with thin outlines.
- Seal, wait about an hour, then use my stone placement tips: show them off near borders or containers.
I’d keep the design simple at first, since beginners can nail this without stress.
The best part? Once the seal dries overnight, your little “tile” rocks look polished, bright, and ready to make the whole garden feel like it belongs to you!
Animal Rocks Hidden Around Garden
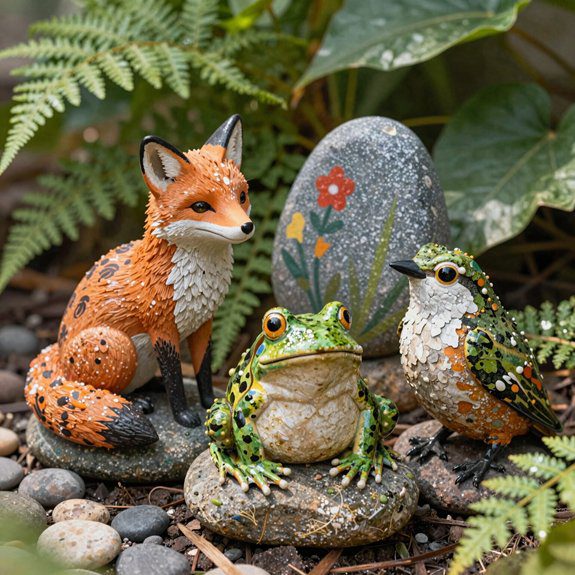
Near the garden path, I love turning smooth stones into little animal surprises that make people stop and smile! I start with stone safe paint choices, then add bold faces, and finish with Weatherproof sealing methods so each critter lasts.
| Animal | Spot | Tip |
|---|---|---|
| Ladybug | border | add googly eyes |
| Turtle | container bed | paint a bold shell |
| Bird | walkway | group many together |
These rocks are cheap, easy, and perfect for kids, because beginners can paint a cat, dog, or bug in one afternoon. I hide them near beds and paths, where friends naturally look, and the smiles come fast. For a fun twist, I make a whole flock of bird rocks; together, they feel like a tiny welcome crew. That’s garden magic, right there!
Sun and Moon Design Garden Rocks
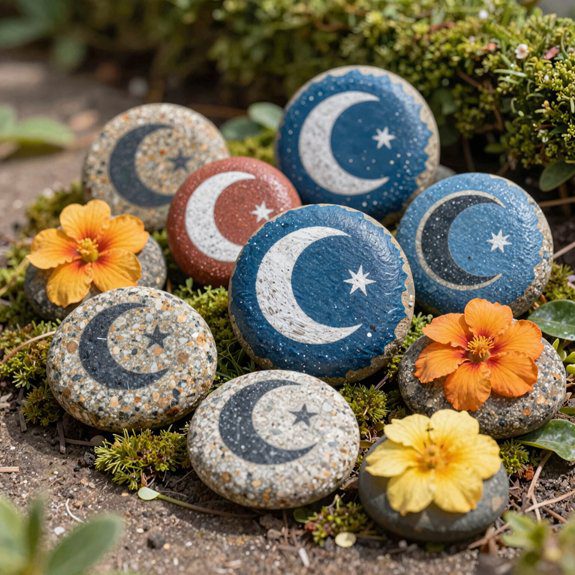
While I’m adding a little garden charm, I love painting sun and moon rocks because they bring an instant day-to-night vibe to a path or planter! I start with smooth flat stones, then I keep it easy and fun.
- Pick one rock for a sunny face, using yellow-orange paint and bold rays.
- Add crisp outlines, dots, and a grin with a paint pen, letting each layer dry.
- Make a moon partner with blue-purple paint, a white crescent, and tiny stars for Night sky themes.
- Seal both rocks, then place them near seats or paths, where star sparkle effects catch the eye.
They’re cheap, beginner-friendly, and honestly, they make the whole garden feel like our little club!
Bright Color Pattern Rocks for Visual Pop
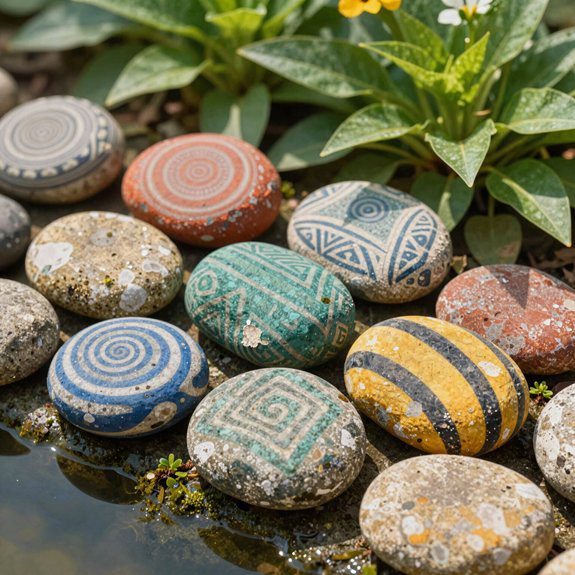
For a bright, happy pop in the garden, I like painting pattern rocks on smooth, light-colored stones, because dark or rough rocks can make those bold colors look a little sleepy. I grab acrylic paint or trusty paint pens, then I add big color blocks first, and I let the fun build from there—yes, even my wobbly dots count!
Next, I use Paint pen techniques for crisp lines, tiny hearts, zigzags, and polka dots, which feels like giving each stone its own party outfit. A white base coat really makes the colors sing, and it’s an easy win for beginners.
After the design dries overnight, I follow weatherproof sealing steps with a clear outdoor sealer. That last coat keeps the pattern bright, rain or shine, so my garden buddies stay cheerful all season.
Rustic Neutral Tone Painted Stones
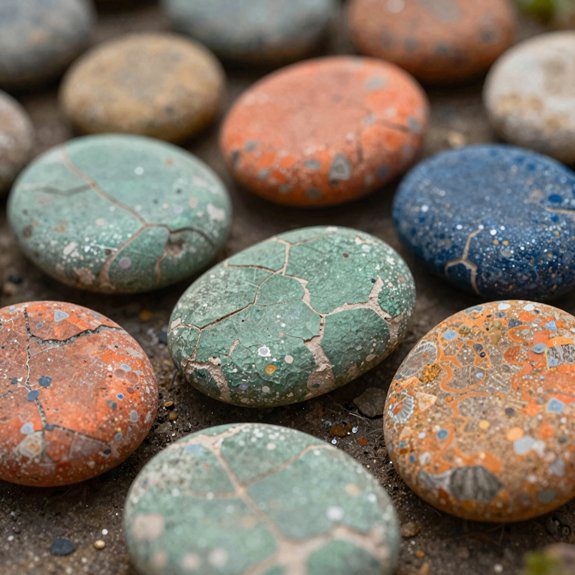
When I want a softer, more natural garden look, I reach for smooth, flat stones in light grey, cream, or warm beige, because those rustic neutral tones feel calm and cozy without disappearing into the dirt! I like how they help a garden crowd feel like they belong.
- I brush on a white acrylic base coat, then add taupe or beige washes for an easy, low-cost start.
- I paint tiny leaf veins, acorn caps, or a comedy mushroom face, and the muted colors still pop.
- I use off-white outlines and a weathered stone texture so each rock feels handmade, not flashy.
- After it dries, I seal it with outdoor spray, then tuck it by pathways or bench planters for clear, lasting charm!
Mini Landscape Scenes on Large Rocks
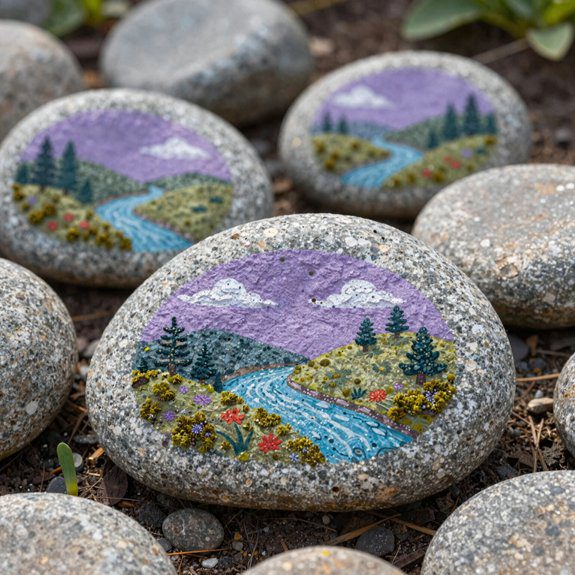
Because a big, flat rock gives you a whole tiny world to play with, I love turning it into a mini scene that feels like a secret garden painting! I sketch a horizon line first, then paint sky and ground, so the scene feels steady right away.
Next, I follow the rock’s shape, placing a sun, hill, or little house where the stone naturally guides the view. With cheap acrylics and a fine brush, I build Layered texture through dry brushing, letting each coat dry fully so the grass, trunks, and flowers stay crisp.
Then I add acrylic pen detailing for path lines, tiny benches, or a garden compass, and outline key spots in white so they pop. It’s easy, cheerful, and honestly, your rock may become the neighborhood favorite!
Water Feature Accent Painted Rocks
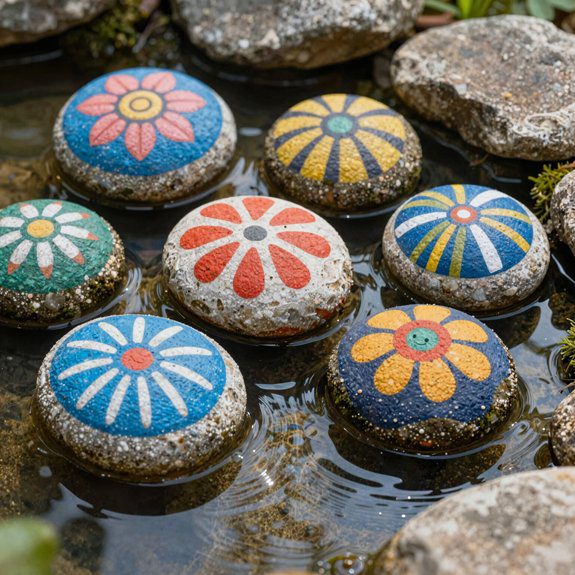
A few smooth, flat stones can turn your water feature into a tiny art trail, and I love painting them with waves, lily pads, fish, or a cheeky little “hello” message!
I clean each rock with soap and water, dry it in the sun, then add acrylic paint or paint pens for crisp lines.
Stone color theory helps me choose bright blues and greens that pop, and a light base coat can make everything glow.
- Sketch simple shapes first.
- Paint in layers, letting each dry.
- Add details like eyes, scales, or ripples.
- Use weatherproof sealing tips: seal overnight with outdoor clear coat.
I place the finished rocks near benches or plants, and they’re easy to spot, cute, and totally welcoming!
Garden Rock Borders with Matching Designs
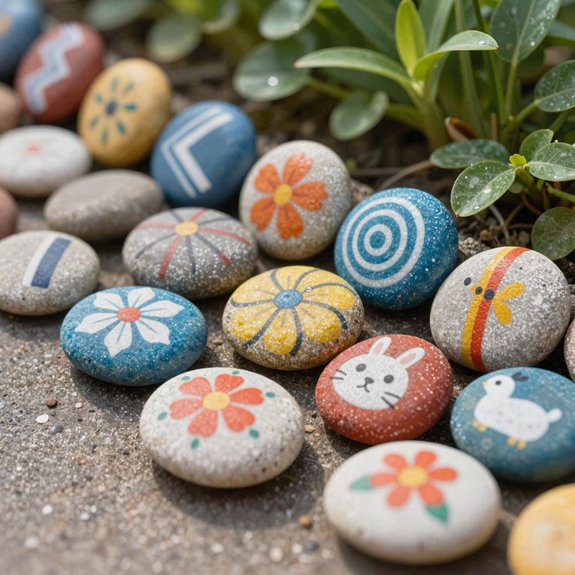
After I’ve had fun painting little water feature rocks, I like to stretch that idea into a neat garden border, and wow, it makes the whole bed look instantly pulled together!
I start with flat, smooth rocks, wash and dry them, then brush on a bright base, white if I want extra pop.
Next I repeat the same stencil or tiny tile pattern across each stone, using paint pens for crisp lines and easy one-coat color matching themes.
It’s simple, cheap, and honestly kind of addictive!
After that, I seal everything with waterproof clear sealer outside, because Weatherproof sealing tips matter when sun and rain join the party.
Then I line the rocks along paths or beds as a tidy frame, and they even help me spot where plants are growing.