Air Dry Clay Ideas That Are Aesthetic but Actually Useful in Daily Life
You can make air dry clay work for real life, not just shelf decor! Try cord organizers, toothbrush cups, soap dishes with drainage, or jewelry trays with neat sections. Mix in easy pieces like wall hooks, drawer inserts, coasters, and ring stands, all made with simple shaping, smoothing, drying, then painting and sealing. They’re cheap, beginner-friendly, and honestly way more useful than they look. And the best part? A few clever tricks make them even better.
Love cozy DIY projects? 💕
Get free printable guides, exclusive tutorials & surprise craft goodies straight to your inbox.
Disclosure: This post may contain Amazon affiliate links, at no extra cost to you. Content on DiyCraftNest is created with research support from AI tools and carefully reviewed, edited, and fact-checked by the lead author, Daniel Pat, to ensure accuracy and reliability. Learn more
Key Takeaways
- Make desk cable organizers, phone stands, and key drop dishes that look clean while keeping daily clutter in place.
- Create toothbrush holders, soap dishes with drain channels, and incense holders that are compact, practical, and decorative.
- Sculpt jewelry trays, ring stands, and wall hooks for stylish storage of small accessories and entryway essentials.
- Craft coasters, spoon rests, and drawer organizers to protect surfaces and sort everyday items neatly.
- Dry pieces fully, then paint and seal them so they stay aesthetic, wipeable, and more durable for regular use.
Clay Cord Organizers for Desk Setup
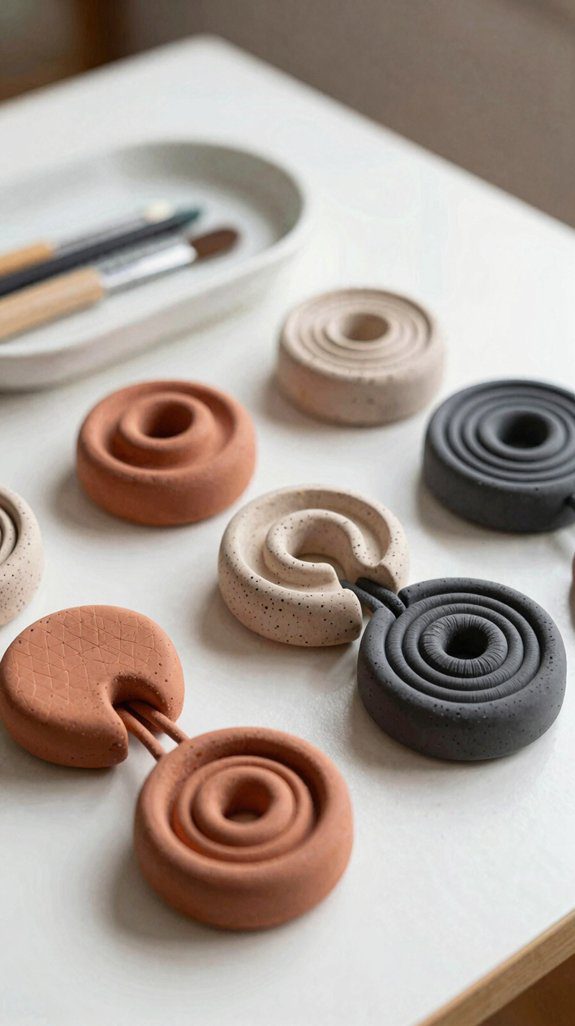
If your desk cords keep tangling like they’re plotting against you, these little clay cord organizers are a total lifesaver! You can roll air-dry clay into shallow U-shapes, smooth the edges with a damp sponge, then press a tiny groove with a pencil tip so each wire knows where to go.
Make a few sizes for charging cables, headphone cords, and USB leads, and let them dry for about 48 hours. After that, paint them with acrylics, maybe add color dots or tiny label tabs, and seal them for extra strength.
They’re cheap, cute, and pair nicely with clay business cards or textured clay coasters!
Minimal Toothbrush Holder for Bathroom
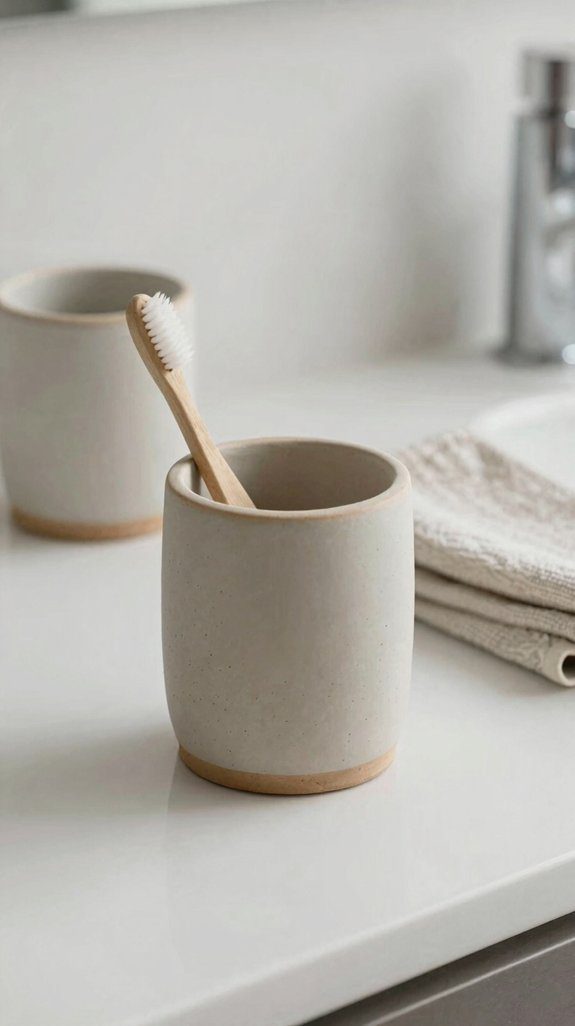
A tiny toothbrush holder can make your bathroom counter feel instantly calmer, and air-dry clay makes it surprisingly easy to pull off!
Roll clay into a simple cup or narrow stand, then smooth the outside with a damp sponge for clean edges.
Add a straight base with a little water, not a splash-fest, and shape shallow ridges so 2–4 brushes stay upright.
Let it dry for about 48 hours, then paint it with acrylics and seal it, because clay isn’t water-proof.
Tiny dots or leaf veins add charm, and textured grip bottoms help it sit steady beside your clay sink mats.
Clay Soap Dishes with Drainage Design
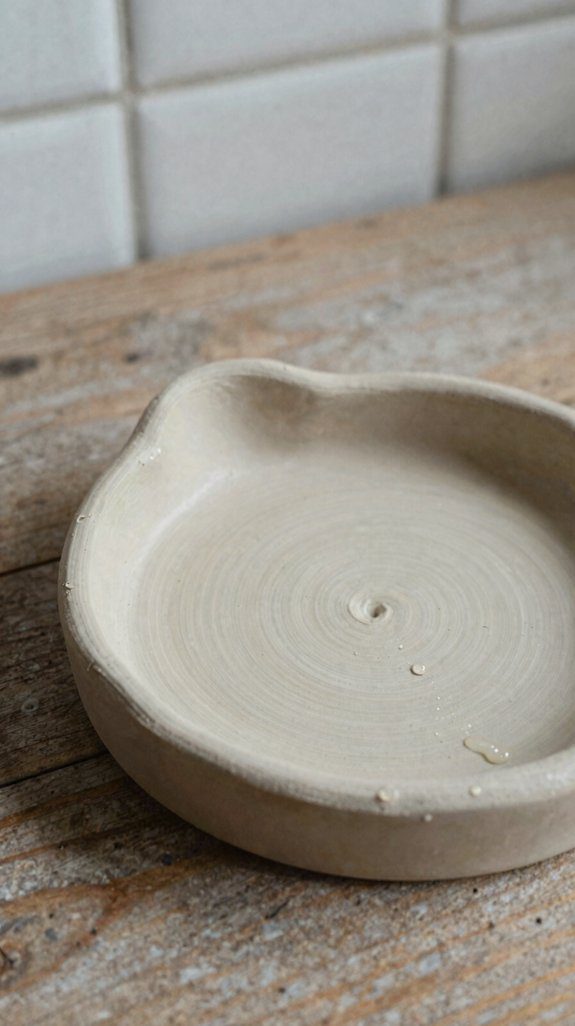
Soap dishes are the next tiny hero for your bathroom, and air-dry clay makes them fun to shape without a big mess!
You can join the crew with a shallow dish, a gentle slope, and a small drain channel, so water slides away instead of turning your soap into mush.
Press in tiny ridges, or line a trough to guide drips to the lowest point.
After about 48 hours, add durable sealing techniques with acrylic paint and water-based varnish.
Pop in raised feet underneath for smart drying airflow, and boom—your bar stays happier, cleaner, and a little less slippery than your shower floor!
Jewelry Catch-All Trays with Sections
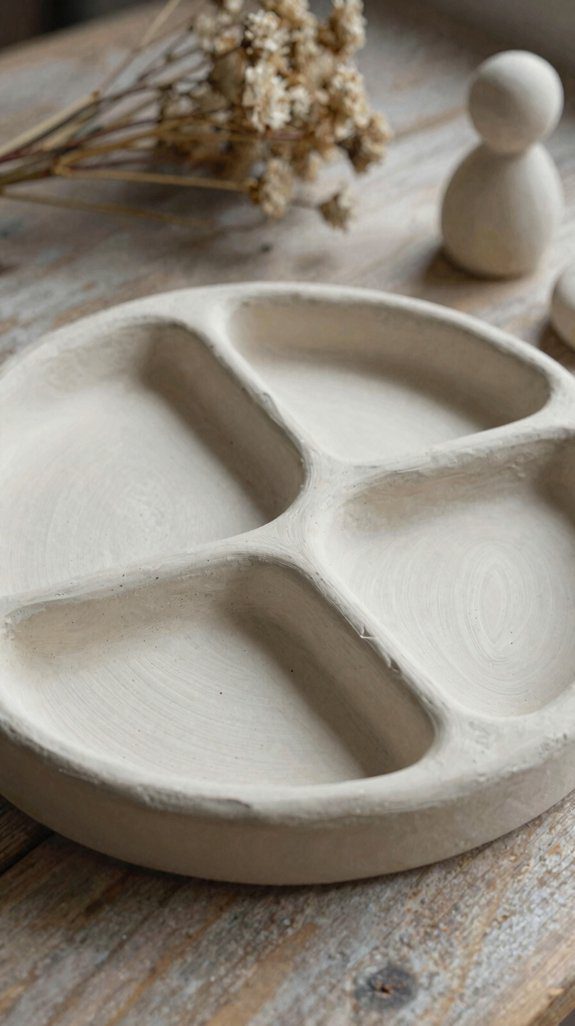
Ever notice how jewelry loves to vanish right when you need it most? Make a tiny tray with shallow sections for rings, earrings, and bracelets, and you’ve got quick daily organization that feels oddly satisfying!
| Section | Use |
|---|---|
| Deeper ring nook | Holds your favorite band |
| Slim earring slots | Keeps pairs together |
| Wide bracelet space | Catches extras fast |
| Textured base | Stops sliding |
Roll air-dry clay into a base, shape the walls, then smooth seams with a damp sponge. Let it dry, paint color matched compartments, and seal if you want it tougher. You’ll have a cute catch-all that fits your routine, costs little, and saves bedtime you a tiny scramble.
Clay Wall Hooks for Lightweight Items
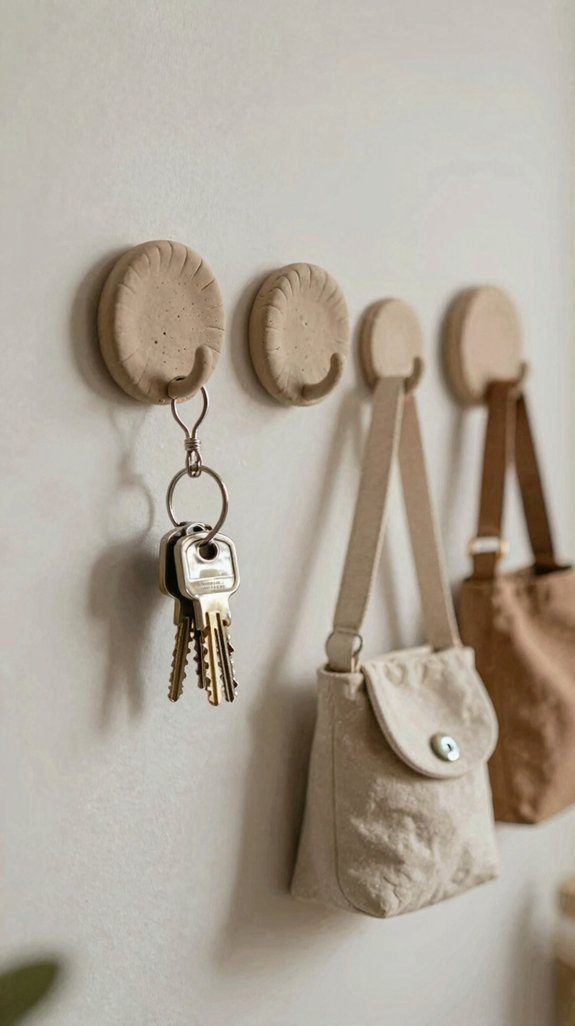
When your keys keep playing hide-and-seek, clay wall hooks can come to the rescue! Roll small slabs of air dry clay, pinch each one into a hook, and add a flat back so it sits flush for wall mounting. Use a plastic bag on your table to stop sticking, then press in a tiny stamp pattern for extra charm.
Let them dry fully, about 48 hours, because patience pays off, friend! Seal with acrylic paint or water-based varnish, then hang keys, light scarves, or jewelry.
For easy lightweight organization, use a small hole or wall adhesive, and keep the load light.
Incense Holders with Ash Catch Design
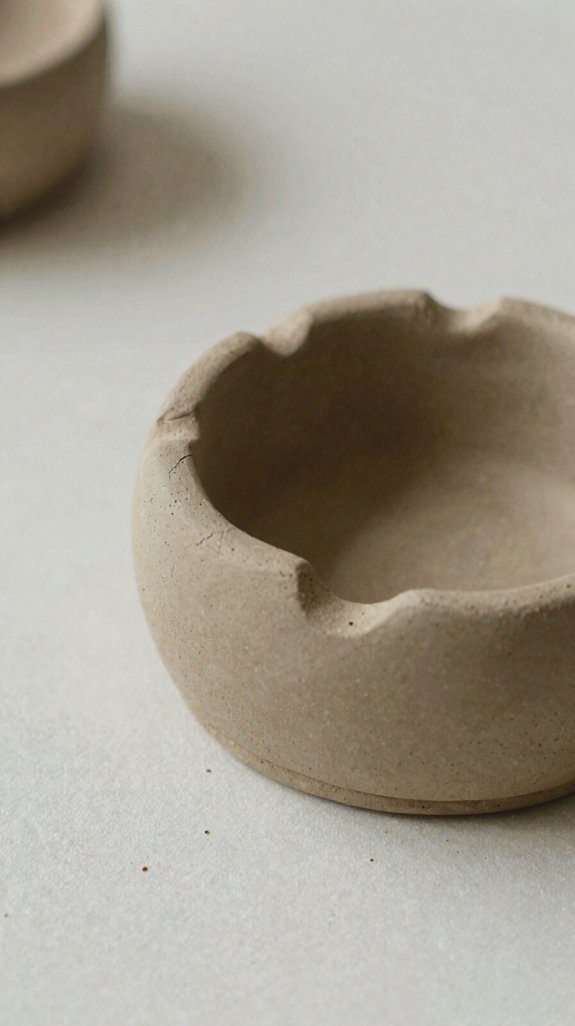
A tiny incense holder can do a big job, especially if you shape it with an ash catch tray so those sneaky embers land in a safe little dip instead of on your table—nice, right!
You can roll air-dry clay into a wide base, press in a centered groove for the stick, and lift the back wall with a small lip so ash stays put.
Let it dry fully, about 48 hours, then add acrylic paint and a heat safe glaze.
With a simple ash cleaning routine, you’ll keep it fresh, calm, and ready for your cozy corner.
Clay Cable Weights to Keep Wires in Place
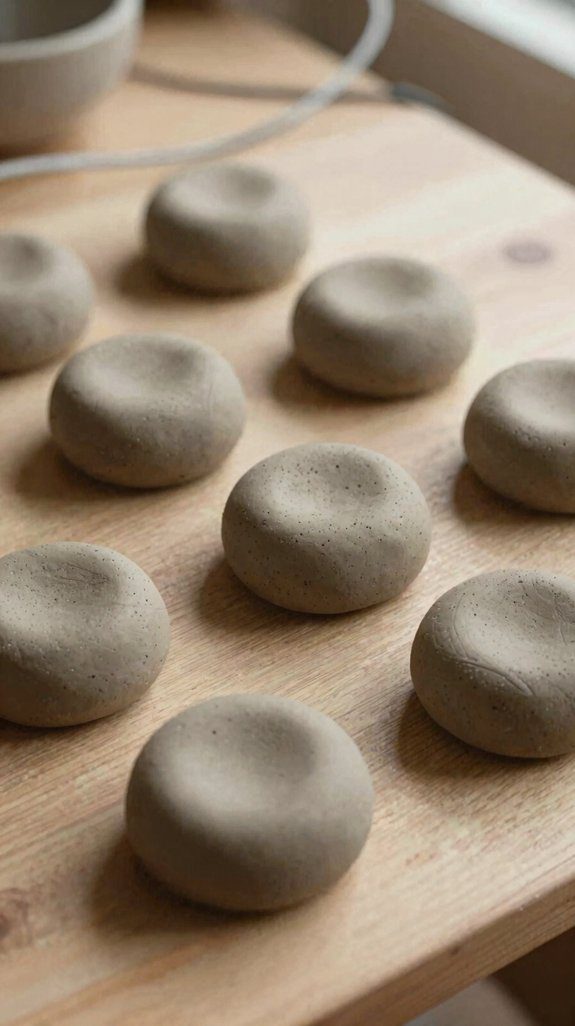
If your cords keep creeping off the desk or doing that annoying little noodle lift behind your monitor, clay can help you tame them in a super simple way! Try DIY cable management by rolling small air-dry clay coils into flat cable weights, then press them around slack sections.
| Spot | Fix |
|---|---|
| Desk edge | Hold cords down |
| Behind monitor | Stop lift |
| Near chargers | Reduce tug |
| Couch corner anchors | Tame loose lines |
| Extra bend | Smooth curves |
Shape, smooth, and leave them still for about 48 hours. After drying, paint them to match your setup, then add clear varnish for scuff resistance. Cheap, cute, and oddly satisfying!
Small Storage Pods with Lids
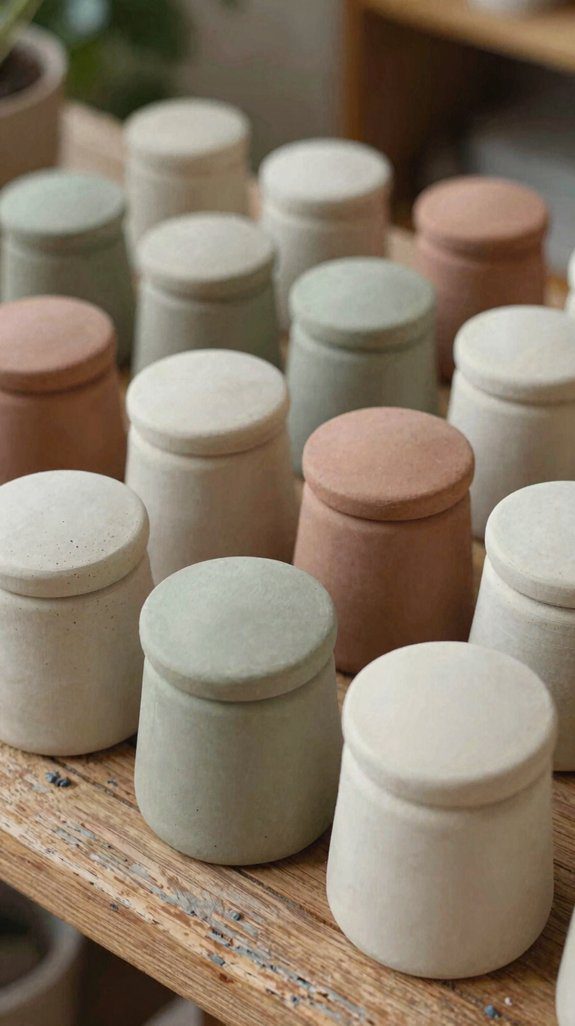
For a tiny catch-all that looks way cuter than a random dish from the kitchen, you can make small storage pods with lids from air-dry clay!
Roll clay into compact cups, then pinch the walls about 1/4–1/2 inch thick so they stay sturdy and don’t crack.
Add a slightly domed lid that fully covers your bits and bobs, from rings to paper clips.
Let the base and lid dry uncovered for about 48 hours, or wrap them separately if they start to warp.
After that, paint, seal, and add textured labeling or tiny knobs.
You’ll love the neat, modular stacking vibe—so satisfying!
Clay Spoon Rests with Modern Shape
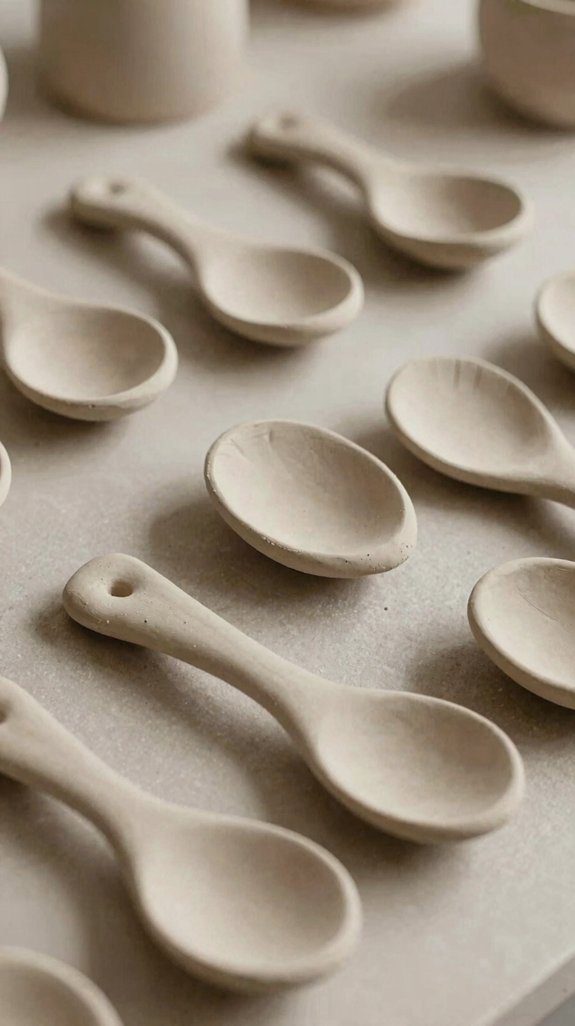
Want another project that’s useful and oddly satisfying? You can make a clay spoon rest with a modern shape in one afternoon, and you’ll fit right in with the crafty crowd.
Roll a smooth slab, cut an abstract crescent or wave, then pinch a raised ridge so your spoon balances neatly.
Keep water light and use a sponge to smooth edges, because too much can weaken thin spots. Let it dry about 48 hours, paint it, then add waterproof sealing for better kitchen durability.
Want extra grip? Try a tiny texture or slight lip—nice and simple!
Key Drop Dishes for Entryway
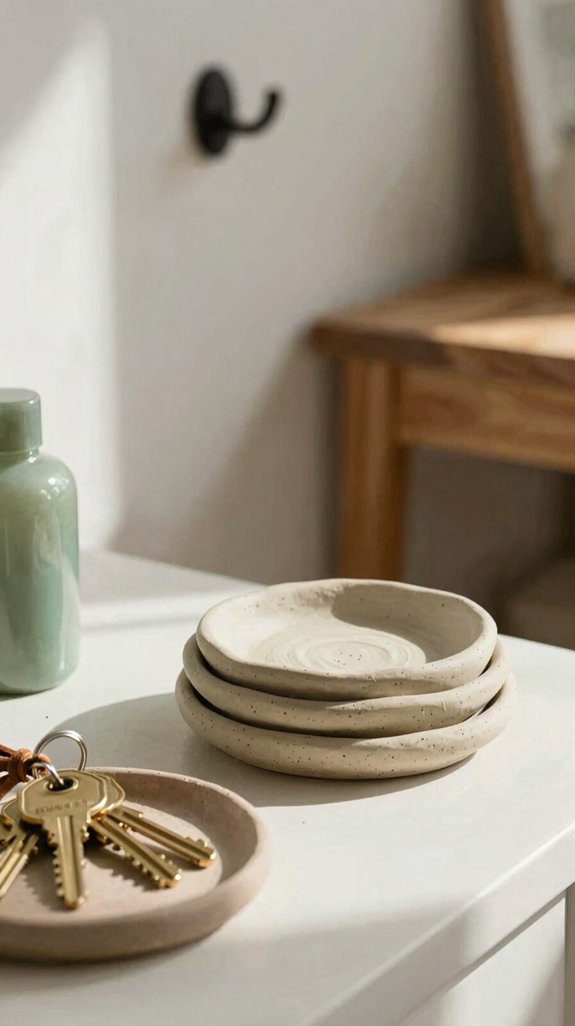
A tiny dish by the front door can save you from the daily key hunt, and it’s honestly a little miracle! You’ll fit right in with a calmer entryway when you make one from air dry clay.
- Roll clay into a shallow bowl, smooth the rim with a damp sponge, and let it dry about 48 hours.
- Press in a textured drop, like leaf marks, so keys stay put near the door mat.
- Paint, label it “KEYS,” then seal with varnish for everyday use.
A house shape feels extra welcoming, like your home’s saying, “Hey, I’ve got you!”
Clay Phone Stands with Charging Slot
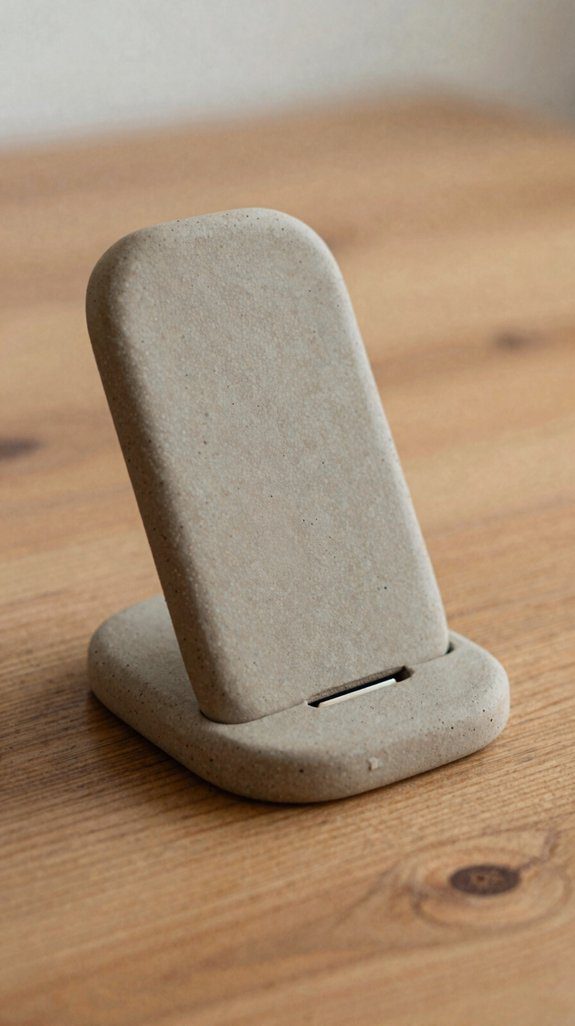
If your keys now have a happy little home by the door, your phone can get one too! Roll air-dry clay into a flat base, then press up two angled walls to cradle it. Easy, right?
Cut a charging slot while the clay’s leather-hard, smooth the edges with a sponge and craft knife, and let it dry fully before you plug in.
Paint it with acrylics, seal it, and you’ve got a sturdy little helper for your desk. Add a tiny back stop if you want extra grip.
It’s cheaper than deluxe gadgets, and way cuter than clay plant markers or mini desktop trays!
Essential Oil Diffuser Stones
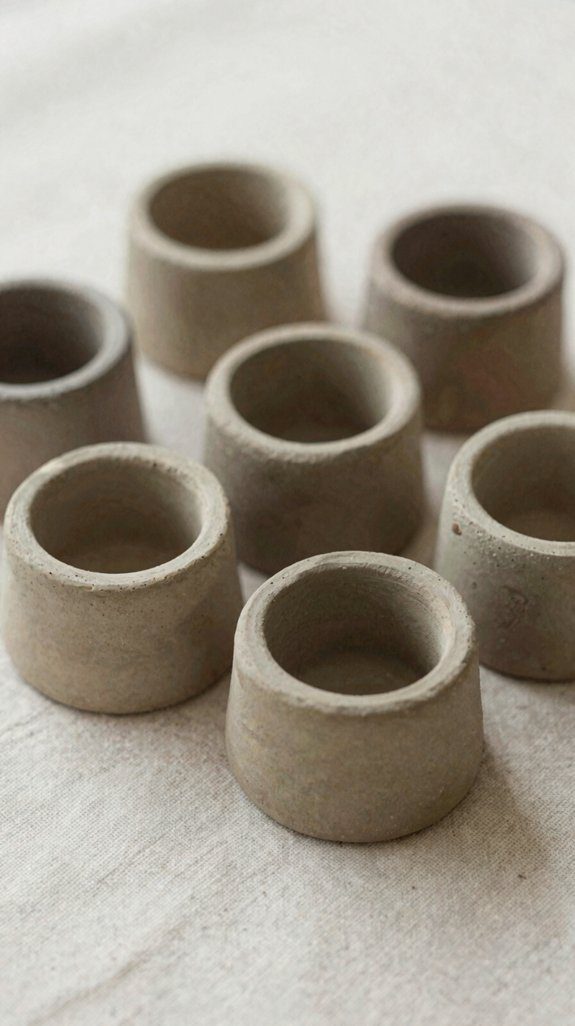
Tucked into a drawer or sitting beside your bed, necessary oil diffuser stones are tiny air-dry clay helpers that make your space smell lovely without any fuss! You fit in fast when your room feels calm and cared for, right?
- Shape flat disks or thumb-sized stones, then poke tiny holes with a pin.
- Let them dry about 48 hours, paint with water-based colors if you want, then add a few drops of lavender or sweet orange.
- Try clay scent selection and placement scent strength in closets, drawers, or near your diffuser area.
Reapply when the scent fades—easy, cheap, and surprisingly cozy!
Clay Pen Holders with Dividers
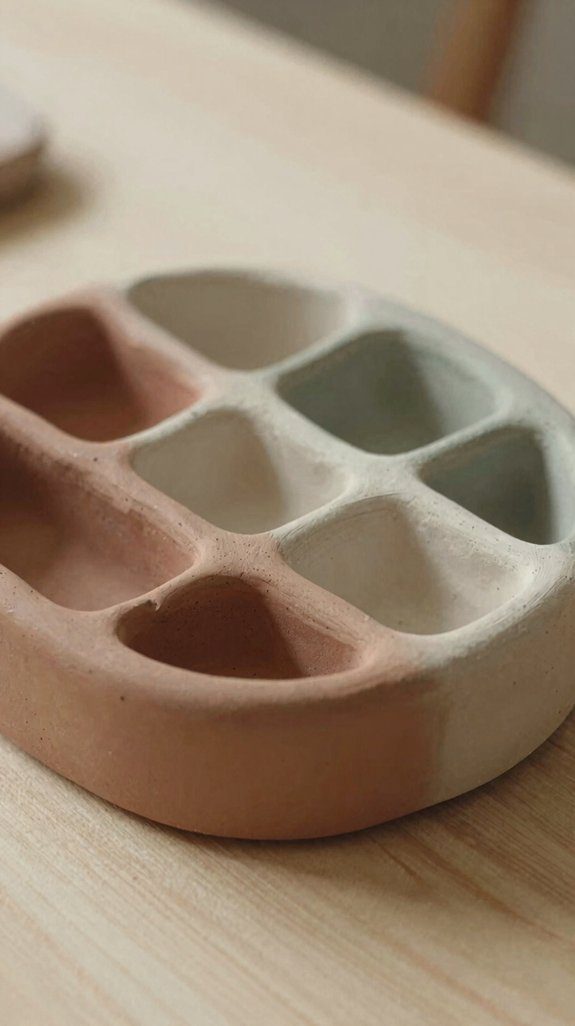
Give your desk a little upgrade with clay pen holders that actually keep things in line—no more pens rolling away like they’ve got places to be!
Roll air-dry clay into a sturdy base, about 5–8 mm thick, then shape two or three divider walls while it’s soft.
Cut neat slots with a craft knife, smooth the edges with a damp sponge, and let it dry flat for 24–48 hours.
After that, paint and seal it for wipeable, everyday use.
Add Color matching pen labels and use these desk organization tips to make your setup feel calm, cute, and totally yours.
Drawer Organizers Made from Clay Units
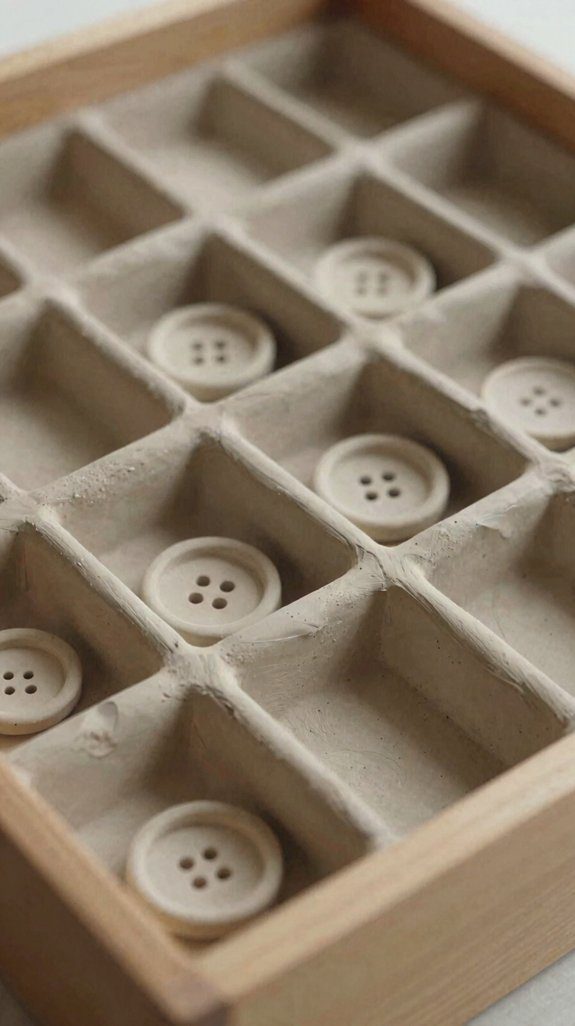
A drawer organizer made from little clay units is such a fun way to tame the chaos, and yes, it can look way cuter than a store-bought tray! With air dry clay, you roll identical pieces, fit them into your drawer, and create a setup that feels made for your life.
- Make shallow trays for coins or paper clips.
- Smooth joins with a damp sponge, then add texture finishing with leaves or stamps.
- Let them dry, paint, seal, and try removable inserts for easy reordering.
This drawer organization trick is cheap, friendly, and oddly satisfying, like joining the neat-freak club.
Clay Desk Name Plates
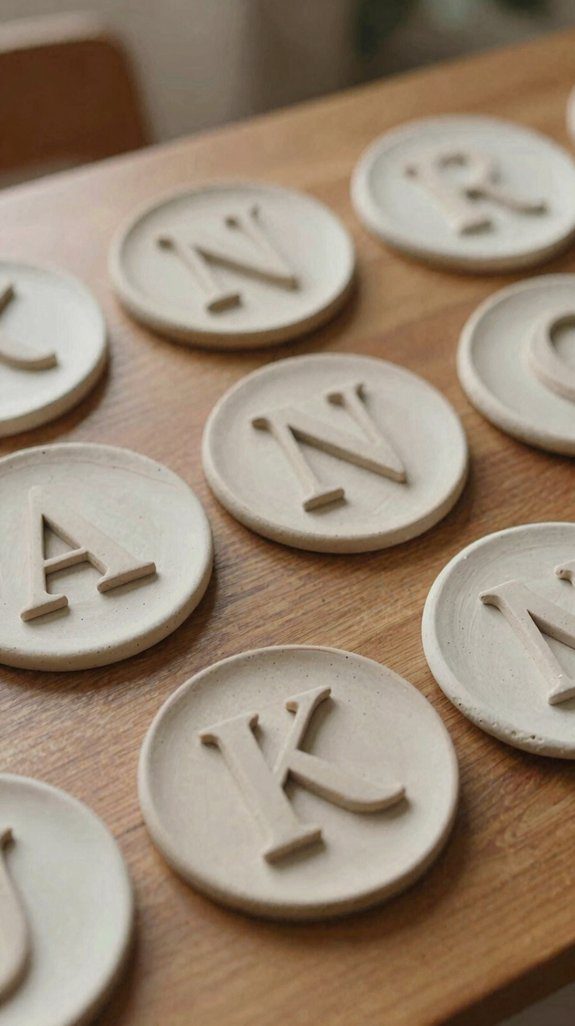
When you want your desk to feel a little more “this is my space” and a little less “mystery pile of papers,” a clay name plate does the trick beautifully! Roll air dry clay evenly, cut a neat shape, and smooth the edges so it feels sturdy in your hands. | Material | Why it helps | Tip |
| — | — | — |
|---|---|---|
| Clay | Easy to shape | Keep it wrapped |
| Tools | Adds detail | Stamp before drying |
| Paint | Finishes it | Seal after dry |
Press in letters or carve them, then use air dry tips: dry flat for about 48 hours. That’s desk setup customization with real charm! Add a tiny back ridge, paint it, varnish it, and boom—your spot feels officially yours!
Minimal Clay Coasters with Grip Texture
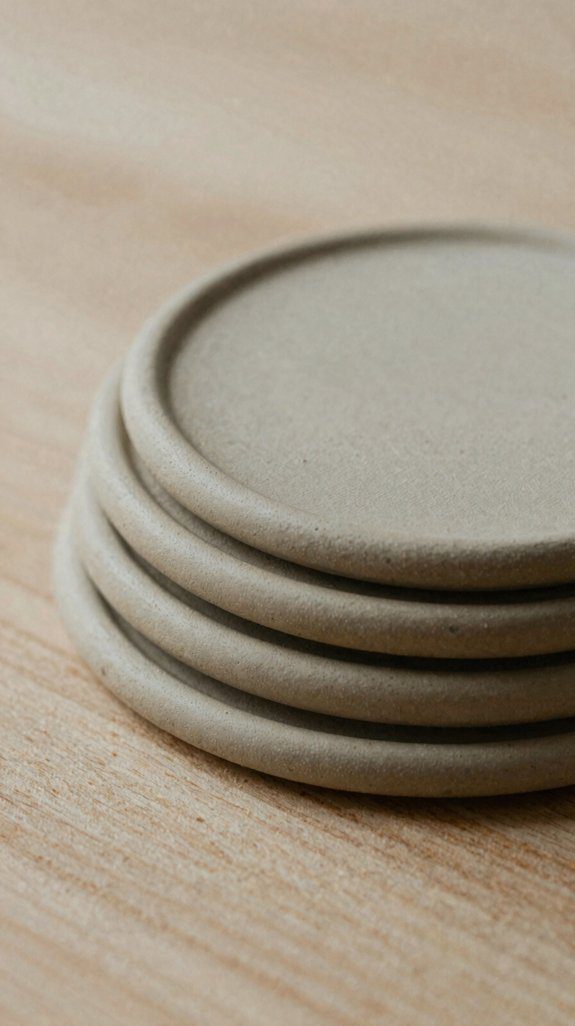
Tiny coasters can do a big job, and these minimal clay ones are proof! You’ll fit right in when you make a set that feels calm, cool, and useful.
- Roll 3–5 mm clay, cut 4–6 cm circles, and let them dry for about 48 hours.
- Press leaf, mesh, or glass-bottom textures for textured traction, then pinch a tiny rim to catch drips.
- Sand rough bits, test a mug, and seal with a water resistant finish.
If your cup wobbles, deepen the pattern first—easy fix, big upgrade! Suddenly, your table looks polished, and your drinks stay put.
Clay Ring Stands with Sculptural Form
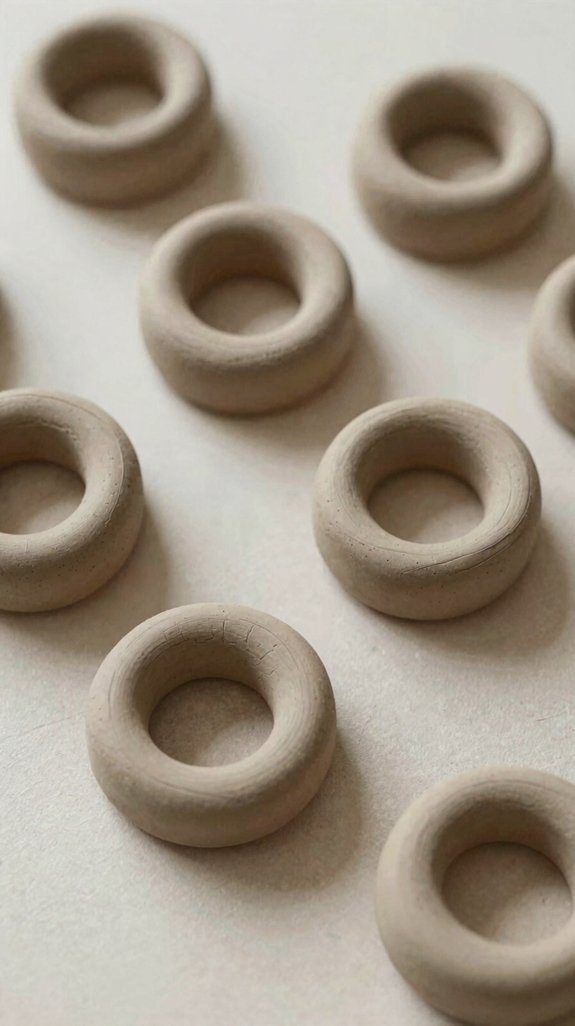
Sculpt a little ring throne, and suddenly your dresser feels way fancier! You can roll a base coil or slab, then pinch up a cone or wave so your rings rest neatly.
Add a textured rim, a shallow groove, or even tiny face-like contours with a craft knife or toothpick, and smooth everything with water and a sponge.
Keep the base flat so it won’t wobble, and make it wider for chunky rings or tighter for delicate bands.
Let it dry about 48 hours, paint it, then seal it with a water resistant finish—your cute helper won’t love puddles, but it’ll definitely shine!