Painted River Rocks Ideas That Look Beautiful and Last Longer
Try smooth mandalas, tiny leaf art, or bold black-and-white initials on a washed, sanded river rock, using waterproof acrylics, a fine brush, and thin coats—easy, cheap, and surprisingly stylish! For a softer vibe, paint ocean waves, pastel gradients, or zen neutrals, then let each layer dry fully. Finish with a clear outdoor sealer so your design stays bright through sun and rain, and if you keep going, you’ll find even more rock ideas that really pop.
Love cozy DIY projects? 💕
Get free printable guides, exclusive tutorials & surprise craft goodies straight to your inbox.
Disclosure: This post may contain Amazon affiliate links, at no extra cost to you. Content on DiyCraftNest is created with research support from AI tools and carefully reviewed, edited, and fact-checked by the lead author, Daniel Pat, to ensure accuracy and reliability. Learn more
Key Takeaways
- Start with smooth, clean river rocks, then lightly sand and sketch guide rings for balanced, beautiful designs.
- Use waterproof acrylic paint in thin layers, letting each coat dry fully to prevent smudges and keep details crisp.
- Try lasting designs like mandalas, line art, leaf patterns, ocean scenes, or soft pastel ombré blends.
- Add contrast for readability with white-on-dark initials, simple labels, or high-contrast black-and-white details.
- Seal finished rocks with a clear outdoor waterproof varnish to protect color from sun, rain, and handling.
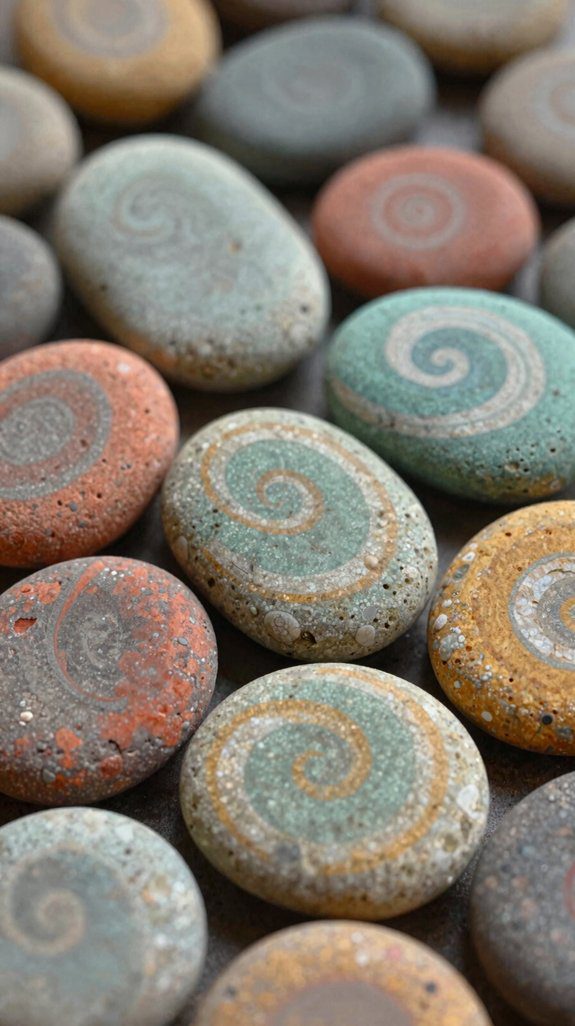
Smooth Mandala Designs on River Rocks
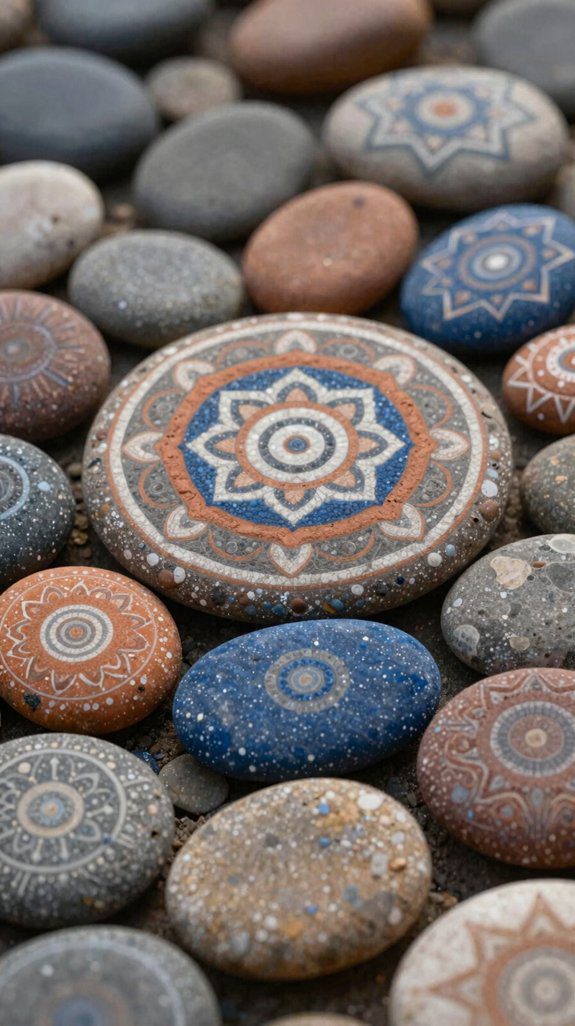
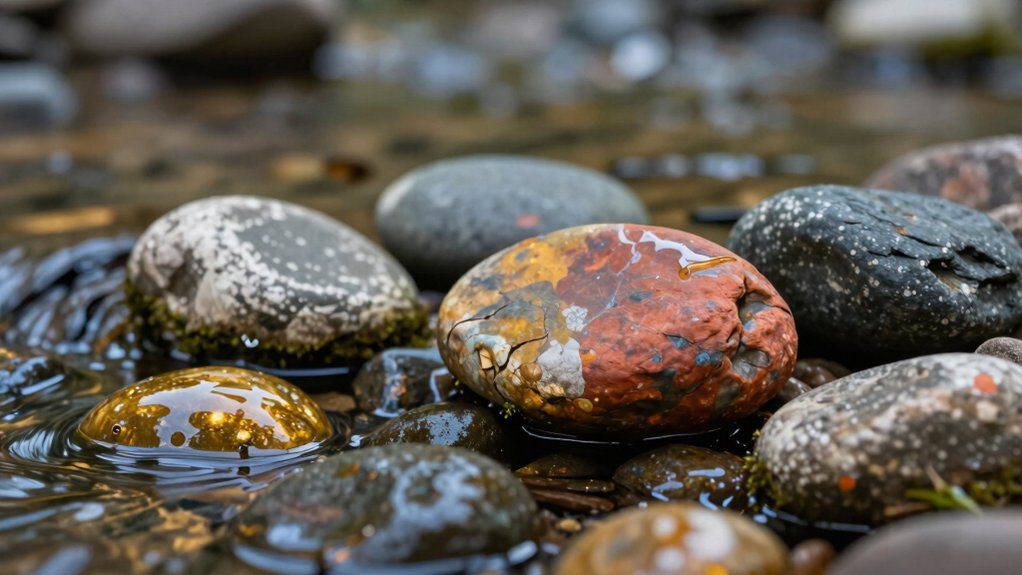
Start with a smooth river rock that feels nice in your hand—rounded, fairly flat on top, and free of deep grooves, because that gives your mandala the best chance to look crisp and clean. Lightly sand it, wipe away dust, then sketch a center dot and even rings so your design stays balanced.
Next, grab waterproof acrylic paint, a fine detail brush, and a little patience—yes, the sneaky kind! Paint thin petals, lines, and repeating shapes for a bright floral or bold abstract look. Finish with a clear outdoor sealer, and your rock’ll stay cheerful near water or in the garden.
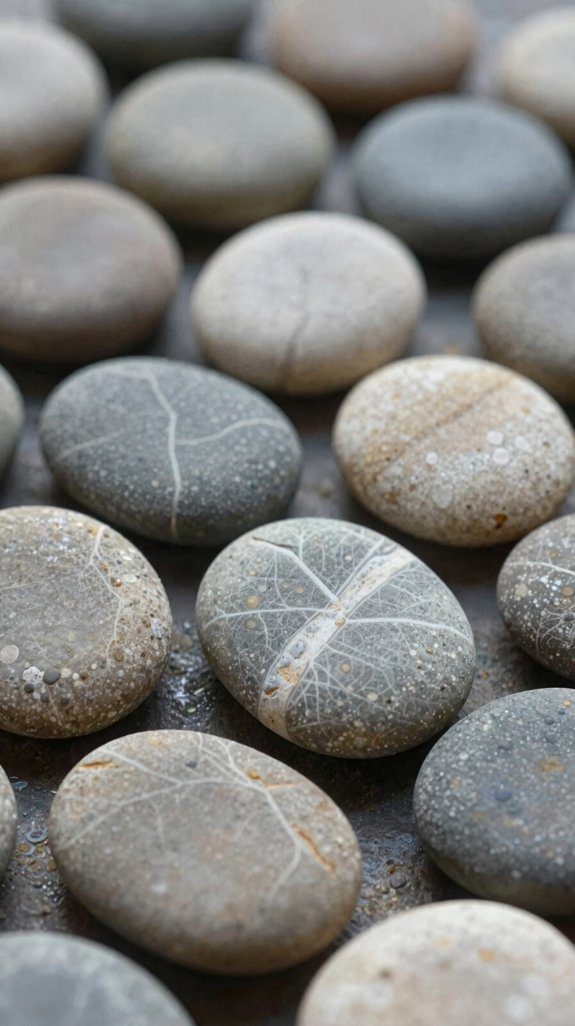
Minimal Black and White Line Art Stones
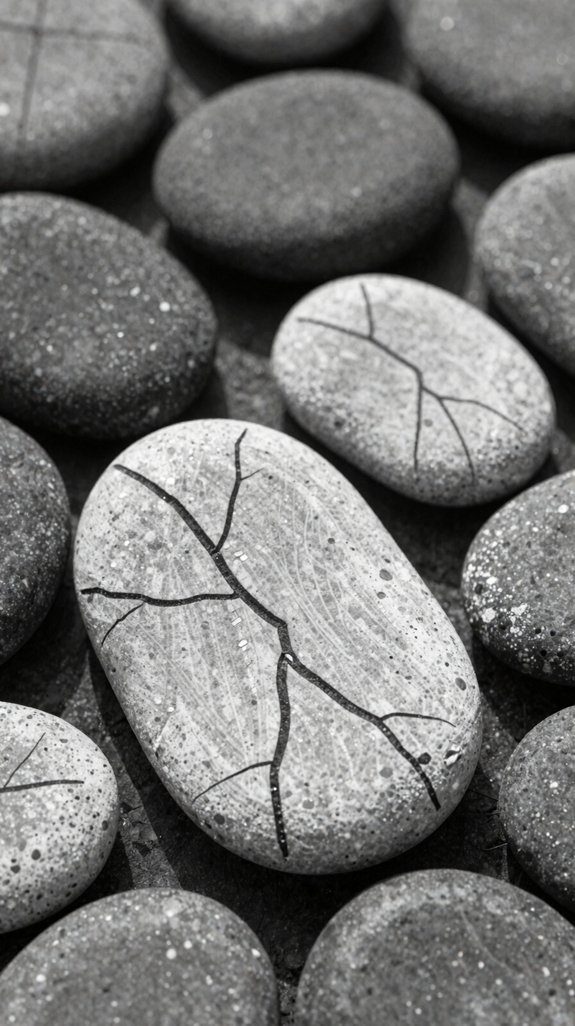
If you want your painted rocks to look modern and super clean, minimal black-and-white line art is such a fun choice!
You can grab smooth river rocks, waterproof acrylic paint or paint markers, and a fine brush.
Sketch simple icons, waves, or tiny leaves with steady line art consistency, then fill nothing in, so the look stays crisp and easy.
Add weatherproof sealing after they dry, and your art can handle sun, rain, and busy hands.
Group the stones in little clusters or paths, and those bold black lines will pop against the gray and tan rock colors.
Cute, right!
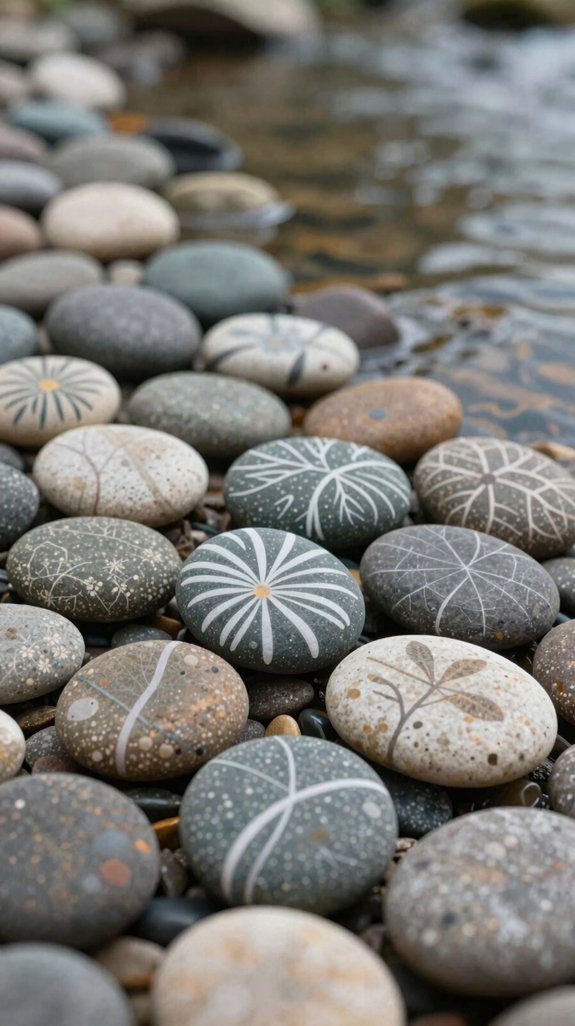
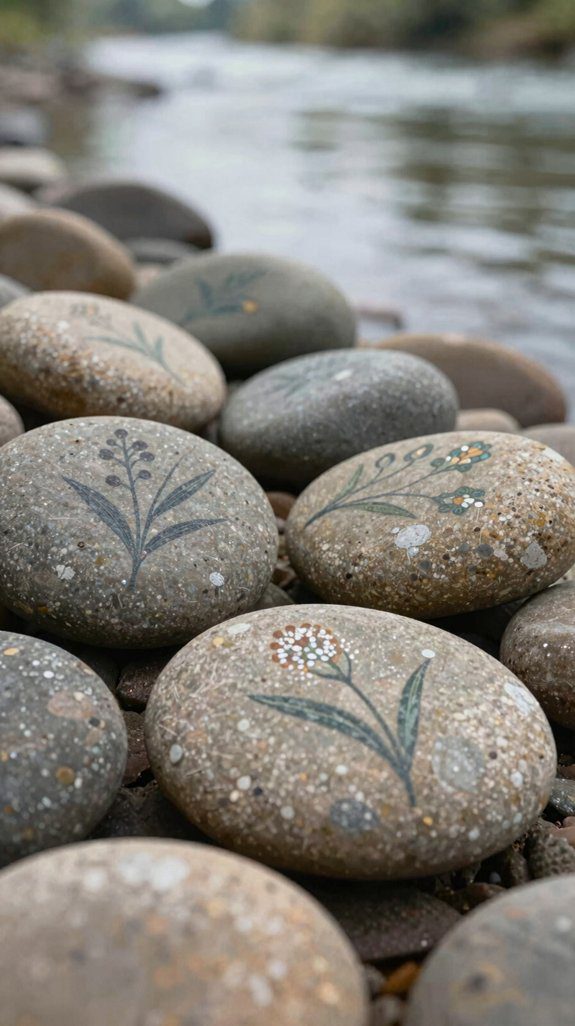
Nature-Inspired Leaf and Tree Designs
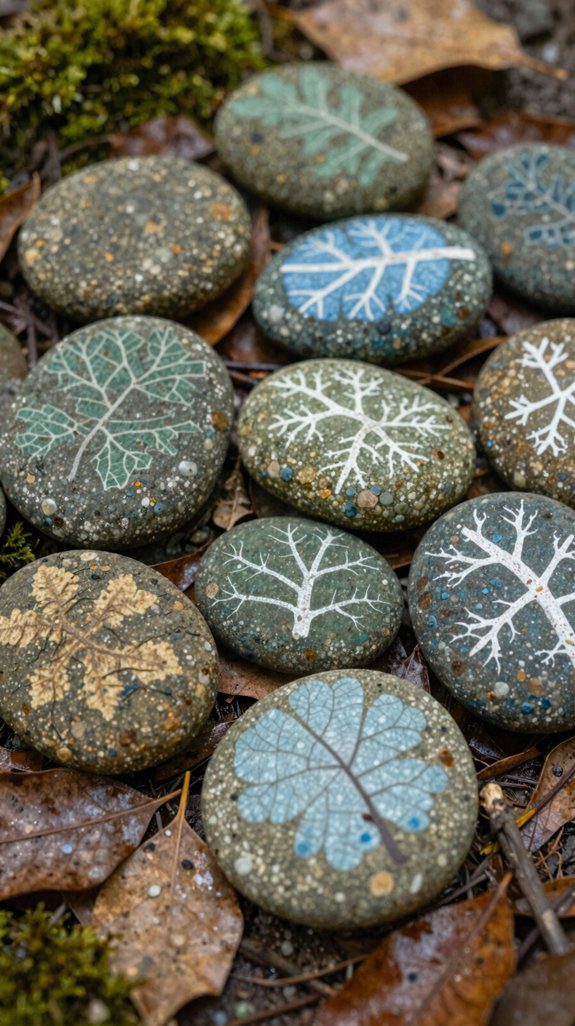
When you’re ready to bring a little woodland charm to your painted rocks, leaf and tree designs are a gorgeous next step! Grab outdoor acrylics or enamel paints, a fine brush, a sponge, and sealant, then keep your palette to 2–3 greens plus brown or gray.
Paint simple ovals with serrated edges, thin branch lines, and a dark brown tree trunk. Let each layer dry, then dab a leaf cluster with the sponge for soft texture.
Add veins, lighter canopy dots, and a matte or gloss sealant. These little forest stones look clear from far away and hold up beautifully!
Ocean-Themed Painted Rocks
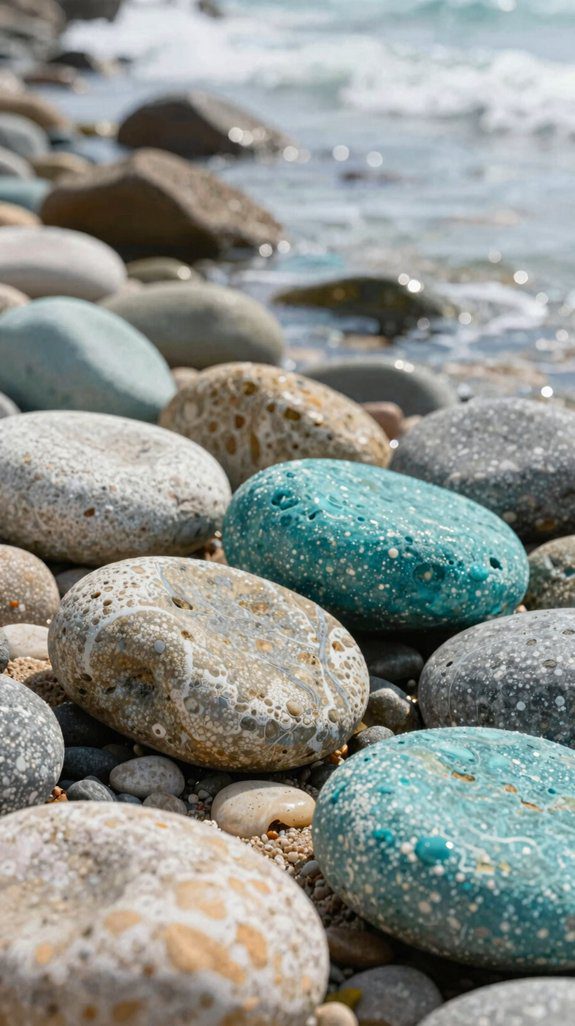
Nothing says “beach day” quite like ocean-themed painted rocks! You can turn plain stones into tiny seaside treasures with waves, sea turtles, starfish, seashells, or fish, and they’ll feel like they belong in your backyard squad.
Use acrylic craft paint in thin layers, so details stay crisp and dry evenly.
Add coastal texture effects with light dry-brushing, then tint edges in teal, aqua, or deep blue for sea glass sparkle.
Let each layer dry fully before sealing, or you’ll get smudges—oops!
Finish with a waterproof outdoor sealant, and your rocks’ll stay bright in sun and humidity for ages.
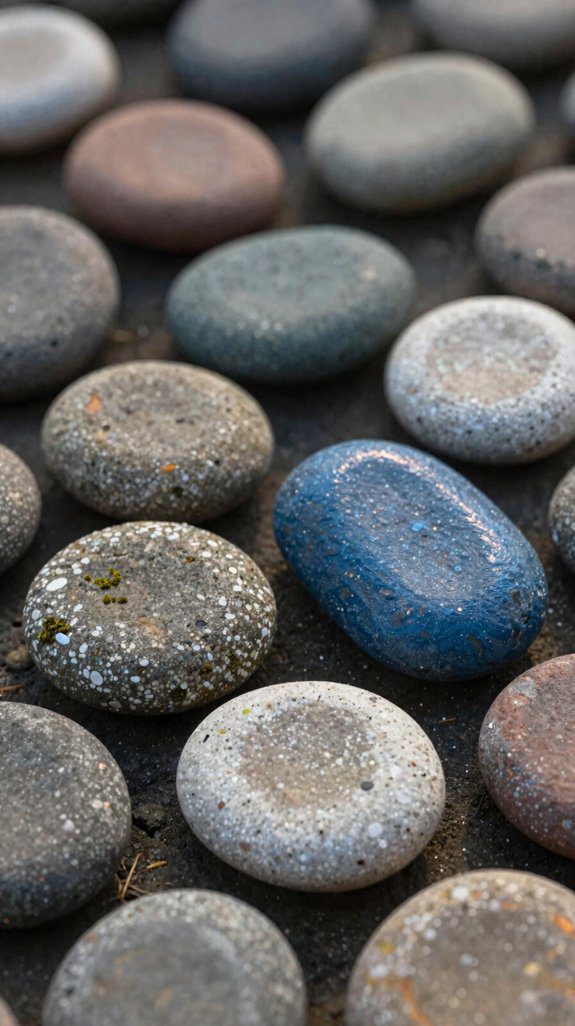
Gradient Color River Rock Designs

Blend your river rocks into a smooth little color parade, and suddenly your border looks custom-made! Start by sorting stones by shade, from deep blue to pale aqua, so you can build the band with color consistency tricks and keep the passage clean. Use simple acrylic paint, a brush, and a tray, then let natural light blending guide your choices as you place each rock.
For liner placement hacks, set the widest fade in flat spots where viewers can actually see it.
Finish with outdoor sealing tips, because a good sealer helps your gradient stay bright, resist water, and look fresh all season!
Zen Style Neutral Painted Stones
For a calm, spa-like look, pick zen style neutral painted river rocks in beige, taupe, sand, or soft gray, and give them a smooth painted finish so they look polished, not like you just spilled craft paint in the yard—oops!
Use a brush or sponge, then try stone stencil techniques for thin lines or tiny borders, or add zen dot patterns right in the center. You’ll spend little, and the steps stay easy.
After they dry, seal each stone with a clear outdoor topcoat. Nestle them in sand, pebbles, or a tray, and your décor feels peaceful, welcoming, and beautifully intentional.
Tiny Animal Art on Small River Rocks
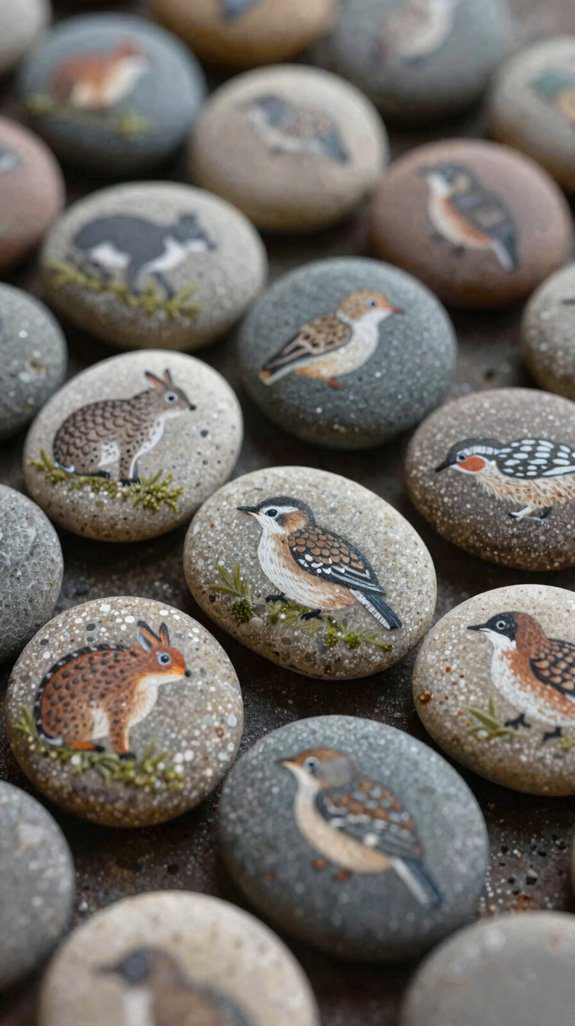
If the calm neutral stones have you in a creative mood, tiny animal art on small river rocks is such a fun next step!
Pick smooth, flat rocks, then grab a fine-tip paint pen or ultra-thin acrylic paint for crisp little critters.
You’ll fit right in with this friendly project, whether you’re making kid friendly crafts or a seasonal festival display.
- Sketch dot-and-line animals: ants, ladybugs, owls.
- Let each layer dry fully, especially eyes and legs.
- Seal with clear outdoor Mod Podge or weatherproof acrylic sealer.
The result? Tiny, cheerful rock pals that last longer, and honestly, they’re ridiculously adorable!
Painted Pebble Sets for Decor
Once you start painting a few pebbles, it’s hard not to keep going, because painted pebble sets can turn a handful of smooth river rocks into cute little décor magic!
You can make a shelf trio or a tiny tabletop cluster with just flat stones, outdoor-safe paint, and a clear coat.
Start with a base color, let it dry fully, then add dots, stripes, or little stonescapes for extra charm.
Keep consistent color themes, like beach blues or garden greens, so every piece feels like it belongs.
Finish with weatherproof sealing, and your set’ll stay bright, neat, and ready to show off!
Matching Rock Sets for Gifts
Those cute painted pebble sets you just made can turn into seriously sweet gifts, especially when you match the rocks so they look like they belong together! You’ll help the recipient feel instantly included, and honestly, that’s half the magic.
- Pick rocks with the same size, color, and finish.
- Use one theme, like dots or symbols, so the set feels connected.
- Add gift ready packaging with a tiny note showing how to group them.
If they’ll live outside, choose outdoor weatherproofing and the same base and topcoat for every stone. That keeps the gift looking polished longer, yay!
Simple Landscape Scenes on Flat Stones
Smooth flat river rocks make the cutest tiny canvases, and you can turn them into little scenic scenes without needing upscale art skills—yay! Pick a stone, sketch a sky band and ground band, then add one focal point.
| Idea | Materials | Tip |
|---|---|---|
| Mountain | blue paint, brush | add snow caps |
| Tree | green, brown paint | keep it simple |
| Beach | gray, tan paint | try simple beach motifs |
| Holiday | red, white paint | great for seasonal holiday ideas |
Paint with acrylics, let each layer dry, then add tiny highlights. Seal it, and your scene stays bright outside!
Geometric Patterns on Smooth Rocks
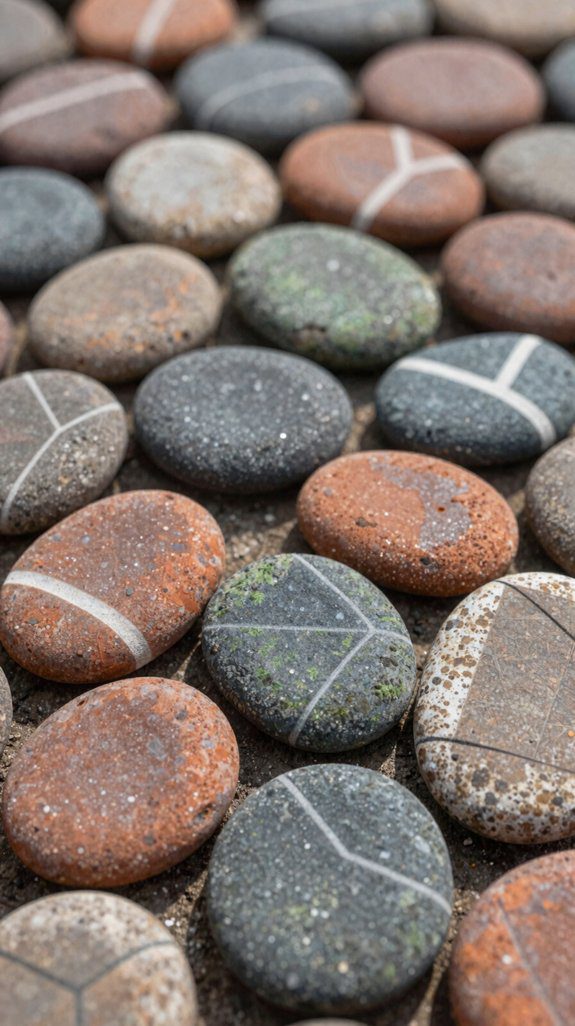
From tiny triangles to bold chevrons, geometric rock designs can look super sharp without being hard to paint! Pick smooth, flat stones, sketch your pattern, and grab acrylic paint, painter’s tape, and a fine brush. You’ll fit right in with this easy craft crowd!
- Use color mixing techniques to match or contrast shades.
- Try stencil tape methods for stripes, angles, or tidy tessellations.
- Paint thin coats, letting each one dry fully, so edges stay crisp.
Seal your finished rock with a clear outdoor topcoat, and it’ll handle sun, rain, and porch life like a champ!
Soft Pastel Painted River Rocks
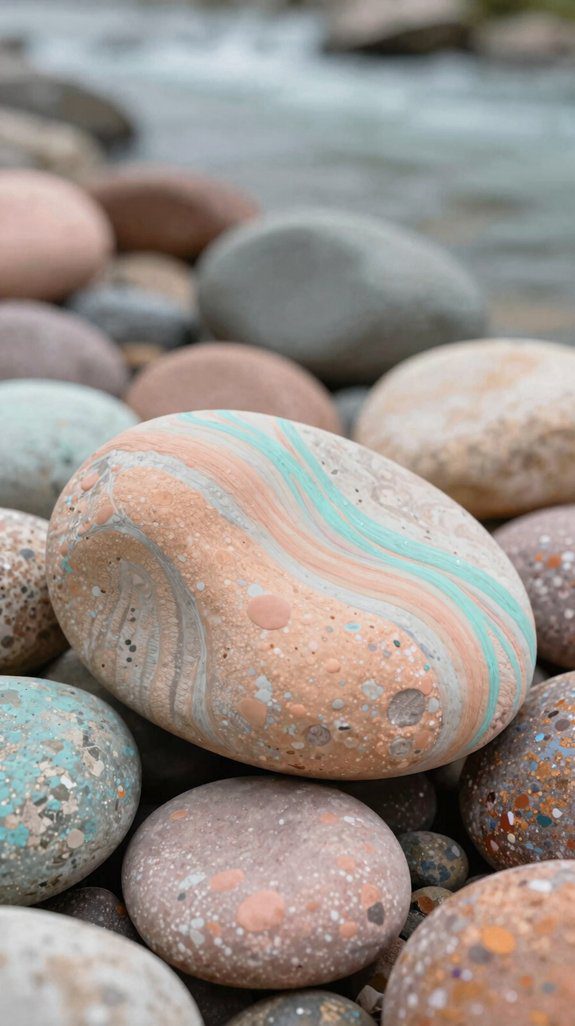
A cluster of pastel-painted river rocks can turn an ordinary windowsill or garden path into a tiny, happy color story! You’ll feel right at home choosing blush pink, powder blue, mint, and lavender for a calm, cozy vibe.
Wash the smooth stones, dry them well, then brush on a thin base coat. Good color mixing helps you make soft pastel gradients, and steady brush control keeps details neat on the rock texture.
Add dots, swirls, or tiny florals after each layer dries. Seal them with clear varnish, and they’ll stay bright, charming, and ready for weather without drama!
Name or Initial Painted Stones

Why not turn a plain river rock into a tiny name tag with charm? You can make stones painted with letters that feel personal, friendly, and easy to spot.
First, wash and dry the rock, then use waterproof craft paint or a permanent marker for crisp lines.
- Paint one big initial, like A or S.
- Add a short year underneath.
- Seal it with clear outdoor weatherproofing techniques for lasting color.
For best contrast and readability, try white on dark stone. It’s cheap, simple, and quick, and your rock won’t look lost in the garden!
Decorative Stone Collections for Display
On a tray, in a shallow bowl, or tucked into a shadow box, painted river rocks can turn into a tiny art show that feels neat, colorful, and totally personal!
Try themed sets, like beach scenes, constellations, or seasonal colors, using stones you’ve already painted and a simple base.
Mix small focal rocks with bigger background pieces for depth, then follow Display arrangement tips by grouping colors in odd numbers.
A clear waterproof sealant boosts Outdoor sealant longevity, so your collection stays bright even if you handle it or set it outside.
Add a short label, like “blue waves—2 coats,” and voilà, instant charm!
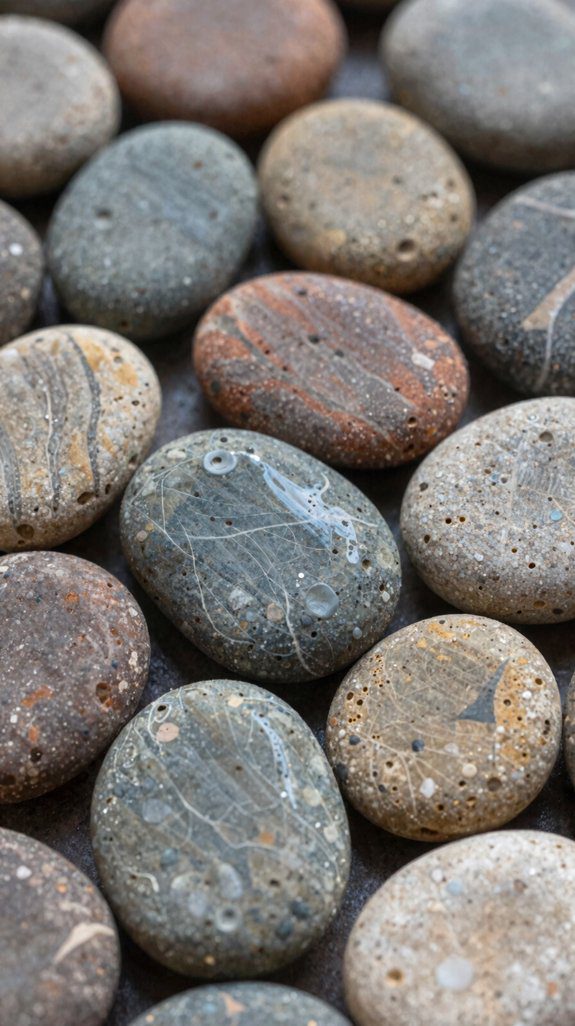
Calm Aesthetic Rock Painting Styles
If you want your painted river rocks to feel calm instead of loud, start with soft ombré blends in sea-glass green, dusty blue, or sandy beige—those colors look peaceful right away! You’ll fit right in with nature, and your stones can feel like tiny shared treasures.
- Use soft watercolor washes with a damp brush.
- Add fine-tip acrylic paint pens for tiny waves or leaf veins.
- Finish with repeatable dots or half-moons, then seal them.
Keep contrast low, choose muted tones, and lean into garden themed shapes. After curing, they’ll stay pretty outdoors, rain or shine!