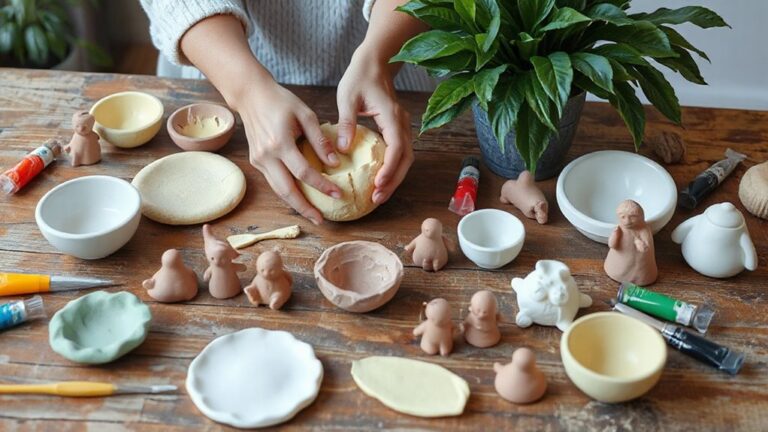
Air Dry Clay Texture and Style Ideas That Look High-End and Trendy
You can make air dry clay look luxe with easy tricks! Press linen into 1/4-inch clay for a woven look, brush on brown-gold wash for stone vibes, or shape wavy rims with damp fingers for a handmade feel. Try fine sanding for a brushed matte finish, then add leaf prints, soft gradients, or gold edges. These ideas are cheap, beginner-friendly, and way fancier than the clay should legally be—stick around, the best texture twist comes next!
Love cozy DIY projects? 💕
Get free printable guides, exclusive tutorials & surprise craft goodies straight to your inbox.
Disclosure: This post may contain Amazon affiliate links, at no extra cost to you. Content on DiyCraftNest is created with research support from AI tools and carefully reviewed, edited, and fact-checked by the lead author, Daniel Pat, to ensure accuracy and reliability. Learn more
Key Takeaways
- Press tight-weave linen or cotton into 1/4-inch clay for a clean, high-end woven texture.
- Create faux stone with brown acrylic, gold accents, and speckling for a luxe mineral finish.
- Shape organic wavy rims and pinch edges for an elegant, hand-built sculptural look.
- Add brushed, ribbed, or leaf-impressed textures for subtle, trendy surface detail.
- Use layered neutral washes, gold highlights, and matte varnish for a polished, modern finish.
Linen Texture Clay Using Fabric Press
If you want your air-dry clay to look like it came straight from a cozy linen shop, this fabric-press trick is such a fun one!
Start with evenly rolled clay about 1/4 inch thick, then check your fabric selection guide and choose woven cotton or linen with a tight weave.
Press the fabric firmly onto the clay for 10–20 seconds, then lift it straight up, no sliding, so the grain stays crisp.
For extra-fine fibers, lightly dampen the clay with a makeup sponge first.
Nice, right?
Afterward, brush off lint, follow simple drying time tips, and let it harden flat for 24–48 hours.
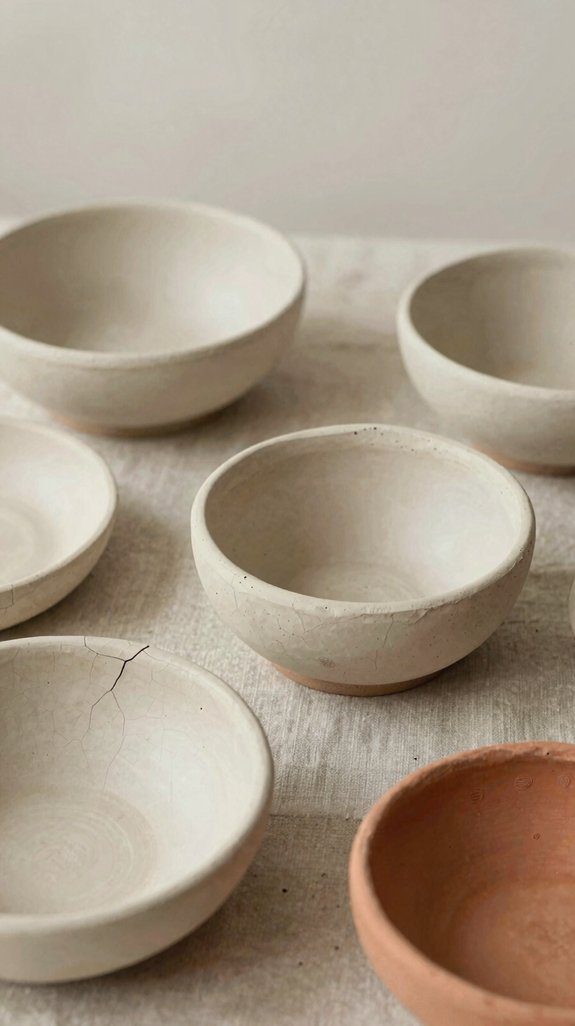
Stone-Look Clay Finish for Natural Style
For a stone-look clay finish that feels natural and a little decorative, start with fully dried clay and get your paint ready—brown acrylic mixed with a touch of gold metallic paint makes a great faux-stone base. Stipple it on for a speckled mineral vibe, then let it dry. You’ll fit right in with neutral boho decor, especially next to glazed ceramic accents!
Next, lightly buff the surface with fine-grit sandpaper to lift tiny peaks, then add a darker brown-gold wash in edges and texture spots. Finish with clear varnish for a raw or glossy stone shine. Easy, right?
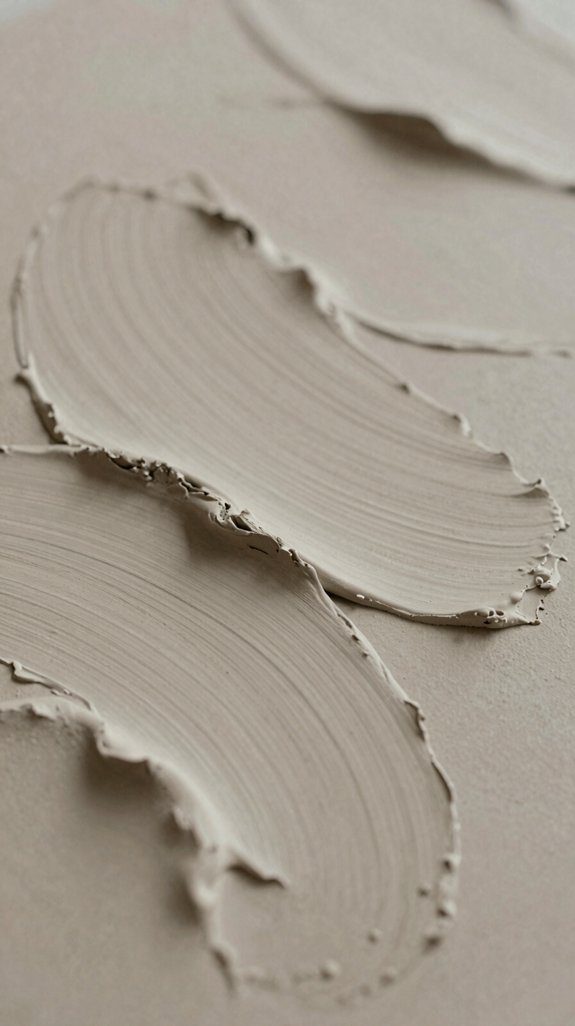
Soft Sand Texture Matte Clay Design

A soft sand texture can turn plain air-dry clay into something that looks like it washed up from a sunny beach, and honestly, it’s easier than it sounds!
Wait 24–48 hours, then lightly press 220–400 grit sandpaper on bone-dry matte clay in short passes.
- Sand only the top surface
- Wipe away dust removal with a tack cloth
- Choose sealant options that stay matte
Keep your strokes one-way, then try 320 to 400 grit for a smoother feel without losing grain.
You’ll get a warm, touchable finish that feels current, costs little, and makes your piece look like it belongs on a styled shelf!
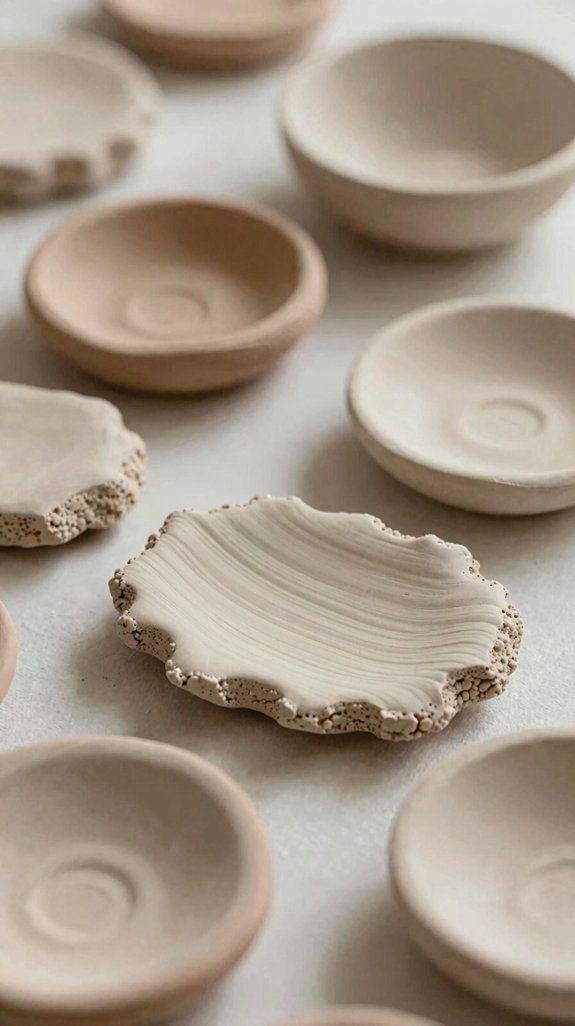
Organic Wavy Edge Clay Plates
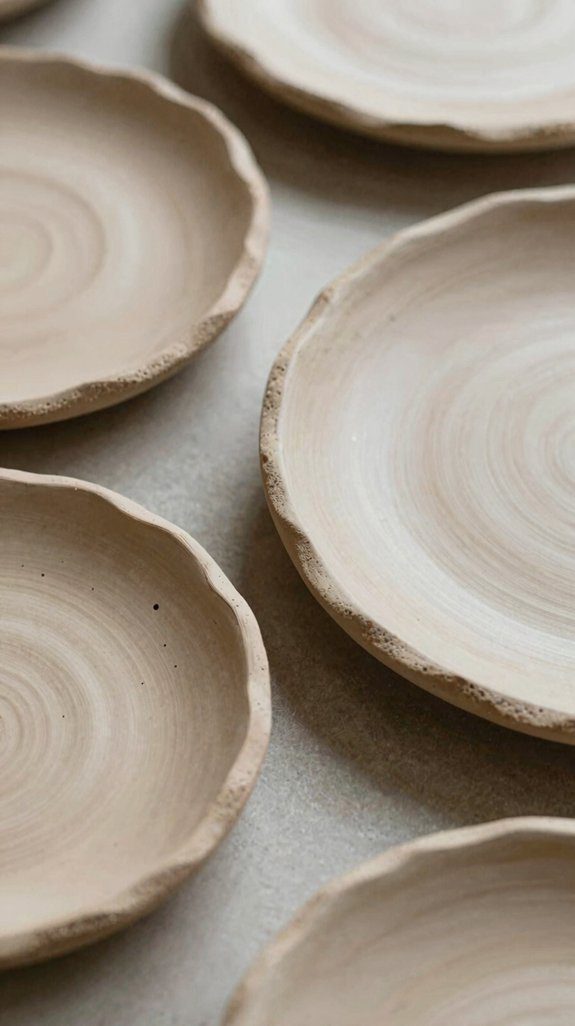
With just a little air-dry clay, you can make organic wavy edge plates that look custom-made, artsy, and way more expensive than they are!
Roll your clay to about 1/4 inch thick, cut a plate shape, and leave the rim a little uneven so it feels natural, not perfect.
Then pinch, lift, and press the edge with damp fingertips, using a water + sponge touch to smooth away fingerprints.
After 24–48 hours, sand the rim lightly, add a rim highlighting trick with gold paint, then seal it with a gloss varnish finish for a polished, ceramic-like glow!
Brushed Texture Clay Surface Effect
Once your clay piece is bone-dry, give it a light sanding with 220–400 grit so the surface feels smooth enough for a clean brushed finish—nothing flashy, just a quick prep step that makes a huge difference!
You’ll feel like you’re joining the cool kids’ table.
- Mix thin paint or diluted acrylic, then brush one way only.
- Wipe back a few highlights with a damp sponge for soft streaks.
- Try a color blocking technique with warm brown, gold, and cream.
For extra style, keep coats thin, then seal after drying with a matte or satin finish.
That brushed look? So chic!
Speckled Clay Finish for Ceramic Look

If you loved that brushed finish, here’s another easy way to make your clay look like stylish stoneware—add tiny specks for a ceramic-style surface! Mix a pinch of dried coffee grounds or black pepper into white air-dry clay, then knead until the dots spread evenly. That’s one of my favorite Color mixing tricks for instant charm.
Shape your piece, let it dry 24–48 hours, then sand it with 320–400 grit for a smoother feel. Wipe off every bit of dust, because nobody wants patchy varnish.
Finish with satin or gloss, and your glaze seal types will give you that cozy, high-end, pottery-shop glow!
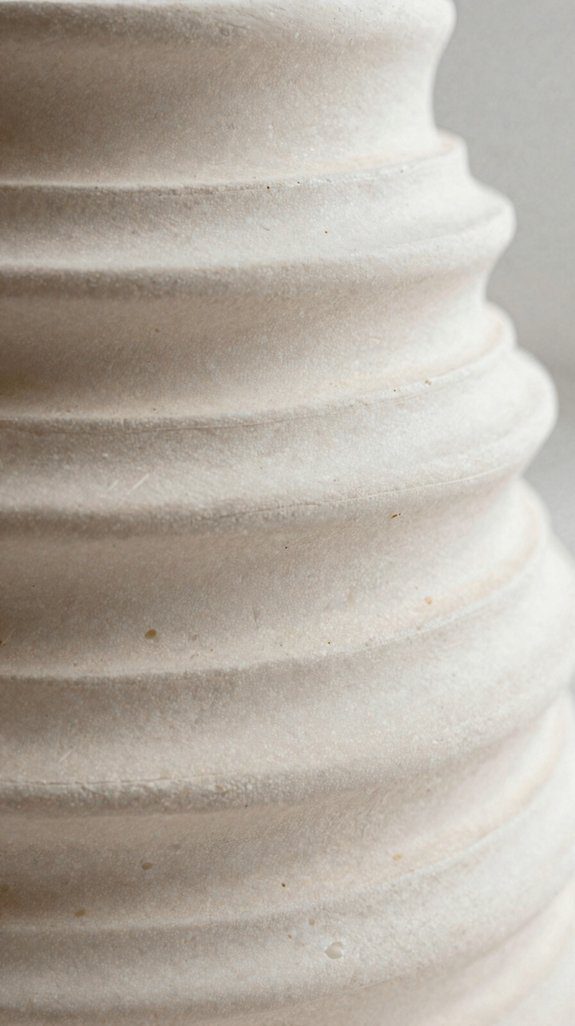
Ribbed Texture Clay Designs
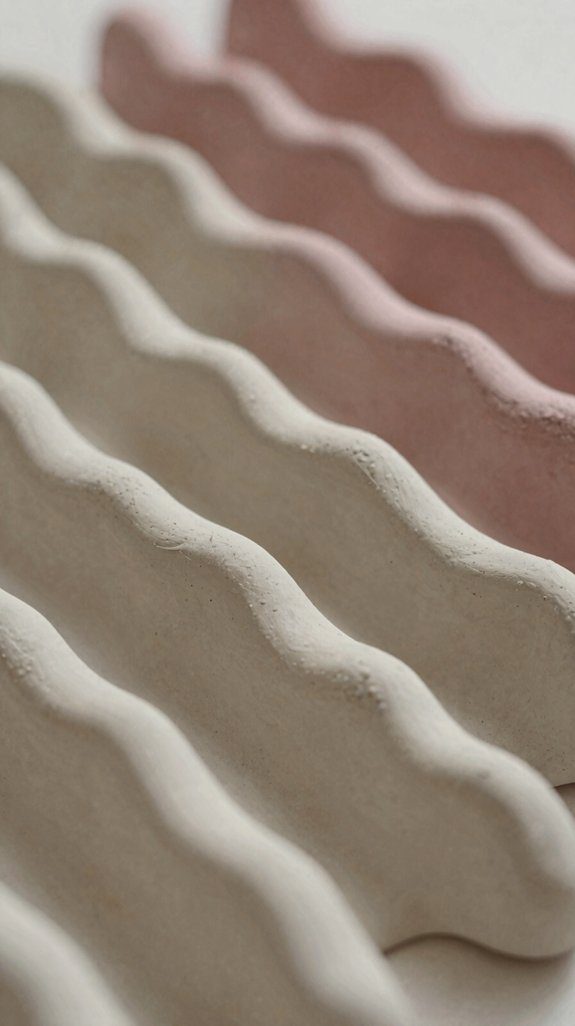
For a chic, high-end look, ribbed clay is one of those tricks that looks way fancier than it really is!
Roll your clay to 1/4 inch, then press in even lines with a comb, ribbed tool, or fluted roller.
- Keep the clay slightly firm for crisp grooves.
- Smooth only the ridge tops, not the valleys.
- After drying, sand lightly, then seal for that luxe shadow play.
You can even mix in slate stamp textures or geometric ribbing patterns for a custom vibe.
Finish with a matte or gloss varnish, then add a tiny gold line on the peaks, and boom, you’ve got designer energy!
Layered Color Clay with Subtle Contrast
Layering two clay colors can instantly make a piece look more polished and expensive, and honestly, it’s such a sneaky little upgrade!
Roll white and terracotta to 1/4 inch, stack them, and let the darker edge peek out.
| Step | Result |
|---|---|
| Tear in tiny bits | faux terrazzo specks |
| Brush on a brown-gold wash | color depth |
| Sand after drying | sharper, designer edges |
Keep blending just enough for soft wisps, not a full mix. After 24–48 hours, sand with 320–400 grit, then seal with matte or satin varnish. You’ll get that warm, stone-like look your crew will totally admire!
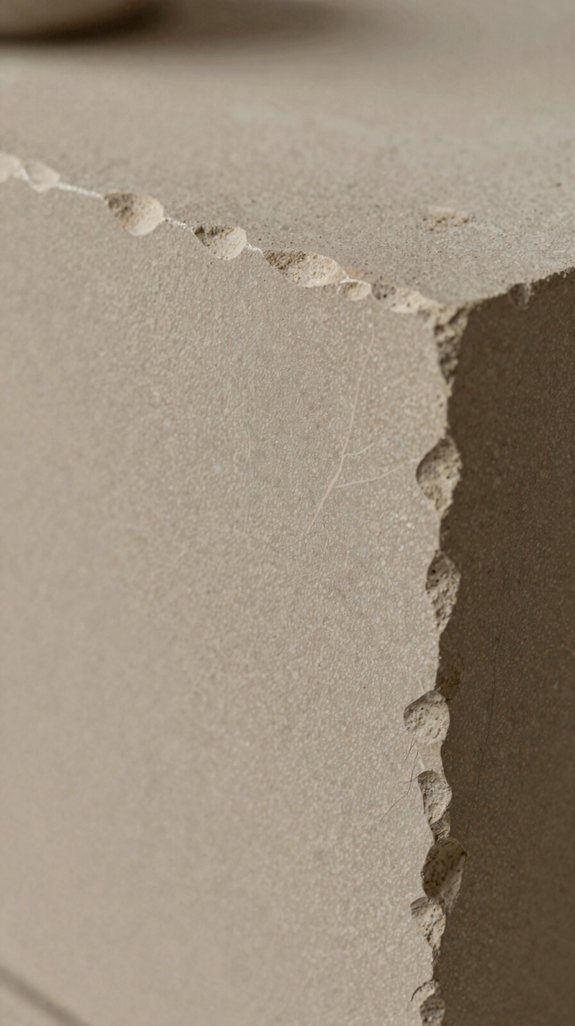
Raw Edge Clay for Handmade Feel
Once your clay is leather-hard, you can keep that sweet handmade look by cutting or snapping the shapes cleanly, then giving just the outer rim a light dab with a damp sponge to knock back obvious fingerprints.
- Try clean rim trimming with a craft knife, ruler, and steady hand.
- Use damp sponge finishing only on the edge, not the face.
- Let pieces dry 24–48 hours, then do a tiny 220–320 grit buff on rough spots.
That’s it—easy, cheap, and kinda magic! Dry flat, add tiny gold accents on the edge if you want, and your piece keeps its raw, high-end vibe.
Pressed Leaf Pattern Clay Designs
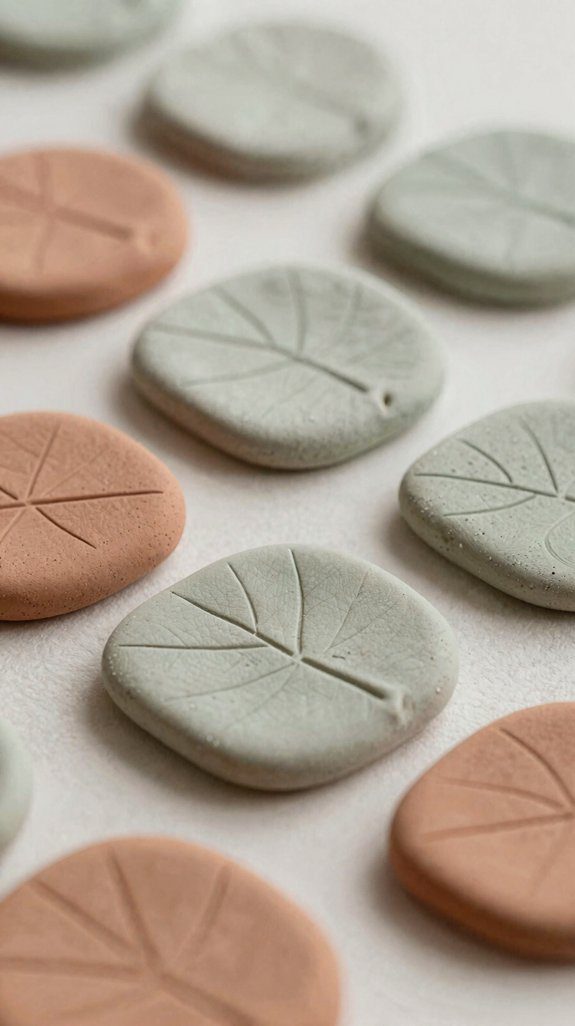
If you want a design that feels stylish without being fussy, pressed leaf clay is such a win!
Roll clay to about 1/4 inch, then press a fresh eucalyptus or fiddle-leaf leaf in firmly. You’ll get elegant vein detailing that makes the piece feel boutique, not basic.
Trim around the print while it’s wet, lift the leaf gently, and drape the cutout over a small bowl to shape it into textured leaf plates or a tiny trinket dish.
Let it dry 24–48 hours, sand lightly, then paint or seal.
The result? A lush, high-end finish that looks way pricier than it is!
Minimal Carved Line Clay Art
For a clean, modern look that still feels handmade, minimal carved line clay art is a total favorite! You’ll love how easy it’s to make, and it fits right into a stylish shared space.
- Shape a thin 1/4-inch clay base, dry it fully, then sand the edges smooth with 220–400 grit.
- Mark zigzags or closure lines with a pencil and ruler, then carve them one way with a craft knife.
- Fill grooves with gold paint, then seal with matte varnish for a soft finish, or gloss for a ceramic vibe.
Contrast glazing keeps the lines sharp, chic, and just a little ornate—no art-school drama required!
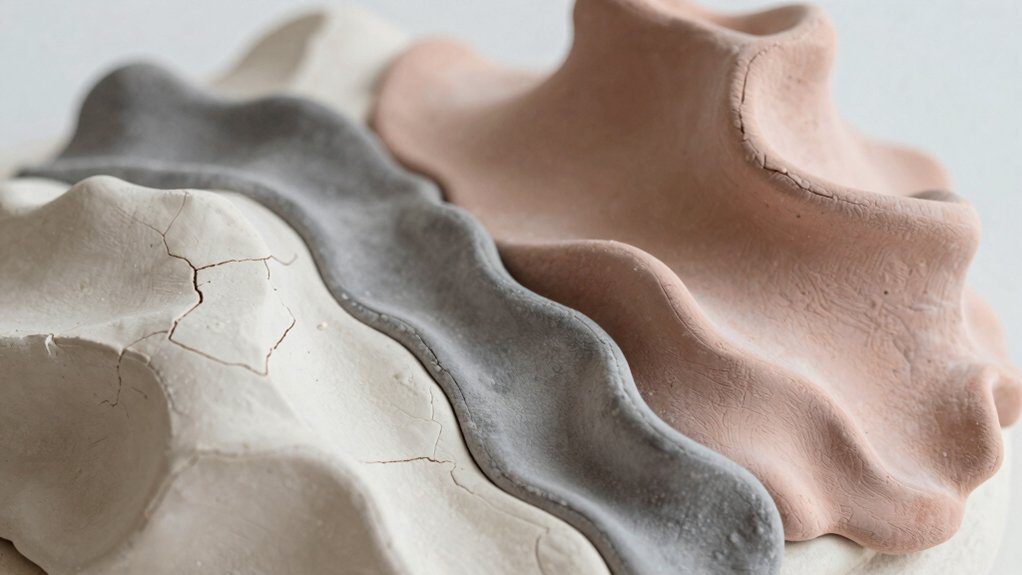
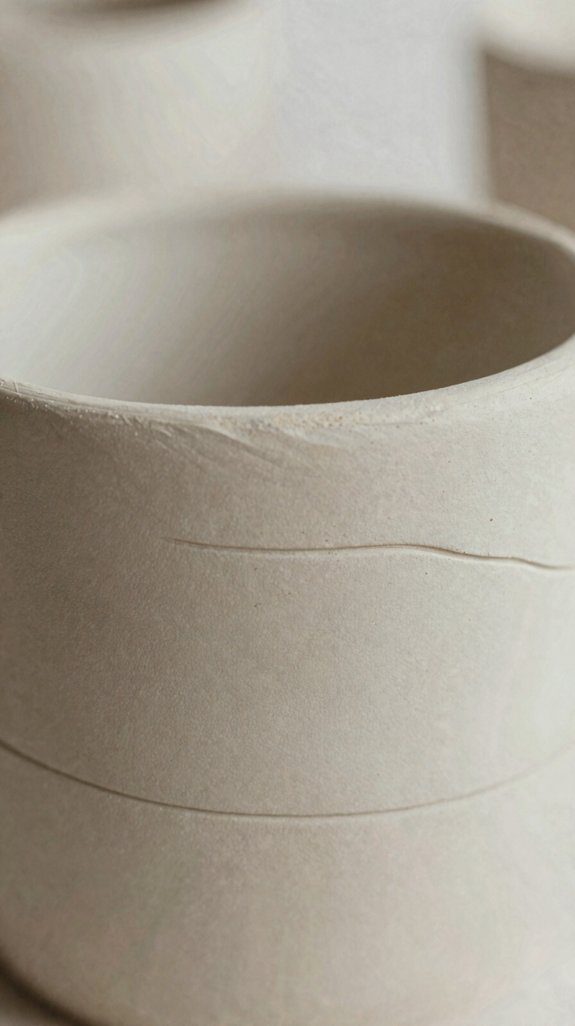
Soft Curve Sculptural Clay Pieces

When you want your clay to look soft, calm, and a little elegant, sculptural curves are such a good move! Roll air-dry clay to 1/4 inch, press a bowl in, and lift the center. You’ll get a cozy, high-end shape that feels right at home.
| Step | Result |
|---|---|
| Smooth edge | Soft finish |
| Dry 24–48 hrs | Solid form |
| Add water dab | Blended seam |
| Shape a lip | Sculptural rim details |
| Sand lightly | Crisp curve |
For ring-cones, pinch up a rim, tilt one side, and round the tip. Use glaze less finishing, then add tiny coffee grounds for speckles—subtle, chic, and not fussy!
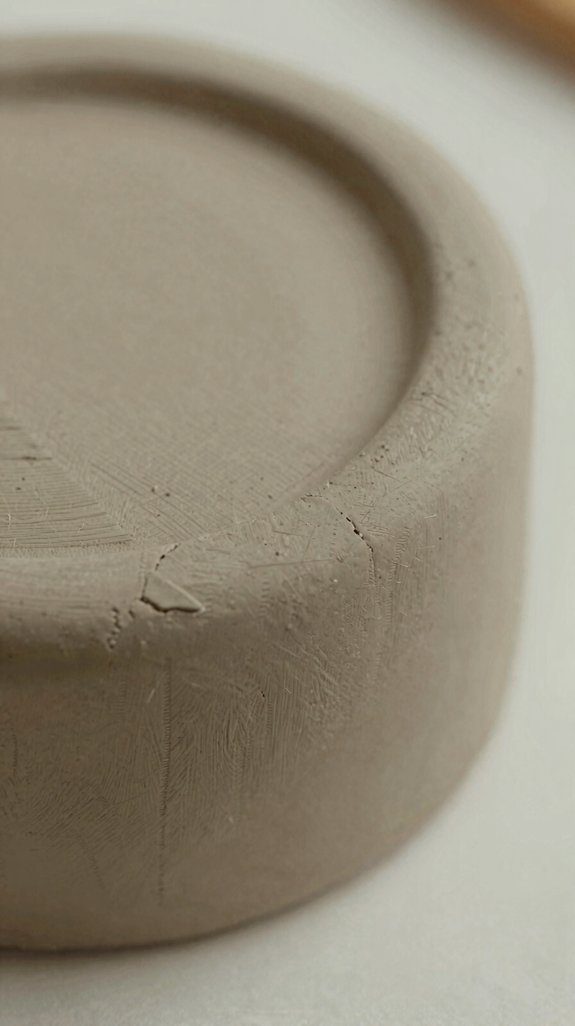
Natural Imperfection Wabi-Sabi Clay Style
Unlike perfectly polished pieces, wabi-sabi clay style celebrates the little quirks that make handmade work feel alive! You can leave fingerprints, pores, and tool marks showing, and they’ll read as charm, not mistakes. Try these easy ideas:
- Shape pinched rims and slight asymmetry for a hand-built feel.
- Let pieces dry 24–48 hours, so tiny curls or cracks become part of the design.
- Add matte sheen contrasts with gold dots on stamped spots, then finish with matte varnish.
These kiln fired comparisons feel calm, modern, and quietly luxe. Sand lightly, then seal for a soft, stone-like result that feels like yours!
Clay with Embedded Natural Elements
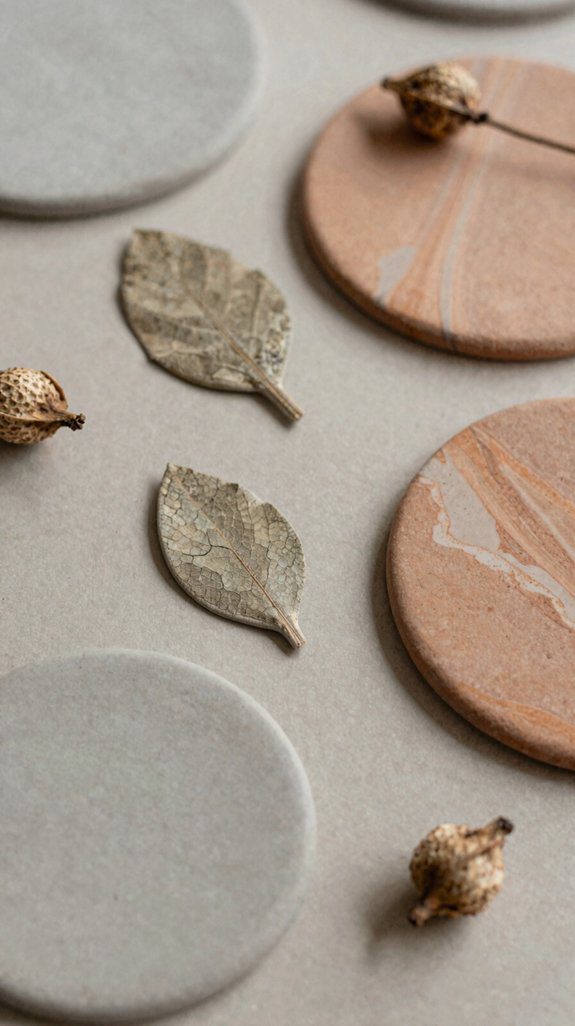
If you loved the soft, handmade feel of wabi-sabi pieces, adding real natural bits takes that organic look up a notch, and it’s so fun to make!
Start with a thin sheet of clay, press in fresh leaves with botanical impressing methods, then cut and curve it into a shallow bowl for a crisp vein pattern that feels luxe and calm.
Want a seasoned clay finish? Mix in tiny coffee grounds or spices, shape it, then wait 24–48 hours before sanding, so the speckles stay sharp.
For a bold surprise, wrap clay around a smooth cup and keep plant bits on the outer wall—wow!
Subtle Gradient Painted Clay Finish
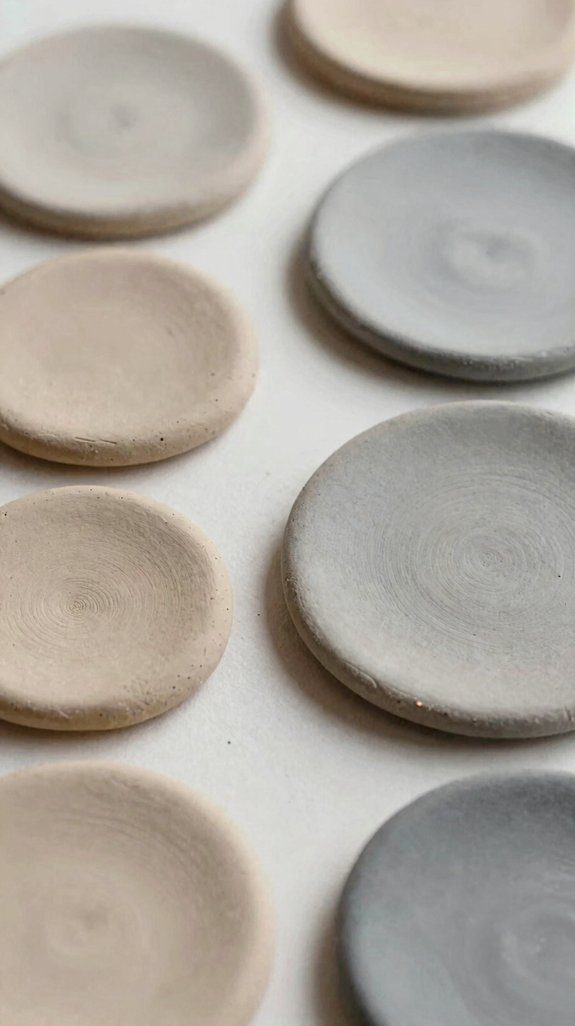
A soft color wash can make air dry clay look way more polished than plain paint, and it’s easier than it sounds!
After surface sealing with a matte or satin varnish, choose a calm Color palette, like off-white and warm beige.
Use a slightly damp sponge, then feather the two shades together in tiny circles.
- Keep coats thin
- Let each layer dry 10–20 minutes
- Fade one edge first
You’ll get a smooth, boutique-style blend without much fuss.
For a final glow, add an ultra-thin haze of the lighter color, then maybe a whisper of metallic gold on raised spots.
Pretty elegant, right?
Clay Pieces with Shadow Depth Effect

Once your clay piece is dry, you can make it look surprisingly chic by using shadows as part of the design—yes, shadows can do the heavy lifting here!
After 24–48 hours, sand the surface lightly with fine grit so the background stays flat and the grooves pop.
Try stamped rims, dot patterns, or crumpled-wrap textures, then paint a thin base coat and add gold only to raised edges.
That contrast gives real shadow depth.
For a bonus glow, dab faux stone mix with wet on wet shading, wipe the highs clean, and seal with matte varnish for crisp, trendy vibes.