Easy Rock Painting Ideas That Anyone Can Try at Home
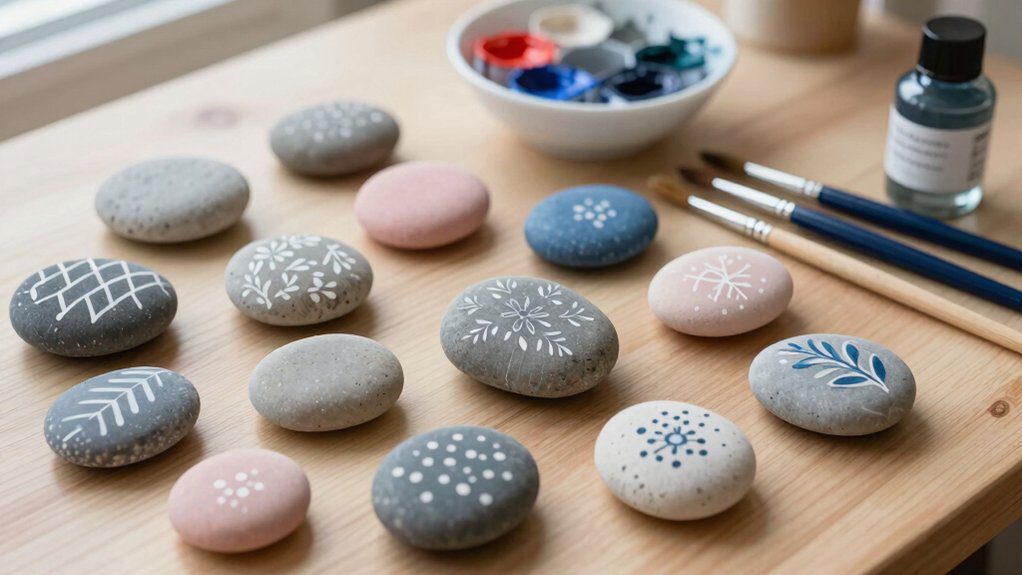
I love easy rock painting ideas because plain stones can turn into cute art fast! Try polka dots with a white base coat and a dotting tool, or paint simple hearts, faces, and cartoon animals with acrylic pens. Rainbows, stripes, and mountain shapes use just a few colors, while galaxy splashes look stylish with almost no skill—promise! Seal everything when dry, and you’ll get gift-worthy rocks that make people grin, then there’s even more fun waiting ahead.
Love cozy DIY projects? 💕
Get free printable guides, exclusive tutorials & surprise craft goodies straight to your inbox.
Disclosure: This post may contain Amazon affiliate links, at no extra cost to you. Content on DiyCraftNest is created with research support from AI tools and carefully reviewed, edited, and fact-checked by the lead author, Daniel Pat, to ensure accuracy and reliability. Learn more
Key Takeaways
- Start with smooth, washed, fully dried rocks so paint sticks better and designs look cleaner.
- Try beginner-friendly patterns like polka dots, stripes, hearts, and rainbow bands for quick, easy results.
- Use a white base coat first to make colors brighter and more vibrant.
- Keep designs simple with line art faces, cute animals, fruit, clouds, or galaxy splashes.
- Let each layer dry fully, then finish with an outdoor sealer to protect the painted rock.
Simple Polka Dot Rock Designs
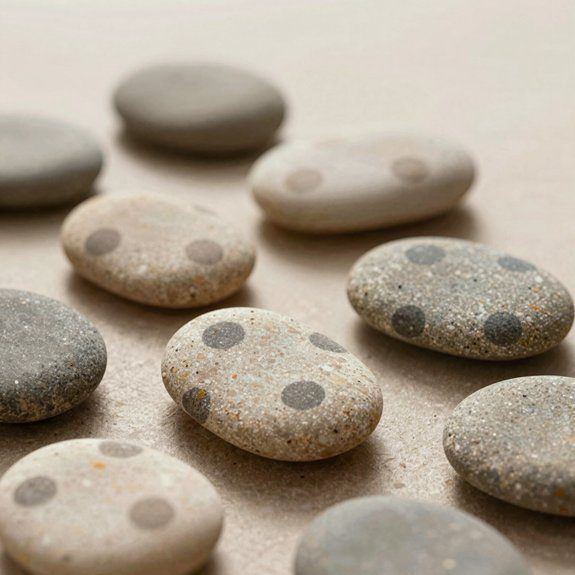
If you’re looking for a rock painting idea that’s cheerful, easy, and honestly pretty hard to mess up, polka dots are a total win!
I pick smooth, flat rocks, wash them with dish soap, and let them dry so the paint sticks like it means it.
Next, I brush on a solid base coat, usually white for brighter dots, then wait until it’s bone dry.
After that, I use a dotting tool or the end of a small brush to make neat dots in rows or a wild random scatter.
For extra fun, I mix colors with Dot layering techniques, letting each layer dry so nothing smears.
Then I finish with outdoor sealing tips: 1–3 coats of sealer, and boom, my cute little rock is ready for the yard!
Minimal Line Art Faces on Rocks

On smooth little rocks, I love turning tiny faces into the simplest line art ever, and honestly, it’s way easier than it sounds! I start with a white base coat, then use acrylic paint pens to sketch two eyes, a nose line, and a curved mouth.
| Step | Tip |
|---|---|
| Sketch | Use a pencil first for quick accuracy. |
| Draw | Keep lines bold, clean, and minimal. |
| Seal | Finish with weatherproof sealing. |
If I want a smile, I just lift the mouth into one neat arc; for a frown, I flip it downward. That tiny change gives the rock real personality, without extra fuss. Let each layer dry, then add 1–3 coats of outdoor sealer. It’s cheap, beginner-friendly, and your little face rocks will stay sturdy, bright, and ready to join the crew!
Cute Cartoon Animal Rock Painting
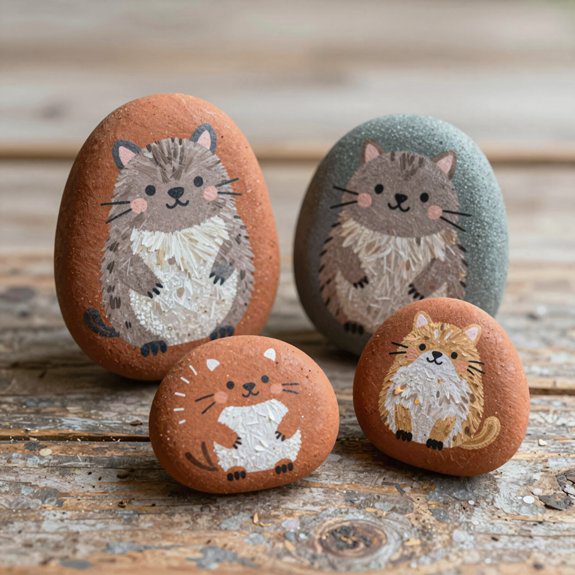
After those tiny line-art faces, I like to switch gears and paint cute cartoon animals, because rocks are little blank canvases begging for a makeover!
For rock texture prep, I pick smooth, flat stones, wash them with dish soap, and dry them in the sun so the paint grabs well.
Then I add a white base coat, grab beginner friendly tools like paint pens, a small brush, or a dotting tool, and sketch simple circles and ovals for a cat, bunny, or bear.
I keep safe paint tips in mind, use acrylics in thin layers, and let each layer dry before outlining with a liner pen.
Tiny dot eyes, a nose, and a curved smile make the face pop, and googly-style eyes add extra charm.
For my outdoor sealant choice, I use Mod Podge Outdoor, and wow, the finished rock stays bright!
Rainbow Pattern Painted Rocks
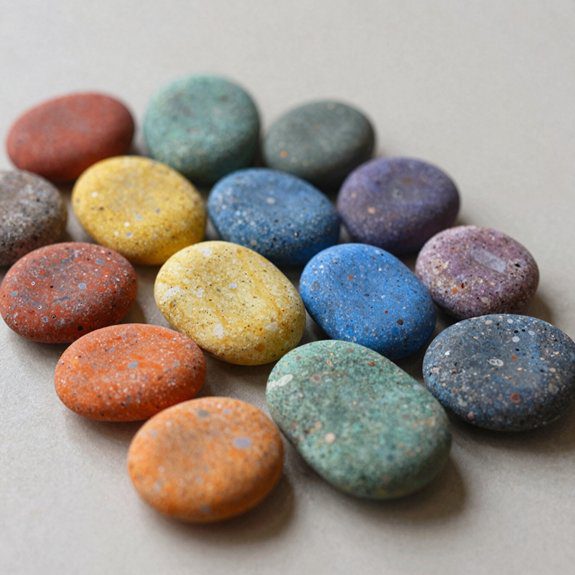
When I want a painted rock that feels cheerful and bold, I reach for a rainbow pattern, because those bright stripes can turn even the plainest stone into a tiny pocket of sunshine! I wash smooth rocks with dish soap, dry them, then brush on white paint so the colors pop.
| Step | Why it matters |
|---|---|
| Base coat | Brightens every stripe |
| Drying time | Stops smudges |
| Sealer | Helps it last outside |
I paint horizontal or diagonal bands with acrylics, then let each one dry before the next, and that keeps my color blending tips simple, not messy. Tiny dots, stars, or cloud puffs add charm, and a few glitter accent ideas can make the whole piece wink in the sunlight. Finish with outdoor sealer, and you’ve got an easy, low-cost rock that feels like it belongs everywhere!
Heart Designs for Gift Rocks
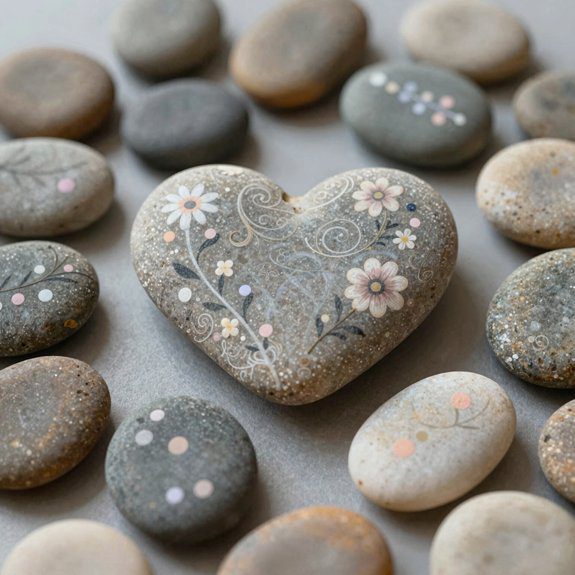
If you loved those bright rainbow rocks, I think you’ll have a blast with heart designs for gift rocks, because they’re sweet, simple, and perfect for a tiny “thinking of you” surprise!
I start by washing smooth rocks with dish soap, then I let them dry fully so the paint sticks.
Next, I basecoat in white or a bright solid color, sketch hearts with a white gel pen, and fill them with acrylics in two coats.
My color mixing tips help me blend soft pinks and bold reds, and I fix rock painting mistakes right away, before sealing for durability.
For Seasonal gift themes, I write little notes like “Be kind” inside the heart.
A final Outdoor sealer makes each rock look polished, gift-ready, and wonderfully pocket-sized!
Smiley Face Rocks for Kids

For kid-friendly smiley face rocks, I like starting with smooth, flat stones, because they’re easy to paint and much less likely to wobble off the table like tiny escape artists! I wash mine with dish soap, dry them well, then add a white base coat for brighter faces.
| Step | Tip |
|---|---|
| Paint | Use a small brush or pen |
| Add faces | Try 🙂 😉 😮 😢 🤩 |
| Finish | Seal with Mod Podge Outdoor |
I keep it simple so kids feel proud fast, and yes, mistakes happen. If a grin goes wonky, I wipe it while wet or paint over it once dry. Dotting tools make quick eyes and cheeks, and they’re great for confetti rock styles too. These rocks fit kid friendly rock games, hiding, gifting, or cheering up a shelf. Bright, cheap, and easy—what’s not to love?
Simple Mandala Patterns for Beginners
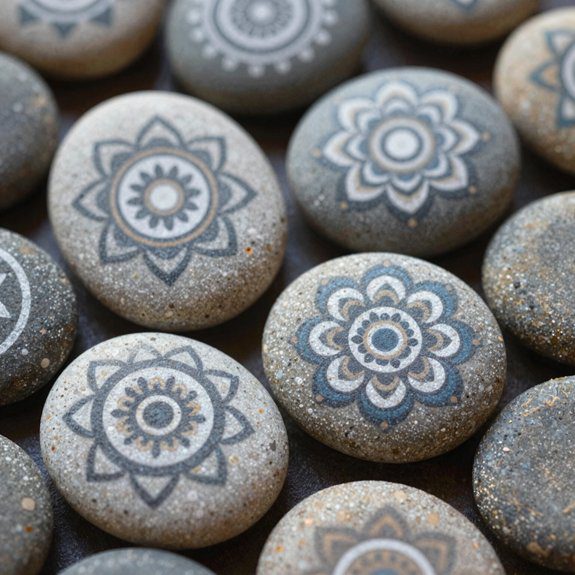
I love starting a beginner mandala with a tiny center dot, then building out with 6–8 petals or teardrops around it, because it looks pretty fast even though the steps are super simple!
I keep a dotting tool, a paint pen, and a rock nearby, then I sketch 2–4 light guide lines so my beginner symmetry stays on track.
Next, I repeat the same shape across each line, adding Colorful dotting in neat rings.
I like a thin circle, a dot-and-dash band, then one bigger circle, because the layers feel stylish without being hard.
A white gel pen makes the center pop, and a dark acrylic color gives the edges a crisp frame.
I let each layer dry, then seal it with spray or Mod Podge Outdoor.
Flower Painted Rocks with Basic Shapes
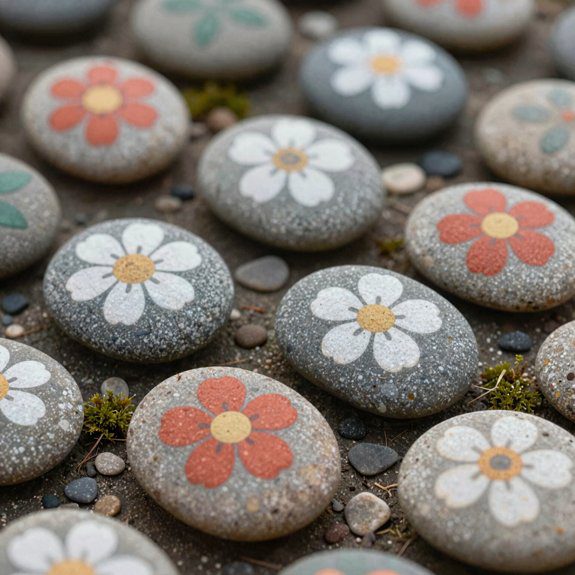
With a smooth, flat rock in hand, I like to start these flower painted rocks by giving it a quick soap-and-water wash, then letting it dry all the way, because paint sticks so much better on a clean surface—mystery grime doesn’t make a great art partner!
I brush on a thin white base coat if the stone looks dark, then I let it dry again.
- Pick 2–3 bright paints for Beginner color matching.
- Shape petals as circles or teardrops.
- Use dotting tool techniques for a 3-dot center.
- Add a slim green stem for balance.
That’s it—cheap, easy, and super friendly for new makers! I’ve found the simplest blooms feel the happiest, and a clear outdoor sealer keeps your little garden looking fresh.
Color Block Rock Designs
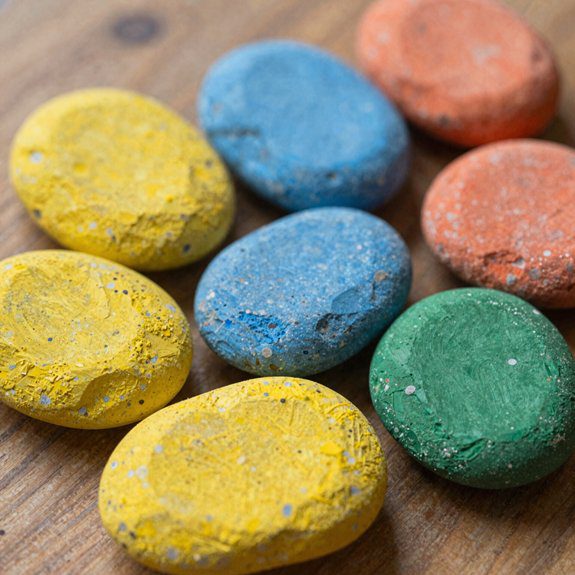
Bold color blocks can turn a plain rock into a tiny piece of modern art, and they’re way easier than they look! I start with 2–3 solid acrylic base colors, letting each coat dry fully so the surface stays smooth.
If you’re wondering about cost, this is a super cheap weekend win.
Next, I use masking tape for crisp shapes, and my favorite tape edge techniques keep the lines clean—press hard, then peel while the paint’s still a little tacky.
Color mixing tips help too: teal with yellow, or black with white, really pop outdoors.
I keep the background simple, then add one tiny detail, like a dot or smile, with a paint pen.
After everything dries, I seal it with outdoor Mod Podge so the bright blocks stay bold!
Ladybug Painted Rocks
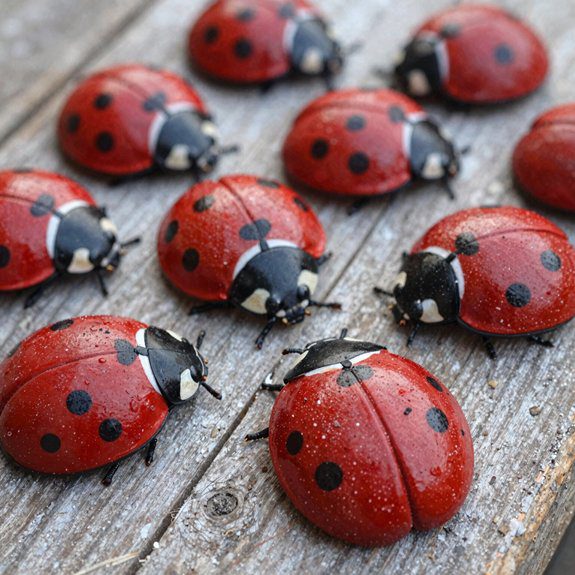
If those color-block rocks got you feeling artsy, ladybugs are the cutest next step—they’re tiny, cheerful, and honestly hard to mess up!
I pick smooth, flat rocks, brush on a solid red base, then add dark-brown or black spots for simple Ladybug Painted Rocks.
- I sketch the head and little antenna with a white gel pen first.
- I use budget friendly dotting tools, or the eraser end of a pencil.
- I add googly eyes for extra charm, because why not?
- I seal everything with Mod Podge Outdoor for real Outdoor rock sealing tips.
The result looks bright, friendly, and totally giftable. Let it dry fully, then set it outside and enjoy your mini bug parade!
Galaxy Rock Painting with Dark Base
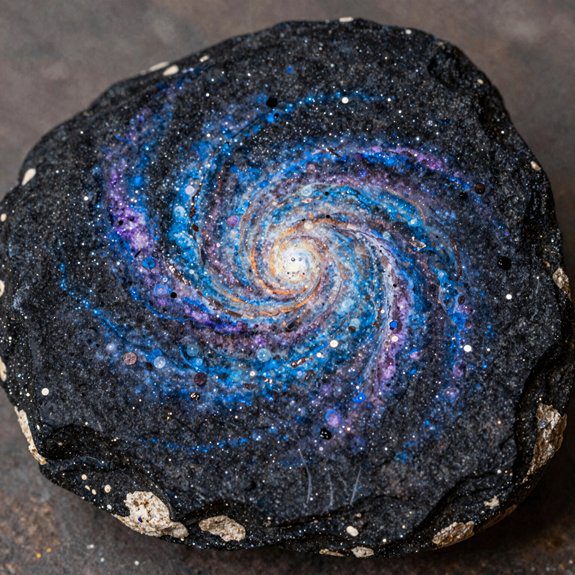
I love painting galaxy rocks on a dark base because they look way fancier than the effort they take!
I start with a clean, dry stone, then brush on a white primer so the colors really pop.
Next, I use black or deep navy outdoor paint in two thin coats, and yes, that tiny bit of patience saves the day.
Once it’s dry, I splatter white, blue, and purple with a stiff brush for stars, then blend soft swirls with a sponge for Texture and shading.
I keep layering until it feels dreamy, not muddy.
For extra fun, I add galaxy planet accents, like tiny dots and bright highlights, then seal it all up.
The result? A cool little space gem that feels like it belongs in your crew!
Inspirational Word Rocks
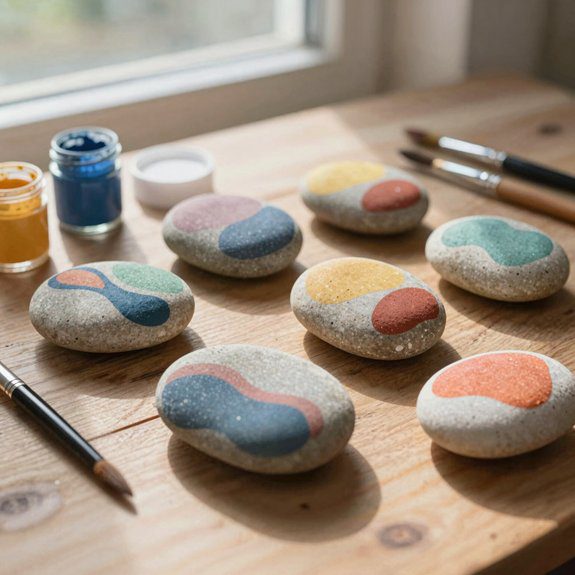
Want a little boost of encouragement you can hold in your hand? I love turning smooth, flat stones into tiny pep talks that fit right on a shelf, desk, or porch!
- Pick a flat stone and add a white base coat for bright words.
- Lightly sketch your phrase, then trace it with a white gel or paint pen.
- Let each layer dry, then thicken lines with a liner brush if needed.
- Try Color palette pairing with soft pastels, or keep it bold and simple.
If I mess up, I wipe it off while wet and start again—easy!
For a happy finish, I use Outdoor sealing tips: 1–3 coats of Mod Podge Outdoor or clear sealer. The result feels personal, cheap, and welcoming, like a little cheer squad saying, “You’ve got this!”
Simple Fruit Designs Like Watermelon
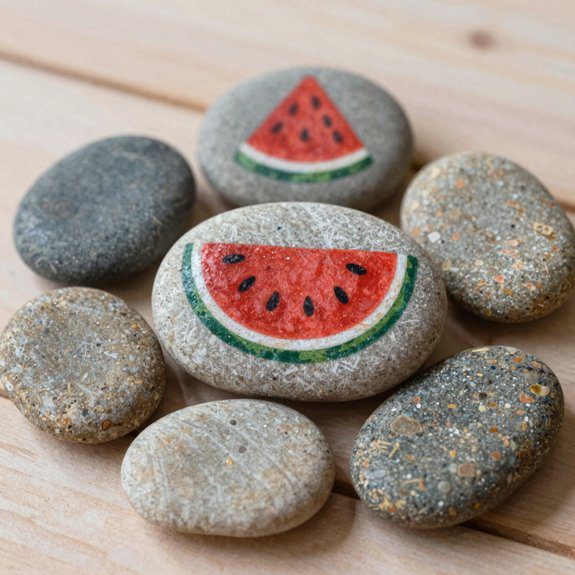
With a smooth little rock and a few bright paints, I can turn an ordinary stone into a cheerful watermelon that looks almost good enough to eat!
I start by washing smooth, flat rocks with dish soap, then I let them dry in the sun so the paint grabs better.
Next, I brush on green for the rind, a classic seasonal color, and let it dry fully.
Then I use a white gel pen to sketch the flesh, fill it with thin red or pink layers, and add black seed dots with a tiny brush.
These beginner techniques are cheap, fun, and super forgiving—perfect for texture pairing on porch shelves.
For the final wow, I use sealing tips: one or two coats of outdoor clear sealer, drying fully between coats.
Cloud and Sky Painted Rocks
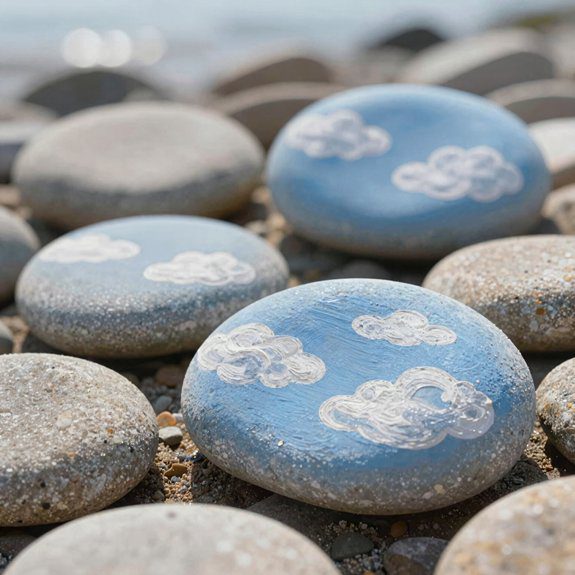
After painting playful fruit rocks, I love heading straight into the sky for something calm, dreamy, and a little magical! If you’ve got a smooth rock, you’re already halfway there, friend.
Clean it with dish soap, dry it in the sun, then grab light blue, white, and a touch of deeper blue.
- Brush on a sky base with wet-on-wet color blending.
- Soften clouds with a sponge or makeup brush.
- Try shading techniques using blue-gray shadow puffs.
- Finish with a tiny moon or sun halo.
I like adding darker corners first, because the sky suddenly feels bigger, like it’s inviting us in.
A white pen gives crisp details, and a clear sealer keeps everything outdoor-ready.
It’s cheap, beginner-friendly, and honestly, pretty hard to mess up!
Striped Pattern Rock Art
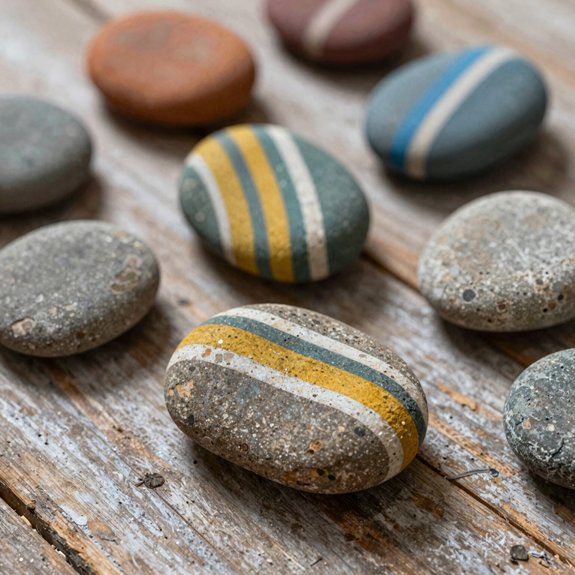
| Step | What I do |
|---|---|
| 1 | Add 2–3 base coats of white or another bright acrylic |
| 2 | Tape off bands, or freehand with a liner brush |
| 3 | Paint one stripe color at a time |
| 4 | Let each layer dry fully |
| 5 | Seal with Mod Podge Outdoor |
I keep the vibe fun and beginner-friendly, so you can make bold ocean themed rocks or dreamy galaxy accents without much cost. Crisp lines come from patience, not fancy tools, and the result feels polished. Finish strong, and your stripes’ll stay bright outside!
Minimal Mountain Landscape Designs
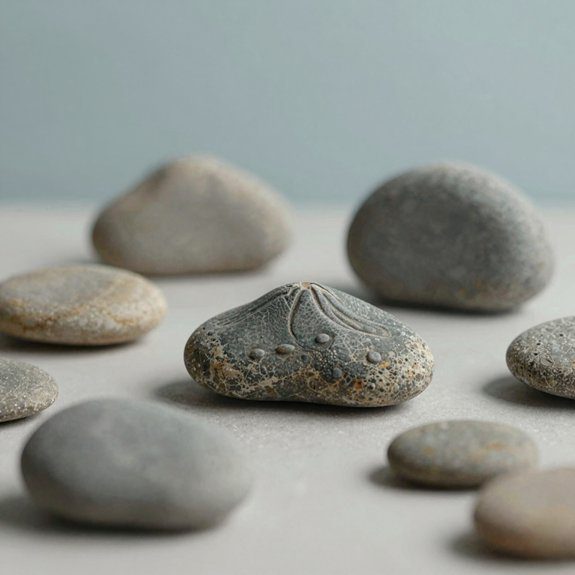
If I want a tiny scenery that feels calm and cute, I start with a smooth flat rock and give it a full white acrylic base coat, because that bright layer makes the sky colors pop like crazy!
- I use Texture focused basecoats to keep the surface smooth.
- I blend blue gradients, then a lighter horizon, for a soft sky.
- I add simple mountain triangles with paint tip techniques, layering lighter to darker shades.
- I finish with one tiny pine tree and a little snow on the peaks.
I let each layer dry, or my mountains turn into mushy pancake art—oops!
This easy design costs little, feels beginner-friendly, and looks surprisingly polished.
Seal it with Mod Podge Outdoor or spray sealer, then let it cure.
I love how it gives us a peaceful little scene that fits right in on a shelf or patio!
Abstract Color Splash Rock Painting
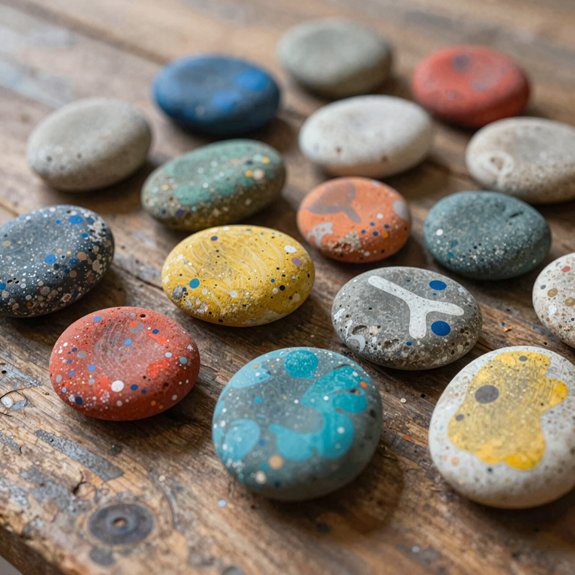
When I want a rock design that looks bold without needing perfect drawing skills, I grab a smooth flat stone, scrub it with dish soap, and let it dry all the way, because a clean surface really helps the acrylic stick!
Then I brush on a white primer or Mod Podge Outdoor, and suddenly those bright splash colors wake up and shout hello.
After that, I flick, dab, and layer acrylic paint or paint pens, letting each coat dry so the dots stay crisp, not muddy.
I add darker accent splashes and tiny dot details with a brush or stylus for extra punch.
For Texture finishing options, I sometimes leave a glossy shine, or I keep it soft and matte.
Before calling it done, I use outdoor display tips: seal it with 1–3 coats, dry fully, and place it where friends can admire it!
Easy Bee and Butterfly Designs
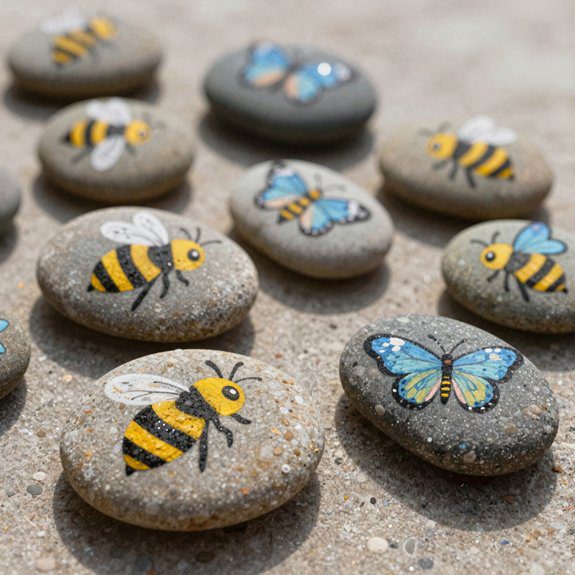
Bee and butterfly rocks are some of my favorite little projects because they look cheerful fast, and they’re way easier than they seem! I grab smooth, flat rocks, add a bright base coat, and let it dry. You’ll feel right at home making these with me.
- Bee: yellow base, black stripes, tiny white dots
- Butterfly: sky-blue or pastel wings, mirrored sides
- Details: antennae, dots, and maybe googly eyes
- Finish: weatherproof sealing tips with outdoor sealer
For easy kid friendly steps, I paint the bee stripes with a liner brush, then use a toothpick for butterfly spots. I outline wings in dark paint so they pop.
The best part? These cost little, dry quickly, and bring big smiles to porches, gardens, or gift baskets. Seal everything with Mod Podge Outdoor once it’s totally dry, and your tiny critters can handle real weather, too!