Creative Play and Art Projects That Keep Kids Engaged Without Screens
I keep kids busy with screen-free fun by making easy projects from stuff I already have: sensory texture boards with cardboard, sandpaper, felt, and bubble wrap, color-sorting cups with paper scraps, and paper puppets for silly stories. Then I level up with tiny paper towns, dress-up dolls, flip books, and treasure hunt clues—cheap, cheerful, and wonderfully chaotic! Each one builds focus, creativity, and fine-motor skills, and the best surprise is waiting just ahead.
Love cozy DIY projects? 💕
Get free printable guides, exclusive tutorials & surprise craft goodies straight to your inbox.
Disclosure: This post may contain Amazon affiliate links, at no extra cost to you. Content on DiyCraftNest is created with research support from AI tools and carefully reviewed, edited, and fact-checked by the lead author, Daniel Pat, to ensure accuracy and reliability. Learn more
Key Takeaways
- Offer sensory texture boards with sandpaper, felt, bubble wrap, yarn, and foil for focused, hands-on screen-free exploration.
- Use sorting and matching crafts with colored paper, felt, pom-poms, and labeled cups to build early learning through play.
- Encourage storytelling with sock or paper-bag puppets, cardboard theater boxes, and beginning-middle-end prompts.
- Create build-and-draw projects like paper towns, animal collages, mazes, and dress-up dolls for imaginative making.
- Add seasonal art, flip books, and treasure hunt clues to keep kids engaged with movement, surprise, and simple challenges.
DIY Sensory Paper Texture Boards
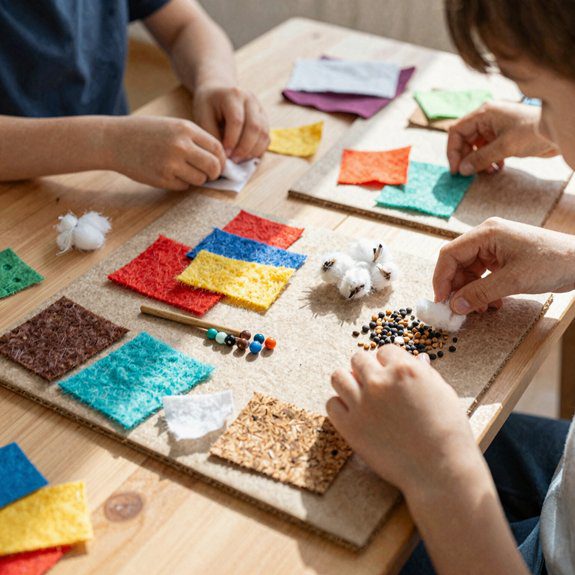
There’s something magical about letting kids learn with their fingertips, and a DIY sensory paper texture board is one of the easiest ways to make that happen! I glue sandpaper, cotton balls, felt, bubble wrap, yarn, foil, and corrugated cardboard onto cardstock or foam board, then I border each patch so little hands can investigate one texture at a time.
It’s cheap, simple, and honestly a little addictive to build. I use washable, child-safe adhesive and seal the edges so nothing peels or sheds, which keeps cleanup easy and worries low.
For extra wow, I layer thin fabric over paper or tuck bubble wrap under clear tape for stronger touch feedback. Then I add texture play games like pattern spotting, tactile matching, or an “I-Spy the rough one” card, and suddenly the board feels like a mini adventure!
Color Sorting Craft Projects
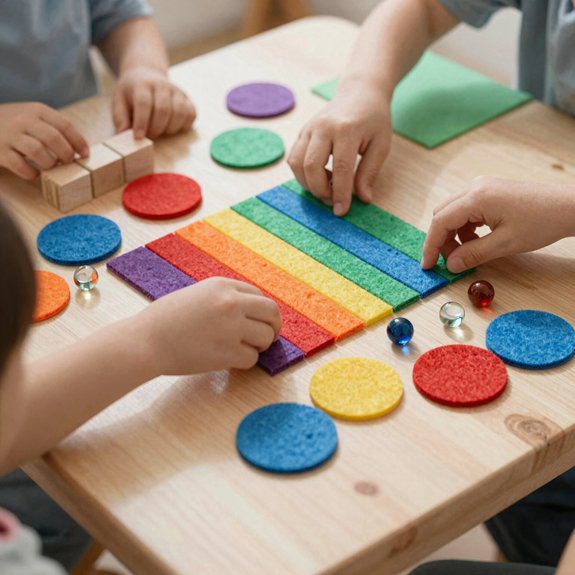
After all that hands-on texture play, I like to keep the fun going with color sorting craft projects, because kids get to hunt, match, and organize without even realizing they’re building big skills.
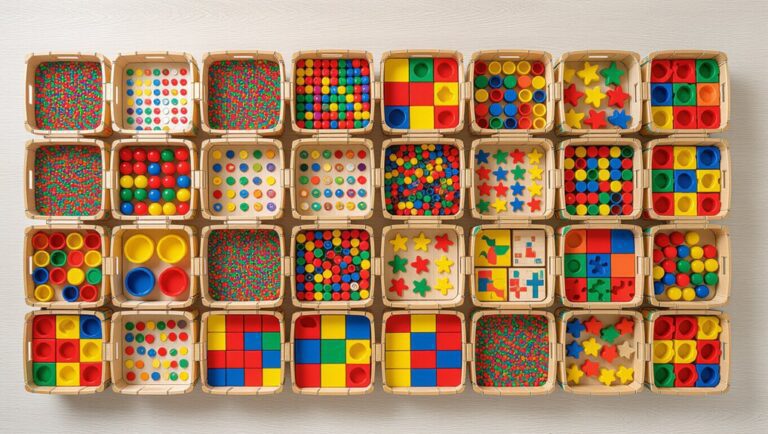
I grab paper scraps, construction paper, or felt, then set out labeled cups for red, blue, yellow, and green—easy, cheap, and a little addictive!
For a quick twist, I dab washable paint onto paper, let it dry, cut the swatches, and have kids glue each square where it belongs.
That’s color mixing choices in action, plus a neat little win.
If you want more challenge, use a rainbow template and let kids fill each band with pom-poms, beads, or circles.
Sorting size matching sneaks in, too, when I mix big and small pieces.
My favorite? A color scavenger chart—suddenly the house turns into a rainbow hunt!
Storytelling with Paper Puppets
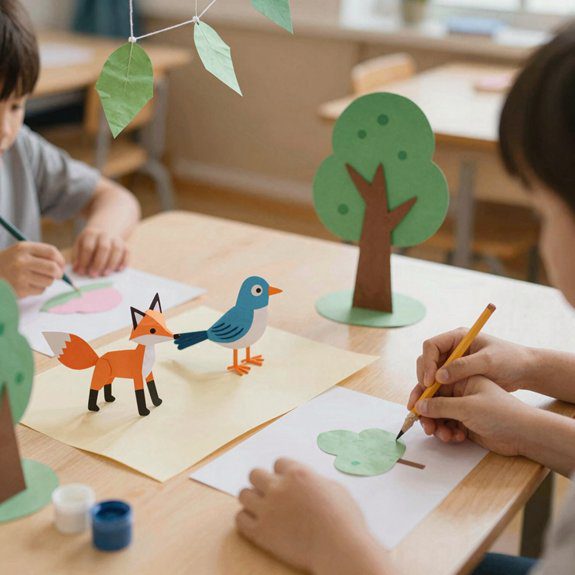
When I want instant screen-free drama, I turn a big cardboard box into a puppet theater and let the story come alive! You’ll feel right at home with this easy setup, and it costs almost nothing.
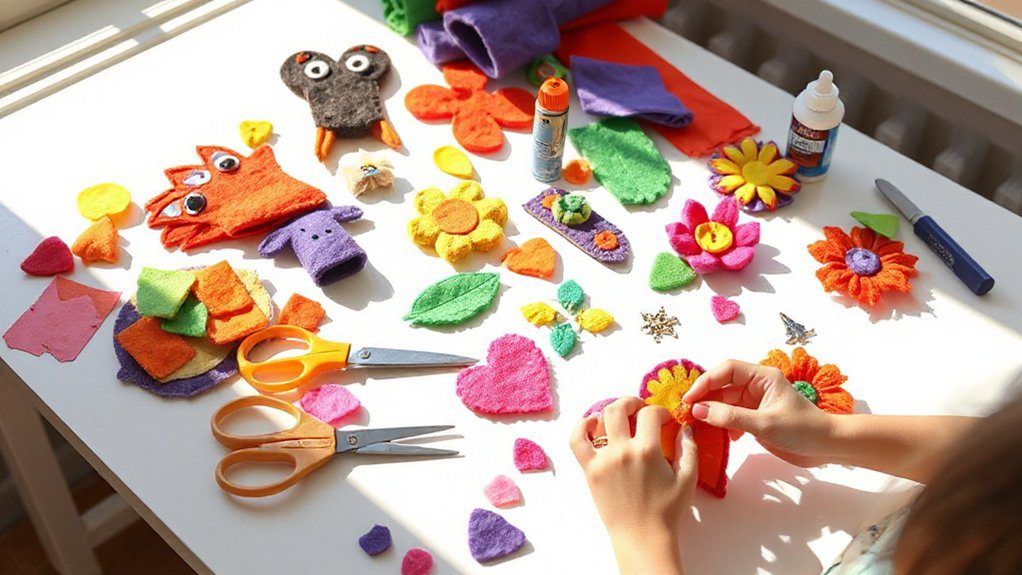
- Cut a stage hole, then make puppets from socks, paper bags, or stuffed animals, with felt eyes, mouths, and tiny hats.
- Use picture book prompts to pick a beginning, middle, and end, then I let kids do character swap games so the same hero can star in new adventures.
- Add masking-tape roads or a balance beam, and trade turns, one puppet moves while another child narrates.
That’s it! The stories grow fast, the laughs get loud, and even shy kids join in because everyone gets a part.
Build Your Own Paper Town Setup
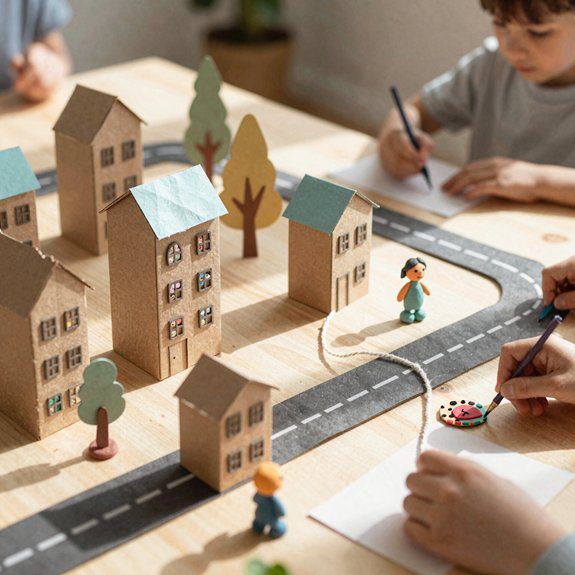
I love starting a paper town with a big sheet of cardboard or thick paper, then cutting out or drawing a few simple buildings, like a house, a school, and a park, so the whole neighborhood starts to feel real fast!
I tape on roads with painters tape, then add curbs, sidewalks, and crosswalks, and suddenly my little cars can zoom around like they’re late for snack time.
Next, I tuck in tiny signs, like street names, stop signs, “ice cream here,” and “library,” and I hand out fun roles, too—mayor, mail carrier, shopkeeper.
It feels like our own club!
For extra adventure, I add a fold-out bridge, paper tunnel, or blue-paper river, which keeps Indoor scavenger hunts exciting.
When we’re done, I save everything in classroom treasure boxes or a labeled envelope, so our town can grow again tomorrow!
Drawing and Craft Combo Projects
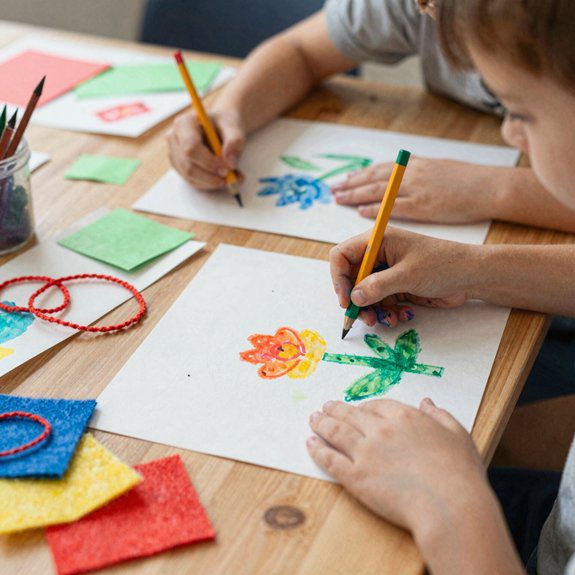
Mixing drawing with a hands-on craft project makes kids feel like little artists and inventors all at once, and honestly, that combo is where the magic starts! I like keeping it simple, cheap, and proudly messy.
- Toss-and-draw: draw a target on paper, toss paper planes or small balls, then add rings and score numbers. It’s a hit with paper plate games energy, and finger paint prompts can decorate the edges.
- Puppet stage: cut a giant box, make a theater opening, then draw backdrops and characters with crayons or markers. Kids get a full show, and the only cost is cardboard.
- Fossil story art: shape salt dough “dinosaur fossils,” let them set, then draw the creature and its discovery spot. It feels like treasure hunting, just with less dirt and more giggles.
Paper Maze Making Activity
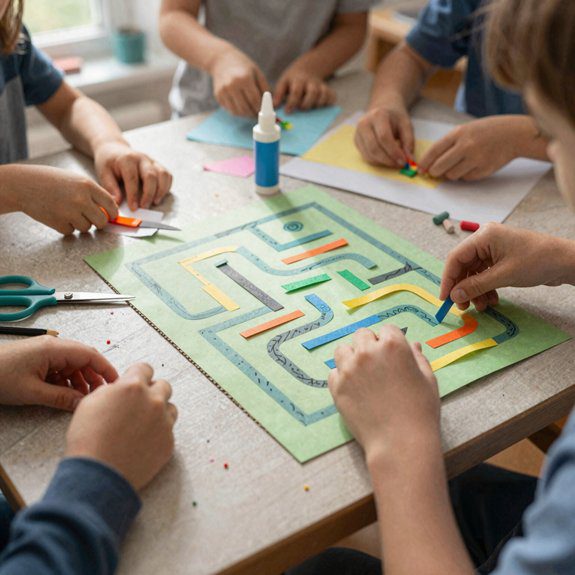
Paper mazes are such a fun little brain workout, and they don’t take much at all — just a big sheet of paper, a marker, and a few crafty tweaks!
I cut mine into a simple start-and-finish path, then fold or layer strips for thick walls, so small hands can follow along without frustration.
Next, I draw clear turns with a dry-erase marker, then add little landmarks like trees or rivers, which makes the route feel like a mini adventure.
If you’re into Texture mapping ideas, try bumpy tape or crinkled paper for extra clues.
It’s perfect for sibling friendly challenges, especially with quiet craft timers running.
For a bigger wow, I use themed obstacle hurdles, like space rocks or treasure islands, and I time each run with a stopwatch.
Beating a best time twice? That’s the magic!
Create Your Own Comic Book Pages
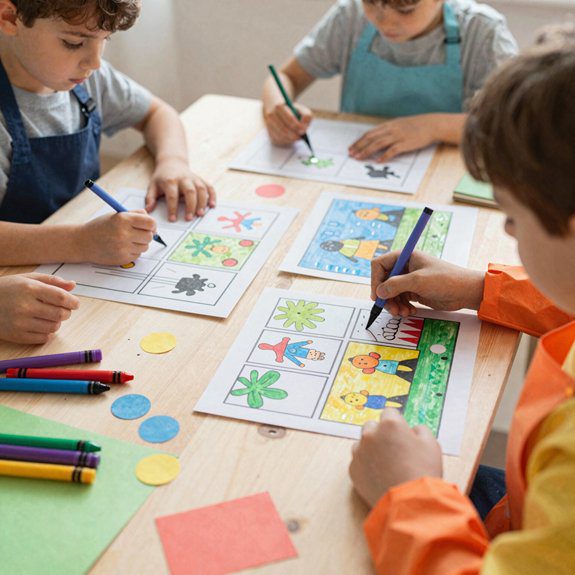
When I want a screen-free project that feels instantly cool, I hand kids a blank comic panel page and let them turn it into their own little story world! It’s cheap, easy, and honestly, a tiny confidence boost in paper form.
- I use 4–9 boxes, washable markers, and a few scraps of tape or paper for costumes and backdrops.
- I give character building prompts, then add panel action cues like walking, jumping, or waving, so every box feels lively.
- I remind kids to tuck in a speech bubble or thought bubble, use big clear letters, and sign the title like a real comic artist.
DIY Paper Board Games for Kids
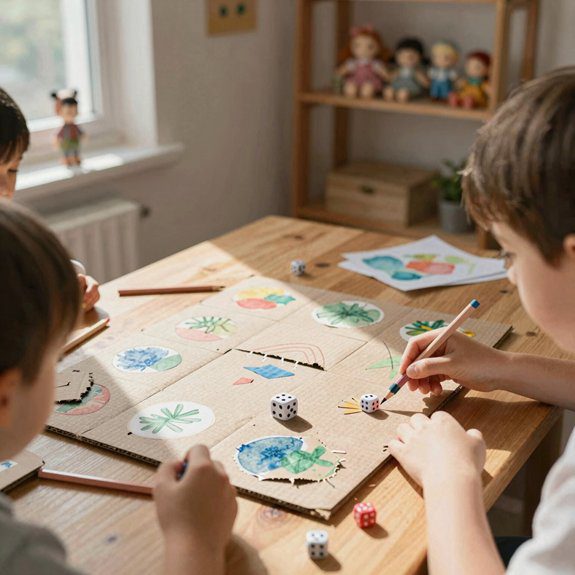
If your kids liked making comic pages, I’ve got another low-screen win that feels just as fun: let’s turn a plain sheet of cardstock into a DIY board game! I draw 20 to 40 numbered spaces, add a few event squares, then cut paper tokens with each player’s name. Easy, cheap, and yep, totally beginner-friendly.
Next, I make paper dice from a template and keep a deck of prompt cards nearby, like animal facts or quick doodles, so the game keeps moving.
For a little twist, I use a Paper coin flip for bonus turns, and I track points with stickers or tally marks. Snacks help too—board game snacks make long rounds feel like a party!
When we’re done, I store everything in an envelope, or tape the board to save it for next time.
Paper Craft Story Scenes
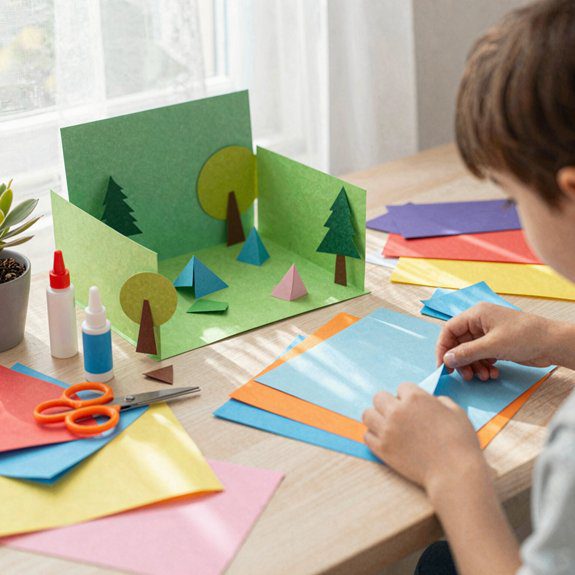
I love turning a plain sheet of cardstock into a tiny story stage, because it feels a little like making a movie set with almost no budget—just fold the back into a simple background, then add pre-cut houses, trees, animals, or people so kids can start inventing right away. It’s cheap, easy, and honestly, a little magical!
- I hand over kid scissors, washable glue sticks, tape, and markers, then let kids build foreground pieces on separate scraps.
- I ask, “Who’s the hero? What problem happens?” and move pieces while they tell the plot.
- For extra wow, I add flaps, nature scavenger hunts, classroom craft timers, or stop motion journaling, plus sensory storytelling prompts.
Save the scene as a flipbook, and suddenly one brave fox gets a whole epic!
Shape Learning Crafts with Paper
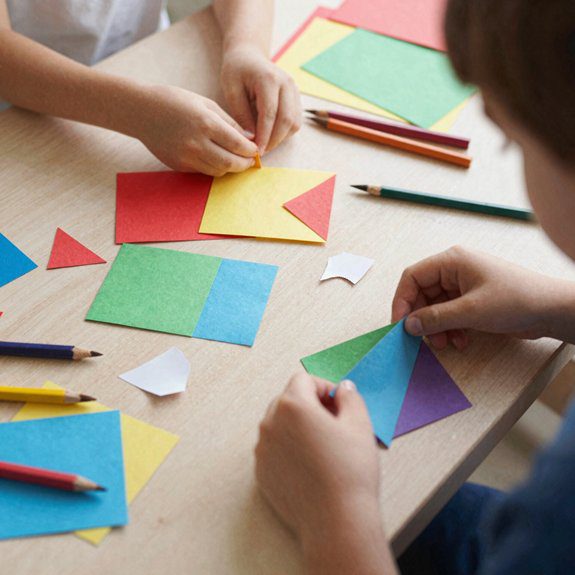
A few simple paper shapes can turn into a whole little math adventure, and it’s way more fun than it sounds!
I cut circles, squares, triangles, and rectangles, then let you build a shape collage with glue, paper scraps, and a marker.
Next, I try sorting games: I draw outlines first, you match the cutouts, and suddenly basic polygons feel like a win.
For extra fun, we do a pattern hunt with a rectangle train, then count each car together—yep, even the wobble cuts count!
Texture tracing with crayons adds a cool touch, too.
My favorite surprise is a shape book.
I use one page per shape, add shape labeling, and tuck it on a shelf for easy reuse.
Simple, cheap, and honestly pretty smart!
Build Animals Using Cut Paper Pieces
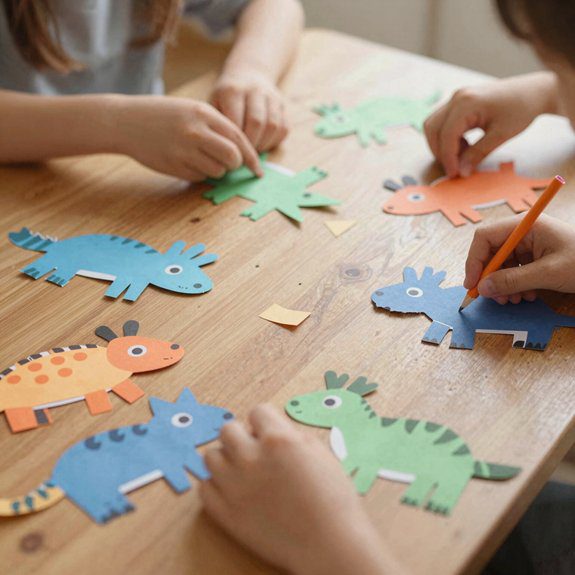
With just a handful of cut paper pieces, I can turn a plain sheet into a silly little animal parade, and it’s honestly a blast! I keep it cheap, quick, and beginner-friendly, so you can jump in with your kiddo and feel right at home.
- I gather triangles, circles, and strips, plus kid-safe scissors and glue sticks, then I set out a printed head/body template for a cat, fish, or bird.
- I let kids slide ears, fins, wings, and tails around first, almost like a puzzle, then press them down.
- I add tiny eye circles, a nose triangle, and a curved mouth strip, and I layer pieces for texture, like a recycled collage or play dough shape plan.
The finished animals can join animal masks, then hang in a paper zoo!
Paper Dress-Up Dolls Activity
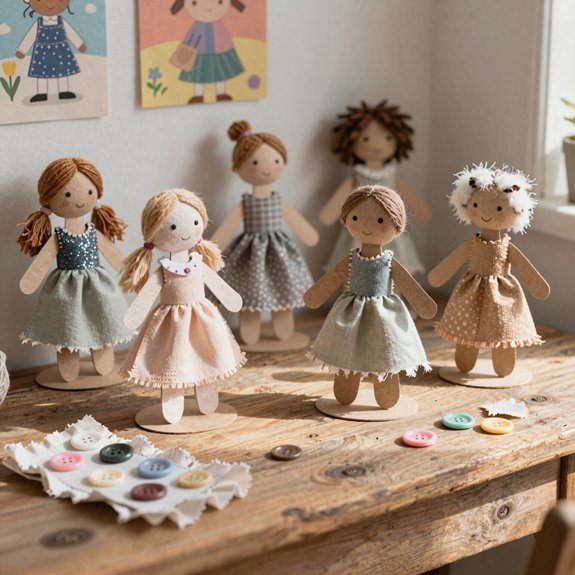
Since paper dress-up dolls are so easy to customize, I love starting with a simple body on sturdy cardstock, then letting kids turn it into a whole mini fashion show! I gather cardstock, scissors, crayons, glue, and paper scraps, and I sketch the doll, cut it out, and add tiny side slits so outfits slide on and off.
Next, I make separate clothes—dress, shirt, skirt, pants, shoes—and label each one so kids can sort, match, and giggle over “who wore it best?” I add buttons, patterns, and even silly superhero capes, so the fun lasts longer.
For Recycle bin craft ideas, I raid old envelopes and folders for storage, and I slip in scavenger hunt prompts like “find something striped” for fresh combos each day.
Create Seasonal Art Projects
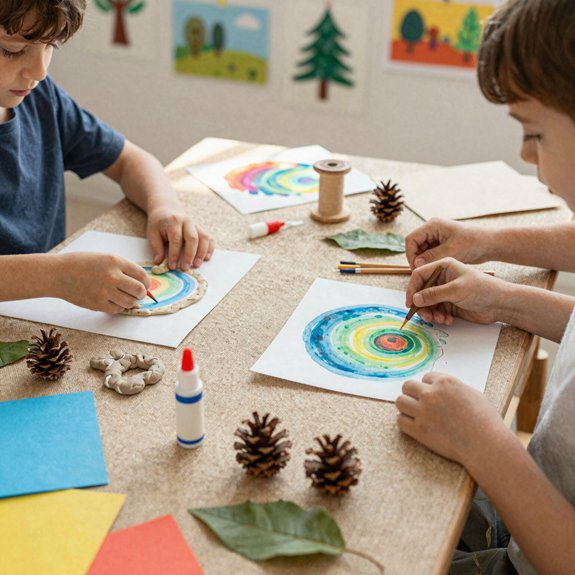
When I want to turn art time into a mini adventure, I start with projects that feel seasonal, hands-on, and just a little magical! You don’t need elaborate stuff, and the results can fit right into your home or classroom.
- Winter nature journaling: grab crayons, paper, and a walk outside. I sketch bare branches, birds, or snow prints, then kids add notes about what they noticed. It’s calm, cheap, and surprisingly detailed.
- Spring cloud crafts: use cotton balls, glue, and blue paper. We build fluffy clouds, then chat about shapes in the sky—easy, cheerful, and great for little dreamers!
- Northern Lights: paint a dark sky with green and purple streaks. I pair it with a quick Alaska story, and wow, the glow looks amazing!
Interactive Paper Flip Books
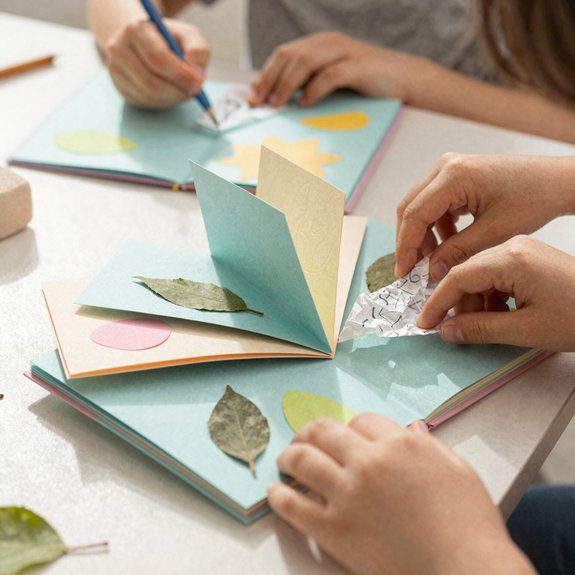
I love turning a few folded pages into a tiny moving story, because engaging paper flip books feel a little like magic in your hands!
I make mine with paper, markers, and a stapler, then I draw a new scene on each page so the paper motion comes alive when I flip fast.
For extra fun, I add tactile play with a push tab, pull tab, or simple slider overlay—just a narrow strip that changes the picture as it moves.
Want a quick win?
I write one tiny prompt per page, like “flip to make the cat jump,” and suddenly craft storytelling turns into a game.
A 5-page day-to-night book or life cycle book costs almost nothing, feels easy, and keeps kids smiling.
Tape the cover, and you’ve got a sturdy little masterpiece!
DIY Paper Treasure Hunt Clues
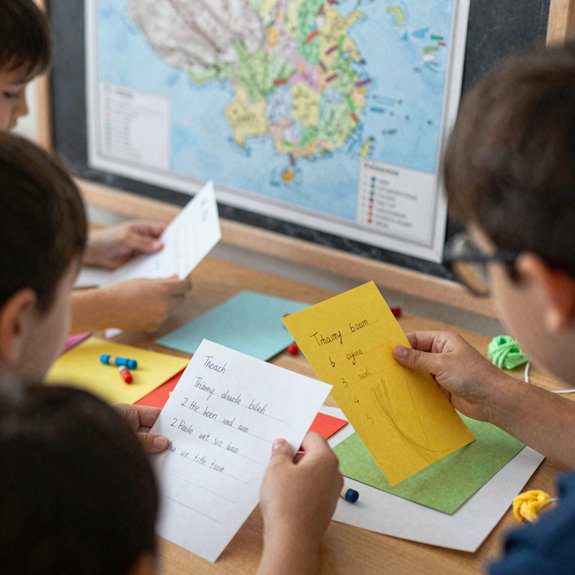
A paper treasure hunt can turn an ordinary afternoon into a tiny adventure, and it’s easier to make than you’d think! I write clues on index cards or paper strips, then hide them in a clear order so kids feel that happy “I found it!” spark.
- Start with a “find this next” clue, like “Go to the shelf where books sit.”
- Add one kid-friendly riddle and one easy location hint, so nobody gets stuck.
- Finish with a “check under/inside ___” clue for the prize, then add a checklist sheet for bonus joy.
For younger kids, I use arrows and simple drawings; for older kids, I make the riddles longer.
It works beautifully for Family activity nights, and it’s fun for Outdoor scavenger hunts too.
Build and Decorate Paper Houses
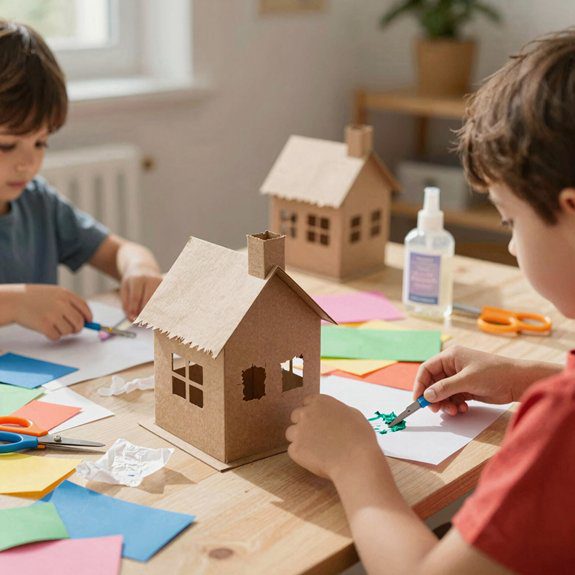
If you’ve got a few sheets of sturdy paper and a little kid energy to burn, you can turn them into the sweetest tiny houses ever! I fold and cut a simple house template, then let kids paint, crayon, or marker it into a cozy home.
Next, I trace windows and doors, snip them out, and tape the corners so the house stands up like a champ. A folded triangle roof, pressed on the creases, keeps everything neat and sturdy.
For extra charm, I add a porch, fence line, and garden from scrap paper, or a Nature collage with recycled materials. This kid friendly scaffolding keeps little hands busy and confident.
Then I line up several houses for a whole neighborhood—perfect for outdoor playtime and make-believe magic!