Paper Crafts DIY Ideas That Turn Simple Materials Into Beautiful Decorations
I love turning plain paper into wow-worthy décor! Try layered wall art with cardstock, simple shapes, and glue, or make paper flowers for a bright centerpiece. For a cozy glow, fold a lantern from scrapbook paper, then use LED tea lights. Add a garland from cut hearts or stars, and build a tiny shadow box with foam tape for depth. It’s cheap, beginner-friendly, and honestly, way more fun than it sounds—wait till you see the easiest surprise idea next!
Love cozy DIY projects? 💕
Get free printable guides, exclusive tutorials & surprise craft goodies straight to your inbox.
Disclosure: This post may contain Amazon affiliate links, at no extra cost to you. Content on DiyCraftNest is created with research support from AI tools and carefully reviewed, edited, and fact-checked by the lead author, Daniel Pat, to ensure accuracy and reliability. Learn more
Key Takeaways
- Layer cardstock, scrapbook paper, and textured sheets to create 3D wall art with depth and crisp, colorful edges.
- Build paper flower walls or bouquets with foam dots and layered petals for polished, lasting decor.
- Make hanging lanterns and garlands from cut paper shapes for safe, glowing seasonal decorations.
- Turn scraps into shadow boxes, framed scenes, or photo mats for personalized wall and shelf displays.
- Use folded paper sculptures and ornaments to add quick, reusable charm to shelves, tables, and empty corners.
Layered Paper Wall Art Designs
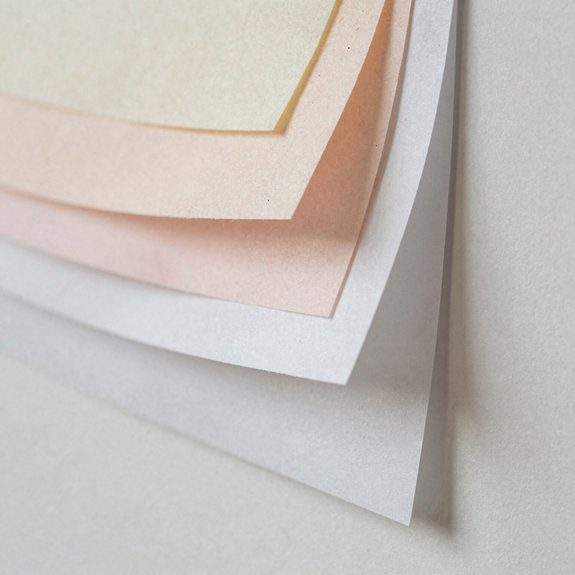
Layer by layer, I love how paper wall art can go from “pretty” to “wow!” with just a few smart cuts and a little patience.
I start with cardstock, patterned scrapbook paper, and a clean table, then I pick a simple shape, like a leaf, tile, or rustic silhouette.
Textured paper techniques help me mix thick and thin sheets, while color layering tips keep the stack lively, not messy.
I cut each layer a touch bigger than the next, then shift them so the top piece frames the one below.
If I’m new, I use numbered templates, and that saves me from guesswork, yay!
A little tape on the back edges keeps everything crisp.
When I group the finished pieces in a neat wall cluster, the depth really pops, and my space feels instantly friendlier.
Paper Flower Wall Installations
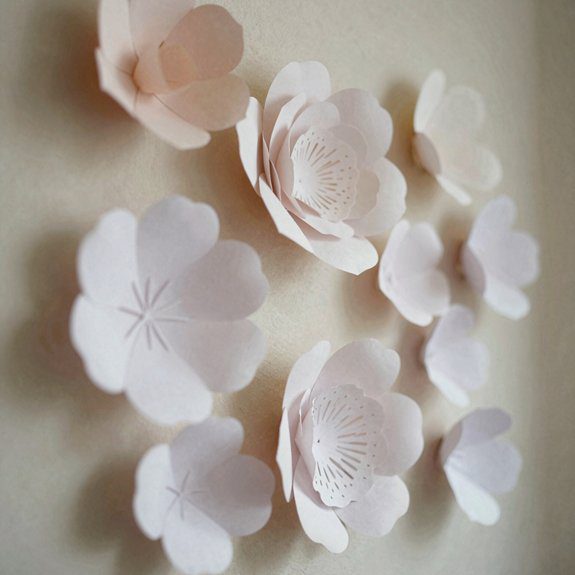
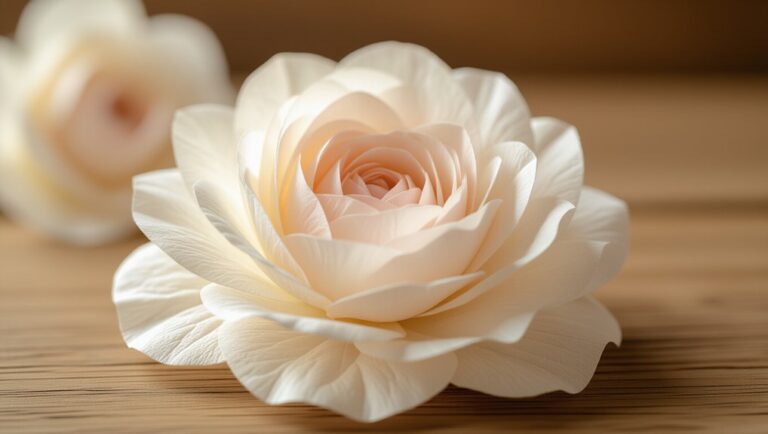
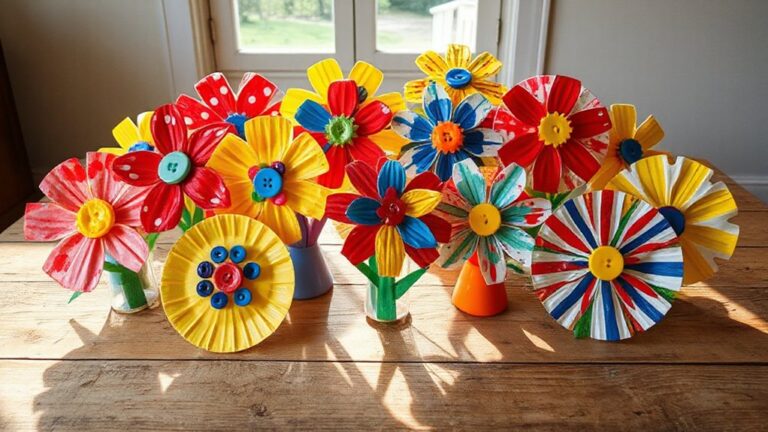
If those layered paper wall pieces have you itching for something even bolder, a paper flower wall installation is such a fun next step! I pick a color palette that matches my room, then make a bunch of identical blooms with silhouette templates, so they look tidy and polished.
I use simple paper, scissors, glue, and foam dots, then build oversized blooms in small, medium, and large sizes. With layered spacing and even gaps, the wall feels airy, not crowded, and it reads beautifully from across the room.
For extra wow, I cluster the flowers like a mini garden wall, and I’ll tuck in a few smaller accents for movement. It’s budget-friendly, beginner-friendly, and honestly, it makes my space feel like it finally joined the party!
Hanging Paper Lantern Decorations
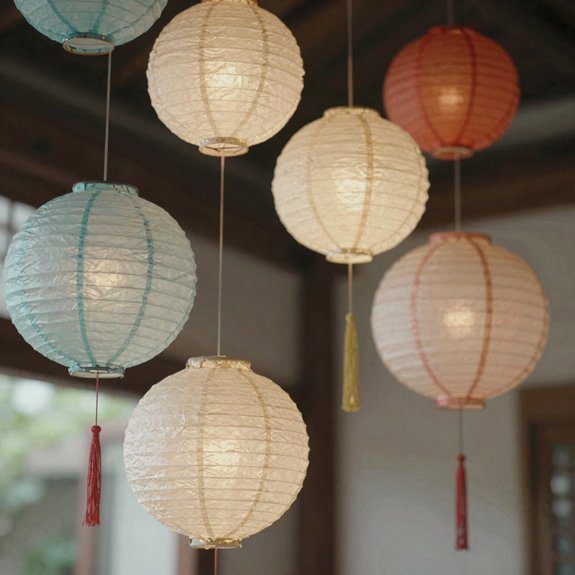
Hanging paper lantern decorations are one of my favorite ways to make a room feel magical fast, and they’re way easier than they look! I pick a simple template, then follow symmetric folding steps so every panel lines up nicely. If I’m new, I start small; fewer cutouts means less stress and fewer “oops” moments.
| Step | What I Use | Why It Helps |
|---|---|---|
| 1 | Template | Keeps shape neat |
| 2 | Exacto knife | Cuts clean slits |
| 3 | LED candle | Safe glow |
For safe lighting tips, I skip real flames and tuck in a low-heat LED light. Then I hang it with fishing line or ribbon through the top tabs, so it stays level and doesn’t sag. The result feels cozy, budget-friendly, and super welcoming!
Paper Garland for Seasonal Decor
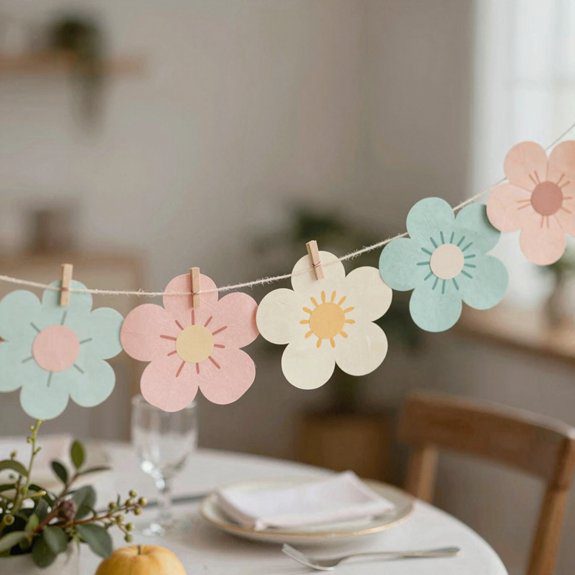
After making those cozy paper lanterns, I like to keep the handmade vibe going with a paper garland that feels cheerful and season-ready! I grab thicker craft paper or scrapbook scraps so the loops stay strong, not sad and floppy.
Measure your wall, mantel, or window first, then add 6–12 inches for easy hanging.
- Cut matching triangles, circles, stars, or hearts.
- Glue them, or stitch them for a sweet handmade line.
- Try color contrast tips with solid and patterned paper.
- Use seasonal palette hacks: pastels, fall browns, or winter whites.
- Hang it with clear tape hooks or tiny clips.
It’s cheap, beginner-friendly, and honestly, a little magical!
I love alternating sizes for extra pop, because that’s when the garland starts feeling like your space, not just decor.
3D Paper Art Frames for Walls
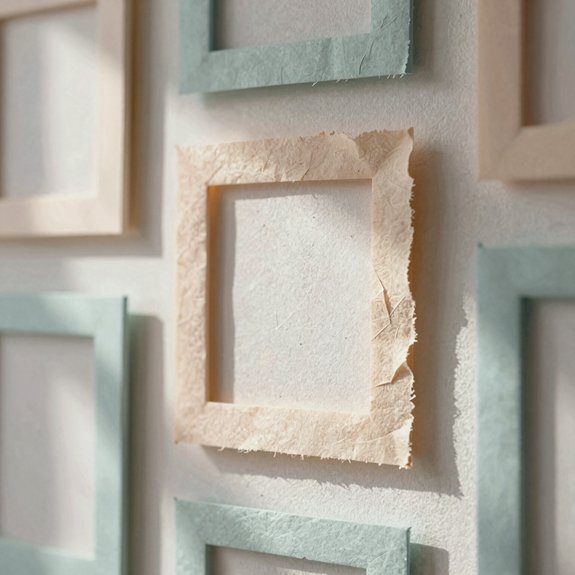
While I’m still riding that handmade high, I love turning flat paper into a 3D paper art frame for the wall, because it looks stylish without needing a craft room full of tools!
I grab pre-cut kits or print templates on Textured Paper, then Stack Layers into a front, middle, and accent panel.
A little glue and patience do the trick, and yes, it’s beginner-friendly and wallet-friendly too.
If I want extra depth, I use folded paper risers or spacer foam so the frame doesn’t sag like a tired pancake.
Consistent paper weight keeps corners crisp, which really helps when I’m making several panels.
The best part? From a few feet away, the whole piece reads like real wall art, and people always ask, “Wait, you made that?!”
Minimal Paper Cut Designs for Decor
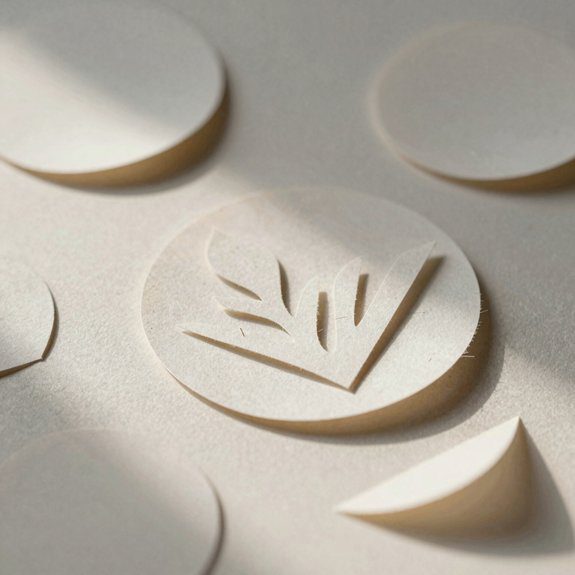
If the big wall-art frames got you hooked, this is the part where I strip things down and keep it clean, simple, and seriously cute!
I start with a template paper garlands project, because it’s cheap, quick, and makes my space feel like it belongs to me.
- Use one paper weight so links don’t rip.
- Try paper butterflies for easy, clean cuts.
- Pick pre-cut kits for less stress, more wow.
- Measure your wall first, then space pieces evenly.
- Finish with modular paper medallions in one color set.
I like a two-tone or ombre look, since fewer cuts still read like real decor.
Keep lines straight for that crisp geometric vibe, and you’ll get a polished result without skilled skills.
Honestly, it’s crafty magic with paper and scissors!
Paper Leaf Decorations for Natural Look
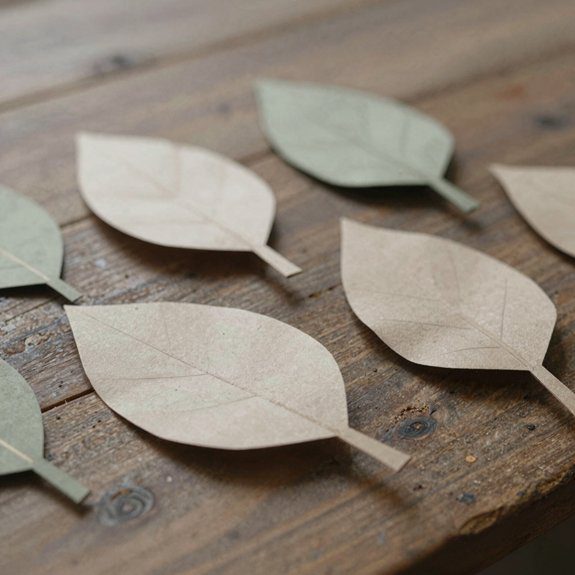
| Quick step | Result |
|---|---|
| Cut, layer, curl | Leafy texture |
| Blend light to dark greens | natural ombre veins |
| Punch, string, space | Cohesive garland |
I lightly crease edges with my fingers, because a tiny bend can fool the eye, and that’s magic on a budget! Mix maple, oak, and eucalyptus shapes, then rotate them so your wreath or garland looks organic, not stiff. It’s easy, low-cost, and beginner-friendly, and you’ll feel right at home with every leaf you add.
Paper Vase Wrap Designs
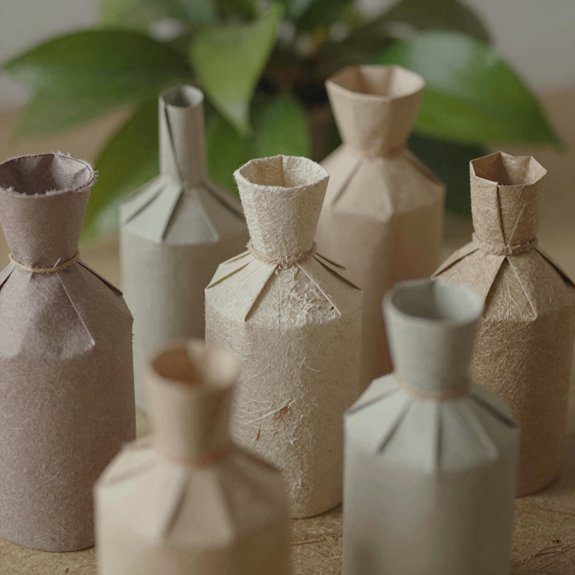
Because a simple vase can look a little sleepy, I like to give it a paper wrap that feels fresh, handmade, and just a bit stylish!
You can join the club with easy Paper wrap themes that match your room and mood.
- I measure the vase, cut paper with a 1–2 cm overlap, then tape it smooth.
- I pick cardstock for crisp lines or craft paper for soft curves and friendly vase texture patterns.
- I love band, spiral, or fan wraps, because each one changes the whole vibe fast.
- I add stripes, ombre, or tiny rosettes for that store-bought wink.
- I seal scrapbook paper with clear adhesive, trim edges, and tie twine through a small hole.
Want splash safety? Slip in thin plastic, and your vase’s ready to shine!
Origami Wall Display Ideas
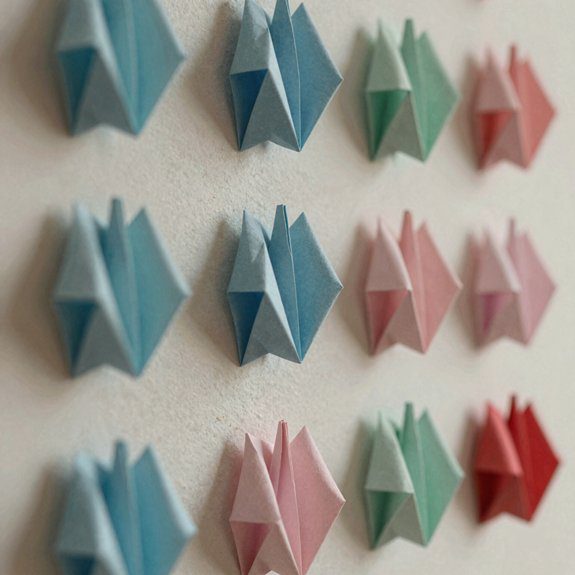
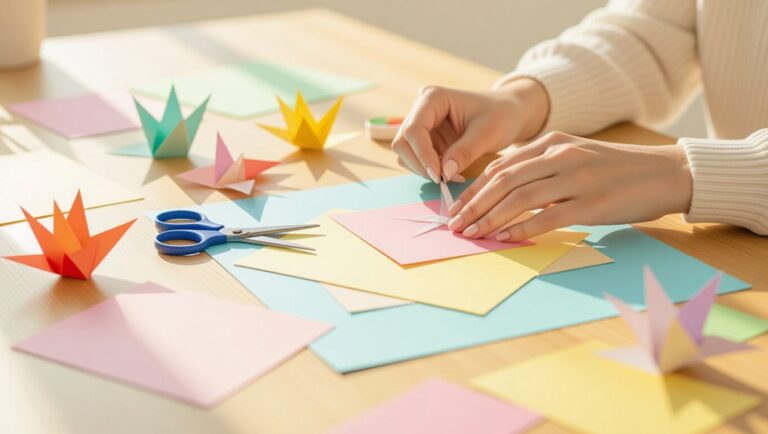
I love turning tiny origami folds into a wall display that looks way fancier than it really is! I start with butterflies, stars, or cranes, then group them into a cluster or repeating pattern so the whole wall feels like one artwork.
For easy success, I grab pre-cut or numbered templates, plus cardstock, string, foam board, and a dab of glue or tape. I match my color palette to the room, often with soft ombre shades, and change only the sizes for a polished look. If you want extra charm, hang a few pieces at different lengths, because that shadow depth makes the display pop without much effort.
Mount everything on a garland strip or wreath-style frame, and boom, you’ve got a friendly little gallery that’s cheap, simple, and seriously eye-catching!
Paper Window Decor with Patterns
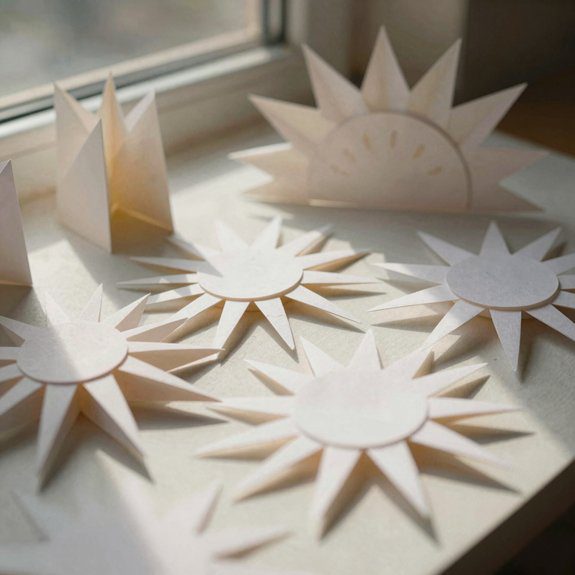
After playing with wall-mounted paper art, I love bringing that same handmade charm right to the window! I pick patterned scrapbook paper with steady thickness, then cut arches or rectangles that frame the glass without sagging.
- Trace repeating leaves, flowers, or geometric panels for quick, cohesive sets.
- Use Stenciled Motifs to keep every shape neat and friendly.
- Score folds lightly before layering, so edges stay crisp and clean.
- Try Scrapbook Layering with ombre and solid pieces for a bright, glowing effect.
- Stick them on with removable tape or tack, so I can swap seasons fast.
It’s cheap, easy, and a little magical, because sunlight turns simple paper into cheerful stained-glass vibes!
Paper Table Centerpiece Ideas
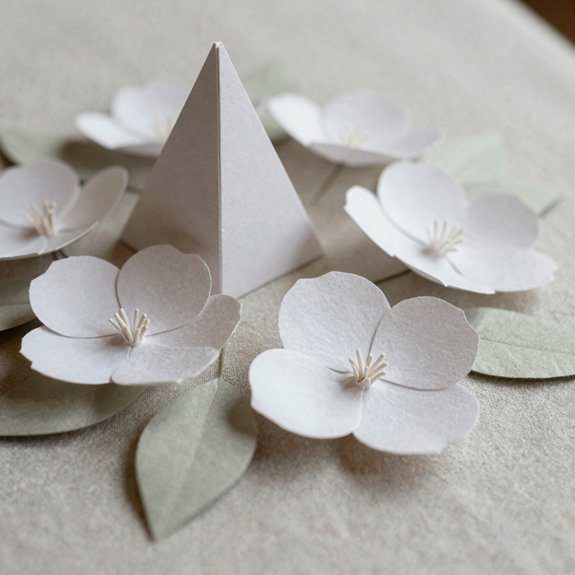
A table centerpiece can turn even a plain meal into a little celebration! I love starting with a paper leaf table runner: I cut scrap leaves in seasonal colors, then lay them lengthwise for an easy, low-cost look that feels cozy and welcoming.
If I want something fuller, I make a paper flower bouquet with coordinating blooms. It’s beginner-friendly, lasts forever, and adds instant cheer—no watering, no drooping, no drama.
For a soft glow, I build paper lanterns with careful cuts, sometimes using an exacto knife. They look store-bought and warm up the whole table.
Quick paper heart flowers work great too, especially grouped with a paper garland and seasonal accents.
For a playful surprise, I craft a paper mache animal centerpiece. It’s whimsical, budget-friendly, and always gets smiles!
Handmade Paper Frames for Photos
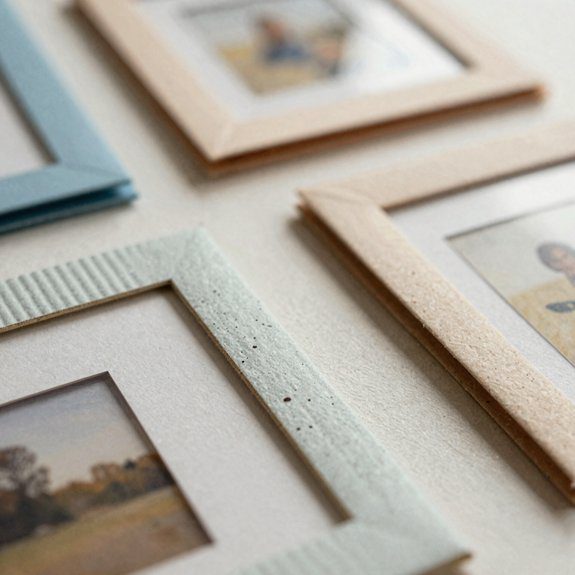
Handmade paper frames are one of those tiny projects that make a big difference, and they’re way easier than they look! I start with a 4×6 or 5×7 photo, cut sturdy cardstock for the base, then add a mat window so the picture feels polished and cozy.
- I wrap the edges with patterned paper, kraft paper, or watercolor paper.
- I smooth on scrapbook tape or a thin PVA layer for a neat hold.
- I cut the photo to fit, then make a paper hinge so it can slide out.
- I love Color pencil notes, paper embossing ideas, and textured cardstock finishes for extra charm.
- I finish with a back triangle and string, then seal it so fraying stays away.
Honestly, the result looks boutique, costs little, and feels like home!
Paper Shadow Box Art Projects
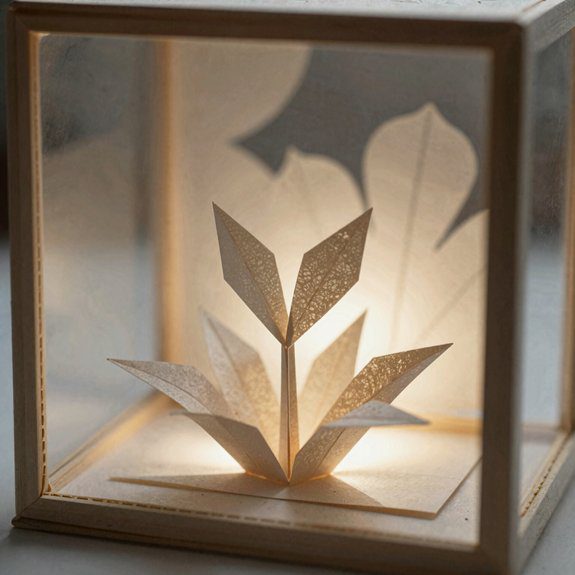
I love paper shadow box art because it turns flat scraps into tiny scenes with real depth, and it looks way fancier than the effort you put in!
I start with cardstock or patterned scrapbook paper, sketch my layout, then layer cut flowers, shapes, or mini scenes on foam tape. That little lift creates shadow magic, and yes, you can totally do it on a budget.
For extra color pop, I mix pre-cut pieces with folded accents, rosettes, butterflies, and other scrapbook embellishments, keeping most layers the same paper weight so nothing warps. I glue only the edges, use thicker foam in front, thinner behind, then frame everything with a clear cover.
The result feels polished, tidy, and delightfully “I made this!”
Folded Paper Sculptures for Shelves
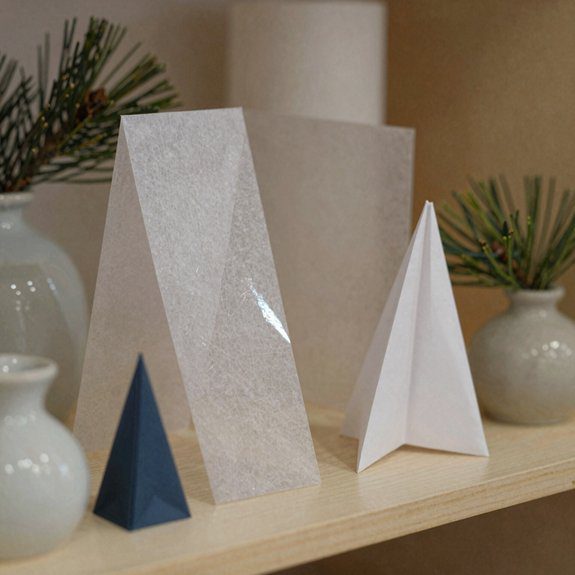
If paper shadow boxes make flat scraps look magical, folded paper sculptures take that same charm and give it legs for your shelves!
I like using pre-cut, pre-creased templates because the folds guide me and cut mistakes fast.
- Pick cardstock or thick scrapbook paper so it won’t sag.
- Match your colors first, like rustic neutrals or spring florals.
- Glue only the tab and crease edges, then press gently.
- Add hidden tabs or a flat base for balance.
- Try a paper cupcake for a sweet seasonal gift, or a tiny animal for a friendly vibe.
The result feels polished, playful, and sturdy, even on a busy shelf.
It’s low-cost, beginner-friendly, and honestly, it makes me feel like I’ve joined the cool craft club!
Paper Hanging Ornaments for Rooms
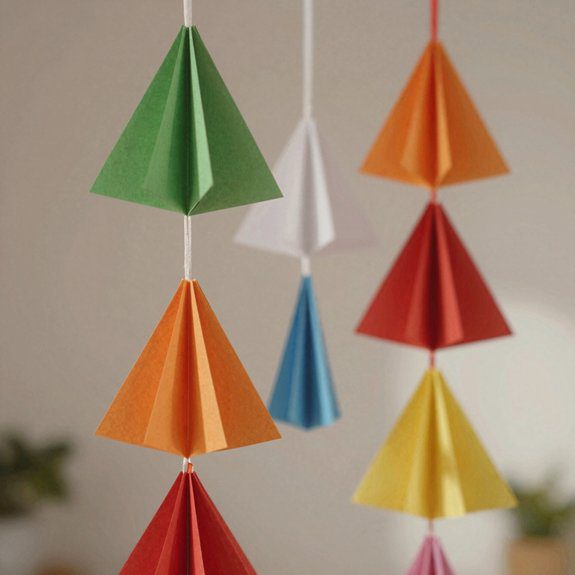
Paper hanging ornaments can turn a plain room into something way more cheerful, and the best part is that they don’t need a big budget or specialized tools! I like starting with bright paper garlands, where I cut strips, link them, and tape them along a wall for instant color and a friendly, party-like feel.
If I want something softer, I make paper wisteria with 3d paper blossoms in ombré shades, then hang it from a curtain rod, wow!
For a glow-up, I fold paper bags into stars, add tiny LEDs, and let them sparkle like cozy little fireworks. I also love easy lanterns and pre-cut 3D paper models, because string and hooks are enough to make them float around the room.
Neutral Tone Paper Decor for Minimal Homes
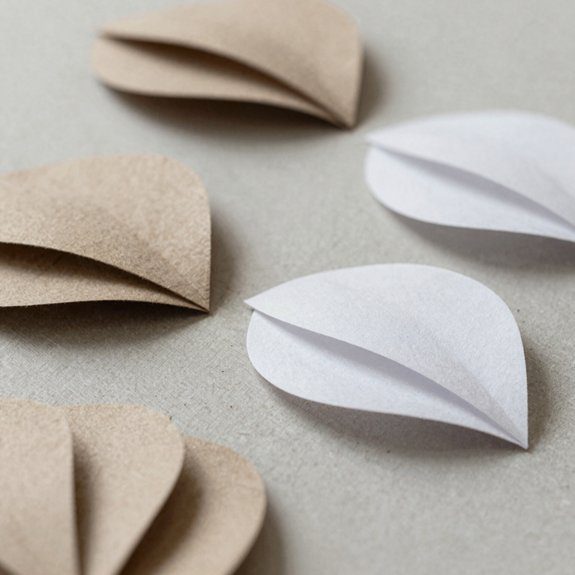
When you want a minimal room to feel calm instead of empty, neutral paper decor does the trick without shouting for attention! I reach for kraft, beige, cream, and soft gray, because they blend in and still feel cozy.
- I make paper chains with steady-weight sheets.
- I fold simple stars for easy wall accents.
- I build wreaths in ombré neutrals for quiet depth.
- I try paper lanterns from sturdier paper for shape.
- I add warm neutral lighting with luminary stars at night.
These texture friendly crafts cost little, need basic scissors and glue, and look polished fast.
Start with garlands or table runners, then sneak in a geometric bowl when you’re ready.
The best part? Your home feels collected, not cluttered, and that’s a win!