Easy Paper Crafts for Kids That Are Fun, Creative, and Low Mess
I love easy paper crafts for kids because they’re cheap, cheerful, and don’t leave your kitchen looking like a glitter tornado! Start with paper plate animal faces, folded butterflies, or paper chains using scraps, scissors, and glue, then try simple origami hearts, handprint art, or pop-up cards for birthdays and “oops” notes. Add sun catchers, mobiles, or bookmarks for extra fun, and you’ll get cute keepsakes with barely any cleanup—wait till you see the best one next!
Love cozy DIY projects? 💕
Get free printable guides, exclusive tutorials & surprise craft goodies straight to your inbox.
Disclosure: This post may contain Amazon affiliate links, at no extra cost to you. Content on DiyCraftNest is created with research support from AI tools and carefully reviewed, edited, and fact-checked by the lead author, Daniel Pat, to ensure accuracy and reliability. Learn more
Key Takeaways
- Paper plate animal faces use pre-cut shapes, glue sticks, and markers for quick, low-mess kids’ crafts.
- Folded paper butterflies add color and patterns with simple creases and kid-safe scissors.
- Paper chain decorations are easy to make from colorful strips and brighten rooms without messy materials.
- Beginner origami hearts use crisp paper and basic folds to build confidence with minimal cleanup.
- Handprint art, masks, and puppets turn paper into personalized keepsakes and play props with simple supplies.
Paper Plate Animal Faces Craft
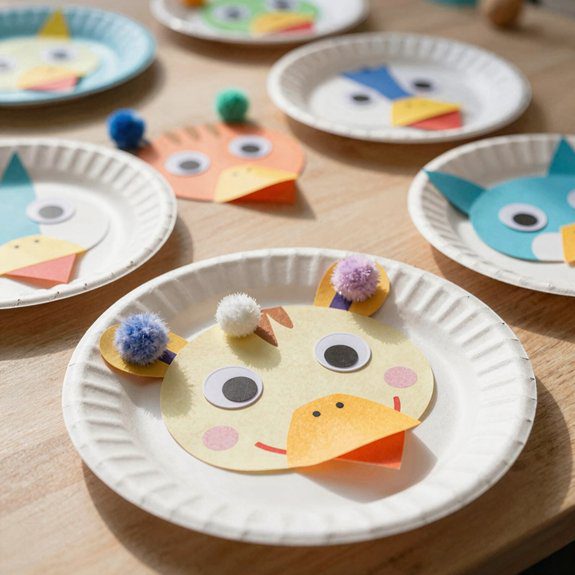
On the paper plate, I love starting with a super simple animal face craft that kids can make almost right away! I grab paper plates, construction paper scraps, a glue stick, scissors, and washable markers, then I pre-cut triangle ears, a round snout, and a tiny mouth.
Kids pick colors and patterns first, which keeps every face feeling like theirs, and it barely costs anything.
Then I let them glue the pieces on, add marker whiskers, spots, or stripes, and pop on googly eyes if we’ve got them. The result is a cat, dog, bear, or frog with real personality, and the mess stays tiny.
I like to pair these faces with Outdoor animal habitats or Nature themed story prompts, because suddenly the craft becomes a whole little world!
Folded Paper Butterflies with Patterns
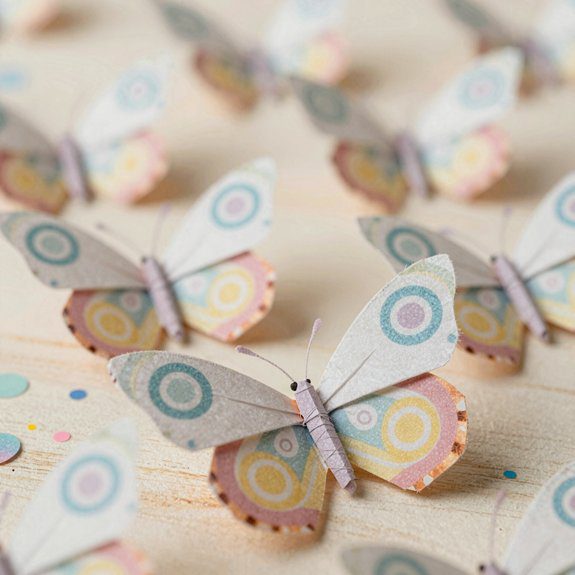
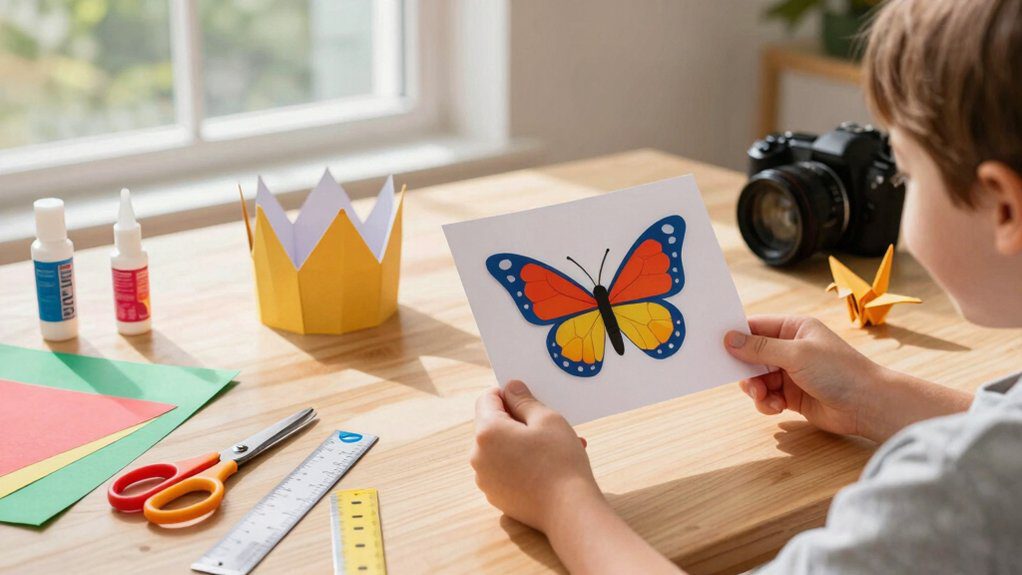
When I want a paper craft that feels a little magical, I start with folded paper butterflies, because one simple crease can turn plain construction paper into something bright and fluttery!
I grab a square sheet, fold it in half, then accordion the wings so they pop open with Coloring symmetry.
Next, I draw polka dots, stripes, or trace a template on the folded paper before cutting, so every pattern matches.
With kid safe scissors, I snip along the wing edges while it’s still folded, and that’s where the fun surprise happens!
I unfold it, glue a tiny paper strip in the center for the body, and add googly eyes or antenna.
A glue stick keeps mess low, and the butterfly dries flat, ready for cards or room décor.
Paper Chain Decorations for Rooms
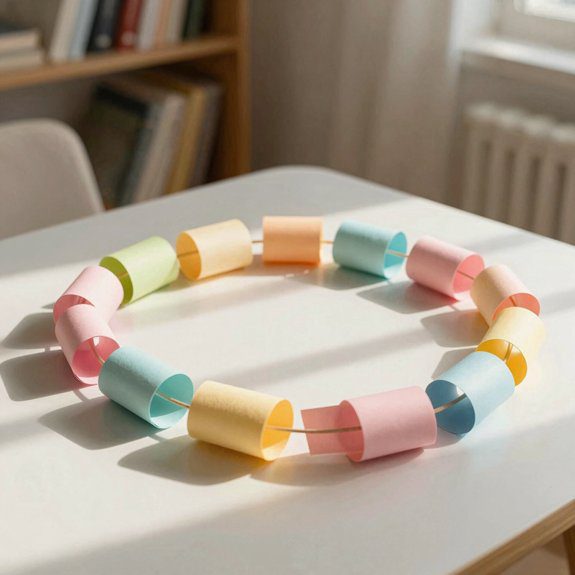
Stringing paper chains is one of my favorite easy room crafts, because a few bright strips can turn a plain wall into something cheerful in no time!
I like to set up kid safe craft stations, then cut colorful paper into narrow strips and show easy chain assembly, one loop at a time.
For Seasonal color themes, I pick rainbow, spring, or holiday shades, so the room feels like it belongs to your family’s mood.
- Use longer strips for bigger links.
- Try minimal glue techniques with a glue stick.
- Let each link set before adding the next.
- Hang chains on walls, windows, or doorways.
- Drape one across a mantel for a wow moment!
If you want extra fun, I make a chain snake across a wall, and kids grin every time.
It’s cheap, simple, and delightfully low mess!
Simple Origami Shapes for Beginners
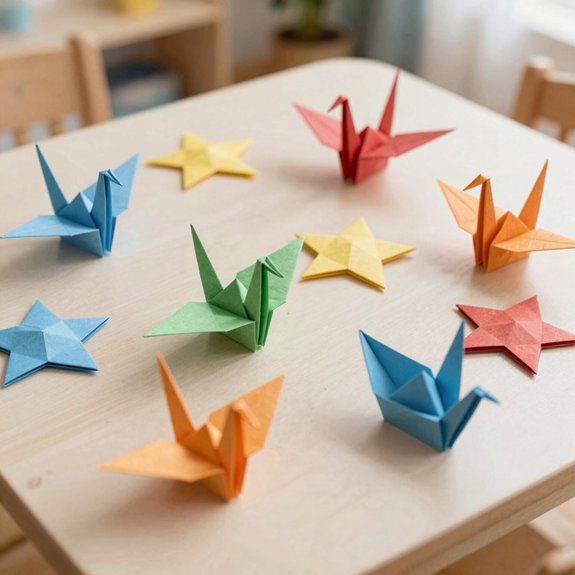
After making bright paper chains, I love switching to simple origami, because a single square of paper can turn into something tiny and charming in just a few folds! I grab crisp 15×15 cm paper, then I Practice paper folding with easy moves: fold in half, fold again, or go diagonal. Those repeatable directions build crease confidence fast, and they’re perfect kid friendly techniques.
For a first win, I like an origami heart. I follow the cup and crease pattern, press every edge firmly, and keep my hands steady for safe paper handling. If I need it, I cut a small helper template once, then try the same folds without it.
At the end, I gently open the shape along the creases, not tugging, so the heart stays neat. Cute, low-cost, and wow-worthy!
Paper Handprint Art Projects
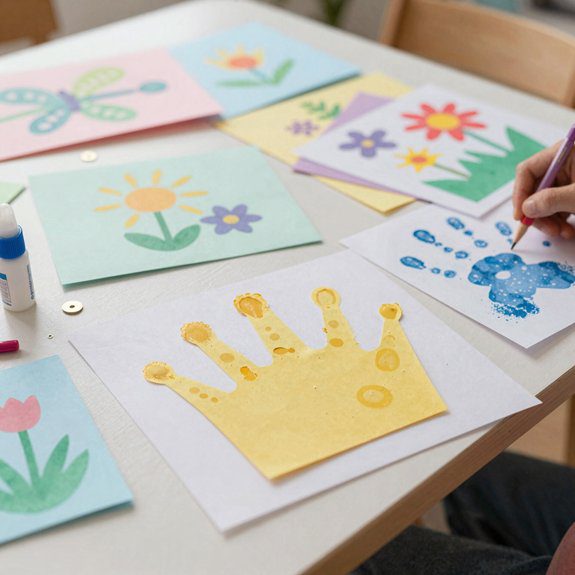
I love turning a simple handprint into a tiny work of art, because it starts with just construction paper and ends with something kids are excited to show off!
I trace a hand, cut it out, and suddenly I’ve got a Safe Handprint shape ready for fun.
- Use washable markers or paint on a tray for Mess Free Painting.
- Add eyes, antennae, or wing dots with markers.
- Try a classic butterfly, where two handprints become wings.
- Glue on tissue scraps for texture and a fuller look.
- Let it dry flat overnight for Quick Drying and easy saving.
The best part?
I can layer a second cut handprint for thicker wings, and the whole project stays cheap, simple, and proudly personal.
I write the name and date on the back, then smile, because that little keepsake feels like ours.
DIY Paper Crowns for Dress-Up Play
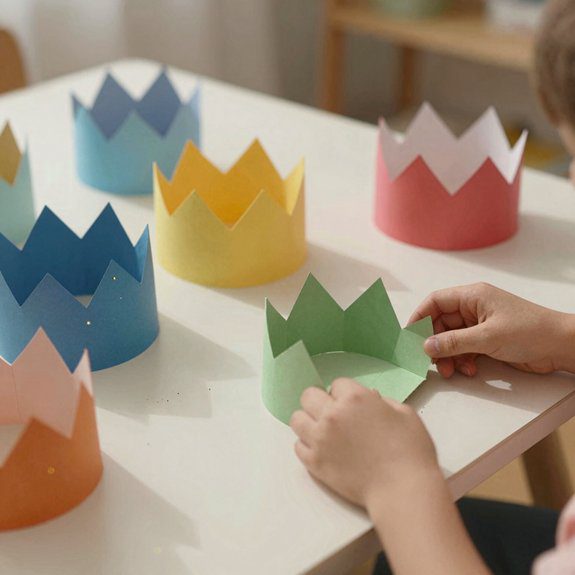
When dress-up time calls, a DIY paper crown is one of the easiest ways to make a kid feel instantly royal! I use cardstock, scissors, and kid safe glue options, then invite kids to decorate with markers or stickers. Want a quick fit? My crown sizing tips are simple: measure the head, or wrap a paper strip first, then add 1–2 cm for overlap.
| Step | What I do |
|---|---|
| 1 | Cut a long band from thick paper |
| 2 | Add crown teeth with slits or triangles |
| 3 | Decorate, then fold the points a bit |
| 4 | Glue or staple the band closed |
A glue stick keeps things tidy, and adult help with stapling makes it sturdy. The result? A fun crown that stays on for pretend royal adventures!
Paper Roll Binoculars for Kids
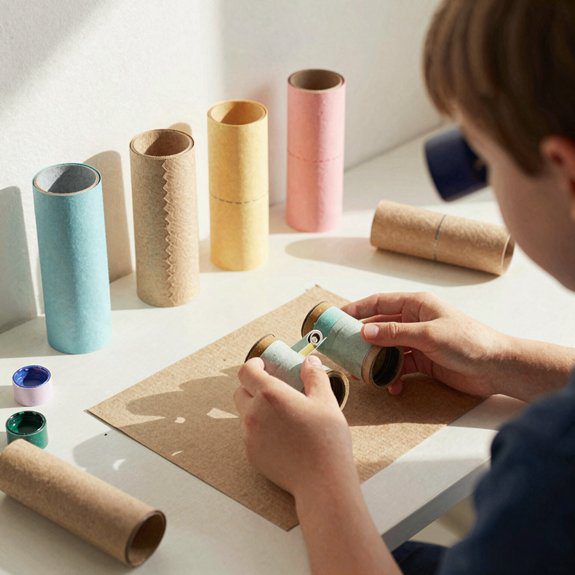
With just a couple of toilet paper rolls, I can turn plain cardboard tubes into adorable paper roll binoculars that are ready for pretend adventures! They’re cheap, quick, and honestly, they make kids feel like tiny explorers.
- Tape the rolls side-by-side.
- Add paper circles for lenses.
- Decorate with markers or paint.
- Punch holes, then add string.
- Reinforce seams for sturdy play.
I love this for Sensory investigation, because kids can touch, color, and wear their creation right away.
For Binocular Games, I set up Eye Spy Ideas indoors, then take them on a Nature Scavenger outside. A few googly eyes or jungle shapes make them extra cute, and the best part is that they hold up for repeat play.
It’s simple fun that helps kids belong in the adventure!
Layered Paper Rainbow Craft
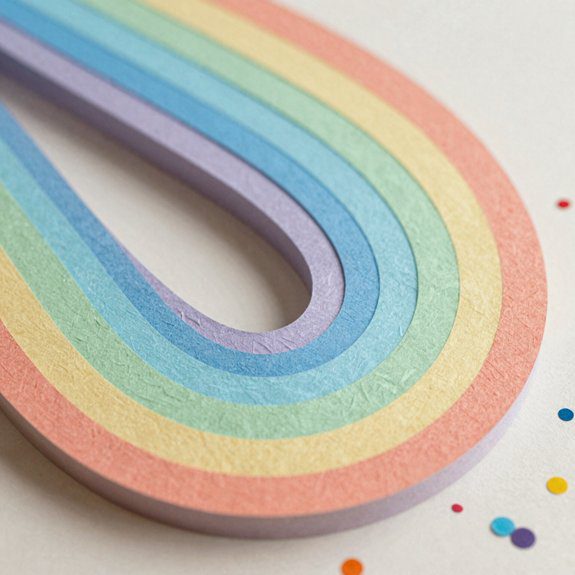
After those pretend-adventure binoculars, a bright paper rainbow feels like the perfect next craft because it’s colorful, easy, and honestly a little magical!
I cut construction paper into strips, or squares if that’s what I’ve got, then I stack the colors in rainbow order.
To keep it low-mess, I use a glue stick and only add tiny amounts along the strip edges. I glue one layer at a time, so each band overlaps the last and pops off the page a bit. That little lift makes it look so cheerful!
Next, I tuck cotton balls at the top for clouds, then let kids add markers for tiny stars or raindrops. It’s great for Color mixing experiments and Weather theme storytelling, and it costs almost nothing.
Paper Fan Decorations for Walls
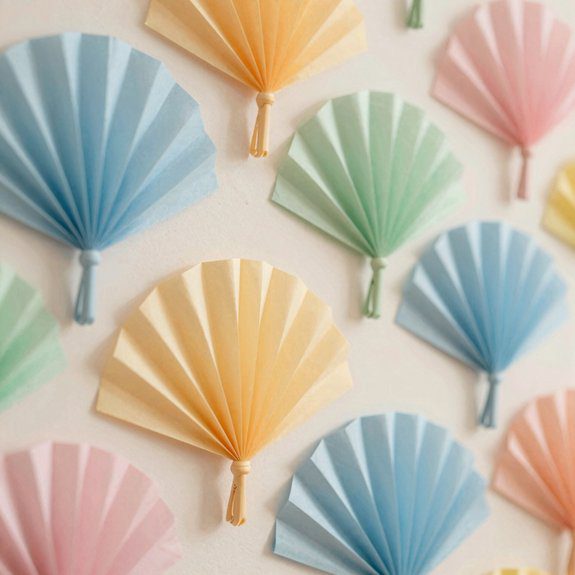
Because I wanted a wall craft that looks elegant but doesn’t take much fuss, I started making paper fan decorations with plain construction paper and a few quick folds. I crease each strip accordion-style, glue the center, then fan it open into a soft circle, and wow, it suddenly feels like art!
- Use kid safe materials like cardstock, twine, and painter’s tape.
- Layer a small fan in front of a larger one for fuller textured wall hangings.
- Add markers, crayons, or stickers, not glitter, for easy cleanup.
- Hang each fan with a simple loop so it stays even.
- Arrange them in a grid, rainbow arc, or scattered pattern.
I like how cheap and beginner-friendly these are, and the wall looks happy, not messy.
Paper Flower Bouquets for Gifts
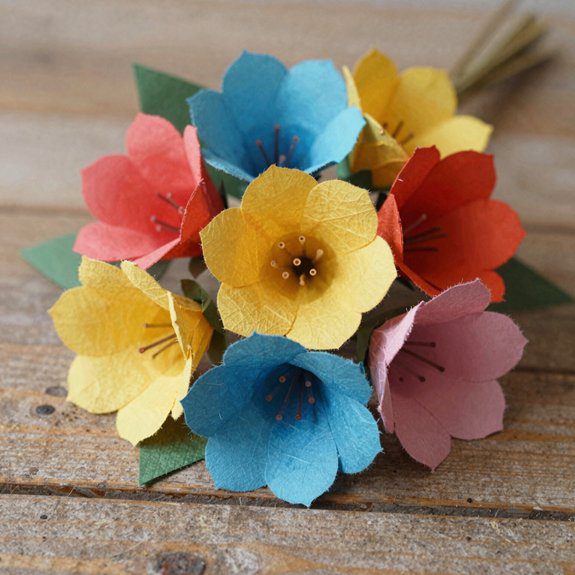
When I want a kid-made gift that looks sweet and cheerful, I like making paper flower bouquets from cardstock, and they’re easier than they sound! I cut layered cardstock cutouts, glue the petals, and add a tiny yellow center for a happy finish.
| Material | Use | Tip |
|---|---|---|
| cardstock | petals | pick bright colors |
| scissors | cutting | trace simple shapes |
| glue stick | layering | keep mess low |
| ribbon | tying | choose a soft color |
| dowel | stem | wrap it neatly |
Try different flower templates, and overlap petals at different heights for a fuller look. If you want handles, glue a dowel or skewer to the back and wrap it with paper. Then gather the stems, tie with twine, and you’ve got gift wrap ideas that feel personal, cheap, and adorable. Honestly, this little bouquet says, “I made this for you!”
Paper Puppets for Storytelling
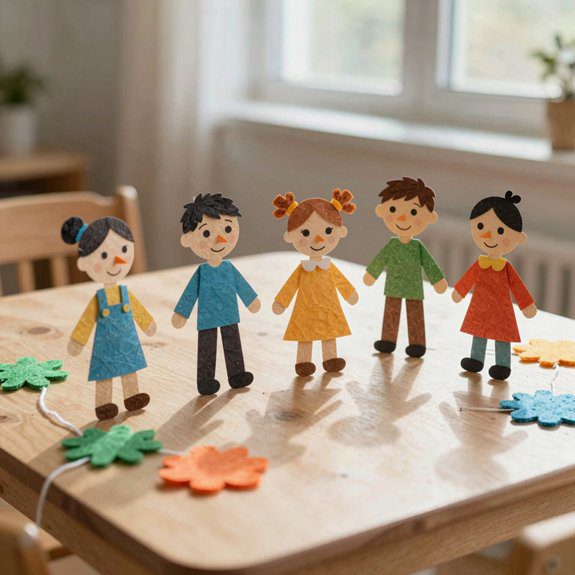
If you’ve got leftover paper from making those cheerful flower bouquets, don’t toss it in the scrap pile just yet—I love turning it into paper puppets for storytelling, and kids think it’s pure magic!
I cut cardstock into heads, bodies, and little arms, then add sticks or tabs so the characters can “talk.”
It’s cheap, easy, and perfect for a rainy afternoon.
- Use printable templates for neat, sturdy shapes.
- Let kids cut the dotted lines.
- Glue with sticks, not messy blobs.
- Add googly eyes or markers for bold faces.
- Reuse scraps for hats, tails, or props.
Then I draw a tiny story stage on paper, and suddenly we’ve got Colorful dialogue prompts and a Puppet character voice ready for fun!
Kids practice sequence, laughter, and sharing, and honestly, that’s the real show.
Cut and Paste Collage Art
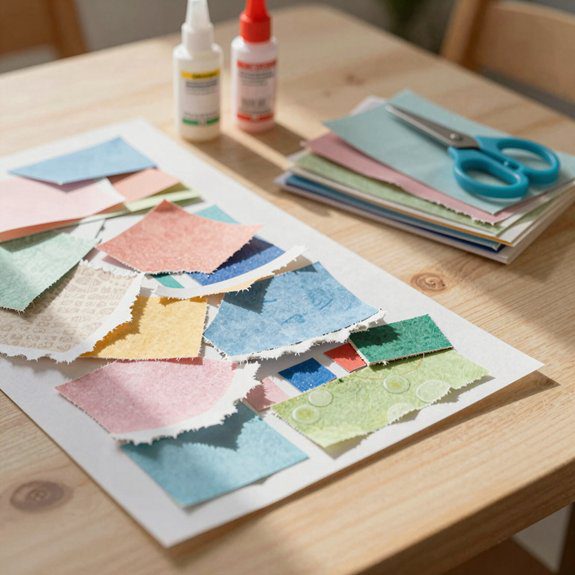
On a rainy afternoon, I love turning a plain sheet of paper into cut and paste collage art—it’s like making a tiny masterpiece out of scraps, and kids usually can’t wait to get started!
I grab a simple template, maybe a leaf, rainbow, or animal, then set out pre-cut construction paper, cardstock, and even old magazine strips.
Next, I show Texture building tearing techniques, because torn edges add a cool, fuzzy look that scissors can’t fake.
We glue just one small spot at a time, press pieces down, and laugh when a scrap lands sideways—hey, abstract art counts!
I like using color by number placement: big background shapes first, then tiny details like petals, eyes, or clouds.
That order keeps things neat, cheap, and easy.
If we want, I finish with markers or googly eyes, and the collage dries flat into sturdy, brag-worthy art!
Paper Kites for Indoor Play
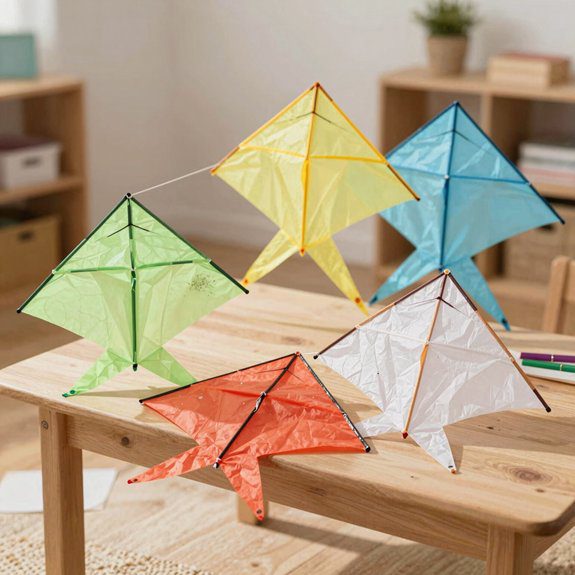
Even a tiny indoor kite can feel like a big adventure, and I love making one from cardstock or construction paper because it’s cheap, simple, and surprisingly fun!
I start with a diamond or triangle, add a 6–12-strip tail, then tie string at both top corners for kite making guidance.
- I punch or tape the corners.
- I join them into a Y-shaped bridle.
- I attach the main line at the center knot.
- I decorate with crayons, markers, or stickers.
- I launch it in a clear hallway, with an adult nearby.
For indoor flight fun, I hold the line low and give a gentle tug, and the kite flutters like it’s showing off.
If I want it steadier, I crease the edges or add a thin paper spine.
No glitter, no mess, just happy flying!
Paper Masks for Role Play
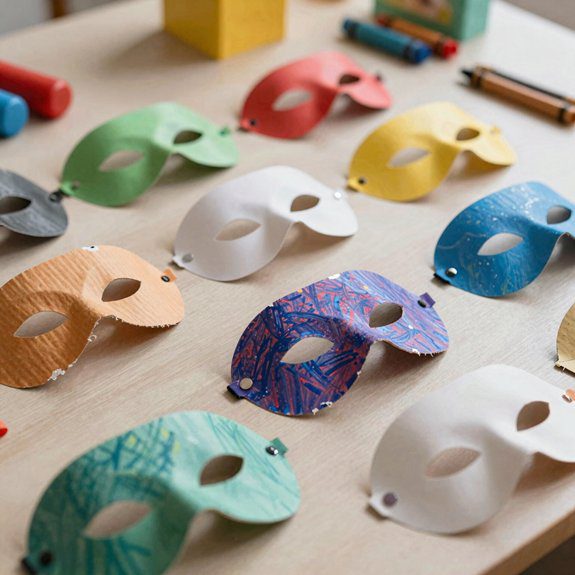
Paper masks for role play are one of my favorite quick crafts, because I can turn a plain sheet of cardstock into a silly face, a spooky costume, or a totally heroic disguise in just a few minutes!
I grab scissors, a glue stick, markers, and elastic, then cut a simple shape and let kids decorate it with stickers or a little glitter cardboard.
For extra Character costume creativity, I use templates or pre-cut kits that make bunny ears, beaks, or wild creature faces almost easily.
That means less waiting and more giggling!
These No mess craft tips keep cleanup easy, and the masks work great for Halloween, Easter, or party games.
Add googly eyes, tie on the string, and suddenly everyone feels included in the fun.
Pop-Up Paper Cards for Occasions
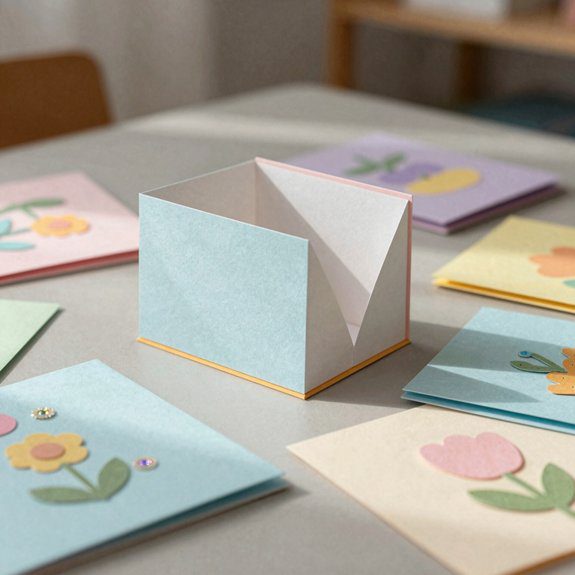
For birthdays, Valentine’s Day, and even those “oops, I forgot!” moments, I love making pop-up paper cards because they feel elegant without being fussy!
I use cardstock, a pencil, scissors, and glue, then cut a neat heart or flower and fold an accordion tab inside.
- Pick occasion themes that fit the moment.
- Trace a simple template for easy positioning.
- Try kids customization with names or doodles.
- Dry-fit the shape before gluing, so it opens right.
- Save holiday popups for the front, and birthday surprises inside!
I keep the base sturdy, because flimsy paper wobbles like a baby giraffe.
These cards cost little, take just a few steps, and make people feel seen.
That’s the magic, really.
Paper Sun Catchers with Color Sheets
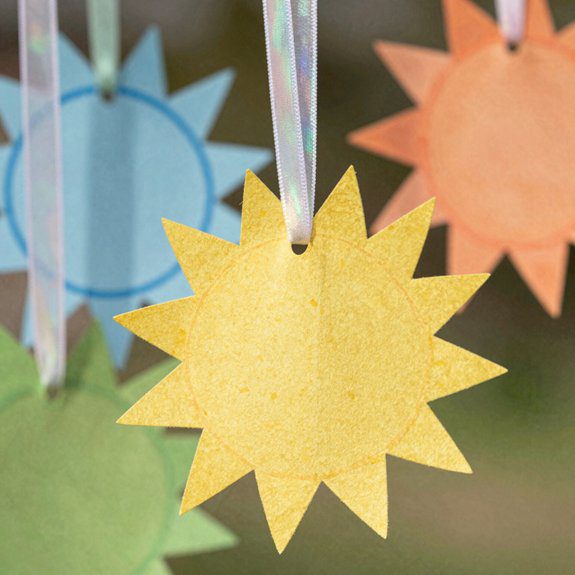
After making those cheerful pop-up cards, I like switching to something that looks polished but is still super kid-friendly: sun catchers!
I cut simple circles or hearts from cardstock, then leave a clear window in the middle for the color sheet.
Next, I tape or glue colored transparency sheets behind the frame, and I let kids press everything down with their fingers, which keeps Mess Free Craft Cleanup easy.
A glue stick or tape works great, and it’s cheap too!
For a happy finish, I punch a hole at the top, thread yarn through, and hang the sun catcher in a window for Window Sun Demonstrations.
If you layer two thin colors, like yellow over blue, the glow gets brighter and prettier.
It’s a tiny craft with a wow factor—almost like stained glass, but way less fussy!
Simple Paper Mobiles for Room Decor
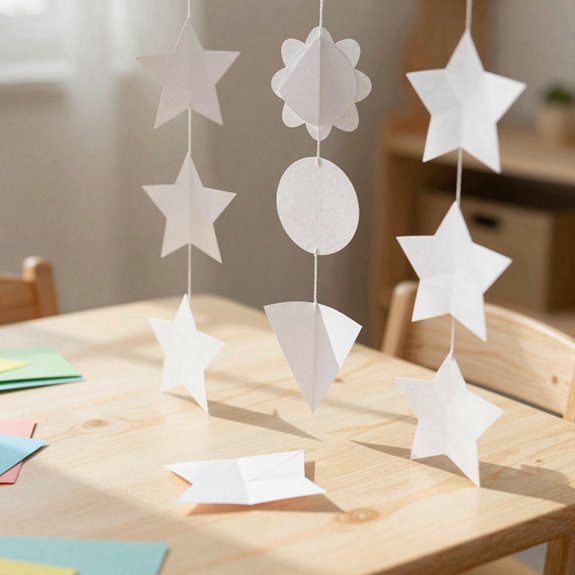
When I want a room to feel a little happier without making a big mess, I reach for a simple paper mobile, and honestly, it’s such a fun little win!
I cut colorful construction-paper strips or repeating stars, circles, or fish, then hang them from a paper ring at different lengths.
- Use a glue stick, or staple and tape for fast, low-mess assembly.
- Curl strips a bit for movement and texture.
- Try paper loops for a chain look.
- Layer cutouts for a tiny 3D effect.
- Keep balancing weight pairs opposite each other so it hangs straight.
I only need paper, scissors, a hole punch, yarn, and a hoop, so kids can finish fast.
The best part? Those colorful hanging shapes sway softly and make the whole space feel like it belongs to us!
Paper Bookmark Crafts for Reading Time
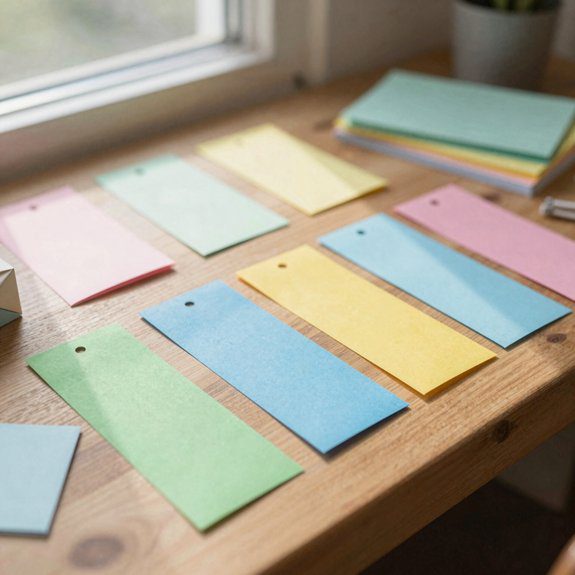
A good bookmark can turn reading time into a tiny craft break, and I love that! I start with fruit slice bookmarks: fold a small square diagonally, make a pocket corner, then trace and cut juicy fruit shapes from colorful craft paper. They’re cheap, easy, and they slide onto pages like a tiny treat.
Next, I make a Mixed Media Bookmark with confetti. I fill a paper template with scraps, seal it, and get a surprise inside—so fun!
For Seasonal Reading Themes, I like spring flower bookmarks too. I shape paint chips into tulips, snip, glue, and suddenly old samples look adorable. Best part? I swap the cut-out shape, keep the same pocket template, and reuse it for holidays or animal reads.