How to Choose the Right Materials for DIY Projects
Choose DIY materials by matching the job to the space, use, and budget. For a shelf, pine, screws, and paint work fast; for a bench, pick oak, composite, or treated wood, plus sturdy fasteners. Indoors, light stock and fabrics are fine; outdoors, go weather-ready with sealant or coatings. Don’t grab the cheapest option—think lifespan, upkeep, and finish, or you’ll pay twice. The best surprise is how much longer smart picks last, and there’s more ahead.
Love cozy DIY projects? 💕
Get free printable guides, exclusive tutorials & surprise craft goodies straight to your inbox.
Disclosure: This post may contain Amazon affiliate links, at no extra cost to you. Content on DiyCraftNest is created with research support from AI tools and carefully reviewed, edited, and fact-checked by the lead author, Daniel Pat, to ensure accuracy and reliability. Learn more
Key Takeaways
- Match materials to the project’s job: decorative pieces can use lighter stock, while load-bearing builds need stronger lumber or composite.
- Consider the environment: use weather-resistant, rot-resistant, or moisture-safe materials for outdoor or damp-area projects.
- Think long term, not just upfront price: compare lifecycle costs, including fasteners, tools, maintenance, repairs, and replacements.
- Choose the right material type for the task: pine is easy to work, hardwood lasts longer, and synthetics dry fast and hold shape.
- Balance appearance and durability by selecting suitable finishes, coatings, and maintenance plans to protect the project over time.
Why Material Choice Matters in DIY
Material choice can make or break your DIY project, because the right pick helps it last longer, look better, and hold up when life gets messy. You might save money with the cheapest option at first, but if it warps, cracks, or needs constant fixing, your wallet won’t be laughing later!
Choose wisely, and you’ll get a finish that looks sharp now and keeps working for the long haul.
– Durability impact
Every DIY project has a hidden test: how long it’ll actually last once real life gets involved! You want materials that fit the job, not just the price tag. For outdoor builds, choose rot- and insect-resistant options, plus weather protection, because untreated wood can quit on you fast in sun and rain.
If you’re making a bench or worktop, pick strong lumber or composite that can take weight without wobbly joints. For steel, add maintenance planning, like painting before rust shows up.
In wet or hot places, treated timber, waterproof concrete, stone, or sealed wood lasts longer. The cheapest pick can become the priciest later!
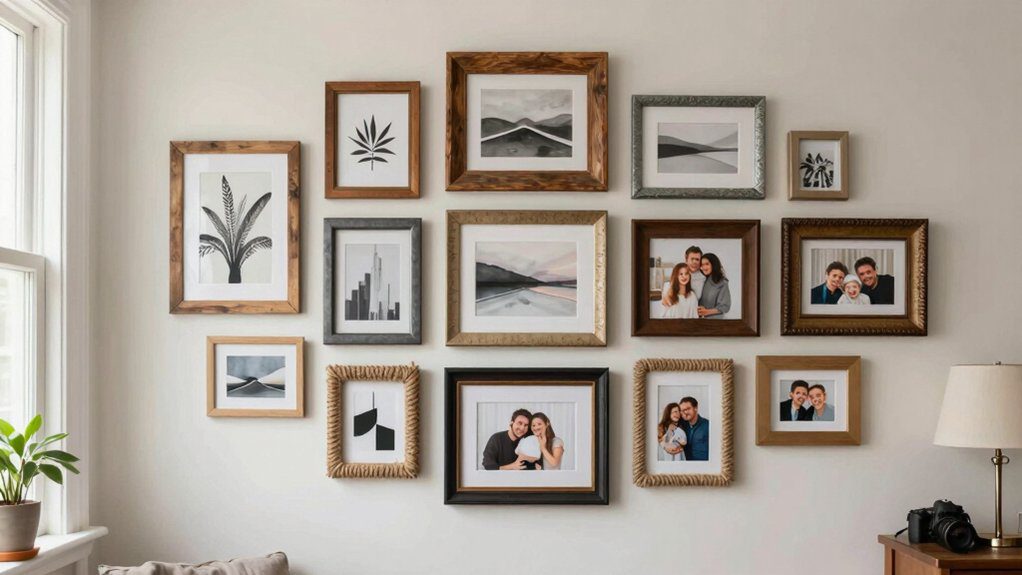
– Visual quality
A project can be tough as nails and still look a little “meh” if you pick the wrong finish or trim, so now’s the fun part—making it look good! You’re building more than a shelf or wall, you’re joining a room that feels like yours.
- Start with paint or stain: matte softens light reflection, while gloss adds a wipe-clean shine.
- Match metal finishes: brass, chrome, and brushed nickel work best when your gloss harmony stays steady.
- Size your patterns and trim right: big wallpaper or chunky crown can crowd small spaces, while oak or maple faces keep things polished and welcoming.
– Cost efficiency
Some of the cheapest DIY choices can turn into the priciest ones later, so cost efficiency isn’t just about the sticker price—it’s about the whole ride!
When you use Lifecycle costing, you compare the full project, not just the aisle tag. Think material, fasteners, adhesives, tools, rentals, and maintenance, because hidden replacement costs love sneaking in.
For floors, engineered hardwood may save cash now, but solid hardwood often lasts longer, so your total spend can drop over time.
Outdoors, weather-rated boards and quality paint fight rot and redo work, saving labor and money.
Smart choices help your project last, and you’ll feel like a pro!
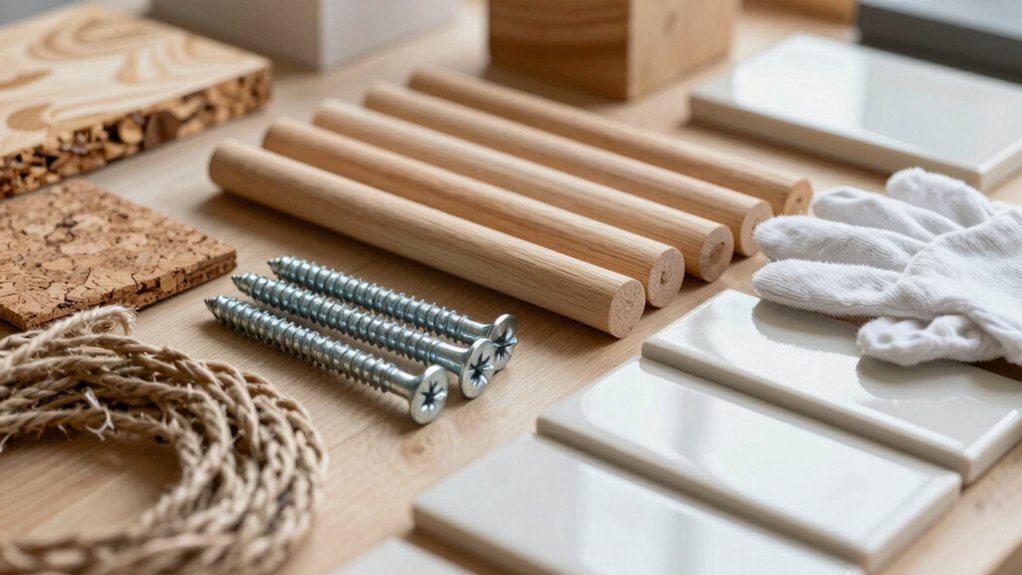
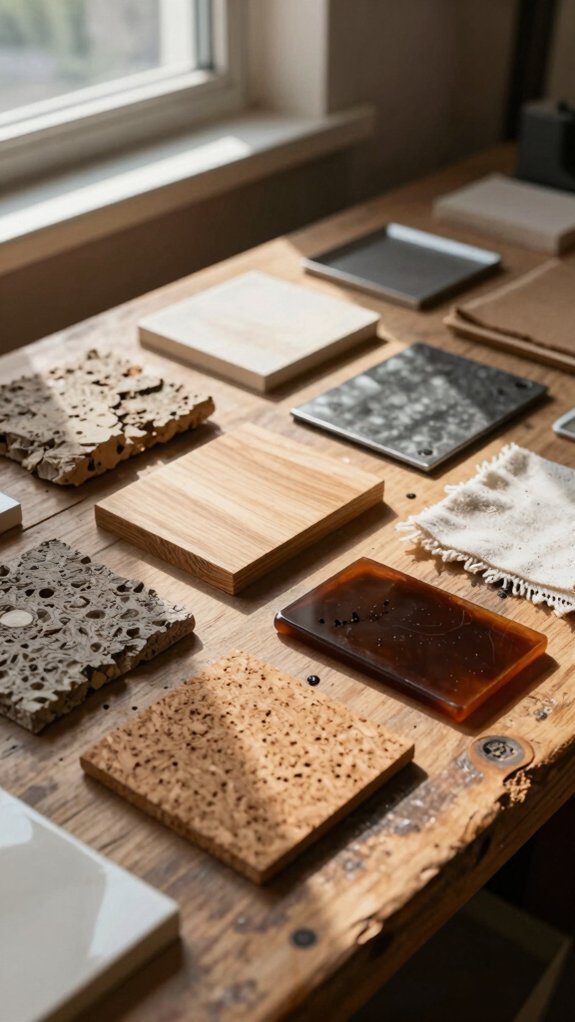
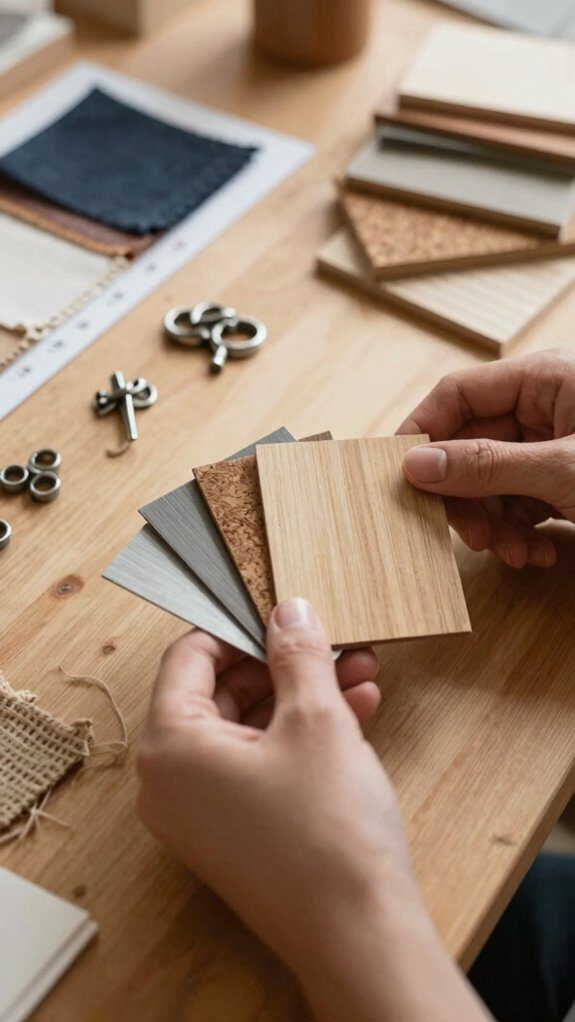
Most Common DIY Materials Explained
When you’re picking from the most common DIY materials, wood is a great place to start, since pine is easy to work with and oak or maple can handle tougher jobs like furniture—nice and sturdy!
Fabrics bring in softness and color, so you can use cloth, yarn, or ribbon for cozy padding, simple accents, or quick fixes that look way fancier than they are.
And if you want something a little more surprising, clay and ceramics can turn a plain project into a cool, durable piece, especially when you want a handmade finish with a bit of wow factor!
– Wood types
When you’re picking wood for a DIY project, you’ll usually choose between softwood and hardwood, and that choice can make a big difference fast!
Softwoods like pine are easy to cut and nail, while hardwoods like oak and maple feel tougher, handle more wear, and usually look a bit more polished too.
If you want a handy rule, start with softwood for simple indoor builds and save hardwood for furniture or anything that has to take a beating—your project will thank you later.
Softwood vs hardwood
Even though both are wood, softwood and hardwood can feel like two very different DIY buddies!
- Softwood, like pine, cuts fast, drills easily, and fits budget builds.
- Hardwood, like oak, feels tougher, handles wear, and suits furniture.
- Pick by strength, grain, and finish—your workability tips and finishing considerations matter!
Softwood’s great for shelves; hardwood wins for load-bearing pieces. Nice match, right!
– Fabrics
When you pick fabrics for DIY, you’ll usually choose between natural fibers like cotton and linen, or synthetics like polyester and nylon—each one behaves a little differently, and that’s where the fun starts!
Natural fabrics often feel softer and breathe better, while synthetic ones can be tougher, cheaper, and better at handling wear and tear, which is great news for projects that get used a lot.
For the best results, match the fabric to your job, because a cute material that can’t handle washing or sun might turn into a soggy little drama queen way too fast.
Natural vs synthetic
If you’re picking fabric for a DIY project, the big showdown is usually natural vs. synthetic, and both have their own charm!
- Natural cotton, linen, wool, and silk feel breezy, but need gentler Fabric Care.
- Synthetics like polyester dry fast and hold shape for busy, outdoor pieces.
- Check Label Reading for blends—cotton/polyester can give you comfort plus wrinkle resistance.
– Clay and ceramics
You’ve got two main paths with clay: air-dry, which is easy and great for simple decor, or kiln-fired clay, which gives you that real ceramic finish, stronger and more long-lasting. If you want mugs, bowls, or anything that needs to survive daily use, kiln-fired stoneware or porcelain usually beats air-dry every time—fancy, right? Just remember, the clay, glaze, and firing schedule all need to match, or you might end up with cracks, weird spots, or a piece that looks like it had a rough day.
Air dry vs kiln-fired
Clay sounds simple at first glance, but the way you dry it can totally change the game!
- Air-dry clay: cheap, easy, great for light crafts, but it hates water.
- Kiln-fired clay: needs heat, yet it gets strong and lasting.
- Choose with moisture resistance considerations and firing temperature effects in mind, so your project fits the crew and won’t flop later.
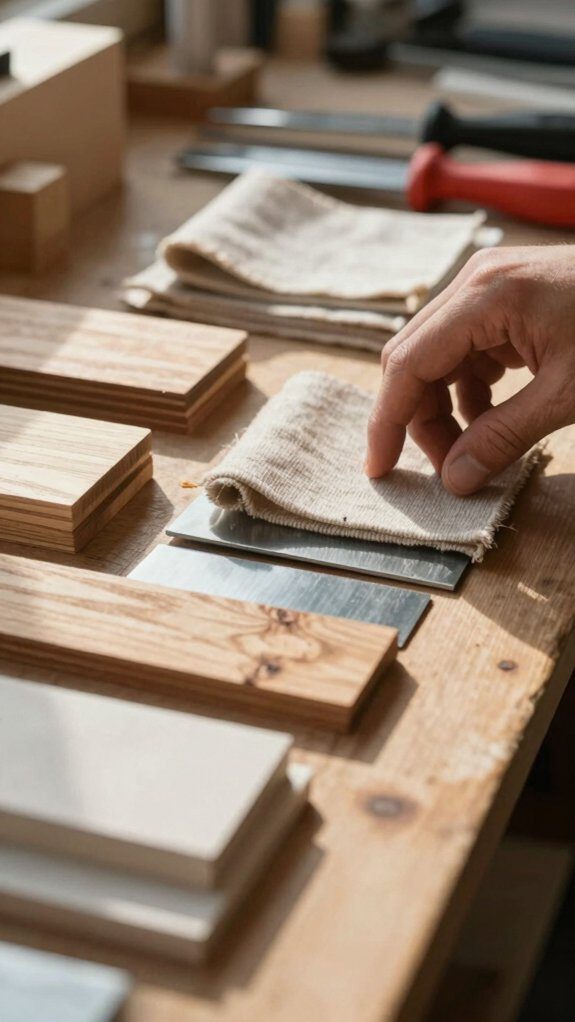
How to Match Material to Project Type
When you match your material to the project type, you’ll save time, money, and a few “why is this wobbling?” moments!
Indoor pieces can use a wider mix of woods and sheet goods, while outdoor builds need tougher, weather-friendly choices that won’t quit at the first rainstorm.
And for decorative vs. functional, or short-term vs. long-term jobs, pick what fits the job now and holds up later, because a cute shelf that sags like a tired hammock isn’t much fun.
– Indoor vs outdoor use
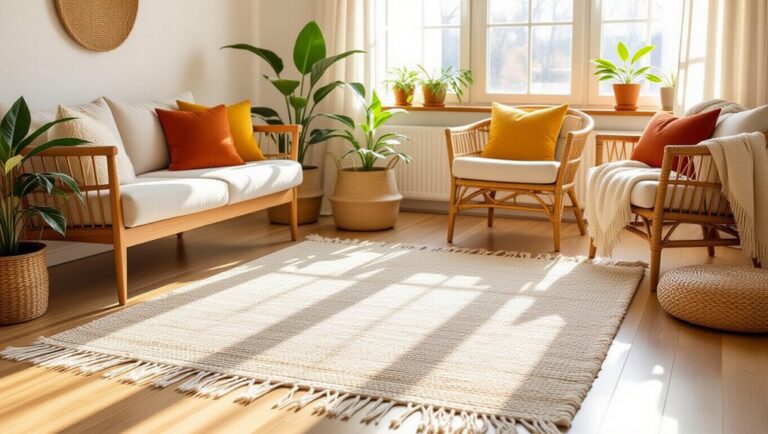
If your project stays inside, you can lean toward materials that look great and clean up easily, since they won’t have to battle sun, rain, or freezing weather—lucky them! Nice, right? Keep humidity control in mind, check material compatibility, and think about rust prevention for metal parts, especially near sinks or basements.
- For indoor furniture, untreated wood works well, and a matte finish keeps things calm and cozy.
- For decks or planters outside, use cedar, composite, or other weatherproof finishes that fight moisture.
- For outdoor plastics or metals, pick tougher, rated materials so they don’t crack or corrode fast.
– Decorative vs functional
Decorative materials shine best when looks matter most, so you can go bold with paint, glossy finishes, wallpaper patterns, or pretty moulding that adds instant charm without taking on heavy loads—nice!
Pick material sheen with cleaning ease in mind: gloss wipes faster than matte, which can save your sanity after sticky fingers show up.
For shelves, decks, or anything that must hold up, choose functional materials built for stress and moisture.
If you add decorative hardware, keep finish consistency with your fixtures.
And if a piece gets daily use, lead with strength first, then dress it up.
– Short-term vs long-term
- Quick builds: Use light stock for indoor décor.
- Weather jobs: Pick cedar or composite for outdoor use.
- Big loads: Choose strong lumber and secure fasteners.
This timeline based selection keeps your crew happy, because long-term projects need low-maintenance, weather-ready materials that won’t quit when seasons change.
Budget vs Quality Balance
You can save money on parts that won’t take much abuse, like a decorative frame or a hidden support, and still get a solid result—nice, right?
But when a project faces weather, weight, or constant use, it’s smart to spend more on tougher materials, better fasteners, or protective coatings so you’re not fixing it again next season.
The sneaky win is this: looking at cost per year often shows that a pricier material can actually be the cheaper choice over time!
– When to save money
- Save on decorative trim, where looks matter more than abuse.
- Pick tougher screws, fasteners, and finishes for busy spots.
- Compare totals, Plan maintenance so paint, flooring, or hardware stays affordable over time.
For floors, choose the material that fits your room’s wear.
For paint, the right finish can cut touch-ups.
Nice!
– When to invest more
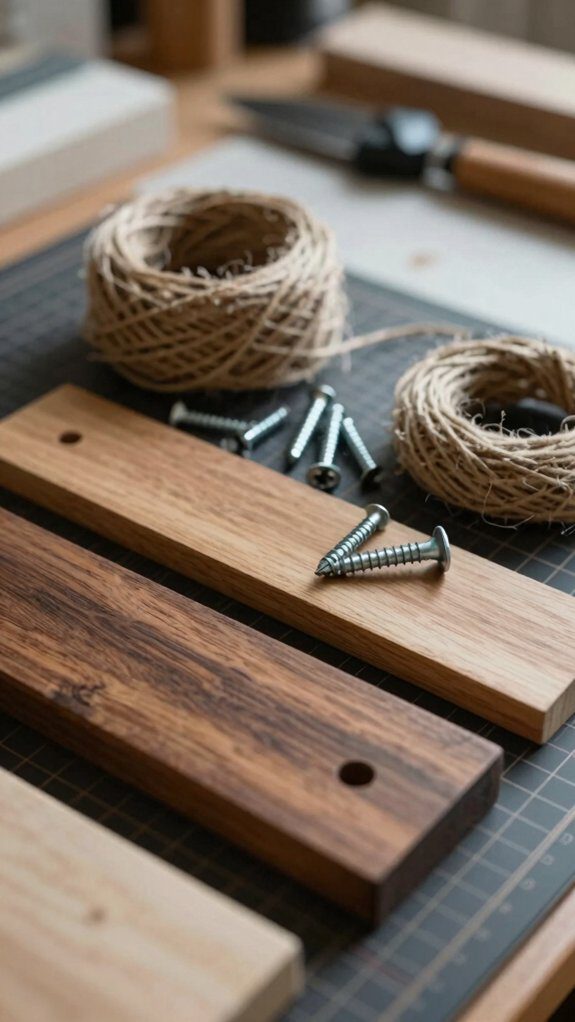
When a DIY project has to hold weight, get touched all the time, or survive rough weather, it often pays to spend a little more upfront—because cheap stuff can turn into a repeat customer for your wallet, and nobody invited that mess!
For a sturdy bookshelf, pick oak or maple, basic screws, and wood glue; build square, clamp tight, and check level. That’s smart load bearing safeguards.
For walls that need scrubbing, choose gloss paint, a roller, and painter’s tape, then clean once and enjoy easy upkeep.
Use Lifecycle cost planning to compare prices, since quality often wins in busy spots.
Outdoors, composite deck boards can beat untreated wood fast!
– Long-term cost benefits
A smart DIY budget doesn’t always mean grabbing the cheapest option on the shelf, because the low-price stuff can turn into a sneaky money trap later! You fit in better when your project lasts, looks good, and doesn’t keep calling you back for fixes.
- Check lifecycle costing: add price, installation, maintenance, and service life.
- Plan maintenance: wood may need sealing, while tougher exterior materials cut repeat work.
- Spend smart on wear points: choose mid-tier quality for shelves, pulls, or decking, and test small amounts first. That saves you from costly mistakes, wow!
Mistakes to Avoid
You might be tempted to grab the cheapest material on the shelf, but that bargain can turn into a money pit fast, so think about how long it’ll actually last.
Also, match the material to where it’ll live, because outdoor sun, rain, or damp rooms can wreck the wrong pick in no time.
And don’t forget the tools, because trying to cut tile with the wrong blade or skipping safety gear with fiberglass can turn a simple project into a loud, messy science experiment!
– Choosing based on price only
Saving money feels great, but choosing the cheapest material just because of the price tag can backfire fast!
Do a Shop cost comparison and think lifecycle costing—the real bargain is the one that lasts.
- Pick materials that fit the job, like screws for strong wood joints, so you don’t end up with wobbly fixes.
- Check finishes and adhesives first; if they don’t match the surface, you’ll peel, strip, and redo the mess.
- Watch delivery, scrap, and rework costs too, because “cheap” wood that cuts badly can eat your budget fast.
You’ll save cash and join the smart-DIY crew!
– Ignoring environment factors
Price matters, sure, but the weather outside your project matters even more! For weather exposure, pick rot- and insect-resistant composite or sealed wood for decks, and save softer materials for indoor spaces where rain and UV won’t bully them.
Think about climate, too. In hot, dry areas, stone or concrete can beat wood by resisting cracks, while indoor waterproofing needs are lighter.
Check material sourcing so you know what you’re buying, and watch for lead paint or asbestos during repairs.
Need less upkeep? Vinyl cleans fast; wood asks for sealing.
Smart picks last longer, save cash, and help your crew feel right at home!
– Using wrong tools for materials
When the right tool meets the right material, DIY feels smooth and even a little magical, but the wrong match can turn a simple job into a noisy disaster! You fit in better when your tools match the task, and your project shows it.
- Cut tile with material specific blades, like a diamond blade, or you’ll chip it and risk kickback.
- Match drill bits, saws, and fasteners to thickness and type, so wood won’t split and acrylic won’t crack.
- Protect yourself: Tool safety means goggles, ear protection, and PPE requirements, plus proper airflow for fiberglass.
Check Tool compatibility first, and your results’ll look pro!
Real Results of Choosing the Right Materials
When you pick the right materials, your DIY project can last longer, look cleaner, and feel sturdier from day one—pretty great, right?
A weather-smart deck board or the right paint finish can save you from quick fixes, scuffed walls, and that annoying “why is this already peeling?” moment.
And here’s the fun part: the right screws, glue, or finish can make your project easier to use, easier to clean, and way more satisfying every time you show it off!
– Longer-lasting projects
Choosing the right materials can turn a “good enough” DIY into something that lasts for years, and that’s a pretty satisfying win! You’ll feel it every time your project keeps going strong.
- For outdoor builds, pick composite or treated wood for weather exposure and moisture resistance.
- For shelves or frames, match strength to the job—pine for light use, oak for tough jobs, and your crew will notice the difference.
- Think long term: cheap steel may need repainting, while better materials can save you repairs, cash, and weekend headaches. Nice, right?
– Better visual finish
For walls, start with the finish that fits the space: matte paint gives you a soft, low-shine look that hides tiny flaws, while gloss is tougher and easier to wipe down in busy spots like kitchens, bathrooms, or hallways.
| Idea | Materials | Result |
|---|---|---|
| Matte walls | paint, roller | calm, forgiving look |
| Gloss touch-ups | gloss paint, brush | crisp, easy-clean shine |
| Fixtures | brass, chrome, nickel | finish harmony |
| Cabinets | pulls, knobs | hardware matching |
| Trim | crown, baseboards | polished, finished edge |
You’ll feel the room click together, like it belongs. Small finish choices, big wow—your space suddenly says, “Yep, I’m put together!”
– Increased usability
Pick the right material, and your project suddenly works with you instead of against you—nice, right? You’ll feel it fast: sturdy oak holds weight, weather resistant finishes shrug off rain, and maintenance friendly coatings make cleanup a breeze.
- Build a shelf with screws, not wishful thinking.
- Use matte for hiding flaws, gloss for easy wiping.
- Choose glue or epoxy for clean seams, but wear glove and ventilation, plus tool safety gear.
For outdoor jobs, pick treated wood or composite, and you’ll spend less time fixing, more time enjoying your win. That’s the DIY club vibe!