The Mistakes That Make DIY Projects Look Cheap
DIY projects look cheap when you skip prep, rush the paint, or use the wrong materials. You’ll notice peeling, brush marks, crooked edges, clashing finishes, and cluttered layouts that feel busy instead of polished—yikes! Sand, prime, tape trim, and let each coat dry fully for smoother results. Then match hardware, keep colors calm, and leave a little negative space. Small fixes, big glow-up, and the sneaky good stuff gets even better from here.
Love cozy DIY projects? 💕
Get free printable guides, exclusive tutorials & surprise craft goodies straight to your inbox.
Disclosure: This post may contain Amazon affiliate links, at no extra cost to you. Content on DiyCraftNest is created with research support from AI tools and carefully reviewed, edited, and fact-checked by the lead author, Daniel Pat, to ensure accuracy and reliability. Learn more
Key Takeaways
- Skipping prep, sanding, priming, or masking leaves rough surfaces, peeling paint, and messy edges.
- Using mismatched materials, adhesives, or finishes can make parts look inconsistent and poorly fitted.
- Overdecorating with too many colors, tiny pieces, or crowded layouts creates visual clutter.
- Ignoring alignment, leveling, and measurement causes crooked, uneven results that look careless.
- Choosing cheap hardware, caulk, or mismatched sheen exposes flaws, wobble, and surface imperfections.
Why Some DIY Projects Look Low Quality
You can have a great DIY idea, but if your finishing looks streaky, your paint lines wobble, or your edges feel rough, the whole project can scream “home-made” in the worst way—yikes!
Inconsistent materials can make one part shine and another part look off, and that mismatch is hard to ignore.
Then there’s design balance, because if the pieces don’t fit the room or each other, even a solid build can still end up looking a little awkward and cheap.
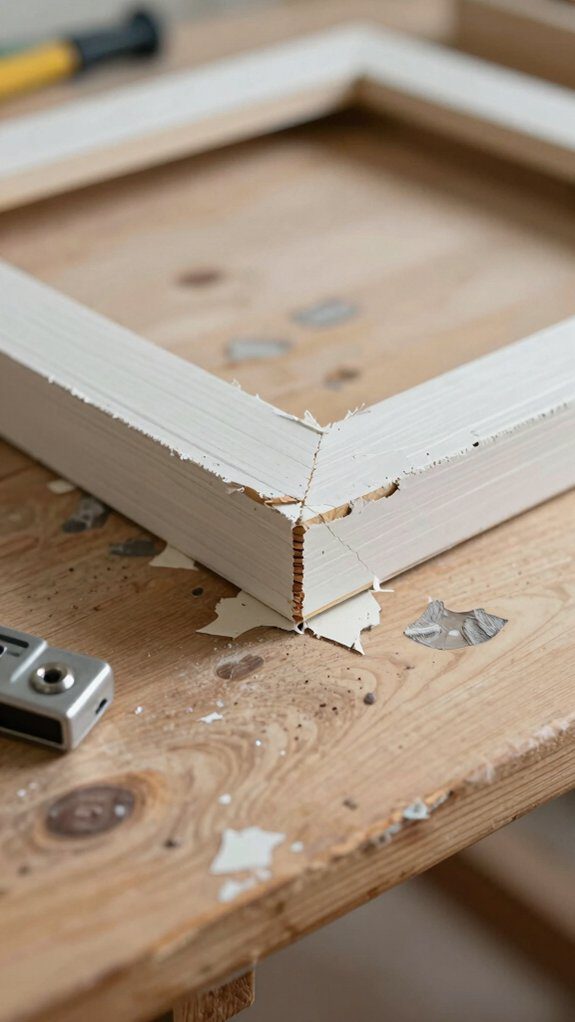
– Poor finishing techniques
Even a solid DIY project can look bargain-bin cheap if the finishing work is sloppy! You fit right in when your edges are clean and your lines are sharp, so don’t rush the last mile.
| Fix | Result |
|---|---|
| Prep, sand, prime | Smooth, even coverage |
| Mask trim well | Crisp edges |
| Level first | Less cracking later |
| Allow drying time | Better positioning |
Skipping prep leaves color peeking through, and weak masking accuracy turns paint into a mess. Use painter’s tape, check your paint line cleanup, and let coats cure. A few extra minutes now keeps your project looking polished, not “oops, I tried.”
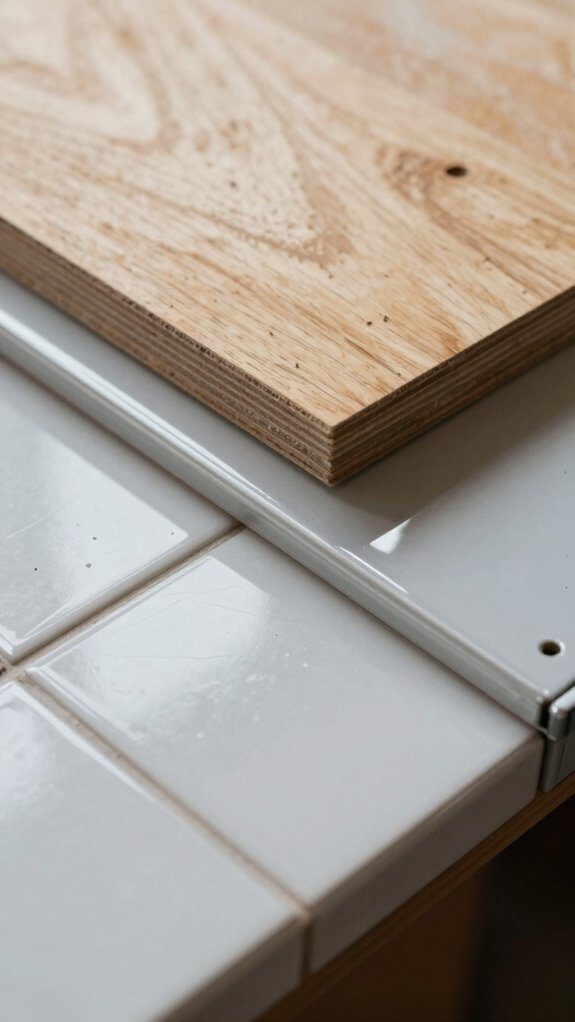
– Inconsistent materials
When the materials don’t match, a DIY project can go from “wow” to “why does this look off?” in a flash! You’re not imagining it, those little clashes shout “home job” fast.
- Check grout compatibility and adhesives before you start, so your tiles bond cleanly.
- Do substrate preparation well—clean, sand, and prime—so paint and finishes stick.
- Keep hardware, wood tones, and metal colors consistent, or your space gets cluttered.
- Measure twice, reuse parts carefully, and avoid surprise gaps at seams.
A few smart choices now save you from cracking, peeling, and that awkward, patchy finish later!
– Lack of design balance
A good DIY project needs a little visual rhythm, not just good tools and glue! When you skip Color Cohesion and Layout Conformity, your space can feel off fast, like a song with one loud drum.
Pick finishes that match, leave some negative space, and don’t crowd every wall or shelf.
Too many tiny pieces create visual noise, while a few bigger items feel calmer and more polished.
Also, watch scale, because an oversized sofa or tiny rug throws everything off.
Keep your choices balanced, and your project will feel intentional, not rushed.
Your crew will notice the upgrade!
Material Choices That Change Everything
When you pick cheap materials, the whole project can start looking wobbly fast—soft fasteners strip, rough boards won’t sit right, and that “good enough” trim suddenly screams homemade.
Smart paint and finish choices matter too, because skipping primer or using the wrong sheen can leave streaks, peeling, or weird color ghosts that refuse to hide.
And don’t forget the little stuff, because the right hardware, screws, and connectors can be the difference between a clean, polished finish and a fix-it-later mess!
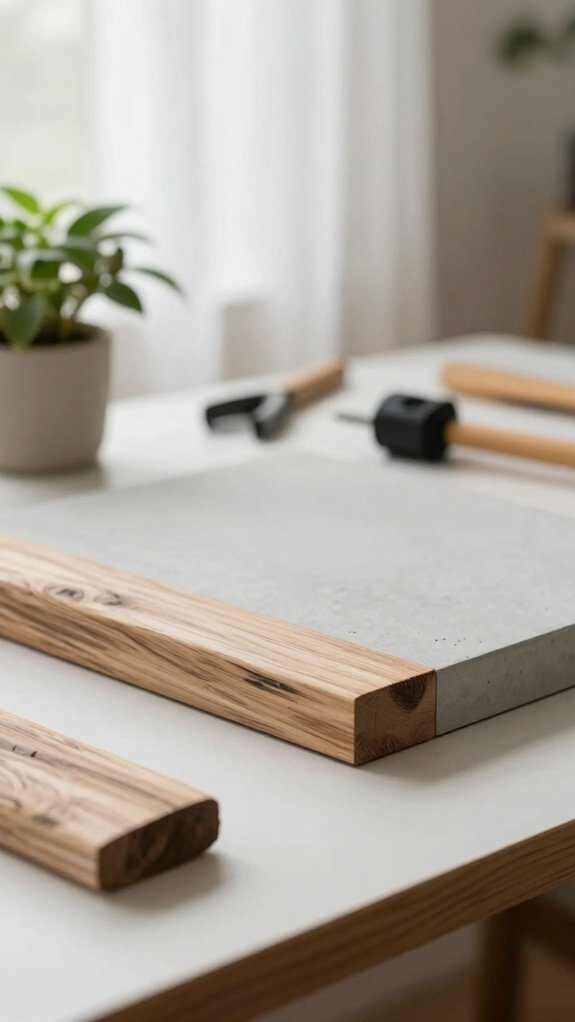
– Cheap vs quality materials
Cheap materials can fool you at first, but the texture difference usually gives them away fast—paint can look flat, tile can feel rough, and wood can seem a little “off” before you even finish.
You’ll notice quality pieces feel smoother, cut cleaner, and hold their shape better, which makes your project look polished instead of homemade.
And honestly, that tiny upgrade in texture can be the difference between “nice job!” and “wait… did you do that yourself?”
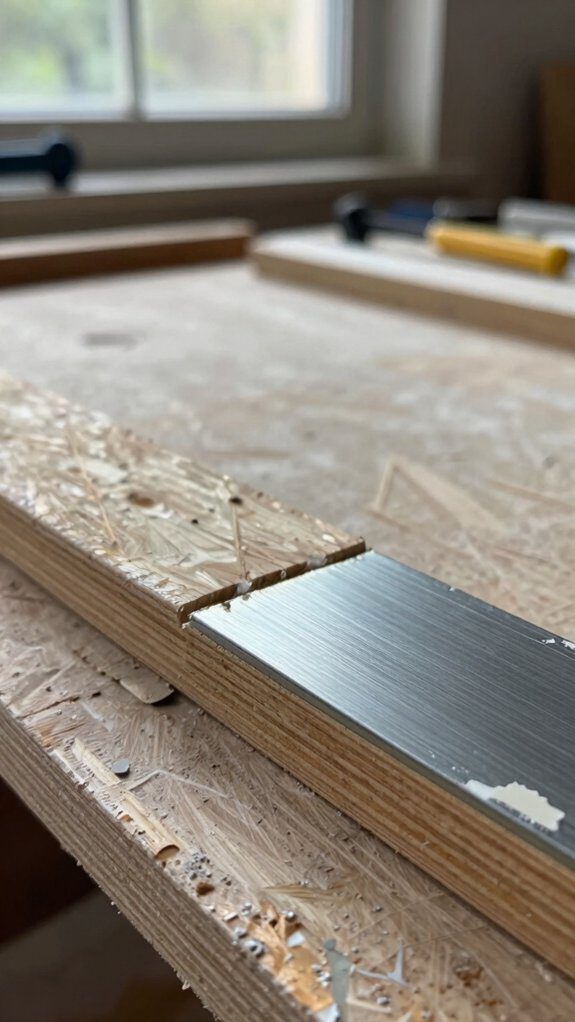
Texture difference
Under the wrong light, texture gives the game away fast! You want smooth, matching surfaces, not patchy surprises that shout “DIY.”
- Prime first, or paint may peel.
- Choose better caulk to avoid uneven caulking.
- Match tools to material, or tool marks visible appear.
- Level floors, since tiny gaps and cracks catch light.
– Paint and finish selection
Choosing between matte and glossy paint can change everything, because the wrong sheen can make walls look flat, scuffed, or way too shiny—yikes!
You’ll want to match the finish to the room, since matte hides little flaws but glossy shows off every bump, brush mark, and dust speck like it’s on stage.
Pick smart, and your DIY won’t just look painted, it’ll look polished!
Matte vs glossy
The magic of a finish can change the whole mood of a room!
- Matte hides flaws, but shows scuffs fast.
- Glossy cleans easier, yet spotlights bumps.
- Try eggshell in hallways; it feels friendly and smooth.
- Match sheen with Color coordination and hardware alignment, or trim can look patchy.
Keep strokes consistent, and you’ll dodge streaks, lap marks, and that DIY “oops” vibe!
– Hardware details
A few small hardware upgrades can make your DIY project look polished fast, wow!
Swap in solid-brass or stainless pieces, and you’ll dodge the sad little tarnish and wobble that cheap parts love to show off.
Even tiny details like matching finishes, better screws, and sturdier hinges can turn “almost there” into “hey, that looks expensive!”
Small upgrades
Honestly, small hardware upgrades can make a DIY project look polished fast, or a little bit “oops, I found this in a garage sale bin.”
Keep metals in one finish family, and do upgrade alignment checks plus consistent hardware sourcing.
- Match pull spacing.
- Check sink holes.
- Use straight, tight mounting.
- Verify valves and lines.
That’s how your space feels like it truly belongs!
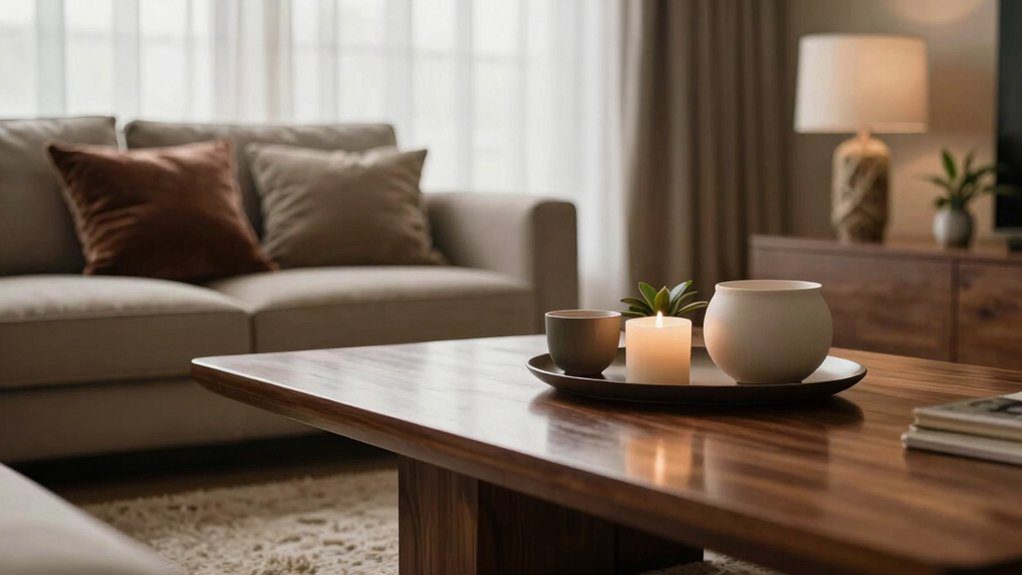
Design Tricks That Make DIY Look Expensive
You can make almost any DIY feel pricier when you stick to a neutral color palette, because soft whites, warm grays, and earthy tones let the whole space breathe—no rainbow chaos, thank you!
Then, add clean lines and symmetry with simple shelves, matching lamps, or twin decor pieces, and suddenly your room looks calm, polished, and way more intentional.
Keep the styling minimal, though, since a few strong pieces with plenty of open space usually look more designer than a wall stuffed with “cute little finds” from every aisle.
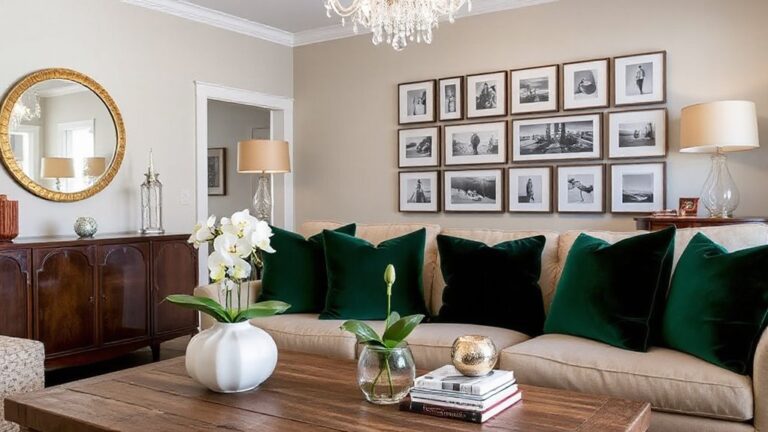
– Neutral color palettes
When you keep your DIY color palette calm and connected, the whole room suddenly feels like it had a plan all along, which is kind of magic!
You fit in fast, and your space feels more like your people’s place.
- Pick 3–5 main neutrals, not a rainbow of beige.
- Watch for Undertone mismatch and Lighting inconsistency, since they can make walls look patchy.
- Match trim, hardware, and wood tones so finishes stay friendly.
- Leave one clear wall, then use one big statement piece, and your room won’t whisper “storage unit,” it’ll say “welcome home!”
– Clean lines and symmetry
Clean lines and symmetry can make a DIY project look polished fast, but they only work when your measurements and finishes stay on the same team!
Grab a tape measure, pencil, and level, then do a quick check twice, cut once routine so crooked edges don’t crash the party.
Keep Color consistency by matching trim, hardware, and paint touch-ups, and use the same wood or metal tones for visual continuity.
Before you decorate, sand, clean, and prime, because smooth prep helps edges stay crisp.
Finally, leave breathing room, since balanced spacing makes your space feel calm, confident, and totally welcoming!
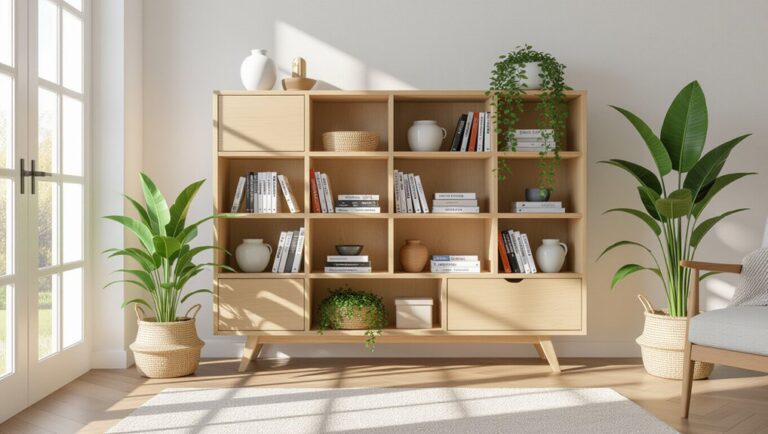
– Minimalist styling
Minimalist styling can make a DIY project look instantly more expensive, but only if you don’t overstuff the room like it’s trying to win a storage contest!
Keep your vibe simple, warm, and welcoming, so you feel right at home with it.
- Pick one theme and repeat metals, wood, and hardware.
- Use Cohesive colorways with just 3–5 tones.
- Leave Wall spacing; one blank wall gives your eyes a rest.
- Choose a few bigger pieces, not tiny clutter, and right-size rugs and sofas for easy pathways.
That’s the secret!
How to Instantly Upgrade Any DIY Project
You can make almost any DIY project look cleaner fast by sanding and smoothing the surface first, then using simple materials like fine-grit sandpaper, primer, and a good brush or roller, which helps paint stick and hides rough spots.
Next, try a layered painting technique with thin coats instead of one heavy one, because that gives you a richer finish and fewer drips—way less “oops” and way more “wow!”
Finally, add subtle details like crisp trim, small hardware updates, or a neat edge finish, since those tiny touches are often the surprise that makes the whole project look polished.
– Sanding and smoothing
Even the nicest DIY project can look a little wonky if the surface still has scratches, ridges, or old tool marks hanging around, but a good sanding pass can work magic fast!
You’re not alone here—this is the fix that helps your work feel part of the club.
- Pick the right Sanding grit selection, then move up slowly.
- Use a block, not bare fingers, for even pressure.
- Try the surface feathering technique on edges so they vanish to the touch.
- Wipe dust away between grits, and prep clean spots first.
That little extra care keeps paint bonding better and helps your finish look smooth, not sad!
– Layered painting technique
A smooth surface sets the stage, but paint is what really makes a DIY project look polished and pricey! You’ll fit right in when you layer it right: clean, sand, and tape off trim first, then prime bare spots if needed.
Next, brush or roll on a base coat with roller stroke consistency, keeping edges light and even.
After that, add a topcoat for full coverage and the right sheen, because the wrong finish can scream “budget bin.”
Don’t rush curing time management, either. Let each layer dry fully, or streaks and peeling can show up fast, forcing extra redo work.
– Adding subtle details
When the big stuff is done, the tiny details are what make a DIY project look intentional instead of “I whipped this up in my garage at 11 p.m.” Clean, prime, and tape before you start, then slow down for the tiny wins that help your crew feel at home.
- Check fastener alignment with a level, not your vibes.
- Use proper caulking, and keep sealant consistency smooth.
- Watch for crooked mounting, then fix it before finishes go on.
- Add extra cure time and re-measure twice, because one rushed step can shout “DIY” fast!
Skip improvised tools; that polish is priceless.
Mistakes to Avoid
You can make a DIY project look cheap fast if you skip the prep work, so clean, sand, tape, and prime before you get too excited—trust me, the messy shortcut shows!
Then watch out for overdecorating, because too many extras can crowd a space, and using too many colors can turn a simple idea into a visual circus.
Keep it balanced, keep it simple, and you’ll get a finish that looks polished instead of patchy.
– Skipping preparation steps
Skip the prep, and even the simplest DIY job can start looking a little too “homemade” in all the wrong ways.
- Clean, sand, and prime first, or paint may peel and show the old color.
- Use smart Tool selection, and save time with time saving prep, like taping trim and covering floors.
- Measure twice, cut once, because bad layout means costly do-overs.
- Level surfaces, and follow cure times, so tile stays tight and strong.
A dry, ready workspace helps your crew stay in sync, and your project looks polished, not patchy.
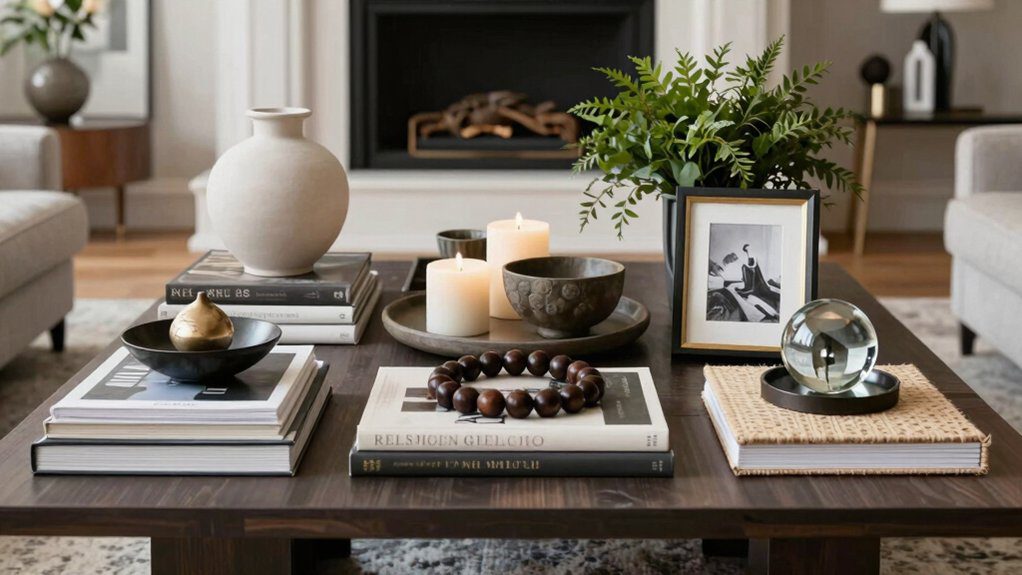
– Overdecorating
A neat prep job can still get thrown off if the room starts to feel like a garage sale in disguise! You want your space to feel welcoming, not crowded with visual clutter.
Give one wall space breathing, then build around a larger statement piece instead of lots of tiny trinkets.
Try painter’s tape first: mark a rug or furniture outline, check the scale, then adjust before you buy.
Group decor in odd numbers, and use one main style with a small accent style so nothing becomes an unintended focal.
Those balance resets make DIY rooms feel calm, polished, and like they truly belong.
– Using too many colors
Mixing too many colors can quickly turn a cute DIY project into a full-on color parade, and not the fun kind! You want color harmony, not confusion.
- Pick one main color and one accent.
- Repeat that accent in a few spots.
- Keep trim, hardware, and undertones consistent.
- Leave one calm wall or blank space.
A few smart choices make your home feel like it belongs together, not like a paint store exploded.
Try 3–5 main tones, then use accent repetition for flow.
The best trick? Bigger statement pieces beat tiny rainbow bits every time.
Real Results After Fixing These Issues
Once you fix those DIY slip-ups, your project starts looking cleaner, sharper, and way more professional, almost like it got a little makeover magic.
You’ll notice the value goes up fast, too, since straight lines, solid finishes, and proper prep make everything feel more polished and trustworthy.
And here’s the fun part, those same changes can help your project stand out online, so if you post it, it might just get more likes, saves, and “Wait, you did that?!” comments.
– More professional look
When you clean, sand, prime, measure twice, and slow down just a little, your DIY project can go from “meh, I made that” to “wait, you did that?!” in a big way.
- Budget Friendly Upgrades: Try paint, new hardware, or trim.
- Using Proper Templates: Trace, cut, and check fit first.
- Right tools, right feel: Use solid tools and materials, not guesswork.
- Leave tricky jobs alone: Call in help for wiring or plumbing.
You’ll get smoother edges, tighter lines, and fewer weird gaps.
Take your time, follow the steps, and your place starts feeling like yours, not a rushed weekend project.
– Higher perceived value
Even small DIY fixes can make your home look way more valuable, but only if you stop the little mistakes that scream “I rushed this.” You clean, sand, tape, and prime first, so paint looks rich, not patchy.
Grab the right tools, not the weird toolbox limbo stuff, and you’ll avoid crooked cuts and flimsy fasteners.
Stay inside your skill level limits, because safety rework costs more than a pro call.
Check measurements twice, since measurement errors wreck sinks, cabinets, and pride.
Watch budget overruns, too—good planning makes your place feel finished, polished, and totally worth showing off!
– Better Pinterest performance
If you want your Pinterest posts to get more love, start by fixing the little DIY mistakes that make a project look rushed, because polished photos stop the scroll fast! Your crew will spot the difference, and they’ll save your pin too.
- Budget timing: add extra days for prep and drying, so your before-and-after looks finished.
- Tool rental: use the right gear, not guesswork, for cleaner cuts and tighter fits.
- Prep checklists: clean, sand, tape, and level, then your photos pop.
- Curing schedules: wait it out, because rushing makes cheap-looking messes.