17 Air Dry Clay Projects That Look Aesthetic & Easy
I love turning air dry clay into 17 cute, low-cost decor ideas: roll slabs, press textures, and let pieces dry 24–48 hours. Start with flower coasters, drink stirrers, salt spoons, ring holders, earring stands, candle holders, bookends, house ornaments, and clock faces, using stamps, molds, a sponge, and paint. Finish with sanding and sealant for a polished look. The best part? Even messy edges can look chic, and I’ve got clever ideas waiting below too.
Love cozy DIY projects? 💕
Get free printable guides, exclusive tutorials & surprise craft goodies straight to your inbox.
Disclosure: This post may contain Amazon affiliate links, at no extra cost to you. Content on DiyCraftNest is created with research support from AI tools and carefully reviewed, edited, and fact-checked by the lead author, Daniel Pat, to ensure accuracy and reliability. Learn more
Key Takeaways
- Start with simple slab projects like coasters, ornaments, and wall hangings using 1/4-inch clay for clean, easy shapes.
- Make functional decor like bowls, ring holders, candle holders, and desk jars by draping, pinching, or joining slab panels.
- Add texture with stamps, leaves, rope marks, or lace while clay is soft for crisp, aesthetic patterns.
- Dry pieces flat in a shaded, airy spot for 24–48 hours, then sand edges and seal for durability.
- Finish with paint, metallic accents, or matte varnish to make even beginner projects look polished and giftable.
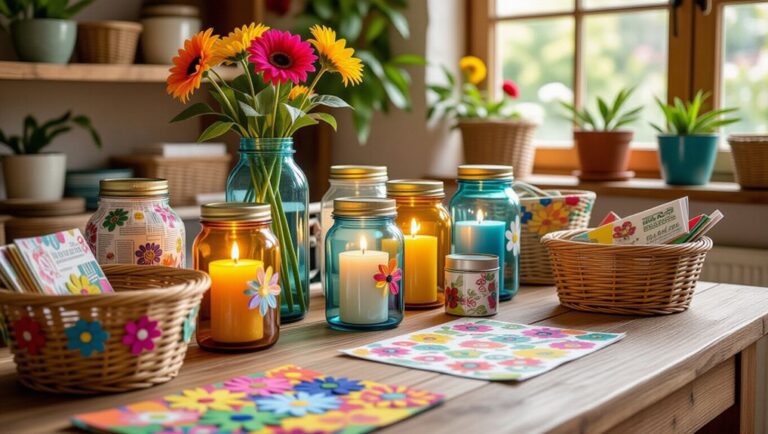
Air Dry Clay Flower Coasters
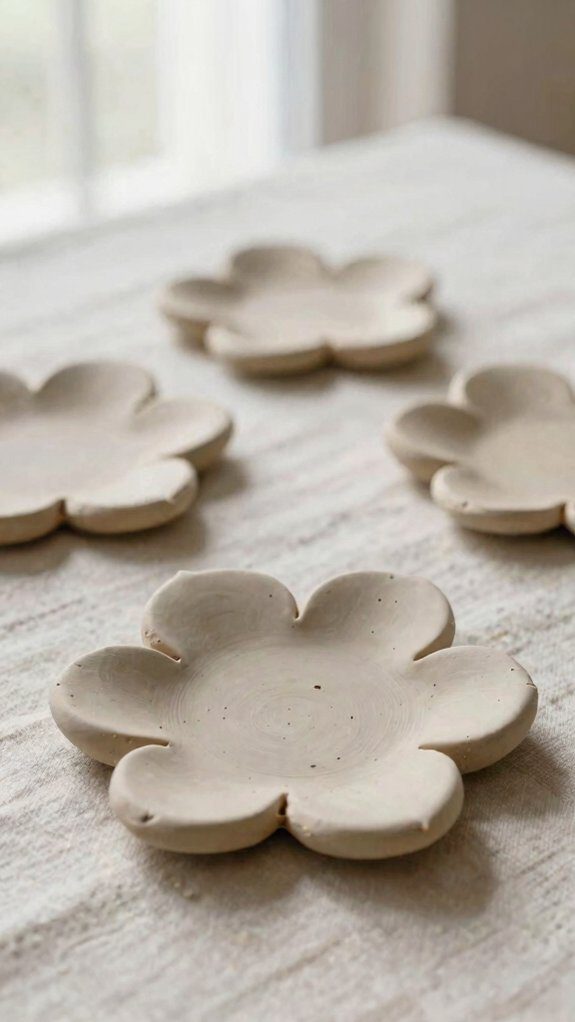
I’ve found that the cutest clay projects are often the easiest, and these air dry clay flower coasters are a perfect little example!
I roll the clay to a quarter inch, cut flower shapes, and press in pressed leaves or textured stamps before drying. After 24 to 48 hours, I smooth the edges, then paint soft washes and metallic accents, and seal them for moisture protection.
I love a pastel or earthy mix, and I back each coaster with felt, so it feels polished. It’s simple, affordable, and a tiny win for any cozy table—you’ll want to share!
Air Dry Clay Drink Stirrers
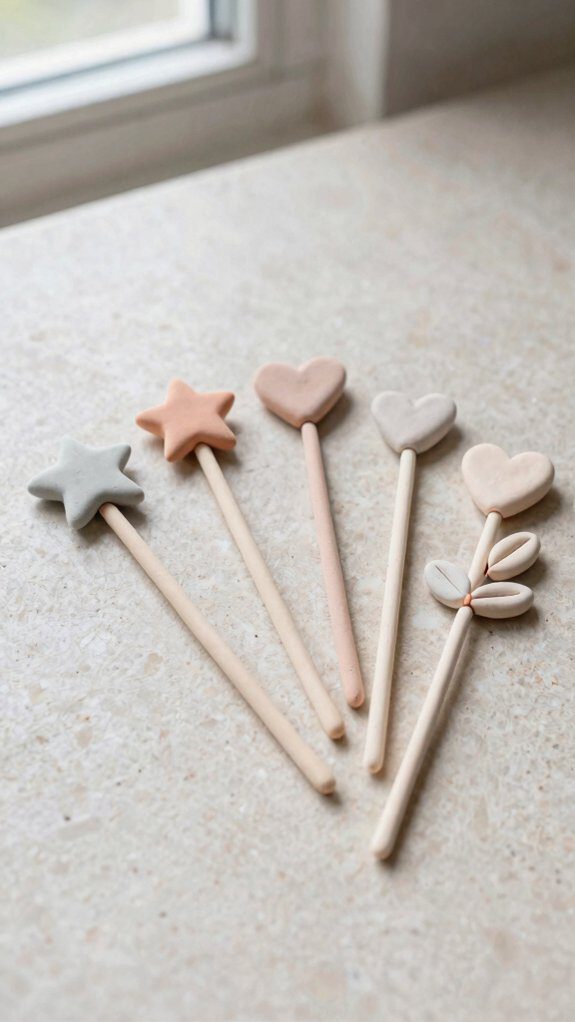
If those flower coasters made you smile, you’ll probably get a kick out of these air dry clay drink stirrers too! I roll slim rods, slip in a skewer, and let them dry; they’re cheap, cute, and easy.
| Step | What I use | Why it works |
|---|---|---|
| Roll slim rods | clay, hands | light and sturdy |
| Add a skewer | toothpick, clay | less snapping |
| Seasonal themes | paint, food-safe clear coat | festive result |
I smooth mine after drying, wrap sets in plastic, and hand-wash gently. Tiny fruit or leaf toppers make each glass feel like a party, and my sustainable materials keep it cozy.
Air Dry Clay Salt Spoons
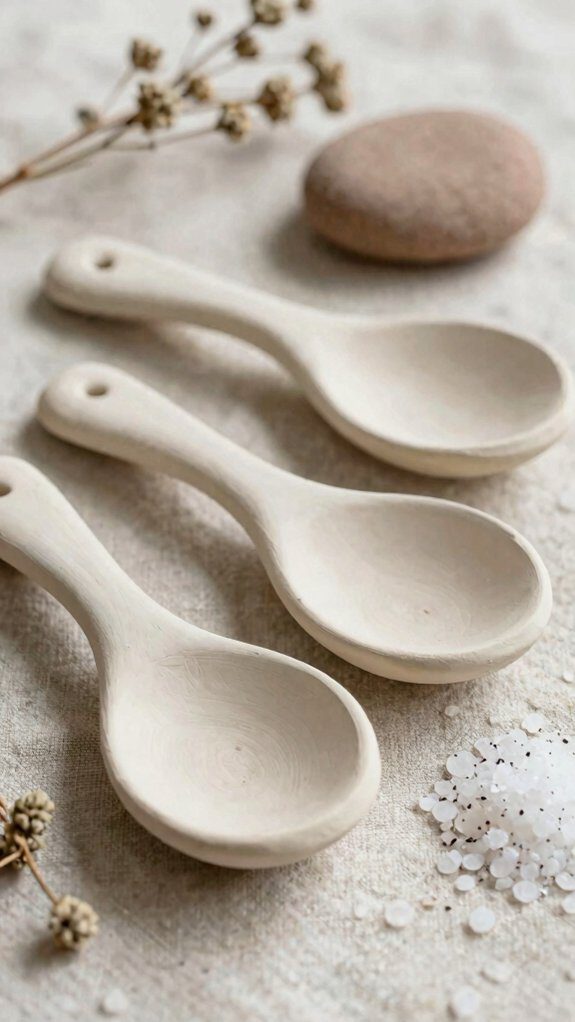
I love making air dry clay salt spoons because you can start with a pea-sized lump, roll a tiny handle, press a little bowl at one end, and smooth it all with just a little water—so easy, right!
After that, I like adding stamped initials, rope marks, or a pop of paint, which gives each spoon a custom look without making the project tricky or pricey.
The best part is how cute they look next to a salt dish, and honestly, they make a tiny handmade kitchen gift that feels way fancier than it is!
Simple Spoon Shaping
With a walnut-sized lump of air dry clay, I roll out a 4–5 mm snake and pinch one end into a shallow spoon bowl, and honestly, it’s a tiny salt scoop in the making!
I keep the bowl about 2–2.5 cm wide, then hollow and smooth it with a toothpick so the clay stays about 1–2 mm thick and won’t crack.
Next, I trim the spoon to 6–8 cm for your spice jars, dry it flat on parchment, and lightly sand it later; those mini scoops end up with comfy ergonomic handles and a polished look every time, too!
Custom Color Details
A little acrylic paint goes a long way here—I usually knead just 1–2 drops into 25g of air-dry clay until the color looks totally even, because that keeps the spoon smooth and streak-free.
When I want a shade, I twist two thin logs together, flatten them, and cut the spoon shape, which keeps the swirls clear.
If you want tiny lines or initials, I wait 24–48 hours, then use a toothpick and a dab of paint.
Pigment blending and lightfast additives help the color stay really bright, and, honestly, that’s the fun part—it starts looking handmade, not store-bought.
Gift-Worthy Kitchen Accent
Ever notice how a tiny kitchen tool can look like it came from an upscale shop? I roll clay into a 3–4 mm slab, cut spoon shapes, smooth edges, and press a thumbprint for texture. It’s easy, cheap, and cute!
- Dry flat 24–48 hours, then sand lightly.
- Paint the handle, seal it, and add personalized labels or a hanging loop.
- Pack it with gourmet salt in sustainable packaging for a gift-ready surprise.
I love the colored sets, because they make any kitchen feel like ours. That’s the kind of gift that gets whispered about, every time!
Air Dry Clay Ring Holder

I love rolling a 2–3 inch air-dry clay cylinder, then tapering one end into a smooth cone, because it turns into a tiny ring tower that looks elegant without being fussy!
I keep it simple: clay, a thumb, a little water, and sandpaper. Press the base flat or shape a shallow bowl, keep walls about 0.25–0.4 inch thick, and let it dry 24–48 hours in a shaded spot.
After that, I paint mine or add metallic leaf, then seal it once the color cures. The result? A minimalist display and a travel friendly keepsake that won’t wobble anywhere, really!
Air Dry Clay Earring Holder
With just a slab of air-dry clay, I can make an earring holder that looks cute, costs almost nothing, and doesn’t need elaborate tools!
Here’s my quick setup: I roll ¼–½ inch clay, cut a circle or rectangle, and press evenly spaced holes. It turns into a minimalist display that keeps pairs tidy and easy to grab.
- Cut a 4–6 inch base.
- Add holes or slits ½–1 inch apart.
- Dry, sand, seal, then paint it; a small cone stand makes it work like a travel case on a dresser!
Cute, cheap, and honestly, you’ll feel right at home!
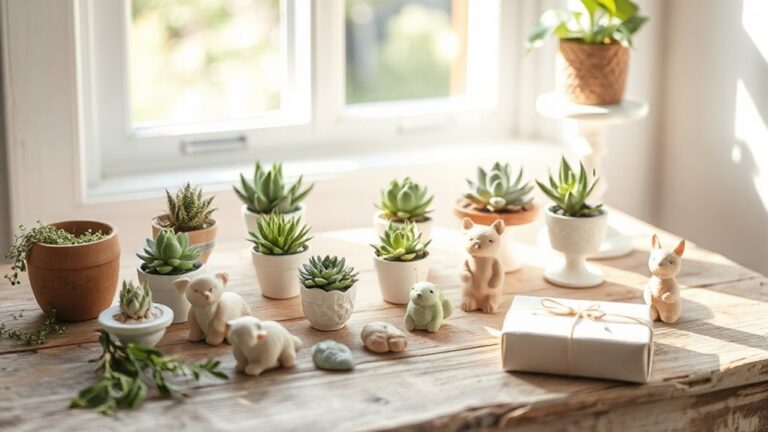
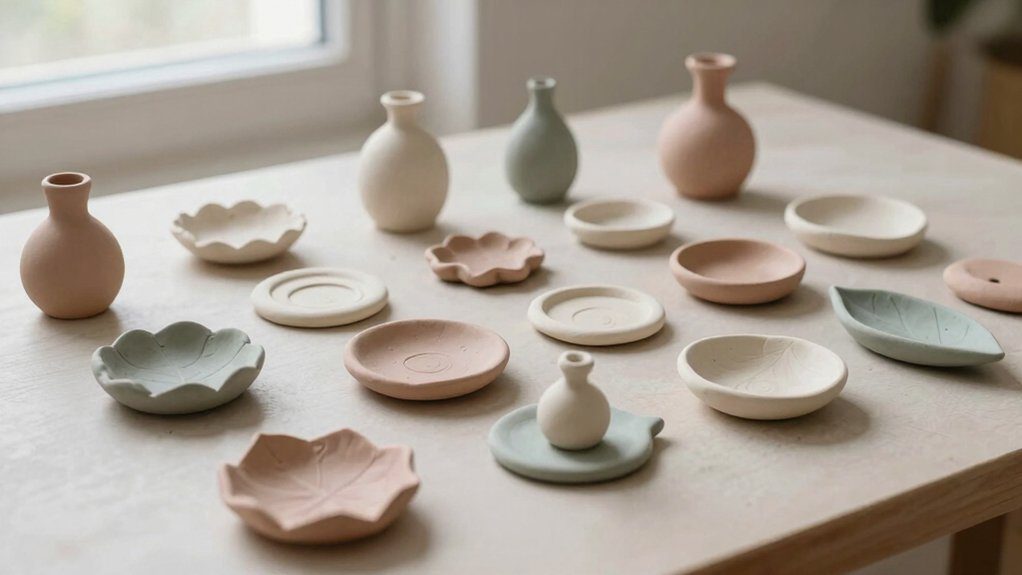
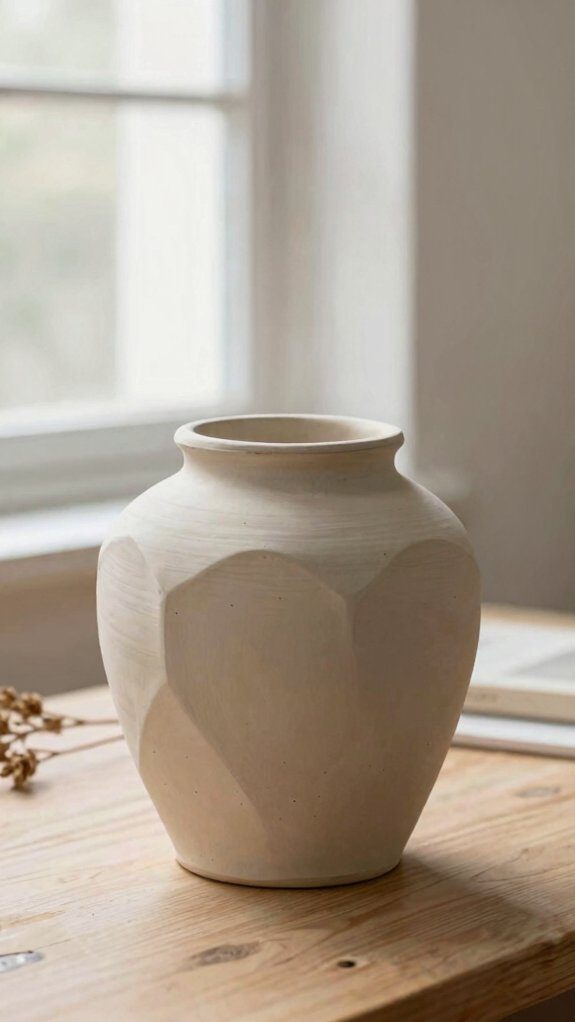
Tiny Air Dry Clay Magnet Vases
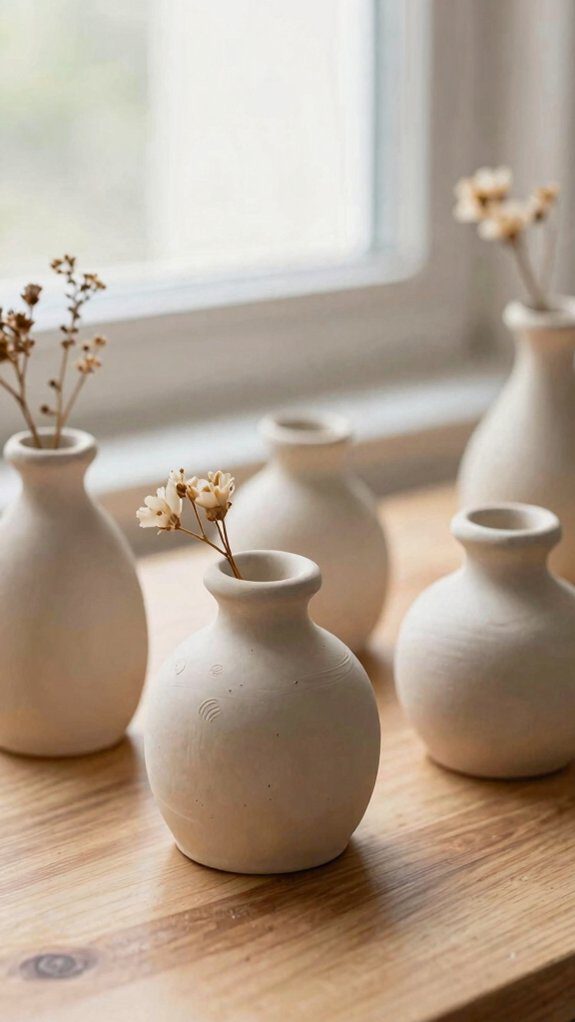
After making an earring holder, I love turning a tiny bit of air-dry clay into a mini vase that looks like it belongs on a stylish fridge, but costs almost nothing!
I keep mine simple: I shape a hollow pinch-pot, smooth the seams with a damp sponge, then let it dry for 24–48 hours before sanding lightly. Next, I glue on a tiny disc magnet with epoxy, because magnet safety matters more than a cute shortcut. Add acrylic paint, a clear topcoat, and a mini floral sprig, and boom, you’ve got a sweet gift for a locker or fridge!
Air Dry Clay Photo Holders
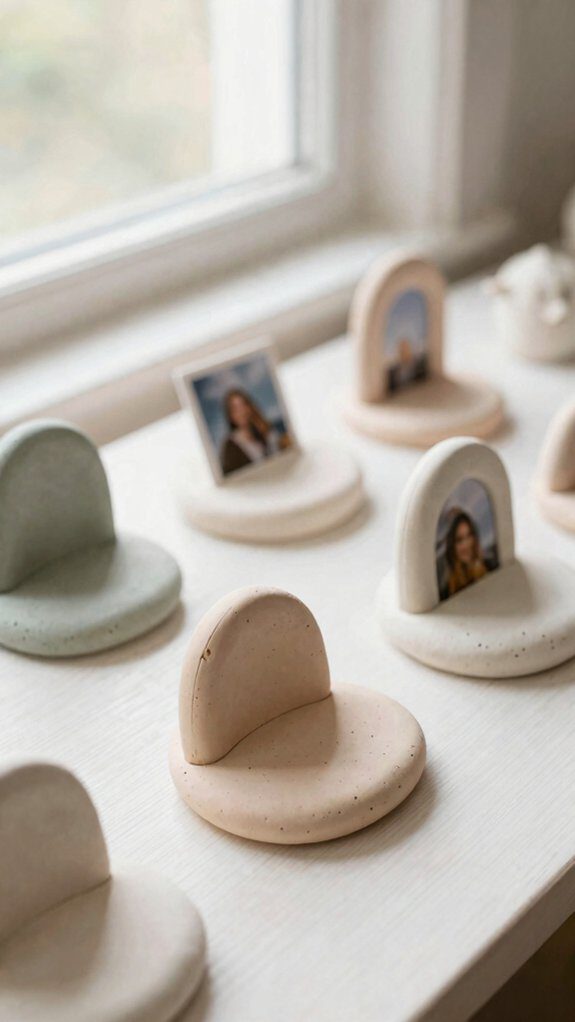
Tiny scraps of air-dry clay can turn into the cutest little photo holders, and they’re way easier than they look!
I shape a mountain, an arch, or a disc, then I let the picture shine.
- I press a 1–2 cm slab into a mountain slot for 6×9 photos.
- I bend minimalist mounts into a smooth arch, then paint after drying.
- I love photo imprinting on flat tiles, because leaves or tiny prints make gifts feel special.
They’re cheap, beginner-friendly, and honestly, they make any shelf feel like home!
It feels like making art with close friends every single day.
Beaded Air Dry Clay Dishes
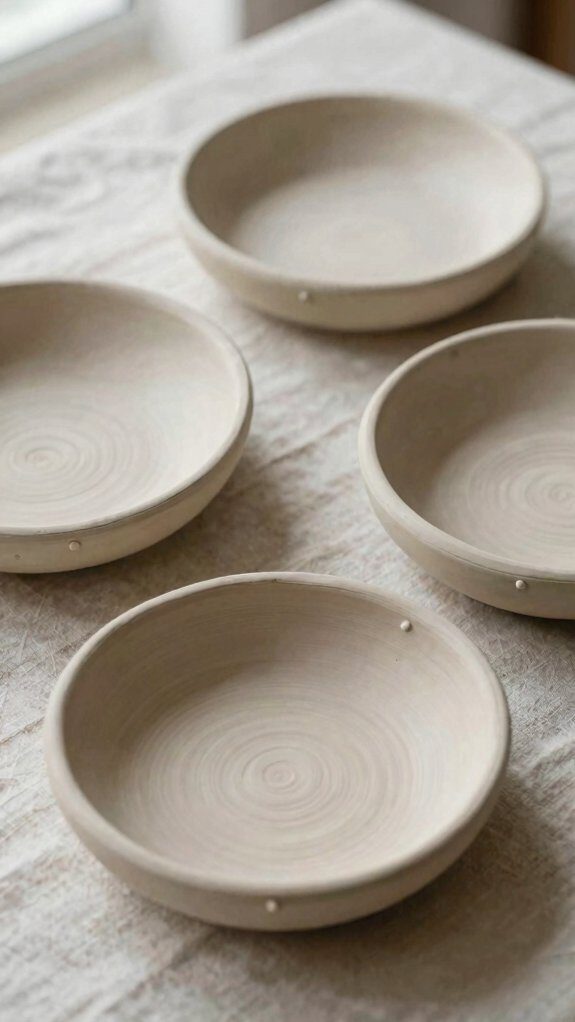
I love making bead-rimmed air-dry clay dishes, because a little clay, a few rolled-up beads, and a shallow bowl shape can turn into the prettiest ring dish in no time!
I use air-dry clay, a knife, and fine sandpaper, then roll tiny beads and press them around a small dish before the clay firms. That gives me texture variations without glue, and the functional scale keeps it perfect for your rings or trinkets.
After a day or two, I flip it once, sand it smooth, and seal it—honestly, it looks boutique with almost no fuss for every nook.
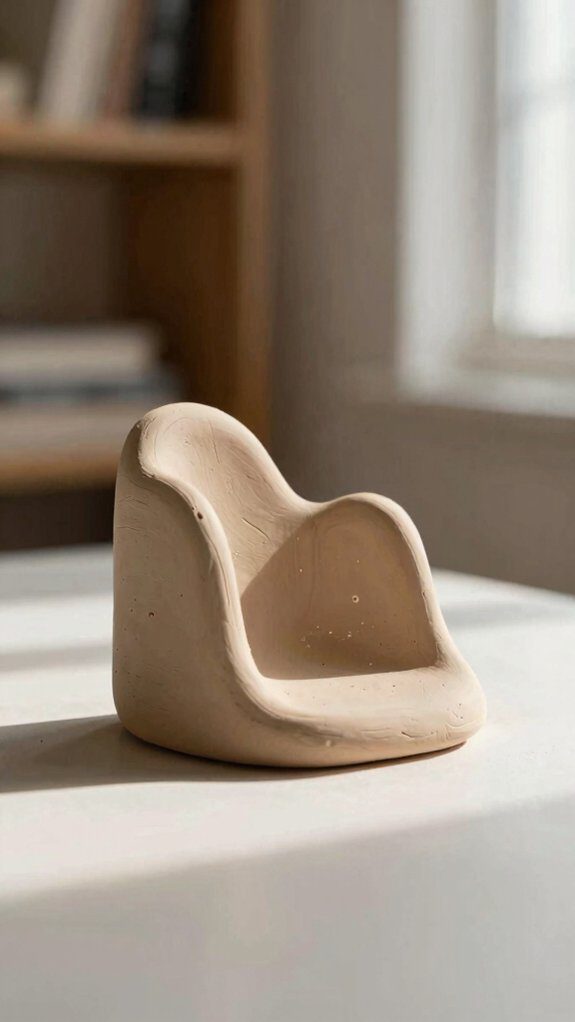
Wavy Painted Air Dry Clay Bowl
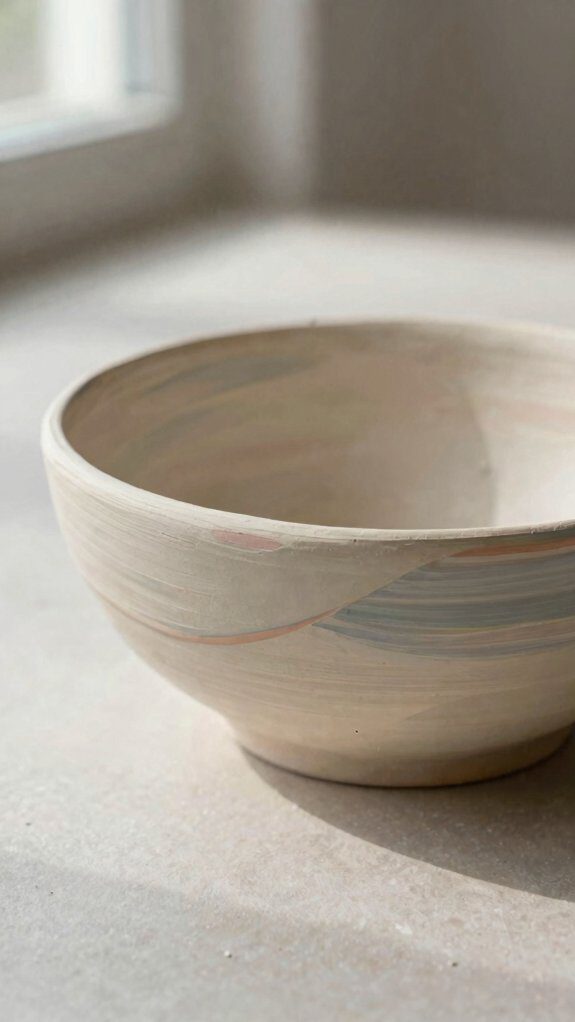
When my bead-rimmed dishes dry, I like to switch gears and make a wavy painted air dry clay bowl, which starts as a simple shallow shape pressed into a rounded mold and ends up looking way fancier than it sounds! I keep the steps easy:
- Roll out 6–8 mm clay, press it into a mold, and dry it 24–48 hours.
- Sand lightly, add primer, then paint bold waves with color layering.
- Pinch the edge for rim textures, and seal it if you’ll stash tiny treasures inside. It’s beginner-friendly, cheap, and the bowl feels gallery-ready without stress!
Air Dry Clay Rope Bowl
Twist a length of jute or cotton rope into a spiral, and you’ve already got the start of a cute air dry clay rope bowl that feels rustic, boho, and a little elegant!
I wrap and glue the coil on a nonstick surface then press a 2–3 mm clay slab over it, smoothing seams with a damp sponge.
It’s cheap, easy, and sturdy!
I like adding an extra clay layer at the base so it won’t sag then I let it dry 24–48 hours.
Finish with sanding, natural dyes for color and rope sealing for a really durable look.
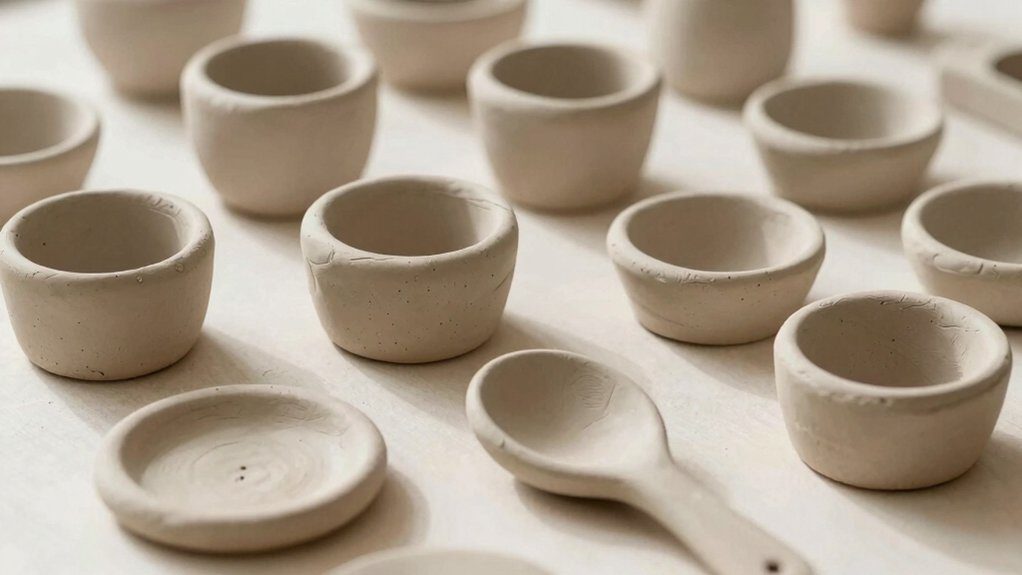
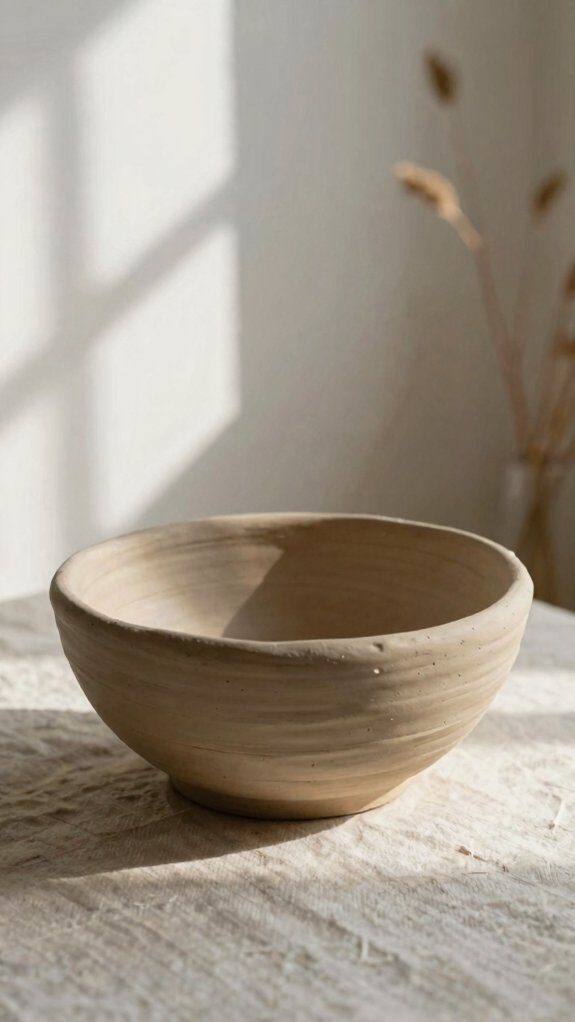
Stamped Air Dry Clay Bowl
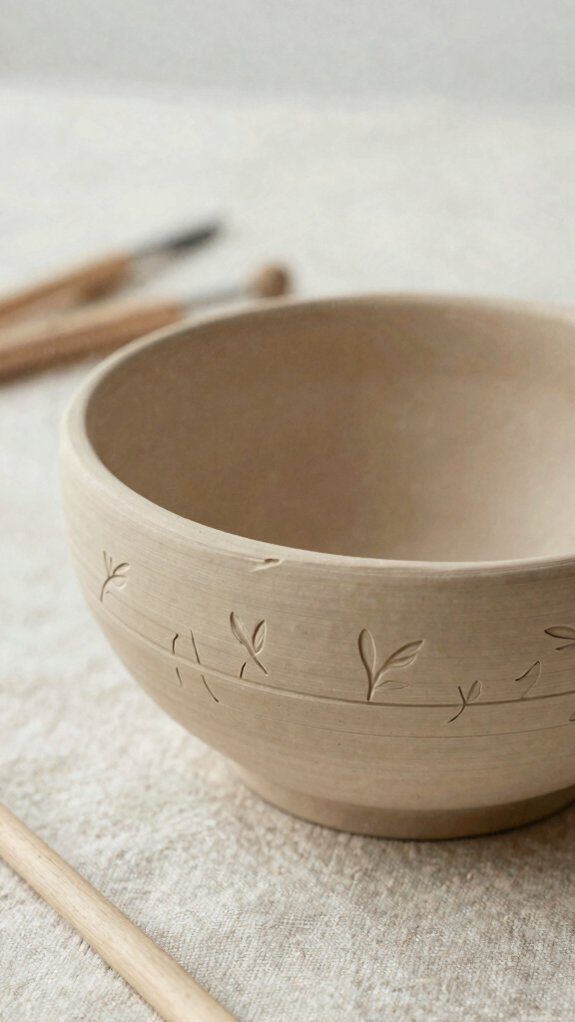
I start my stamped air dry clay bowl by rolling a smooth lump to about 1/4–1/2 inch thick, then I press it into a shallow bowl mold or drape it over an upside-down bowl—easy, cheap, and beginner-friendly!
Next, I stamp in leaves, lace, coin edges, or little texture tools before the clay firms up, and I like testing scraps first so the pattern pops instead of getting mushy.
Once it’s dry, I sand it lightly and brush on acrylic paint or metallic wax on the raised spots, which gives the bowl a clean, high-contrast finish that looks way fancier than it was to make!
Simple Bowl Shaping
Grab a rolling pin, some parchment, and a slab of air dry clay, and I’ll show you how to turn it into a cute little bowl without any elaborate pottery gear!
- Roll a 1/4–1/2 inch slab on parchment for even walls.
- Drape it over an inverted bowl, press gently, then add simple stamps or lace for texture variations.
- Smooth the rim, let it dry 24 to 48 hours, and trust these drying techniques, mine once looked wonky, then turned charming!
After that, I sand rough edges and seal it, so the bowl stays smooth, cute, and shelf-ready for display.
Stamp Pattern Ideas
Once your bowl’s shape is set, I like to stamp it while the clay still feels soft, because that’s how you get crisp little impressions without squishing the sides.
I reach for a soft rubber or wooden stamp, or I cut craft foam and carve a linoleum block for a mini motif that feels handmade, not fussy.
I test the size first, then press with steady pressure along the rim for edge borders, and I lift straight up so the pattern stays sharp.
It’s beginner-friendly, pretty cheap, and the result looks sweet enough to join any cozy shelf!
Painted Finish Options
Want those stamped details to pop after the clay dries? I start with a thin gesso coat, then I brush acrylic washes so the recesses stay deep and the raised bits glow.
- Prime lightly for paint grip.
- Add painted textures with dry-brushing.
- Seal with matte finishes, not shiny ones, so the bowl keeps its touchable charm.
After 24 to 48 hours, I sand tiny bumps, then varnish once or twice.
The result feels crisp, cozy, and proudly handmade, with no ornate tools required. That’s the little magic that makes your bowl feel like ours, too. It feels like home!
Air Dry Clay Geometric Desk Jar
Sized just right for a desk, I love turning a few simple slabs of air dry clay into a geometric jar that stands about 3 to 4 inches tall and 2.5 to 3.5 inches wide—perfect for pens, scissors, or makeup brushes, and it’s way less fussy than it looks!
| Step | I do | You get |
|---|---|---|
| Roll | 1/4-inch slabs | clean panels |
| Join | slip, sponge | sturdy seams |
| Finish | sand, paint | matte texture, geometric embossing |
I press a bigger base disc underneath, dry it flat for 24 to 48 hours, then paint in two shades or metallic edges, and it feels like ours!
Air Dry Clay Incense Holders
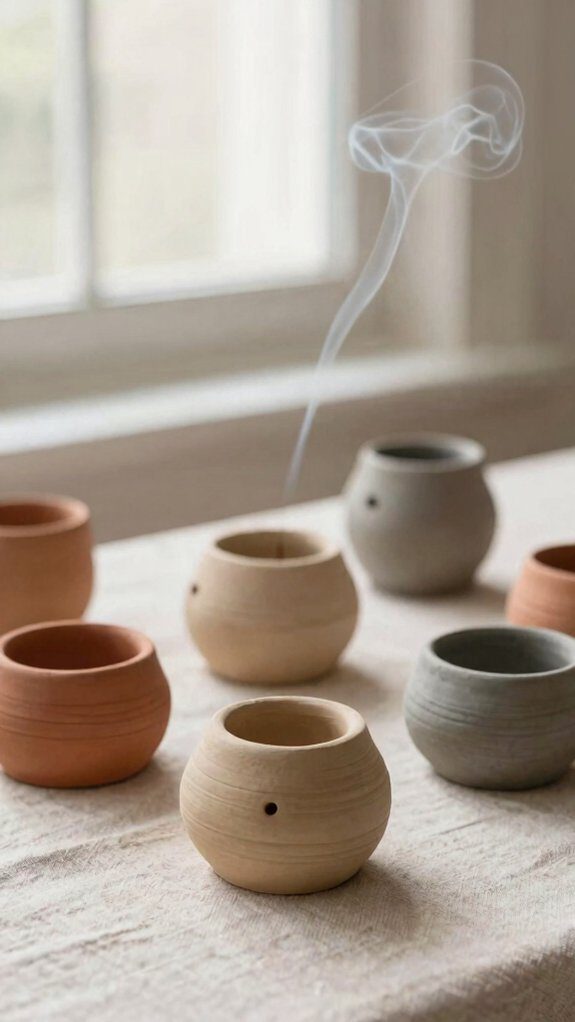
If I’m craving a tiny, low-cost project, I reach for air-dry clay, a rolling pin, and an incense stick, then I shape a holder that looks way fancier than it sounds!
- Roll a 15–20 cm log, then flatten one end into a tray.
- Poke a 2–3 mm incense placement hole, and keep the tray deep for ash disposal.
- Let it dry 24–48 hours, seal it, and add leaf prints or paint later.
Honestly, it’s beginner-friendly, cute, and my room feels instantly calmer!
I love how the little tray catches ash neatly, and cleanup feels almost effortless.
Air Dry Clay Candle Holders

I love turning a plain lump of air-dry clay into a tiny candle holder, because all I really need is clay, a rolling pin, and a tea-light or votive, and I can shape a cute little cup in just 24–48 hours!
I keep the walls 6–12 mm thick, dry them slowly in a shaded, airy spot, and flip them so they don’t crack.
After painting with acrylics, I seal them with heat-resistant varnish, then add marble swirls or copper shine for rustic silhouettes with textured edges.
You’re in! Pressing clay around glass votive or bottle for a sturdy holder.
Air Dry Clay Book Ends
Grab a slab of air dry clay and a recycled wood block, and I promise you can turn it into bookends that look pricey but don’t act pricey at all!
- I use a recycled wood core, roll 1–1.5 cm slabs, and build 2–3 cm feet.
- I let it cure 24–72 hours, then sand, paint, and seal for daily use.
- I add weighted cores and textured finishes, so the pair feels sturdy, custom, and shelf-ready.
Use a template and your pair will feel like it came from a cute shop without costing much and that’s the best part for us!
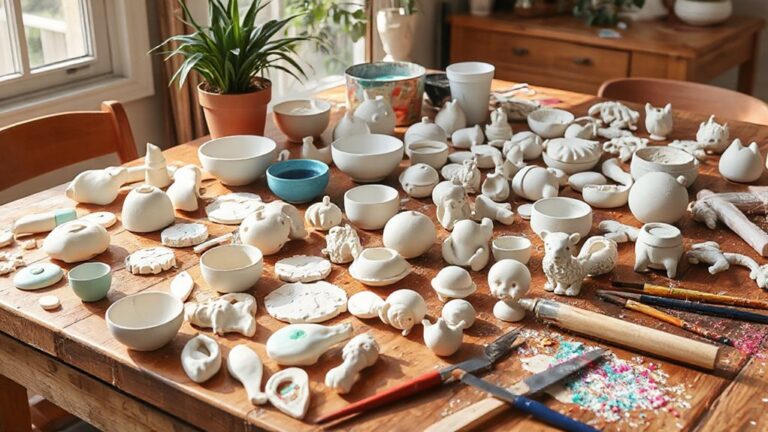
Air Dry Clay House Ornaments
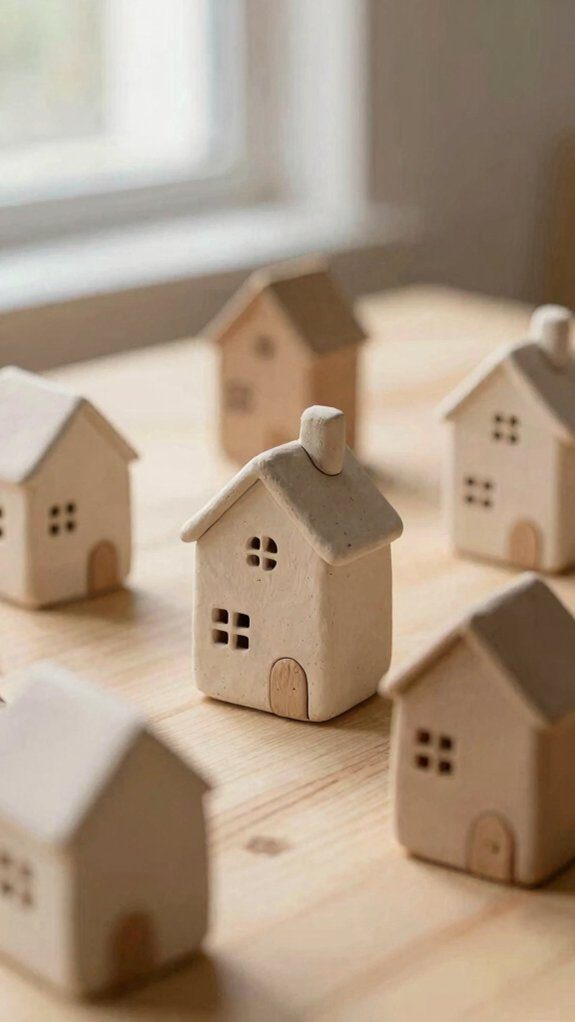
With a little air dry clay, a rolling pin, and a toothpick, I can make tiny house ornaments that look sweet on a tree, a gift, or even a doorknob, and they’re way easier than they sound!
I roll a 1/4-inch slab, cut rectangles, and score doors, windows, and roof tiles for crisp miniature facades.
Before it dries, I press in an eye pin or cord, then let it set 24–48 hours.
After painting with acrylics, I add seasonal motifs and names, then seal them with varnish.
They’re cheap, gift-ready, and charming for every season—tiny homes, no mortgage!
Air Dry Clay Clock
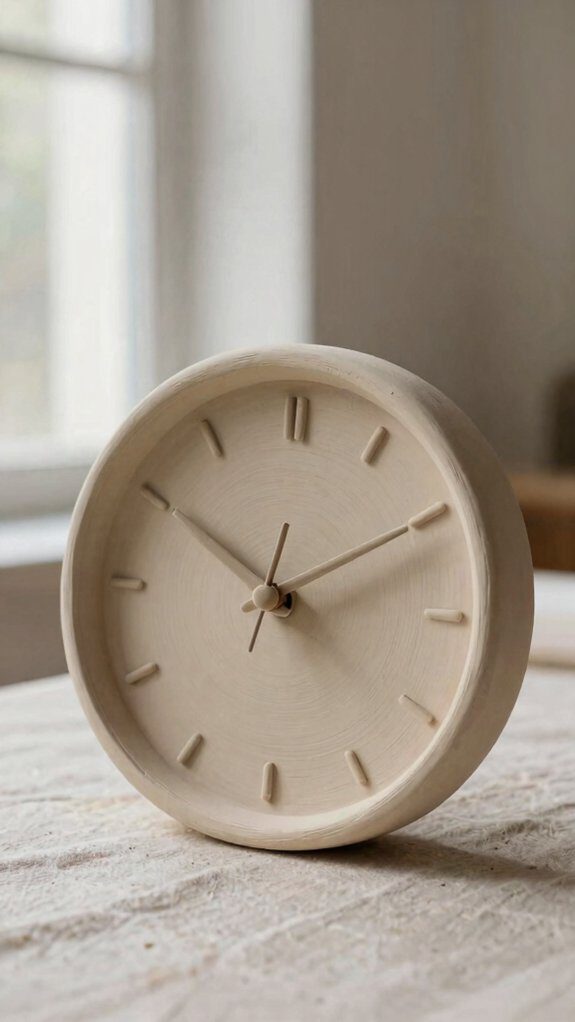
I love making an air dry clay clock, because I can roll a simple clay disc, smooth it with a damp sponge, and start with a clean, no-fuss base—easy peasy!
For the face, I’d stamp leaves, carve numbers, or press in a playful pattern while the clay’s leather-hard, since that’s when the details stay sharp and the clock starts to feel truly mine.
Then I’d slip in a quartz movement through the center hole, and after paint and sealer, I’ve got a cute clock that works, costs little, and doesn’t scream “first try” in a funny way!
Easy Clock Design
Start by shaping a simple air dry clay disk, and you’ve already got the makings of a cute wall clock! I roll mine to 1/4–1/2 inch thick, punch the center hole, and add a back ring.
Then I let it dry flat, sand it, and paint with minimalist numerals or a marble effect.
- Use a quartz clock kit.
- Match the shaft to your clay thickness.
- Seal, hang, and enjoy the win!
It’s cheap, beginner-friendly, and the finished piece feels oddly elegant, like your studio find, even if you made it at the kitchen table after dinner.
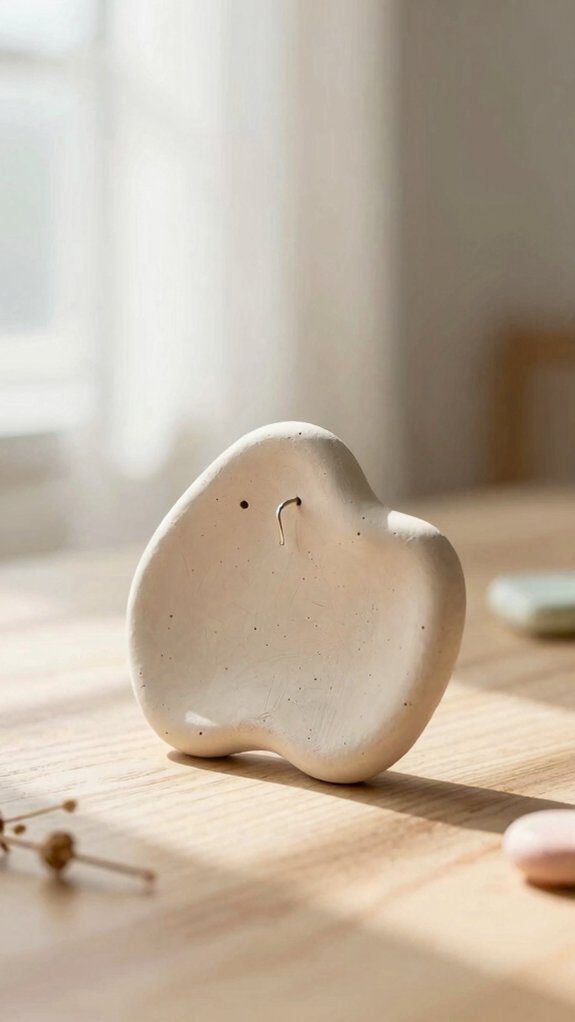
Custom Face Ideas
A sleepy little smile can turn a plain clay clock into a tiny character piece!
I’d start with a 6-8 inch clay disc, then add tiny coils for brows, lips, and a nose, blending seams with a damp brush so everything stays low-profile. If you’re nervous, that’s okay—I keep the features simple, because expressive proportions matter more than tiny details.
After it dries, I sand lightly, paint matte skin tones, sketch eyes, brows, and hair texture with thin lines, then seal it.
The result feels cute, calm, and totally collectible for anyone craving a face on your shelf.
Simple Clock Assembly
Turn that clay disc into a real clock, and it’s easier than it sounds! I punch a centered hole while the clay’s leather-hard, then let it dry, prime it, and seal it twice—easy team win.
- Use a 3–6 inch disc, smooth it, and wait 24–48 hours.
- Check mechanism spacing, hand clearance, then fit a quartz movement and lightweight hands.
- Hang it with a sawtooth or keyhole slot, so it sits flush.
That’s it—cheap, cheerful, and classy!
If your hands wobble, trim them shorter; you’ll save yourself a clock meltdown and still get that cute, handmade vibe everyone loves it.
Frequently Asked Questions
How Do I Keep Air Dry Clay From Cracking While Drying?
I keep air dry clay from cracking with slow drying, moisture control, even thickness, and reinforced mesh, and I’ll help you feel at home by turning pieces often and covering them lightly while they cure.
What Sealant Works Best for Painted Air Dry Clay?
I’d use acrylic varnish for painted air dry clay; it’s the armor that keeps your piece safe. I prefer matte varnish for a soft finish, and you’ll fit right in choosing whichever matches your style.
Can I Sand Air Dry Clay After It Fully Dries?
Yes, I sand air dry clay once it’s fully dry, and I use gentle sanding techniques with careful grit selection so you can smooth edges, fix bumps, and feel proud of your finish with us.
How Long Should Air Dry Clay Projects Dry Before Decorating?
I’d wait 24–72 hours before decorating—like letting soft, cool clay sleep under a quiet blanket—then I’d do the touch test: if you feel no chill or give, you’re ready to join us right alongside me.
What Tools Are Essential for Beginners Using Air Dry Clay?
I’d start with basic tools like a rolling pin, craft knife, sponge, and water cup, plus shaping tools such as clay ribs and sculpting sticks; you’ll feel right at home with them from the start.