17 Air Dry Clay Ideas for Adults You’ll Actually Want to Make
You can make 17 air dry clay ideas that feel cute, useful, and gift-worthy, even if you’re a total beginner. Grab clay in a resealable tub, a rolling surface, water, and a few smoothing tools, then try flower coasters, ring dishes, mini fridge vases, salt spoons, or a simple clock. Shape, smooth, dry on parchment, sand later, and paint for a polished finish. Stick around, because the best little surprise comes near the end!
Love cozy DIY projects? 💕
Get free printable guides, exclusive tutorials & surprise craft goodies straight to your inbox.
Disclosure: This post may contain Amazon affiliate links, at no extra cost to you. Content on DiyCraftNest is created with research support from AI tools and carefully reviewed, edited, and fact-checked by the lead author, Daniel Pat, to ensure accuracy and reliability. Learn more
Key Takeaways
- Air dry clay is beginner-friendly, low-mess, and perfect for quick adult craft projects without an oven.
- Use simple supplies like resealable clay, a clean workspace, smoothing tools, water, and parchment for easier shaping and drying.
- Popular ideas include flower coasters, ring dishes, candle holders, and personalized ornaments with texture and painted finishes.
- Make useful items like match holders, incense trays, photo holders, earring organizers, catch-alls, stirrers, and salt spoons.
- For display, try fridge mini art, magnetic vases, mini blooms, or chunky bookends for stylish home decor.
Why Air Dry Clay Works for Adults
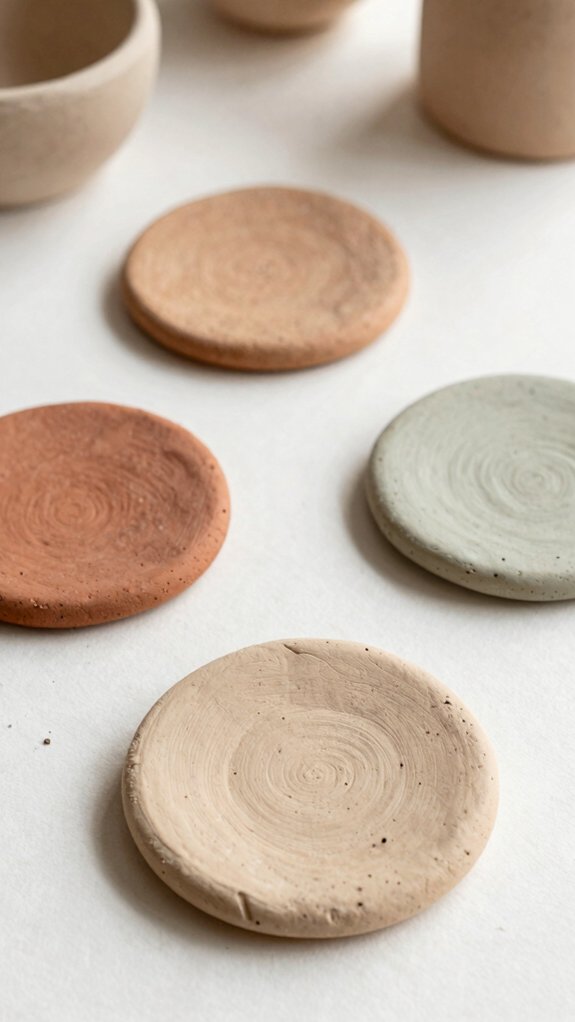
If you’ve ever wanted to make something with your hands without signing up for a whole pottery-class marathon, air dry clay is a total win!
You get a beginner friendly process that lets you jump in fast, shape by hand, and skip the oven drama.
That means quick project planning for a rainy Saturday or a last-minute gift.
Best of all, it gives you low mess creativity and easy personalization.
You can press in leaf prints, smooth edges with a damp sponge, or carve tiny details, then let it dry while you relax.
It’s cheap, calming, and honestly, pretty satisfying!
Air Dry Clay Supplies You Need
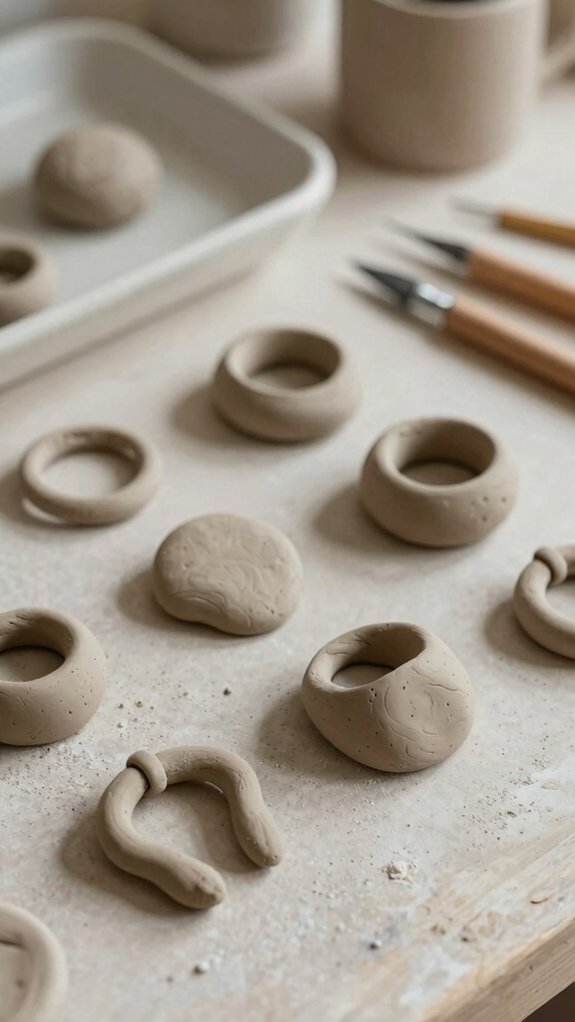
Before you start squishing, rolling, and making tiny masterpieces, it helps to gather the right air dry clay supplies so your project goes smoothly!
Pick a clay you like, such as Model Magic in resealable buckets or containers, so you’ve got enough and a color you’ll actually want to show off.
Set up a clean Clay workspace with a rolling surface, a few carving or smoothing tools, and maybe a sculpting kit.
Keep water and a sponge nearby for quick fixes.
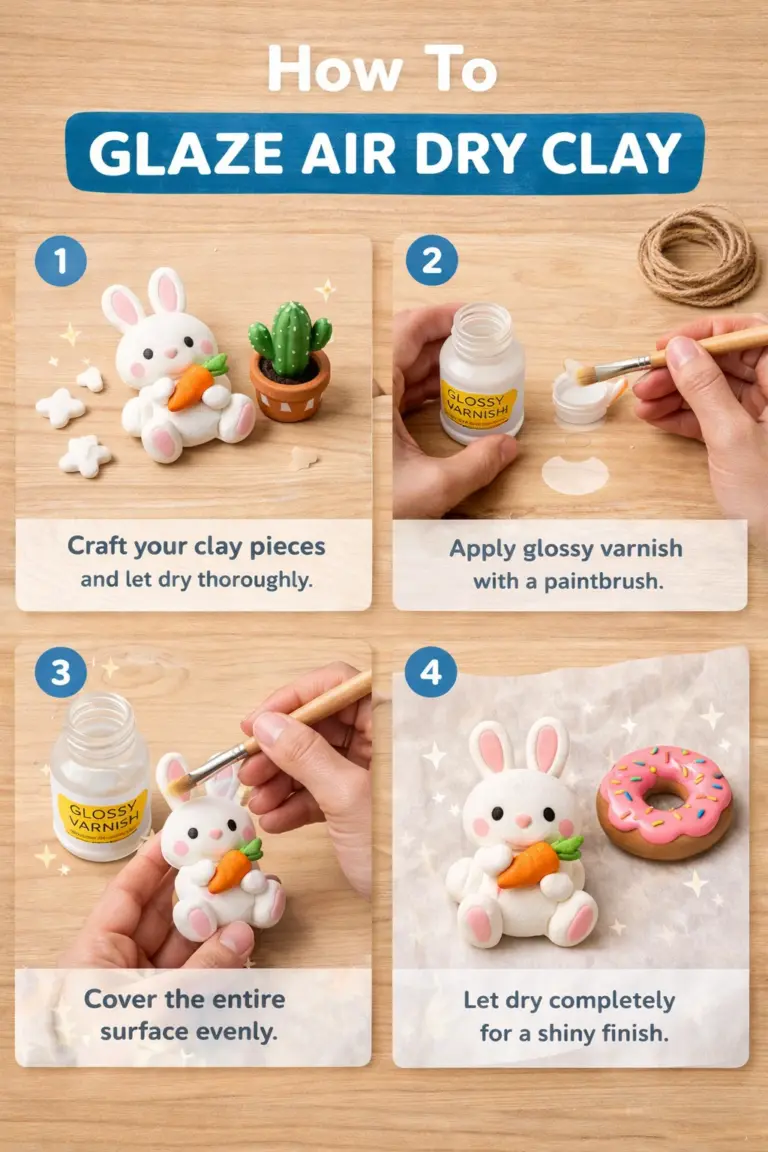
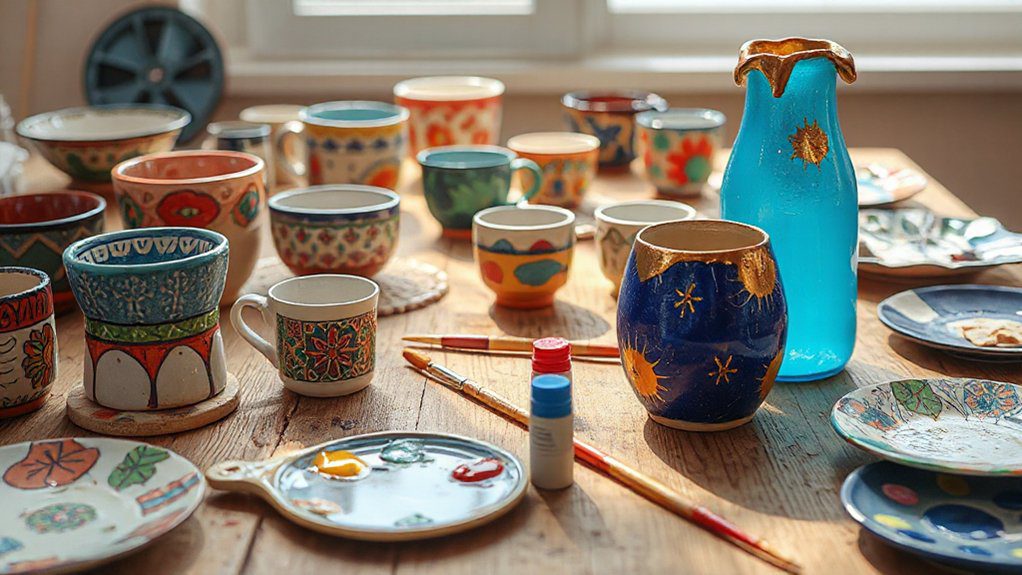
After drying, paint with acrylics or water-based paints, then add finishing sealers for a tougher, longer-lasting finish.
Air Dry Clay Tips for Smooth Results
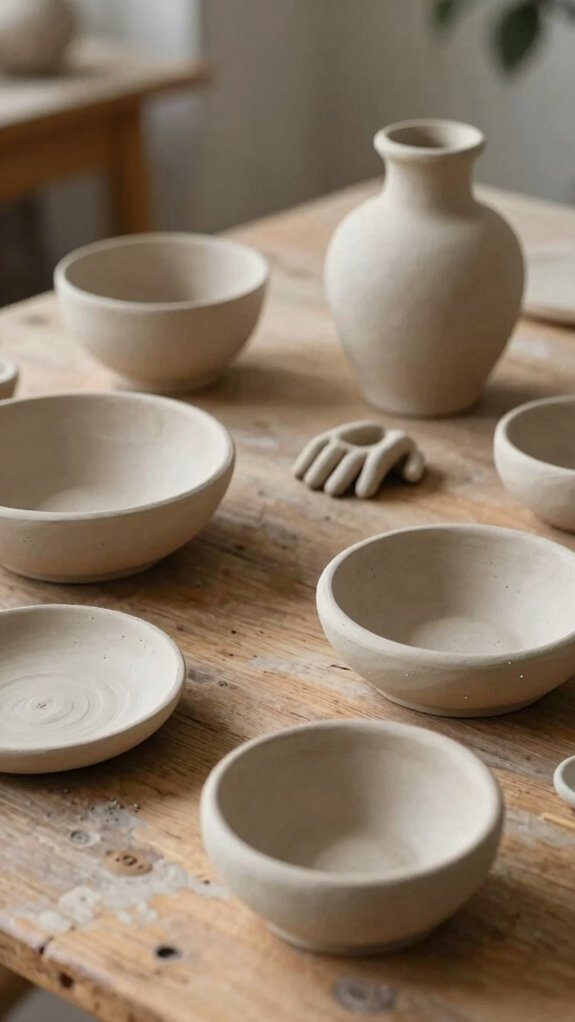
A smooth clay project starts with a few tiny habits that make a huge difference! Lightly dampen your fingertips, then blend seams with a sponge or tool. | Tip | Why it helps |
| — | — |
|---|---|
| Wet fingers | Softens joins |
| Smooth edges | Cuts roughness |
| Dry on parchment | Stops sticking |
| Rotate pieces | Prevents cracks |
| Sand later | Gives polish |
These surface finishing tricks keep your piece neat, and your drying prevention tips save you from curling drama. Wrap leftover clay tight, knead it again before use, and let finished pieces dry slowly. Afterward, sand with 220–400 grit, wipe dust away, and paint!
Flower Coasters You Can Gift
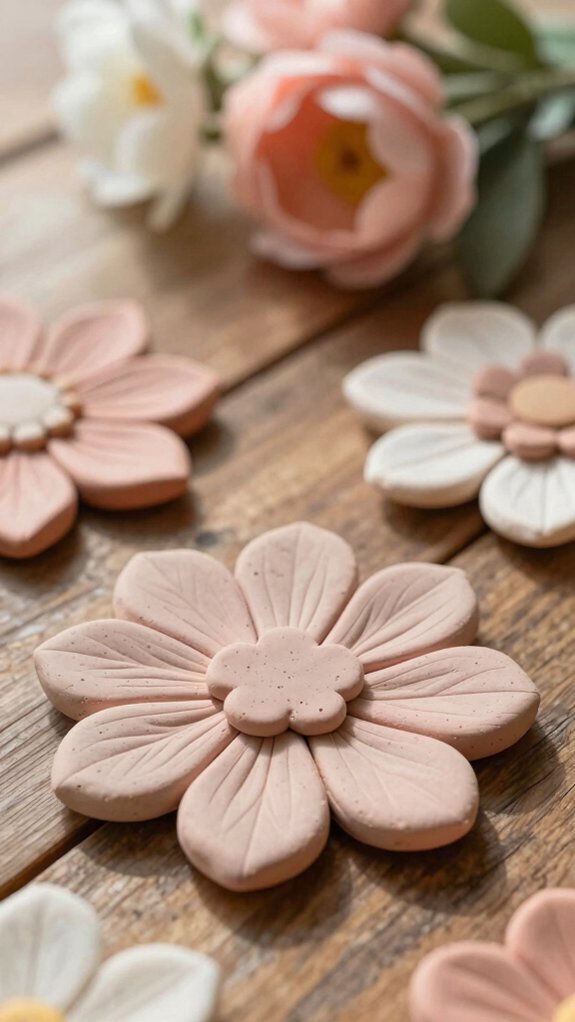
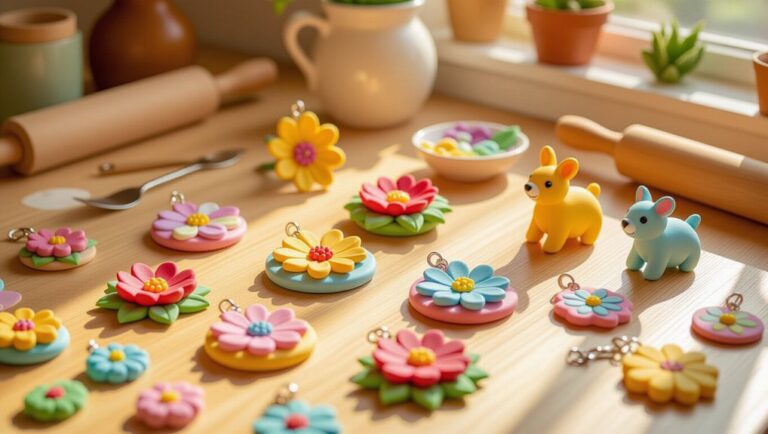
Fresh flower coasters are such a fun little gift, and you can make them with just air-dry clay, a rolling pin or bottle, and a few pretty leaves or flower shapes!
Roll the clay into even sheets, cut coaster circles, and smooth the edges so they won’t crack during air dry curing.
Press in real leaves or veining stamps for sweet texture, then let them dry flat on a non-stick surface.
After that, paint daisies, roses, or wildflowers with water based finishing.
Add sealing protection for a glossy, gift-ready shine.
It’s time saving organization, and honestly, so charming!
Ring Dishes for Everyday Jewelry
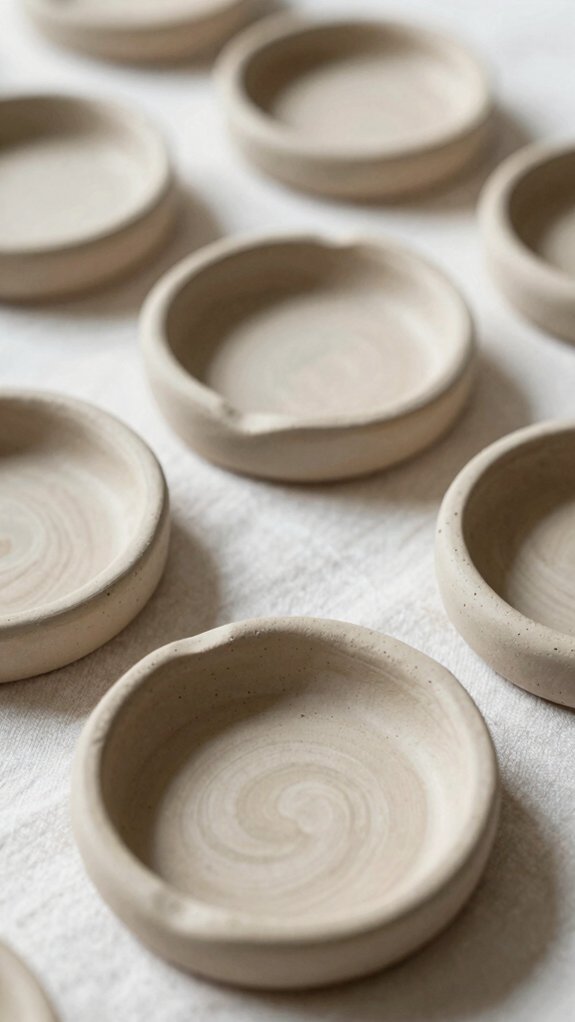
You can make easy clay ring dishes that keep your everyday jewelry from vanishing into the couch cushions—nice, right?
Start by shaping a small catchall from air dry clay, smooth the edges, and press in a little texture or a few tiny grooves so your rings sit neatly while you wash up or get ready.
Finish it with paint and a clear seal, and you’ve got a cute, personalized dish that looks great on a nightstand or bathroom counter!
Easy Clay Ring Dishes
If you want a tiny project that feels both cute and useful, these easy clay ring dishes are a total win!
You can make one in minutes, and it’ll feel like it belongs on your dresser.
- Roll clay into a ball, then press a thumb or bottle cap.
- Shape a raised rim, so rings stay put.
- Use a damp sponge, lightly, for a smooth finish.
- Try texture imprinting before drying, then add color finishing later.
- Set up your workspace, follow safety precautions, and add a felt pad.
Let it dry 24–48 hours, then paint and seal.
Tiny effort, happy hands, prettier counters!
Personalized Jewelry Catchalls
A tiny catchall can save your whole dresser, and these personalized jewelry dishes make that feel almost too easy! Roll air-dry clay into a shallow palm-sized dish, then smooth the rim with a damp sponge so your rings don’t make a break for it.
Press in initials, a Texture stamp, or tiny clay charms before it dries, and add a center divot or soft ridges for studs and bands. Let it dry 24–48 hours, paint it, then brush on an acrylic seal for daily use.
The result? A sweet, low-cost piece that feels made for your space.
Candle Holders With a Handmade Look
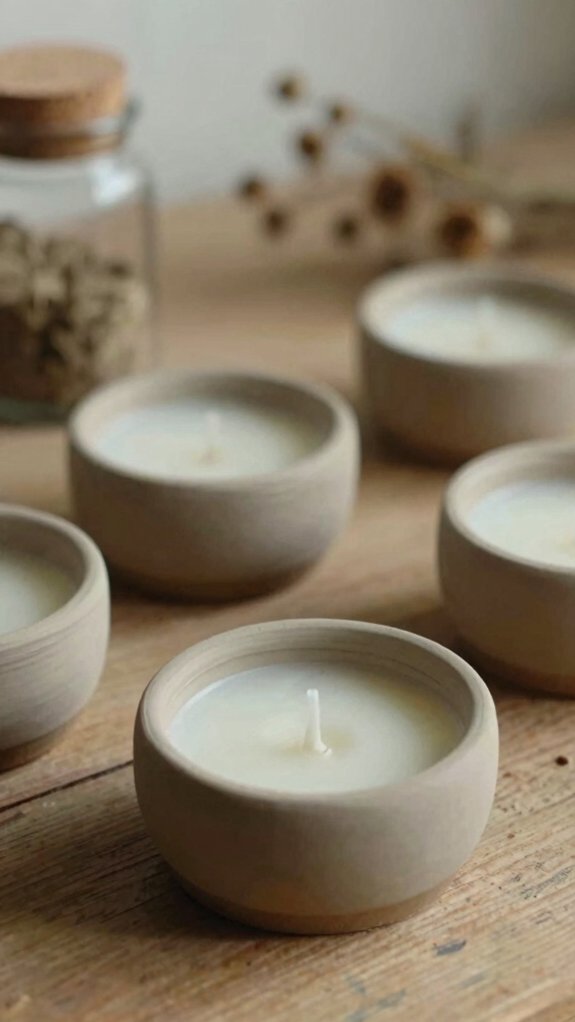
You can shape air-dry clay into a candle holder that looks hand-sculpted and cozy, using simple textures like leaves, dots, or wavy rims for instant charm—so easy, right?
If you want to get a little extra fun, try making sculpted candle forms or even a tiny match holder beside them, which feels clever and practical at the same time.
Just finish with paint and a sealant, keep the candle centered, and you’ll have a cool little decor piece that looks boutique-made without the boutique price!
Sculpted Candle Forms
For a candle holder that feels more like tiny art than craft store décor, sculpted clay forms are such a fun place to start! You’ll roll a sturdy base, pinch in a cavity with a tealight, and smooth it with a damp sponge. Try these Texture techniques for instant charm.
- Leaf veins
- Stamped dots
- Spiral ridges
- Soft curves
- Tiny cup forms
Let it dry 24–72 hours, then add simple surface finishes with paint. A durability coating helps, but keep it decor-only and heat-safe. You’ll end up with a cozy piece that feels handmade, not homemade-gone-wrong!
Decorative Match Holders
If you loved shaping those sculpted candle forms, this next idea keeps the cozy vibe going, but adds a handy little twist!
You’ll roll a small slab, flatten it, and shape a shallow tray for matches or a tealight spot. It’s cheap, beginner-friendly, and feels like your own little studio find.
Let it dry fully, then paint it with acrylics for bold color contrast. Add leaf stamps or swirl marks on the edges, then press in a gritty strike strip where the matches go.
Finish with surface sealing, using clear varnish. Cute, useful, and purely decorative—because clay and water aren’t besties!
Incense Holders for Calm Spaces
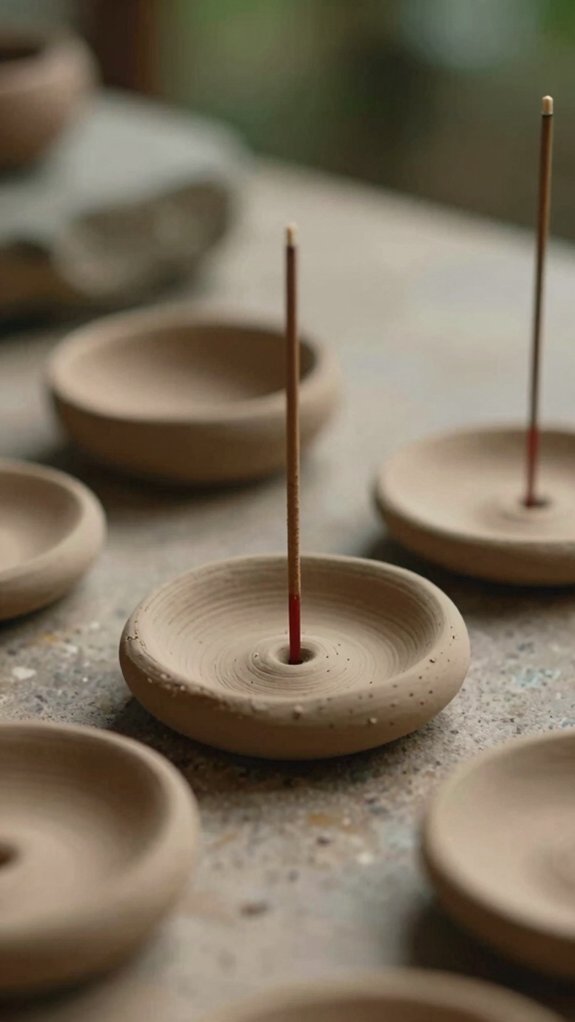
Incense holders are a tiny DIY with a big calm-space payoff! You can roll air-dry clay into a shallow tray, then add a centered channel so the stick sits steady while it burns.
Try texture experiments with leaves or waves, then finish with color glazing for a soft, cozy vibe.
- Keep it beginner-friendly and low-cost
- Add small feet so air flows underneath
- Let it dry 24–48 hours first
- Use clear varnish for durability, skip the burn zone
- Shape moons for meditation corners
A little clay, a little patience, and voilà—your space feels like it exhaled.
Photo Holders for Desks and Shelves
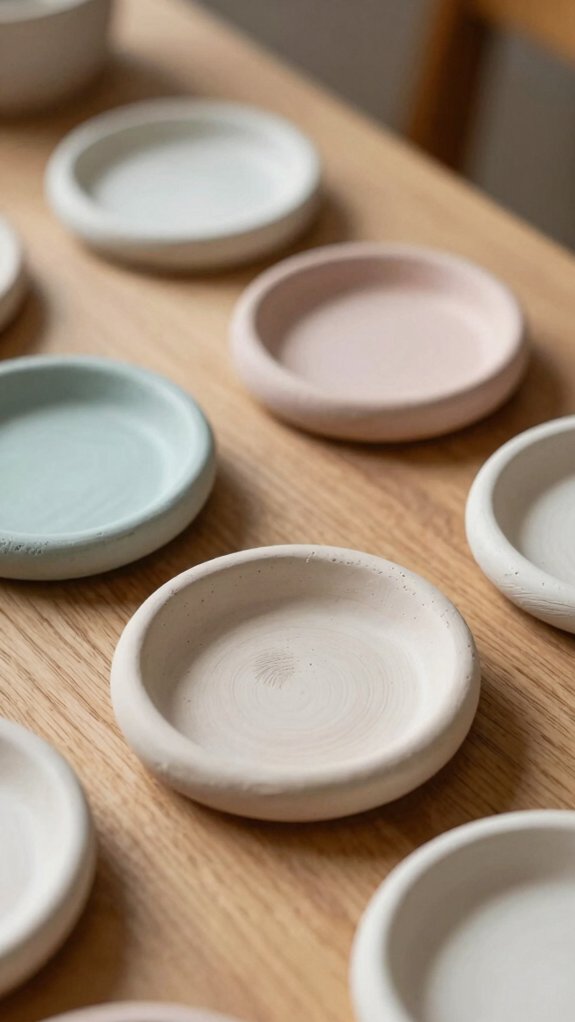
While your desk is busy pretending to be organized, a tiny air-dry clay photo holder can make it look instantly more charming!
Roll clay into a 1/4–1/2-inch mountain or geometric back, then shape a shallow front lip or groove for your card.
Smooth the edges with a damp sponge, let it dry fully, and paint it with acrylics for a clean finish.
This little project boosts desk organization and shelf styling without costing much or needing special tools.
Add embossed stars, leaves, or dots before it hardens, and suddenly your favorite photo stands proudly, like it belongs there.
Earring Holders That Keep Things Tidy
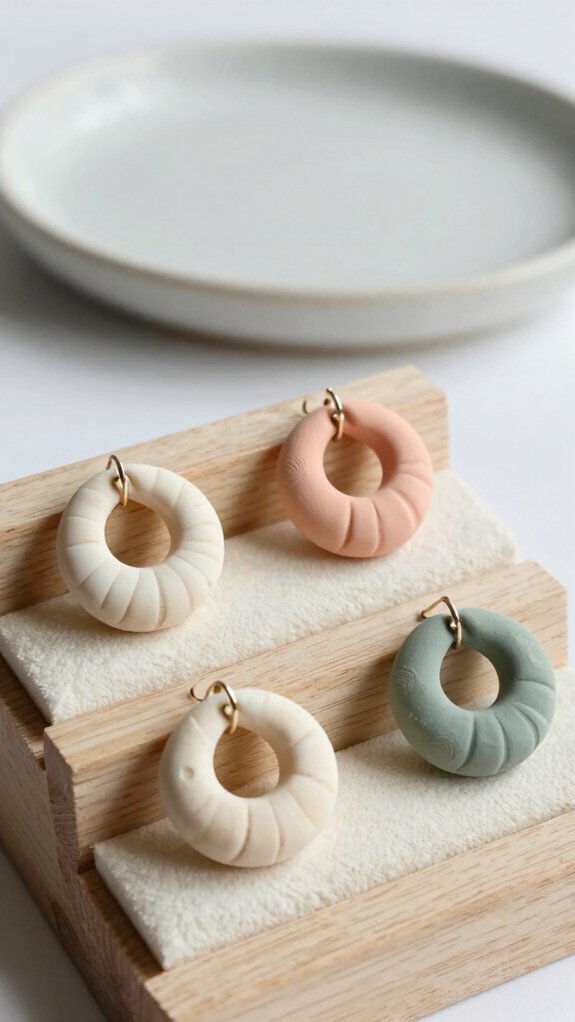
A cute air-dry clay earring holder can save you from the classic “where did that other stud go?” mystery! You’ll feel oddly proud when your jewelry finally has a happy little home.
- Roll clay into a flat base with a shallow tray.
- Press U-grooves or hooks for pairs.
- Add a backboard and front lip for long drops.
- Dry 24–48 hours, then sand and seal.
- Try textured finishes ideas and storage layout hacks for easy sorting.
Paint it smooth, snag-free, and cute, so your earrings slide on without drama.
If you want extra order, add small hooks or magnets after drying. Tiny effort, big “wow, I made that!” energy.
Tiny Magnet Vases for the Fridge
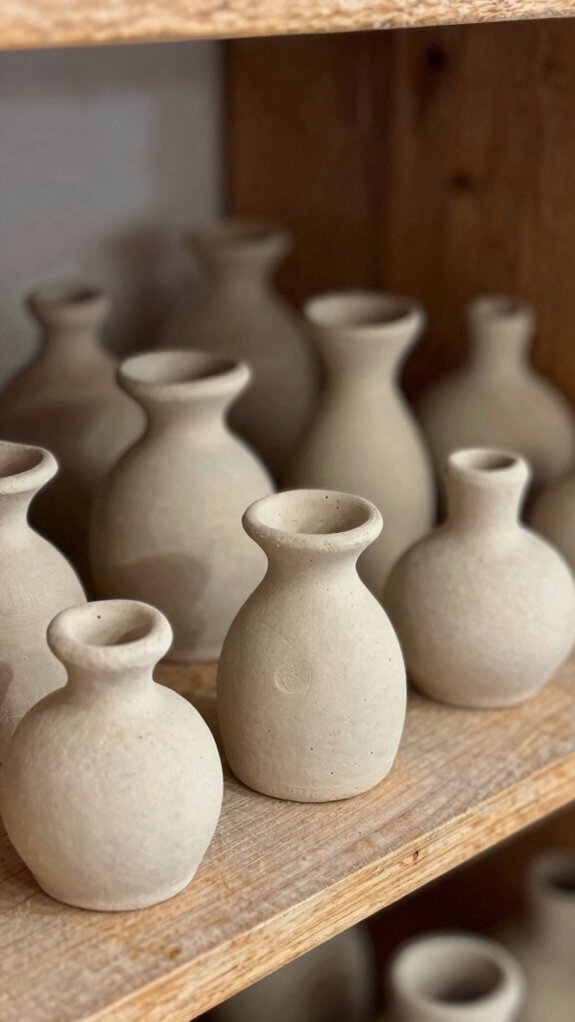
Tiny magnet vases are such a fun way to turn your fridge into a mini art gallery, and you can make them from small air-dry clay pinch pots in just a few simple steps.
After they’re fully dry, you’ll glue on a strong magnet, add a little opening for a faux bloom or tiny stem, and paint them in bright colors for a cute finish—pastels look sweet, but neon ones really pop!
If you make 3 to 5 of them in matching shades, your fridge starts looking styled on purpose, not like your magnets raided a craft drawer.
Mini Blooms For Fridges
Got a plain fridge and a few minutes?
You can make mini blooms that feel like a tiny neighborly garden.
Start with fingertip-size clay vases, add a flat base, then press petals, buds, and leaf textures into the wet surface.
- Pick your color palette planning first
- Shape five little vases the same height
- Let them dry fully, no rushing
- Paint with acrylics, then use fridge safe sealing
- Glue on magnets after curing, wow!
Mix daisies, roses, and tulips for a cheerful set. They’re cheap, easy, and delightfully cute, like your fridge joined the craft club.
Easy Magnetic Display Vases
If you want your fridge to look a little more charming, you can turn air-dry clay into easy magnetic display vases that feel like tiny art pieces!
Roll and pinch the clay into a 1–3 inch vase, flatten the back, and poke a sweet little opening up top.
Add tiny ridges with a fork, then let it dry fully, usually 24–72 hours.
Paint it with acrylics, try a Colorful Airbrush look, and seal it for a subtle Glazed Finish.
Glue on a strong magnet, then tuck in a dried bloom or faux stem.
Cute, cheap, and oddly upscale!
Personalized Home Ornaments
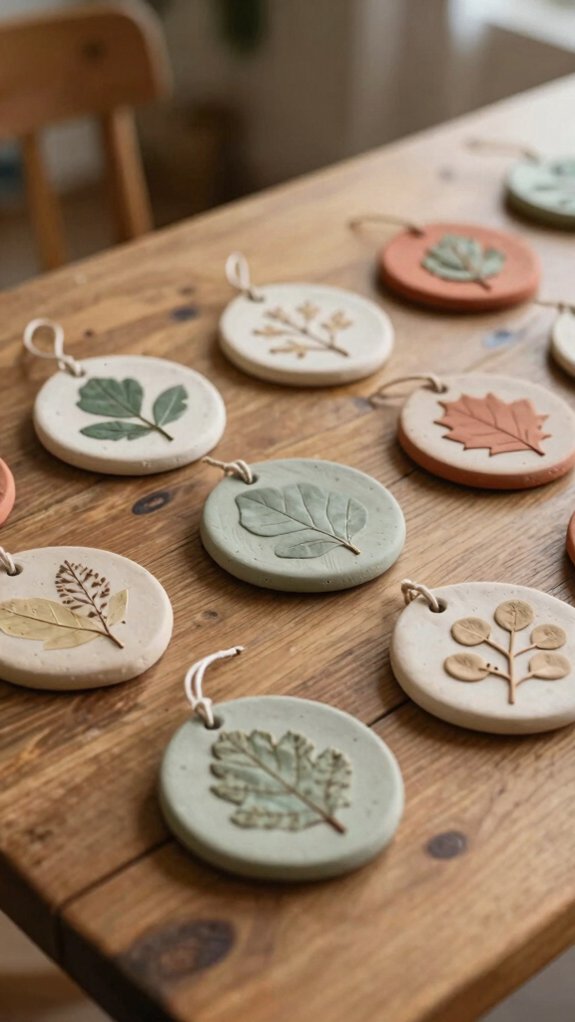
Personalized home ornaments are such a fun way to turn air-dry clay into something that feels truly yours! You’ll make little house shapes, then use clay carving and texture stamping to add windows, stars, or fabric-like patterns.
- Roll, pinch, and shape simple houses.
- Press in a name, date, or trip spot.
- Let them dry 24–48 hours.
- Paint them with acrylics, then try paint sealing.
- Add a hanging loop or ribbon hole.
They’re cheap, beginner-friendly, and honestly, kind of addictive.
Hang one on a doorknob, shelf, or tree, and you’ve got a sweet keepsake that feels warm, personal, and ready to belong anywhere.
Wavy Painted Bowls for Small Items
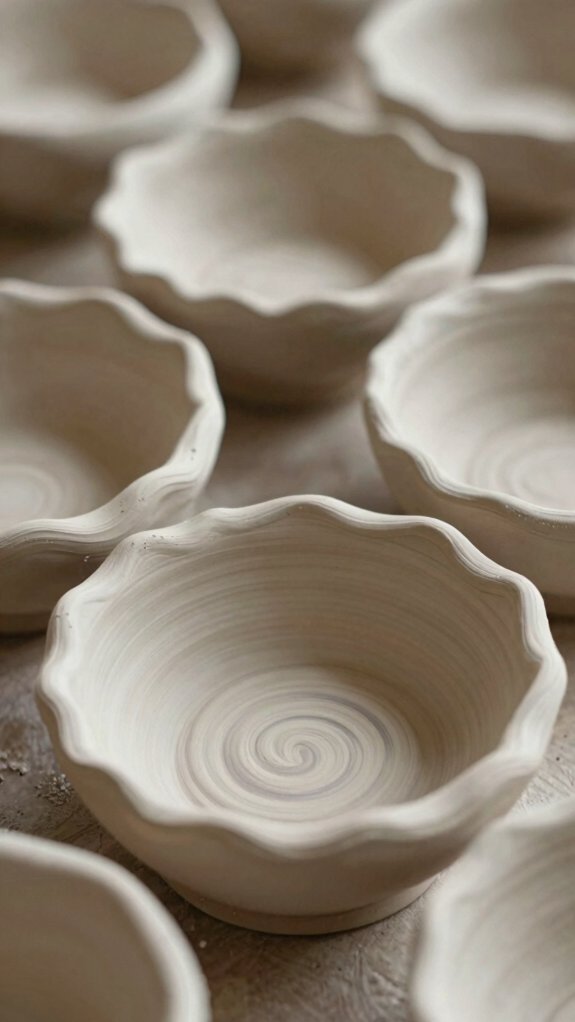
For a cute little catch-all that looks way fancier than it is, wavy painted bowls are a total win!
You only need air-dry clay, a rolling pin, and a fork or comb. Shape a shallow bowl, pinch the rim into soft waves, then add a textured finish by tapping the edges lightly. Smooth the middle so your rings, hair ties, or spare change sit nicely.
Let it dry 24–72 hours, turning it once, then paint on 2–3 bright coats for a bold, colorful coaster vibe.
Seal it, and you’ve got a cheerful bowl that feels so you.
Drink Stirrers for Parties and Gifts
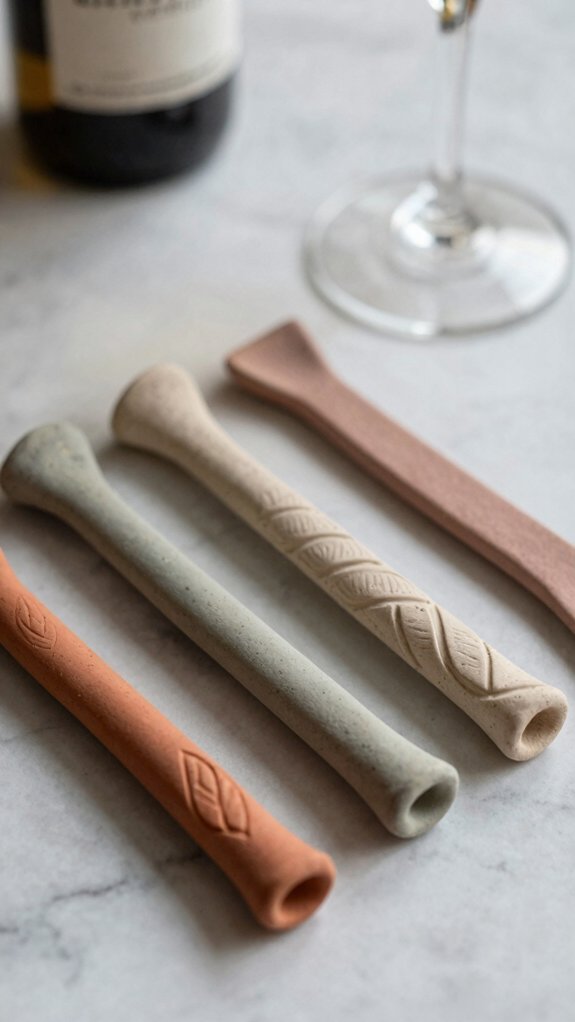
You can shape air-dry clay into cute drink stirrers that instantly make any party feel more fun, with swirly textures, wavy edges, and a grip that looks as good as it works—tiny cocktail magic!
Add little stars, hearts, or even monograms on one end, and you’ve got a personalized keepsake that feels way fancier than it really is.
Make a matching set, tie on a ribbon tag, and boom, you’ve got a simple gift idea that looks polished, costs little, and might just steal the spotlight at the next get-together.
Party-Ready Stirrer Designs
When a plain drink needs a little party magic, air-dry clay stirrers can do the trick in a cute, low-cost way! You’ll shape little strips, add tiny stars or hearts, and keep them long enough to reach the bottom of your cup.
- Colorful batch planning makes 6–12 match fast.
- Minimalist theme matching keeps things chic.
- Roll, flatten, then cut or swirl.
- Dry 24–72 hours before painting.
- Seal the pretty top only, so it lasts.
Add a ribbon loop for easy gifting, and you’ve got a fun favor your crew will actually use.
Personalized Occasion Stirrers
A plain drink can turn into a little celebration fast, and personalized air-dry clay stirrers make that happen with almost no fuss!
You roll a small strip, flatten it, then shape one end with Spoon tip finishing so it rests neatly in your cup.
Next, press in stamp design basics: letters, hearts, stars, or a tiny monogram.
Smooth rough edges with a little water, and let each piece dry hard for 24–48 hours.
After that, paint it in your party colors and seal it if you’ll reuse it.
Want the sweetest touch? Make a few different designs, so everyone grabs one!
Simple Giftable Craft Idea
These drink stirrers aren’t just cute, they’re the kind of little handmade gift that makes people grin before they’ve even taken a sip!
Roll air-dry clay into slim sticks or tiny paddles, smooth the edges, then press in stripes, hearts, or initials for instant charm.
- Keep them slim and easy to hold
- Let them dry 24–48 hours
- Paint with acrylics, then seal lightly
- Make 6–12 in one matching theme
- Tie them with ribbon and colorful gift tags
You’ll have sweet holiday party favors or a housewarming set that feels thoughtful, not pricey. Simple, right?
Chunky Book Ends With Personality
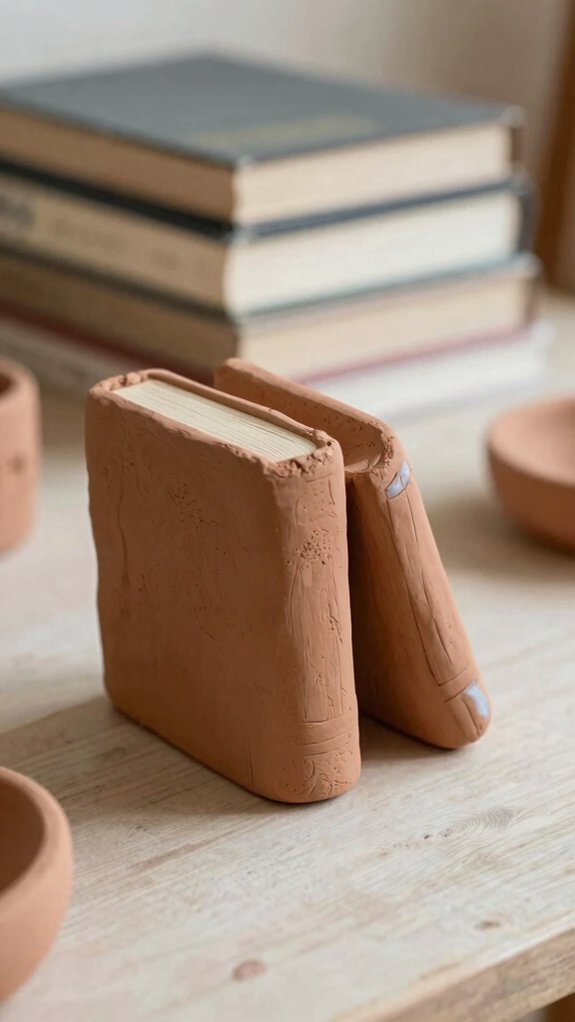
If you want bookends that look store-bought but still have a handmade wink, chunky air-dry clay blocks are a fantastic place to start! You’ll roll two thick blocks, press a book-spine or chevron front, and let them dry flat first.
| Step | Tip |
|---|---|
| Shape | Cut matching blocks for a balanced pair. |
| Detail | Try clay color tests and texture stamping experiments. |
| Finish | Add grooves, a base coat, then bright paint! |
After that, gently add a tiny inward curve or stop ridge so your books stay put. Seal only when fully dry, and you’ve got sturdy, personality-packed shelves!
Beaded Dishes for Textured Decor
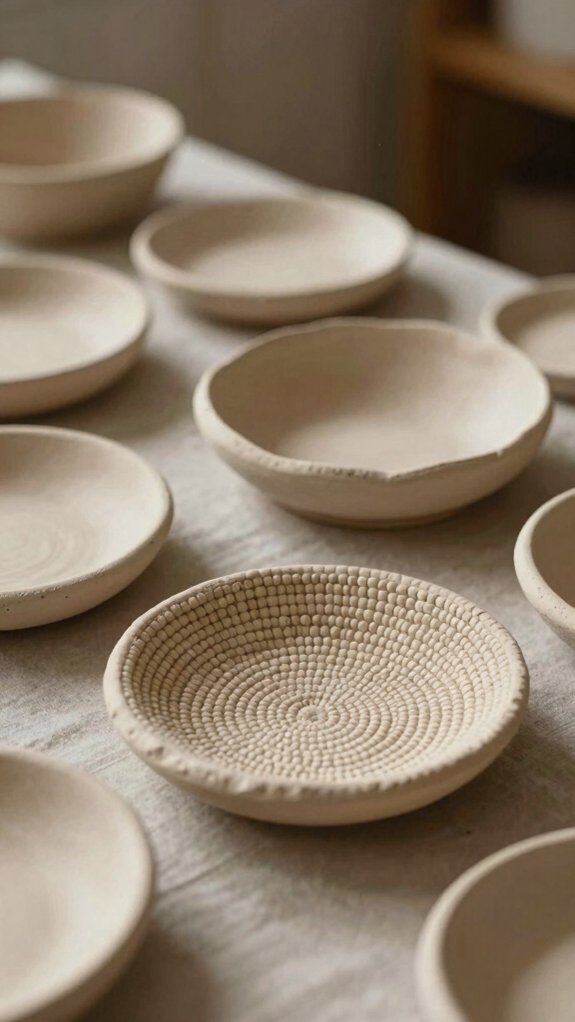
After those chunky book ends, let’s keep the clay fun rolling with something a little smaller, but just as charming: beaded dishes!
You can start with a shallow plate, bowl, or coaster shape, then roll tiny beads and press them on in even rows for a raised, touchable look. Mix sizes for a fresh texture palette, and play with color contrast by painting the rim and center differently.
- Try tight spirals
- Add scattered clusters
- Build a bead border
- Sand rough spots lightly
- Seal only for display
Let it dry fully, and you’ve got an easy trinket dish that feels totally you!
Salt Spoons for Stylish Kitchens
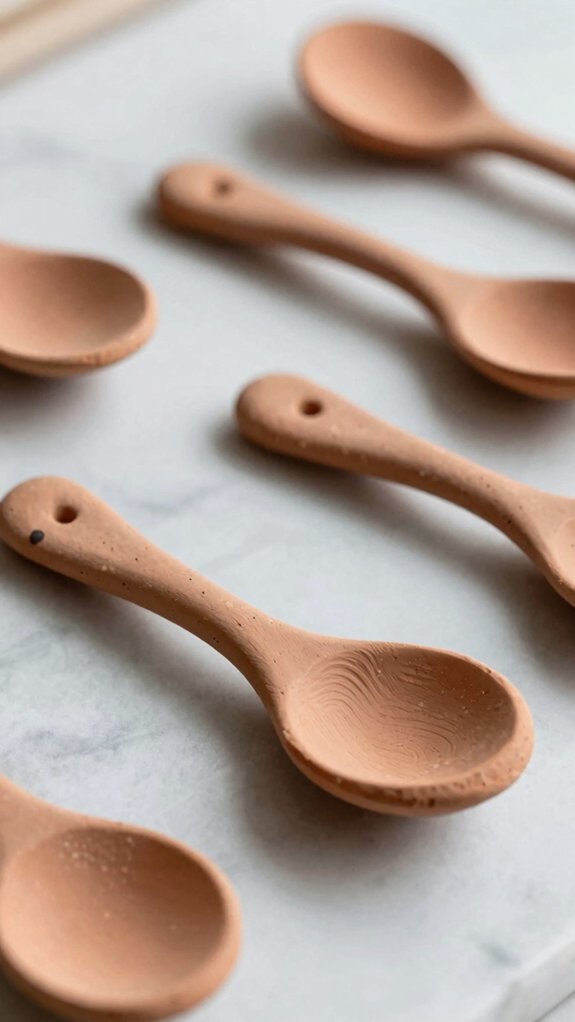
For a tiny kitchen upgrade that still feels nicely elegant, try making a salt spoon from air-dry clay—it’s simple, quick, and way more charming than a plain plastic scoop!
Roll or pinch a shallow spoon bowl, then add a thick handle so it dries strong and keeps its shape.
Press in tiny dots, grooves, or stamped initials for textural stamping that looks stylish and feels grippy.
Let it dry 24–48 hours, then paint it in a color palette that matches your kitchen vibe.
Seal it with clear varnish, and you’ve got a cute, bake-free gift that pairs beautifully with gourmet salt—aww, instant hostess points!
Air Dry Clay Clock Ideas
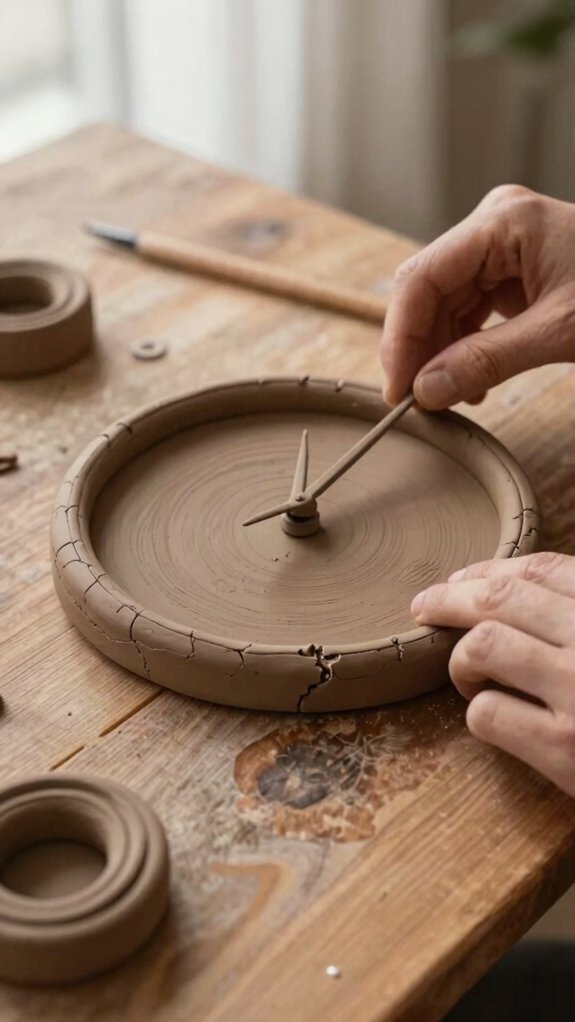
Ready to make time a little prettier? You can shape thick clay into a frame, then add a clock kit after it’s fully dry.
- Try geometric forms for a modern vibe.
- Press pebble textures for cozy charm.
- Leave a clean center so numbers pop.
- Paint dark clay with light numbers for easy reading.
- Make seasonal party clocks with stars, embossed patterns, or tiny scenes.
Sealing with clear glaze helps it last, and minimalist peg designs can look super sleek too!
Let thicker parts dry 24–48 hours, then fit the hands.
You’ll end up with art that actually tells time—nice, right?