13 Quick Air Dry Clay Projects You Can Finish Fast
You can make 13 quick air dry clay projects fast, and they’re beginner gold! Try flower coasters, tiny magnet vases, ring holders, salt spoons, incense trays, candle cups, and earring dishes. Just roll, press, shape by hand, then smooth with a little water and a sponge. Most pieces dry in 24–48 hours, so they’re cheap, cute, and giftable. Want the best part? A few tiny surprises are still waiting just ahead…
Love cozy DIY projects? 💕
Get free printable guides, exclusive tutorials & surprise craft goodies straight to your inbox.
Disclosure: This post may contain Amazon affiliate links, at no extra cost to you. Content on DiyCraftNest is created with research support from AI tools and carefully reviewed, edited, and fact-checked by the lead author, Daniel Pat, to ensure accuracy and reliability. Learn more
Key Takeaways
- Quick air-dry clay projects include flower coasters, tiny magnet vases, ring holders, salt spoons, and modern photo holders.
- Beginner-friendly pieces are made by rolling, pressing, pinching, and shaping clay by hand with simple tools.
- Use water and a sponge to smooth joins, fix mistakes, and add details before the clay dries.
- Let pieces cure for 24–48 hours in a cool, airy place before sanding, painting, or sealing.
- Finish with acrylic or water-based paint, then add a thin clear coat for durability and light moisture resistance.
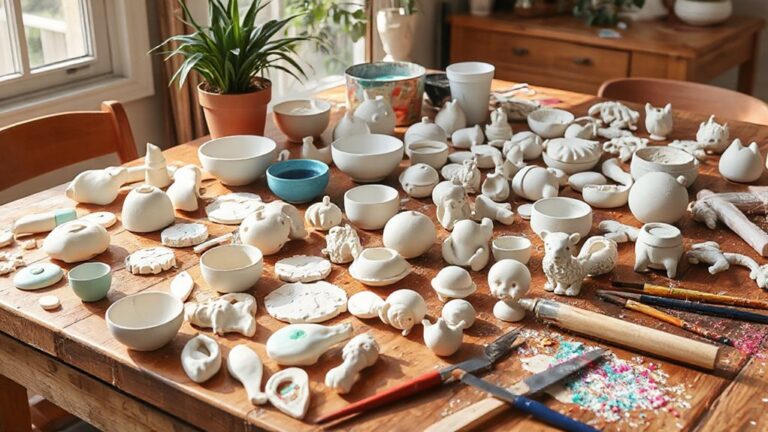
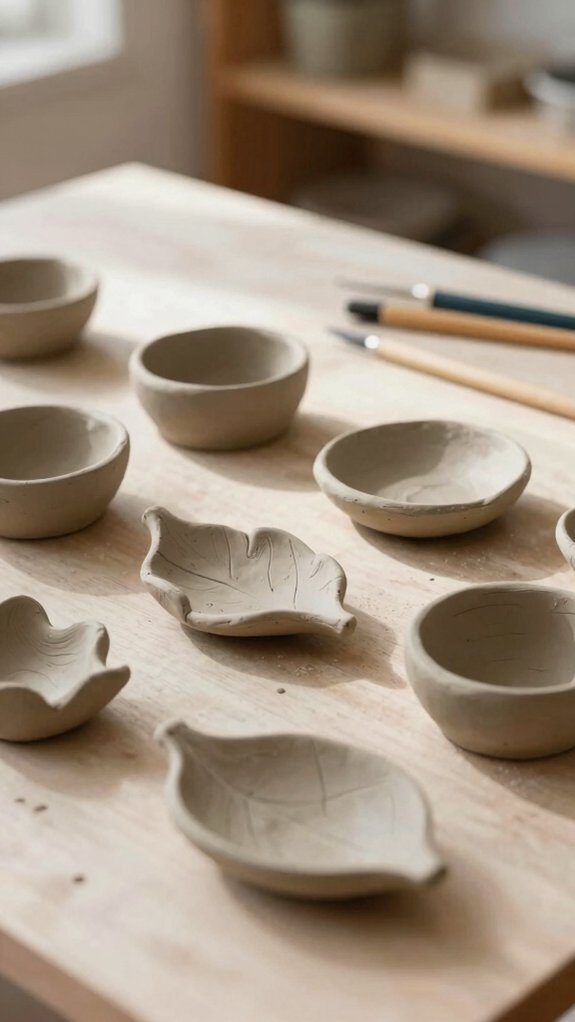
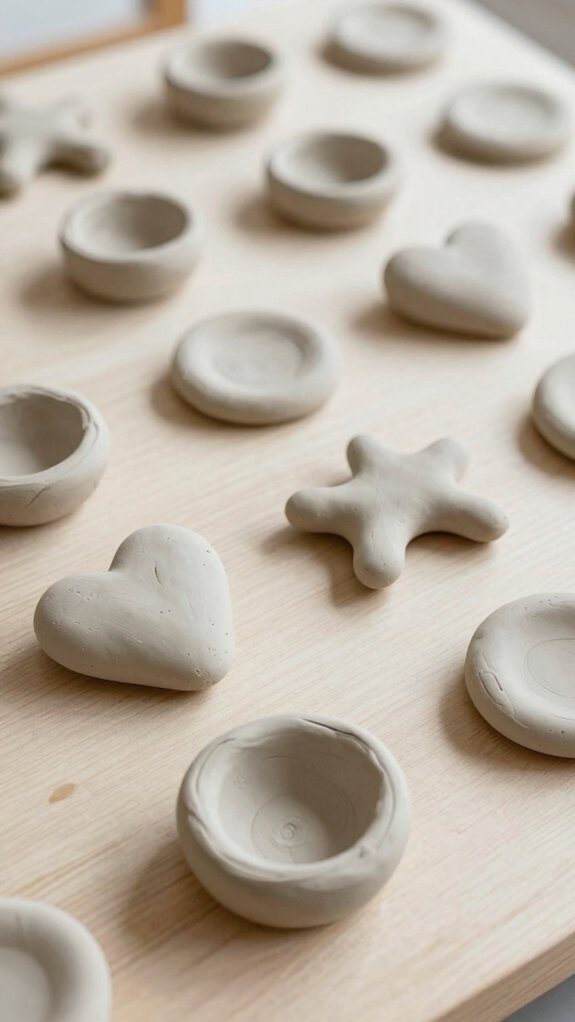
Quick Air Dry Clay Projects for Beginners
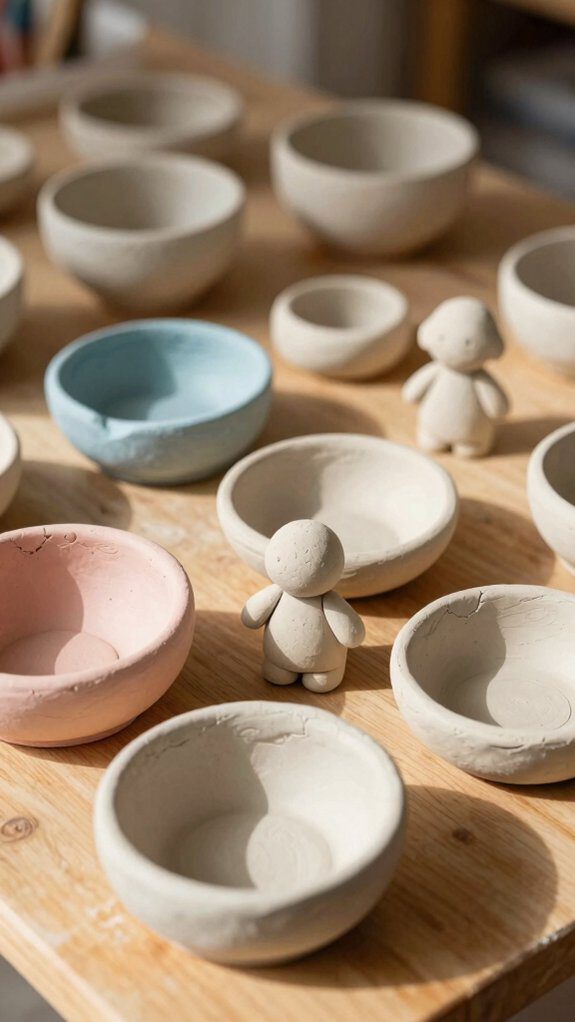
If you’re just getting started with air dry clay, keep it simple and fun—start with quick wins like a tiny flower frog, decorated storage bowls, or rustic clay tags that you can make with just clay and a few basic supplies.
You’ll fit right in with these beginner projects! Roll, press, and shape by hand, then smooth joins with water and a sponge.
Keep leftover clay wrapped in plastic for storage safe clay handling, so it stays ready for tomorrow’s session.
For beginner finishing tricks, paint dried pieces with acrylics or water-based paint.
Try pressed-flower ornaments last—they look decorative, cost little, and make your shelf grin!
Why Air Dry Clay Is So Beginner-Friendly
Air dry clay feels like a tiny craft miracle, because it hardens right at room temperature with no oven, no special heat tools, and no stress! You can join the fun fast, even if you’ve never sculpted before.
With Beginner sculpting tips, you’ll shape, smooth, and fix mistakes using only your hands, so it feels friendly, not elegant.
It’s also easy to paint after drying, which means your project looks finished without much fuss.
And here’s the best part: Easy drying hacks help small pieces set in about a day or two, so you’ll get quick wins and plenty of practice.
What You Need for Air Dry Clay Projects
You don’t need a huge stash to get started—just air dry clay, a little water, a sponge or damp cloth, and a smooth surface like a silicone craft mat, wax paper, or even a dish towel to keep the sticky stuff from taking over.
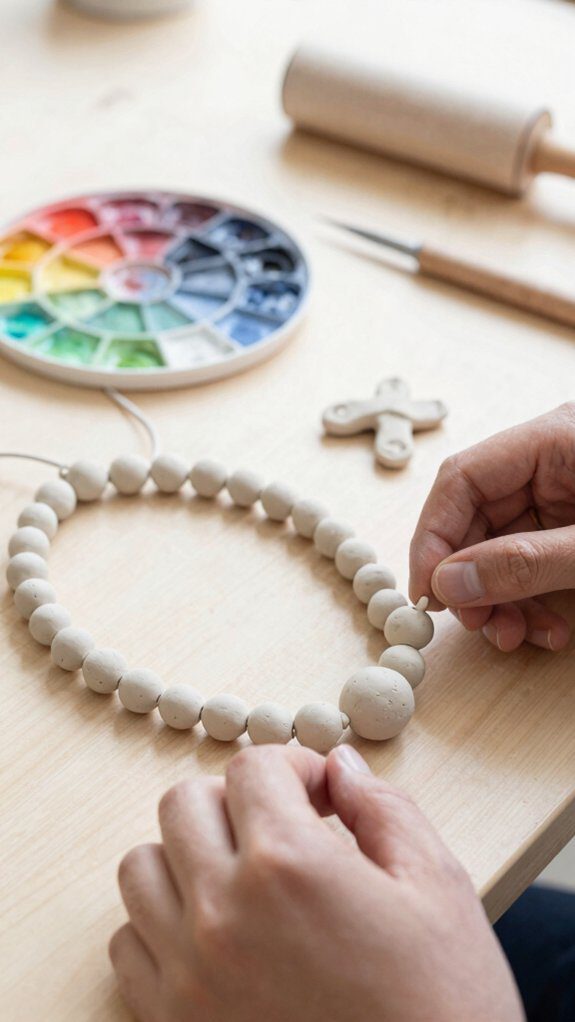
Once your piece dries for 24–48 hours, grab a soft paintbrush and acrylic or water-based paints, and if you want sharper details, add sculpting tools or a bit of sandpaper.
Oh, and here’s the sneaky part: wrap extra clay in plastic and keep a spray bottle nearby, because a quick mist can save you from cracks, dust, and a grumpy lump of clay!
Essential Tools And Materials
Before you start squishing and shaping, gather the basics so your clay project doesn’t turn into a sticky little disaster!
You’ll want air-dry clay plus a little water, a sponge, and a small bowl nearby for smoothing.
A silicone craft mat, or wax paper, helps with workspace organization and keeps dust off your table.
After that, grab soft paintbrushes for acrylics and sandpaper for the finish.
If you like extra control, add sculpting tools and a spray bottle for misting.
Keep an eye on air dry timing, because most pieces need 24–48 hours before painting.
Prep And Drying Tips
Now that your tools are lined up and your workspace is ready, it’s time to keep that clay from turning into a crumbly little grump!
Cover your table with a silicone mat, wax paper, or craft paper for speedy cleanup and dust prevention, and keep your workbench organization tight so nothing sneaks into the clay.
Keep a small bowl of water nearby and use a sponge to smooth edges and help pieces stick.
If you step away, wrap leftover clay in plastic with a barely damp paper towel.
Follow a drying schedule of 24–48 hours in cool, airy shade, then paint and seal for a sturdy finish.
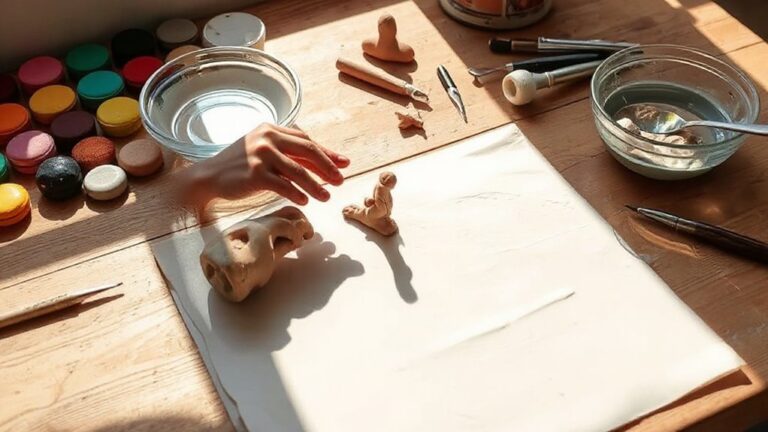
How to Prep Air Dry Clay for Fast Projects
When you’re racing through a quick air dry clay project, a little prep goes a long way, and it makes the whole process feel way less sticky-finger chaos!
Cover your table with silicone, wax paper, or craft paper, then lightly wet your hands so shaping feels smoother.
Keep a sponge nearby to tame extra water, and if you pause, wrap the clay in a damp towel and plastic.
Mix a little slip paste for stronger joins.
For glazing basics and curing times, let pieces dry 24–48 hours in shade, then sand edges before painting or sealing.
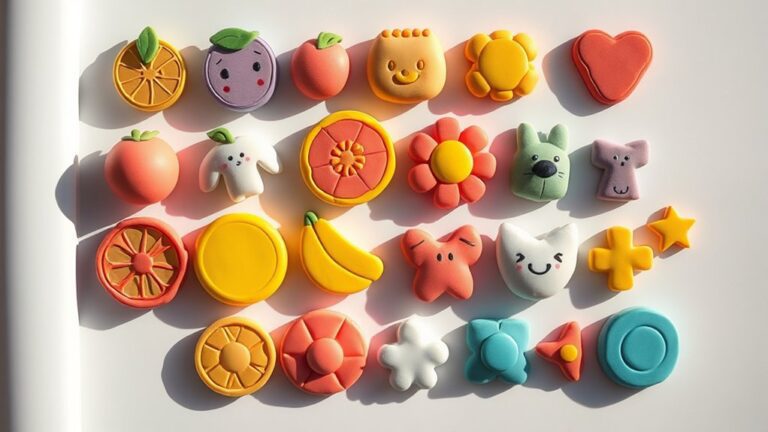
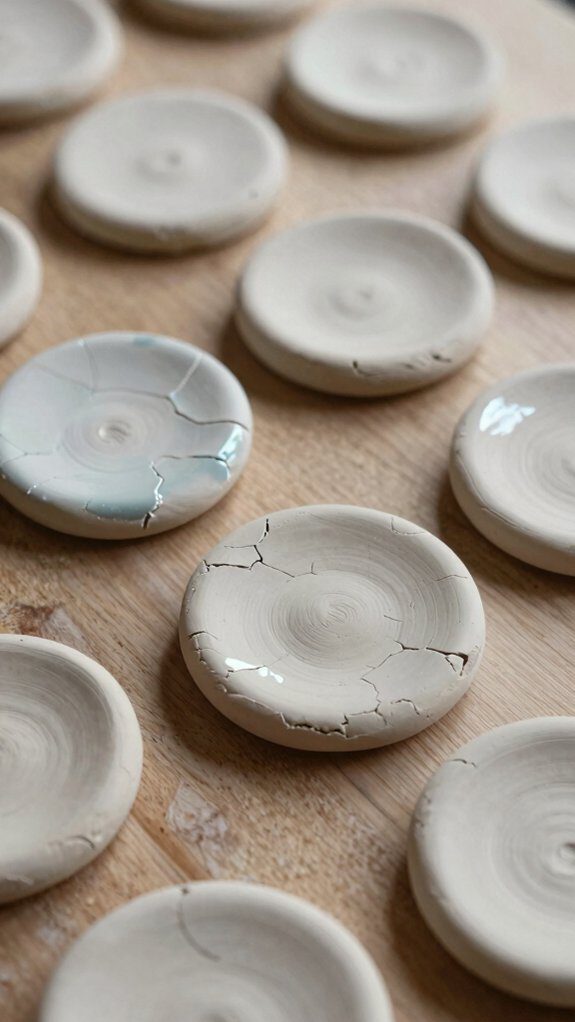
Flower Coasters to Make in Minutes
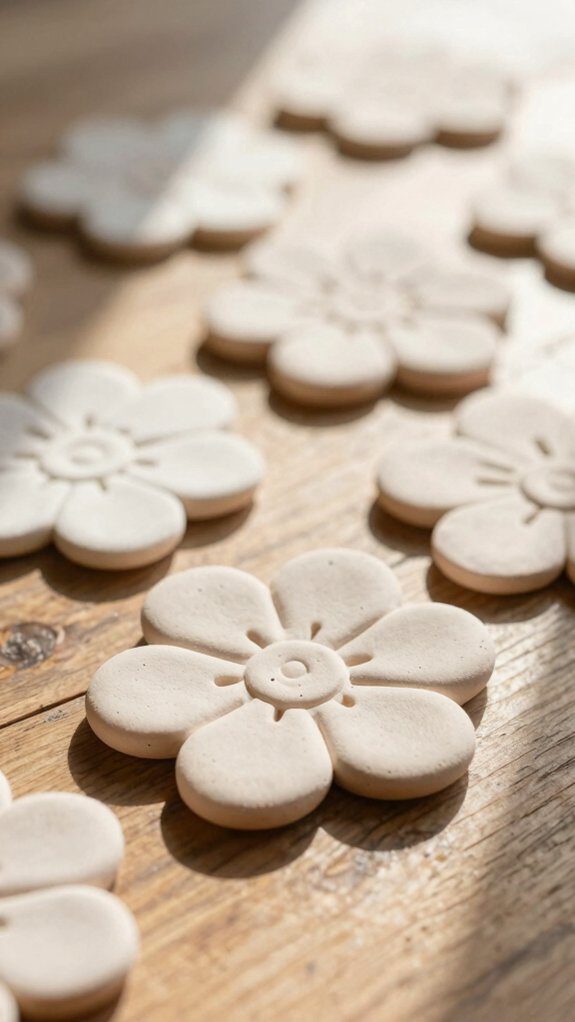
Want a cute project that won’t eat your whole afternoon?
Roll air dry clay into an even sheet, then cut circles or squares for sweet flower coasters. Press in real petals or use tiny flower cutters for that fresh, pressed-look everyone notices!
Smooth the edges with a damp finger or sponge, then let them dry in airy spots for 24–48 hours.
After that, paint with acrylics or water-based colors, and try color mixing tips to make soft spring shades.
For extra polish, use coaster sealing tricks with a thin glaze.
Work in batches, and wrap extra clay tight so your crew of coasters stays ready!
Tiny Magnet Vases for Fridge Decor
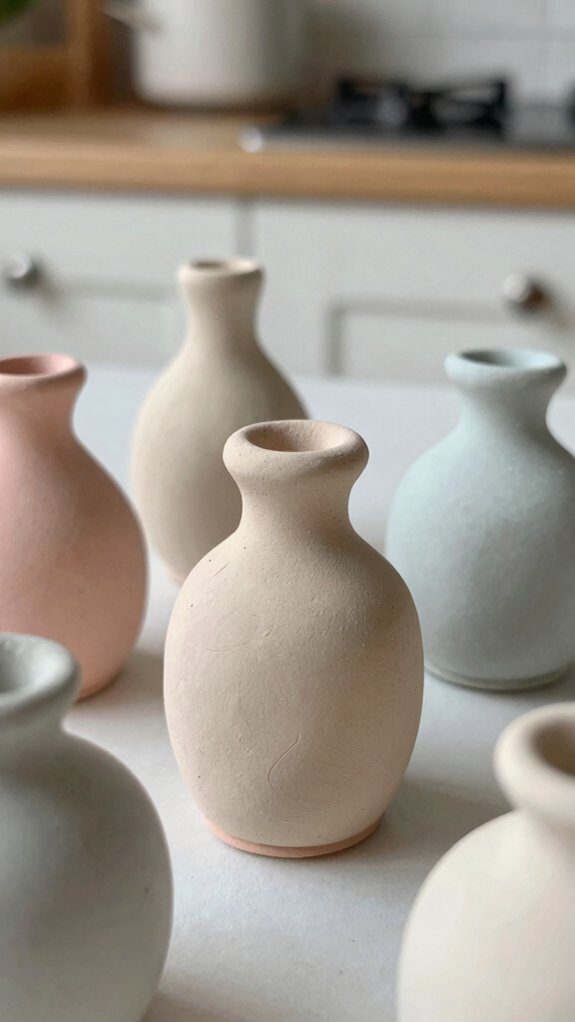
If those flower coasters left you with a little extra clay, here’s a tiny project that’s just as cute and even easier to display—mini vase magnets for your fridge!
Roll and pinch small rounded vase shapes, add tiny opening handles if you want, and smooth the edges with a damp sponge for a cleaner look.
Press in a magnet at the base, then let them dry 24 to 48 hours.
After that, paint on Colorful rim accents, dots, or stripes, and keep them lightweight so they cling well.
A simple seal can help, too—your fridge crew’s going to love these little charmers!
Modern Photo Holders for Desks
A tiny desk photo holder can look surprisingly polished, and it only takes a little air dry clay to make one! Roll a small slab, shape it into a mountain or easel, then press a neat rectangular photo gap before it sets. Easy, right?
This little project boosts Desk organization and gives your photo display a clean, modern feel. Shape rounded corners or a minimal geometric base for quick personality, then let it dry 24–48 hours.
Paint it with acrylics to match your desk décor, and add a clear top coat if you want extra durability. It’s simple, fun, and so you!
Ring Holders for Easy Jewelry Storage
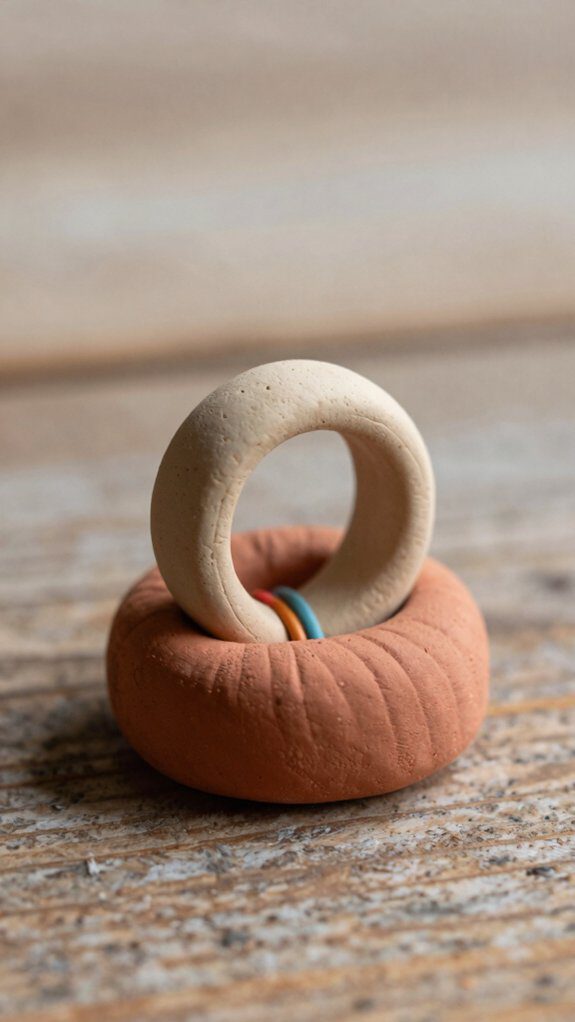
Even with just a small bit of air dry clay, you can make a ring holder that looks cute on a nightstand or vanity!
Roll, flatten, and smooth a tiny slab, then shape it into a shallow dish or little bump to cradle 1–2 rings while they dry.
Add a lip with your fingers and use a damp sponge for neat edges.
Keep water nearby, and gloves help if the clay gets sticky.
After 24–48 hours, try Painting Techniques and Color Layering for a fun finish.
A flat-backed shape dries faster, and a clear seal adds extra shine—nice, right!
Salt Spoons for Simple Gift Sets
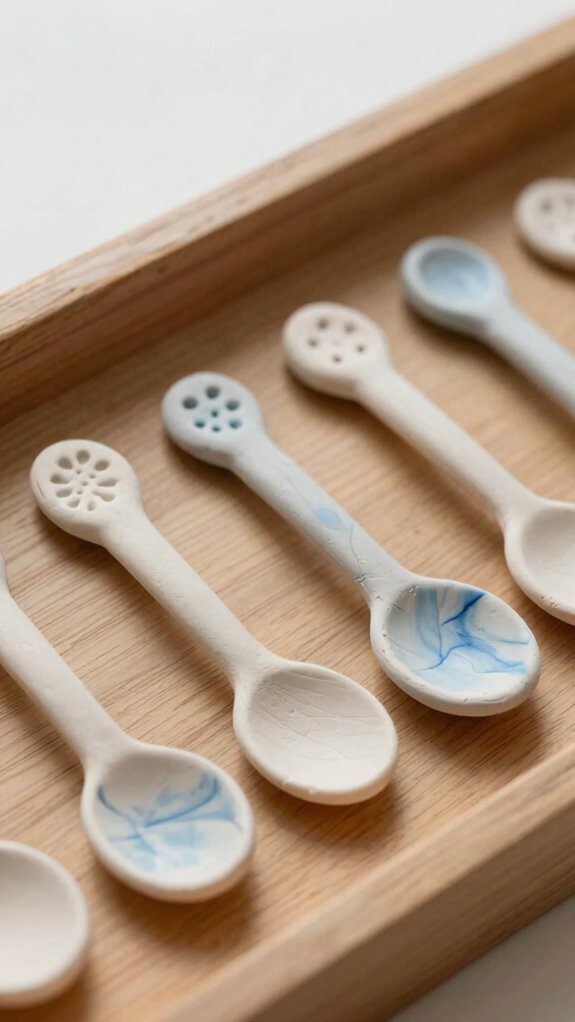
Salt spoons are a tiny win for you because they’re quick to make, beginner-friendly, and easy to personalize with paint, initials, or cute little textures—no elaborate sculpting wizardry required! You can shape a simple spoon from air dry clay, let it dry fully for 24–48 hours, then smooth it with sandpaper so it looks neat and gift-ready.
For an extra-sweet present, pair one or two spoons with gourmet salt in small jars or bags, and you’ve got a cute grab-and-go set that feels handmade without taking all weekend.
Why Salt Spoons Work
Tiny, spoon-shaped gifts have a sneaky superpower: they’re fast to make, easy to customize, and they look way more elegant than the effort they take!
You can whip up salt spoons for a simple gift set with just clay, a damp sponge, and a little patience.
Their unique texture makes them feel handmade in the best way, and once they dry, you can paint them, then add easy sealing if you want extra moisture protection.
Because each spoon is small, you’ll usually finish faster than bigger projects, and they dry in about 24–48 hours.
Pair them with gourmet salt, and boom—instant present, no elegant tools needed!
Shaping a Simple Spoon
Start with a small lump of air dry clay and roll or pinch it into a spoon shape, keeping the bowl thin and the handle a little thicker so it feels balanced in your hand.
Use a damp sponge to smooth the edges, then press the face flat so it sits neatly in your set—easy, right?!
Add a tiny leaf or star with Texture imprinting before it dries, and use a little water to enhance details.
Let it dry at room temperature for 24–48 hours, turning once if it starts to curl.
Afterward, sand lightly, try beginner glazing with acrylics, and seal for a polished finish.
Gift Set Pairings
A little clay spoon can do more than sit pretty on a shelf—it can turn into the cutest part of a homemade gift set!
Pair it with gourmet salts, and you’ve got a cheerful pour-and-taste surprise that feels posh without costing much.
Add tasting cards, simple gift wrapping, and a tiny note, and suddenly your set feels extra personal.
Make a few spoons at once, let them dry 24–48 hours, then paint with acrylics or water-based paints.
Use matching colors or tiny lettering so each piece looks like it belongs.
Since clay isn’t water-resistant, keep these for dry tabletop use, and finish with a thin glaze for extra protection.
Incense Holders for a Relaxing Setup
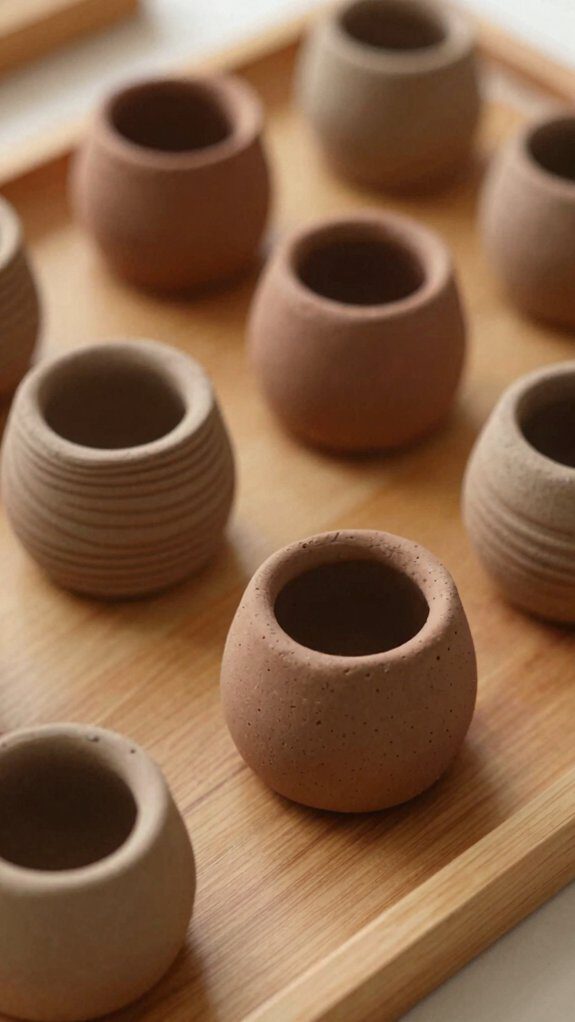
When you want your room to feel calm in a hurry, an air-dry clay incense holder can be such a fun little project! Roll clay, shape a flat tray or tiny rest, and press in a slot for the stick. Keep the table below handy:
| Step | Tip |
|---|---|
| Form | Make a stable base |
| Smooth | Use a little water only |
| Finish | Let it cure 24–48 hours |
That’s great for heat safety and a fireproof base. Keep unused clay wrapped, then sand, paint, and seal it. Set it in a well-ventilated spot, and let it cool before moving—easy, cozy, and yours!
Candle Holders for Easy Home Decor
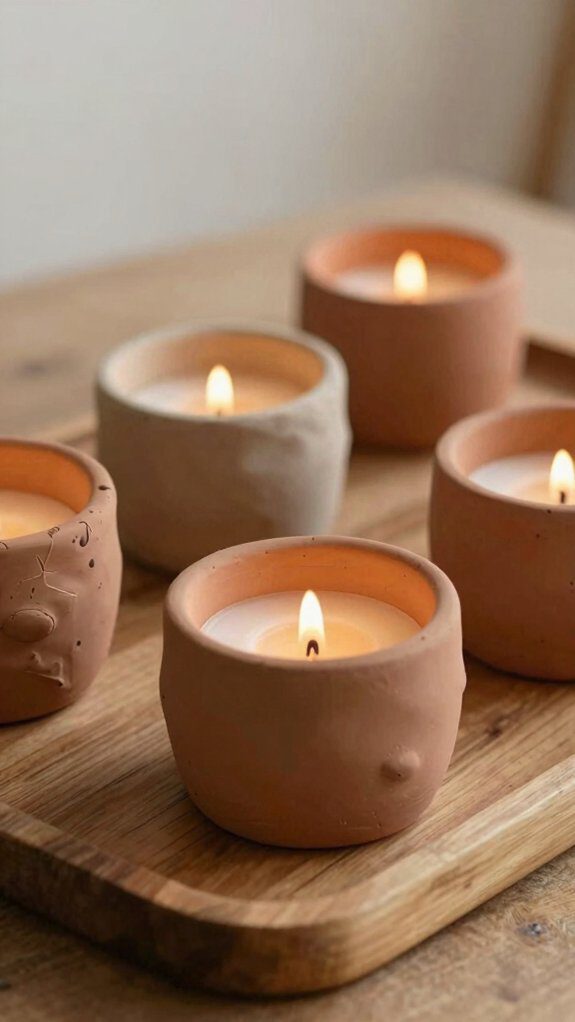
If your room already feels cozy from that incense holder, you can keep the handmade vibe going with an air-dry clay candle holder too!
Shape a tiny cup or pedestal, smooth it, and let it dry for 24–48 hours.
Then add acrylic color using simple coloring techniques, maybe soft neutrals or bold spooky shades.
For tea lights, try a ghost shape that hugs the glow, or build a match strike side for easy lighting.
Finish with sealing options like a clear top coat, since clay stays best indoors.
It’s cheap, quick, and oddly satisfying—your shelf will look like it got invited to the party!
Earring Holders to Organize Fast
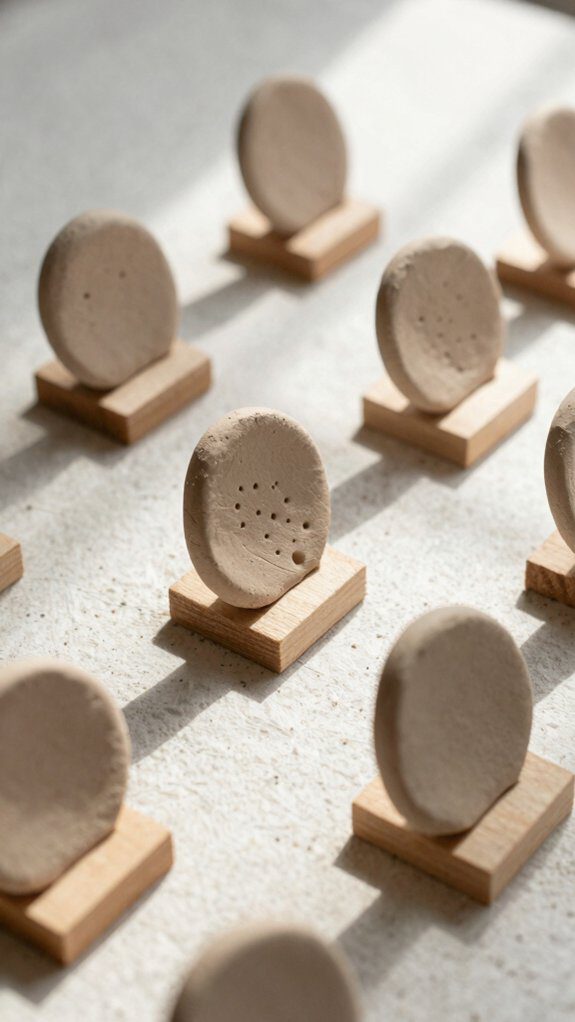
Need your studs, hoops, and tiny dangly treasures in one spot, fast? Roll small air-dry clay slabs, press them flat, then shape them into a cute tray or a vertical display panel.
Smooth the surface with a wet sponge, and add toothpick or small dowel “hooks” while the clay’s still soft, so your earrings have a home.
Let it dry in airy space, away from sun, then paint with water-based acrylics for Color matching ideas that fit your room.
Try texture patterning ideas with dots or lines for extra charm.
It’s cheap, beginner-friendly, and honestly, way tidier than hunting earrings before school!
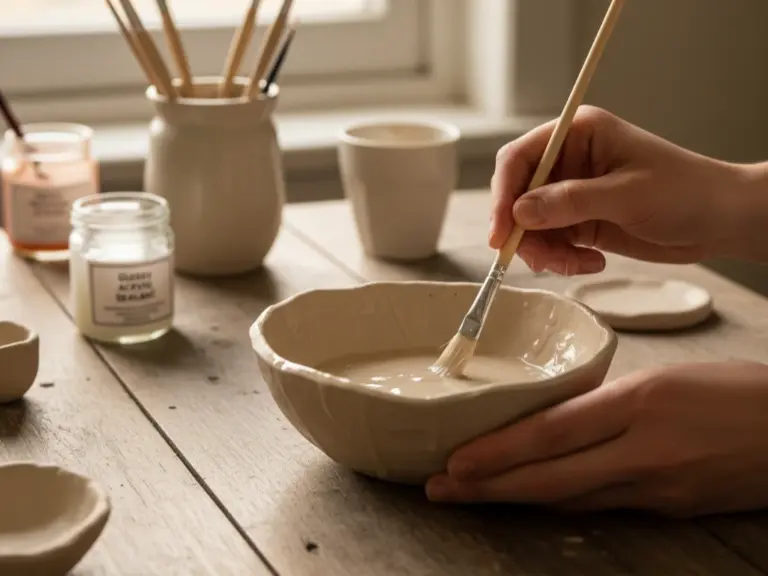
How to Finish and Seal Air Dry Clay Pieces
Before you paint or seal your air-dry clay creation, let it cure all the way through, because rushing this part can leave it soft or even a little sad-looking later. Most pieces need 24–48 hours, so give yours time, then smooth rough edges with fine sandpaper and wipe away dust.
Now the fun part! Use acrylics or water-based paint, and try color blending techniques for soft ombré vibes. After each layer dries, add a thin clear coat for durability. These safety sealing tips help your piece resist light moisture, avoid cracking, and stay party-ready without the tacky drama.