14 Ways to Make a Keychain You’ll Actually Want to Use
You can make a keychain you’ll actually use with thread, beads, clay, leather, cord, or even a shell—nice! Start simple: braid embroidery thread, knot paracord, or add wooden beads to a tassel for quick wins. Try polymer clay charms, a faux leather loop, or a macramé wristlet if you want more style without much fuss. For a personal touch, add initials, photos, or letter beads, and the coolest twists are coming next.
Love cozy DIY projects? 💕
Get free printable guides, exclusive tutorials & surprise craft goodies straight to your inbox.
Disclosure: This post may contain Amazon affiliate links, at no extra cost to you. Content on DiyCraftNest is created with research support from AI tools and carefully reviewed, edited, and fact-checked by the lead author, Daniel Pat, to ensure accuracy and reliability. Learn more
Key Takeaways
- Use sturdy materials like braided cord, paracord, or leather for keychains that can handle daily wear.
- Add personality with beads, initials, letter charms, or photo resin inserts to make the keychain feel special.
- Keep finishes neat by using tight knots, even stitching, and trimmed ends so the keychain looks polished.
- Make beginner-friendly versions with fabric scraps, simple loops, or macramé wristlets for easy carrying and low cost.
- Seal or secure hardware properly with jump rings, resin, glue, or jump-ring pliers for durability and snag-free use.
Braided Embroidery Thread Keychain
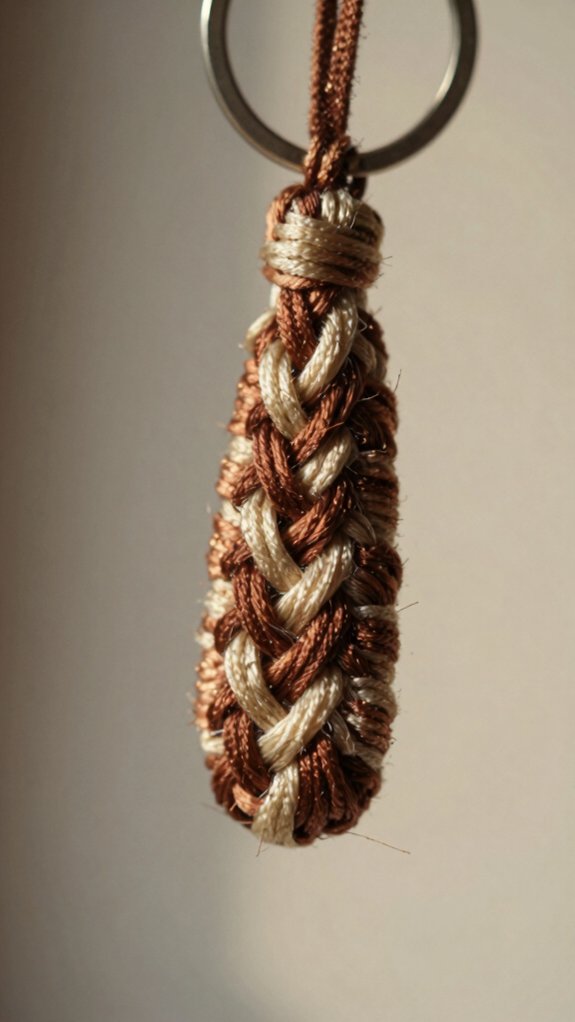
If you want a keychain that looks cute, colorful, and handmade, a braided embroidery thread keychain is such a fun place to start!
You only need embroidery thread, scissors, and a keyring, so it’s cheap and beginner-friendly.
For embroidery thread care, cut strands 2–3 times your keychain length, then fold and knot them at the top.
In this keychain braid tutorial, braid with even tension, over and under, so it stays neat, not lumpy.
When you reach the end, knot it tight and trim carefully.
Clip it on, and boom, you’ve got a tiny handmade win!
Wooden Bead Tassel Keychain
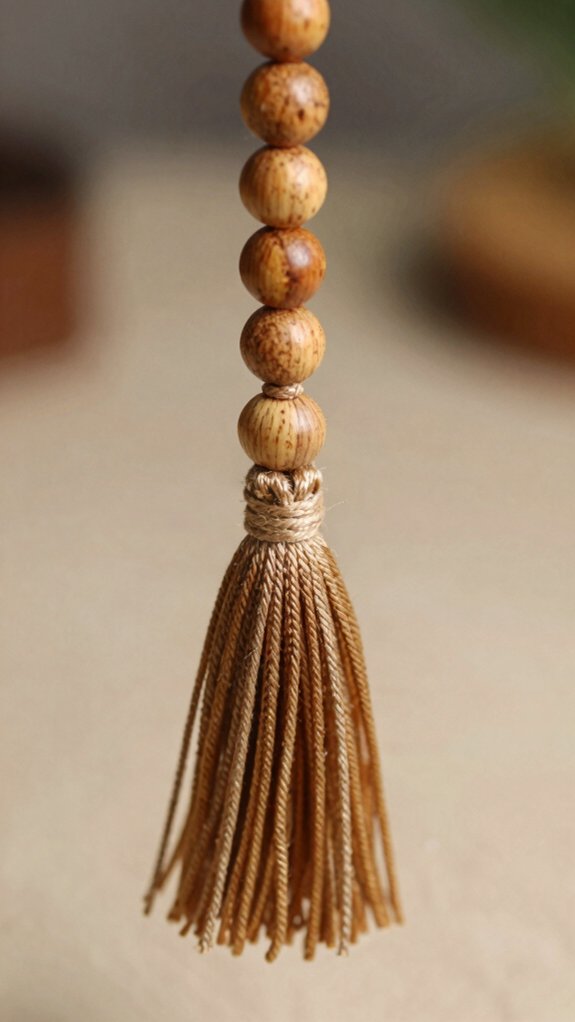
A braided embroidery thread keychain is cute and colorful, but a wooden bead tassel keychain brings that same handmade charm with a little more texture and polish—hello, tiny craft glow-up!
You’ll need wooden beads, floss, a jump ring, and pliers, and it’s easy on your budget.
Pick a bead size that threads smoothly, then cut your tassel strands evenly and tie them tight for good knot security.
Thread the beads, secure them at the top, and clip the cluster to a key ring.
Trim extra wire to ½ inch, so your new favorite stays snag-free and ready to belong on your keys!
Polymer Clay Charm Keychain
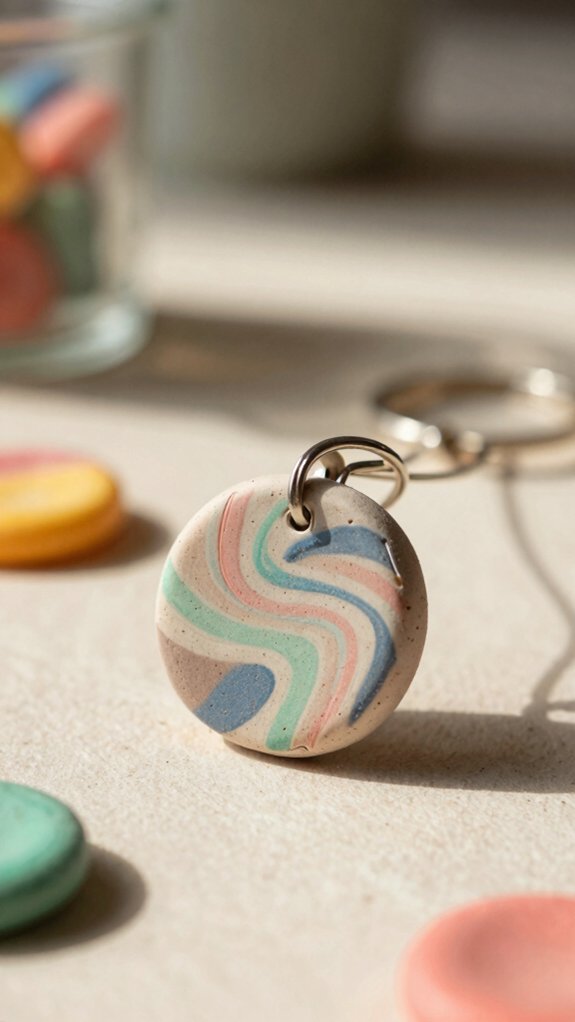
From tiny fruit slices to simple stars, polymer clay turns into the cutest little keychain charms with just a few easy steps! You’ll love how cheap and beginner-friendly it feels.
| Step | What you do |
|---|---|
| Roll | Make clay 1/8 inch thick. |
| Cut | Use a cookie cutter or shape. |
| Bake | Follow package heat, about 275°F. |
| Finish | Paint, add wax, and seal. |
Add texture, stack colors for fruit-like layers, and blend edges so nothing splits. Before baking, poke a hole, or drill one later, then use jump ring security for a sturdy hold. Durable acrylic sealing keeps your charm looking fresh, cool, and ready for everyday use!
Leather Loop Keychain
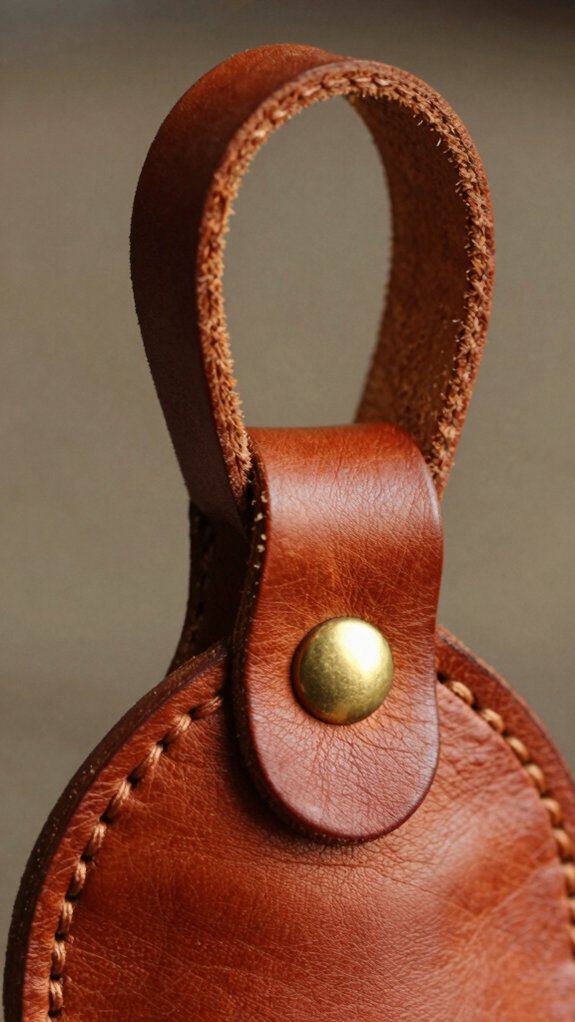
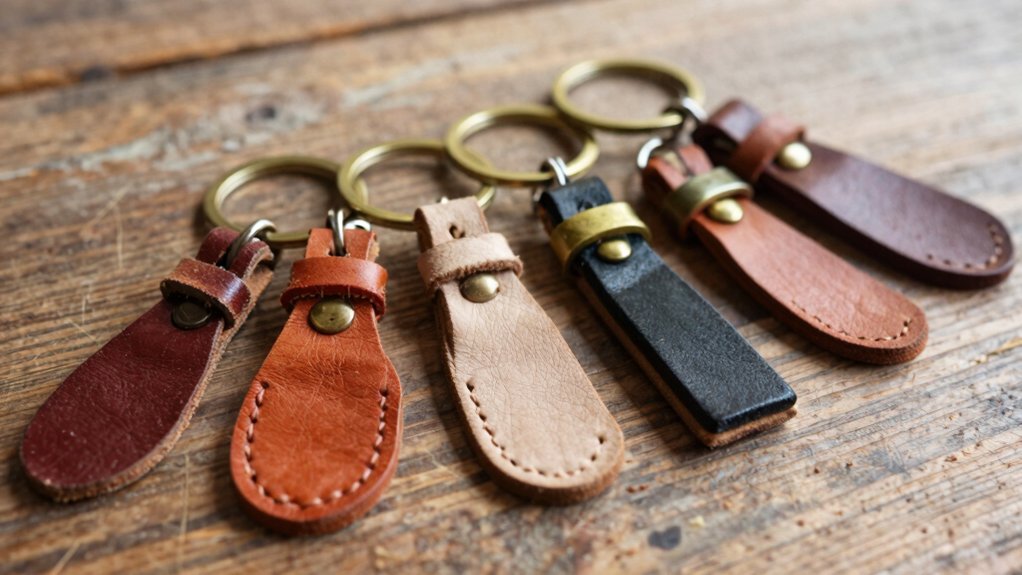
Leather loop keychains are super handy, and they look way fancier than the work it takes to make them!
You just cut a strip of leather, leave extra for overlap, and fold it into a loop.
Add your metal key ring first, then glue the ends and stitch through the overlap with embroidery thread.
For a neat, handmade vibe, use contrasting white thread, and try durable stitching methods if you want extra strength.
Mark even holes, so the loop won’t twist.
Finish with sharp trims and smart leather finishing tips, and you’ve got a sleek keychain that feels like it belongs on your keys!
Macramé Wristlet Keychain
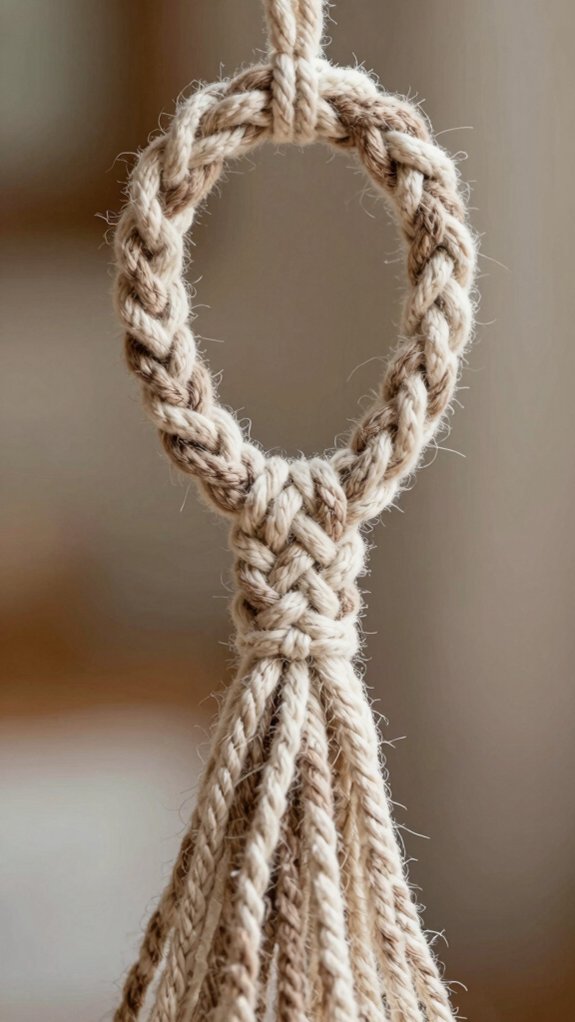
If you want a keychain that feels a little more playful and a lot more personal, macramé is a fun place to start!
You only need thread, beads, and a keyring, so it’s cheap, beginner-friendly, and easy to make your own.
Cut your cord twice the finished length, then untwist it a bit so beads slide on.
Fold it, knot the top, and leave a loop for the ring.
For How to choose durable knotting, make tight bottom knots that can’t slip.
Thread beads on both strands, and try customizing bead color placement for a look that fits your crew.
Unravel the ends for a cute tassel!
Pressed Flower Resin Keychain
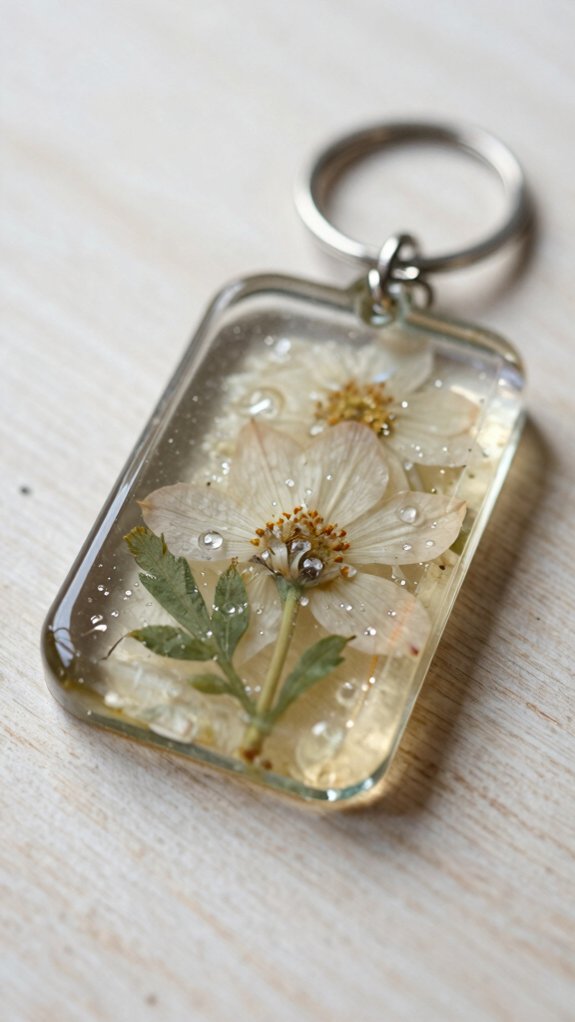
Pressed flowers can turn a plain keychain into something that feels tiny, delicate, and a little magical! You’ll need fully dried blooms, a resin mold or bezel, clear resin, and a keyring.
First, mix the resin by the package ratio, then pour a thin base layer. This helps with resin bubble prevention and keeps your flower from drifting like it’s late to the party.
Place the flower flat, center the petals with a toothpick, then add the top layer for careful pressed flower sealing.
Let it cure 24–72 hours, sand edges, and add hardware.
Now you’ve got a sweet little charm that feels personal!
Felt Animal Keychain
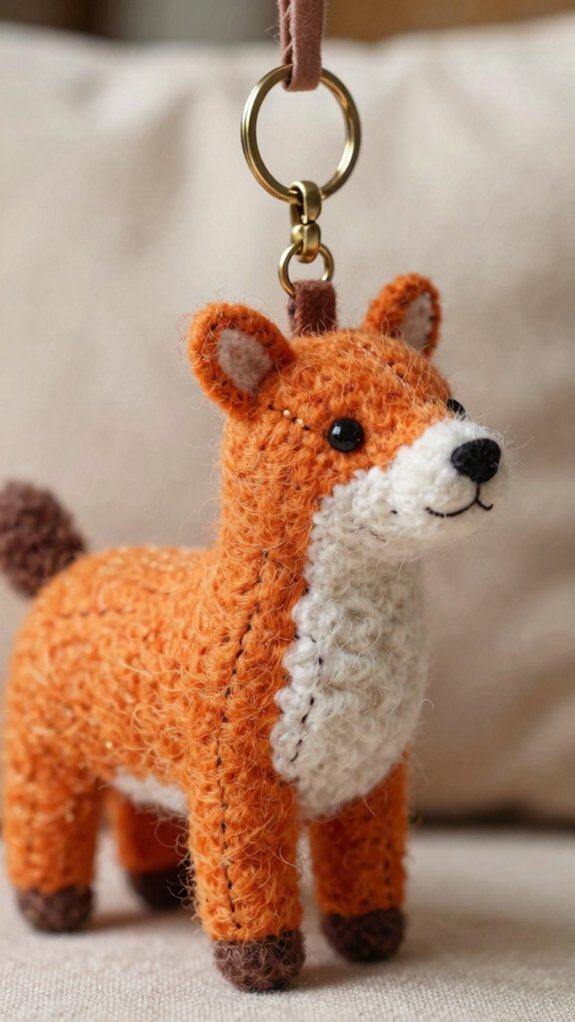
Felt animal keychains are such a cute, beginner-friendly craft, and with a little adult supervision, you can turn a few simple scraps into a tiny fox, cat, owl, or fish that’s bursting with personality!
You’ll fit right in making one for your bag, keys, or a friend, and the cost stays low.
- Cut small felt pieces for easy felt assembly, then stitch them with yarn.
- Add a ribbon loop, keyring, and light cotton stuffing.
- Use buttons or felt circles for eyes, plus durable stuffing tips: keep shapes thick and tiny.
Prep templates, and you’ll make a whole matching crew fast!
Mini Photo Keychain
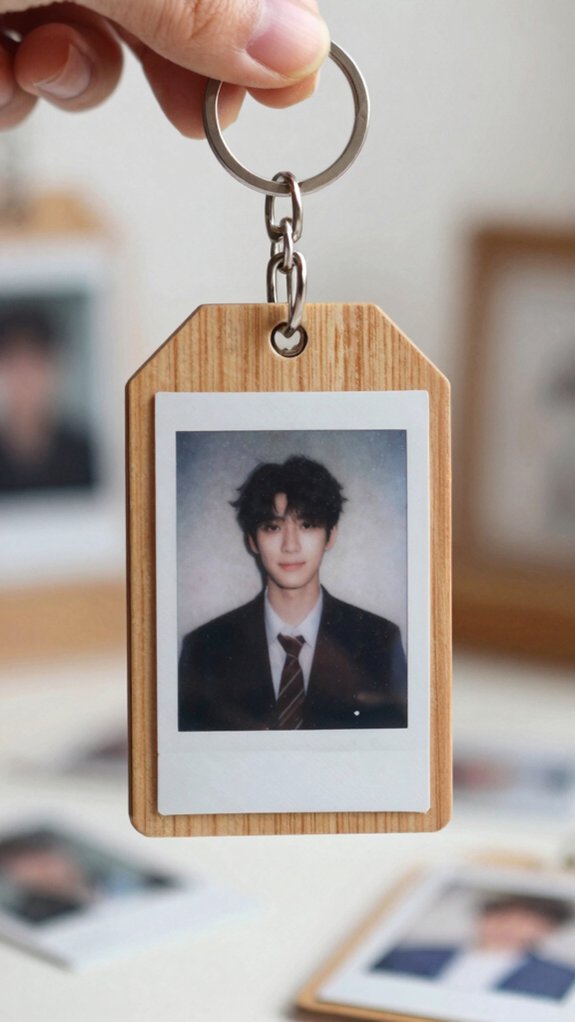
A mini photo keychain is one of the sweetest little DIYs you can make, because it turns a favorite memory into something you’ll actually carry every day!
Pick a vacation snap, a grandma smile, or your fur-baby’s best pose, then crop it to fit your frame. Print it on the right paper size, and use these Keychain photo tips: keep faces centered and colors bright.
Slip it into a clear holder or add durable lamination so fingerprints and water don’t mess with it.
You can build it in minutes, then add a tiny charm or ribbon for extra personality.
Finish by securing it to a keyring—cute, sturdy, and easy to spot!
Fabric Scrap Key Fob
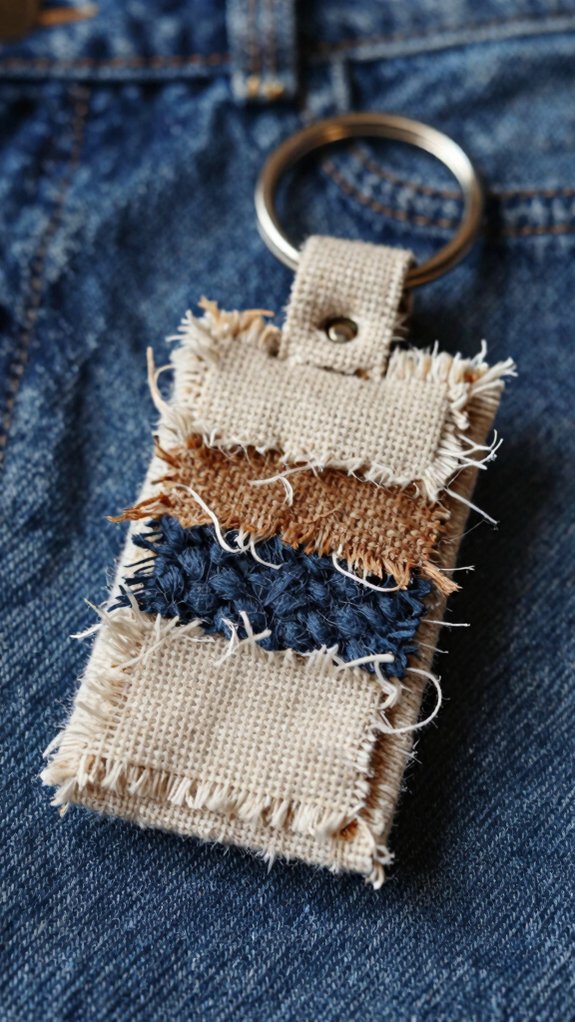
Scrap bin treasures can turn into the cutest little key fob, and you don’t need elegant sewing skills to make one! For easy Sewing beginner tips, cut two fabric scraps with a paper template, then sew a short, tight seam around the edges.
- Add lightweight interfacing for shape.
- Slip in a ribbon loop for the ring.
- Turn it right-side out, then topstitch cleanly.
That’s key fob organization with style, and it costs almost nothing! Want extra polish? Sew a tiny snap near the top, and your fob feels store-bought.
Now your keys finally have a happy little home!
Initial Letter Charm
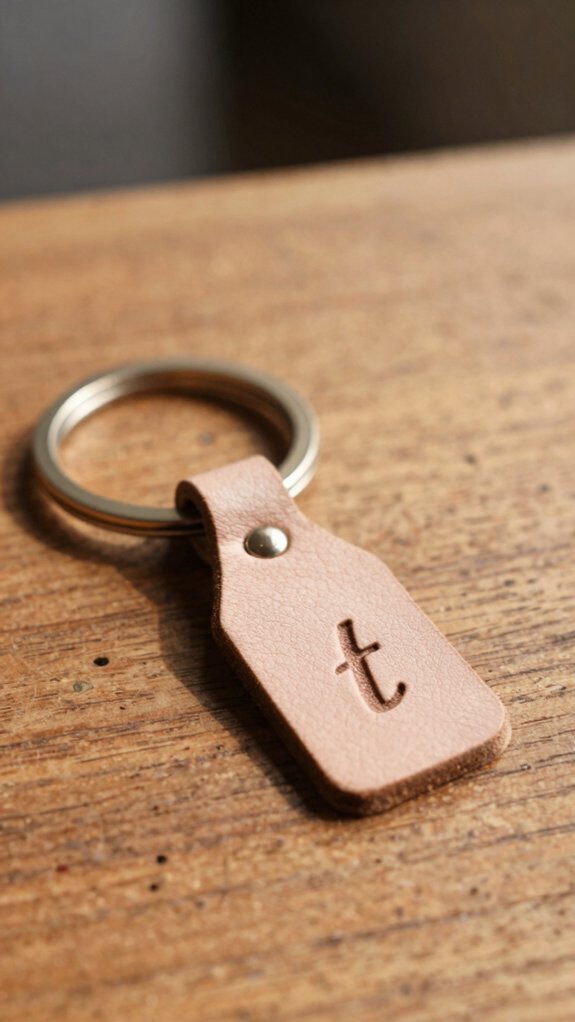
If you want your keychain to feel personal in a snap, start with an initial letter charm and let that one little letter do the heavy lifting!
Pick wood, metal, or acrylic, then check your Initial charm hardware for a hole that fits strong jump rings.
Add beads in one or two colors, plus a tiny accent charm, so your letter stays center stage.
Need jump ring safety? Use flat-nose pliers to close everything tightly.
For better keychain visibility, size the pendant around 40mm, and follow smart charm placement tips so it looks neat, feels comfy, and says, “Yep, that’s mine!”
Woven Paracord Keychain
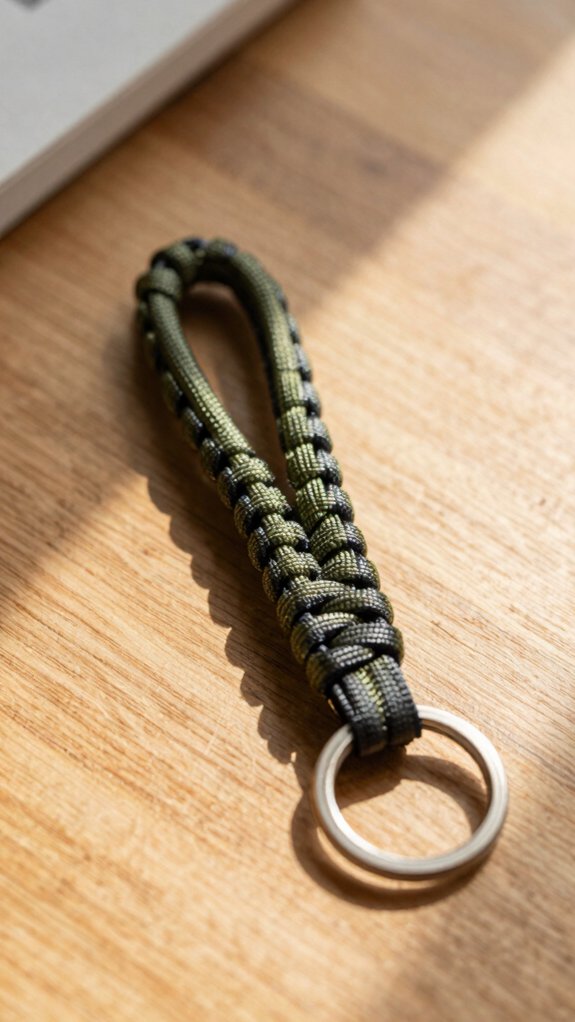
With a few feet of paracord, you can whip up a woven keychain that looks tough, tidy, and way cooler than a plain metal ring!
- Cut your cord to double the size you want, then singe the ends fast so they won’t fray.
- Fold it into two equal strands, weave the outer cords over and under the center, and keep it snug for that buddy/key finder vibe.
- Finish with a tight knot, trim the extras, and clip it to a ring or metal clip.
Try paracord color variations for your crew’s style, then do knot strength testing. It’s cheap, easy, and seriously satisfying!
Seashell Summer Keychain
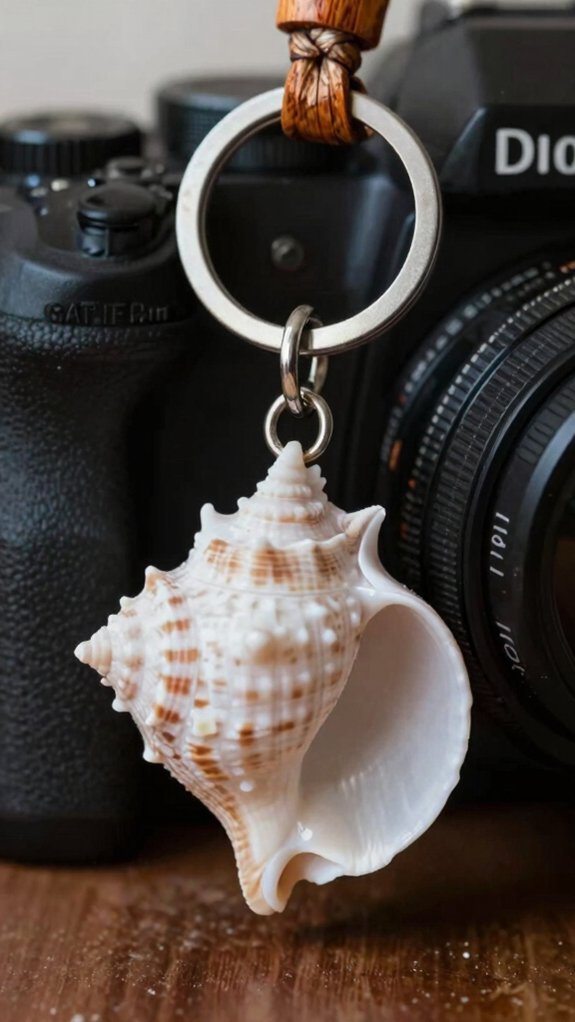
A seashell summer keychain is such a fun little beach project, and it turns an ordinary shell into something cute, personal, and easy to carry around!
Pick a smooth shell, then add tiny rhinestones or starfish shapes for a happy, seaside look. Try simple shell painting tips in white, sand, aqua, or coral before you seal it.
Next, drill a small hole near the top, or use a screw eye if needed, then add a jump ring and key clip.
Finish with waterproof sealing steps, like clear resin or Mod Podge, and let it cure fully.
You’ll get a sturdy, cheerful charm!
Faux Leather Heart Keychain
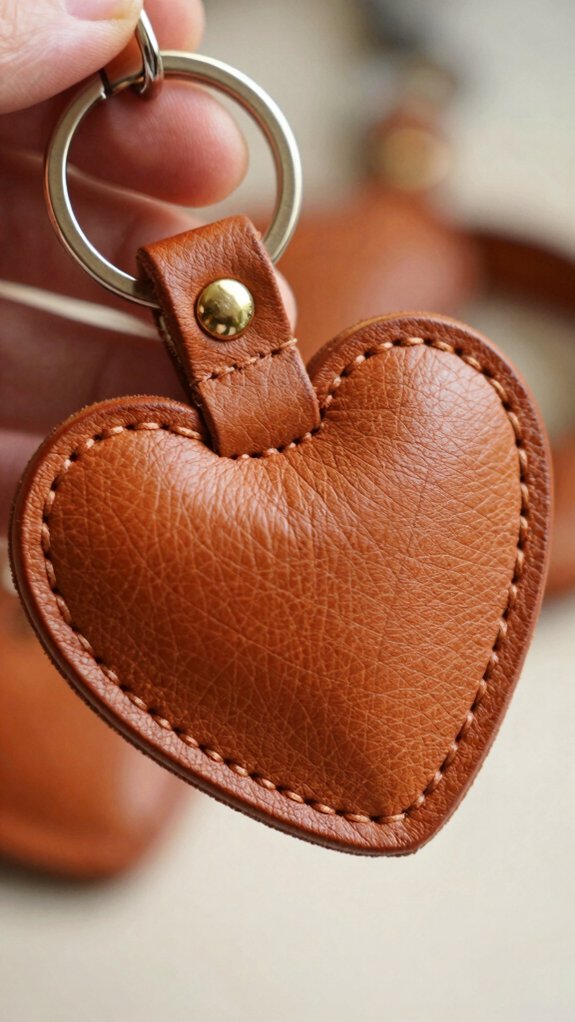
Want something cute that feels handmade and lasts beyond just one coffee run? Try a Faux Leather Heart Keychain! You’ll cut two matching hearts from a template, then rough the edges lightly for a neater look, no special tools needed.
- Stitch the outline by hand with whip stitches.
- Use thread color contrast, like white on dark faux leather, for a finished vibe.
- Add a small strip loop for your key ring, then use finishing tips: dab fabric glue on thread ends.
It’s cheap, beginner-friendly, and honestly, it looks like you belong in the cute-craft club!
Personalized Gift Keychain
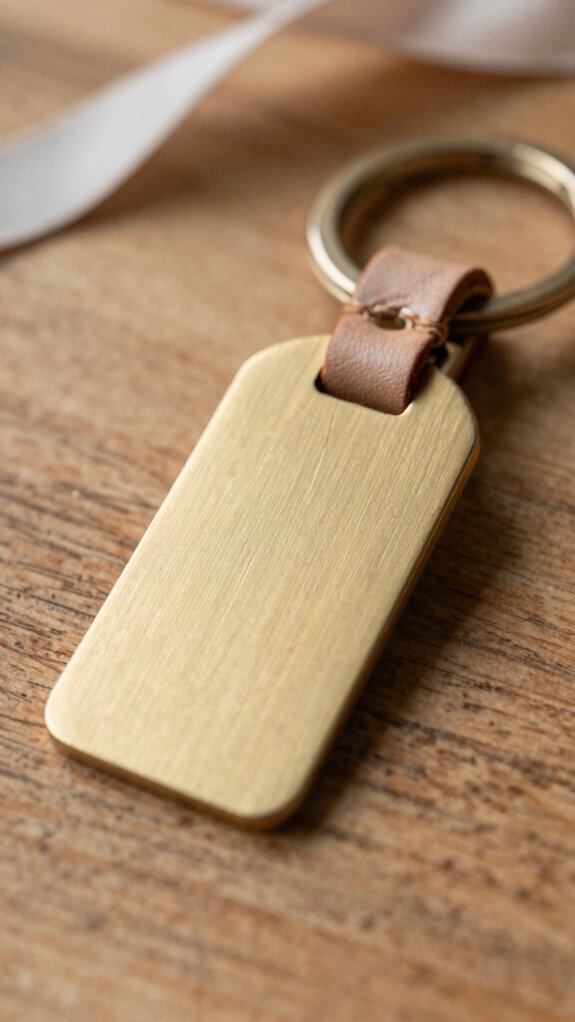
Personalized gift keychains are such a fun way to make a tiny present feel extra special, and the best part is, you can keep them simple or get a little elaborate! Pick a favorite photo, like a vacation snap, grandma’s smile, or your pet’s goofy face, then turn it into resin photo charms or Shrinky Dinks for an easy, low-cost build.
Want more heart? Add initials with wooden monogram add ons, painted letters, or leather tassels. You can also spell a name with letter beads and secure everything with strong jump rings.
Choose a shape that fits their vibe, and suddenly, it’s theirs—no mix-up risk, yay!