11 Cable Protector DIY Ideas to Keep Chargers Looking New
You can keep chargers looking neat with easy DIY fixes: heat-shrink tubing, paracord sleeves, embroidery thread, silicone straw guards, spiral cord wraps, fabric scraps, beaded covers, and even a 3D pen for tough spots. Add a little tape or glue, fit each piece snugly at the bend, and you’ll cut fraying fast—without spending much. If you want the cutest surprise saver of all, there’s one near the end that’s oddly fun, too!
Love cozy DIY projects? 💕
Get free printable guides, exclusive tutorials & surprise craft goodies straight to your inbox.
Disclosure: This post may contain Amazon affiliate links, at no extra cost to you. Content on DiyCraftNest is created with research support from AI tools and carefully reviewed, edited, and fact-checked by the lead author, Daniel Pat, to ensure accuracy and reliability. Learn more
Key Takeaways
- Use heat-shrink tubing near the flex point to tighten the cable jacket and protect the solder joint.
- Slide on a paracord sleeve from the plug end for a tougher outer layer and better strain relief.
- Wrap embroidery thread, yarn, fabric, or leather snugly around the connector-to-wire junction to prevent fraying.
- Add a silicone straw protector or spiral cord guard over the most-flexed section for quick DIY coverage.
- Reinforce the connector with a 3D pen or secure wraps using tape or glue, then allow full cooling or curing.
Heat Shrink Reinforcement
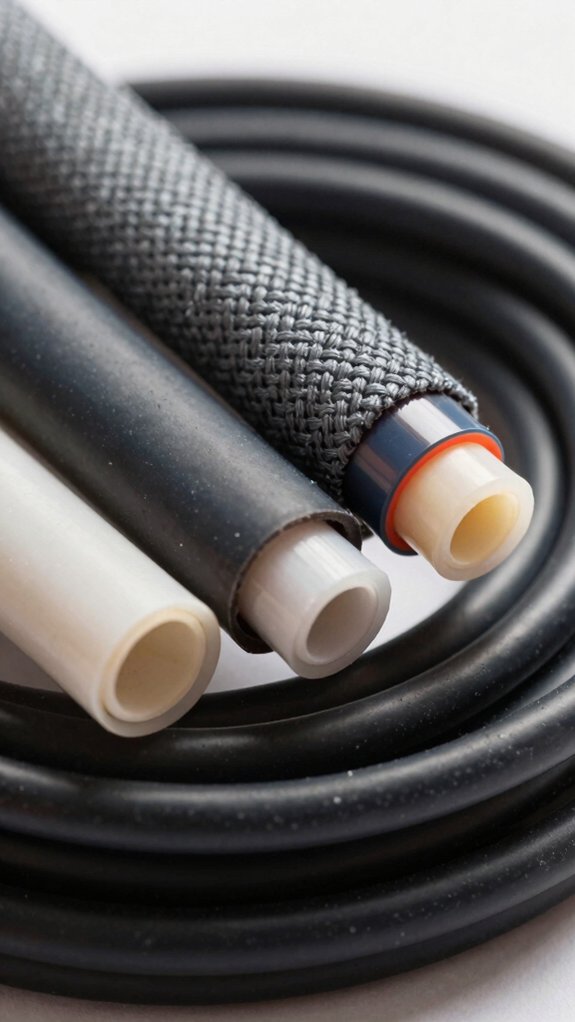
If your cable keeps fraying right where it meets the connector, heat-shrink tubing can be a super easy fix!
You’ll need small tubing, a dry cloth, and a little heat.
Clean the connector area, slide on a snug piece, and shrink it so it hugs the cable jacket at the flex point.
This heat shrink edging cuts movement and helps with solder joint protection too.
For a stronger result, use one section on each end of the cable.
Choose 2:1 tubing, heat gently, and stop before the jacket softens.
If you want extra toughness, layer two thin pieces for a beefier shield!
Paracord Sleeve
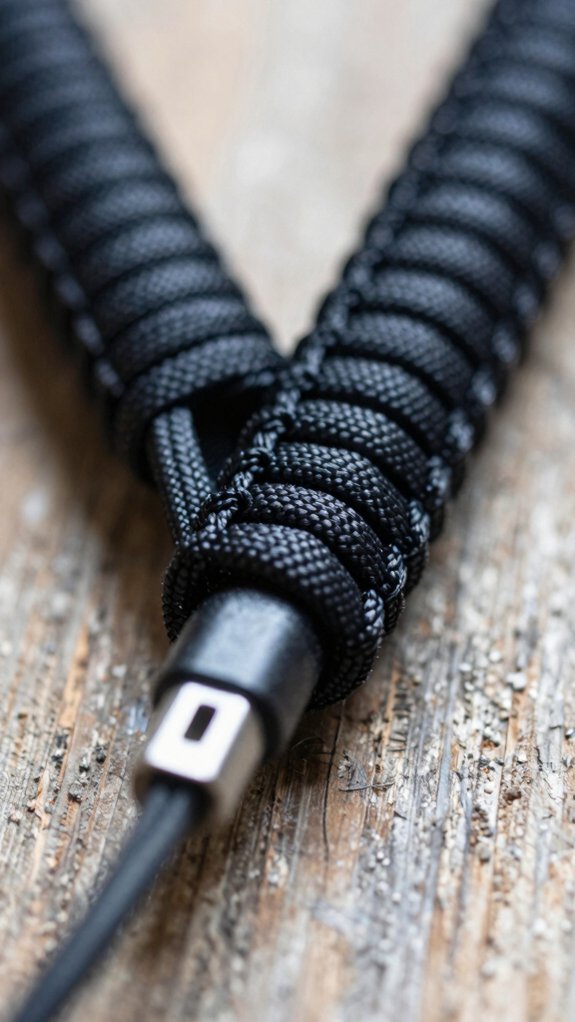
Paracord is a fun way to give a shaky cable a tougher outer skin, and it’s easier than it sounds! Cut the cord to size, pull out the inner strand, then slide the sleeve onto the charger from the plug end. Keep it centered for solid plug centering right where the wire-meets-plug spot likes to fail.
Use gentle hands as you fit it, because loose handling helps with strain relief and keeps you from adding fresh pinch points.
After the bend test, coil the cable with slack, not tight loops, for real tension reduction.
Nice, right? Your charger can feel part of the crew again!
Embroidery Thread Wrap
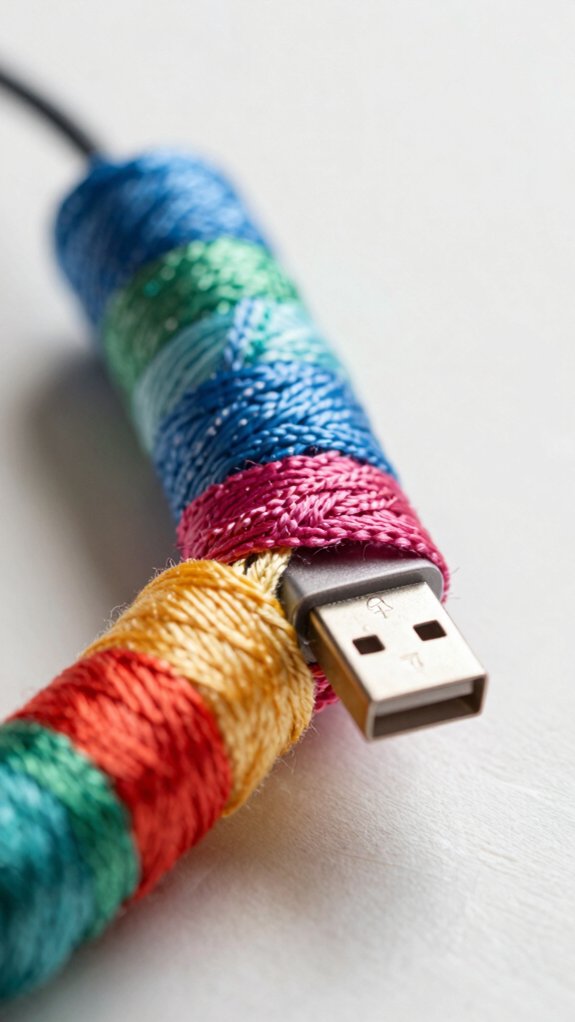
Embroidery thread can give a charger cable a neat little armor upgrade, and it costs next to nothing—nice, right? You’ll fit right in with this crafty crowd!
| Step | What to do | Result |
|---|---|---|
| 1 | Start tight loops at the plug | Gentle strain relief |
| 2 | Coil 5–10 cm with steady tension | Snug braid look |
| 3 | Knot the end twice | No loose tails |
| 4 | Dab glue or tape over knots | Better durability |
| 5 | Rewrap when fuzzing appears | Fresh protection |
Keep it neat for tangle free routing, and your cable stays friendly-looking, not frayed and moody!
Silicone Straw Protector
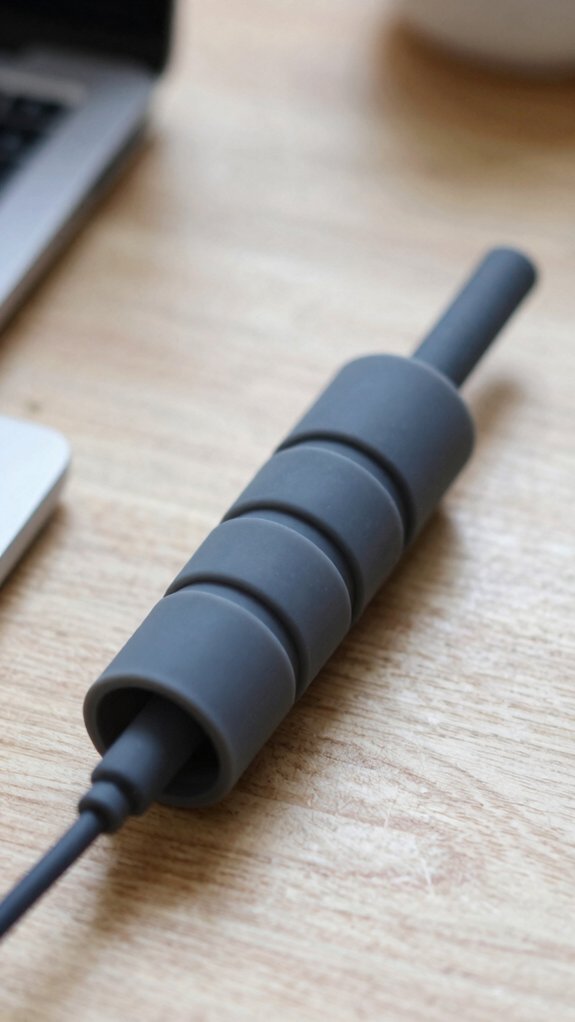
A silicone drinking straw can do a surprisingly good job of babysitting a charger cable, and it’s a cheap little fix you can set up in minutes!
You just cut it to cover the most-flexed connector-to-cable spot, then slide it on for solid Cable bend relief.
If it feels too tight, snip it lengthwise, open it a bit, and fit it without forcing the wire.
Place it from the hard plastic housing to 1–2 cm onto the cable, where strain starts, for better strain prevention.
Finish with tape or a tiny zip tie so it stays put.
Fraying on both ends? Use two pieces—teamwork wins!
Spiral Cord Guard
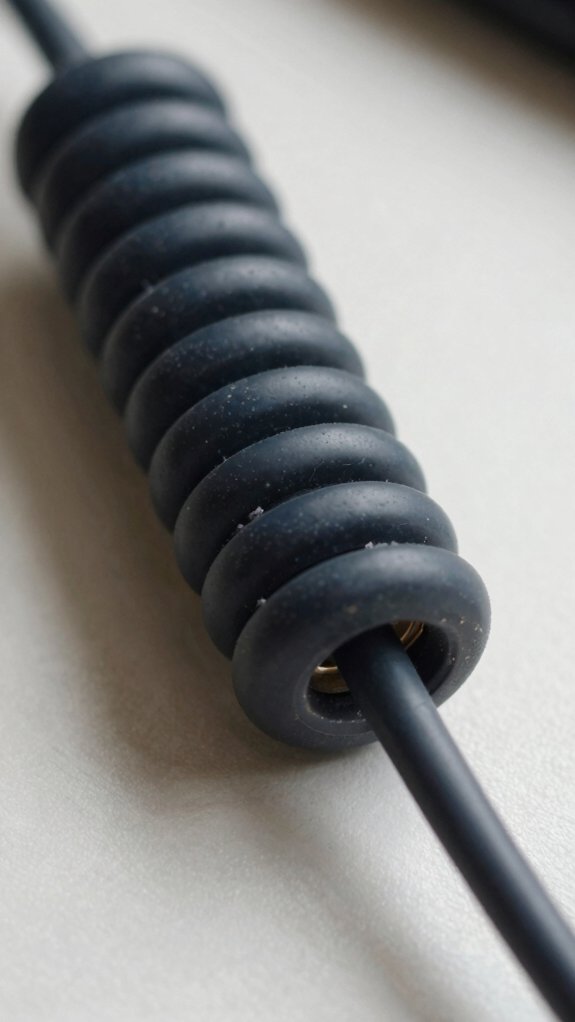
If the silicone straw trick got you through a pinch, this next one takes the same “protect it before it fails” idea and gives it a tougher little armor jacket!
Grab thin cord or paracord, plus a bit of tape, and wrap it in a tight spiral cord guard around your charger.
Keep a strain relief focus near the connector, starting where frays usually begin, and cover about 2–5 cm beyond it.
Tape the end, add tiny tape drops every few turns, and leave a little slack.
Finish with gentle tug testing—nice and easy—to make sure it stays put.
Yarn Cover
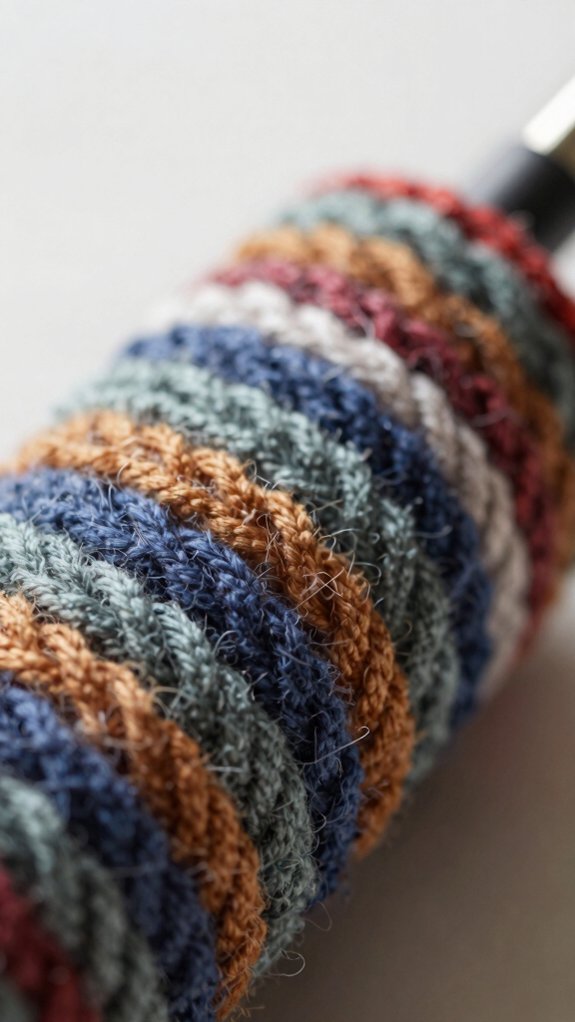
For a softer, cozy-looking fix, wrap a thin layer of yarn tightly around your charger cable, starting right at the connector-to-wire junction where fraying usually begins. You’ll only need yarn, small stitches or tight thread wraps, and maybe a little clear tape or fabric glue.
Keep it snug, not bumpy, so you don’t add cable strain when the cord bends.
Use a knit stitch feel as you wind, then taper the yarn thinner as you move away from the plug. Nice, right?
Coil it gently for travel, about a third of its size, and you’ll get a neat, friendly finish that stays put and looks cute!
Leather Cord Sleeve
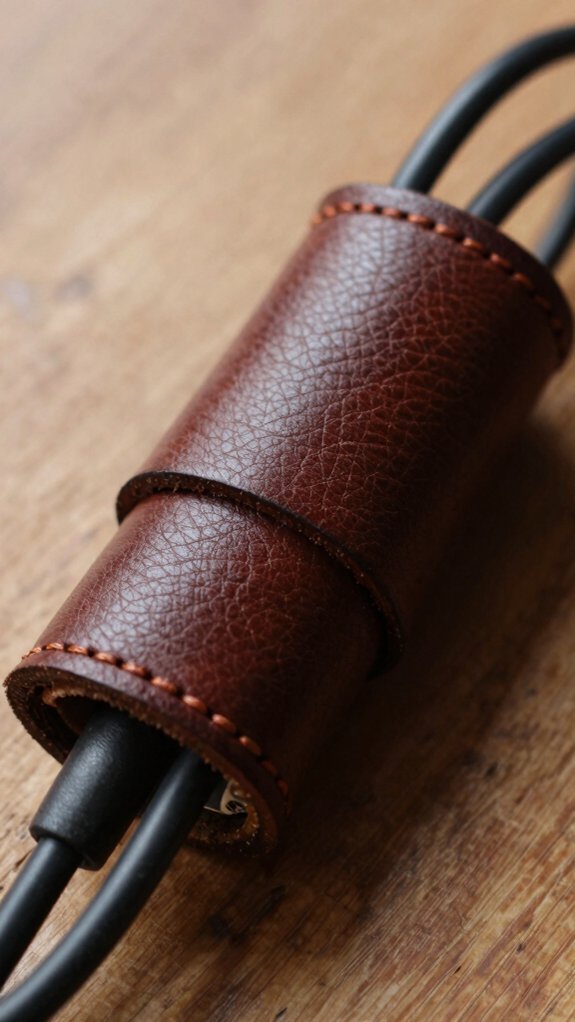
When your charger starts fraying near the plug, a leather cord sleeve can give it a cool little armor upgrade!
You’ll need a narrow leather strip, small ties or stitching, and a bit of adhesive if you want extra hold.
Slide or wrap it over the connector-end flex point, covering a few centimeters on both sides.
Pick leather wide enough to protect without squeezing, because tight spots can sneak in new stress.
This simple fix boosts cord sleeve durability and adds connector strain relief, too.
Plus, if you unplug by the plastic head, your cable stays happy, neat, and ready to roll!
Fabric Scrap Wrap
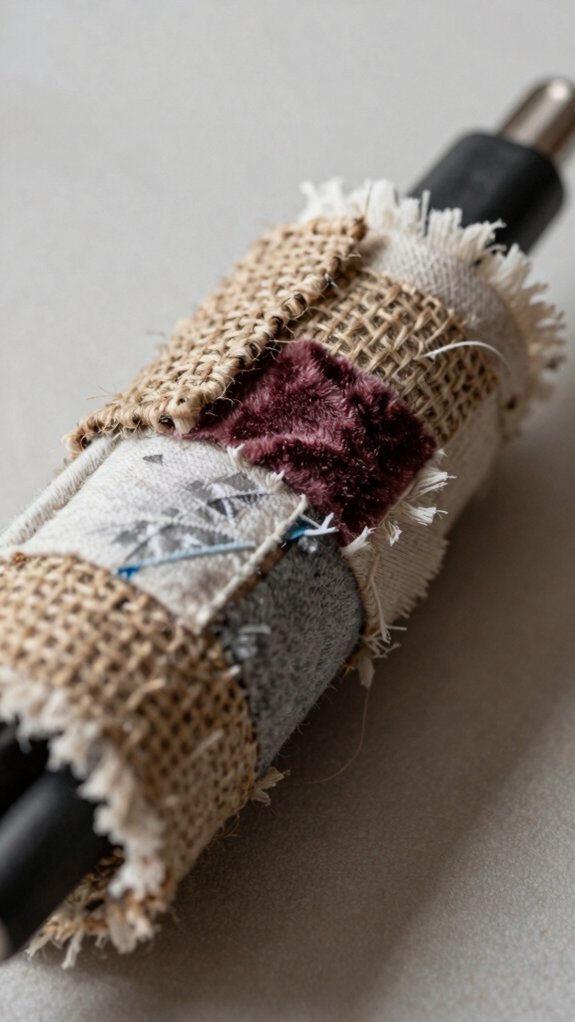
A few leftover fabric scraps can turn into a surprisingly handy cable shield, and yes, they’re way cheaper than a replacement charger! Grab narrow strips about 1–2 cm wide, and wrap them tightly around the fray-prone connector area.
Start a little past the first bend, then keep going 3–5 cm for stretch strain relief that spreads stress away from the wire.
Keep it snug, but not kink-tight, so the wrap can move with the cable. Finish with fabric knot securing, then trim, tuck, and add a small band of electrical tape.
Cute, tough, and totally roommate-approved!
Beaded Cable Protector

Beads can do more than decorate bracelets, they can also give your charger a fun little armor upgrade! You’ll slide small beads onto the cable, or use a bead-and-cord cover, starting a few centimeters from the connector.
Pick beads with roomy holes so you don’t add grip friction, and keep bead spacing snug but not crowded. Leave connector clearance near the plug so it can flex naturally, then lock the ends with tight thread wraps or heat-shrink.
Focus on the first 5–10 cm where bends hit hardest. Test it, bend gently, and enjoy a cleaner, friendlier charger!
3D Pen Reinforcement
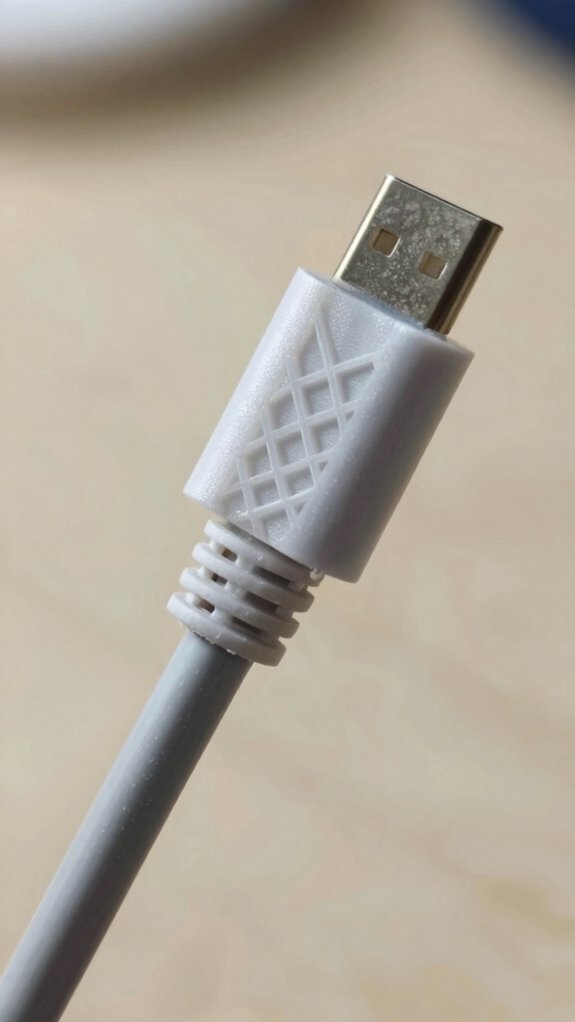
Fire up that 3D pen, and you can give your charger cable a tougher little backbone! This trick feels like a tiny team-up for your cord, and it’s easier than it sounds.
Use Strain Relief Targeting by tracing short ridges where the wire meets the connector, building layer by layer instead of making one chunky blob. Keep the plug heads clear so everything still fits right.
For a smoother, friendlier hold, choose a Flexible Filament Choice if your pen allows it.
Let it cool all the way before you test it.
You’ll get a neat, low-cost fix that helps your cable last longer—score!
Animal-Shaped Cable Saver

Sometimes the cutest fix is also the handiest one! You can turn a charger into an animal-shaped cable saver with a flexible rubber protector or a DIY molded piece, and it gives you durable strain relief right where cords usually fray.
Start near the charger block, then add a second little guard near the device end if you can, because both spots take a beating.
Want a DIY twist? Try a cut paracord sleeve, or wrap 2–3 tape layers into a tiny bump.
Keep it loose, not folded, and pair it with gentle coiling for easy custom cable labeling and tidy travel.