16 Glass Bottle Decoration Ideas You’ll Want to Try
You can turn plain glass bottles into wow-worthy decor with paint, twine, dried flowers, fairy lights, frosted finishes, colored pours, vinyl decals, etching, macramé, and minimalist shelf styling. Start by soaking off labels, then brush or pour in acrylic, wrap with twine, add stems, or slip in tiny lights for instant charm. Want a fancier look? Try etching cream or a hanging macramé holder, and keep going for even more bottle ideas!
Love cozy DIY projects? 💕
Get free printable guides, exclusive tutorials & surprise craft goodies straight to your inbox.
Disclosure: This post may contain Amazon affiliate links, at no extra cost to you. Content on DiyCraftNest is created with research support from AI tools and carefully reviewed, edited, and fact-checked by the lead author, Daniel Pat, to ensure accuracy and reliability. Learn more
Key Takeaways
- Remove labels with washing soda, then scrape and scrub residue for a clean decorating surface.
- Paint inside bottles with acrylic for bold color, or use frosted spray for a soft matte finish.
- Add vinyl decals, gold accents, or decoupage designs for quick, polished bottle makeovers.
- Wrap bottles with twine and seal them for rustic texture and longer-lasting shelf display.
- Turn bottles into decor with dried flowers, fairy lights, macramé hangers, or etched glass designs.
Painted Bottles
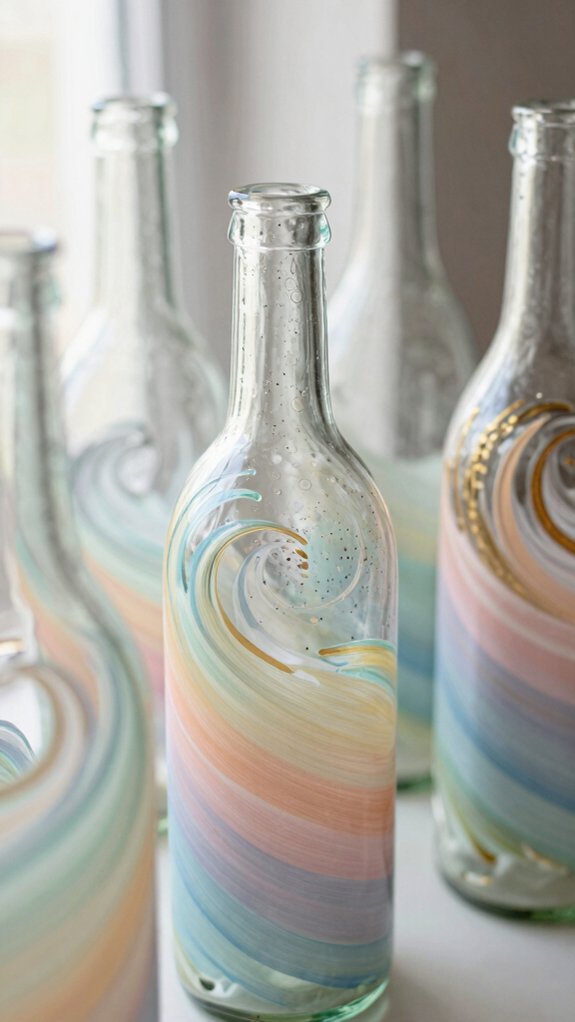
If you want to turn a plain glass bottle into something pretty fast, painted bottles are a fun place to start!
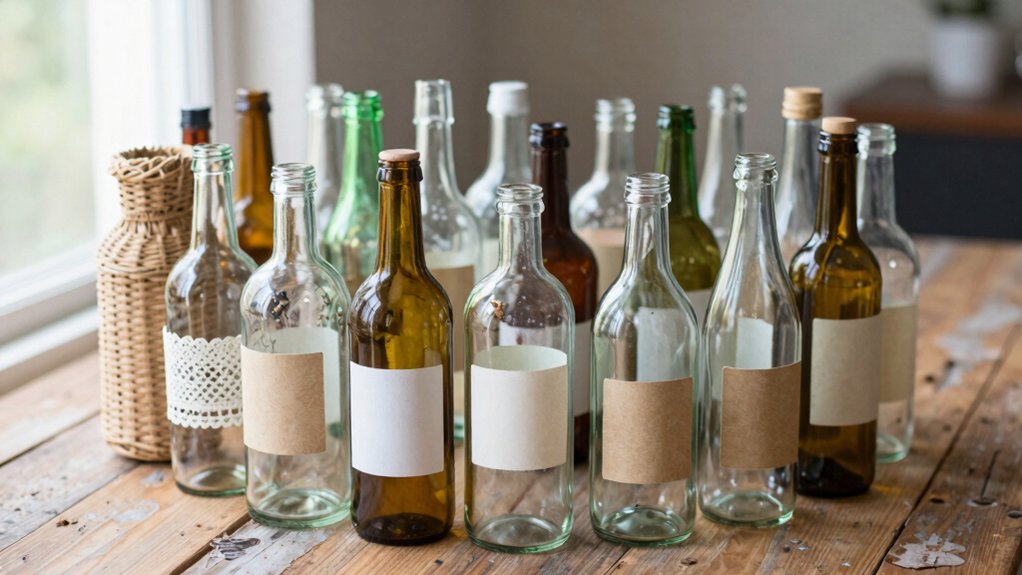
First, soak off the label in washing soda, then scrape stubborn bits.
Next, pour acrylic paint inside the bottle, or brush it in for smaller jars, and rotate so it coats evenly.
Wider mouths dry faster, and you can build color in layers.
You may even play with Patina techniques or subtle spray paint effects, if you like a worn or misty look.
Finish with a simple vinyl decal outside, and boom, you’ve got a vase that feels special!
Twine-Wrapped Bottles
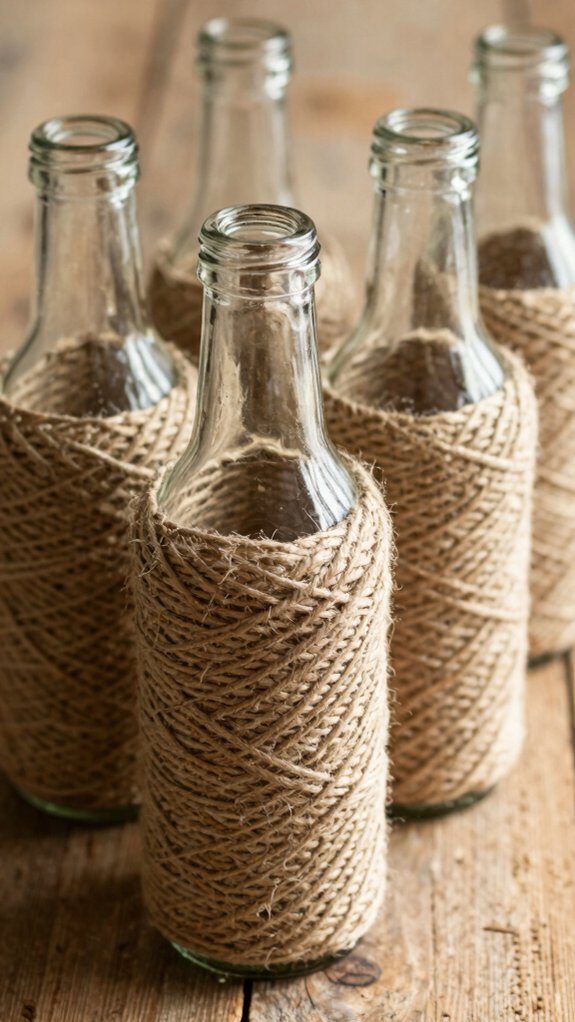
Twine-wrapped bottles bring a cozy, handmade look to plain glass in just a few minutes, and they’re way easier than they sound! Grab clean, label-free upcycled glass, twine, hot glue, and scissors, then start at the base or neck.
Use secure glue to anchor the end, spiral the twine tightly, and keep uniform wrapping for a neat finish, or leave tiny spaces for extra twine texture.
Trim the last bit, glue it down, and you’re set.
Want it to last longer? Brush on a clear sealant. Soon, your bottle looks charming, sturdy, and totally yours!
Dried Flower Vases
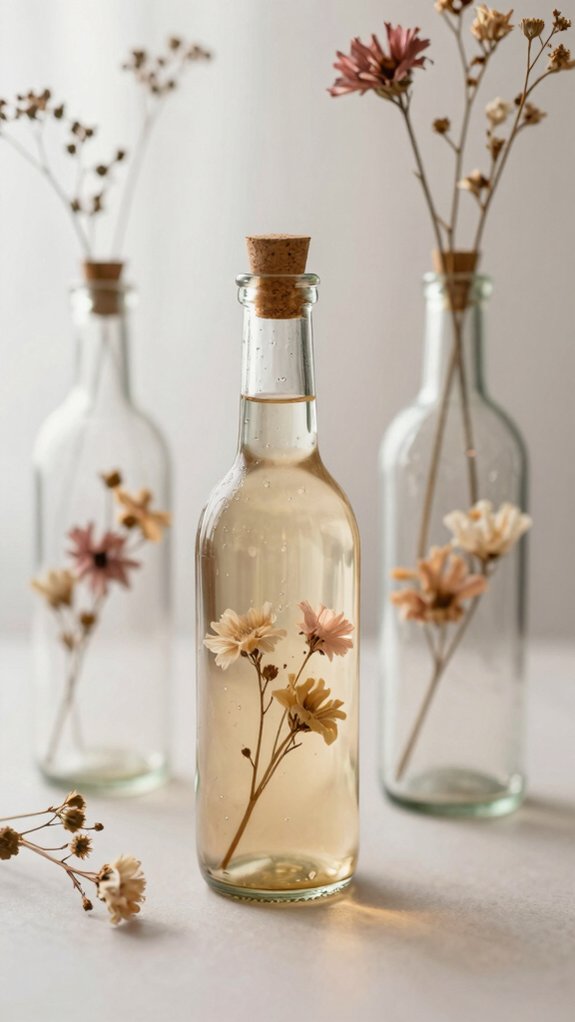
After you’ve cleared the labels off a glass bottle, it’s ready to become a sweet little dried-flower vase! Soak it in washing soda for about an hour, then scrub any sticky bits with baking soda and a paper towel.
Next, add a simple vinyl decal or layered Cricut design for a quick focal point, then tuck in dried chamomile or your favorite stems.
Want a faster, more polished look? Paint the inside with acrylic, let it dry, and pour out the excess.
You’ll get rustic charm, nice color contrast, and a vase that feels handmade, friendly, and totally giftable!
Fairy Light Bottles
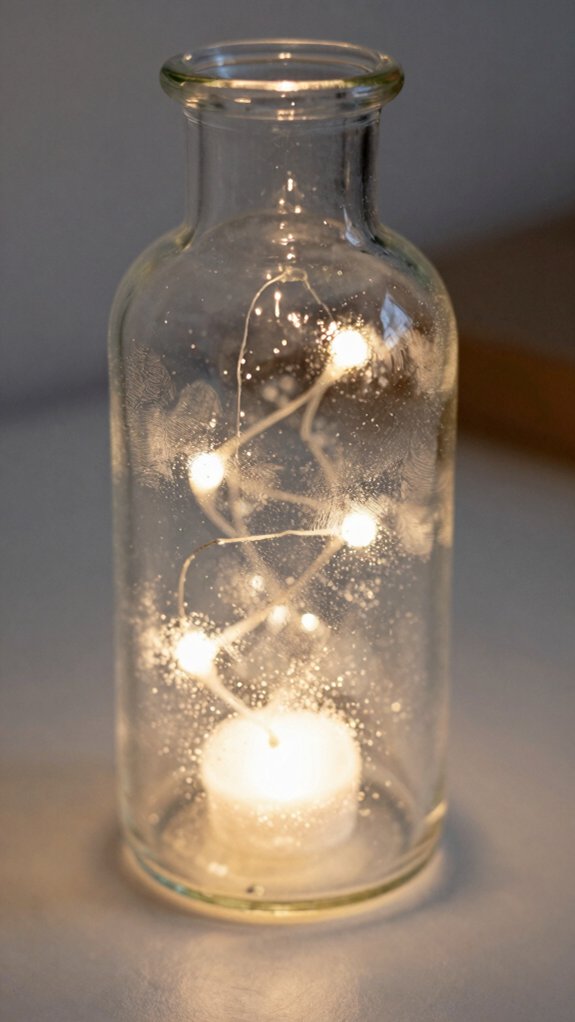
Want to turn that same cleaned-up bottle into a tiny glow-up? You can! Soak off labels in washing soda, then slide in thin-string fairy lights and stand the bottle upright. That little trick gives you ambient room lighting and a cozy window glow without much fuss.
| Step | What to do |
|---|---|
| 1 | Clean the bottle well |
| 2 | Add lights through the neck |
| 3 | Display and enjoy |
Want a dressed-up look? Add a gold vinyl decal for a neat touch. If you want more magic, brush or pour acrylic paint inside, let each layer dry, and you’ll get a colorful lantern vibe that feels like your own little crew of glow buddies!
Frosted Glass Finish
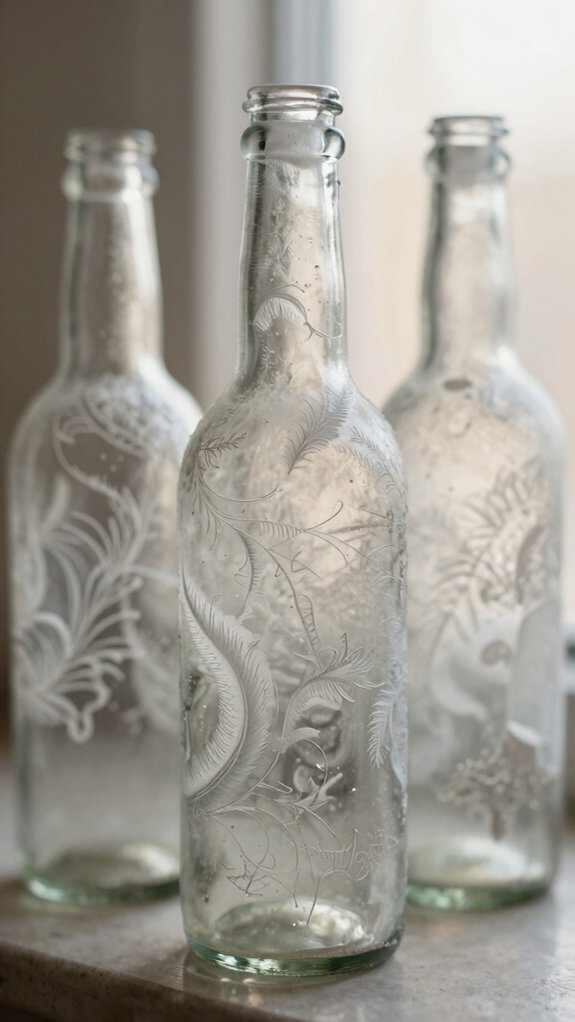
For a soft, dreamy look, try a frosted glass finish on your bottle or jar—it turns shiny glass into a matte, diffused beauty that feels stylish without being fussy!
Clean and dry the glass first, then use label removal tips to clear off every bit of paper and glue, so the frost sticks like it belongs.
Apply a glass-safe frost or etch product in thin, even coats, brushing or spraying gently.
Keep heat gun safety in mind if you’re drying anything nearby.
After it cures, your bottle feels boutique-level elegant.
Want extra wow? Add vinyl decals or painted details for crisp contrast and a sweet, handmade finish!
Decoupage Designs
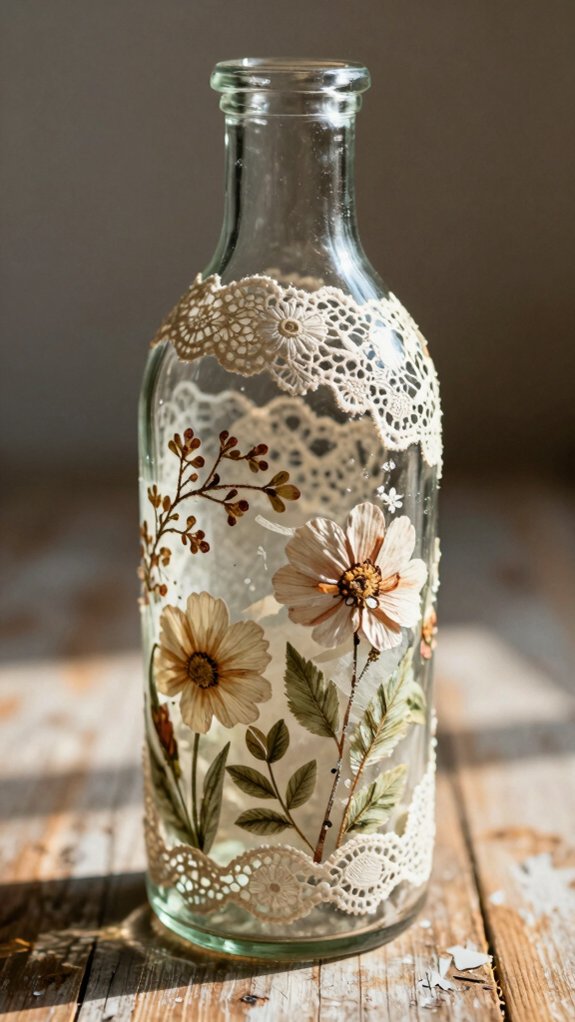
Decoupage designs can turn plain glass bottles and jars into little works of art, and it’s honestly easier than it sounds!
Start by soaking labels in washing soda, then use adhesive cleanup tricks like baking soda and a sponge if sticky bits linger.
Pick simple paper shapes, napkins, or printed motifs, because clean paper placement tips help you keep things neat and low-stress.
Brush on glue, smooth each piece, and don’t worry if it’s not perfect, that handmade charm fits right in.
Seal it when you’re done, and you’ve got a bottle that looks custom, costs little, and feels like it belongs on your shelf!
Coastal Bottle Decor
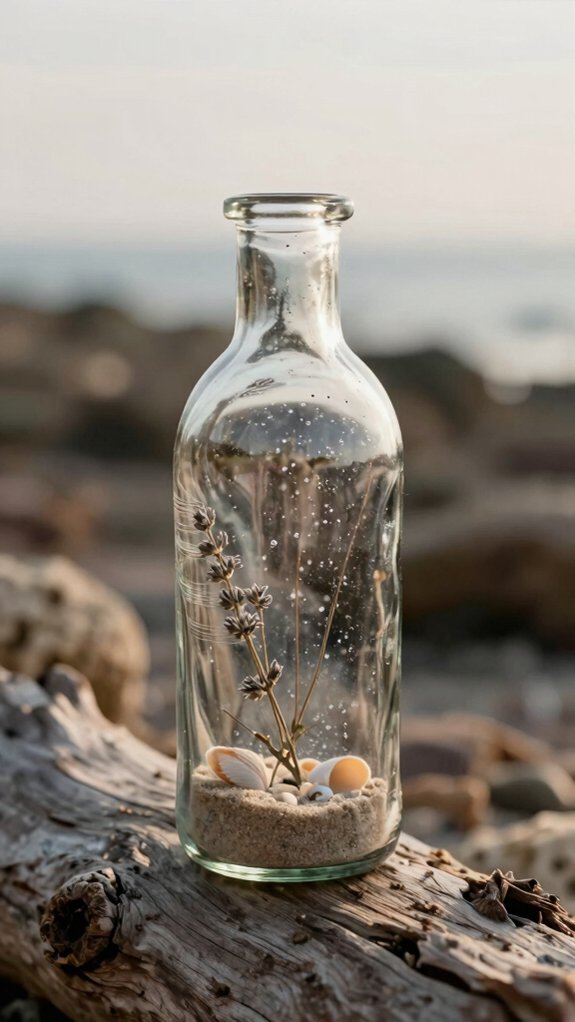
If you’ve got a plain glass bottle sitting around, it can turn into a breezy little coastal vase in no time!
Start by soaking off stubborn labels in washing soda, then add simple vinyl shells or wave decals for an easy stand-alone look.
Want more charm? Layer your decals one color at a time so the ocean scene lines up cleanly.
For a quick win, paint a clean jar inside with acrylic, let it dry fast, and add a decal outside.
Small condiment jars work great for seasonal displays, even beside a coastal wreath or seashell monograms.
Cute, low-cost, and totally beach-house friendly!
Gold Leaf Details
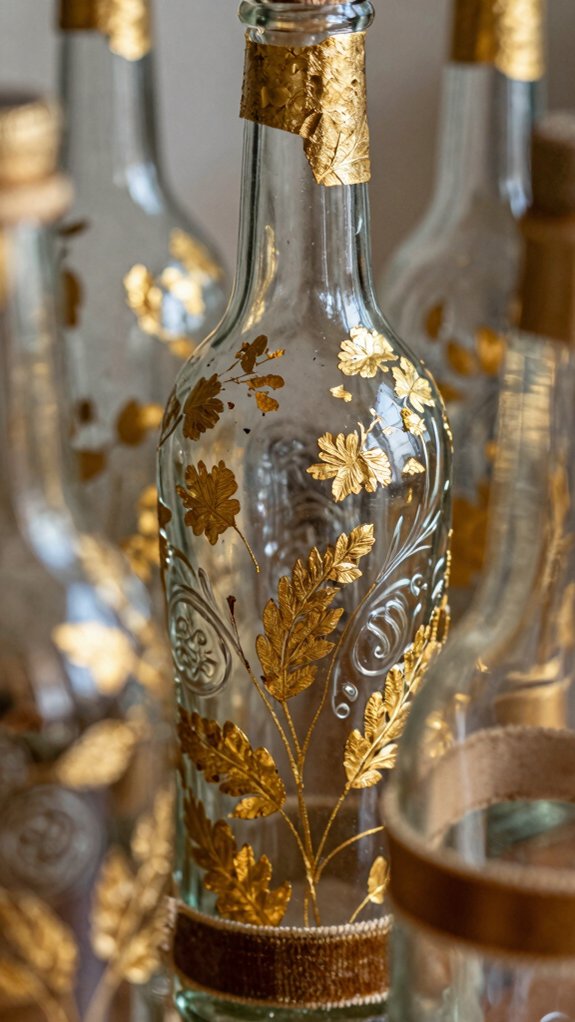
Gold leaf adds a little magic to plain glass bottles, and wow, does it sparkle! You can join the club with easy, beginner-friendly touches that feel elegant without the fuss. Try this quick guide:
| Idea | Result |
|---|---|
| Gold leaf on dry acrylic paint | Rich, even shine |
| Gold vinyl decal | Clean faux metallic effects |
| Window-sill bottle accent | Bright view from every angle |
First, prep your bottle, then add the base layer and let it dry fully. Next, press on leaf or vinyl for a lovely foil texture. It’s cheap, simple, and your shelf suddenly looks curated!
Hanging Bottle Planters
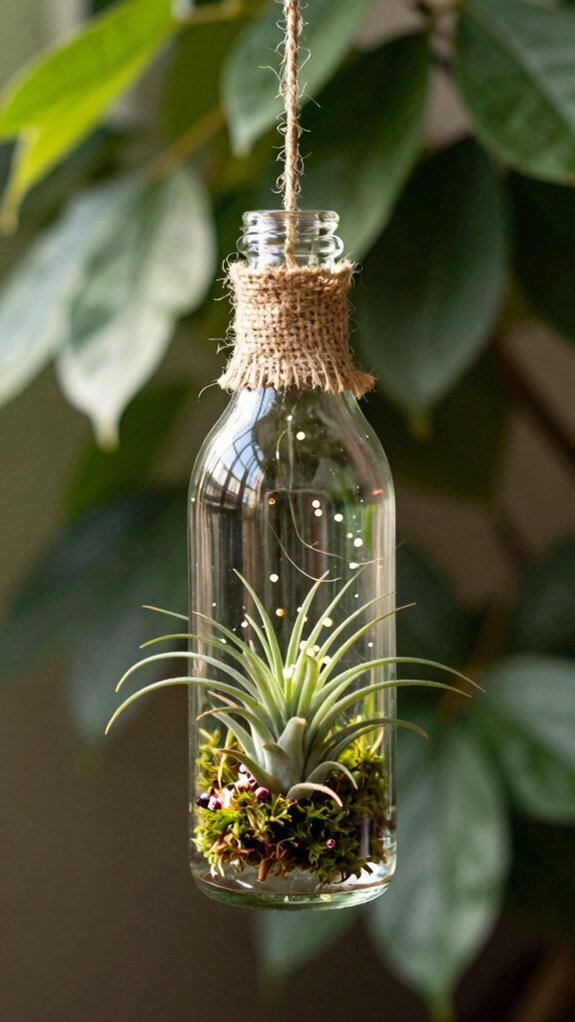
From dusty old bottles to cute hanging planters, this project is a fun little glow-up for your space! You can join the upcycled crowd with easy, budget-friendly style, and your shelfie crew will cheer.
- Soak off colorful bottle labels in washing soda for an hour, then scrape and scrub with baking soda.
- Add vinyl decals or paint inside with acrylic for a smooth finish.
- For longer bottles, pour in paint, drain the extra, and let it dry cleanly.
Wide mouths make filling simple, and mistakes wipe away fast. Soon, you’ve got charming upcycled glass vases ready for soil, roots, and serious compliments!
Seasonal Centerpieces
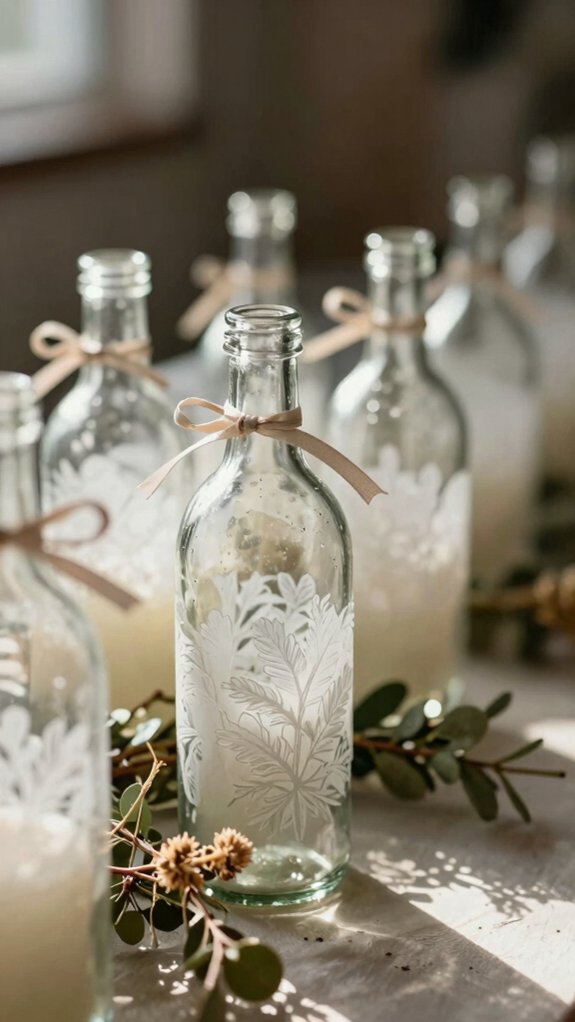
Those cute hanging bottle planters already prove old glass can get a second life, and now you can give your table the same glow-up with seasonal centerpieces that look way fancier than they are.
Grab empty jam jars or small condiment jars, soak off washing soda labels, then fill them with flowers, pine sprigs, or citrus slices for instant cheer!
Clear bottles get even easier: add a vinyl decal in about 10 minutes, and don’t stress, because vinyl decal removal is simple if you slip up.
Want more wow? Paint jars inside, then finish with a tiny gold decal.
Gorgeous, right?
Rustic Farmhouse Bottles
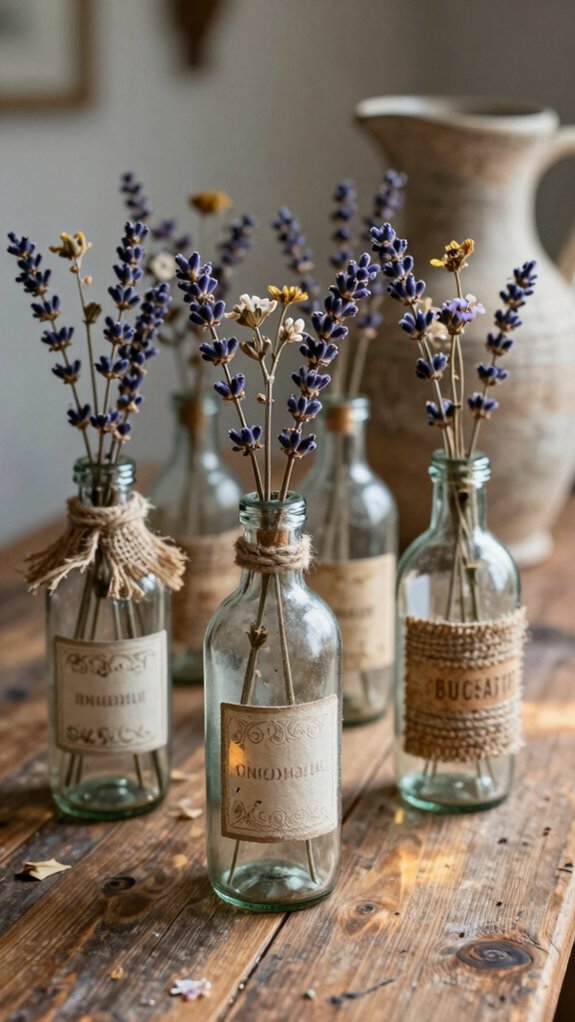
If you’re going for that cozy farmhouse vibe, start with a few empty glass bottles, like wine bottles or old jam bottles, and strip off the labels by soaking them in a washing soda solution for about an hour.
Then tackle any sticky spots with a little baking soda, since vinegar residue and adhesive removal can be stubborn, but you’ll win!
Try this:
- Add a quick vinyl decal for a 10-minute win.
- Layer Cricut-cut vinyl for a richer look.
- Paint inside with acrylic, then finish with gold decals.
You’ll feel right at home with these charming bottles!
Wedding Table Decor
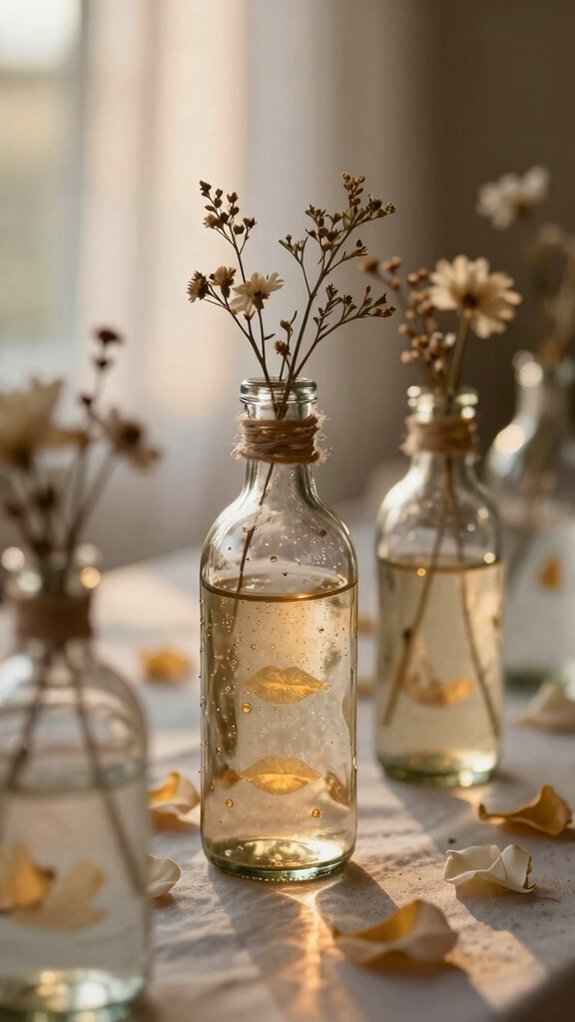
For wedding table decor, empty glass bottles and jars can turn into charming little showpieces without blowing your budget—yay for that!
Start with fast label removal: soak them in washing soda for about an hour, then wipe them clean.
Add vinyl decals to clear bottles for a quick centerpiece or flower vase, and you can finish some in just 10 minutes.
Want more personality?
Layer decal colors for a custom look, or paint small jars inside with acrylic paint for a soft glow.
These Budget friendly upgrades feel elegant, yet they’re easy, cheerful, and totally table-ready!
Colored Glass Displays
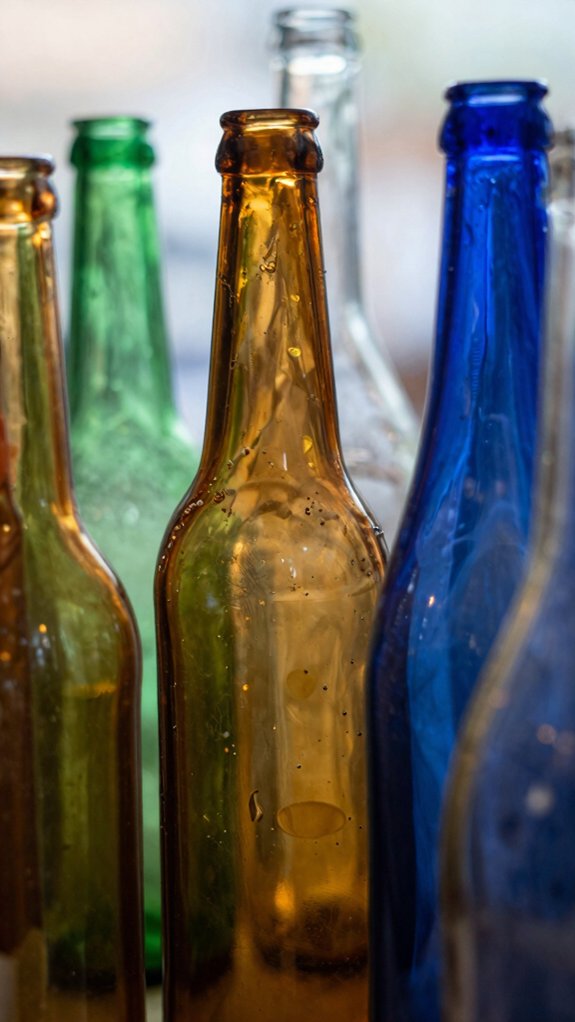
Colored glass displays can turn plain bottles and jars into little bursts of color, and wow, they look way fancier than they are! You’ll fit right in with these easy projects, and they don’t cost much.
- Use a vinyl stencil and one base coat, then add layered gradients for a quick bottle glow.
- Paint small jars with acrylic, especially inside wide-mouth ones, for bright, smooth color that dries fast.
- After peeling labels, add gold vinyl decals for a polished window-sill vibe.
For the boldest look, pour acrylic inside the glass and let it swirl. Pretty, simple, and totally yours!
Etched Bottle Art
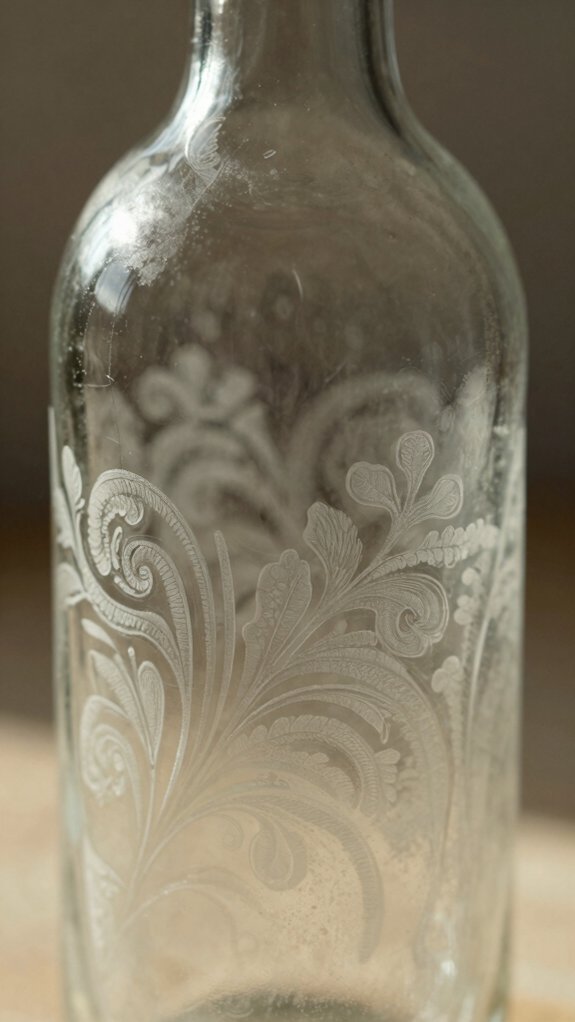
Etched bottle art gives empty glass bottles a cool frosted look, and the best part is that you don’t need to repaint the whole thing to make it stand out! You can join the fun with bottle stencils, vinyl, and a simple glass etching cream or spray, then watch plain glass turn classy in minutes.
If your bottle has labels, soak it in washing soda first, scrape off the gunk, and give it a quick scrub. Next, press on your design, apply the etching step, and wait for the reveal.
For extra wow, layer decals one by one, then dry fully before display!
Macramé Bottle Hangers
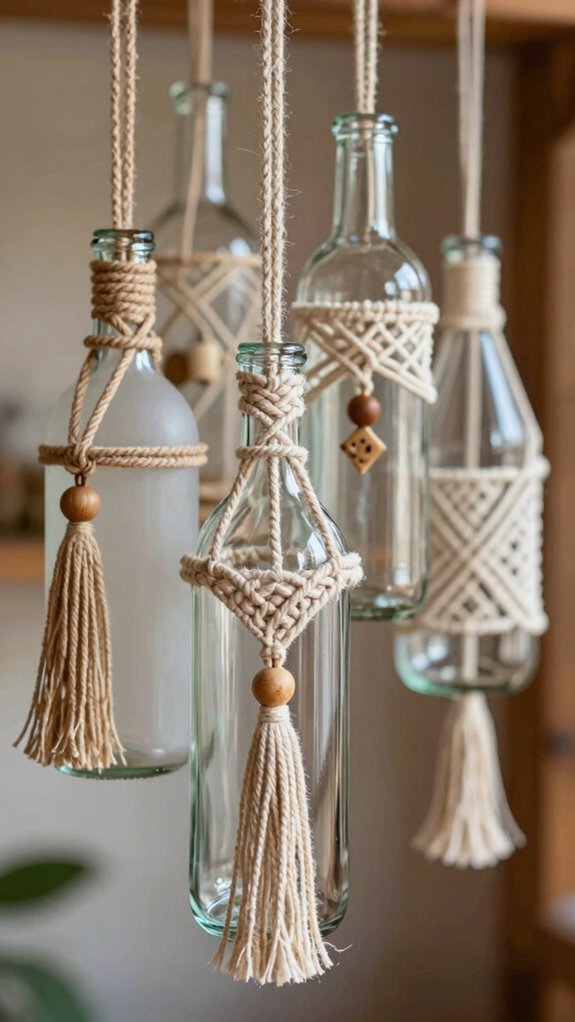
Macramé bottle hangers turn an ordinary glass bottle into a cute little hanging display, and honestly, they look way fancier than they are!
You only need cord, a bottle, and a few calm knots. Try this:
- Choose half-hitches or square knots for macramé knot safety.
- Wrap the strands around the neck, then tighten slowly so the glass stays snug.
- Measure first for window display sizing, so it won’t bump or swing too much.
Hang it in your space, add a tiny vase of flowers or herbs, and keep the cord dry.
You’ll get a sweet, sturdy piece that feels very “you”!
Minimalist Shelf Styling
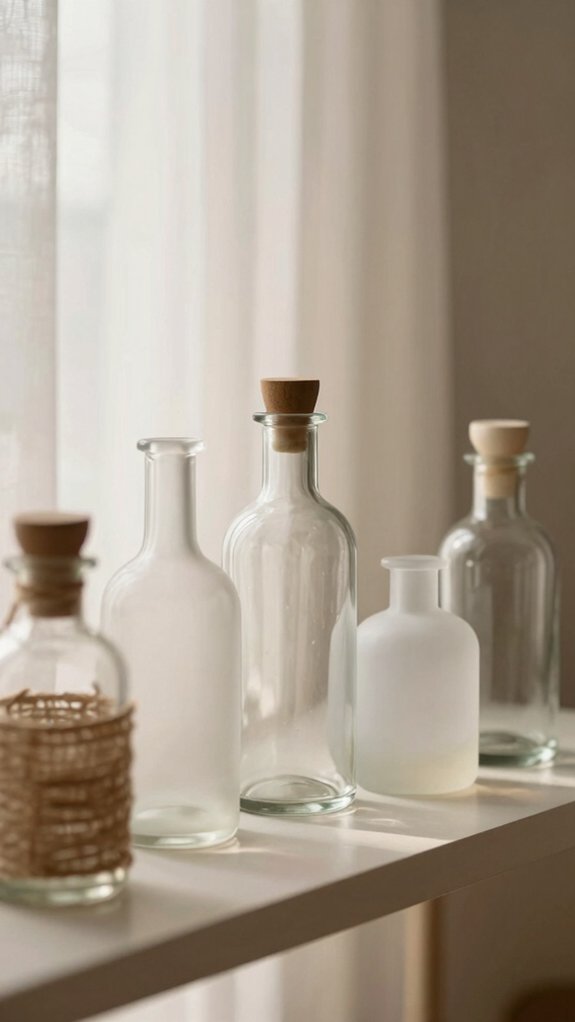
If you liked the charm of hanging bottles, here’s a quieter way to let glass shine on a shelf! You can join the club with one empty jar. Clean off labels with washing soda, then pick a simple shape.
| Idea | Result |
|---|---|
| Vinyl decal | 10-minute polish |
| Vinyl decal layering | Deeper look |
| Inside acrylic wash | Soft tint |
| Plain glass | Calm shelf |
| Golden accent placement | Tiny sparkle |
Try one bottle, add a decal, or layer colors for a custom vibe. For a gentler twist, paint inside, let it dry, then finish with a small gold mark near the middle. Wow, it looks intentional!