27 Sewing by Hand Projects That Prove You Don’t Need a Machine
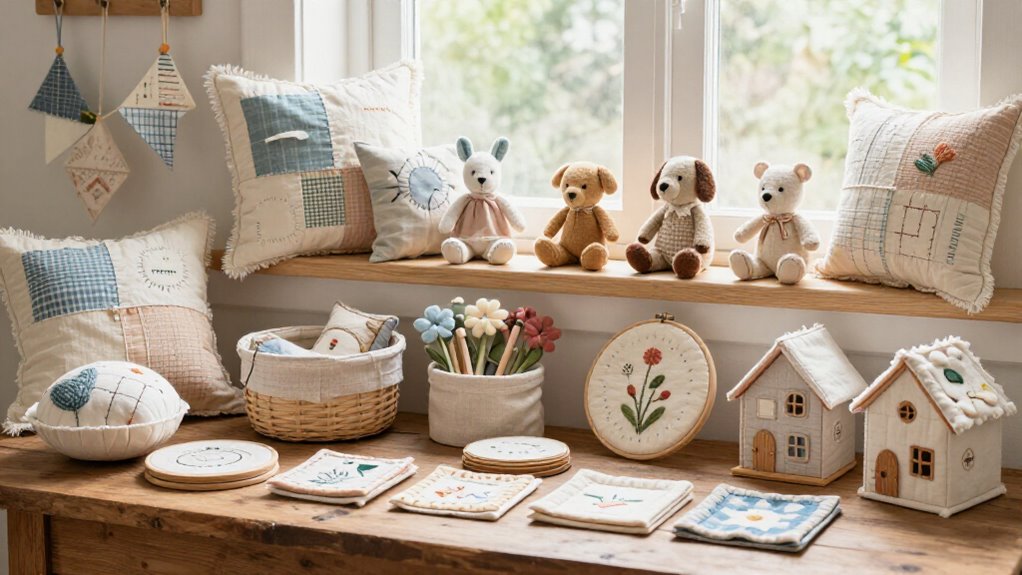
You can hand-sew easy gifts and useful fixes with scraps, a needle, and sturdy thread—no machine tantrums required! Try a felt bookmark, lavender sachet, needle book, coin purse, drawstring bag, gift-card holder, or cord organizer; running stitches make quick seams, while backstitches add strength. Start small, use firm knots, and press folds for neat results. Soon, you’ll find a surprisingly polished project waiting just beyond these simple starter ideas.
Love cozy DIY projects? 💕
Get free printable guides, exclusive tutorials & surprise craft goodies straight to your inbox.
Disclosure: This post may contain Amazon affiliate links, at no extra cost to you. Content on DiyCraftNest is created with research support from AI tools and carefully reviewed, edited, and fact-checked by the lead author, Daniel Pat, to ensure accuracy and reliability. Learn more
Key Takeaways
- Hand sewing can create practical projects like bookmarks, lavender sachets, needle books, coin purses, and drawstring gift bags.
- Use running stitches for simple seams, backstitches for strength, and whip or blanket stitches to finish exposed edges.
- Choose fabric and needles to match the project: fine needles for lightweight cloth and sturdier needles for canvas or layered fabrics.
- Reinforce stress points, corners, closures, and pouch openings with extra backstitches, firm knots, or small box-and-X stitching.
- Simple hand-sewn closures include drawstrings, button loops, snaps, Velcro, ribbon ties, and ladder-stitched openings.
Fabric Bookmark
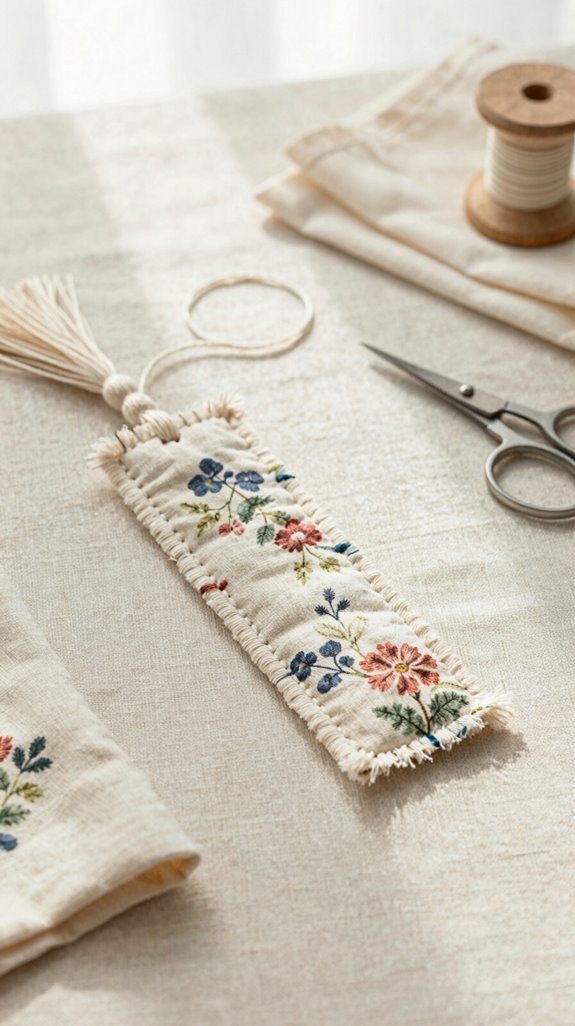
A fabric bookmark is a quick, cheerful hand-sewing project that turns small scraps into something you’ll actually use!
Choose cotton, canvas, or felt, then cut a 2–3-inch strip, 6–8 inches long, and round one end.
You’ll spend almost nothing, and it’s perfect for learning stitch basics.
Wax your thread, knot it tightly, and sew small, even running stitches or whipstitches along the edges.
For fabric fraying prevention, bind raw edges with a narrow strip, or choose felt and stitch around the perimeter.
Here’s the fun surprise: tuck a ribbon or tiny fabric tassel into the rounded end before your final stitches.
It’ll stay secure, look charming, and make your current read feel like yours.
Lavender Sachet
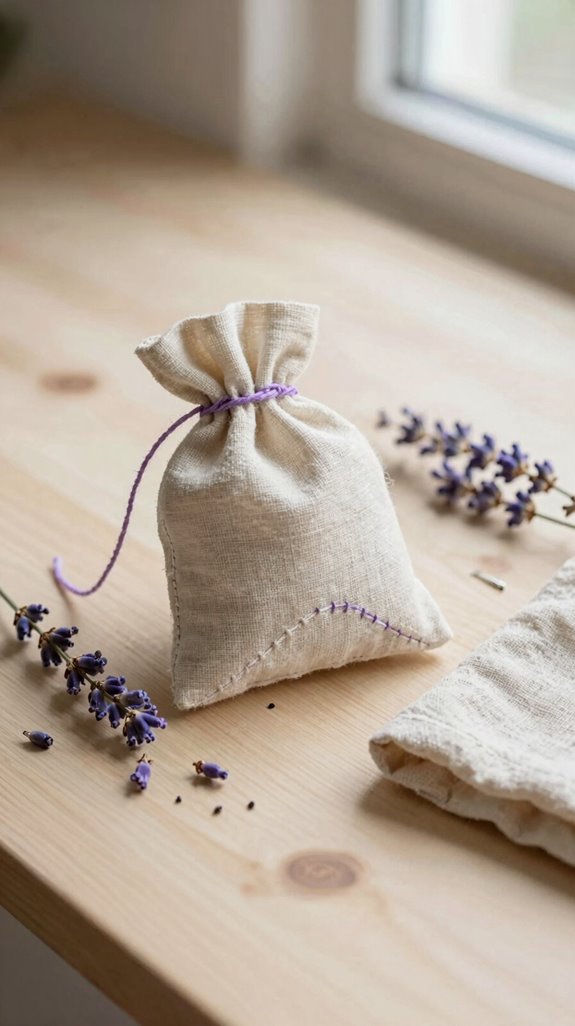
Next, turn a pair of fabric scraps into a lavender sachet, a tiny scent packet that makes drawers, closets, or even your pillow area smell fresh—fancy, right? You’ll need two rectangles, dried culinary lavender, thread, and a needle.
Place fabric right-sides together, stitch around the edges, and leave a small gap. Turn it right-side out, add a few tablespoons of lavender, then close the opening with a running or ladder stitch. Easy, cozy, and totally gift-worthy!
Explore Different closure styles, like a drawstring or button loop; lightly waxed thread helps.
For storage and freshness, use cotton or linen and keep sachets dry, shaded, and beautifully fragrant.
Needle Book
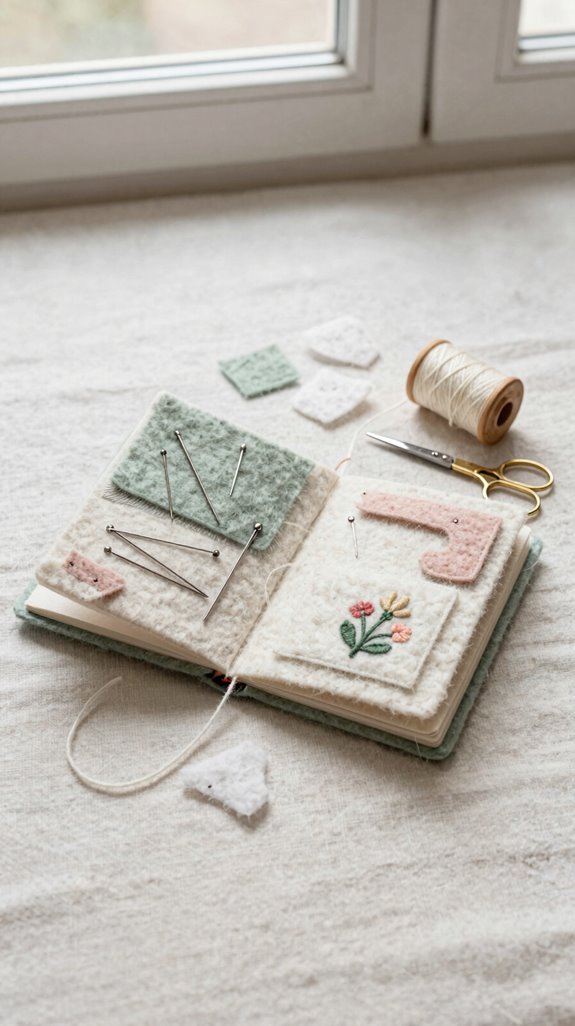
With a tiny needle book, you’ll keep those slippery little needles in one safe spot instead of searching the sofa cushions mid-stitch—ouch! Make one from felt, a scrap of fabric, ribbon, and a button; it’s cheap, quick, and wonderfully useful.
Stitch felt pages inside, then label needles by type and size. Choose fine needles for light fabric and sturdy ones for heavier cloth, so your projects join the sewing club smoothly!
For Hand sewing needlecare, tuck in a needle-threader and one spool of thread. Add a Thread matching guide, plus a note: cut thread at 45 degrees. Best trick? Record your favorite waxed-thread combo for next time!
Coin Purse
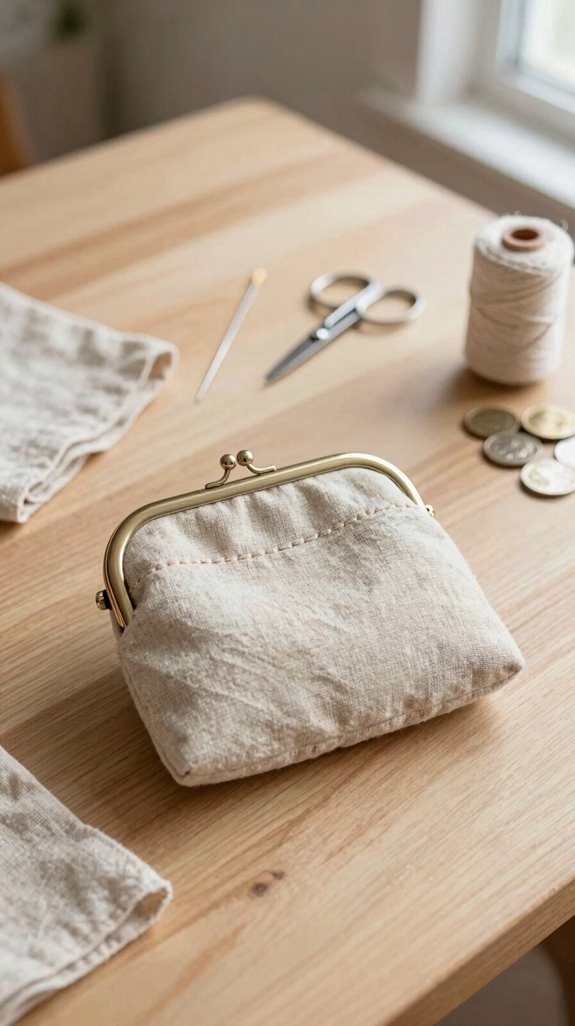
Your needles now have a tidy home, so let’s give loose change one, too! Cut two cotton or canvas rectangles, plus lightweight lining; add interfacing if you want extra firmness.
| You’ll need | Why it helps |
|---|---|
| Needle 8–11, thread | Smooth hand stitching |
| Zipper or button loop | Secure opening |
Layer pieces, then backstitch three sides. Turn right-side out, finger-press corners, and topstitch the opening for neat seam finishing. You’re part of the hand-sewing club now—crooked first stitches are practically a badge!
Try Knotless closures with a button-and-loop flap, or blanket-stitch zipper tape. Add extra backstitches at each end; surprise, that tiny detail stops gaps!
Drawstring Gift Bag
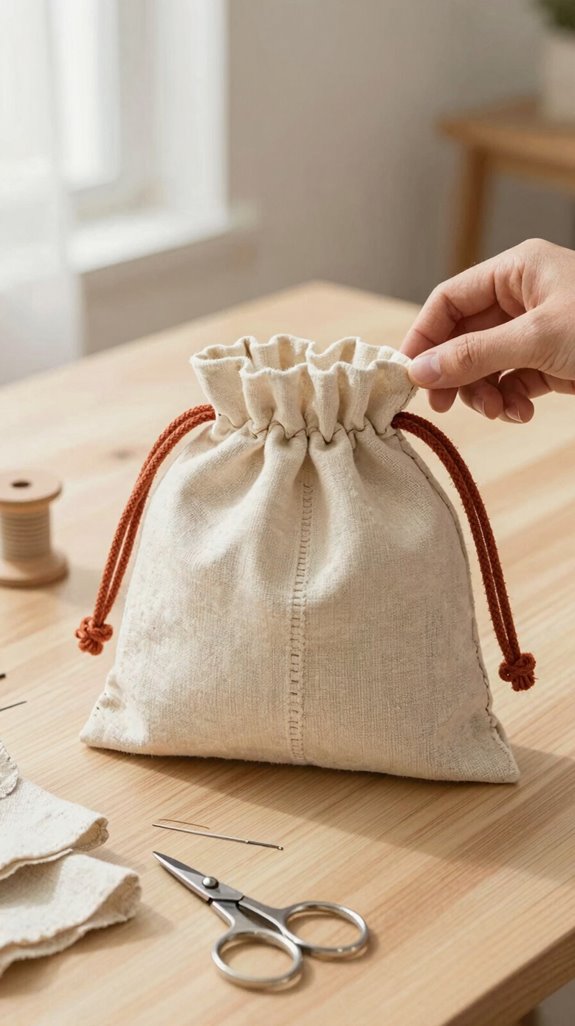
A drawstring gift bag turns one simple fabric rectangle into a cheerful little wrap for candy, jewelry, or a tiny surprise—no skilled machine skills required!
Choose fabric, thread, and two narrow fabric strips for cords. Fold the rectangle, stitch the sides, then make a Beginner friendly casing by folding the top edge down 1 inch and sewing around it, leaving a gap.
Thread your cords through the channel and secure their ends. For Thread strength tips, use smooth, sturdy thread and knot firmly at both ends. Pick bright prints or fun trim—small uneven stitches just add handmade charm!
Baby Bib
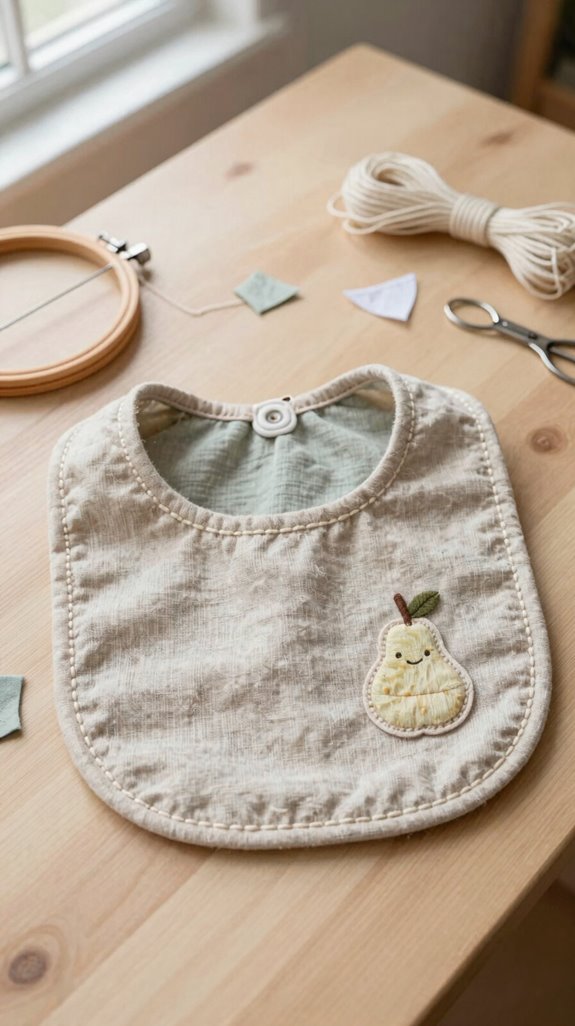
Turn soft fabric into a useful little baby bib, and you’ve got a sweet first hand-sewing project—messy meals included!
Choose cotton flannel or terry, plus thread, scissors, and snaps, Velcro, or a simple tie.
Cut one of the beginner friendly patterns with a neckline that’s secure, not snug.
Backstitch the main seam, then blanket-stitch edges to stop fraying.
If terry feels thick or stretchy, baste it first—no wrestling match required!
For extra spill-catching strength, layer flannel behind the terry.
You’ll create one of those handmade gift ideas that feels useful, personal, and warmly welcome at every baby shower.
Patchwork Mug Rug
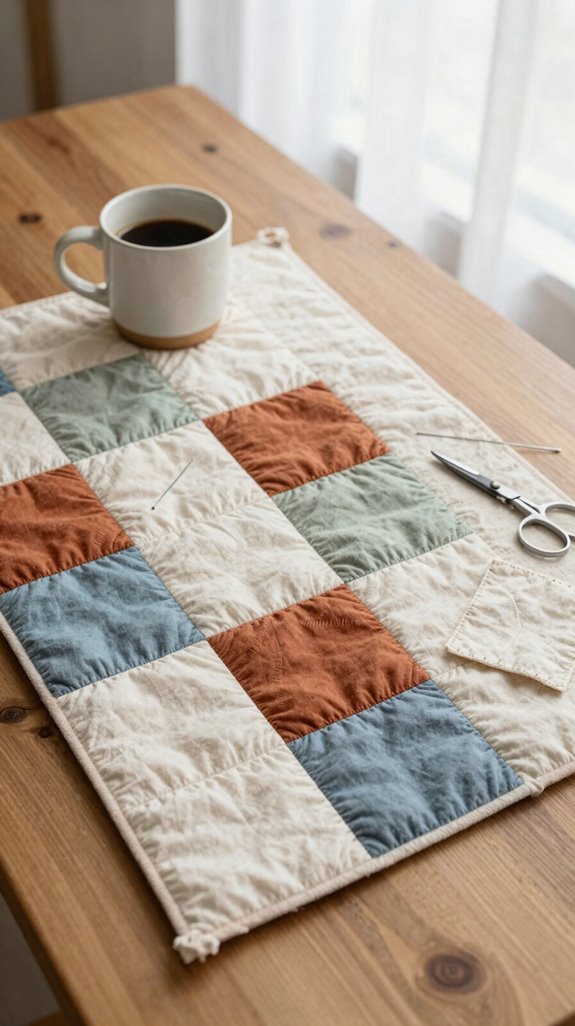
Patchwork mug rugs make a cheerful, no-machine project, and you can turn a few favorite fabric scraps into a tiny landing spot for coffee, tea, or that snack you swear isn’t crumbs!
To repurpose scraps, choose two to six coordinated squares, plus backing and thin batting or felt.
Stitch seams with strong backstitches, then stack your top, padding, and backing like a cozy sandwich.
Baste everything so it stays put—easy, right?
Use beginner friendly techniques: quilt simple rows or a grid every inch or two, then fold raw edges under and slip stitch or whip stitch around them.
You’ll create a sturdy little rug that looks wonderfully handmade and handles daily drink duty!
Christmas Ornament
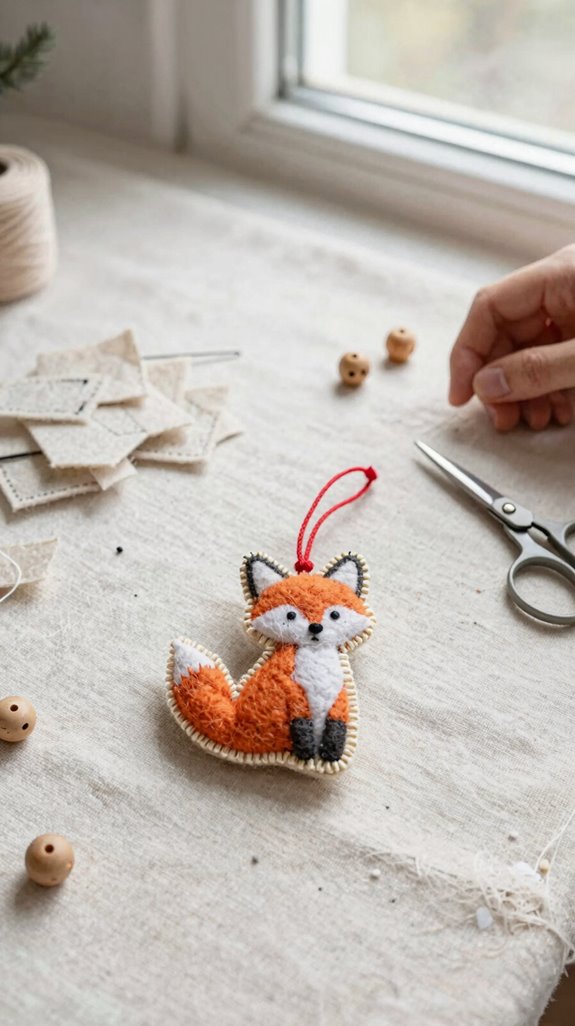
Christmas ornaments are perfect little hand-sewing projects because they’re quick, affordable, and easy to make in a cozy batch—hello, holiday craft bin! You’ll love making keepsakes that feel right at home on the tree.
- Pack pre-cut pieces in a labeled container, then stitch final seams while traveling.
- Gather fabric circles into yo-yos; layer them with simple stitches for cheerful texture.
- Use scrap patches for crazy quilting, adding lace, charms, or wooden buttons.
- Try English paper piecing with hexagons for crisp corners—one of the best hand embroidery tips!
These make sweet holiday gift ideas, too.
Your group’s tree swap just got cuter, and nobody needs a machine!
Fabric Coasters
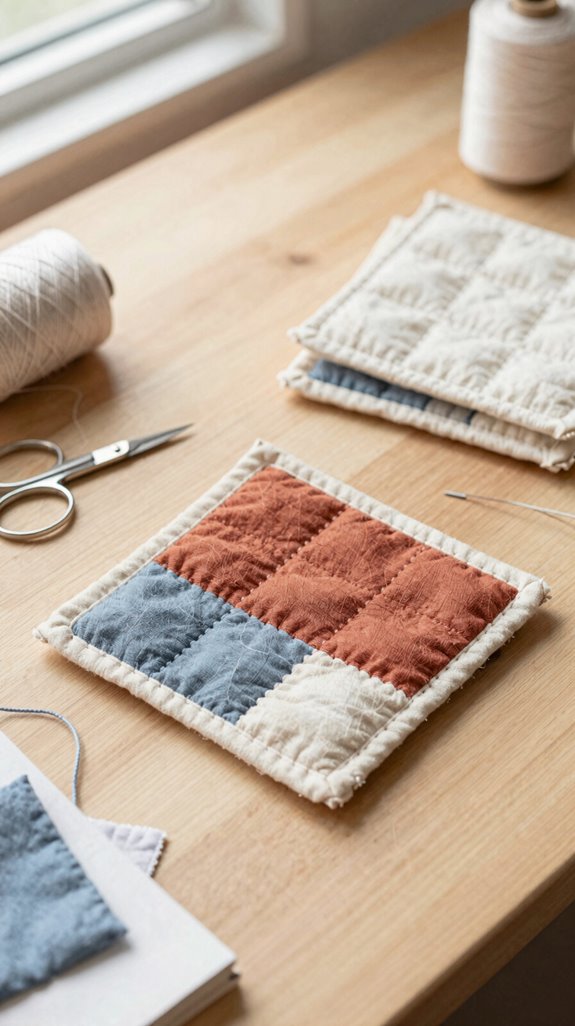
After the ornaments are packed away, fabric coasters keep the hand-sewing fun going right on your coffee table! You’ll make a useful set that feels handmade and shared.
| You’ll need | Why it helps |
|---|---|
| Two fabric rectangles | Creates matching sides |
| Felt or batting | Adds heat protection |
| Fine needle | Suits quilting cotton |
| Thick thread | Strengthens edges |
Use fabric cutting basics: cut identical pieces, layer felt inside, then whip stitch around edges. Leave a gap, turn, finger-press, and close it. These hand sewing tips make sturdy coasters that resist warping. For a polished finish, hand top-stitch the border—your cups, and guests, will notice!
Pin Cushion
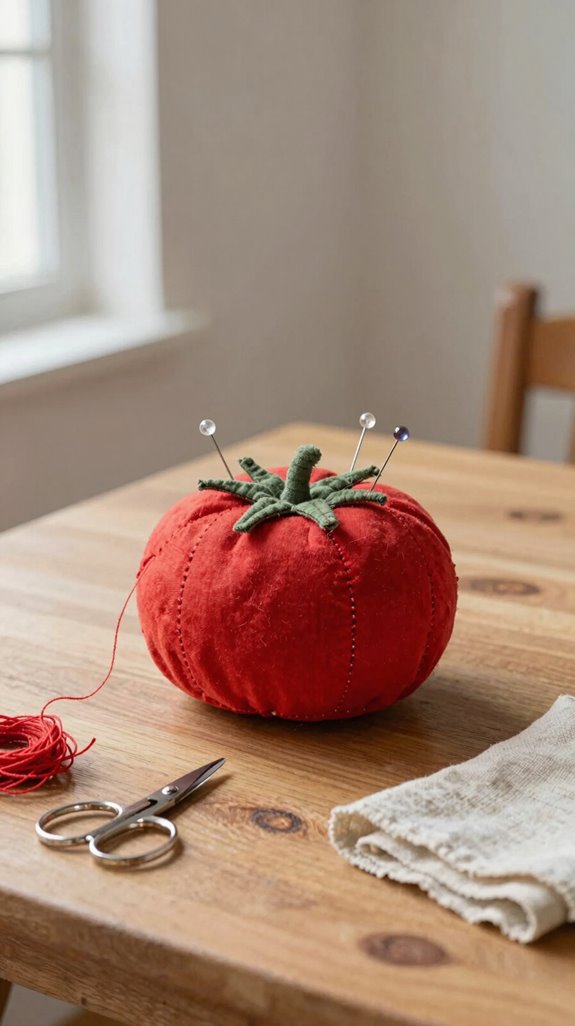
A handmade pin cushion is a tiny project with a big payoff—you’ll always have a soft, sturdy spot for runaway pins!
This beginner friendly sewing project needs sturdy denim or heavy cotton, thread, felt, and filling. Sew a small circle or square with tight running stitches, leaving a gap.
- Try selecting stuffing types: polyester fill or clean fabric scraps
- Pack the center firmly for a helpful dome shape
- Finger-press seams for a tidy finish
- Discover Ways to personalize with decorative top stitching
Tack the opening closed, then add a felt layer inside or on top. That little shield reduces wear from pin pokes—clever, right?
Eyeglass Case
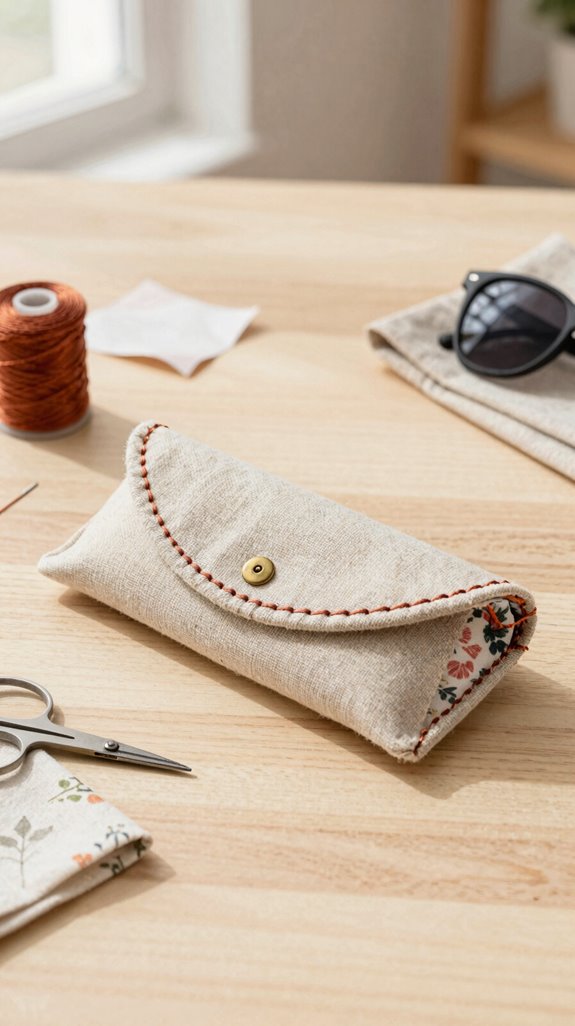
Turn a few fabric scraps into a soft eyeglass case, and you’ll give your glasses a cozy little home—no more lens scratches from loose bag clutter!
Measure temple-to-temple, add ½–1 inch, then cut outer and lining rectangles. Add fusible fleece for cushiony protection—your lenses will thank you!
| Step | Why it helps |
|---|---|
| Needle size selection | Matches fabric weight |
| Beginner seam finishing | Keeps edges neat |
Stitch three sides right sides together, turn, and finger-press the opening. Topstitch it closed with a running stitch, then add a button loop, snap, or Velcro. Easy, useful, and totally yours!
Phone Sleeve
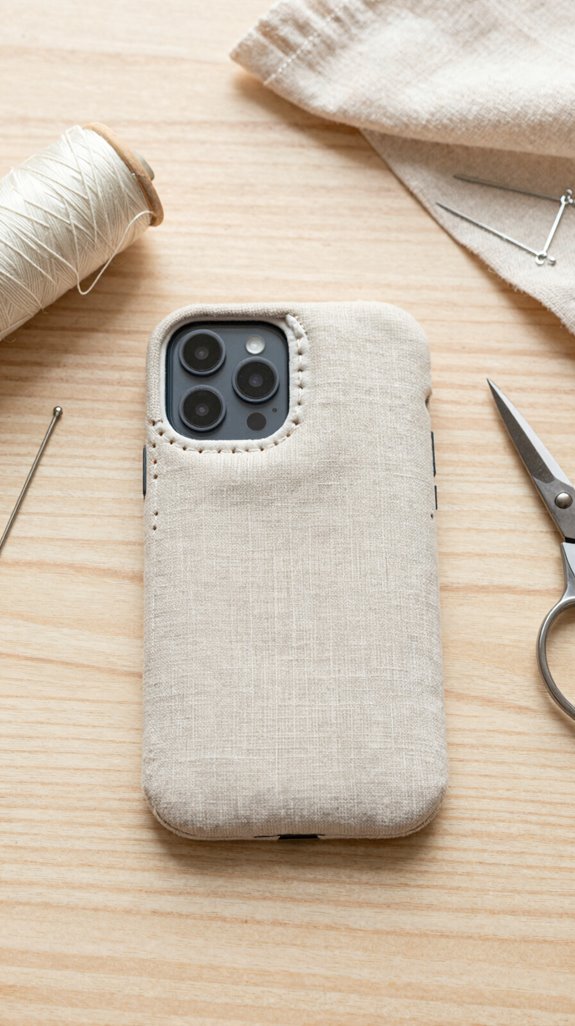
Because your phone goes everywhere, a hand-sewn phone sleeve gives it a soft, custom-fit shield from keys, crumbs, and the mysterious bottom-of-the-bag chaos!
- Cut two fabric rectangles, slightly larger than your phone.
- Use doubled thread and stitch three sides with running stitches or backstitches.
- Finish raw edges with a blanket or whip stitch.
- Discover Stitch reinforcement options and hand sewn closure types.
Add interfacing or extra fabric on the screen side before the final seam—your little upgrade squad will thank you!
Turn it right-side out, then add a flap with a button or snap. It’s cheap, beginner-friendly, and surprisingly polished.
Heart Garland
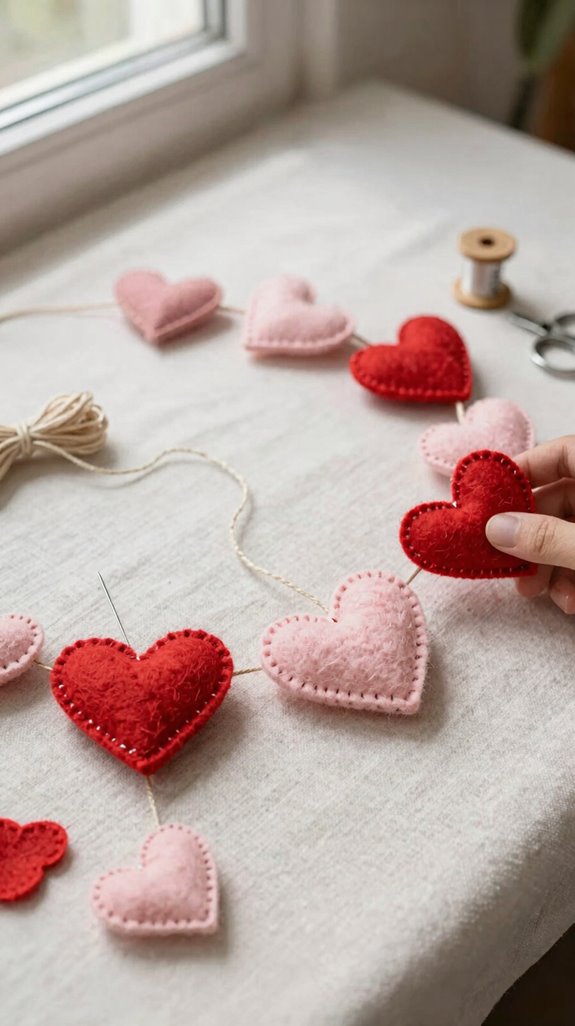
After protecting your phone, you can use those leftover fabric bits to make a cheerful heart garland—tiny scraps become party decor, which is a pretty great deal!
Cut rectangles into hearts with a template, then fold edges and use running or blanket stitches.
Leave a thread tail and backstitch each start for reliable Hand sewn closures and better stitch durability.
You’ll need only a large needle, embroidery floss, and scraps—easy, affordable, and wonderfully shareable!
String hearts through their top centers, spacing them evenly.
For the surprise upgrade, layer two hearts, add a pinch of stuffing, and close tightly.
Knot the ends, add hanging loops, and welcome everyone with handmade charm!
Cloth Napkins
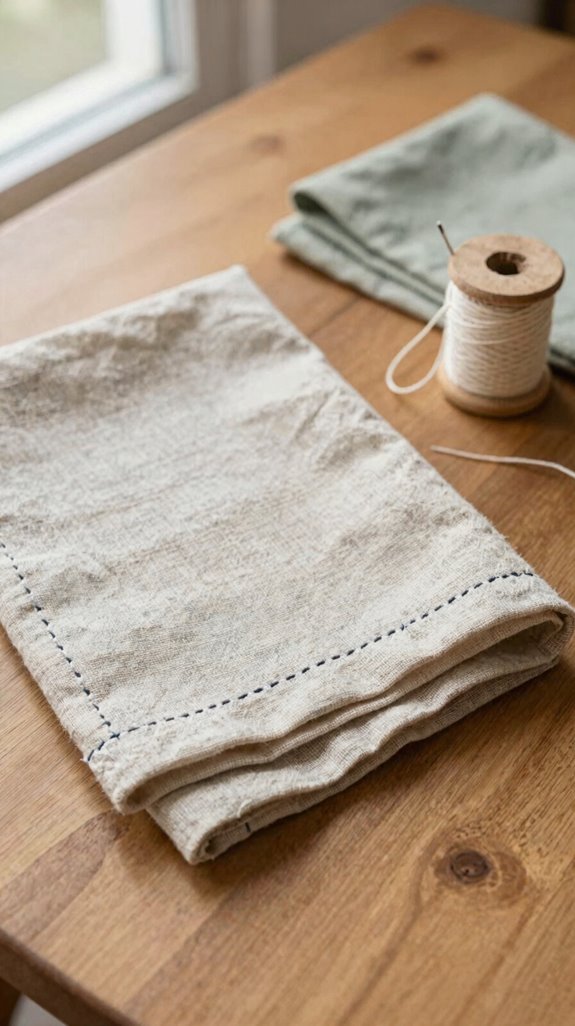
Cloth napkins bring a small bit of everyday luxury to the table, and you can stitch a set by hand with just cotton or linen, thread, a needle, and an iron—no elaborate machine required!
Pre-wash, then press squares for crisp, accurate folds. Your thread selection and needle should match fabric weight—fine for cotton, sturdier for linen.
- Fold narrow hems and tack corners.
- Keep running stitches even.
- Wax tangly thread for easier sewing.
- Knot ends for dependable laundry care.
Hem finishing looks polished when you press again afterward. Add seam reinforcement at corners, and your handmade set will survive family dinners, spills, and plenty of washing—welcome to the good-table club!
Tea Towel Loop
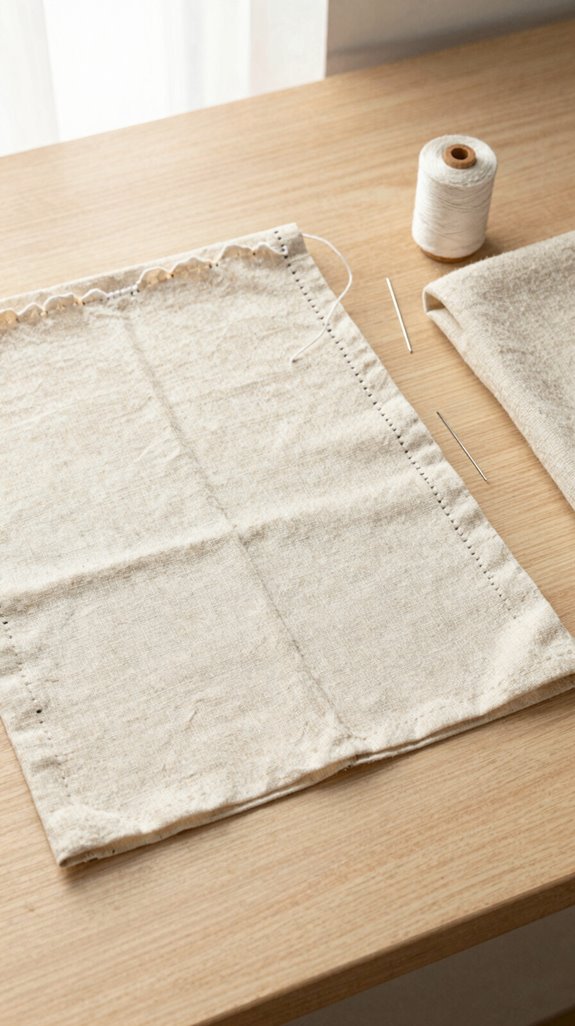
A tea towel loop is a tiny upgrade that makes a big difference—you’ll finally have a handy spot to hang that towel instead of finding it in a damp heap on the counter!
Grab an all-purpose needle, matching thread, and a washable fabric pen.
For How to choose thread, pick a sturdy option that blends with your towel.
Mark where the loop begins and ends, fold the edge into a small casing, and stitch 1/4 inch from the fold.
Use tight, even backstitches—common beginner mistakes include loose stitches and skipped knots.
Finish with a tiny box or X at each corner.
Your towel will hang proudly with the rest of your hardworking kitchen crew!
Simple Plush Star
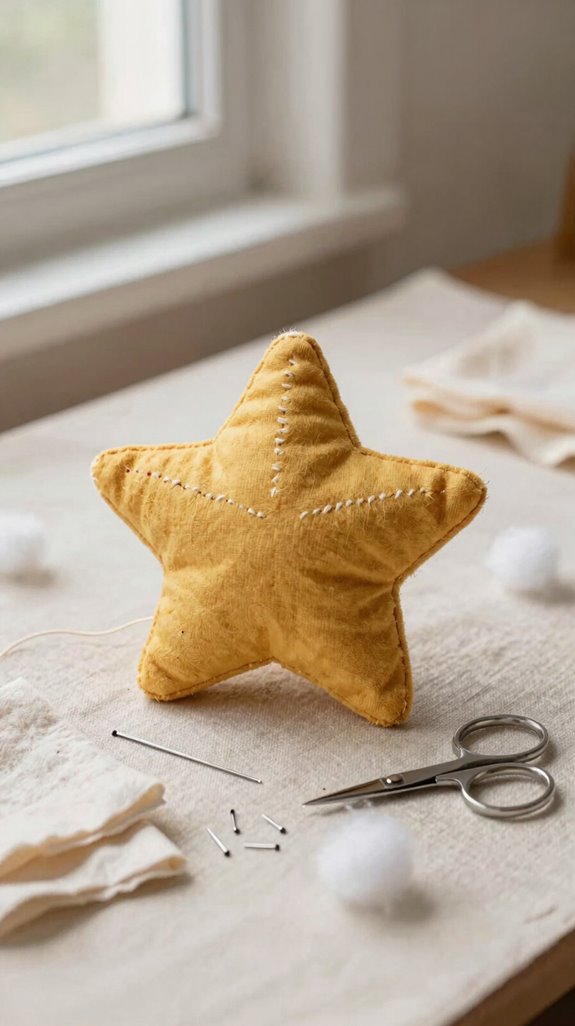
Next, turn a few fabric scraps into a cheerful simple plush star—small, soft, and much less dramatic than it looks!
- Cut two mirrored stars, plus optional thin felt.
- Use strong thread and a medium/heavy hand needle.
- Stitch edges, leaving a tiny turning gap.
- Add scrap stuffing lightly—puffy points get grumpy!
Turn it right-side out, stuff gently, then close the gap with tight slip stitches.
These Hand sewn durability tips help your star survive happy squeezing: add extra backstitches at each point, where fraying loves to sneak in.
For beginner friendly finishing tricks, weave in the thread tail and finger-press the shape.
You’ll have a sweet little star for your handmade crew!
Pet Bandana
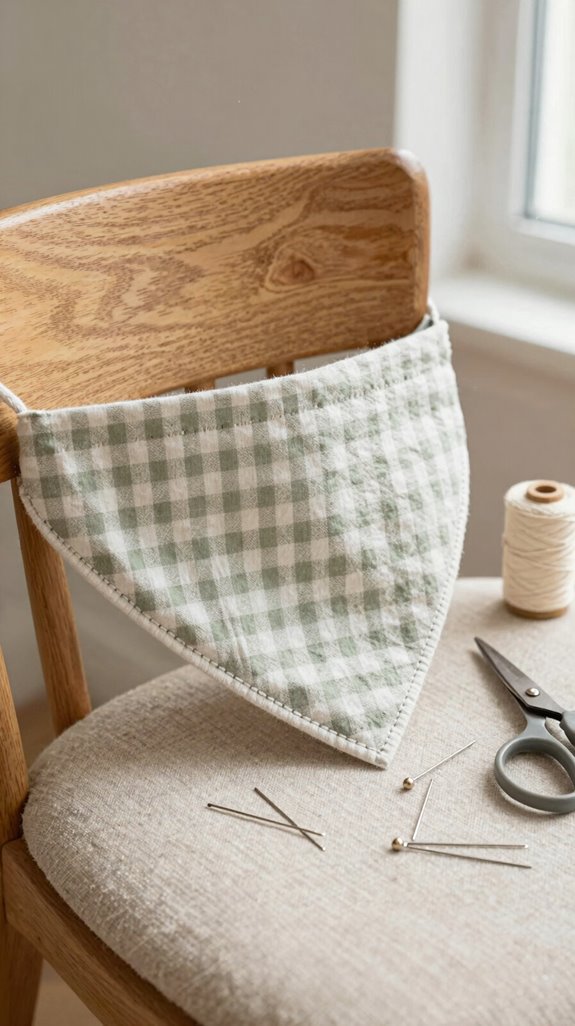
Whether your pet is a tiny tornado or a calm couch buddy, a hand-sewn bandana adds a bright, personal touch without costing much—yay!
Pick lightweight cotton or flannel, exploring color fabric choices that fit your crew’s vibe.
Cut a triangle, or fold a square, then double-turn each edge 1/4 inch.
These hand hemming tips help: use matching-weight thread, wax it if it drags, and make even running or whip stitches.
Before closing the open corner, add tiny fabric loops or short ribbon ties and test the fit.
Too snug? No panic—seam-rip and retry!
You’ll create a comfy, fray-resistant accessory that makes every walk feel like a neighborhood parade.
Travel Jewelry Roll
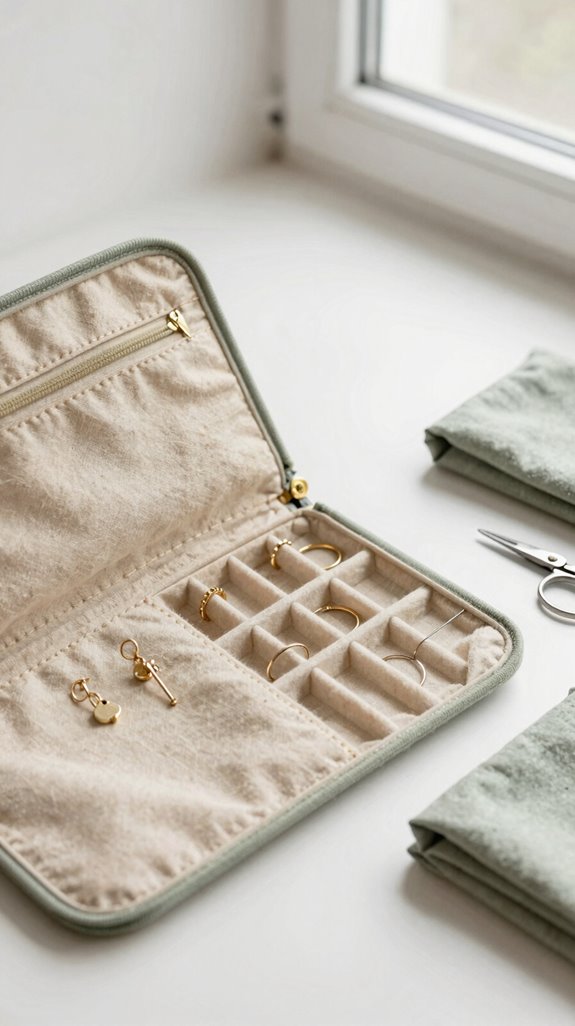
Keep the handmade fun rolling with a travel jewelry roll, a small fabric organizer that keeps rings, studs, and necklaces from turning into one shiny knot—hooray!
You’ll join fellow makers with fabric scraps, a needle, thread, and ribbon. These straight seams are beginner-friendly and budget-smart!
- Use fabric choice tips: match needle and thread to weight.
- Stitch rectangle pockets for visible studs and charms.
- Add fabric-backed ties or ribbon loops for closure.
- Finish edges with blanket stitches for Hand sewing durability.
Then add an inner lining or elastic bands. Your pendants stay put, even when your suitcase gets tossed around!
Book Sleeve
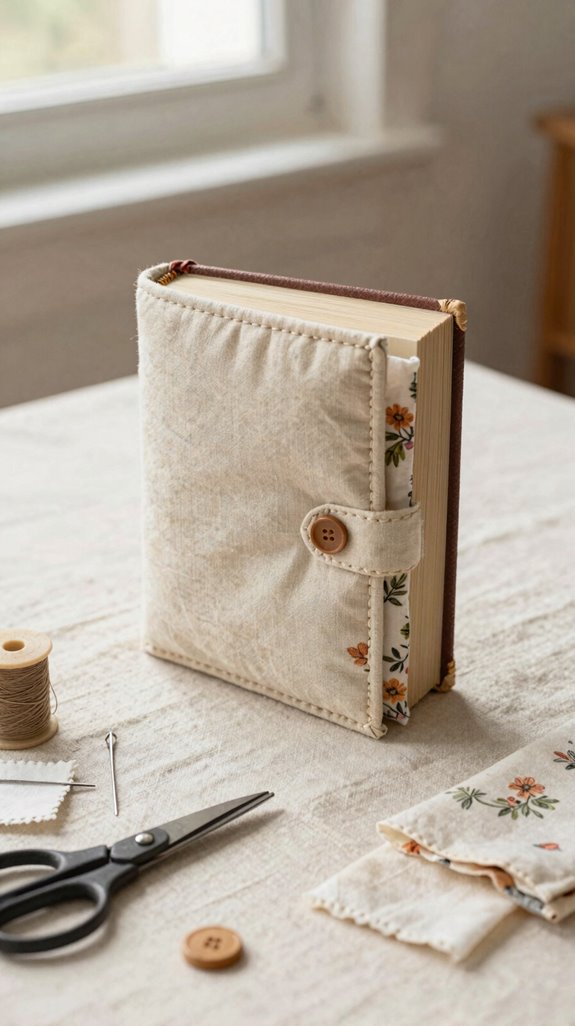
A handmade book sleeve gives your favorite paperback or journal a soft, custom home, and it’s much easier than it looks—no elegant sewing machine required!
Choose cotton or canvas, plus lining for extra cushion, then measure your book and add 1–2 cm.
Cut matching rectangles.
With right sides together, hand-sew both sides and one bottom edge, leaving the top open.
Keep stitches 3–5 mm apart, and use careful thread finishing.
Next, hem the opening or add bias binding so it won’t fray.
Add a button loop or wrap tie with sturdy backstitches.
For seam reinforcement, stitch corners and top edges again—your book stays snug, protected, and ready for every adventure!
Fabric Basket
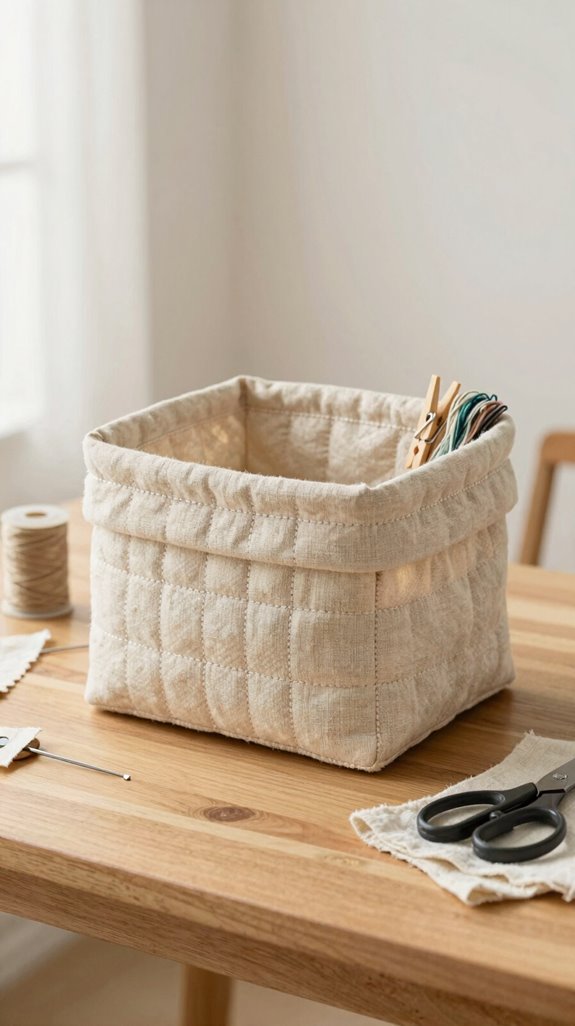
Turn a few fabric scraps into a cheerful little basket, and you’ll have a handy spot for clips, craft supplies, or those mystery bits that gather on every desk!
- Two matching fabric squares
- Interfacing or thick non-woven
- Needle, thread, and scissors
- Bias tape or fabric for handles
Sew outer and lining pieces with straight stitches, leaving a turning gap.
Discover Handmade lining options, then add interfacing for a firm bottom.
Next comes the magic!
Use reinforced corner shaping: stitch folded box corners before turning, so your basket stands proudly.
Finish the rim with a double-fold hem or bias strip.
For a surprise upgrade, backstitch fabric-loop handles securely inside—your little basket looks wonderfully shop-worthy!
Mini Pillow Cover
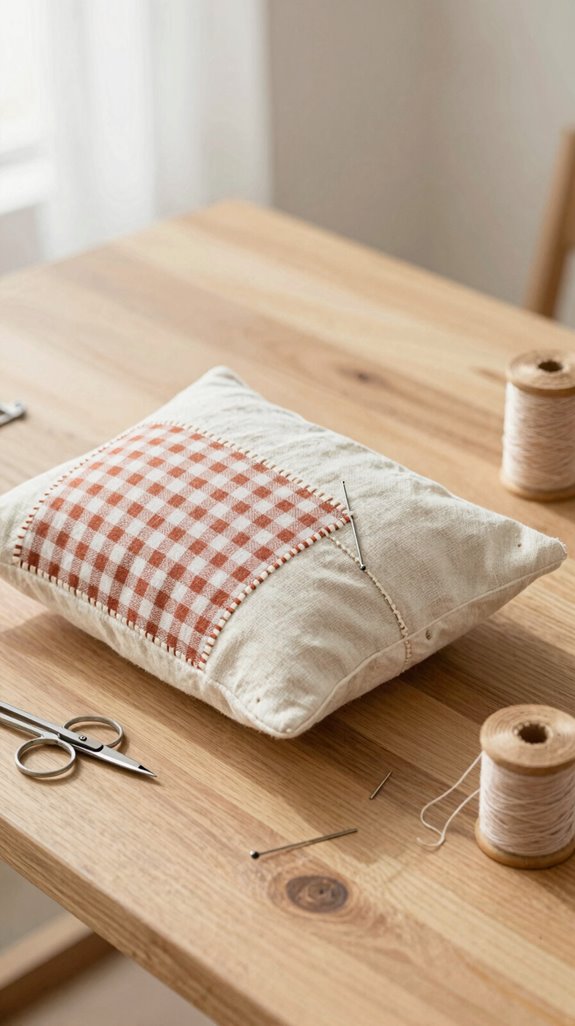
Mini pillow covers make sweet little upgrades for doll beds, reading nooks, or a cheerful desk cushion, and you can sew one with just two matching fabric rectangles—how fun is that?
Choose a pillow form first, then cut matching fabric pieces with ½–⅝ inch seam allowances. Place right sides together and use a running stitch or straight stitch around three sides. Secure your Backstitch seams at each end so your tiny creation stays sturdy!
Next, finger-press or iron the seams for tidy seam finishing, then turn the cover right-side out.
Pop in the form and close the last edge with a slip stitch or ladder stitch. You’ll get a snug, polished pillow that looks wonderfully handmade, in the best way!
Wall Hanging
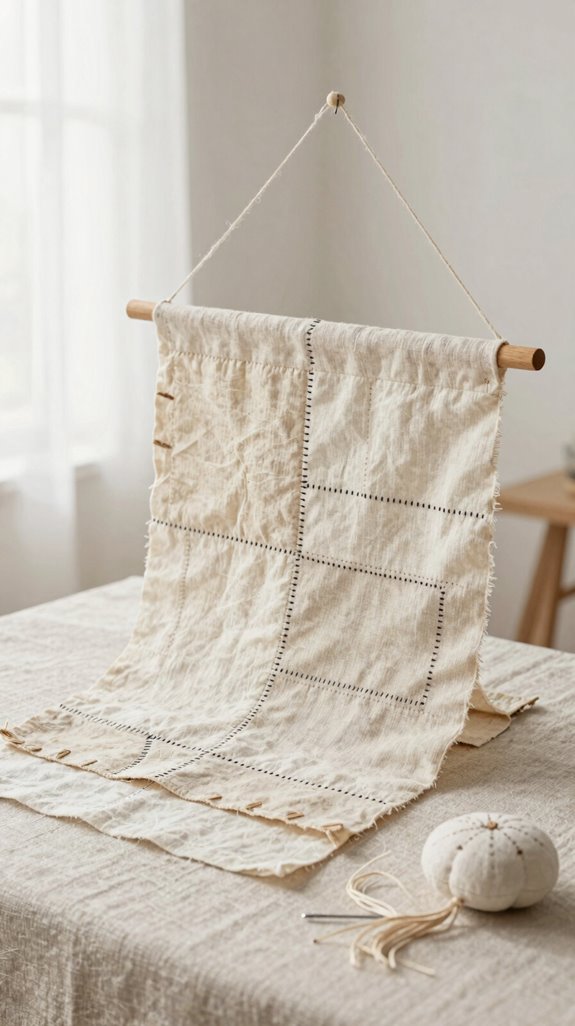
With a few cotton or linen scraps, you can stitch a small wall hanging that adds color to a blank spot—no stylish frame or pricey supplies needed!
You’ll feel right at home making it.
- Iron scraps flat using fabric prep tricks.
- Join straight patchwork with running stitches.
- Use backstitch for secure seams and loops.
- Wax thread, knot ends, and keep spacing even.
These hand stitch tips make your first piece sturdy, even if your stitches aren’t perfect—welcome to the club!
Add buttons, lace, or tiny embroidery, then quilt small areas for texture.
The surprise? A hand-sewn loop on the back lets your cheerful creation hang proudly.
Hair Scrunchie
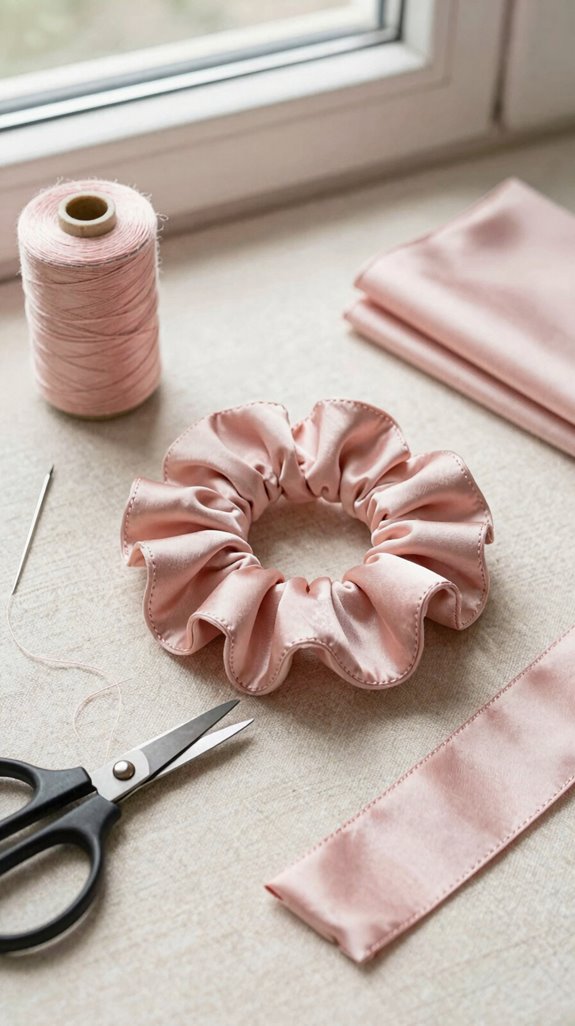
A handmade hair scrunchie is a quick, cheerful project that turns a small piece of soft fabric and a bit of elastic into something you’ll actually use—score!
Choose cotton jersey, soft knit, or thin stretch knit; they’re forgiving and won’t fray much.
For Sewing beginner tips, cut two rectangles, stitch a tube with a running stitch, then turn it right-side out.
Thread elastic through the tube and secure it with tiny, even backstitches or ladder stitches.
Here’s where fabric stretching tricks help: finger-press the folds, keep stitches 2–4 mm apart, and close the ends tightly.
Hide the knot between layers, and you’ve got a polished, snag-free scrunchie!
Fabric Crown
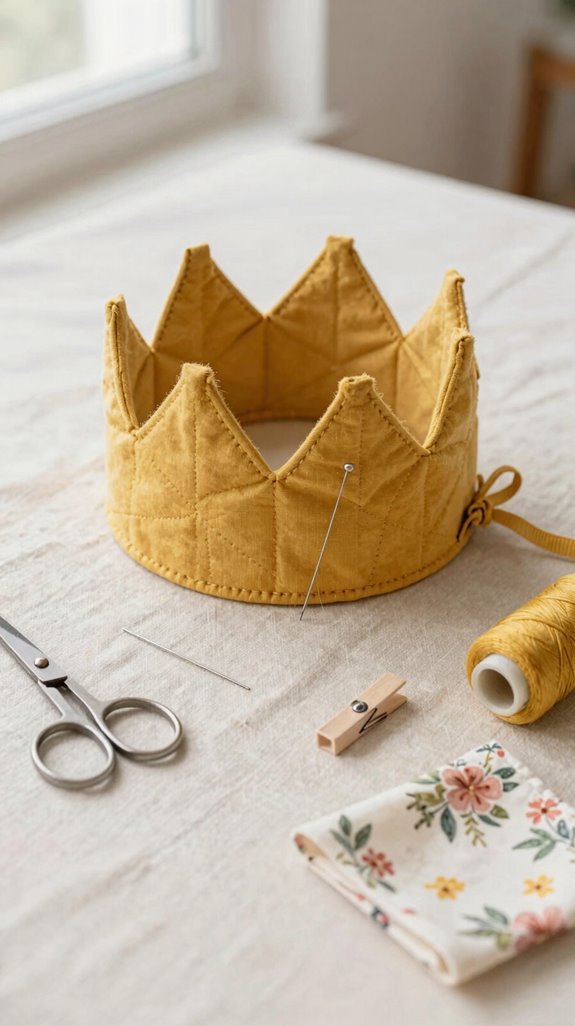
Turn a few sturdy fabric scraps into a playful fabric crown, and you’ll have a royal accessory that costs very little but looks delightfully stylish—no sewing machine throne required!
You’ll fit right in at birthdays, dress-up days, or family photo fun!
- Cut two matching crown shapes from felt or sturdy cotton.
- Add interfacing or stay tape between layers for hand sewn durability.
- Backstitch around the points, turning seam allowances inward as you go.
- Attach elastic loops or ribbons, then ladder-stitch the bottom closed.
For polished fabric crown finishing, keep stitches tiny and smooth. Here’s the magical part: the hidden ladder stitch makes the final edge nearly disappear, so your handmade crown looks ready for the whole royal crew!
Reusable Snack Bag
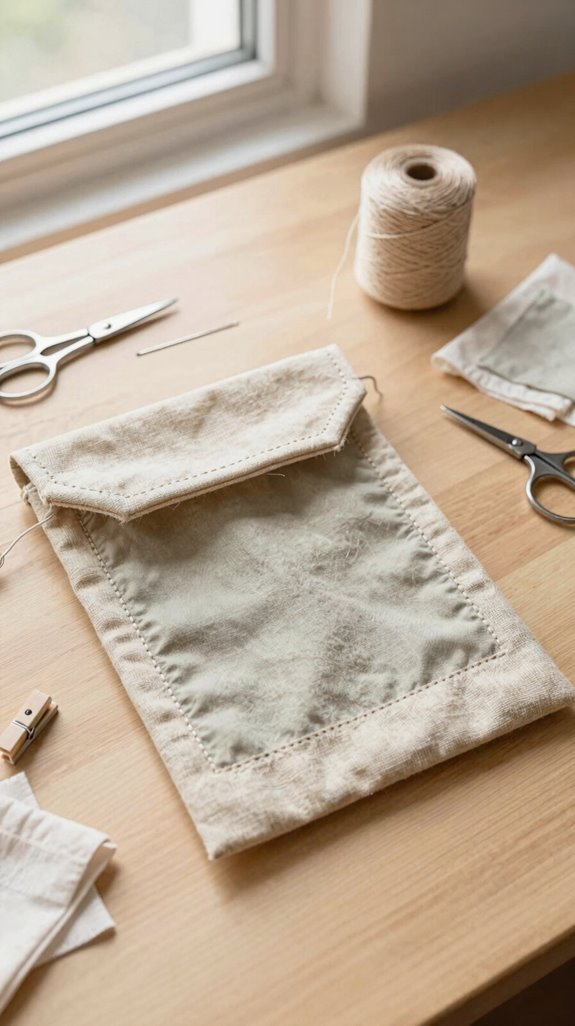
After the royal dress-up fun, make something your lunchbox can wear: a reusable snack bag! You’ll join the low-waste crew with quilting cotton or canvas.
| Fabric selection criteria | Stitch | Result |
|---|---|---|
| Cotton or canvas | Running stitch | Quick assembly |
| Washable, sturdy | Backstitch | Hand sewn durability |
Cut two rectangles, about 6×8 inches. Sew sides and bottom with a 1/4-inch seam, turn it right-side out, then fold and stitch a top casing.
Thread elastic or a drawstring through the opening. Fill it with crackers before finishing, so you can adjust the closure—tiny snack bag, big victory! Add a blind hem to stop fraying.
Gift Card Holder
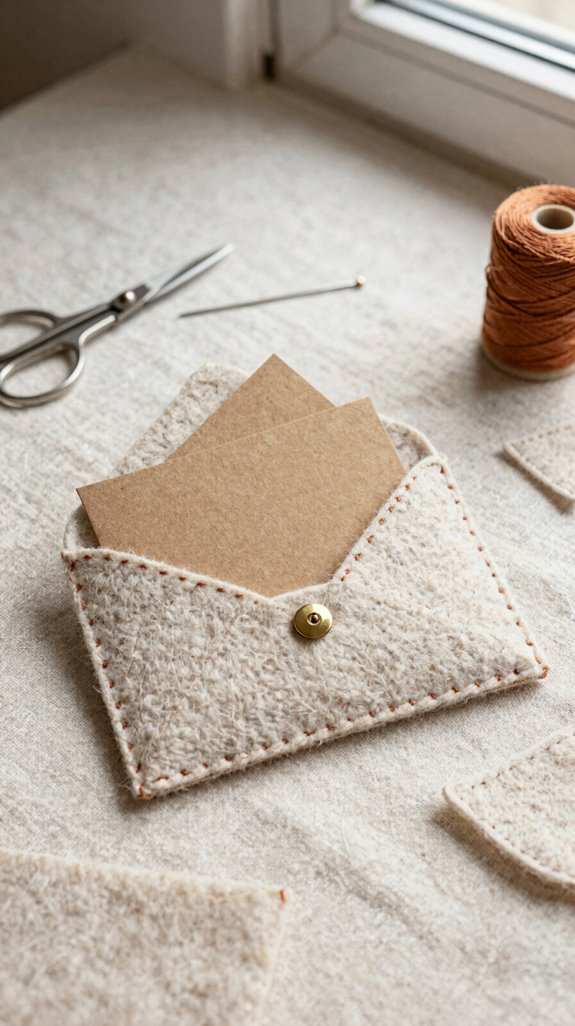
Gift cards deserve a handmade home, and this tiny fabric holder comes together fast—no elaborate tools or wallet-sized budget required!
- Lightweight cotton or quilting cotton
- Hand needle, 60/8–70/10
- Strong, color-matched thread
- Iron or firm fingertips
Cut two rectangles and a slim pocket panel.
Wax your thread, then use running stitches to join the front and back—your Stitch durability improves when stitches stay even and snug.
Next, fold and stitch a narrow hem along the pocket opening.
It keeps fraying away during repeated card insertion, hooray!
Trim loose threads, press everything flat, and share a polished little holder that feels thoughtfully made.
Cord Organizer
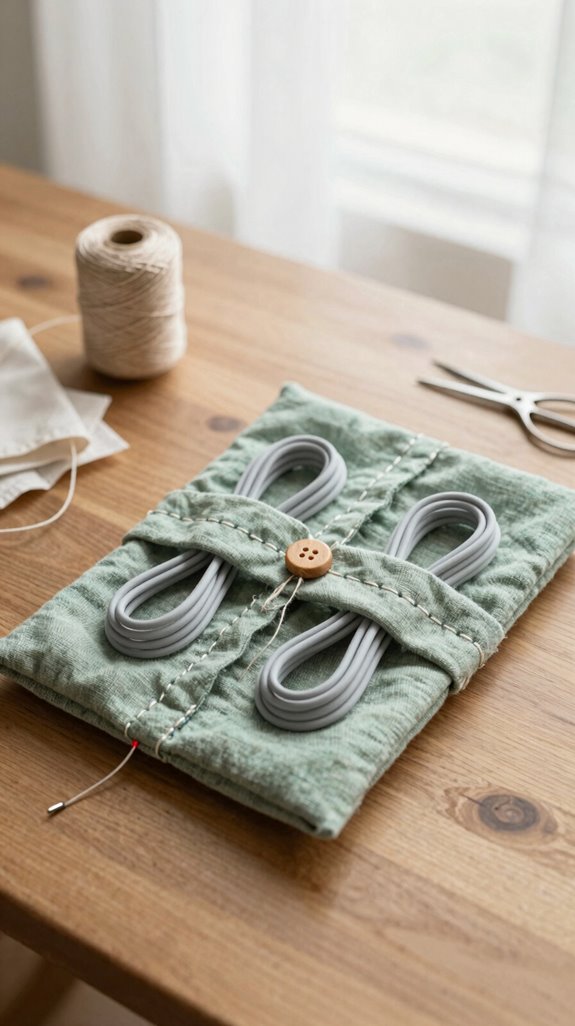
With a few folded strips of sturdy cotton or canvas, you can tame that wild nest of charging cords in no time—finally, no more cable spaghetti!
| You’ll need | Do this | Result |
|---|---|---|
| Cotton/canvas | Finger-press folds | Crisp channel |
| Waxed thread | Stitch sides | Smooth sewing |
| Needle | Add cord spaces | Easy access |
| Button or loop | Reinforce closure | Travel-ready bundle |
For friendly stitching tips, sew a flat pocket channel, securing each side with neat hand stitches. Thoughtful thread selection matters: waxed thread glides through cotton or linen without tangling. Finish by securing both ends and knotting them. Add a loop-and-button closure, and you’ve got a little organizer your whole crew will envy!
Choosing the Best Hand Sewing Stitches
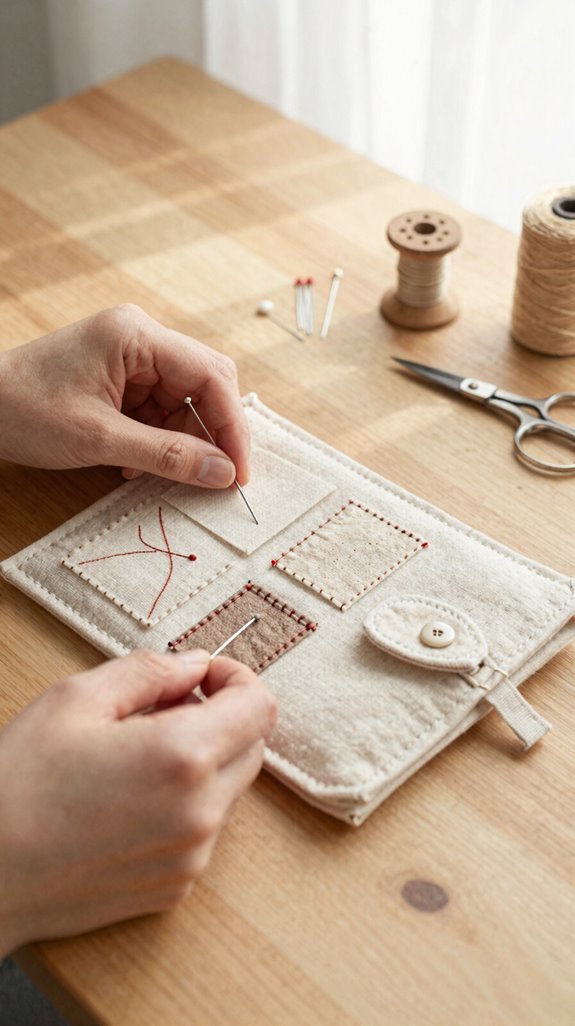
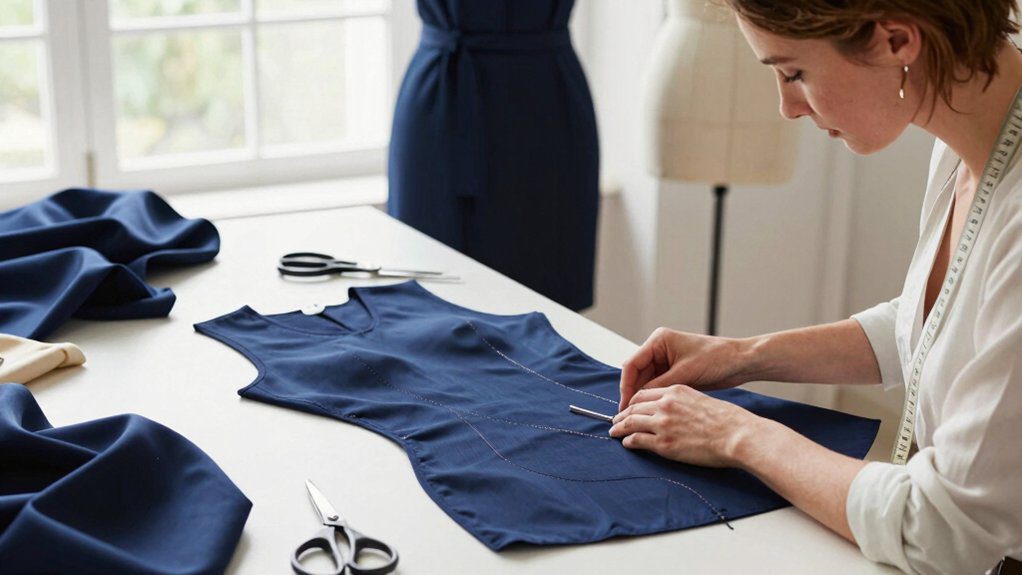
Choosing the right hand stitch makes every project feel easier, whether you’re fixing a hem or building a sturdy little pouch—no sewing-machine drama required! You’ll soon feel part of the hand-sewing club!
- Use a running stitch for quick seams; keep Stitch spacing steady and maintain even tension.
- Choose a backstitch for hems and strong seams—it locks together beautifully.
- Try a blind hem stitch when you want nearly invisible outside lines.
- Save decorative topstitching for flair, then master knot finishing so nothing unravels!
For delicate or thick fabric, waxed linen or cotton thread glides smoothly, fights twists, and holds knots better.
Your work will look polished, sturdy, and proudly handmade!
Essential Hand Sewing Supplies
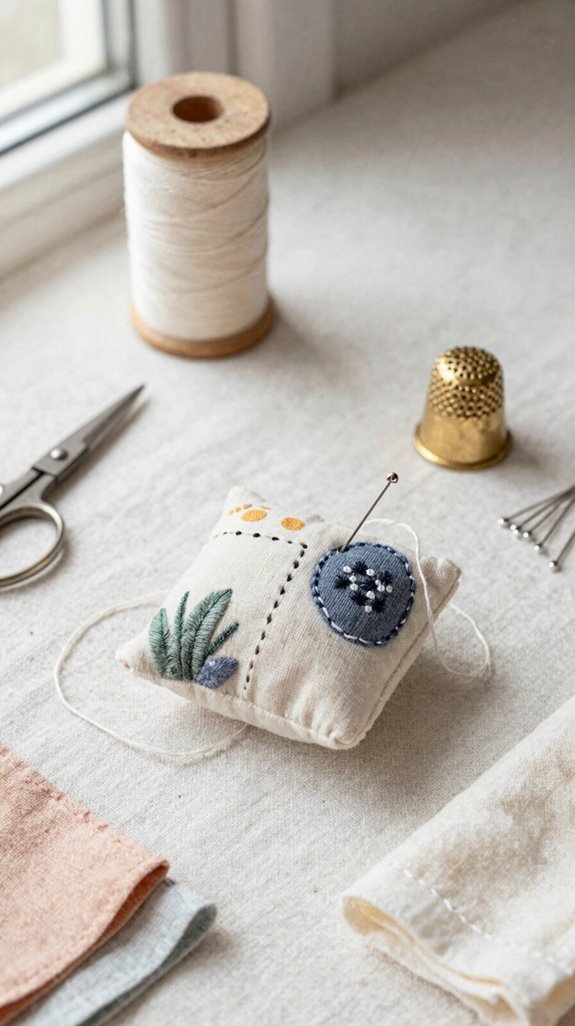
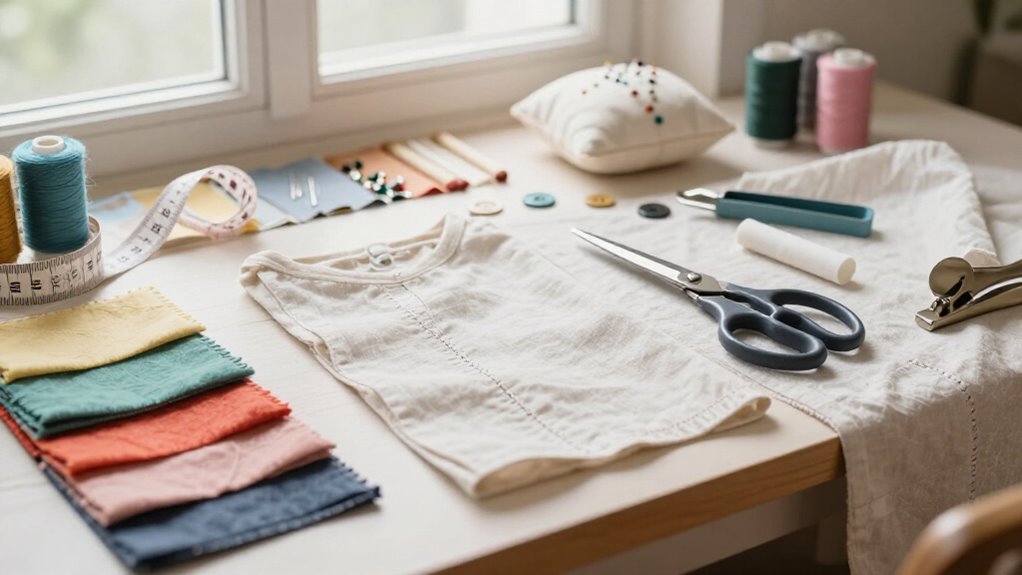
A well-stocked hand-sewing kit turns a loose button or surprise hem repair into a quick win—no frantic drawer digging required!
| Supply | Why you’ll love it | Quick use |
|---|---|---|
| Sharp scissors | Clean cuts | Trim thread |
| Needle book | Easy matching | Choose by fabric |
| Common thread | No delays | Mend fast |
| Leather thimble | Sewing safety | Push sturdy needles |
Start fabric preparation by pressing seams, then try needle threading against white paper. Cut thread at 45 degrees, wax it if it tangles, and practice stitch testing on scraps. Thread knotting locks your work; edge finishing keeps it neat. You’ve got this—your strongest secret is pressing again afterward!