13 Sewing Tips and Tricks for Beginners That Save Time and Frustration
Start with stable cotton, sharp blades, and a fresh universal needle—you’ll cut cleaner and sew straighter, hooray! Test stitches on matching scraps, press every seam, and use clips for bulky layers. Label pieces right away, then keep notes on fabric, settings, and fixes. Don’t pull fabric; let the feed dogs work. A walking foot can be a game-changer for slippery layers. Keep going for more time-saving tricks!
Love cozy DIY projects? 💕
Get free printable guides, exclusive tutorials & surprise craft goodies straight to your inbox.
Disclosure: This post may contain Amazon affiliate links, at no extra cost to you. Content on DiyCraftNest is created with research support from AI tools and carefully reviewed, edited, and fact-checked by the lead author, Daniel Pat, to ensure accuracy and reliability. Learn more
Key Takeaways
- Start with stable woven cotton or linen blends, align the grain, and use sharp cutting tools for accurate pieces and smoother seams.
- Test stitches on matching fabric scraps, adjusting stitch length and tension before sewing the actual project.
- Use a fresh, fabric-appropriate needle and replace it every 8–12 sewing hours to prevent skipped stitches and puckering.
- Press every seam flat, then open, using a lift-and-reposition motion instead of dragging the iron.
- Label each cut pattern piece immediately and store project parts in a labeled bag or bin to prevent confusion.
Start with Stable Cotton Fabrics
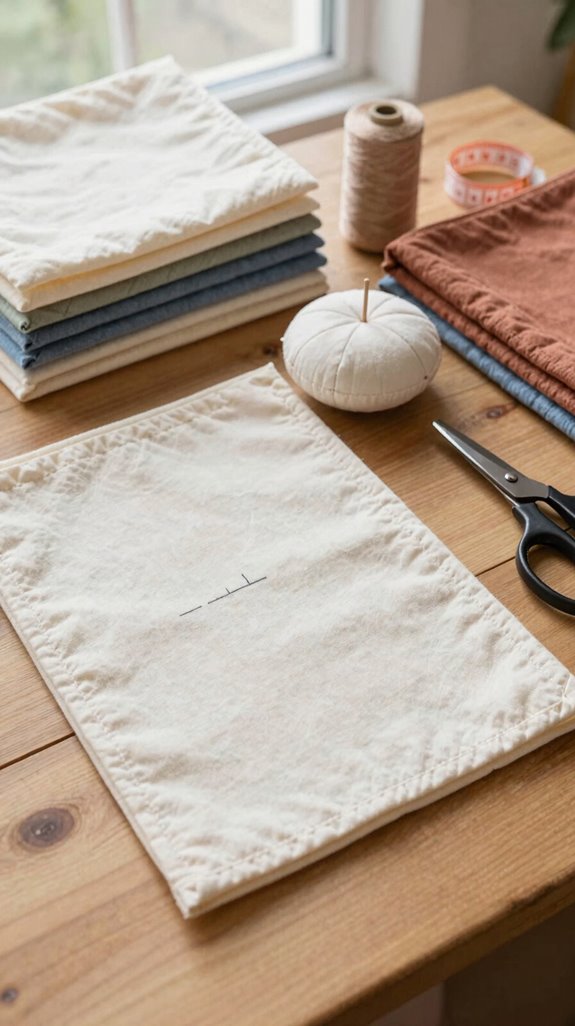
Begin with light- to medium-weight woven cotton or a cotton blend, because these fabrics stay put, feed smoothly under your machine, and make straight seams feel much less mysterious—hooray! You’ll feel like part of the sewing club fast.
For cotton seam practice, grab inexpensive scraps, thread, pins, and scissors. Check Fabric grain alignment by following the straight woven edge, then cut and pin two pieces.
Sew slowly, keeping edges matched. Stable cotton saves you from constant re-aligning, unlike slippery fabric or super-stretch knits that can slip, bunch, or dive toward the feed dogs—rude!
Want another easy option? Linen blends behave nicely too. Test-stitch scrap cotton first if puckers appear.
Change Your Needle Regularly
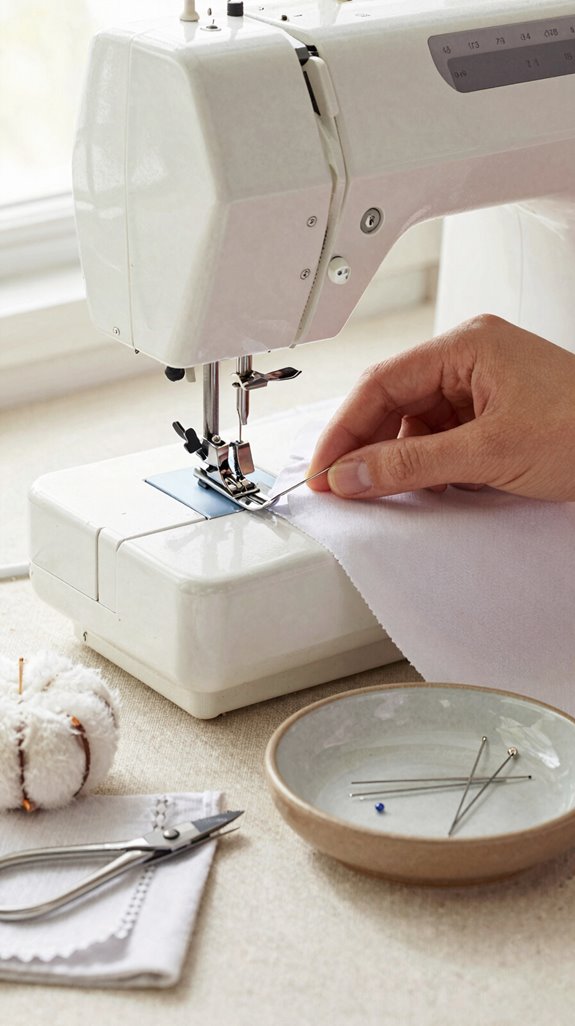
Fresh needles make a bigger difference than you’d think—hooray for tiny tools with major strength! You’re part of a sewing crew that swaps needles before trouble grows.
- Change it every 8–12 sewing hours.
- Use universal for wovens, ballpoint for knits.
- Choose microtex for crisp, tightly woven fabric.
- Match needle size to thread weight.
Needle wear causes snags, fraying, popped top thread, and tension drama—rude!
If you switch from denim to cotton or jersey, install a fresh needle first.
Skipped stitches fixes often begin here, not with endless rethreading.
A sharp new point glides through fabric, prevents oversized holes, and makes your seams look beautifully smooth.
Press Every Seam
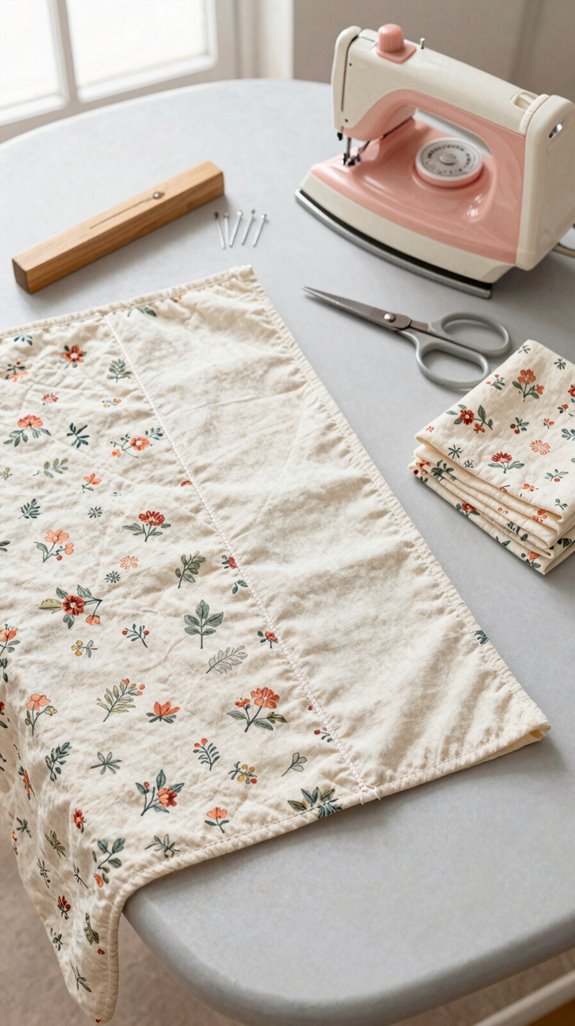
Pressing each seam might feel like an extra stop, but it’s the quiet trick that makes homemade projects look crisp and polished—seriously, it’s sewing magic! You’re part of the sewists who know a little heat saves big headaches.
For efficient pressing techniques, use an iron and pressing surface. Set the iron down, lift, and reposition—don’t drag it. That’s seam distortion prevention in action!
Press seams flat, then open, before sewing the next step. Slippery fabric or interfacing? Press between steps to stop sneaky puckers.
Here’s the time-saving surprise: batch press identical seams, and you may cut pressing time by nearly 30%. Smooth hems and edges will thank you!
Use Wonder Clips for Thick Fabrics
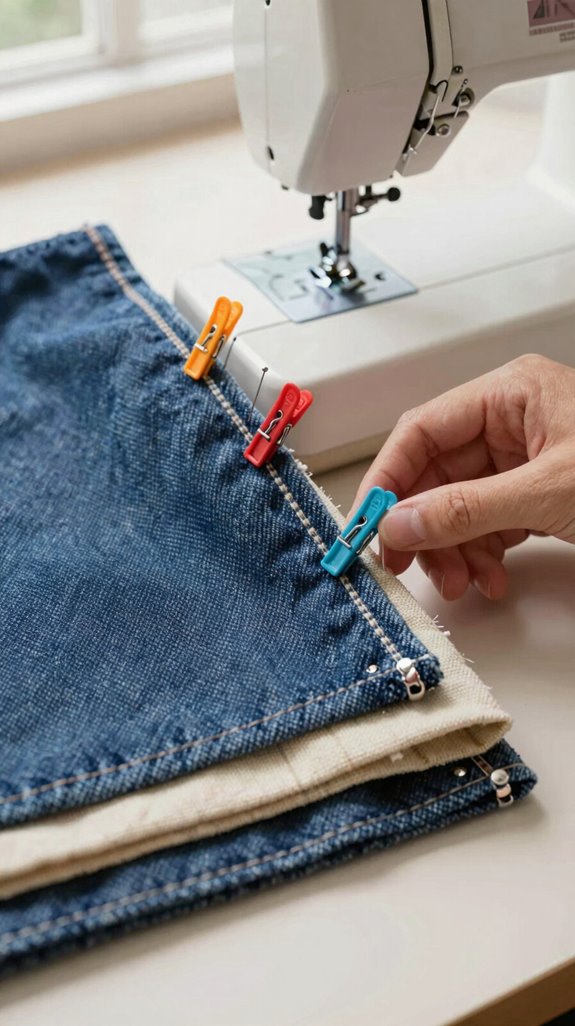
Once your seams are pressed smooth, keep those layers from wandering with Wonder Clips—especially when thick fabric starts acting like a stubborn sandwich!
For Beginner clip placement, clamp clips 2–3 inches apart, then remove each just before the needle arrives. You’ll feel like part of the sewing club in no time!
- Bright clips grip bulky seams securely
- Spring pressure helps slippery coated cotton behave
- Extra clips keep edges matched at thick spots
- Clip pocket corners or zipper ends first
This simple tool beats pins that slip, bend, or vanish like tiny gremlins!
For preventing fabric shift at waistband bumps, clip seam allowances together, then sew slowly.
Test Stitches on Scrap Fabric
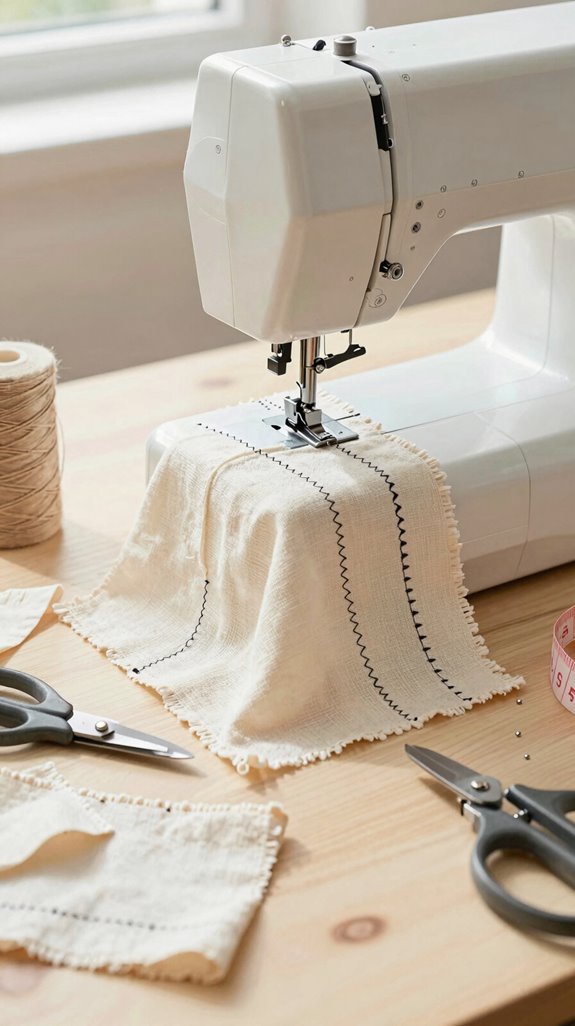
Before you sew the real seam, make a quick 5–10 stitch test on a scrap of the exact same fabric—same seam type, same layers, same setup.
You’ll catch little troubles before they join your project party!
Check stitch length: tiny stitches can pucker, while long ones may look loose.
Confirm fabric compatibility by testing straight or zigzag stitches on knit or woven scraps.
Then inspect both sides.
If bobbin thread peeks on top or top thread sinks underneath, adjust bobbin tension and test on scraps again.
Change needles, thread, foot pressure, or thickness?
Re-test!
A few warm-up stitches can prevent that sneaky swallowed bobbin thread.
Backstitch Every Seam
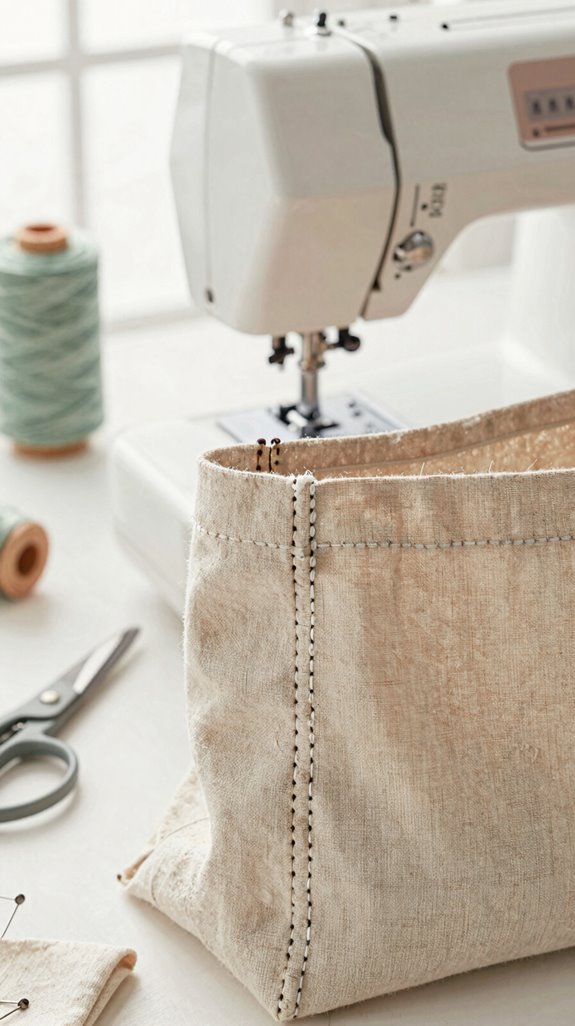
A quick backstitch acts like a tiny seat belt for every seam, keeping your thread from slipping loose while you handle, press, or wear your project—so satisfying! You’re part of the sewists’ club now: thread locking makes every finish seam feel dependable.
- Stitch forward two or three stitches.
- Press your backstitch lever on a scrap first.
- Keep tension and stitch length steady.
- Backstitch slightly inside the raw edge.
Then sew forward, and repeat at the end.
On delicate fabric, keep those reverse stitches short; long ones can create a bulky little bubble—yikes! This tiny habit prevents unraveling and gives your handmade piece a neat, confident backbone.
Trim Seam Allowances
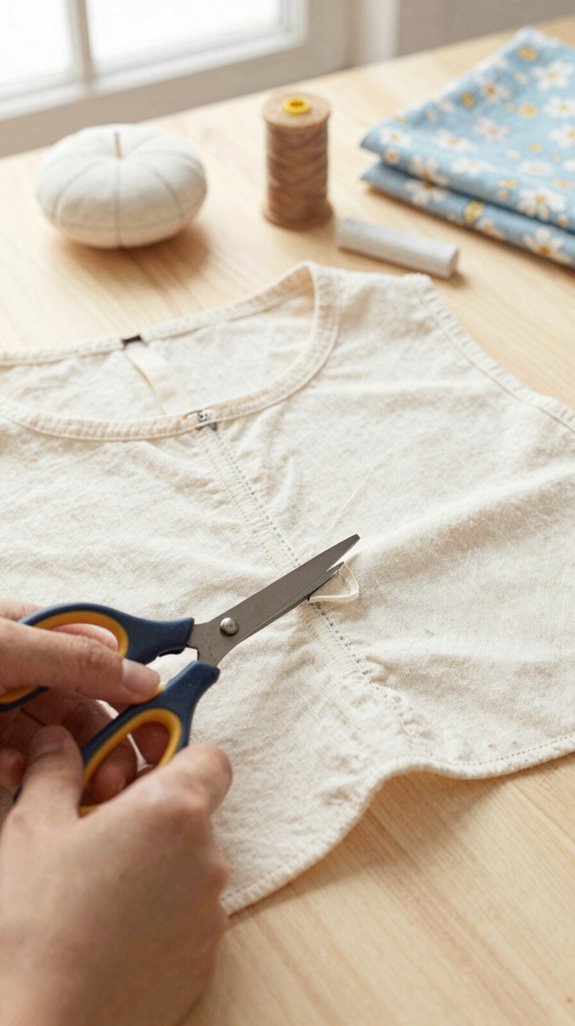
With your seams securely backstitched, it’s time to tidy the extra fabric beside them—hello, smoother edges! Trim to your pattern’s width, often 1/4 inch on straight seams and 3/8 inch around bulky spots, so your project joins the sewing club looking neat.
For curves, use sharp scissors to cut tiny V-shaped notches near, never through, the stitches. These Seam finishing techniques help fabric turn without puckers—magic!
Pressing flat or topstitching? Trim the under layer to about 1/8 inch to stop ridges and wobbles.
Before turning corners or zipper areas, remove bulk.
Test on scraps first: Prevent fraying methods work best when you leave a safe stitch buffer.
Use Walking Foot When Needed
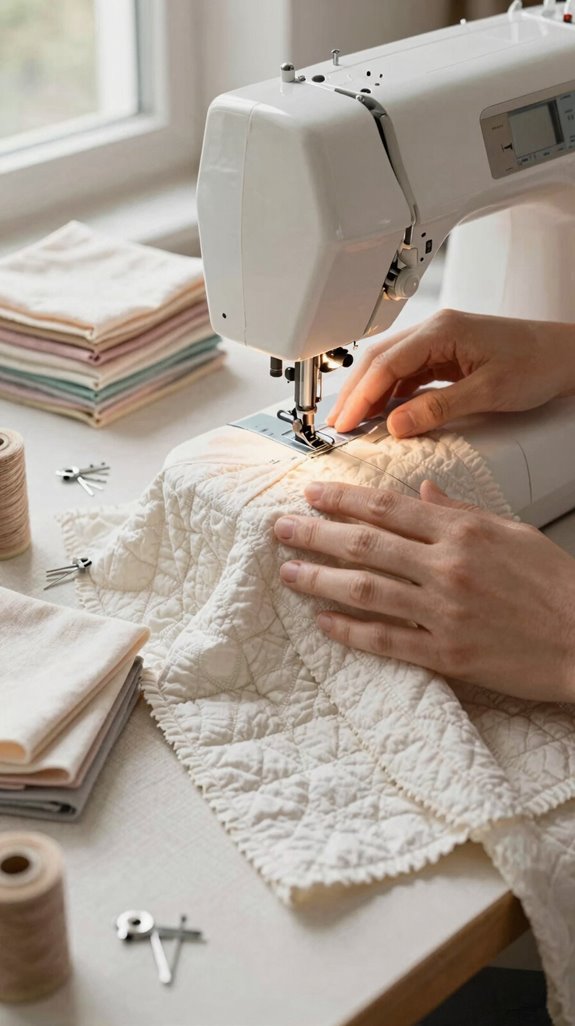
When layers start sliding like they’ve got somewhere else to be, clip on a walking foot!
You’re not alone—Troubleshooting seam creep is a classic beginner hurdle, especially when working with knits or silky wovens.
- Top and bottom layers feed together
- Seams stay smooth, not wavy
- Match edges without constant tugging
- Long seams follow your stitching line
Test it on scraps first, then lower the foot gently and slow your machine a bit.
The foot’s even feeding helps prevent puckers and mismatched seams.
Best surprise? You can often fix wandering fabric without changing stitch settings or seam allowance.
Hello, confident sewing!
Organize Bobbins by Color
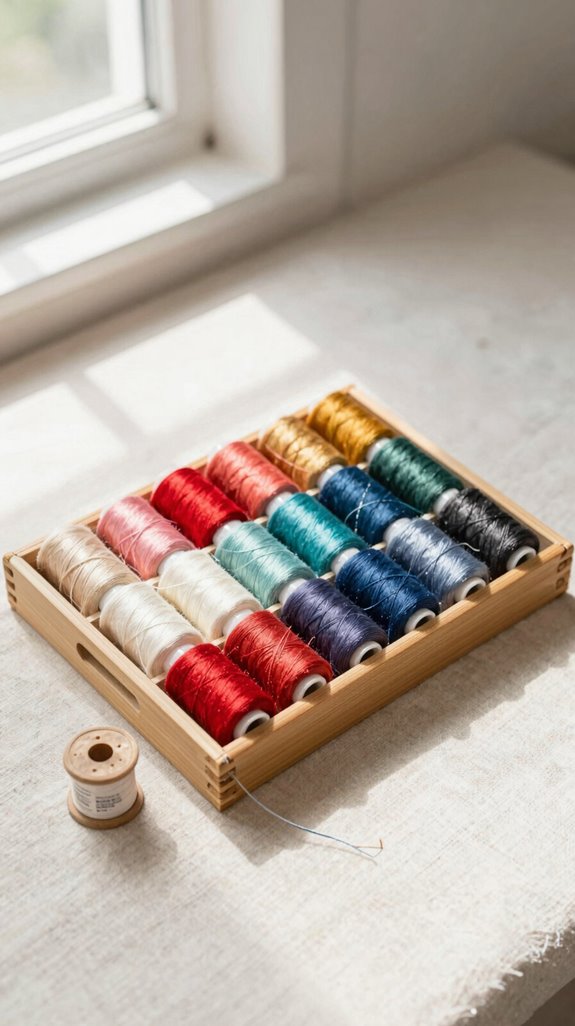
Keep bobbins sorted by thread color, and you’ll skip the mid-project hunt for “almost navy” that somehow turns out black—ugh!
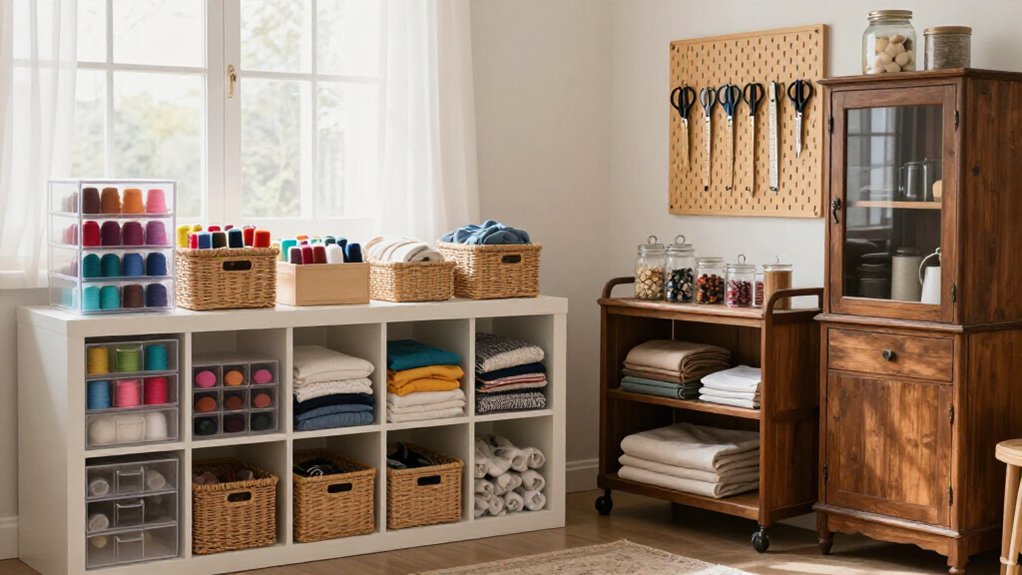
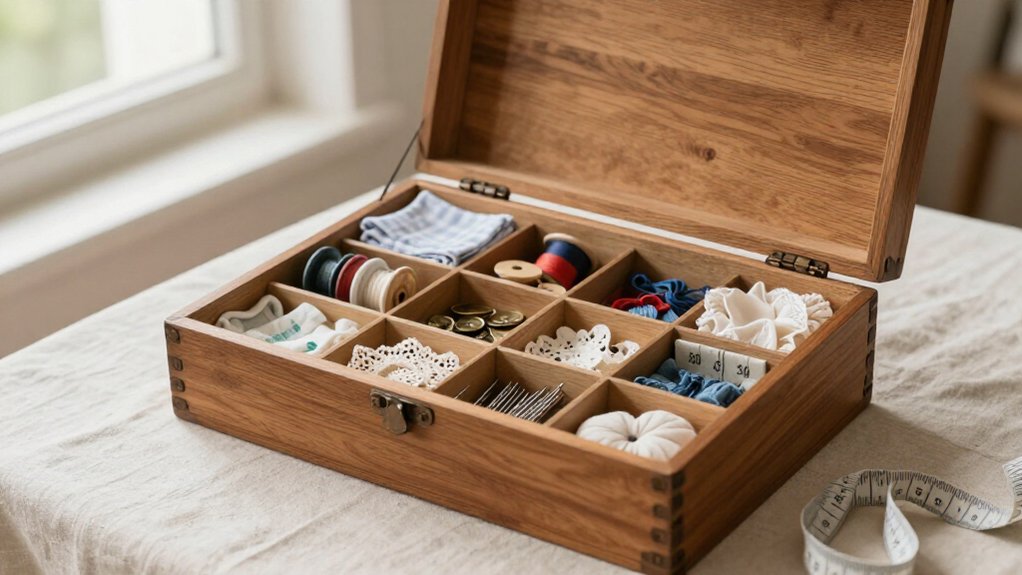
Use a dedicated container, labeled slots, or a simple color coding system near your sewing space.
For projects with several shades, pre-wind one bobbin per color and group them in separate compartments.
Add clear labels, such as “#A navy / cotton 50 wt,” especially when similar blues try to fool you!
Sort Bobbins by weight, too, when you know the thread type.
Before sewing, make a quick scrap test stitch.
You’ll confirm balanced tension and join the prepared-sewer club—easy, organized, and satisfying!
Replace Rotary Blades Often
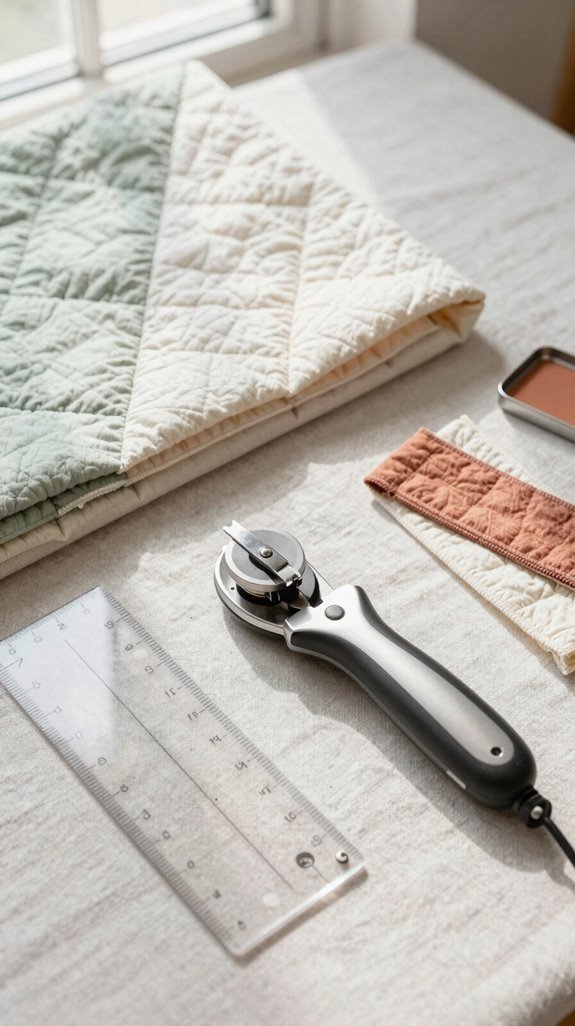
A neatly sorted bobbin is only half the battle—your rotary cutter needs attention, too! Dull blades make fabric snag, lines wander, and rulers slide. You’re not alone—every sewist hits this point!
Watch for these clues:
- Extra resistance through cotton layers
- Frayed edges like tiny fabric whiskers
- Denim or interfacing dulling blades fast
- A ruler that shifts when you push harder
Keep replacements nearby for smart Rotary Blade Timing; swapping costs little and saves a project. Then try Smooth Scrap Testing: cut a leftover strip before your precious fabric. A fresh blade glides cleanly, giving you crisp, straight edges—such a satisfying little victory!
Measure Twice Before Cutting
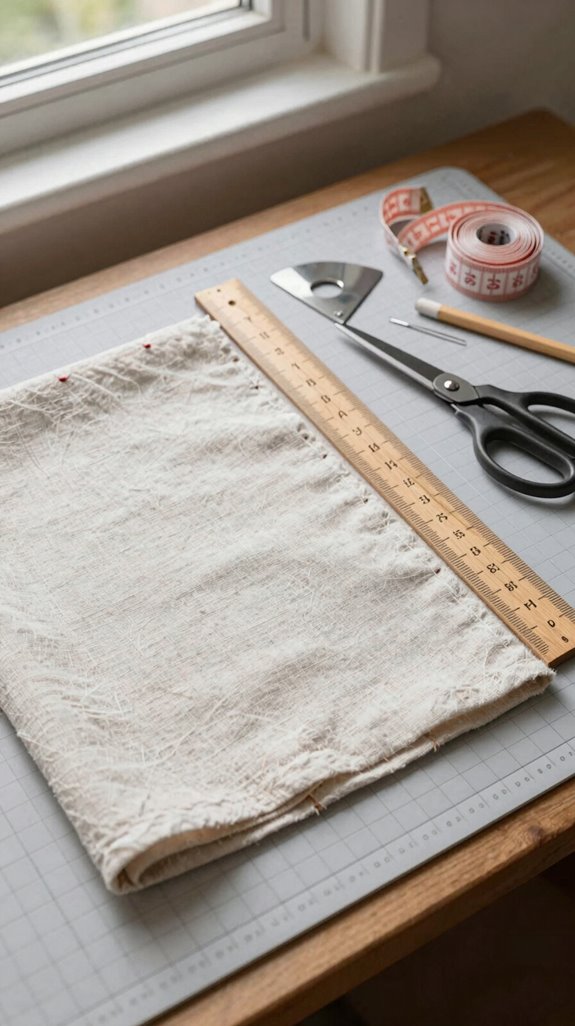
Before your scissors make that first snip, check every measurement twice: once on the fabric, then again against the pattern piece with the seam allowance you’ll actually sew.
Keep pattern fitting and fabric direction in view, especially with stripes, plaid, or nap. Use weights to stop paper from sliding—no pin-cushion wrestling required!
Next, mark seam lines and notches distinctly, then compare them to the pattern again. Triple-check lengthen/shorten lines, zipper spots, and hem positions; these tiny marks keep your project in the sewing club, not the “oops” pile.
Still unsure? Try a cut test on a scrap first. It costs almost nothing and can save your favorite fabric!
Label Pattern Pieces
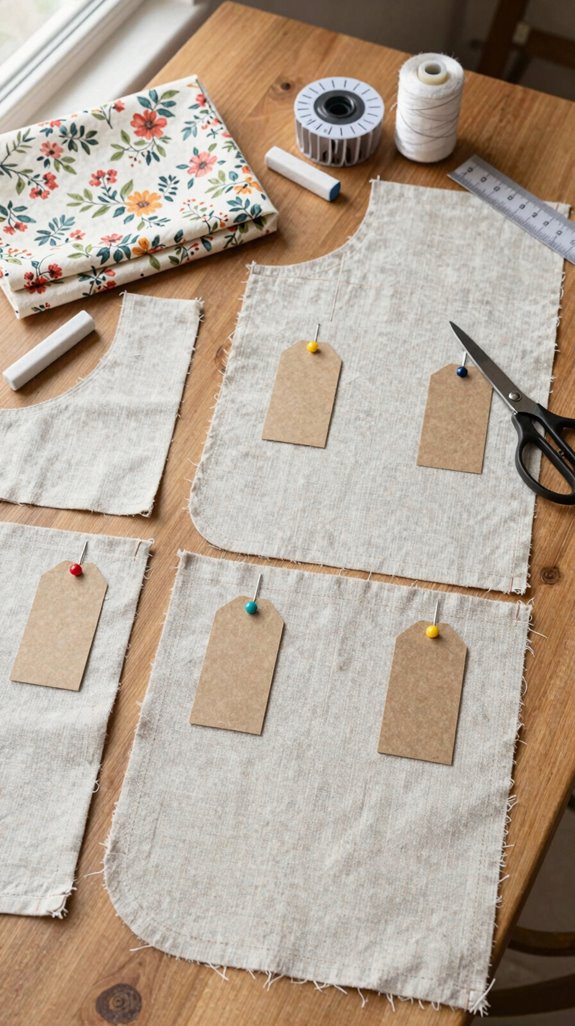
Once you’ve cut your fabric, label every pattern piece right away so similar-looking shapes don’t turn into a tiny fabric mystery!
Use masking tape and a Sharpie, then let ink dry completely.
- Write “A—Front bodice” unmistakably.
- Match pattern names: left, right, facing.
- Add “Bag 1—Strap” when batch cutting.
- Tuck pieces into a project bag or labeled bin.
These Thread marking basics keep your sewing flow smooth, and you’ll feel right at home with organized makers!
For fabric storage hacks, keep each project’s labeled pieces together like a friendly little team.
You’ll spend less time hunting, and more time stitching—hooray!
Keep a Sewing Journal
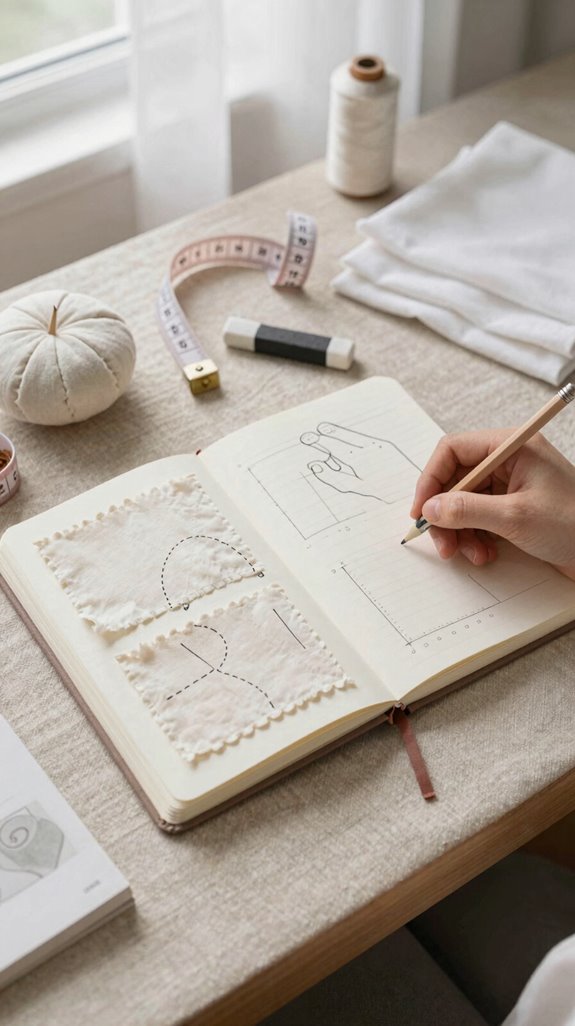
Keep a sewing journal, and you’ll build a handy little roadmap for every project you make!
Note the pattern name and size, fabric, needle, thread brand, and stitch settings, so future you can recreate a win without guesswork.
Add Troubleshooting templates for annoying moments: “tissue paper under knit at seam start” or “raise the take-up lever first.”
Glue in scrap tension tests, showing balanced stitches and any fixes.
Then log seam finish recipes and pressing steps: press seams flat or open before sewing onward.
At the end, jot what saved time, like batch cutting or labeling pieces.
Best of all, you’ll create your own friendly sewing playbook!
Tools Worth Buying First
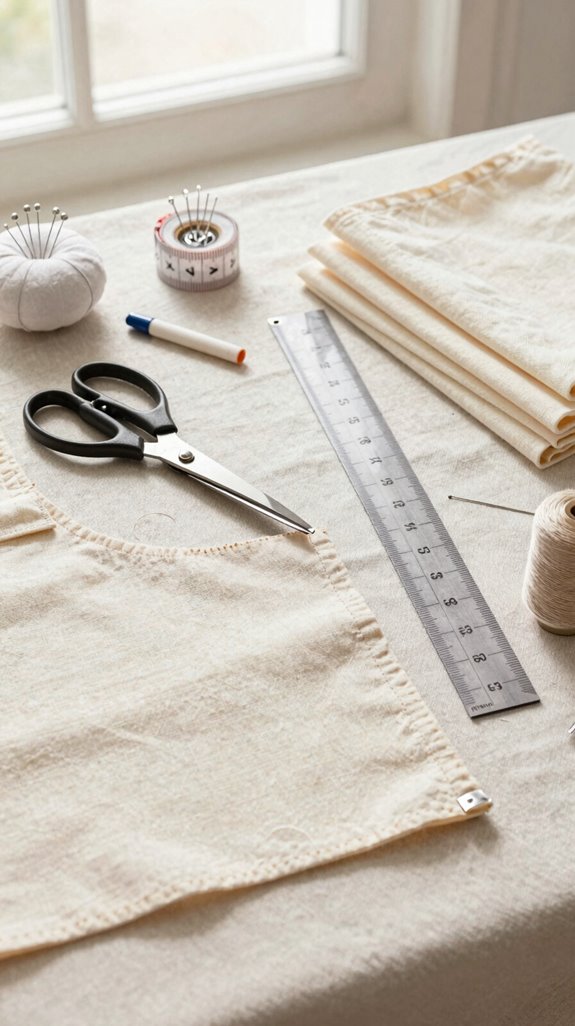
You don’t need a studio full of gadgets to sew better—just a few hardworking tools that save time, improve accuracy, and spare you from those “why is this edge suddenly wavy?” moments!
- A seam ripper: use its ball tip to glide through stitches, not poke and wrestle them.
- A rotary cutter, grid ruler, cutting mat, and sharp blades: perfect for basic cutting templates and crisp stacks.
- A magnetic seam guide: snap it beside the needle for straighter, calmer seams.
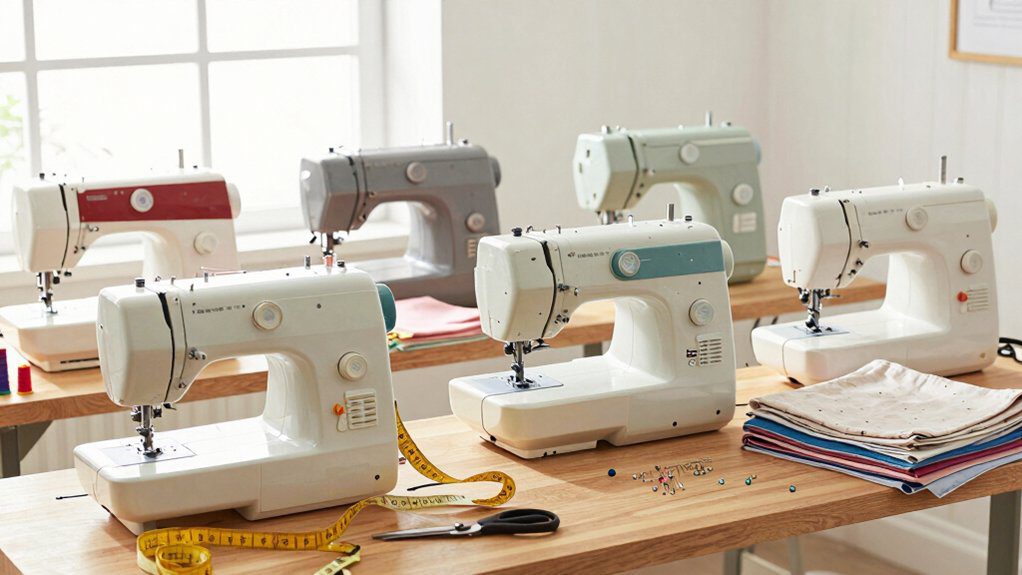
- A walking foot: it feeds stretchy or thick layers together, so they don’t wander off!
Choosing the right scissors still matters, but this crew makes you feel like part of the sewing club—fast!
Mistakes Every Beginner Makes
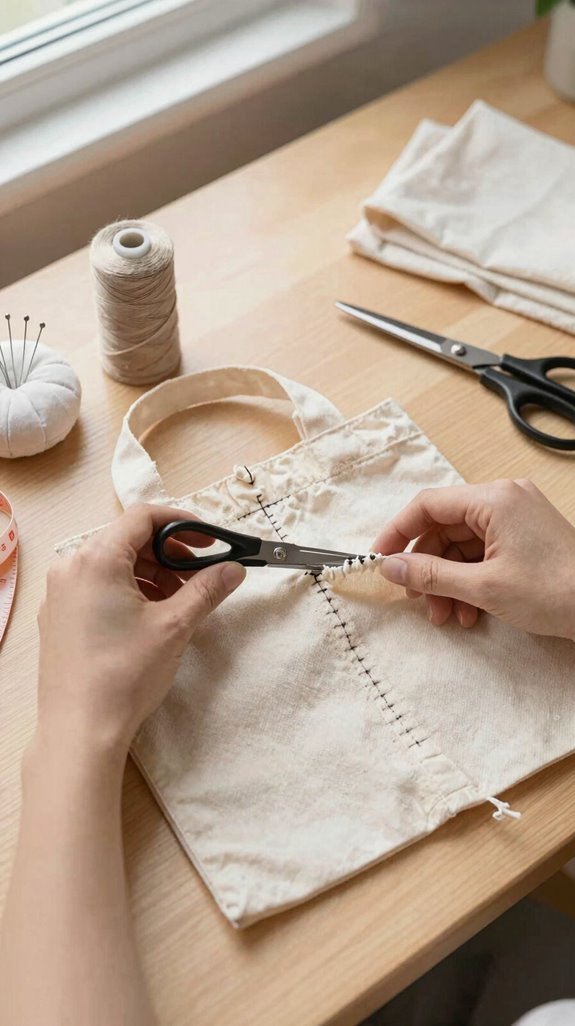
Even great first projects can go sideways from a few tiny habits—nothing dramatic, just the kind of “where did my thread go?” surprises that make a machine seem haunted!
Avoid Thread start mistakes by raising the take-up lever first, then hold both thread tails behind the foot. For slippery knits, slide a small strip of tissue paper underneath—cheap, easy, and wonderfully calming!
Next, test tension and stitch length on scraps before sewing your real piece. It saves you from machine threading errors, puckers, and surprise bobbin thread.
Finally, trust feed dog control: don’t push or pull fabric. Let it travel, breathe through backstitch anxiety, and tie thread ends when you sew far from edges.