21 Beautiful Sewing Room Storage Ideas That Keep Everything Organized
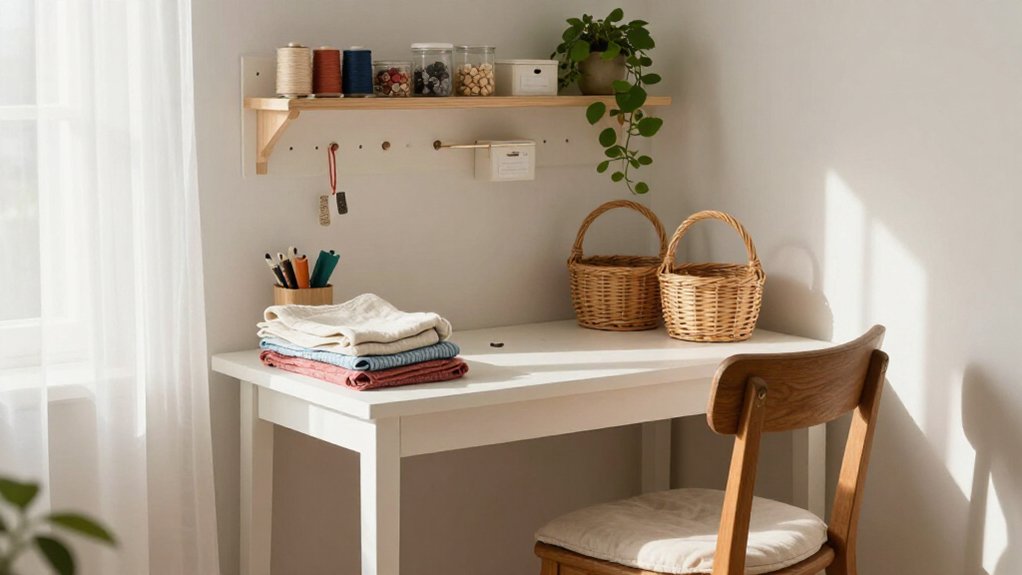
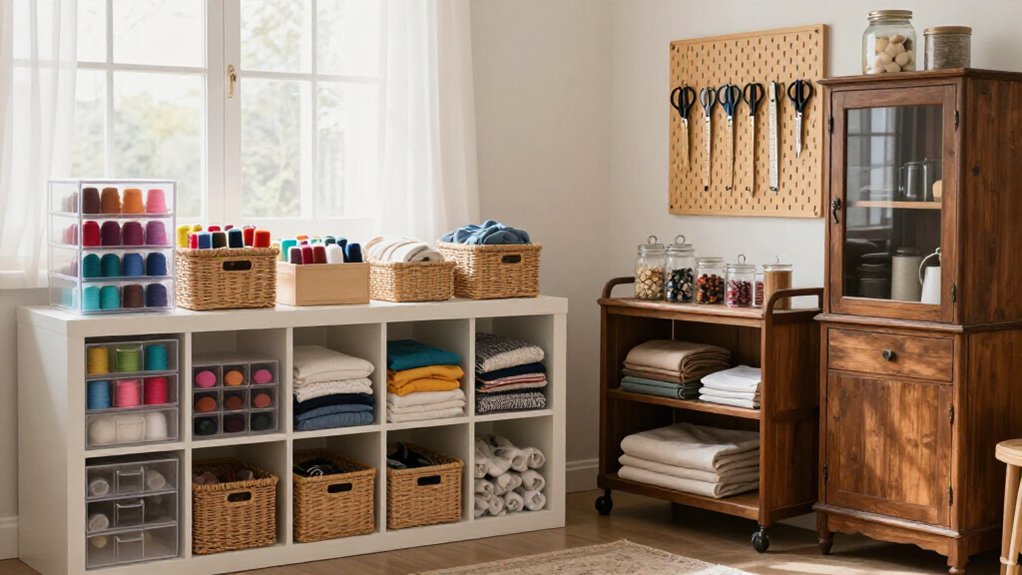
Turn a blank wall into floor-to-ceiling fabric shelves, then add clear, labeled bins so you can spot every cut—no fabric avalanches! Hang scissors and rotary cutters on a simple pegboard, sort buttons in glass jars, and keep thread and bobbins on wall racks beside your machine. A rolling cart and project baskets make cleanup easy. Best surprise: build a fold-out cutting table from bookcases, a countertop, and locking wheels. Keep going for more clever setups!
Love cozy DIY projects? 💕
Get free printable guides, exclusive tutorials & surprise craft goodies straight to your inbox.
Disclosure: This post may contain Amazon affiliate links, at no extra cost to you. Content on DiyCraftNest is created with research support from AI tools and carefully reviewed, edited, and fact-checked by the lead author, Daniel Pat, to ensure accuracy and reliability. Learn more
Key Takeaways
- Create a colorful fabric library with labeled shelves, clear bins, and daily-use fabrics stored at chest height.
- Turn empty walls into functional stations using pegboards, thread racks, magnetic strips, and labeled jars for small notions.
- Organize patterns in tabbed binders with clear sleeves, keeping instructions, templates, and magazine copies together.
- Build workflow zones with drawer dividers, a fold-out cutting table, and a rolling cart for frequently used tools.
- Give every active project a labeled basket or cart containing fabric, pattern, blocks, backing, binding, and notions.
Floor-to-Ceiling Fabric Shelves
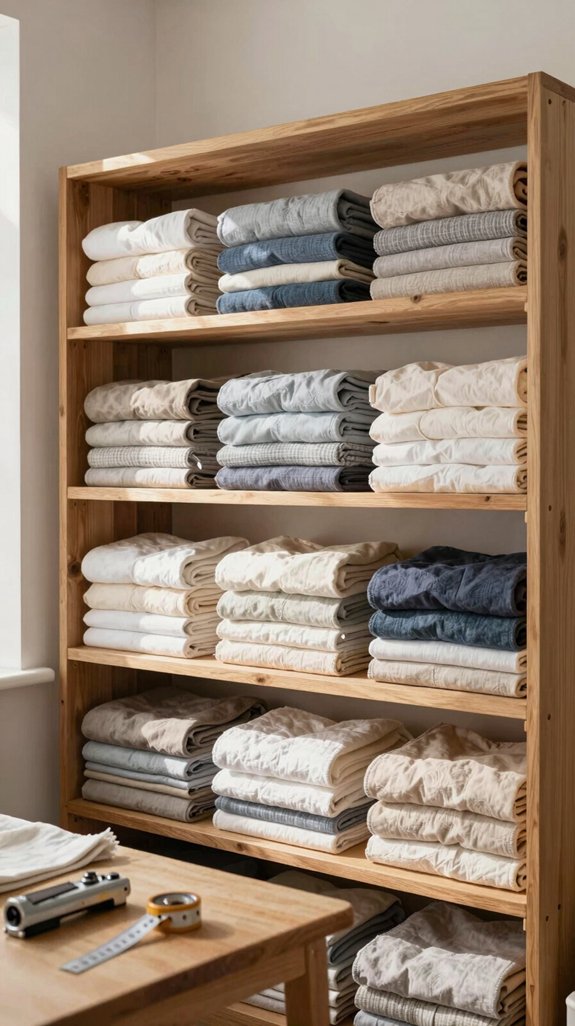
Floor-to-ceiling fabric shelves turn a blank wall into a colorful, easy-to-shop fabric library—no more digging through mystery piles!
You’ll feel right at home among neatly grouped prints and solids.
Start with fabric bin sizing: measure your folds first, then choose bins, such as 10-by-6.58-inch mDesign containers.
Add stackable clear bins or small dividers to stop fabric avalanches!
Next, use shelf reach optimization.
Keep daily favorites at chest height, while seasonal cuts and bulky backing fabric go high or low.
Clear upper shelves let you spot bolt-style yardage fast.
Want the wow factor?
Build pullout shelves sized for four bins each—your whole fabric family stays visible, tidy, and ready!
Rolling Storage Cart
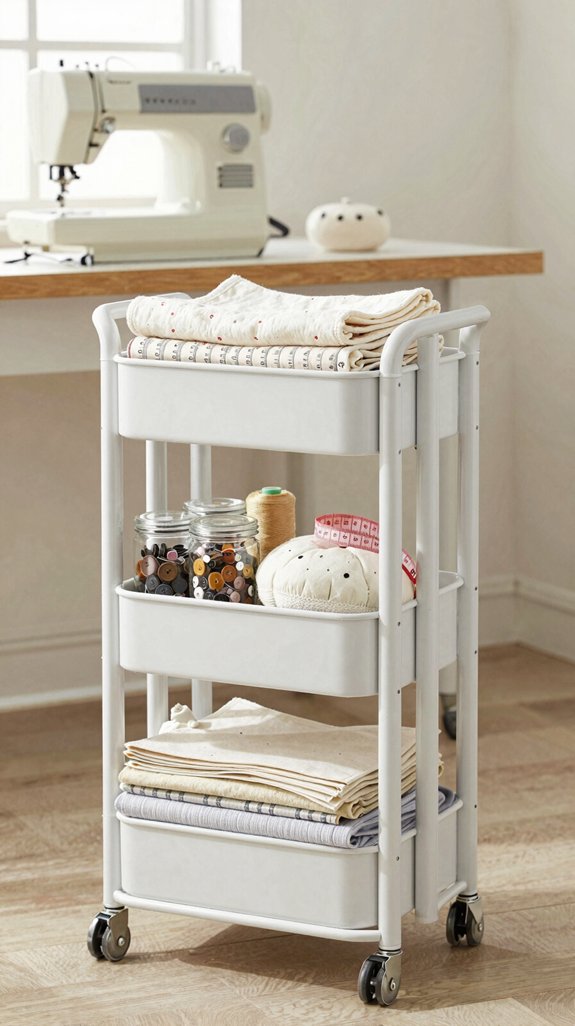
A rolling storage cart keeps your most-used quilting tools right beside the cutting table, then rolls away when you need elbow room—so handy!
| Zone | Store | Benefit |
|---|---|---|
| Top | Scissors, pens | Quick reach |
| Drawer | Presser feet | Tool grouping |
| Bin | Pattern, scraps | Project zoning |
| Side | Paper supplies | Smooth workflow |
Choose clear drawers or matching stackable bins for visible organization; you’ll spend less time hunting and more time sewing with your people!
Keep one “active” cart for your current WIP. Add labeled bins, load supplies, and roll it beside the printer when needed. It creates a clear workspace—and makes cleanup almost magically painless!
Pegboard Wall Organizer
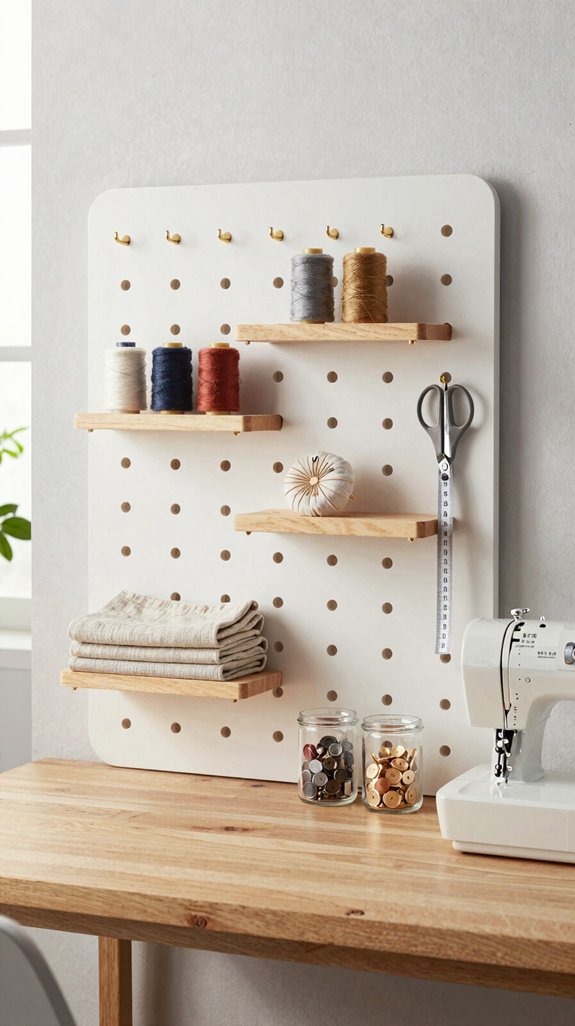
Turn an empty wall into a grab-and-go tool station with a craft pegboard—such a simple upgrade, yet it can save your sanity mid-project! Hang scissors, rotary cutters, and small notions on hooks or in clip-on containers, so cluttered shelves can finally breathe.
For easy tool placement tips, keep your favorites at arm height near the cutting table. Add simple tags if cleanup tends to become a mystery—no judgment, we’ve all been there!
Then hang rulers with hooks or binder-clip attachments. This quick grab organization keeps every necessary visible, gives each tool a home, and makes your sewing space feel like the welcoming creative corner you deserve.
Glass Jar Button Storage
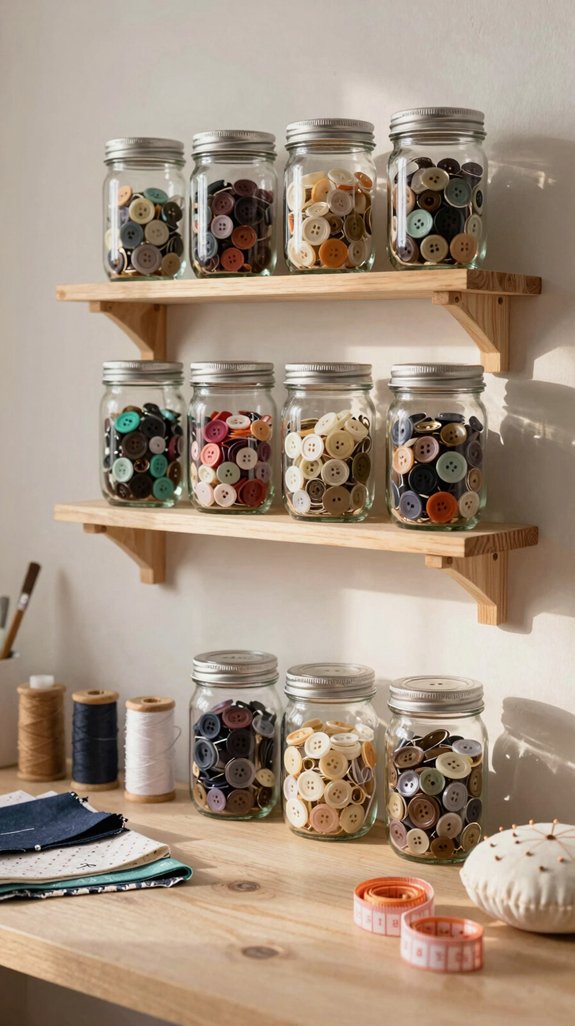
On a shelf or inside a cabinet, clear glass jars turn a loose button collection into a colorful, easy-to-search display—so satisfying! You’ll love how Button sorting by size or type keeps dress, coat, shank, and flat buttons from becoming a tiny plastic avalanche.
Gather clean jars, lids, labels, and a marker. Start simple: sort buttons, fill jars, then use lid labeling with sizes, colors, or categories for speedy size matching during repairs.
Keep your jar organization together in one marked cabinet zone, so your stash feels like part of a welcoming sewing community.
For the clever finishing touch, place bulky specialty hardware in separate jars; tiny buttons won’t disappear underneath!
Thread Wall Rack
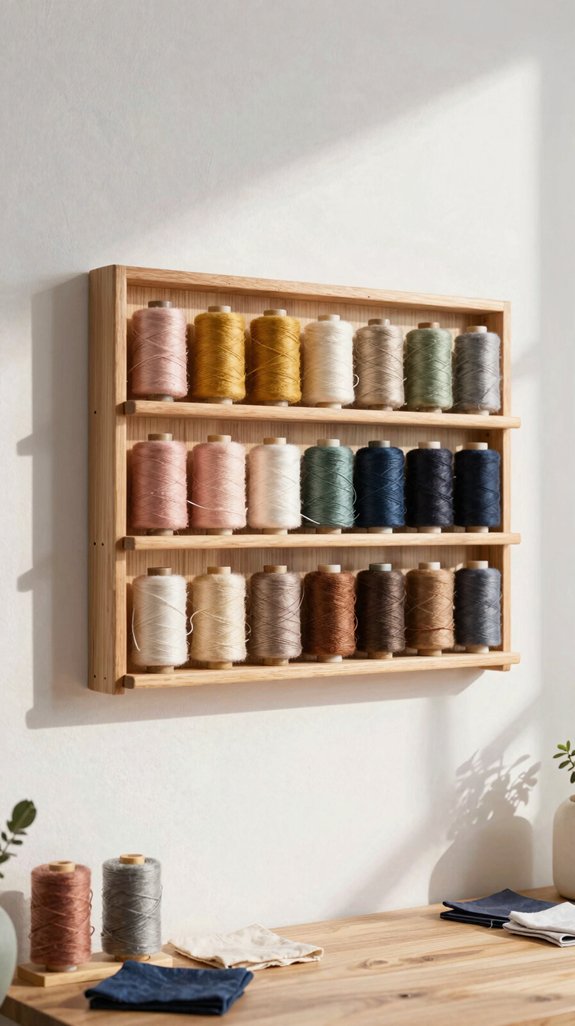
Once your buttons are neatly tucked into jars, give your thread a starring role with a wall-mounted rack—what a difference! You’ll spot the perfect shade fast, right beside your machine.
- Try color sorting, from sunny yellow to deep navy.
- Mount it at easy arm height; no stretching required!
- Keep needles and bobbins in nearby labeled notecards-marked containers.
- Choose a wooden rack that lets thread double as cheerful wall decor.
You only need a rack, screws, and a drill, so this beginner DIY stays budget-friendly.
Arrange spools by quilt palettes to create a look that feels like your creative crew belongs here.
Best part? Your thread becomes art—finally, a practical rainbow!
Clear Fabric Bins
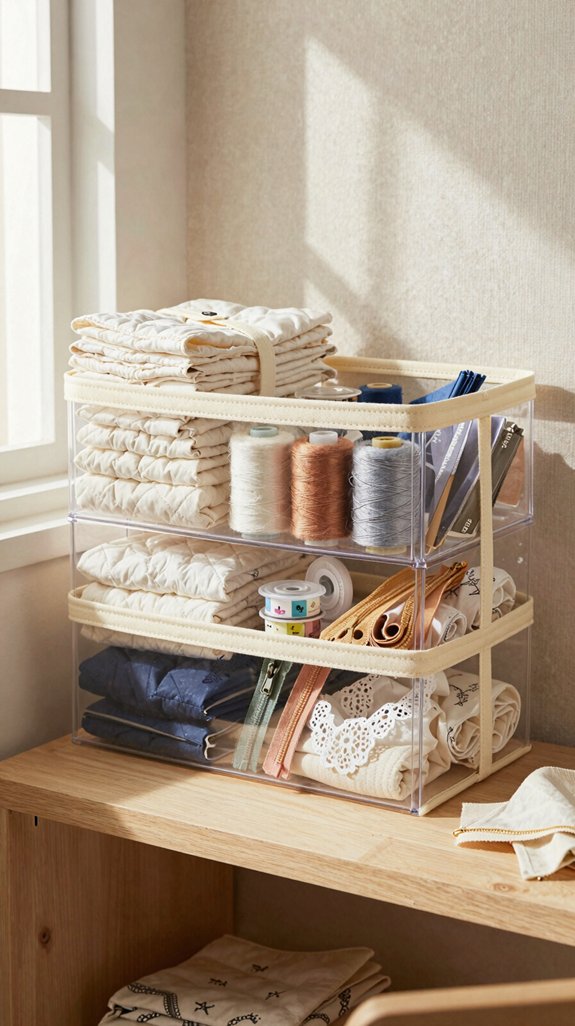
Clear fabric bins make it easy to see your favorite yardage at a glance—no more digging through a fabric mountain, hooray! Choose sizes that fit how you naturally fold; small bins, such as 10-inch mDesign styles, hold fat quarters without endless re-folding.
For better Fabric Visibility, group each bin by color, print, or cut size. You’ll create an easy Inventory that feels friendly, not fussy, when fellow makers visit or inspiration strikes!
Stack bins on shelves, tuck them under the bed, or slide them into a closet to save space.
Here’s the smart finishing touch: keep them behind doors or shutters, so sunlight won’t fade those treasured fabrics.
Pattern Filing Cabinet
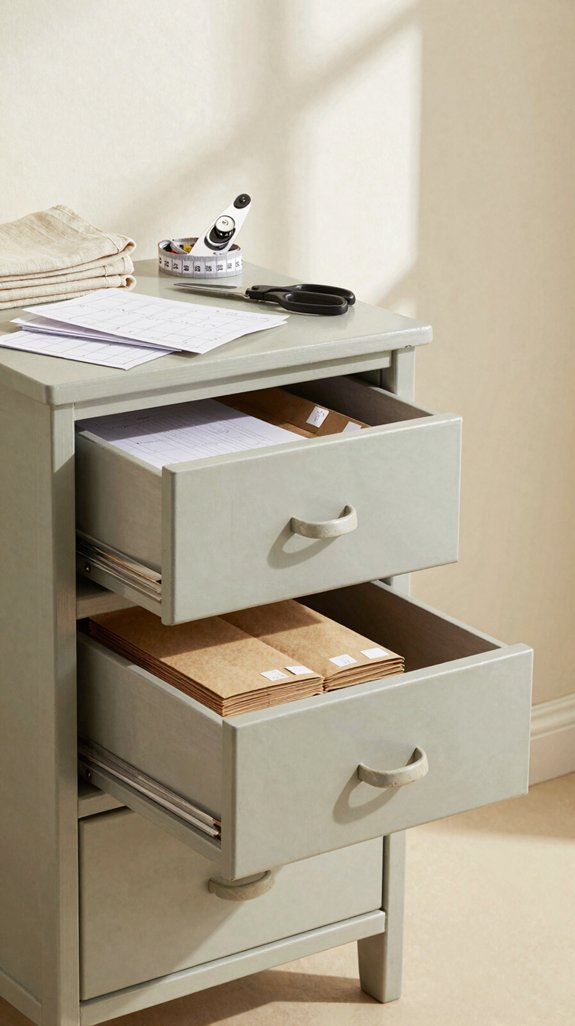
A simple 3-ring binder can become your very own pattern filing cabinet, and it costs far less than a stylish storage system—yes, even the one with the cute label maker!
Build a quick access system with mini-binders, clear sleeves, and labeled tab organization. You’ll feel right at home when every favorite design is ready to flip through!
- Sort patterns by quilt or block type.
- Keep whole instructions in one sleeve.
- Add Magazine pattern copies for fragile pages.
- Use PDF backup filing on a thumb drive.
Print replacement pages, then return them to their sleeves.
The best part? Multi-page patterns stay together, so you won’t hunt for page three six months later.
Fold-Out Cutting Table
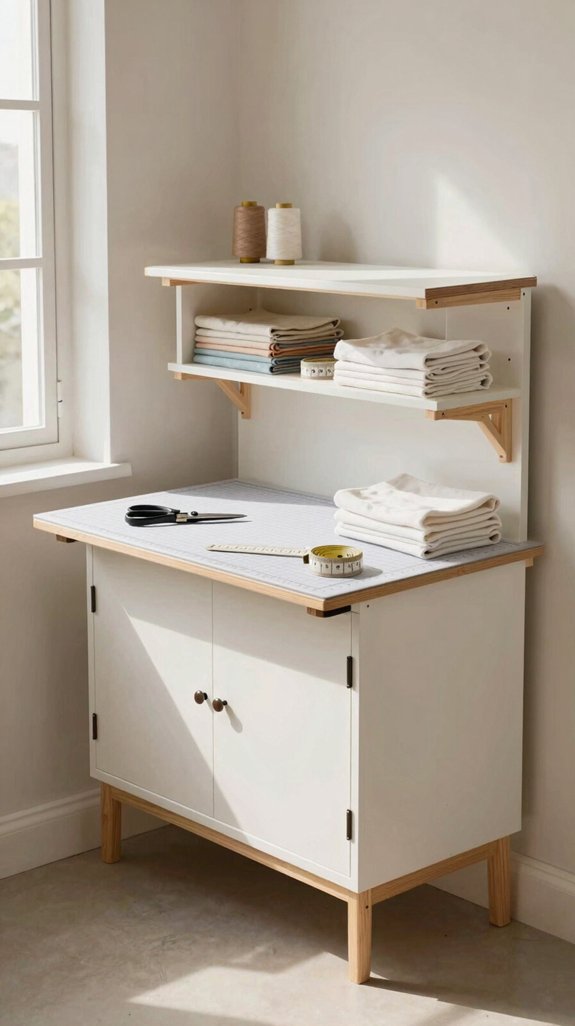
When floor space feels tight, a fold-out cutting table gives you a roomy work surface without turning your sewing room into a furniture warehouse—hooray!
Build yours with two IKEA bookcases, a countertop, and locking wheels for an easy, budget-friendly DIY.
Set the top at your ideal cutting height, perhaps 34 inches, to support Backrest comfort and stop those bend-and-grumble moments.
Aim for about 31 by 63 inches, then measure your reach so your arms do the work.
Keep fabric and tools in the bookcases for a smoother storage workflow.
When you’re done, fold it away, roll it aside, and welcome your room back—like a sewing friend saved you a seat!
Magnetic Needle Station
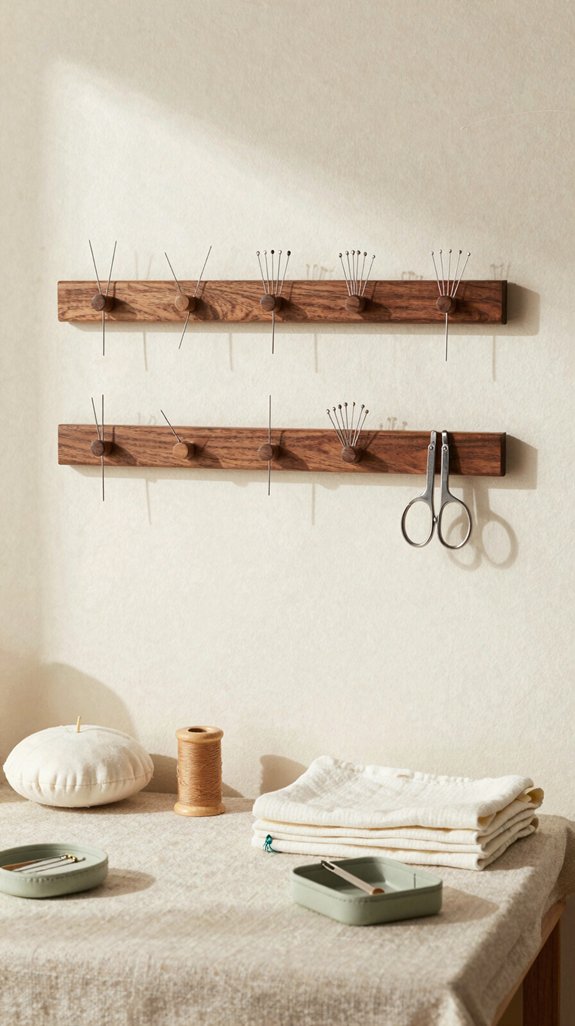
Once your fold-out table keeps fabric under control, give tiny sharps a home, too: a magnetic needle station lets you set down pins and hand-sewing needles in one quick motion—no more mysterious needle disappearances in the fabric pile!
Mount a strong magnetic strip beside your machine for easy Needle safety. You’ll feel like part of the organized sewing club!
- Add a magnetic tray for quick pin sorting.
- Separate needle sizes with small magnetic bars.
- Keep thread organization nearby, not mixed in.
- Pair bobbin labeling with a jar for dull needles.
Use adhesive strips or screws, then place it within arm’s reach.
Best tip: label the discard jar “Retired”—your usable needles stay ready!
Drawer Divider System
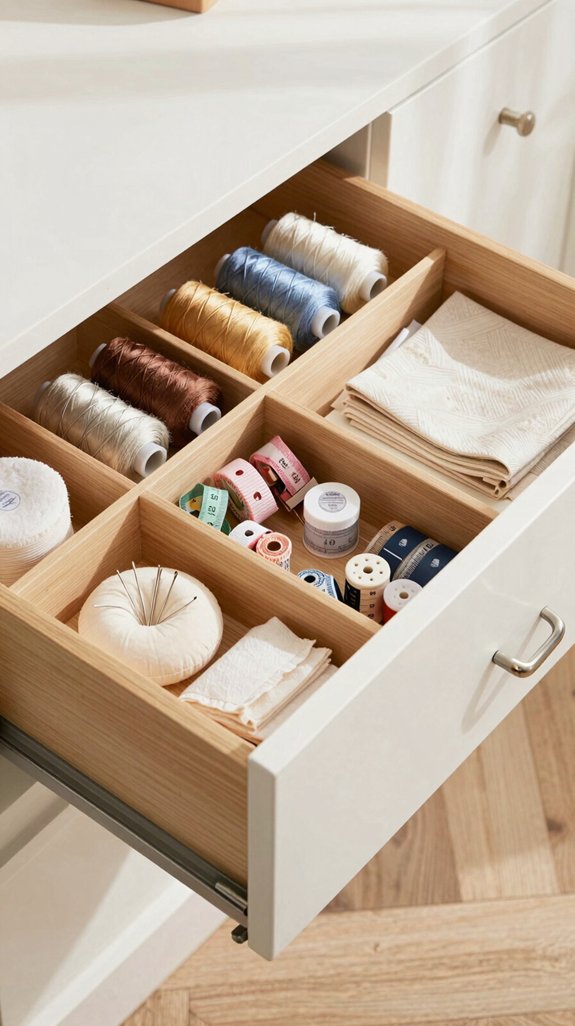
Turn a messy sewing drawer into a neat little supply map with simple silverware-style organizers—yes, the kind meant for forks can tame zippers, elastic, trims, piping, and all those itty-bitty findings!
Start with drawer workflow planning: measure first, then choose clear, stackable, or pull-out bins that fit. Give every supply a home, so cleanup feels like joining a well-run sewing circle!
Use Tupperware inserts and clear boxes to separate large spools, small machine thread, and hand-sewing floss.
Small WIPs, paper-piecing tins, and log cabin pieces stay visible, not lost in the fabric abyss.
Best trick? Try labeled compartment swaps as projects change—no dead zones, no digging, hooray!
Floating Corner Shelves
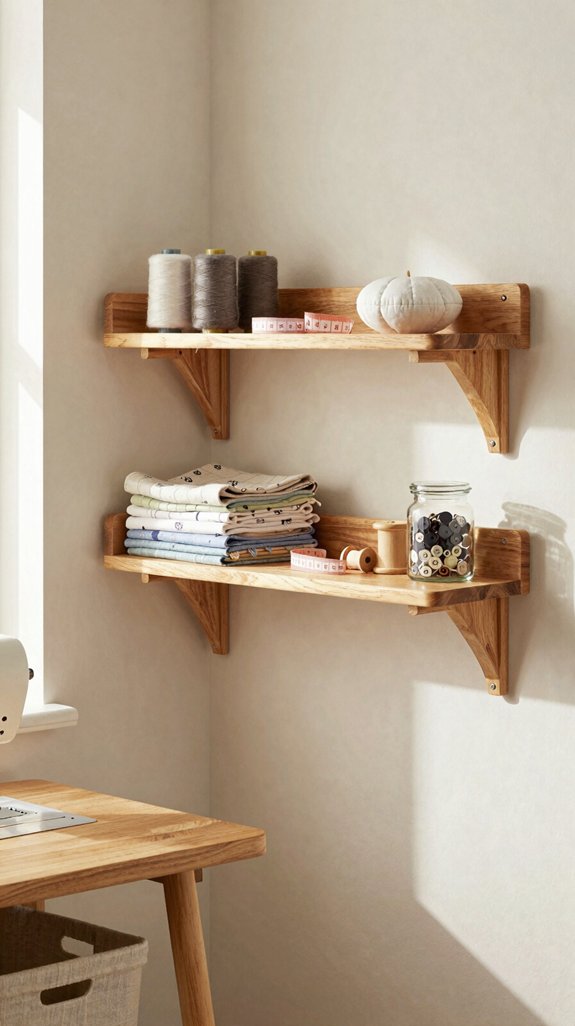
A bare corner can become your sewing room’s secret storage star with a few floating corner shelves—easy, affordable, and wonderfully out of the way! With smart corner shelves planning, you’ll keep your worktable clear and feel right at home.
- Mount sturdy shelves with basic brackets and screws.
- Set rulers, scissors, and thread jars within reach.
- Place heavier tools below, lighter supplies up high.
- Use matching clear containers for a calm, shared-studio look.
These vertical storage tips make tiny rooms work harder—no floor space sacrificed! Add simple taped shelf labels so you can grab what you need fast. Best of all, your colorful notions become cheerful décor, not drawer-dwelling clutter!
Labelled Storage Boxes
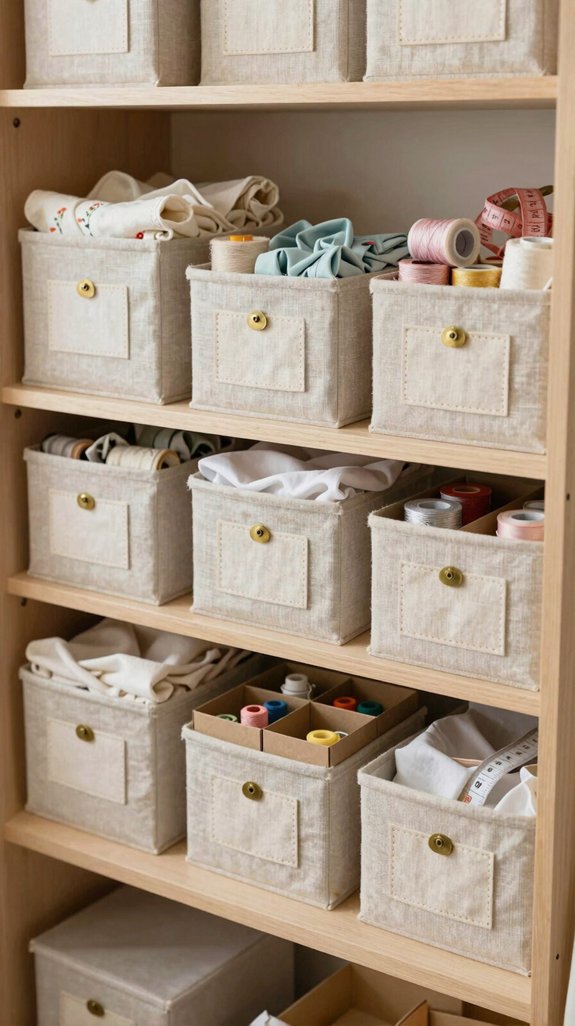
Labelled storage boxes bring instant calm to a busy sewing room, because you’ll know exactly where every project, scrap, and mysterious zipper stash belongs!
Use a label maker for matching, quilt-specific labels right on each box front. Add the quilt name, pattern, and needed materials, so you won’t play “which box has the binding?” months later.
For easy Quilt label tips, print bold paper labels and tape them on. They’re cheap, neat, and replaceable as projects change stages.
Keep WIP bin organization friendly and simple: group mending, orphan blocks, ribbons, and Christmas fabric together. Your shelves stay intuitive, and every creative treasure feels like it belongs.
Under-Table Baskets
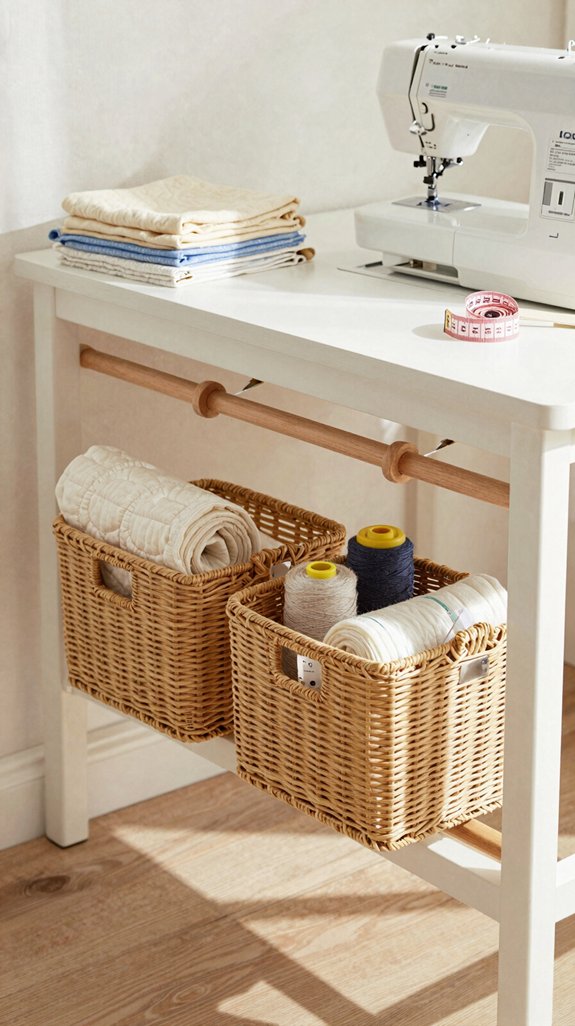
Keep an under-table basket within arm’s reach of your cutting or sewing spot, and you’ll have a fast, no-fuss place to toss trimmings before they escape to the floor!
Try this friendly Desk drop off setup:
- Choose a lidded wicker hamper.
- Check hamper placement from your chair.
- Use it for quick cleanup.
- Begin scrap sorting by color.
You’ll keep dresser shelves free for folded fabric, while your shared creative corner stays welcoming. When the basket fills, simply dump it into your main scrap system and reset it. The best part? A covered bin hides tiny threads between sessions—because nobody invited fabric confetti!
Over-the-Door Organizer
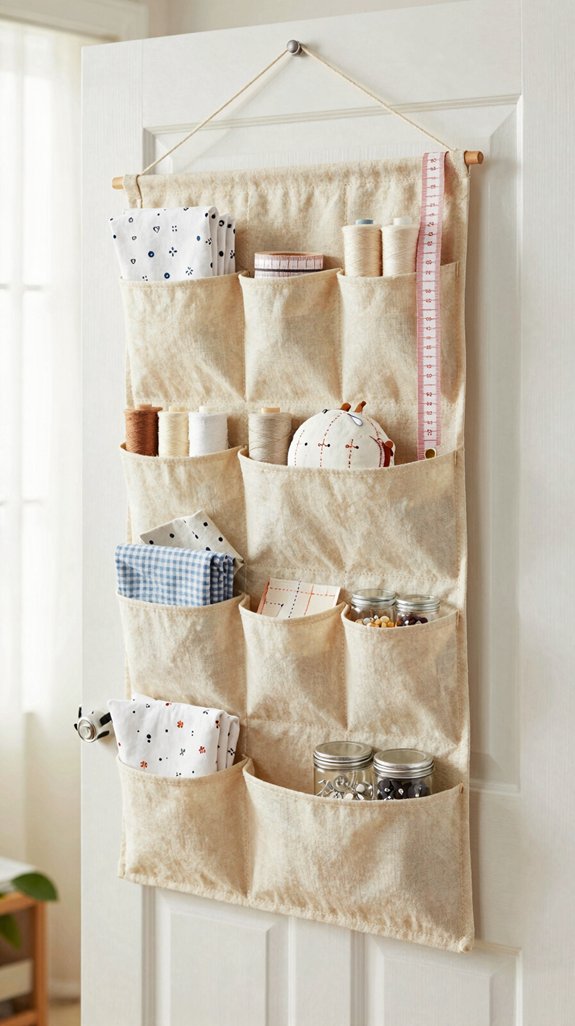
Turn the back of a nearby door into a handy sewing supply station, and you’ll spend less time digging through bins—hooray! Choose an over-the-door organizer with sturdy, vertical pockets and hang it closest to your cutting table or machine.
Create a simple Trim Station: tuck clips, small rulers, and trims into small pockets, then place large scissors and binding tools in roomy ones. Your Seam Supplies stay upright, separated, and ready to grab!
Keep each pocket assigned to one category, like a tiny team with a job. If something doesn’t fit, move it to a labeled bin nearby.
Suddenly, finishing projects feels amazingly smooth!
Ribbon Storage Wall
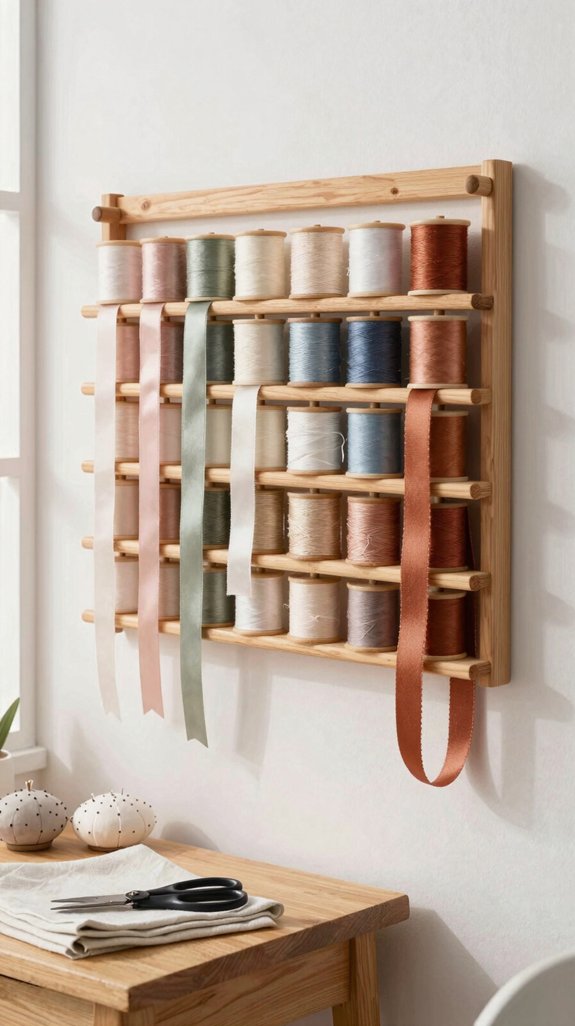
After organizing the door, give your ribbon a spot where every color and width stays in plain sight—so satisfying! Your craft desk will feel like part of a creative community, not a tangled jungle!
- Hang vertical-pocket wall storage for wide rolls, trim, and folded ribbon.
- Add label-maker tags by width or project type.
- Store everyday rolls upright to prevent tangles.
- Tuck rare ribbons into a closed container.
For a budget-friendly upgrade, mount a vertical dish-drying rack with screws and anchors. It keeps ribbon tools within reach, alongside cable management, needle organization, and spool storage. You’ll grab what you need fast—no ribbon wrestling match required!
Project Basket Station
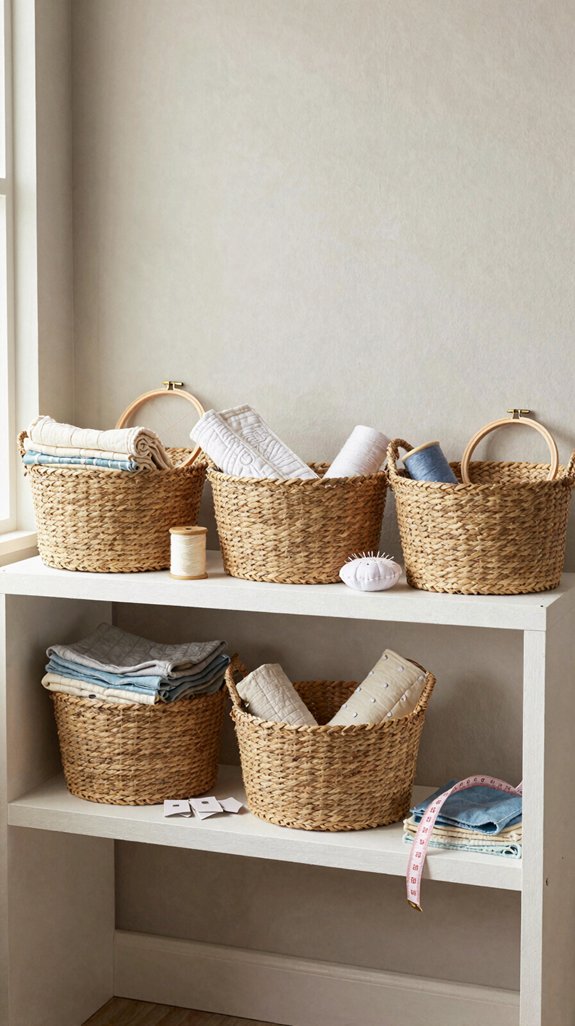
A project basket station gives every in-progress quilt its own cozy home, so your blocks, pattern, backing, binding, and matching notions don’t wander off like tiny fabric fugitives!
Choose sturdy, stackable plastic baskets or satchels, then keep them beside your cutting table for easy WIP Flow.
Add fabric, directions, and tools as you go—no shelf-diving required!
Use Quick Labels with the quilt name, pattern, and fabric type.
It’s a simple, low-cost step that helps you feel like part of the wonderfully organized sewing crowd!
Here’s the best part: when you finish, move that basket to a nearby shelf, and your station is instantly ready for the next quilt.
Ironing Board Cabinet
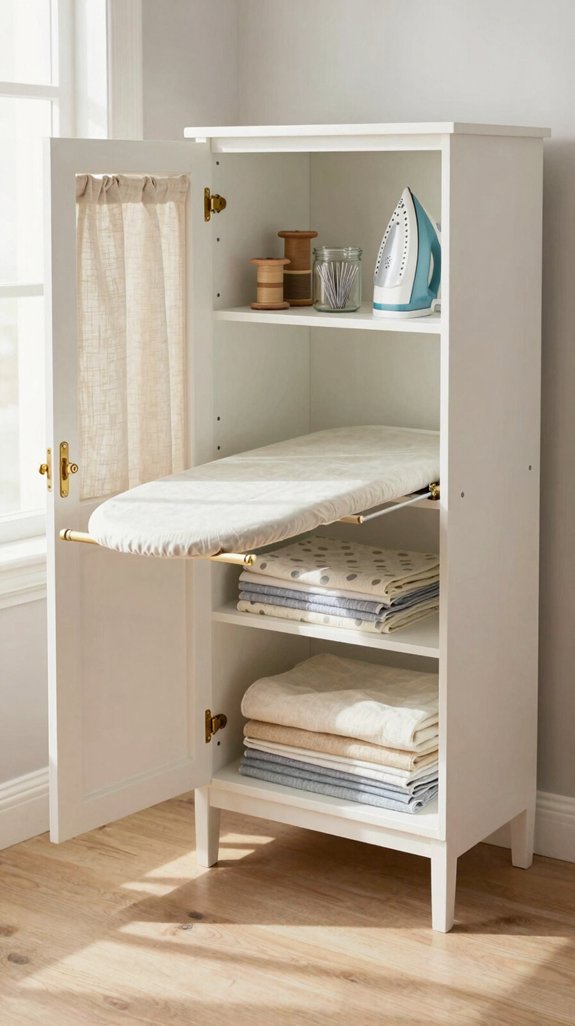
Keep your sewing room looking calm and clutter-free with an ironing board cabinet that hides your board behind a simple door—so satisfying!
Place it near your sewing table, and you’ll feel like part of a well-organized creative crew.
Repurpose a deep wall cabinet or install an affordable ready-made version.
- Optimize cabinet depth for easy closing
- Choose sturdy folding hinges for safe support
- Label a shelf for spray and pressing cloths
- Add nearby wall pockets for scissors and markers
Mount the cabinet, secure the board, then tuck in a lint brush and seam ripper.
The best part? You can press, stitch, and reset your space in seconds—no ironing-board obstacle course!
Small Fabric Scrap Organizer
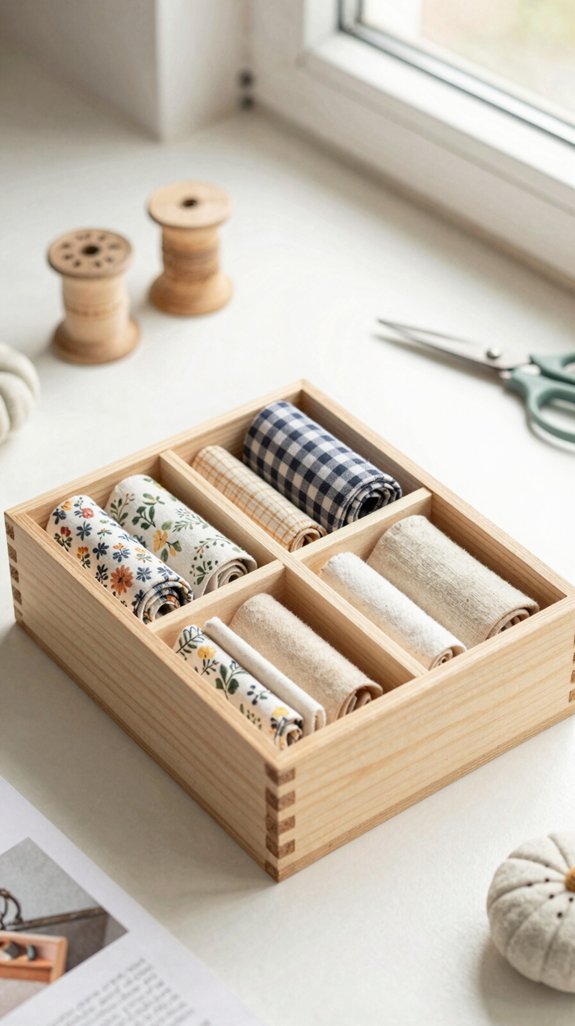
Small scraps can turn into a colorful mess fast, but a few labeled mini bins make them wonderfully easy to grab and use! Start your scrap bin system with inexpensive mini bins or jars, then add color coded labeling so every red, blue, and sunny yellow piece has a home.
Keep a lidded wicker hamper nearby for daily snips that are too tiny for dresser stacks. When you’re ready to sew, simply dump and dig—no scavenger hunt required!
For an extra-neat touch, fold tiny leftover pieces into matching overspill piles beside larger fabrics. Best of all, save empty condiment jars for color-sorted jelly-roll strips; they look charming and keep your creative corner feeling wonderfully yours.
Portable Supply Caddy
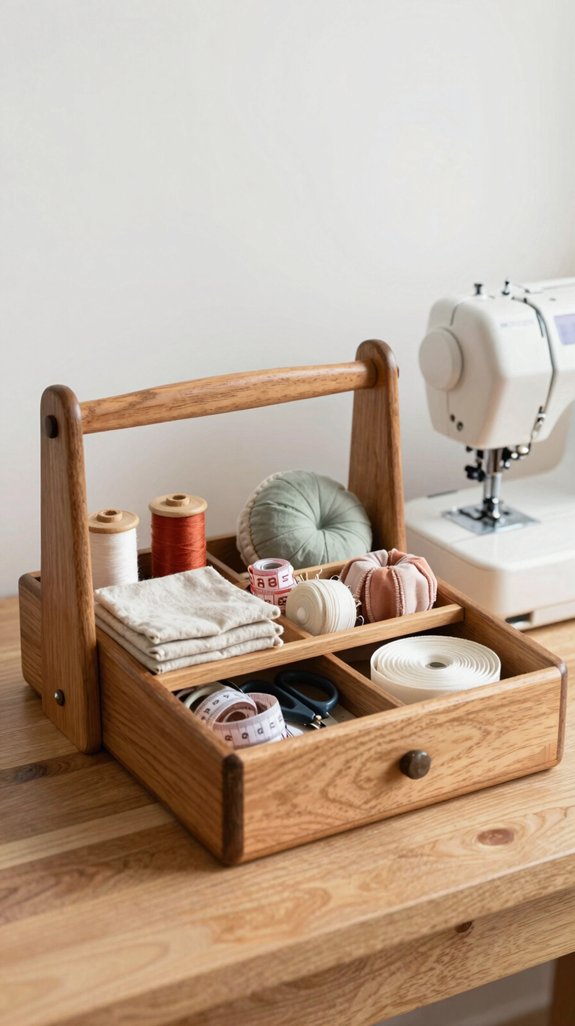
Grab a portable supply caddy, and suddenly your sewing tools can travel from the cutting table to the machine without playing hide-and-seek—hooray! Choose an ArtBin-style satchel with compartments for easy project organization and tool transport.
- Tuck scissors, pens, and presser feet inside.
- Use clear pockets for clips and zipper finds.
- Add patterns and exact fabrics for WIPs.
- Assign caddies to quilting or mending.
You’ll feel right at home among fellow makers when every trip has a purpose!
For a tiny-space win, add an organizer insert to separate rulers, elastics, and binding makers.
Cleanup becomes wonderfully simple: return the caddy, not a trail of runaway notions.
Bobbin Display Rack
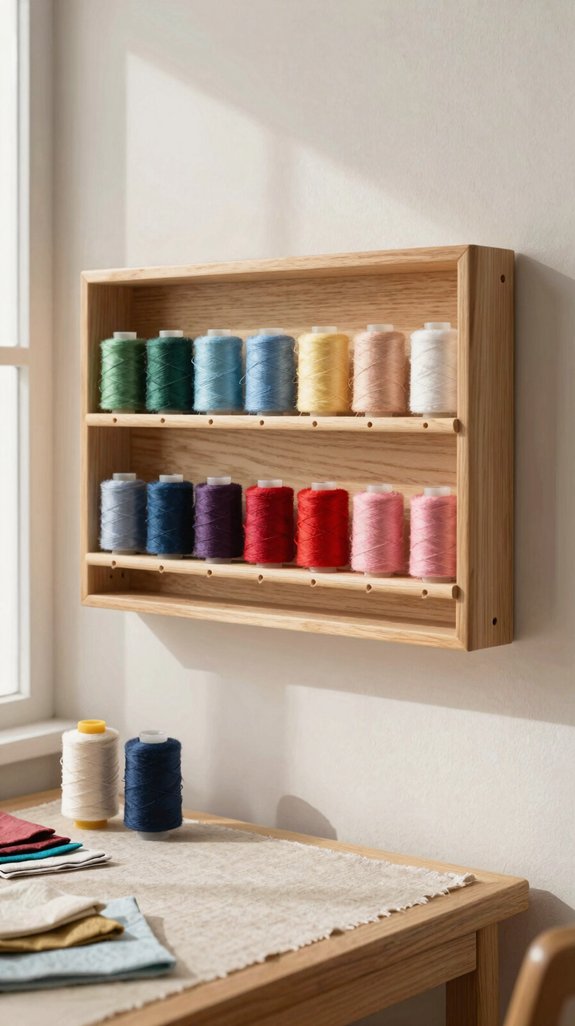
Once your supply caddy is parked, give those tiny thread helpers a home you can actually see: a bobbin display rack! Choose one with individual slots, so each bobbin stays put instead of rolling off like a tiny escape artist.
Mount it on a wall or set it on a shelf within arm’s reach of your machine. Add simple labels with thread names or shades, and arrange Color coded bobbins in cheerful rows that make your space feel shared, polished, and ready to create.
Here’s the real win: you’ll build a quick swap workflow during quilting or piecing. Keep refill bobbins in nearby bins, and restocking takes seconds!
Hidden Closet Sewing Station
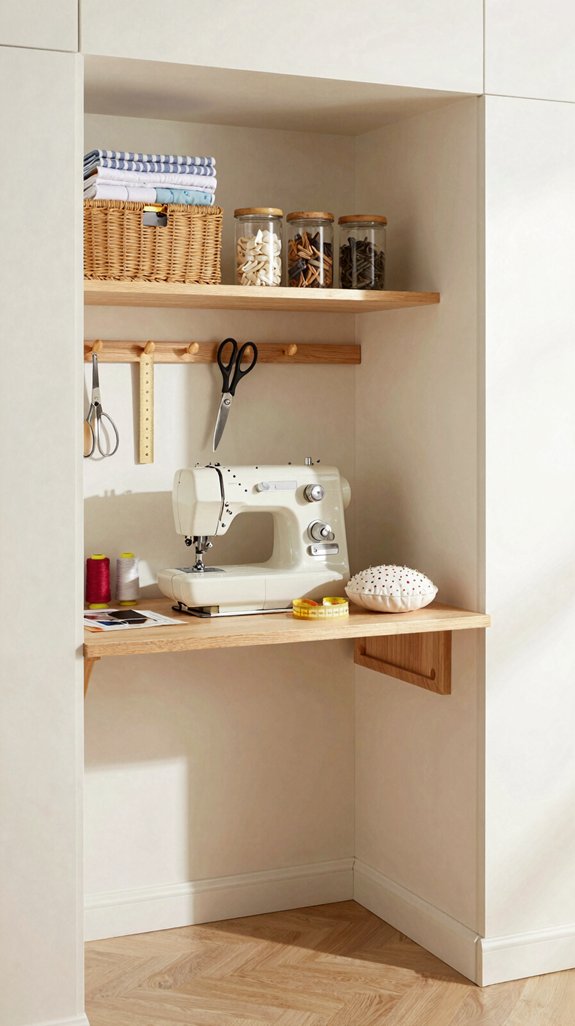
Transform an overlooked closet into a hidden sewing station, and you’ll have a tidy creative nook that disappears when company comes over—magic!
Start simple with tool zoning, so your favorite supplies feel like they belong.
- Use labeled drawer organizers for scissors, markers, and notions.
- Add clear bins with tabs for fabric, patterns, and tape storage.
- Hang a Wire caddy or pocket organizer for pins and snips.
- Keep WIPs in matching lidded bins for fast resets.
This sewing organization setup costs little and takes an afternoon.
Create an in/out routine: pull supplies, stitch, then return each piece home.
Best surprise? A door-mounted organizer keeps necessities handy while the closet floor stays wonderfully clear!
Storage Containers Worth Buying
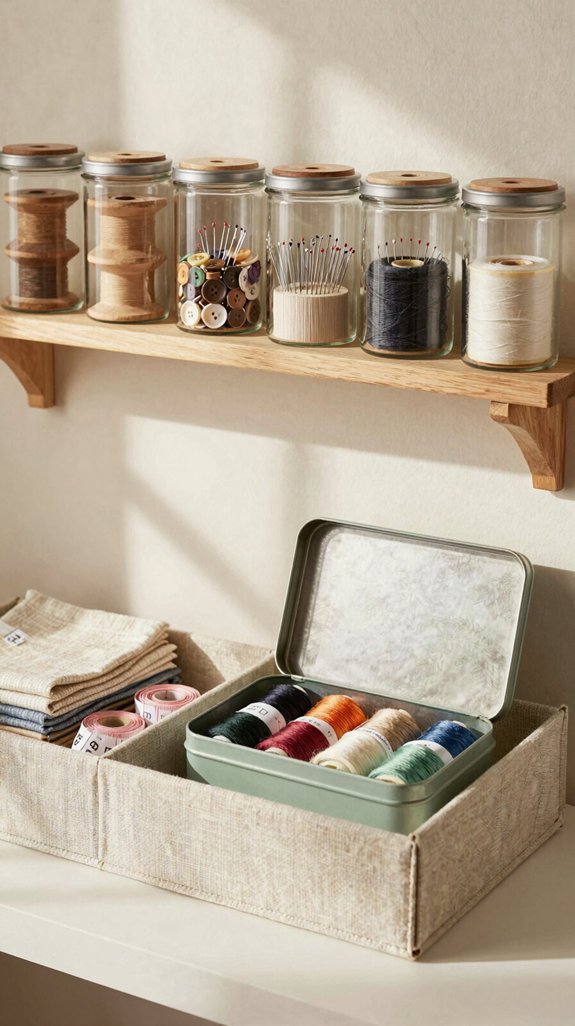
The right containers make sewing-room cleanup feel less like a chore and more like a tiny victory—especially when your fabric actually fits! Choose roomy mDesign 10×6.58 bins if smaller fat-quarter boxes make you grumble.
Before buying, test whether lids work with your shelves—pretty isn’t helpful if it won’t close!
For WIPs, tuck every EPP piece into a sturdy shelf bin or $1 dish basket. You’ll feel like part of the organized-sewer club!
Use Refillable organizers, even kitchen silverware trays, for zippers and needles.
Finally, skip floppy bargain tubs: stackable bins with three drawers cost about $15 and won’t stage a dramatic collapse.
Small Space Organization Tips
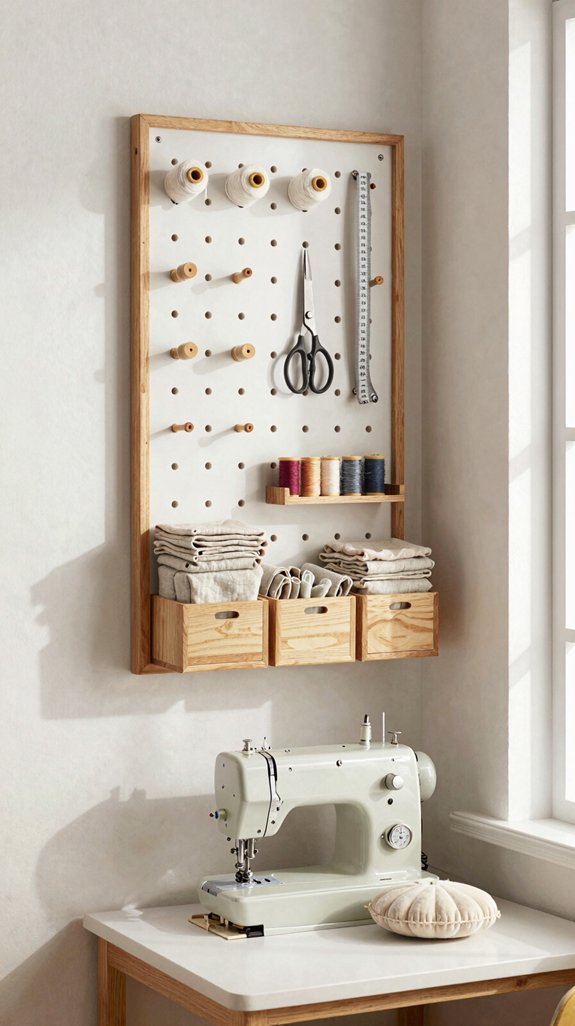
Smart containers are only half the win—small-space sewing rooms also need simple zones that keep supplies from wandering onto every flat surface!
- Give each Fat quarter a clear, shelf-fitting bin; mDesign-style boxes stack neatly without refolding drama.
- Build a budget basket system with $1 dish tubs for EPP, mending, and other grab-and-go projects.
- Create quick access grouping in pullout drawer dividers for zippers, trims, elastic, and findings.
- Use work in progress bins, then try the sneaky hero: one hamper for tiny scraps. Dump, sort by color, and relabel as needed!
You’ll join the calm, creative crowd—where cleanup takes minutes, not a scavenger hunt!