17 Sewing Box Makeover Ideas That Look Beautiful and Stay Organized
Give your sewing box a fresh start with vintage florals, farmhouse white, sage green, or crisp modern color blocking. You’ll need paint, 220-grit sandpaper, clear satin sealer, labels, and simple dividers—nothing elaborate! Add decoupage paper, ribbon compartments, or a fabric pin cushion for charm. Organize spools in fitted inserts, tuck needles onto a magnetic strip, and label drawers for easy grabs. Best surprise? A clear acrylic lid keeps supplies visible, dust-free, and gloriously orderly. Keep going for easy steps and more clever upgrades!
Love cozy DIY projects? 💕
Get free printable guides, exclusive tutorials & surprise craft goodies straight to your inbox.
Disclosure: This post may contain Amazon affiliate links, at no extra cost to you. Content on DiyCraftNest is created with research support from AI tools and carefully reviewed, edited, and fact-checked by the lead author, Daniel Pat, to ensure accuracy and reliability. Learn more
Key Takeaways
- Refresh a thrifted sewing box with sanding, primer, satin paint, and a clear topcoat for a durable, polished finish.
- Create vintage character by layering black and chalky pink paint, then lightly distressing edges for an aged patina.
- Add floral transfers, decoupage paper, or a fabric-covered lid to personalize the box while keeping surfaces wipeable.
- Replace bulky pulls with minimal hardware, filling old holes and reinforcing new pulls with screws and washers.
- Organize supplies with labeled drawers, fitted dividers, thread inserts, magnetic needle storage, and removable project bins.
Vintage Floral Makeover
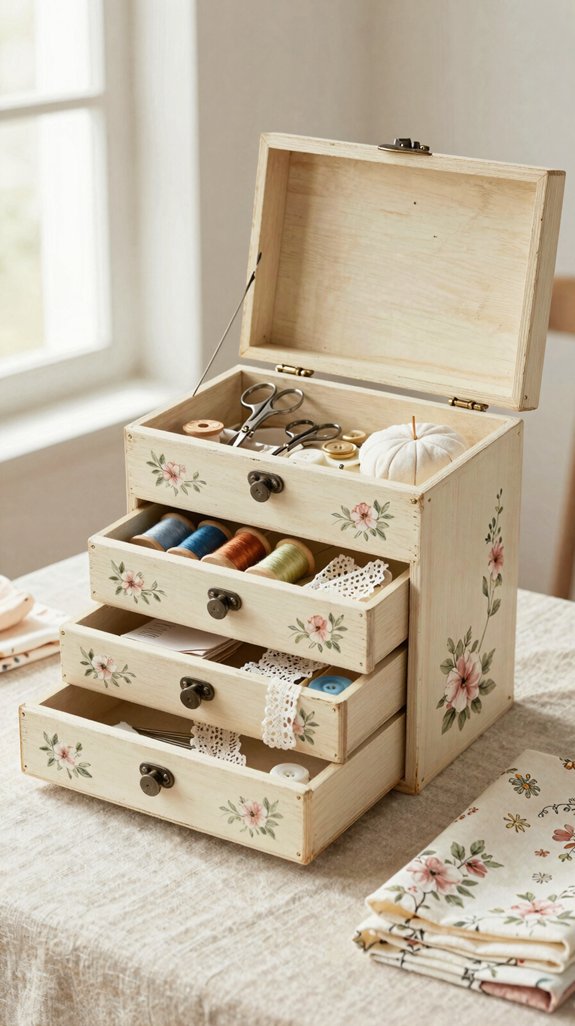
A thrifted sewing box can become a sweet vintage floral treasure with a little paint, patience, and about $10 to spare—what a glow-up!
Clean, deglaze, and disassemble it first, then fill old hardware holes with spackling. Sand with 220-grit paper and vacuum the dust.
Build depth with black, chalky pink, then black paint. Light sanding creates a lovely distressed patina, so it looks like a happy heirloom, not a craft-store rookie!
Next comes the fun part: plan transfer placement, cut floral transfers to fit, and wrap them around the sides. Seal with satin clear coat, then line drawers with toile paper for a cheerful, wipeable home for notions.
Farmhouse White Finish
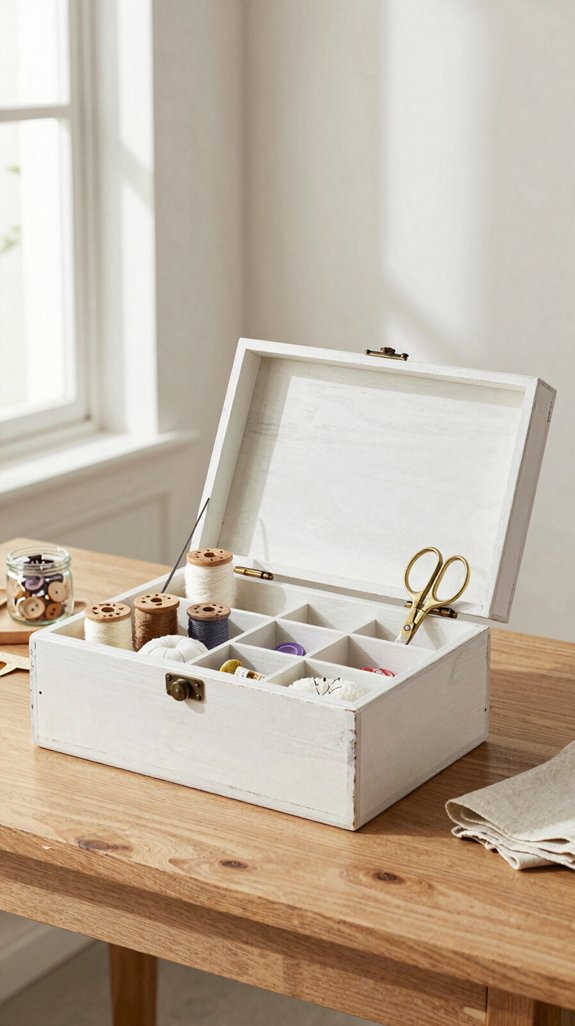
Give that tired sewing box a bright farmhouse reset with a creamy white finish—it’s simple, budget-friendly, and surprisingly forgiving! Clean and sand first, then brush on two white coats, lightly scuffing between layers if needed.
For a cozy, lived-in look, create a distressed whitewash with 220-grit paper, letting tiny hints of wood peek through. Seal everything with a clear satin topcoat, so your hardworking box stays crisp through every project—because glue smudges happen!
Next, add fresh screws and wood-toned pulls for a welcoming touch. The surprise? French Ceramics transfers or stenciled accents can wrap around the sides, turning your practical organizer into a piece everyone asks about.
Sage Green Sewing Box
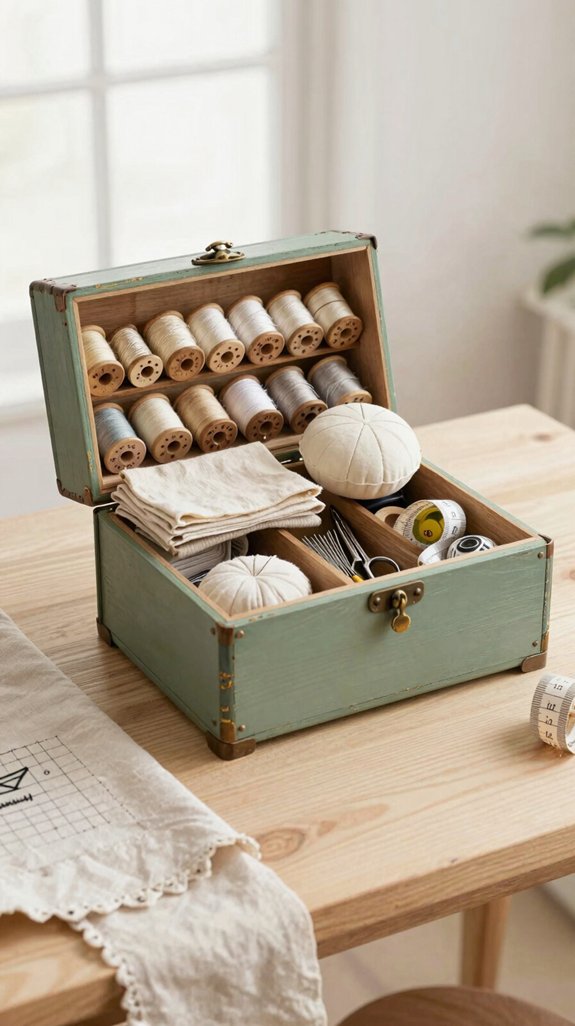
With its soft, earthy color, a sage green sewing box feels calm, fresh, and far more special than its humble job title suggests! You’ll fit right in with this welcoming, handmade look.
| Step | What you’ll use |
|---|---|
| Clean | Cleaner, warm water |
| Smooth | 220-grit sandpaper |
| Paint | Thin sage coats |
| Finish | protective clearcoat |
Degrease, sand, and vacuum, then paint several thin coats, letting each dry for color consistency. It’s beginner-friendly and budget-wise, too!
Next, separate notions from fabric in drawers, line compartments with pretty paper, and tighten loose hardware. Add a French ceramics-style transfer before sealing—it’s the charming surprise that makes your box feel truly yours!
Modern Minimalist Design
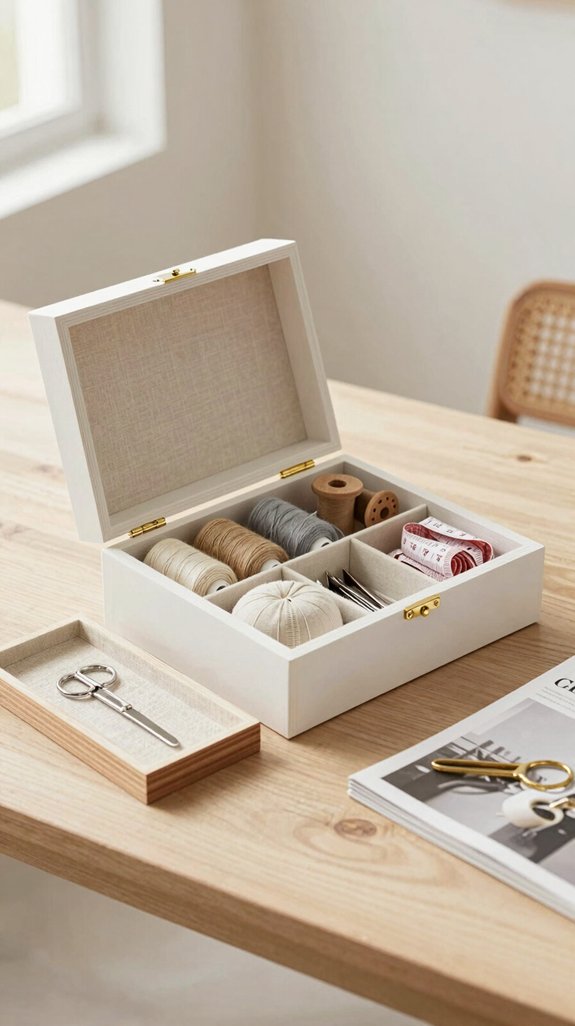
Modern minimalist design turns a hardworking sewing box into a crisp, calm little station—no visual clutter, no fussy extras, just polished style!
Choose blue-and-white or black-and-white, then add a satin coating for a smooth, sleek finish. Use painter’s tape to keep edges clean, and swap bulky pulls for minimal hardware. It’s an easy weekend update!
Next, sort projects into labeled bins: WIP, mending, ribbons, and paper piecing. Matching acrylic storage keeps supplies visible without looking chaotic.
Here’s the game changer: reserve one frequent-access drawer for needles, elastic, trims, and zipper findings. Your tools stay handy, your workspace stays serene, and you’ll feel right at home!
Decoupage Sewing Box
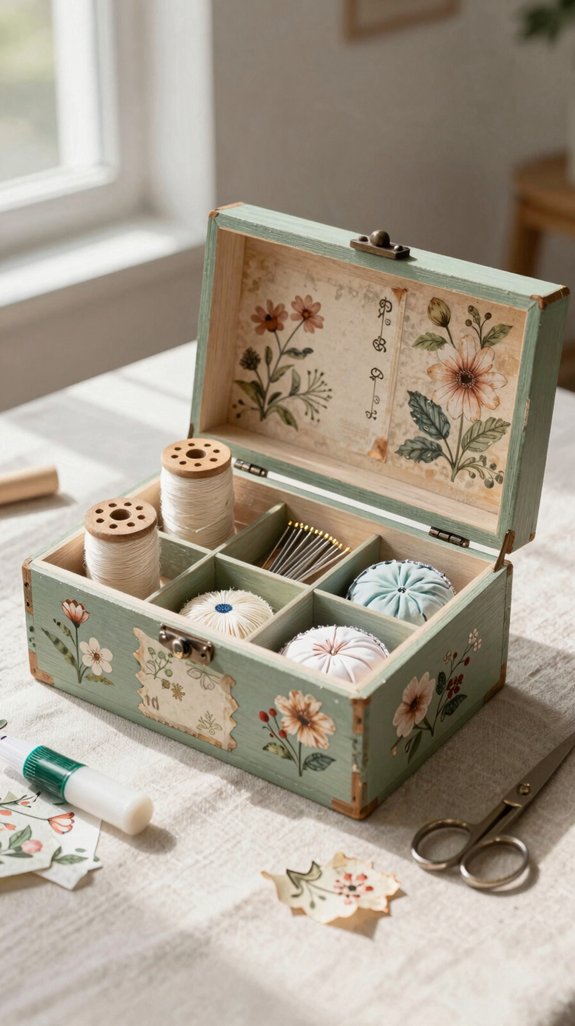
Turn a plain sewing box into a tiny treasure chest by layering pretty paper over its worn surfaces—vintage toile, floral scraps, old pattern pages, or even cheerful wrapping paper all work beautifully!
First, clean, degrease, and lightly scuff the box so everything sticks. Brush Mod Podge onto compartment interiors, smooth on your paper, let it dry about 20 minutes, then add a top coat.
For lasting paper sealing, use satin clear spray or lacquer after your paint layers. It’s beginner-friendly, affordable, and tough enough for daily use—no peeling drama!
Here’s the clever finish: assign drawers to zippers and elastic, while compartments handle tool storage and works-in-progress. Pretty, practical, and ready for your sewing circle!
Fabric Covered Lid
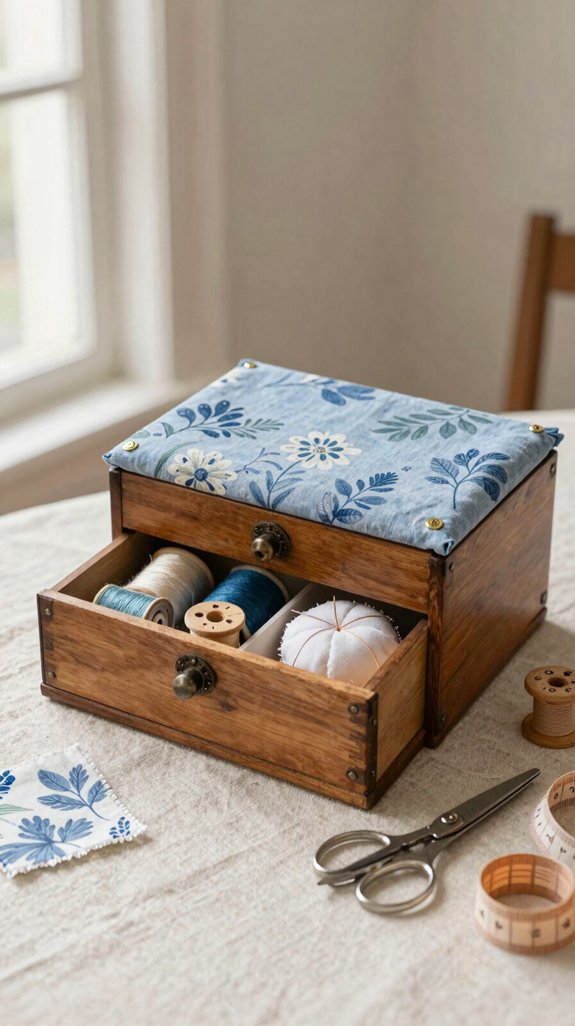
A fabric-covered lid gives an ordinary sewing box a soft, custom look, and it’s much easier than it sounds—no elaborate upholstery skills required!
Choose fabric that creates pattern harmony with the box, then test-fit each piece like drawer lining.
Brush on a thin, even layer of Mod Podge, press the fabric smoothly, and wrap edges for seam free wrapping.
Let it dry about 20 minutes before sealing.
You’ll need fabric, scissors, a foam brush, and Mod Podge—budget-friendly supplies!
Finish with a top coat for a wipeable surface that welcomes everyday use.
Your sewing box will look like it belongs beside everyone’s favorite handmade projects, not hidden in a closet!
Painted Botanical Pattern
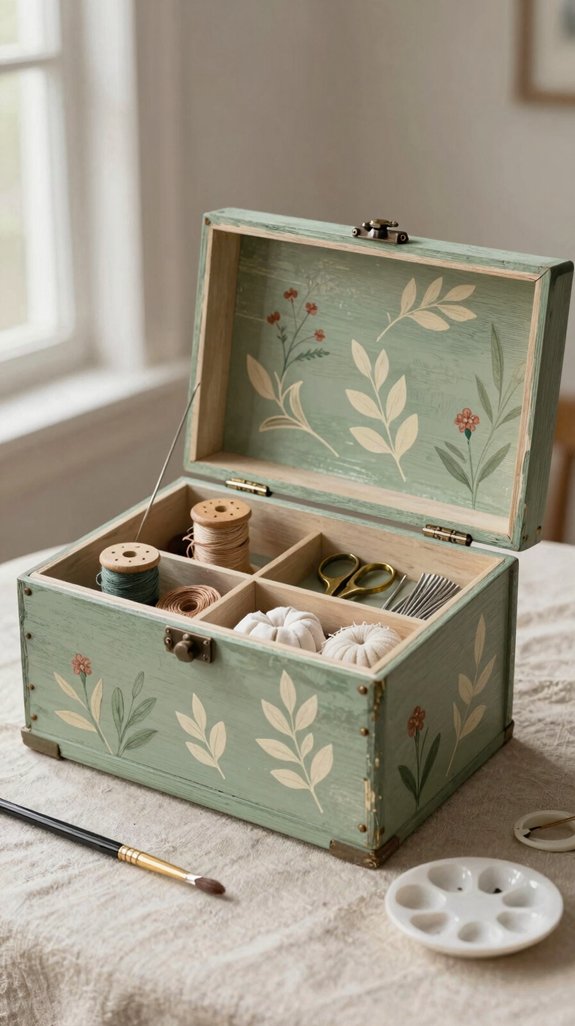
Give your sewing box a little garden-party charm with a painted botanical pattern—no advanced art skills required! Start with clean, dry wood, then add a satin-white base for a fresh color tone.
Use simple stencils, painter’s tape, two paint colors, and fine-tip brushes. Plan stencil placement before dabbing on soft blue-grey stems, then add leaf detailing with light, careful strokes. Paint layering makes even beginner blooms look polished—your crafty friends may suspect magic!
Seal everything with satin clear coat. Want a vintage touch? Lightly distress high edges, re-seal, and add labeled interior sections so every spool belongs.
Wood Burned Design
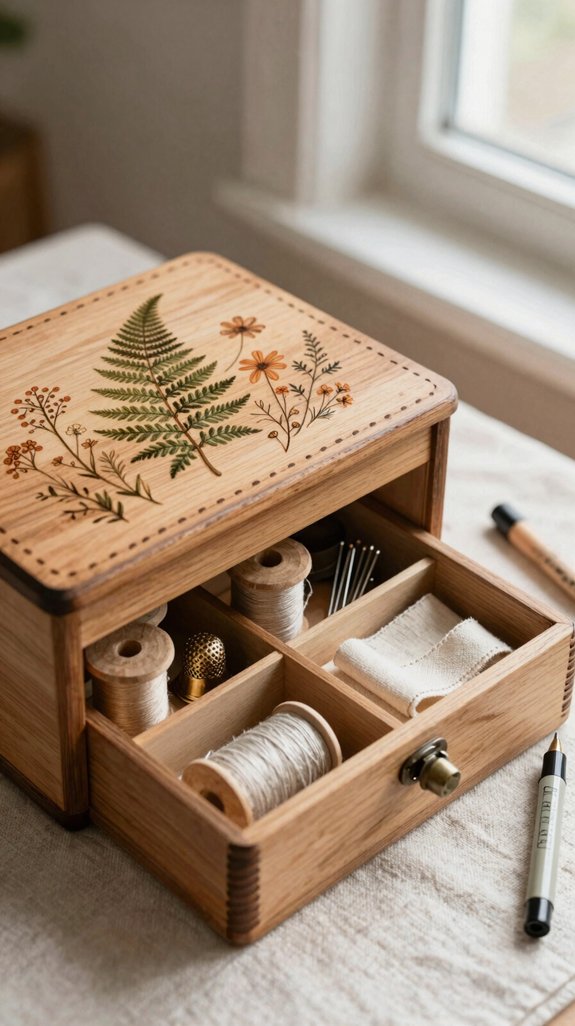
For a sewing box with lasting character, try a wood-burned design—it’s easier than it sounds, and the warm, dark lines look wonderfully handmade! Gather your burner, scrap wood, and clear coat.
| Step | Do this | Result |
|---|---|---|
| 1 | Finish heat safe tool prep | Safer start |
| 2 | Test tip speed | Crisp lines |
| 3 | Burn stitch icons lightly | Easy mapping |
| 4 | Seal after cleaning | Dust-resistant design |
Choose color contrast choices after painting, then keep the tool moving to prevent scorches. Start with tiny needle or label motifs, building darker grooves only where needed. You’ll create a useful, welcoming box that feels like it belongs beside every maker’s project—no skillful skills required!
Gold Hardware Upgrade
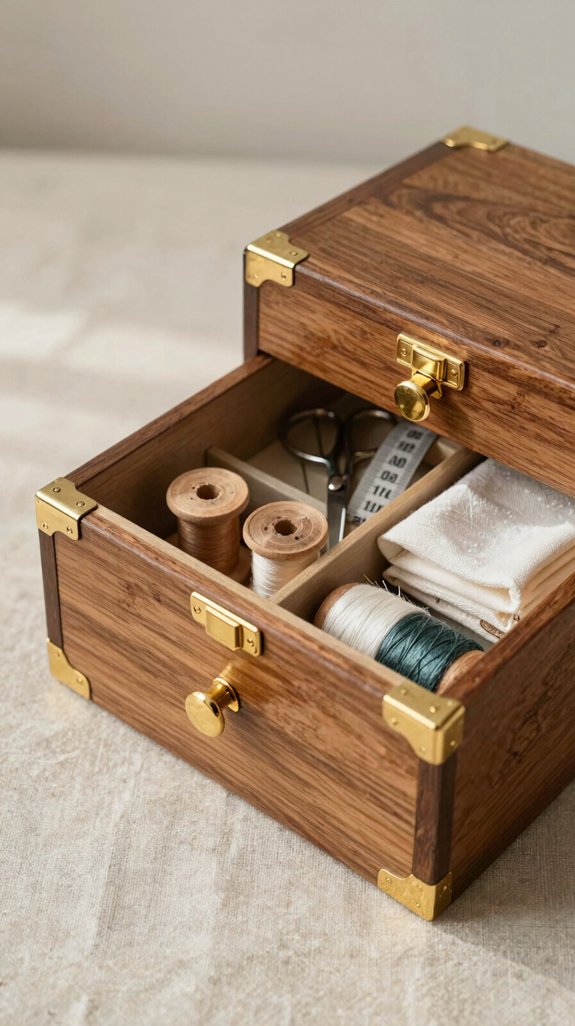
Once the paint has cured, shiny gold hardware can make your sewing box look polished and surprisingly stylish—without a stylish price tag!
- Remove tired pulls, fill old holes with spackling, dry, and sand smooth.
- Disassemble pieces first for accurate drawer pull positioning—your box deserves the good fit!
- Refresh mounting areas with primer and clear coat, then attach gold pulls using E6000.
- Add fresh screws and washers for adhesive screw reinforcement, so nothing wiggles during your next cozy craft night.
Want a charming twist? Glue on half wooden thread spools as pulls, paint them gold, and enjoy a custom look your sewing circle will love!
Hidden Drawer Labels
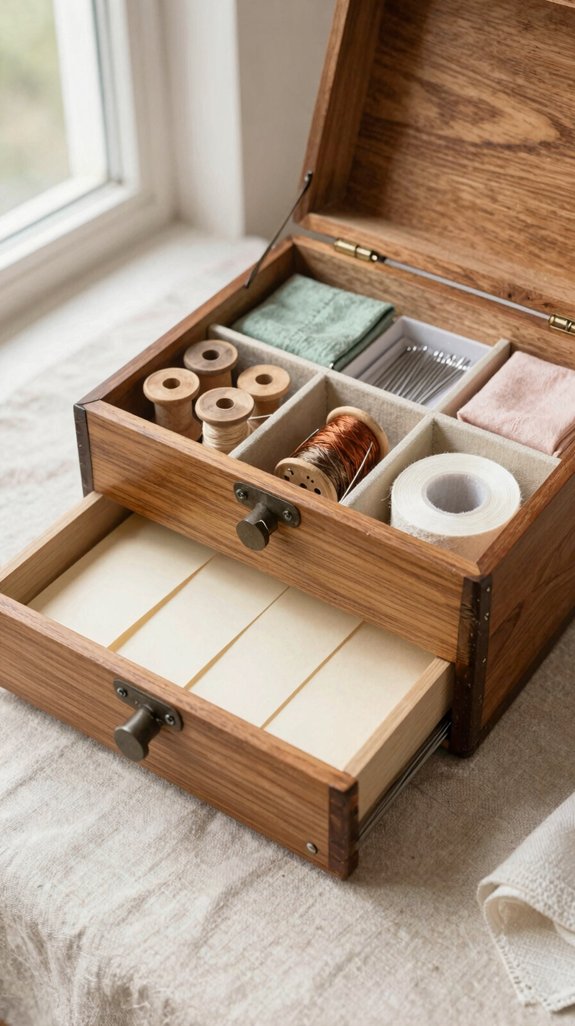
Inside each drawer, a small hidden label can save you from the classic “I know it’s in here somewhere” sewing-stash shuffle! Print category names, cut them out, and tape them inside drawer fronts or beneath liners—cheap, easy, and totally beginner-friendly.
Try a Drawer labeling strategy with matching placement on every drawer. You’ll spot “Zippers,” “Ribbons,” “Mending,” or “WIP” fast, even during a hurried project!
Next, create Quick search zones for your sewing crew: Drawer 1 can hold findings, trims, and piping, while Drawer 2 stores foundation paper-piecing blocks. Best of all, swap labels whenever your stash changes.
Your box stays useful, welcoming, and wonderfully drama-free!
Built-In Pin Cushion
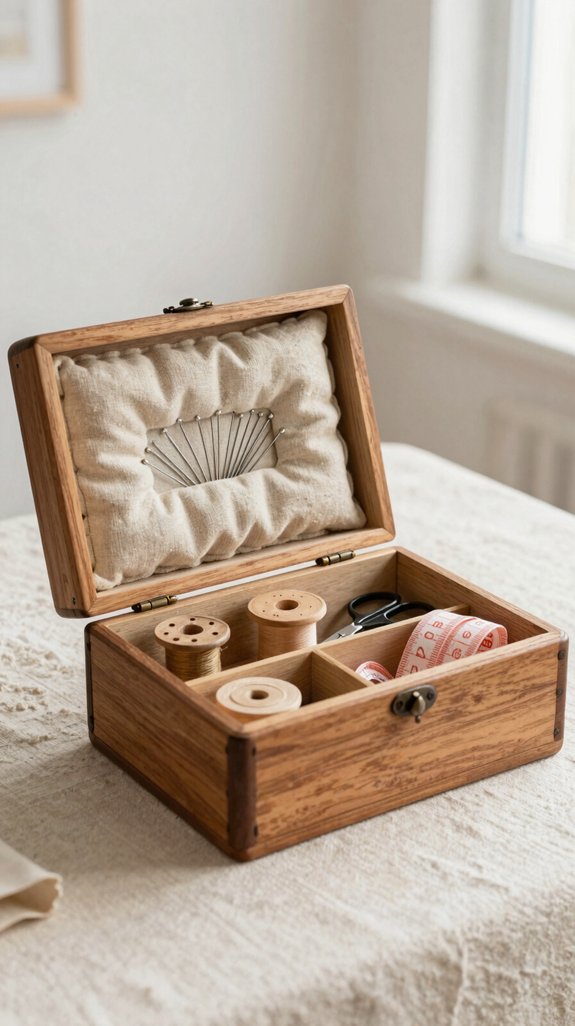
Turn that forgotten little insert area into a built-in pin cushion, and you’ll never have to hunt under fabric scraps for runaway pins again!
- Cut dense foam or thick batting to fit the lid.
- Stretch coordinating fabric tightly over it, then glue it securely.
- Keep it centered around hardware holes, so screws can return home.
- Label nearby spaces “WIP,” “mending,” or “pins/thread” for easy thread storage.
Match the fabric to your paint or clear coat, and your box will look lovingly finished, not patched together.
Add a small needle holder beside it, and you’ve created a handy little sewing-team station—no pin escape artists allowed!
Thread Organizer Insert
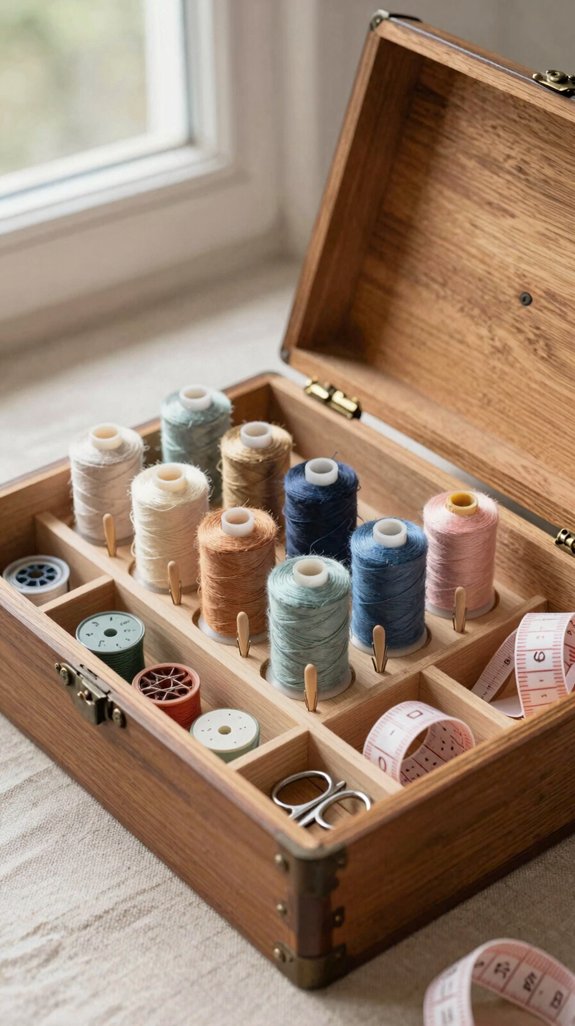
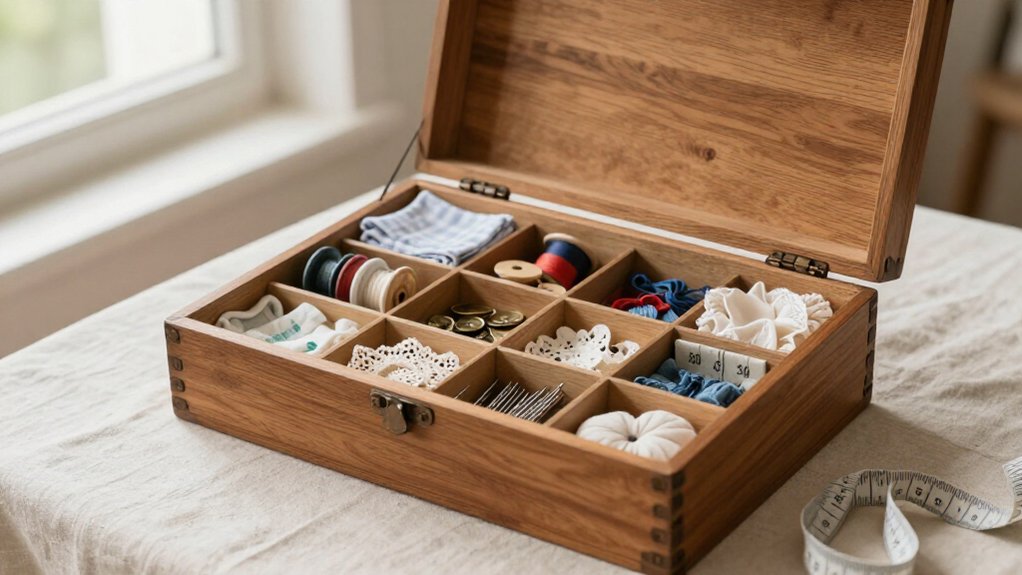
A fitted thread organizer insert keeps your sewing box from becoming a tiny avalanche of spools—hooray for calm, easy-to-find thread!
Measure your compartments, then add simple dividers, repurposed Tupperware pieces, or clear little boxes.
Sort large machine spools, small spools, and hand-sewing thread into labeled drawer categories, so your sewing crew can grab supplies without a treasure hunt.
Create color coded thread slots for favorites you use in mending and piecing—so satisfying!
If your box travels, tuck foam around loose spools to stop the rattly shuffle.
Short on space? Group embroidery and darning thread elsewhere, reserving this insert for everyday must-haves.
Magnetic Needle Holder
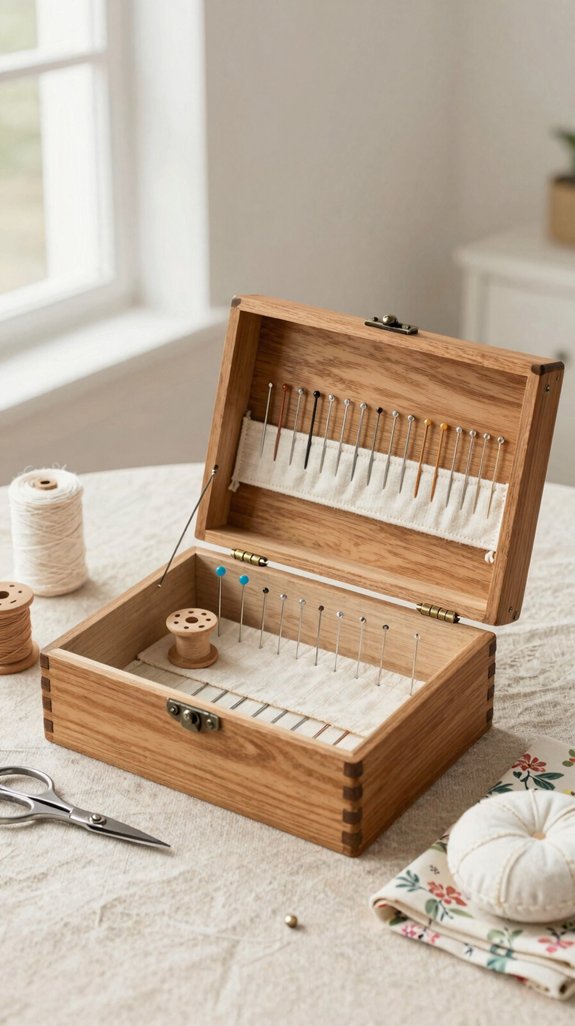
Once your thread has neat little homes, give stray needles and pins a safe place to land—no more poking through drawers like tiny metal surprises!
- Affix small, strong magnets inside your lid or craft panel.
- Add metal backing sized for hand or quilting needles.
- Cover it with snug fabric to prevent snags.
- Label zones, then try magnet testing: lift and gently shake!
For needle safety, place your holder beside your sewing spot, where your creative crew would expect it.
A bordered landing zone keeps sharp bits contained, and a tiny hinged flap adds an extra “oops-proof” layer.
You’ll spend less time searching and more time stitching!
Removable Divider System
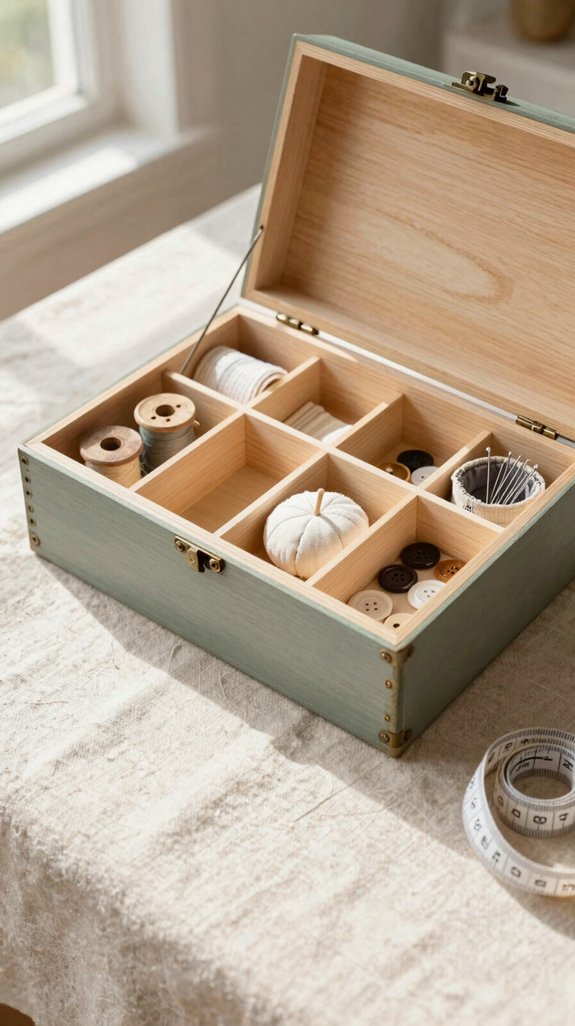
Create a removable divider system that moves with your sewing mood, so you can swap from tiny English paper-piecing blocks to bulky batting without turning your box into a fabric avalanche!
Measure your box, then use snug containers, foam board, or plastic bins for shallow, stable zones. Label them WIP, Mending, Jeans, and Seams & Pockets, giving every tool a friendly return spot.
Keep needles, brushes, zippers, elastic, and trims in partitioned inserts for easy grabs. Add nesting storage for tiny scraps, while larger folded pieces stay separate.
Here’s the satisfying trick: fold fabric around a cardboard template. Your stacks will line up neatly, even after you rearrange everything—like your sewing circle’s tidiest secret!
Travel Sewing Box Upgrade
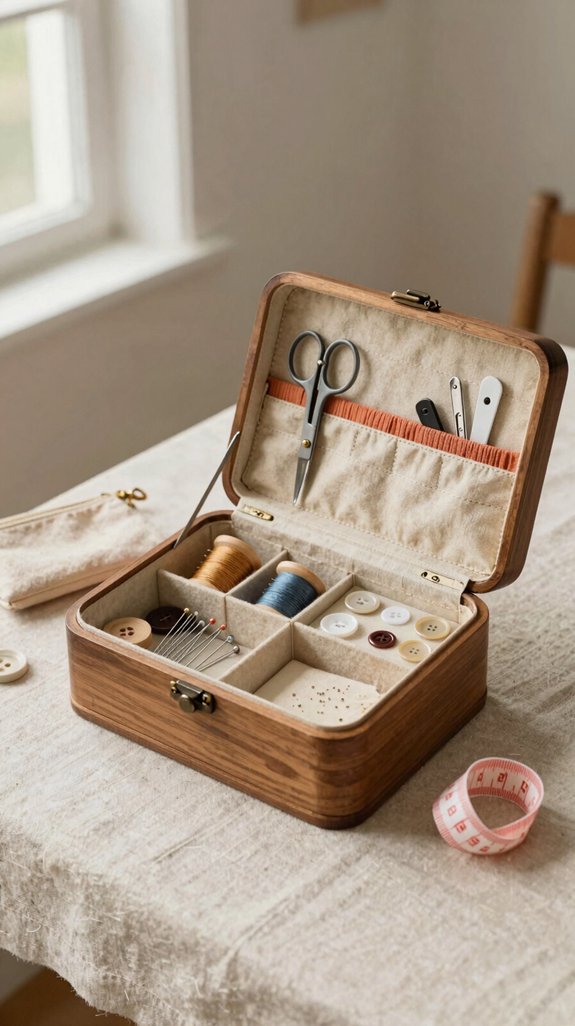
Turn an old jewelry box or small sewing cabinet into a travel-ready repair station, and you’ll never have to dig through a floppy pouch for a missing needle again!
- Remove broken hardware, degrease, sand, then paint with wipeable satin finish.
- Add small bins for travel kit must-haves, using a clear label system for WIP, mending, zippers, and trims.
- Fold larger fabric pieces neatly; sort tiny scraps by color in small jars.
- Keep needles, brushes, gloves, elastic, and binding tools in front drawers, while a lidded scrap bin stops transit chaos. Your sewing crew will ask where you found it!
Ribbon Storage Compartment
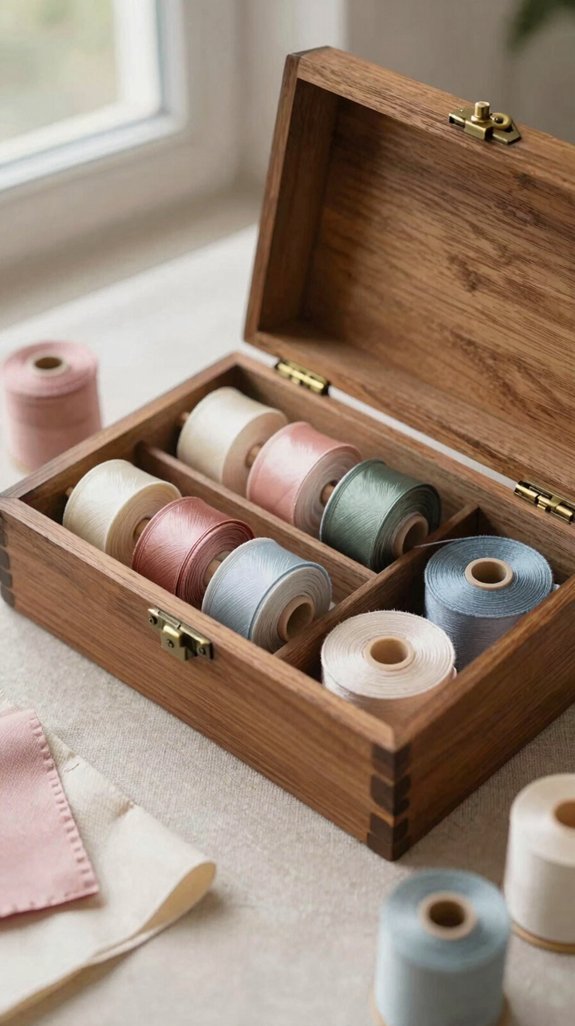
A tidy travel kit deserves an equally tidy spot for ribbon, because loose lengths can knot themselves into a tiny craft-store disaster! Fit small bins into your box, then sort grosgrain, satin, narrow, and wide rolls.
| Section | What belongs |
|---|---|
| Small bin | Short scraps |
| Labeled slot | Long ribbon rolls |
Try Ribbon Labeling Hacks with clear, replaceable “Ribbons” labels. Roll each length the same way and stand rolls upright for a Tangle Free Setup—so satisfying!
If space is tight, add divided organizers or tiny jars. You’ll grab the right color fast, keep edges from fraying, and feel like part of the organized-maker club!
Clear Acrylic Lid Upgrade
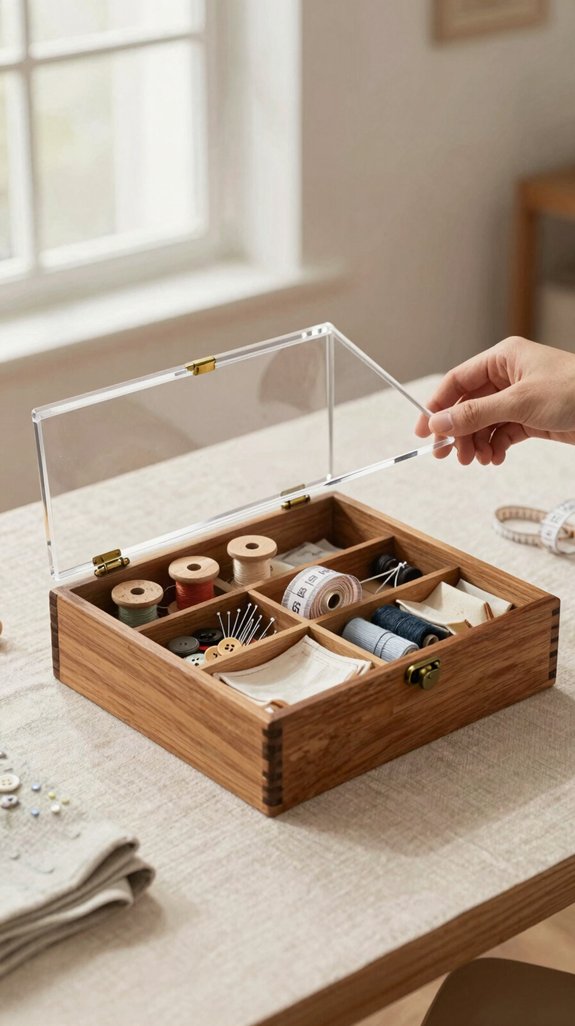
Why settle for an open wooden lid when you can see your favorite supplies at a glance?
- Wipe the lid clean, then dry-fit clear acrylic sized thick enough to sit flat without flexing.
- Tape it in place and secure it with recommended adhesive or screws and washers. An anti slip hinge helps keep alignment tidy!
- Seal painted surfaces first, so moisture and handling won’t lift the finish beneath the acrylic.
- Add labeled shallow trays for needles, thread, and zipper pulls.
You’ll get dust proof storage that feels like part of a welcoming sewing circle. Best surprise? Your most-used notions stay visible, neat, and ready—no treasure hunt required!
Best Paints and Finishes
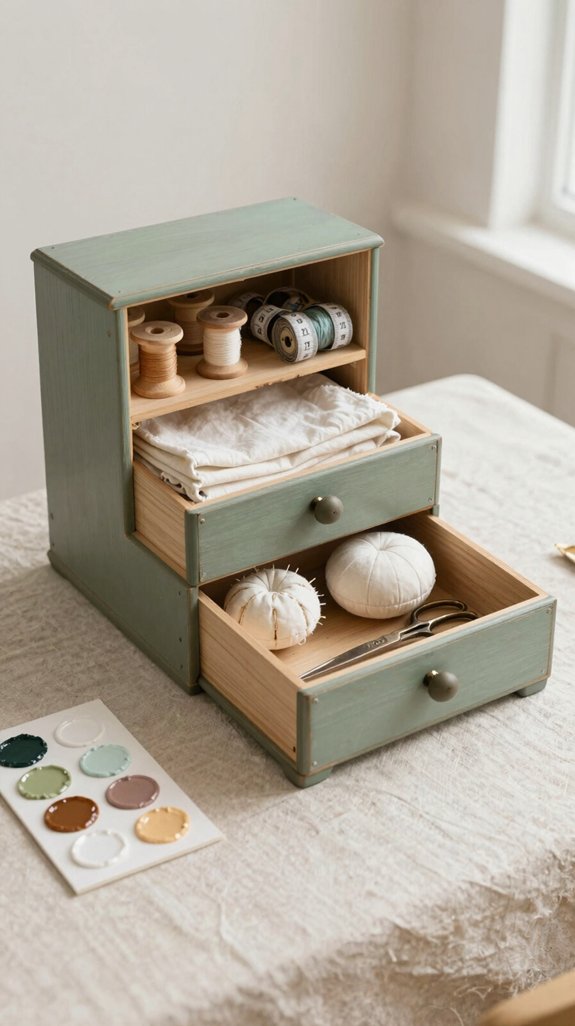
Once the clear lid lets your supplies shine, the right paint and finish can make the whole sewing box feel brand-new—without making it look like a craft-store explosion!
Try these Color adhesion tips: scuff sand with 220 grit, then vacuum dust. You’ll get a finish worthy of the sewing crew!
| Look | Materials | Easy result |
|---|---|---|
| Smooth satin | Primer, matching spray paint | Wipeable, calm color |
| Soft layered | Black spray, pink chalk paint | Gently distressed charm |
For interiors, use Silk Mineral Paint, then seal paper liners with Mod Podge; wait 20 minutes between coats. Finally, add clear coat protection with satin clear coat or spray lacquer—hello, durable polish!
Organization Tips
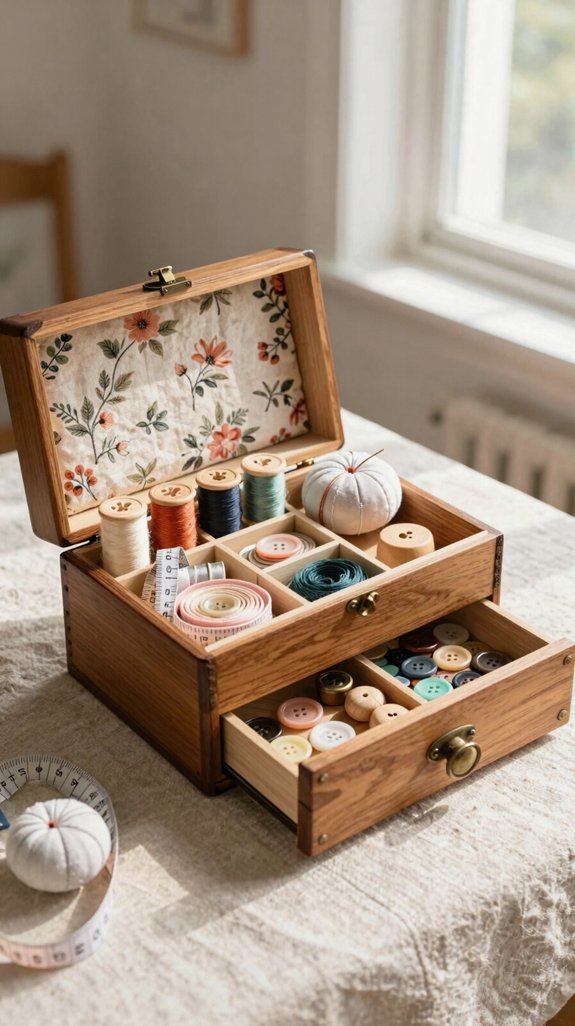
Start by giving every sewing supply a clear “home,” and you’ll spend less time digging through a thread avalanche—hooray!
Try this friendly declutter strategy:
- Create drawer zoning for needles, brushes, gloves, zippers, trims, elastic, and thread. Add simple labels; it’s cheap and beginner-easy.
- Fold large fabric by size on shelves. Sort strips into color jars, and toss tiny bits into an overflow scrap bin.
- Keep labeled bins for WIPs, mending, orphan blocks, and paper piecing, so your creative crew feels easy to join.
- Store batting near your workspace, then move printer papers beside packaging. Use cabinets for books and patterns—less walking, more making!