21 Sewing Projects by Hand That Are Surprisingly Beautiful
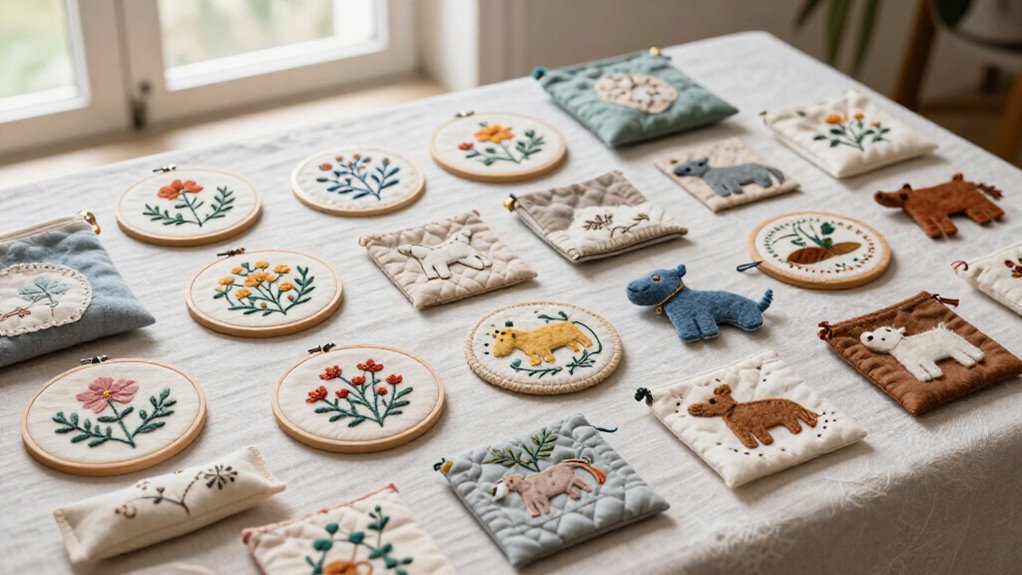
You can hand-sew 21 lovely projects from inexpensive scraps, starting with 10-minute lavender sachets, felt bookmarks, coasters, and patchwork mug rugs. Try a needle book, cloth napkins, towel loops, phone sleeves, heart garlands, ornaments, and plush stars using running, back, blanket, whip, or ladder stitches. Use short thread lengths and match your needle to the fabric for tidy results. Best surprise? A simple patchwork wall hanging can look boutique-made—keep going for every beginner-friendly step!
Love cozy DIY projects? 💕
Get free printable guides, exclusive tutorials & surprise craft goodies straight to your inbox.
Disclosure: This post may contain Amazon affiliate links, at no extra cost to you. Content on DiyCraftNest is created with research support from AI tools and carefully reviewed, edited, and fact-checked by the lead author, Daniel Pat, to ensure accuracy and reliability. Learn more
Key Takeaways
- Make lavender sachets, felt bookmarks, and fabric coasters for fast, attractive projects using scraps and basic hand stitches.
- Sew patchwork mug rugs or hexagon coasters with batting and binding for practical, giftable table accessories.
- Create a felt needle book with pockets or elastic loops to organize needles, add decoration, and practice simple closures.
- Hand-sew eyeglass cases and phone sleeves with soft linings, thin batting, and secure snaps for useful everyday accessories.
- Stitch fabric ornaments, yo-yos, and heart garlands for charming holiday keepsakes using running, blanket, and whip stitches.
Lavender Sachets
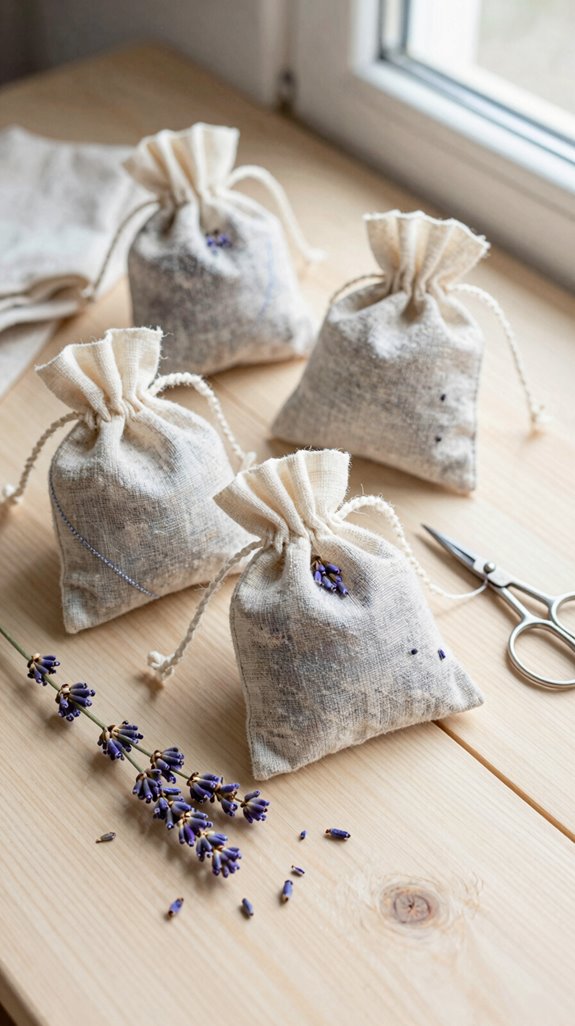
Lavender sachets are a tiny hand-sewing win: pretty, practical, and usually finished in about 10 minutes!
You’ll need two cotton or linen squares, dried buds, thread, and a ribbon.
Place the layered fabric right sides together, stitch three edges, then turn it out.
Loosely add lavender so scent strength can circulate—not get squished like a crowded bus!
Whip-stitch the opening neatly, add a loop for a drawer or closet, and lightly iron it flat.
Drying lavender yourself can feel special, but store-bought buds work beautifully.
Coordinate scrap prints or add one tiny embroidered flower for a shared handmade touch; it boosts sachet longevity and makes yours feel truly yours.
Felt Bookmarks
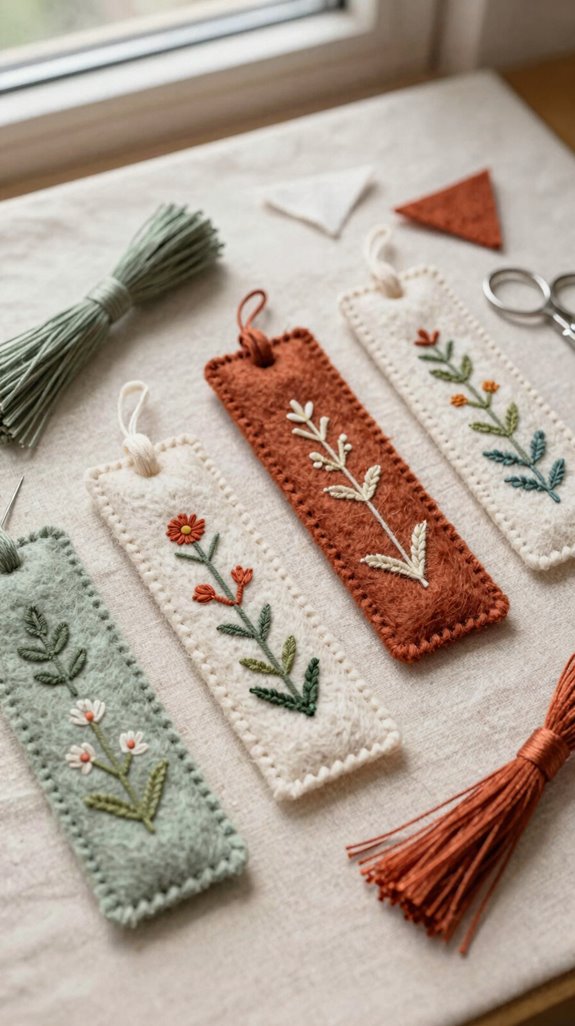
Felt bookmarks turn leftover scraps into cheerful little page keepers, and they’re even faster than a sachet—hooray!
Choose friendly Color scrap combinations, then cut two matching rectangles.
Add backstitch, running stitch, or a tiny applique before layering them.
You can slip in interfacing or thin cardboard if you want firmer corners, and add a ribbon loop for a handy marker tab.
Explore finishing edge methods with a whip stitch or ladder stitch around the perimeter.
Felt won’t fray, so you don’t need simple tools or stressful seams—just neat, sturdy stitches.
Soon, your reading group will spot your handmade bookmark and ask, “Can you make me one?”
Fabric Coasters
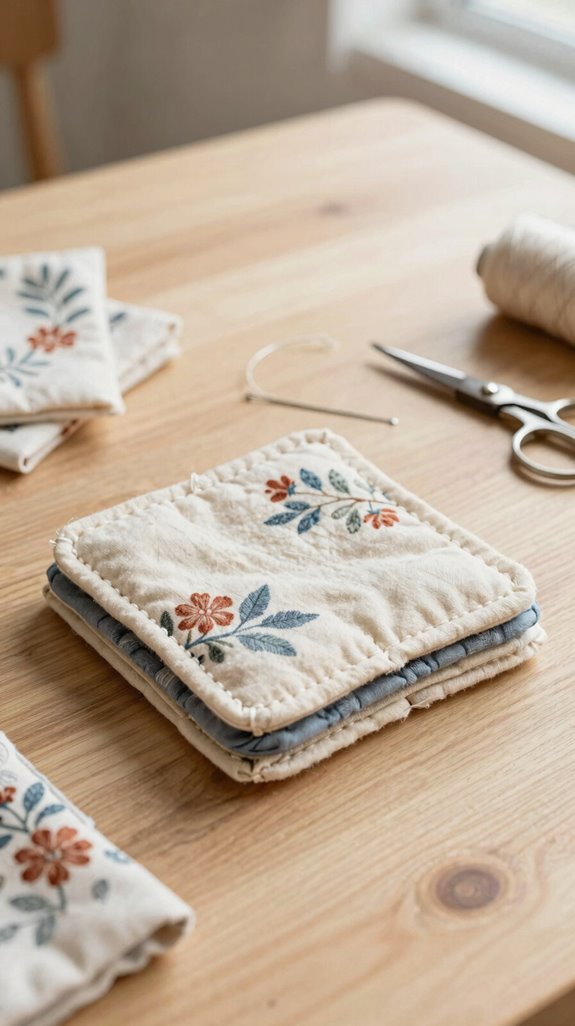
Fabric coasters are a quick, useful way to turn cotton scraps into little table protectors that look far more polished than their humble beginnings—goodbye, sad water rings!
- Choose cotton prints, batting, and thread for heat safe care. It’s affordable, friendly quilting for beginners, and wonderfully practical!
- Sew two rectangles right-sides together, leave a turning gap, then flip and stitch it shut. Topstitch the edges so everything stays neat through washing.
- Ready for the fun part? Make a scrappy hexagon set from tiny charm-square bits, adding batting inside. You’ll create a cozy, matching gift set your friends will actually use—no drawer clutter, hooray!
Patchwork Mug Rug
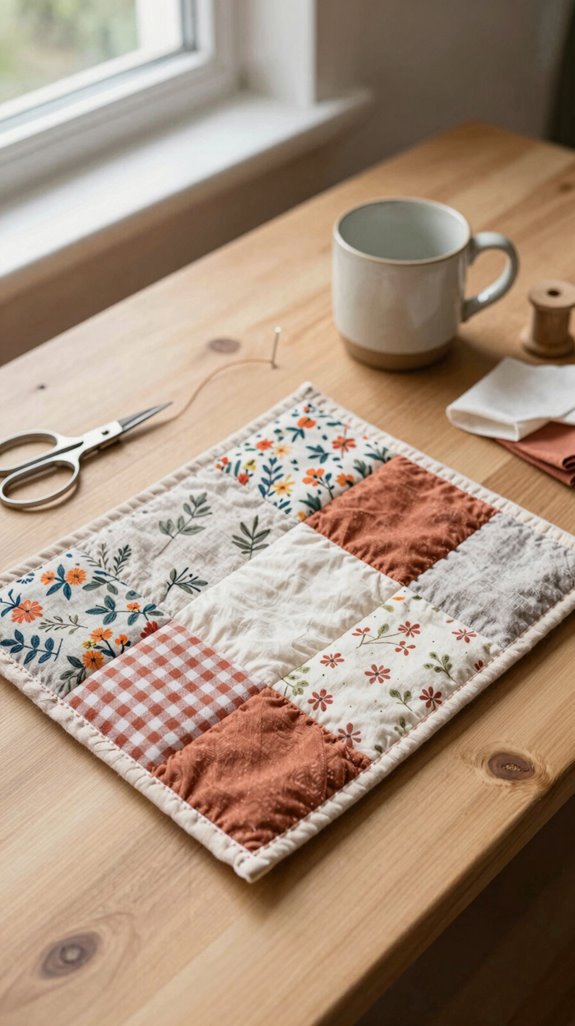
With a handful of leftover squares, you can stitch a patchwork mug rug that gives your coffee cup a cheerful little landing spot—way cuter than a paper napkin, right?
Choose charm squares or mini scraps, then arrange squares and half-square triangles into a balanced Patchwork layout. You won’t need fussy measuring, and the project comes together much faster than a full quilt!
Layer your top with batting and an insulated backing, then hand-stitch straight lines or add simple tacking. Bind the edges for a polished finish.
Make a few for your coffee-loving crew, too! Paired with matching potholders or a table runner, they become a thoughtful, cozy gift.
Needle Book
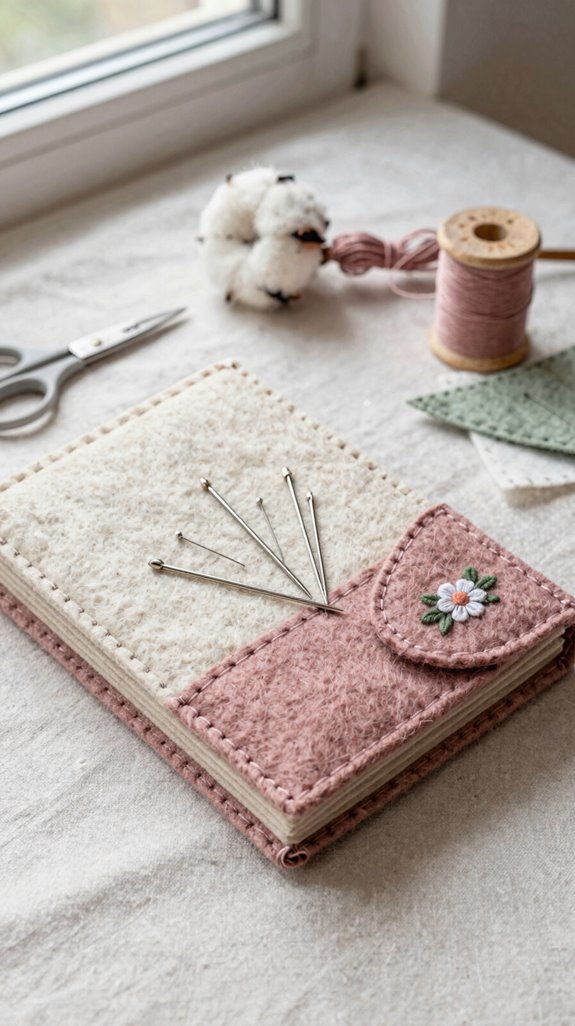
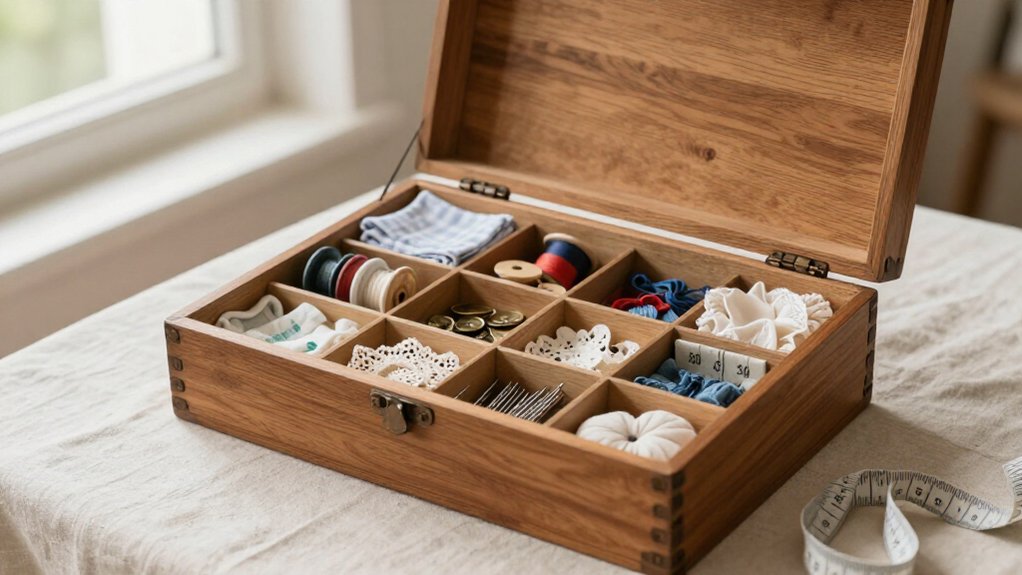
After stitching a cozy mug rug, keep your sewing supplies just as tidy with a tiny handmade needle book—such a smart little project!
Fold small felt or fabric, then add a soft cover with sturdy thread. This is beginner friendly stitching, and your sewing circle will love it!
- Stitch a pocket or elastic loops to keep needles secure.
- Create sections for embroidery and quilting needles.
- Decorate with buttons, tiny embroidery, or a cheerful motif.
Use flat whip stitches so your Travel needle storage lies neatly in a bag.
Tuck in common needles and a leather thimble—surprisingly handy on the go!
Coin Purse
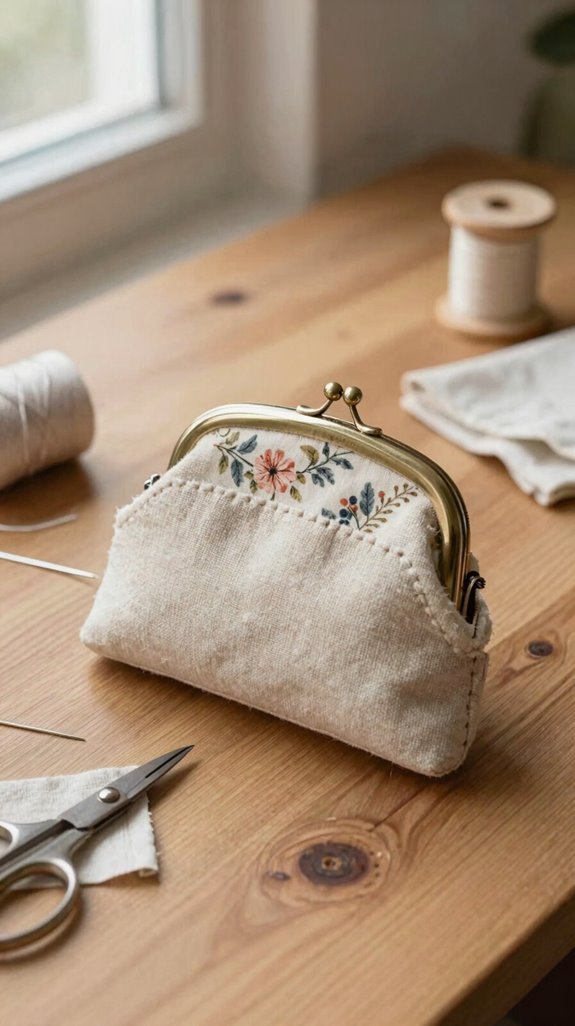
A tiny coin purse is a cheerful way to turn favorite fabric scraps into something useful—no specialized skills required! You’ll join a friendly tradition of making everyday treasures by hand.
| Materials | Easy step | Result |
|---|---|---|
| Two panels, lining | Cut matching pieces | Neat body |
| Lightweight interfacing | Fuse if desired | Gentle shape |
| Zipper | Stitch it first | Smooth opening |
Use these fabric panel tips: choose a zipper slightly wider than your purse. Sew outer shell and lining right sides together, then turn and close the gap. Your handmade hardware looks polished! Add an embroidered charm afterward—tiny, tough, and delightfully yours.
Drawstring Gift Bag
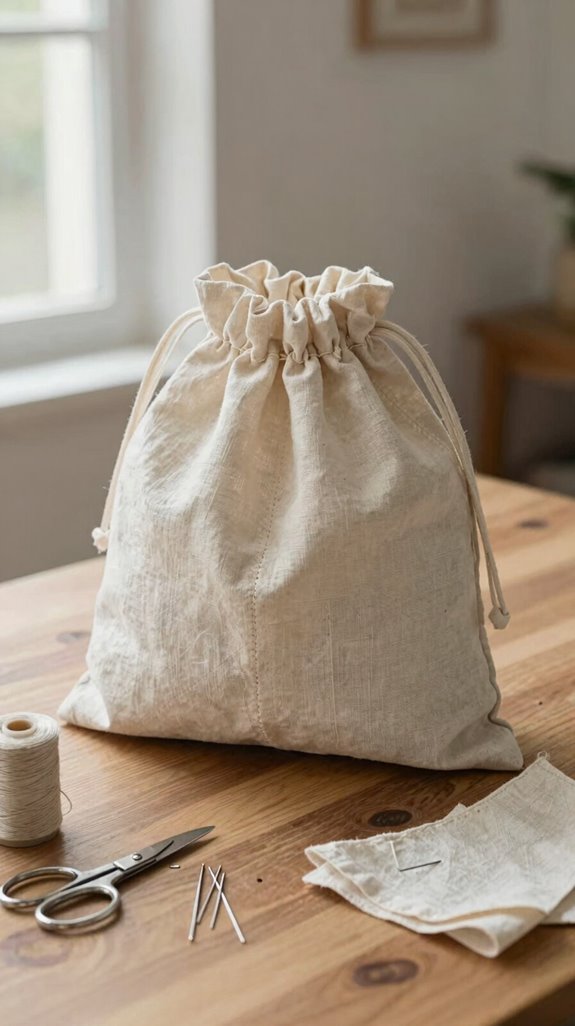
Turn a few fabric scraps into a drawstring gift bag, and you’ve got wrapping that feels just as special as the present inside—yay!
Choose cotton or linen, then add interfacing at the casing for strength.
- Cut two rectangles, sew right sides together, and neatly finish the top edges.
- Stitch two straight channel rows, leaving an opening for your drawstring.
- Thread satin ribbon, twill tape, or cord, checking ribbon length before knotting both ends.
Turn it right-side out, and you’re in the handmade-gift club!
For charming handmade variations, add an embroidered initial or tiny applique.
It’s affordable, beginner-friendly, and reusable—much nicer than crumpled paper!
Mini Fabric Basket
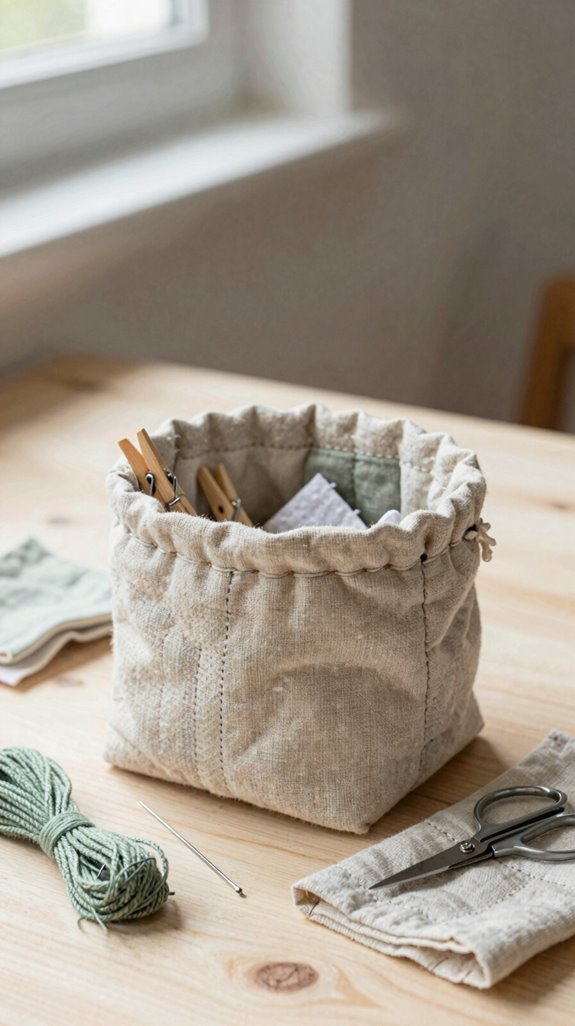
Small enough to stitch in an afternoon, a mini fabric basket turns sturdy cotton or home-dec scraps into a cheerful little catchall—no sewing machine required, hooray!
For durable scrap selection, choose quilting cotton or home-dec fabric; add thin interfacing if you’d like extra firmness.
Your basic crew is simple: scissors, needle, thread, thimble, and two rectangles.
Explore Basket lining choices by folding a matching base inside, then stitch panels right-sides together.
Turn the basket, close the final seam with a ladder or whipstitch, and blanket-stitch the rim for charm.
In 30–60 minutes, you’ll have a giftable organizer for notions or scrap stuffing.
Make several—your sewing circle will adore them!
Pin Cushion
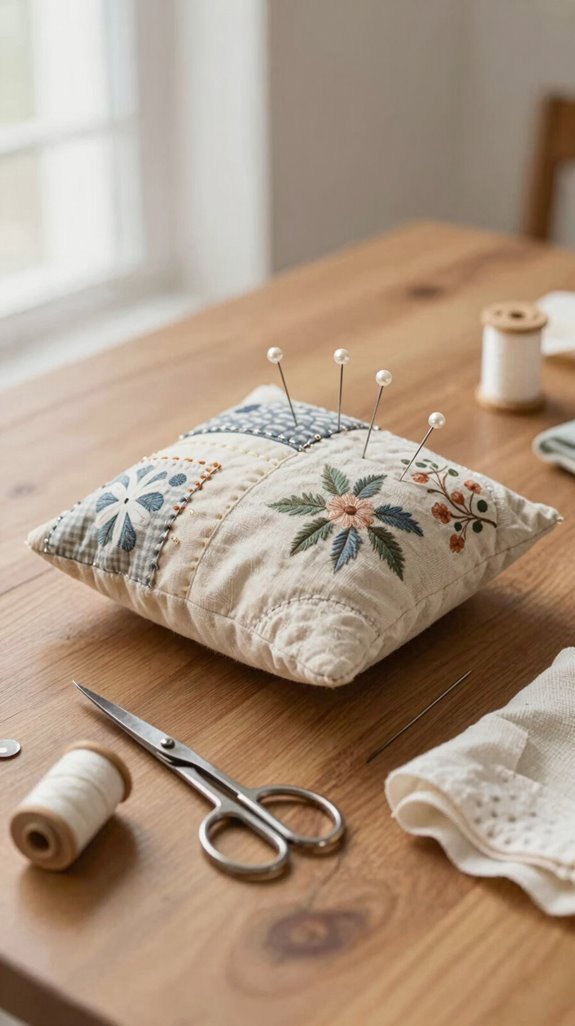
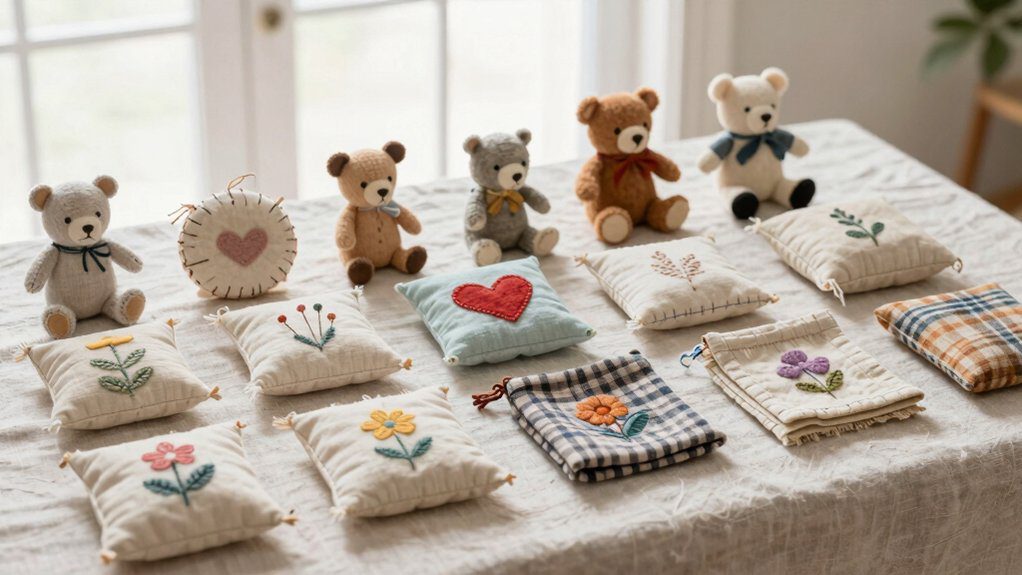
Because it’s quick, useful, and wonderfully scrap-friendly, a hand-sewn pin cushion makes an ideal first project—plus, you’ll never have to hunt for a runaway pin again!
- Choose two small squares or circles from fabric scraps, plus firm shredded stuffing.
- Stitch right sides together, turn, fill, and close with a running or whip stitch. Snip your thread stash neatly!
- Add an embroidered center or button—your cozy little pin storage gets a tactile, durable finish.
This easy handcrafting project costs almost nothing and welcomes you into the sewing club. Keep it beside your needle book, and enjoy that satisfying “I made this!” moment.
Fabric Bracelet
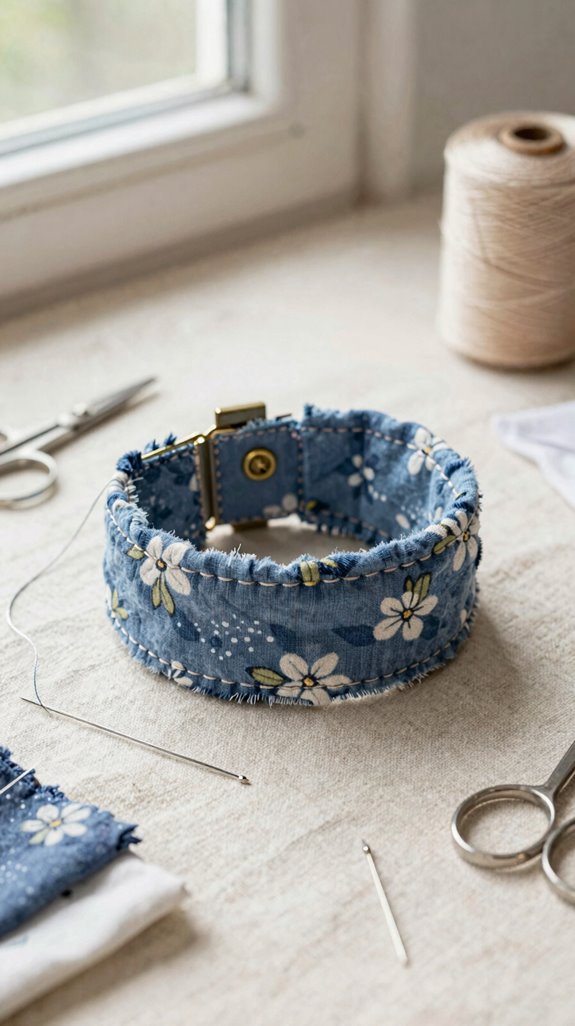
A fabric bracelet turns a few sturdy scraps into a cheerful accessory you can wear the same day—how fun is that?
Choose cotton quilting fabric or tightly woven linen, plus lightweight interfacing, thread, and a ribbon, button-loop, or Velcro tab. Cut two narrow strips, decorate them flat, then stitch long edges wrong sides together. Turn, finger-press, and reinforce stress points with backstitches.
Use Thread tension tips: keep stitches snug, not puckered, so your bracelet stays smooth. Do wrist fit testing before attaching the closure, because nobody wants a tiny fabric handcuff!
For a standout finish, add a small yo-yo cluster or appliqué scraps. You’ll have a wearable little conversation starter.
Hand-Stitched Pillow Cover
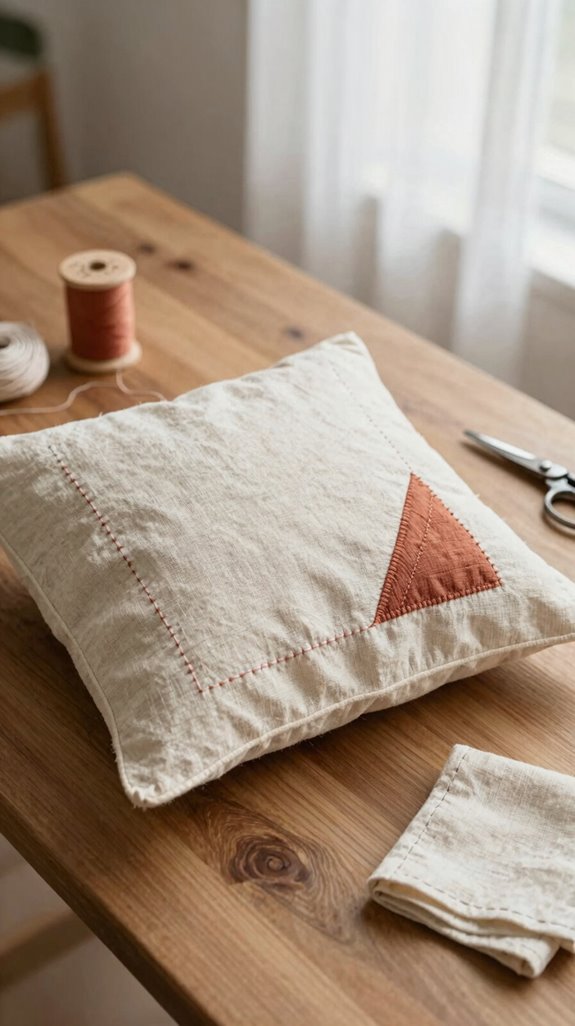
Turn a few fabric rectangles into a hand-stitched pillow cover, and your sofa or bed gets an instant cozy upgrade—no sewing machine required!
- Pick a 16- or 18-inch form, cotton rectangles, sharps, and coordinated thread. Your Thread choice can make the whole room feel pulled together!
- Sew an envelope back with sturdy backstitches, then press each seam hot. It’s beginner-friendly, affordable, and much less scary than a zipper.
- Focus on finishing seams with tiny whip stitches, wrapping edges neatly to stop fraying.
Add a narrow blanket-stitch border or little running-stitch lines—your cover will look like it belongs in everyone’s favorite cozy corner!
Tea Towel Loop
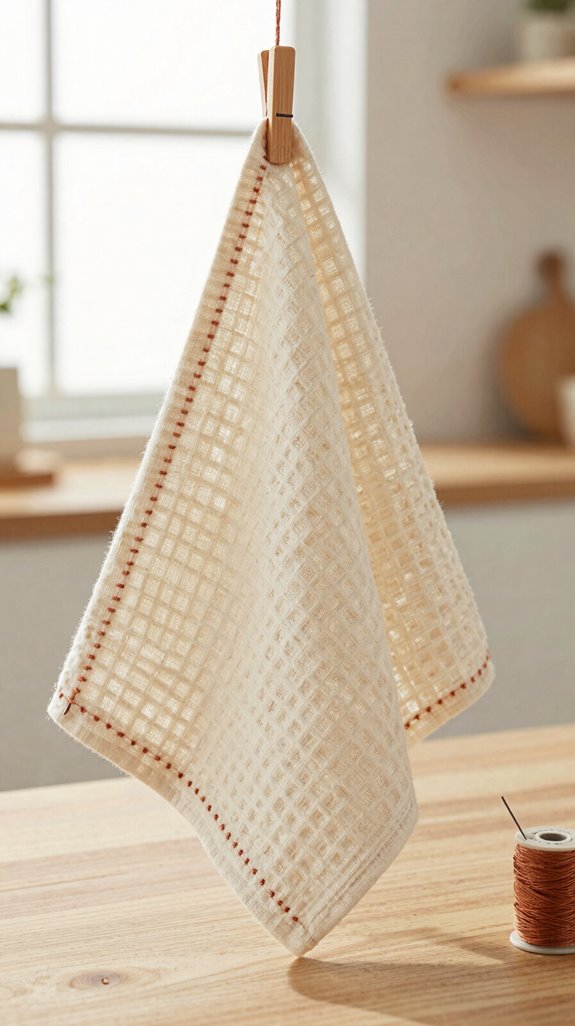
Give an ordinary tea towel a clever little upgrade with a hand-sewn loop, and it’ll stay put on a hook, oven handle, or towel rod—no more dramatic floor dives!
Start with sturdy bias binding or a coordinating scrap; fabric scraps selection makes this tiny project feel like part of your kitchen crew. Fold it into a loop, tuck both ends under, and check the hanging hook fit before sewing.
Whip stitch or blanket stitch the ends through the top hem. Tea towel care stays easy, too—just wash as usual!
For a polished finish, add loop reinforcement with a second stitched line. Make several loops at once, then attach them one by one—such a cheerful, useful matching set!
Eyeglass Case
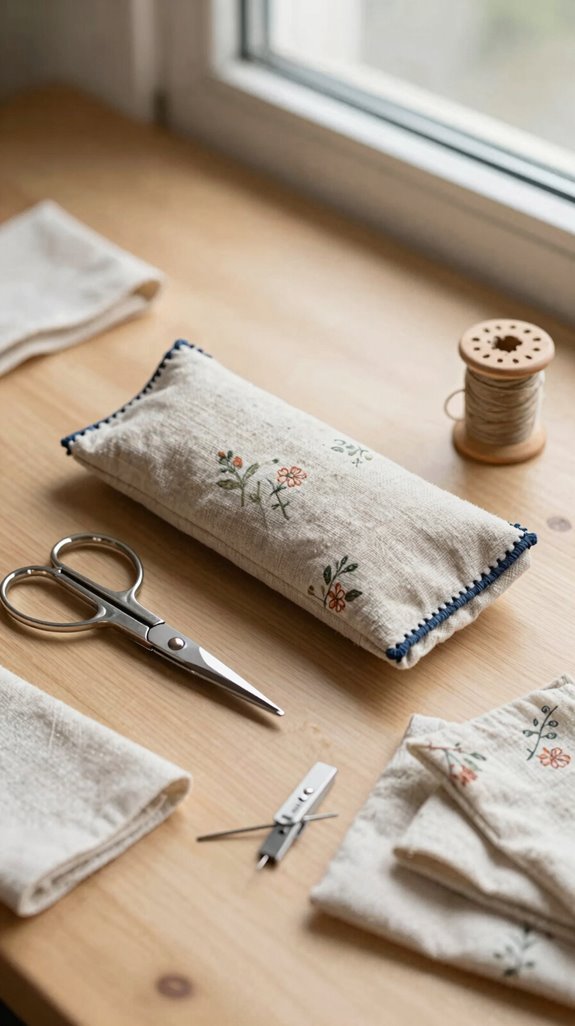
Your glasses deserve a cozy little home, and this hand-sewn case comes together from just sturdy outer fabric, soft flannel or quilting cotton, and a few basic stitches—easy, useful, and much cuter than a loose pair rattling around in your bag!
- Start with scrap rectangles; Yardage planning isn’t needed!
- Layer outer fabric, thin batting, and a lens-safe lining, then use hand sew techniques to stitch a folded pouch.
- Topstitch edges, add a flat snap flap, and keep embroidery outside.
You’ll get a cushioned case that feels like part of the crafty club—protective without bulk.
Best surprise? That slim batting softens little drops, so your lenses won’t feel like they’re riding unprotected.
Phone Sleeve
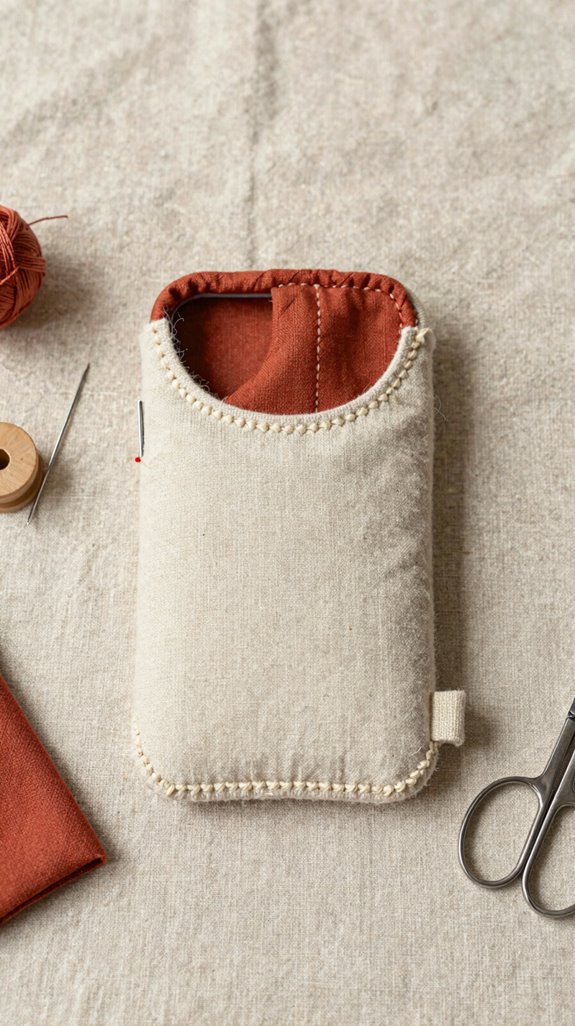
A hand-sewn phone sleeve is a quick little upgrade that keeps your phone from collecting bag crumbs, key scratches, and other daily chaos!
Choose cotton or denim, soft fleece or flannel, and a thin layer of interfacing for cozy structure.
Cut two rectangles for a snug Phone fit, layer outer fabric and lining, then stitch right sides together slowly with a backstitch.
Turn it out, and finish edges with a blanket stitch or narrow turn-and-stitch—clean, sturdy, and totally beginner-friendly!
Explore closure options like a Velcro tab or button-and-loop.
Want your sleeve to join the practical-pouch club? Add an inner slip pocket for a card or earbud wrap.
Christmas Ornament
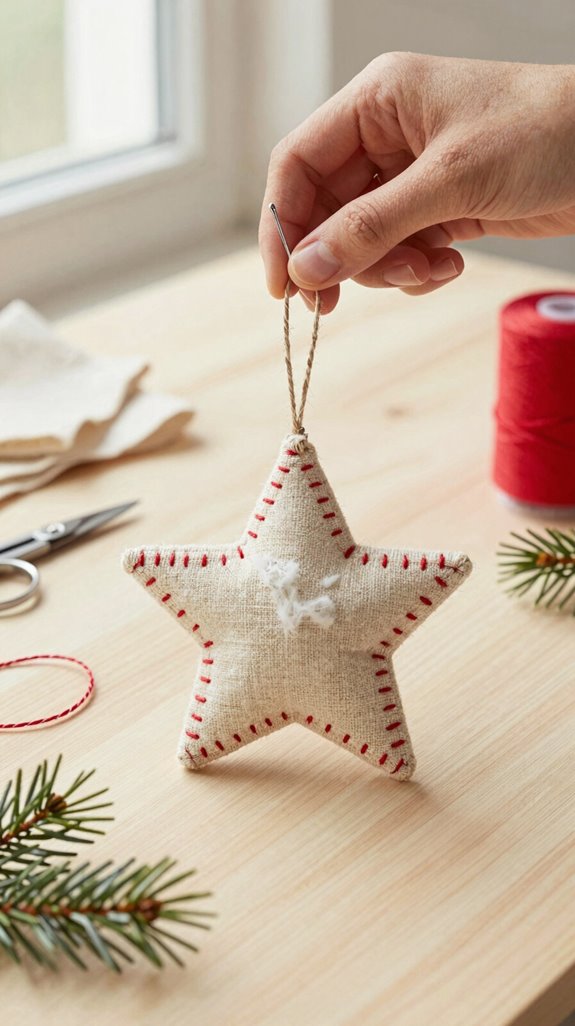
Hand-sewn Christmas ornaments turn a few fabric scraps into tiny keepsakes, and you don’t need elaborate tools or expert skills to make them shine!
- Try yo-yos: gather precut circles, stitch the centers, and make a cheerful batch for friends. It’s an easy handmade gift craft!
- For crisp stars or baubles, baste fabric shapes over parchment hexagon paper, then join them by hand. Your corners will look wonderfully neat.
- Ready for the wow factor? In velvet lace ornament making, stitch scraps without precutting, then add wooden buttons or metal charms. Pack pieces in a small bin, and sew wherever you wait—craft club magic!
Heart Garland
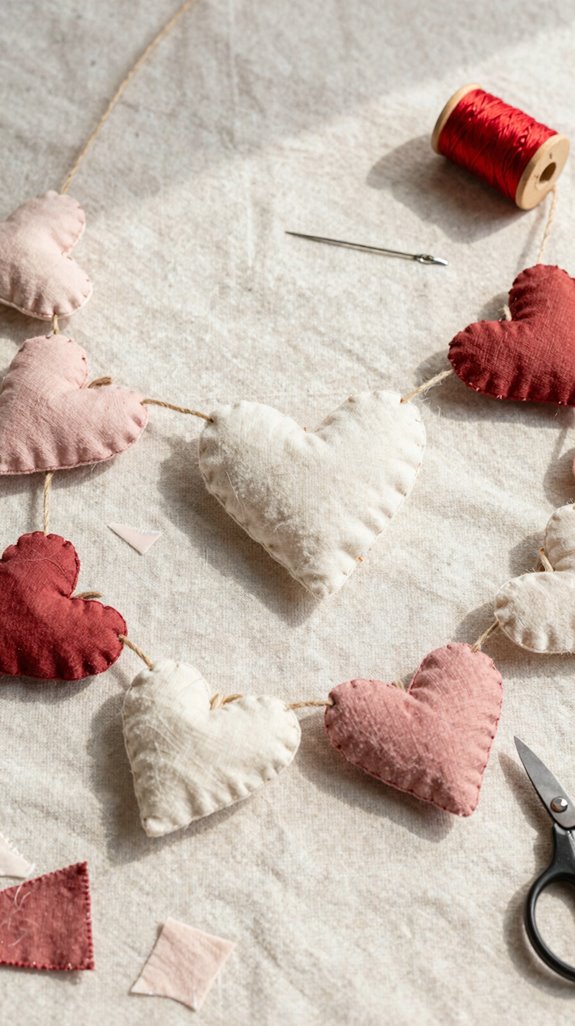
Even tiny fabric scraps can become a sweet heart garland that looks far more delicate than it is—yes, really! You’ll need felt or quilting cotton, thin interfacing, twine, a needle, and thread.
Trace one heart template, then use running stitches to baste each shape. Backstitch or blanket-stitch the edges, trim close, turn carefully, and finger-press flat. These stitch techniques keep every heart tidy without bulky seams!
Before you attach them, add embroidery accents or tiny buttons for personality. Knot or ladder-stitch the hearts onto twine, spacing them evenly. Soon, your mantel, doorway, or shared gathering space feels warmer—like you made room for everyone.
Baby Bib
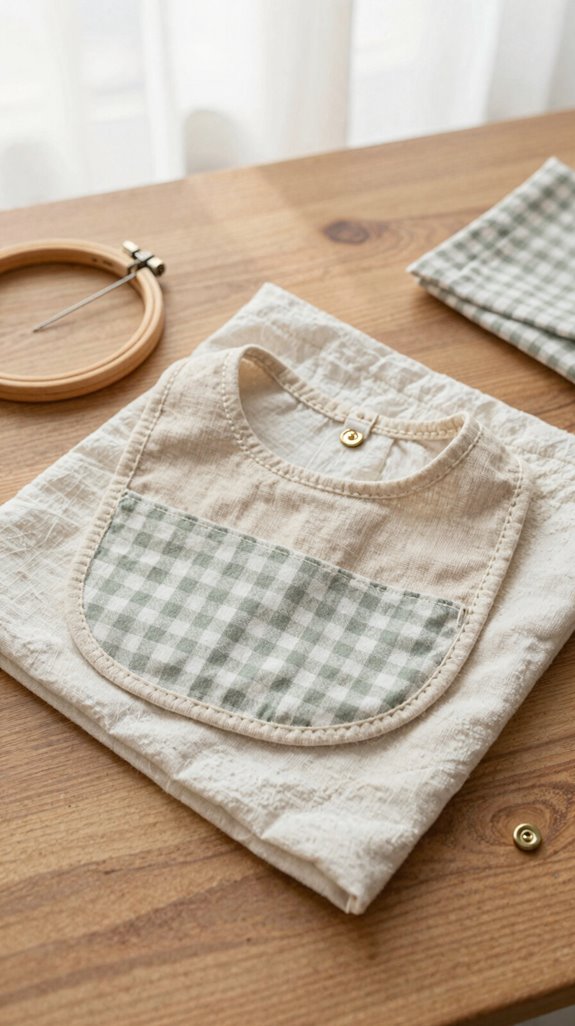
Soft cotton flannel or terry cloth turns two simple fabric rectangles into a baby bib that’s cozy, absorbent, and much cuter than the store-bought kind—score!
Choose cheerful baby bib fabric, add a soft lining, then stitch right sides together, turn, and topstitch. You’ll make something useful that feels lovingly handmade!
- Use these easy hemming tips: try a narrow double-fold hem or tight blanket stitch.
- Add a snap, button-and-loop, or ribbon tie for a growing neck.
- Backstitch closure ends extra well—tiny hands may be sweet, but spills are serious business!
Your even stitches create a washable, welcoming little gift that new parents will actually reach for daily.
Simple Plush Star
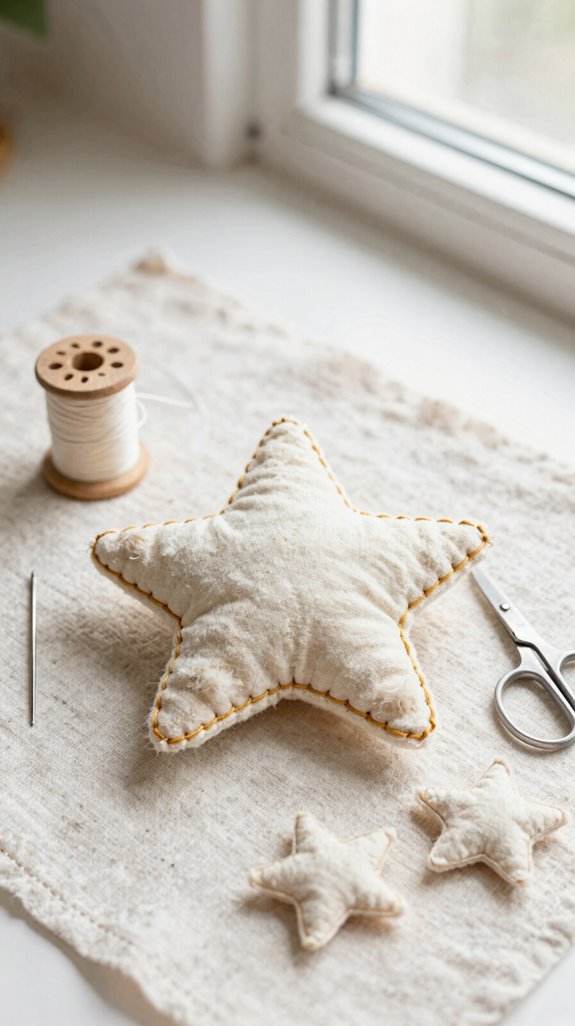
After stitching something practical for mealtime, you can make a Simple Plush Star that brings a little sparkle to a shelf, backpack, or bedtime routine—no stylish sewing skills required!
| Material | Action | Result |
|---|---|---|
| Scraps | Cut two stars | Matching pieces |
| Thread | Stitch edges | Small turning gap |
| Filling | Stuff lightly | Squishy star |
| Needle | Close gap | Hidden seam |
Try Star template ideas with cotton, flannel, or fleece. Pin right sides together, backstitch or whipstitch, turn, and gently poke out points. For stitch finishing tips, double-knot inside the seam. Want your star to feel extra special? Add a tiny embroidered face or contrasting topstitch—your handmade crew will smile!
Fabric Crown
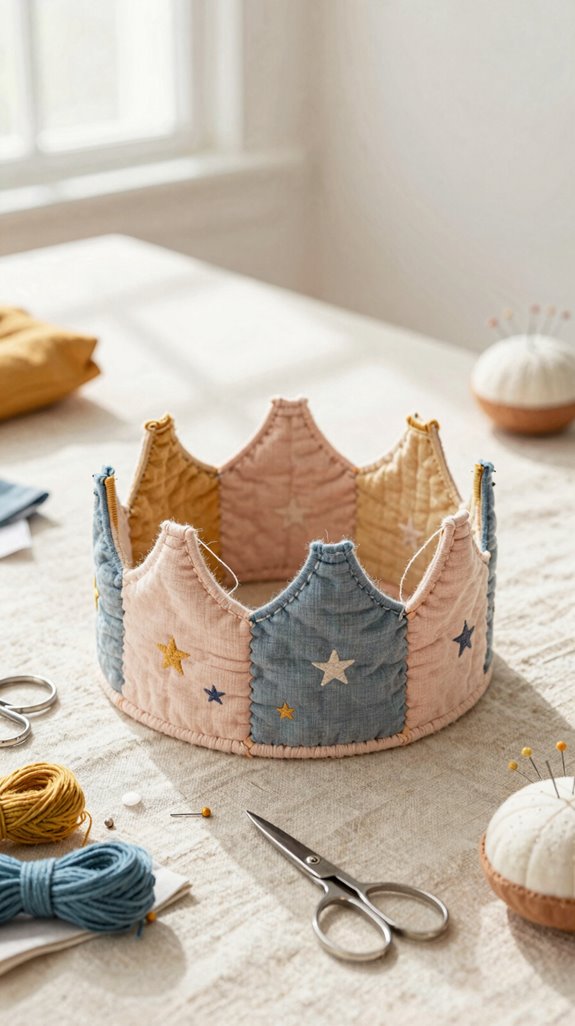
A Fabric Crown turns a few humble scraps into a party-ready treasure, and you can stitch one by hand in an afternoon—no high-end machine, royal budget, or actual castle required!
- Cut two layers with paper-template points, then use a running stitch or whip stitch along marked seams.
- Add felt or interfacing, plus hand sewn applique triangles, embroidery, pom-poms, or buttons.
- Turn, understitch, and add elastic inside for a comfy fit.
You’ll have a lightweight crown that helps everyone feel included at birthdays, playdates, or costume nights.
For crown styling tips, match colors to a favorite outfit, then topstitch the edge for a crisp, polished finish.
Tiny royalty, huge smiles!
Cloth Napkins
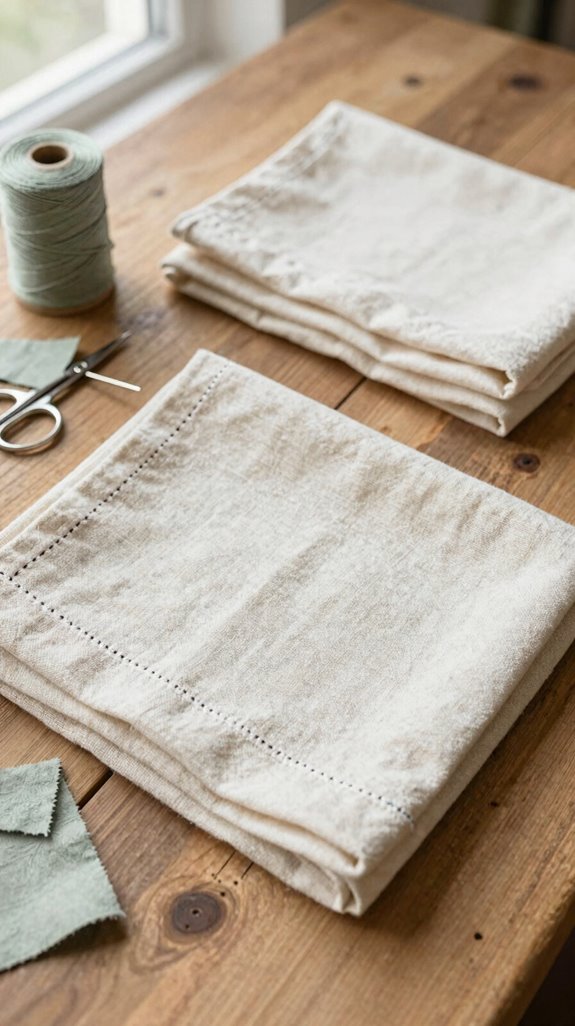
Stitch up a set of cloth napkins, and your everyday table suddenly feels a little more special—without the upscale-store price tag! You’ll need medium-weight cotton or linen, thread, scissors, and a needle.
Cut two matching rectangles per napkin, then hand-baste them to check the edges before sewing. Fold under the seam allowance, or make a narrow double-fold hem, and use a ladder stitch for a nearly invisible finish. Linen finger-presses beautifully, so your folds stay crisp—no upscale tools required!
For Practical fabric care, choose washable cotton and simple colors. Then add a tiny monogram, appliqué corner, or blanket-stitched border. They’re perfect for thoughtful gifting, too!
Patchwork Wall Hanging
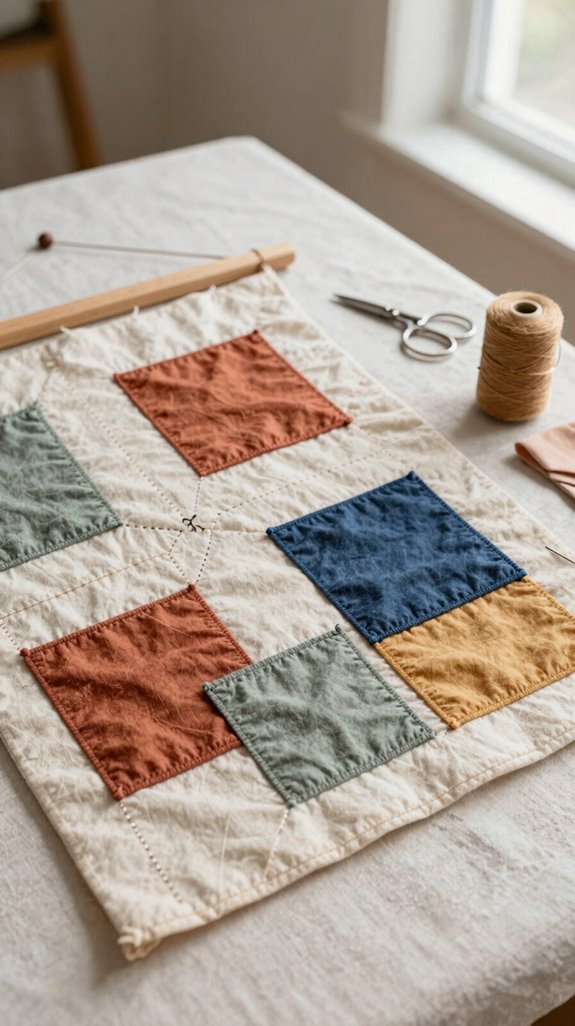
Patchwork turns those “too pretty to toss” fabric scraps into colorful wall art—how fun is that? You’ll create a cozy piece that feels right at home among fellow makers!
- Gather Colorful fabric scraps, a needle, thread, and lightweight backing options. Stitch mix-and-match squares into rows—no perfection police here!
- Want crisp shapes? Try paper-pieced hexagons, then add lace, tiny embroidery, wooden buttons, or charms for personality.
- Baste your layers and add basic hand quilting lines in straight rows. Finish with a hand-sewn edge or folded backing.
Use easy hanging methods, like a small dowel sleeve. Your handmade wall art also makes a heartfelt gift!
Best Hand Sewing Stitches
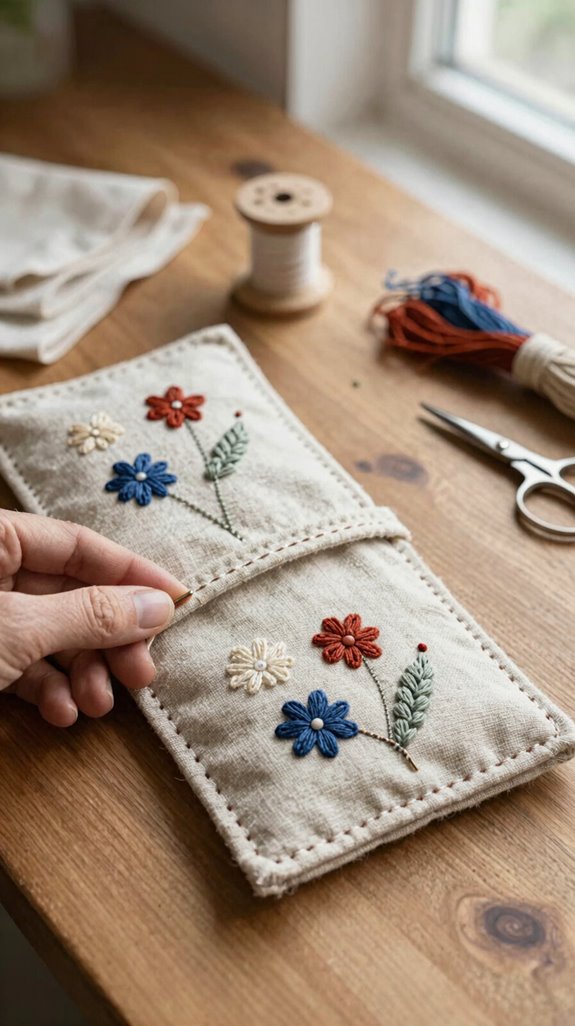
Once your patchwork is hanging proudly on the wall, a few trusty hand stitches can help you tackle nearly any fabric project—yes, even the ones with tiny corners and sneaky loose edges!
Join your crafty crew with five basics: running stitch for simple seams, back stitch for strength, blanket and whip stitches for tidy edges, and ladder stitch for closures.
Tie a knot first, keep thread under 50 cm, and mark lines with a disappearing marker.
Try these Stitch spacing tips: keep gaps even. Use thread tension tricks: pull snug, not tight—no fabric pancakes!
Best surprise? A ladder stitch can make small openings look nearly invisible.
Choosing Needles and Thread
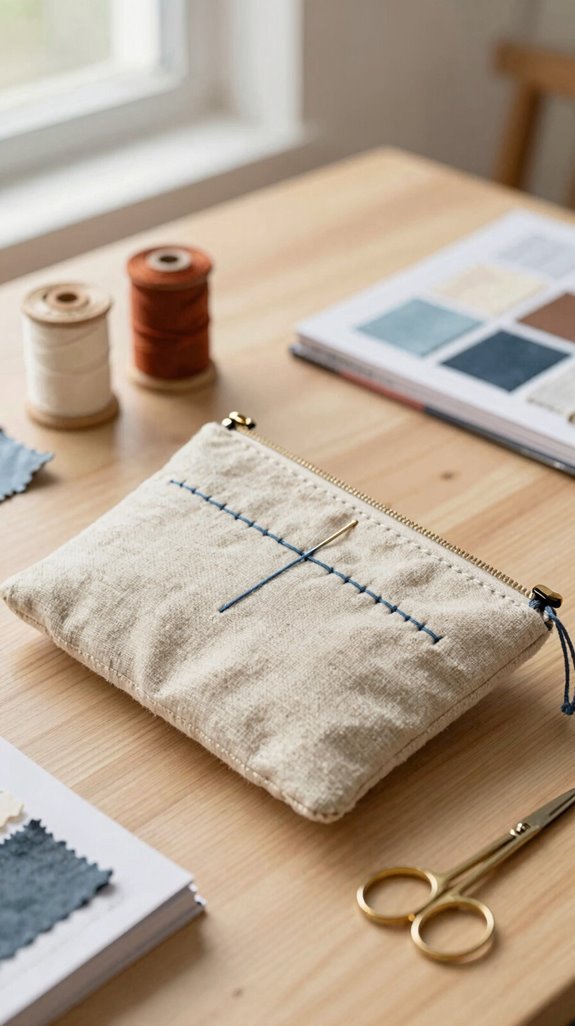
The right needle and thread can make hand sewing feel smooth instead of like a tiny wrestling match!
- Practice Needle size matching: use a small, sharp needle for silk, and choose a sturdier one for denim seams. Fabric thickness awareness saves your fingers and keeps stitches neat!
- Pick the job’s helper. Larger embroidery needles guide floss through decorative details, while a needle threader makes tiny eyes far less annoying.
- Keep thread under 50 cm. It tangles less, holds even tension, and helps your work look polished from the first stitch. Carry a small needle assortment, too, so you can switch between hems, scraps, and appliqué like the prepared sewing friend everyone loves!