27 Easy Sewing Projects That Look Expensive but Are Beginner Friendly
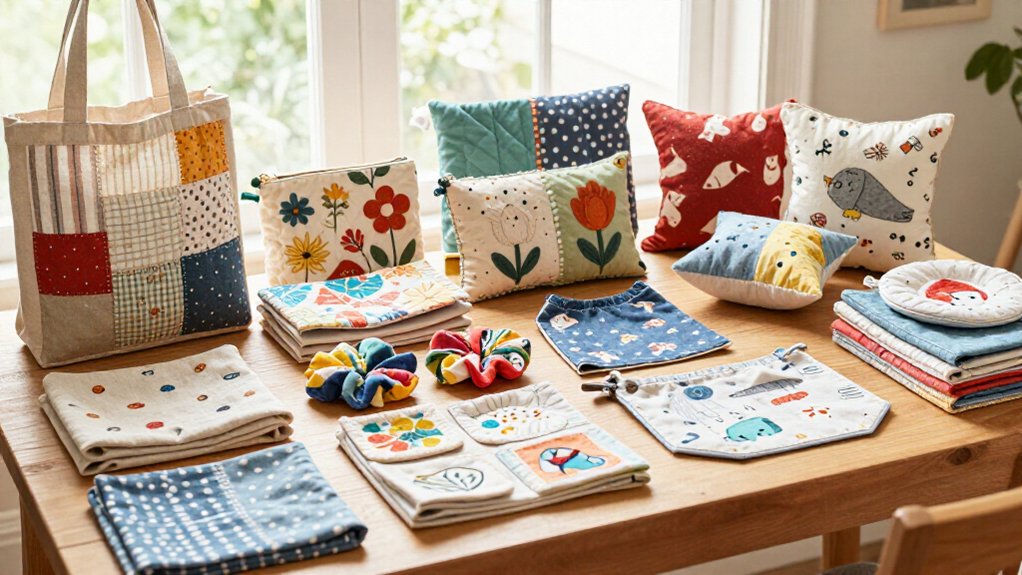
You can make luxe-looking decor without skilled skills—yay! Start with a cotton-linen table runner, quilted mat, envelope pillow, or patchwork cushion using straight seams, pressed hems, and neat topstitching. Try a canvas storage basket, insulated pot holder, or weighted fabric door stop for useful gifts on a budget. Choose stable cotton, canvas, or twill, press every seam, and guide your presser foot carefully. The crispest secret is waiting just ahead.
Love cozy DIY projects? 💕
Get free printable guides, exclusive tutorials & surprise craft goodies straight to your inbox.
Disclosure: This post may contain Amazon affiliate links, at no extra cost to you. Content on DiyCraftNest is created with research support from AI tools and carefully reviewed, edited, and fact-checked by the lead author, Daniel Pat, to ensure accuracy and reliability. Learn more
Key Takeaways
- Choose medium-weight cotton, canvas, or cotton-linen blends for beginner-friendly projects with a polished, substantial appearance.
- Start with rectangular makes like table runners, quilted mats, envelope pillows, and book sleeves to master straight seams.
- Use interfacing, batting, or lining to add structure, cushioning, and an upscale tailored finish.
- Pre-press folds and seams, then topstitch close to edges for crisp lines and professional-looking construction.
- Finish raw edges with binding, turned hems, or simple closures like snaps, hook-and-loop tape, or zippers.
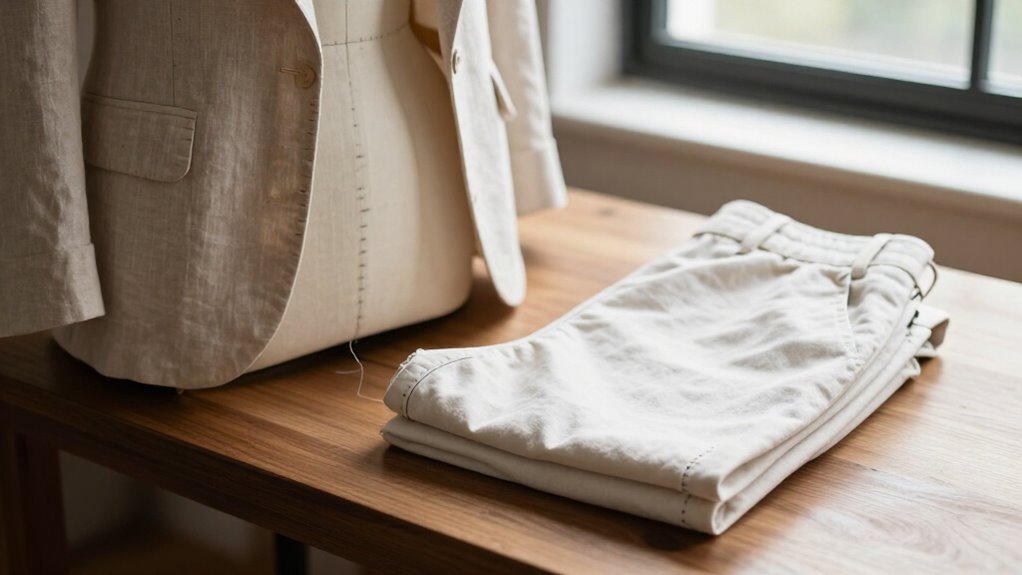
Linen Table Runner
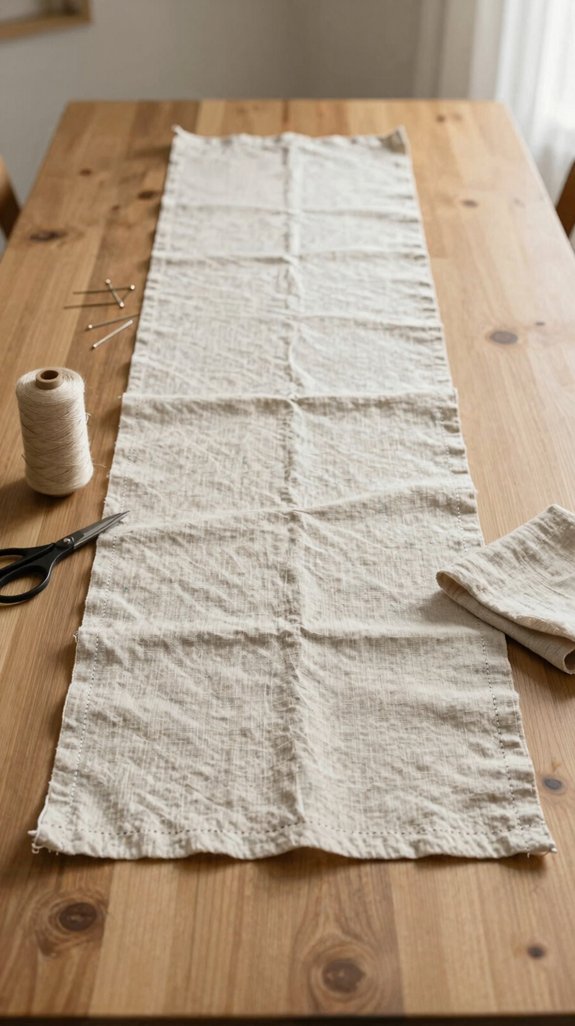
A linen-style table runner is one of those quick projects that can make your whole dining table look like it belongs in a stylish home catalog—without the stylish price tag!
Choose medium-weight cotton or a cotton-linen blend; it won’t slip around like a sneaky sock.
Cut it slightly wide, then trim it straight after sewing.
Use a double-fold hem or turned edge, and rely on precision hemming by guiding your presser-foot edge along the fabric.
Here’s the secret: pre-press every fold and use pressing techniques as you sew.
Those crisp lines make your runner look store-bought, polished, and ready for your next cozy dinner with friends!
Quilted Table Mat
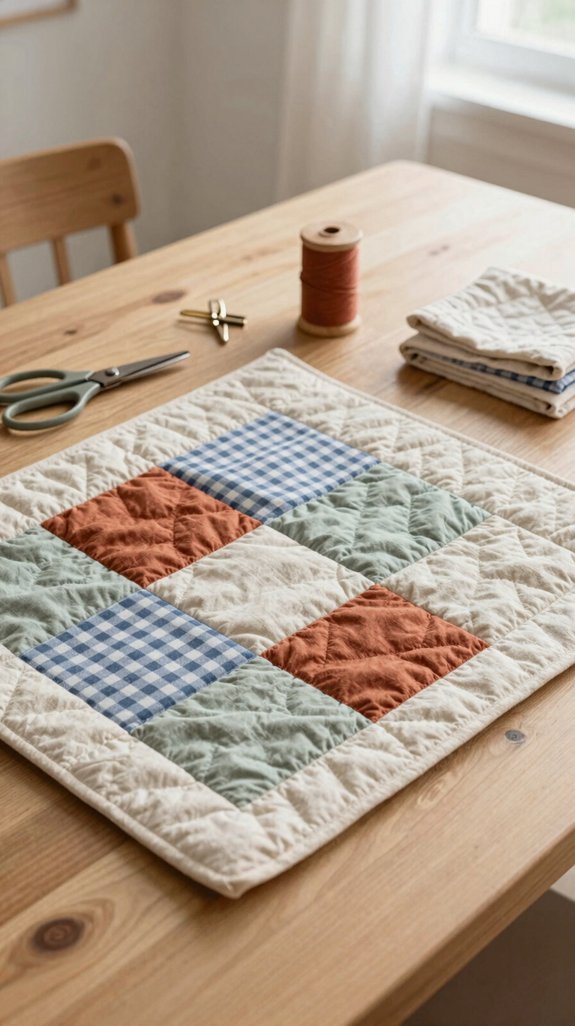
Quilted table mats bring that cozy, boutique-home feel to everyday meals, and you can make one in an afternoon—no stellar quilting skills required!
For Beginner quilting, gather cotton for the top and lining, plus thin low-loft batting. A 9–12-inch square keeps costs low and lets you join the handmade-table crowd!
- Cut simple rectangles and stitch straight seams.
- Use pressing techniques after every seam for crisp, polished edges.
- Layer top, batting, and backing, then quilt an even grid.
Finish with single- or double-fold binding. Those straight lines add tailored texture, cleverly hiding tiny wobbles—your secret is safe!
Envelope Pillow Cover
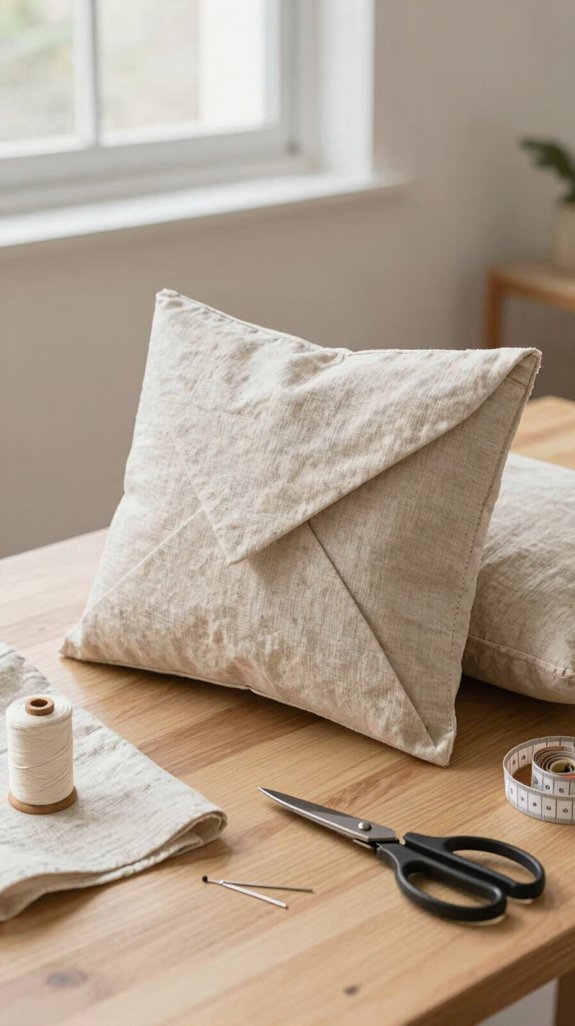
Fresh from stitching a polished table mat, you can give an ordinary throw pillow the same custom-home charm with an envelope pillow cover—no zipper drama required!
Choose medium-weight cotton or a cotton blend, matching thread, and an insert. Pre-press your fabric, then cut it for a snug fit; a plump pillow looks far pricier than a floppy one!
Hem the back flap edges, overlap them, and use a steady 1/2-inch seam allowance. Your basic straight stitch creates a Crisp seam, even if you’re still finding your sewing rhythm.
Here’s the secret: follow these pressing tips—iron seams flat and press the overlap smooth. You’ll get a tailored cover that belongs beautifully on your sofa, no button wrestling needed!
Patchwork Cushion
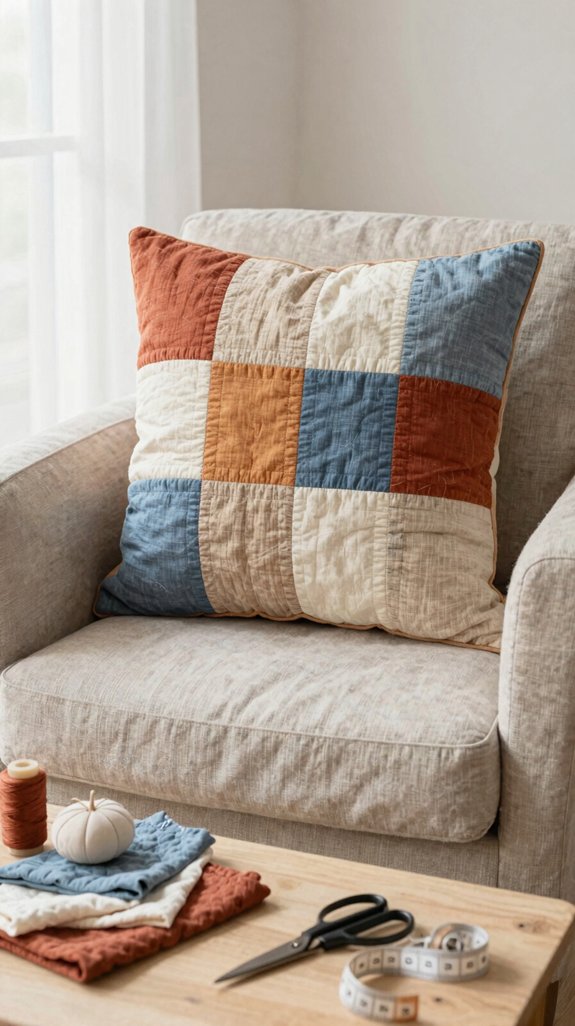
Turn a few small cotton squares into a patchwork cushion, and you’ll get that boutique-style, geometric look without tackling any intricate stitches—yes, really!
Choose medium-weight cotton and a forgiving 2.5- to 4-inch grid. You’ll feel right at home making neat rows with straight seams!
- Cut matching squares or rectangles.
- Sew blocks into rows, then join rows.
- Add a solid backing, turn, and topstitch.
Use these Pre press tips: press every patch and seam flat for crisp lines.
Try seam matching hacks, like nesting seam allowances, to keep corners coordinated.
Pop in a snug cushion form, and voilà—tailored, expensive-looking comfort!
Fabric Storage Basket
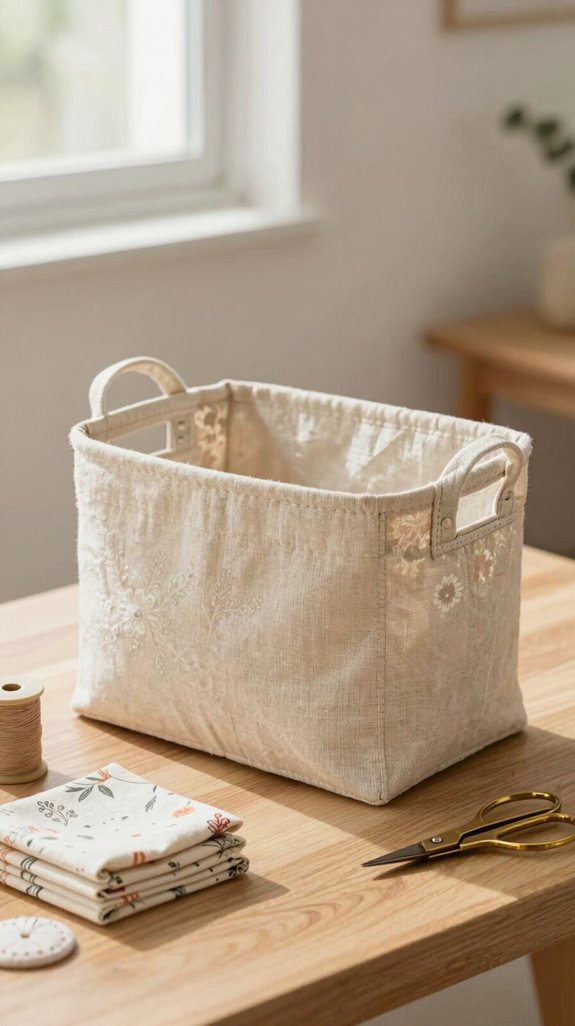
A fabric storage basket is one of those “how did I make that?” projects—it looks polished on a shelf, yet you only need straight seams, medium-weight cotton or canvas, and a little iron-on interfacing.
Choose matching thread, sturdy straps, and lining fabric, then use smart interfacing techniques on the sides and bottom. Sew a boxed base or reinforced panel so your corners stay crisp—no sad, floppy basket syndrome!
For handles, topstitch twice along each edge to stop sagging. Press every seam before topstitching, and finish the rim with bias binding or a turned hem. These basket lining tips create a neat interior, so your handmade piece fits right in with the stylish crowd.
Hanging Wall Organizer
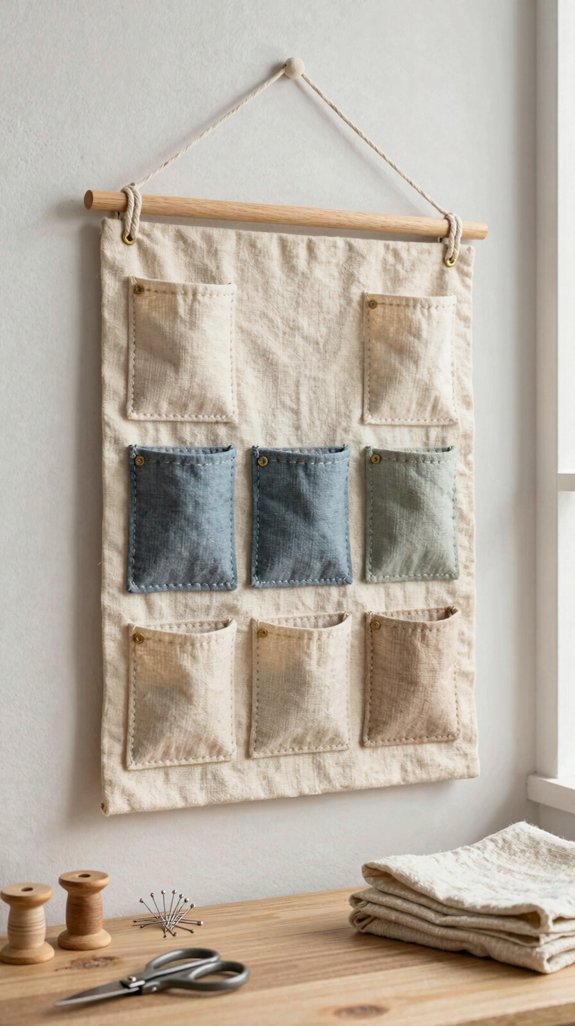
If your desk, craft corner, or entryway keeps collecting little odds and ends, a hanging wall organizer can bring instant order without a complicated sewing adventure!
Use medium-weight cotton or canvas, plus interfacing or fusible fleece, for a crisp finish that won’t droop. You’ll feel right at home making this practical little upgrade!
- Cut a back panel and pockets, then focus on Choosing seam allowances for neat edges.
- Press and topstitch pocket openings, using 5×7 pockets for scissors and narrow slots for clips.
- Finish with hanging rod construction: stitch a dowel channel or sturdy loop.
Stitch pocket rectangles into a tidy grid—suddenly, your wall looks boutique-worthy!
Japanese Knot Bag
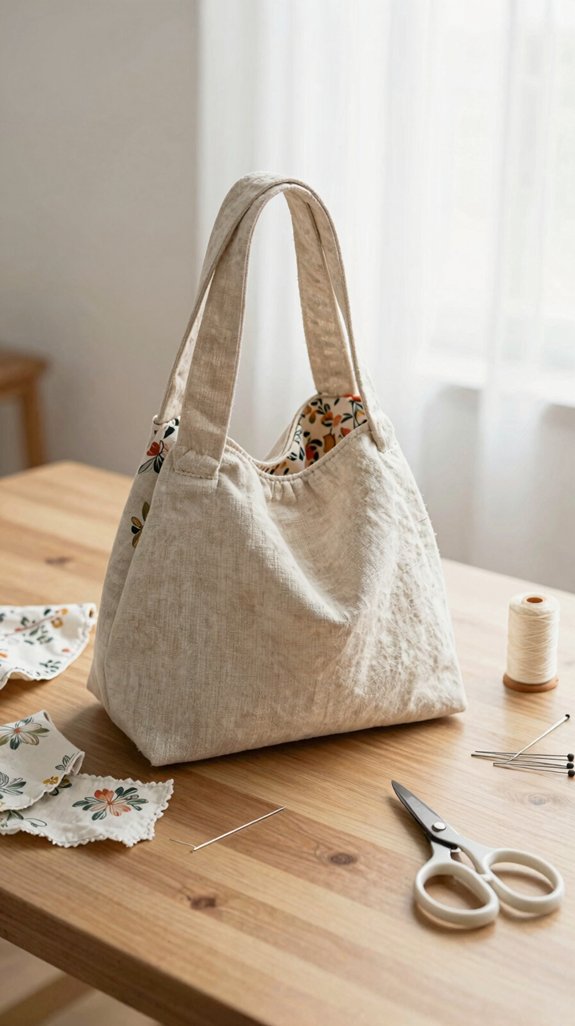
With a clever little cinch at each side, a Japanese knot bag turns two simple fabric rectangles into a polished carryall that looks far pricier than it is—seriously, it’s a tiny sewing magic trick!
Use medium-weight quilting cotton or canvas, sturdy thread, and matching lining if you want extra polish.
For fabric choice tips, pick one bold print or a contrast lining; both feel boutique-worthy!
Stitch the rectangles into a tube, press every seam, then sew a top casing for cords.
Delve into drawstring hardware options, from fabric ties to tiny grommets, and backstitch stress points.
Knot the cords at each side, and voilà—you’ve made a chic bag your sewing friends will admire!
Canvas Market Tote
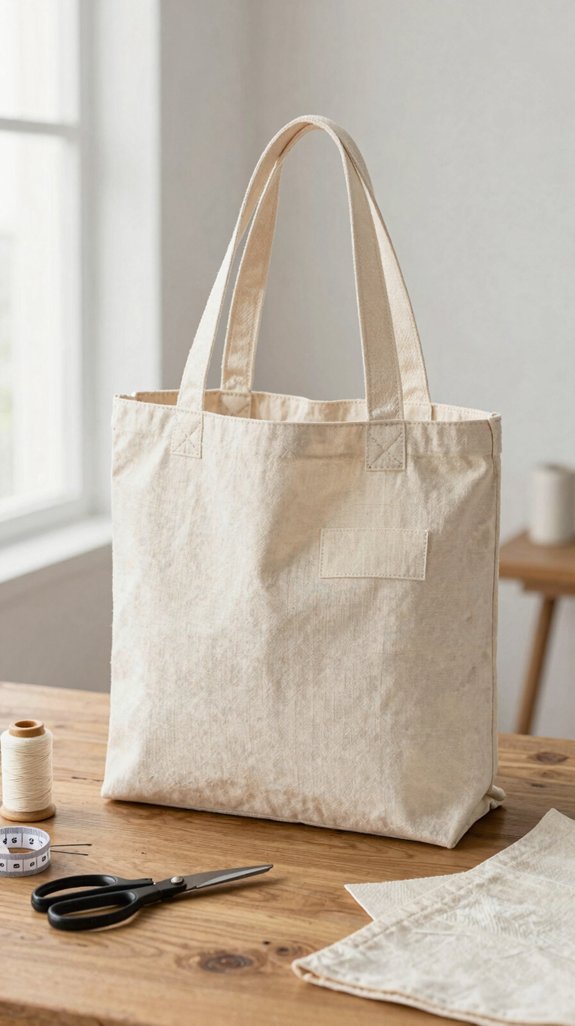
Nothing says “I made this!” quite like a crisp canvas market tote that stands up on its own and looks ready for a cute little boutique shelf. You’ll fit right in with sturdy cotton duck, a straight stitch, and a simple plan—no detailed machine magic required!
- Cut two matching boxy rectangles.
- Hem or bias-bind the top, then sew side seams.
- Press seams before topstitching with tan thread for polish.
Choosing canvas handles is easy: fold and topstitch straps, then secure ends firmly. For reinforced seam finishing, add a double-layer bottom or boxed corners. Suddenly, your tote carries groceries—and compliments!
Zipper Makeup Pouch
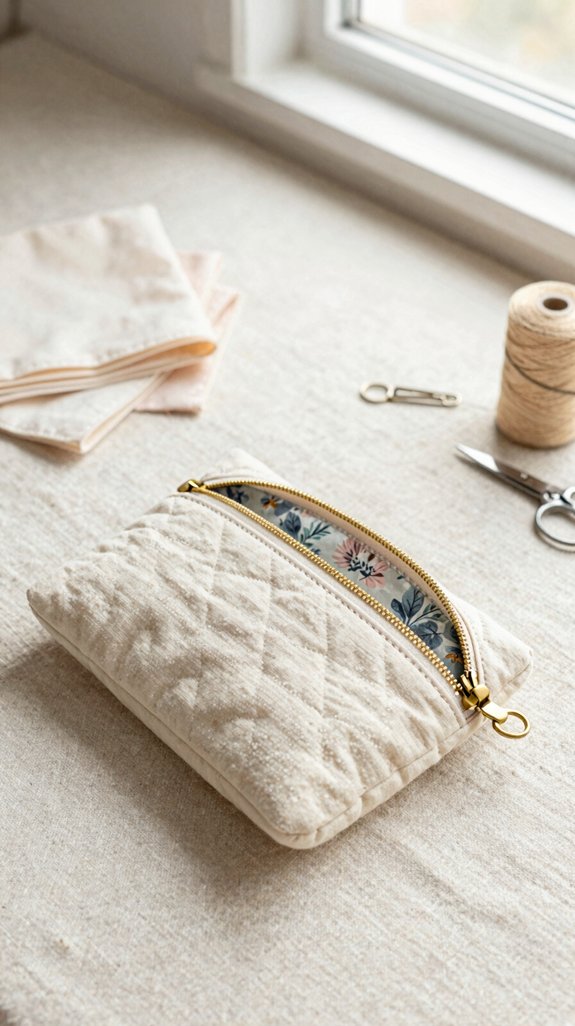
A zipper makeup pouch looks wonderfully polished, yet you can sew one in an afternoon with sturdy cotton or canvas, lightweight interfacing, a metal zipper, and a little lining fabric—seriously, that’s it!
Choose lining fabric choices that feel fun, then cut two outer and two lining rectangles.
Attach a zipper, using a zipper foot, and press seams before crisp topstitching.
You’re officially in the polished-pouch club!
For extra room, box the corners—easy magic!
Finish with Zipper care tips: open and close it fully, then test lip balm, a brush, and concealer.
If it glides smoothly, your handmade pouch looks boutique-ready.
Drawstring Gift Bag
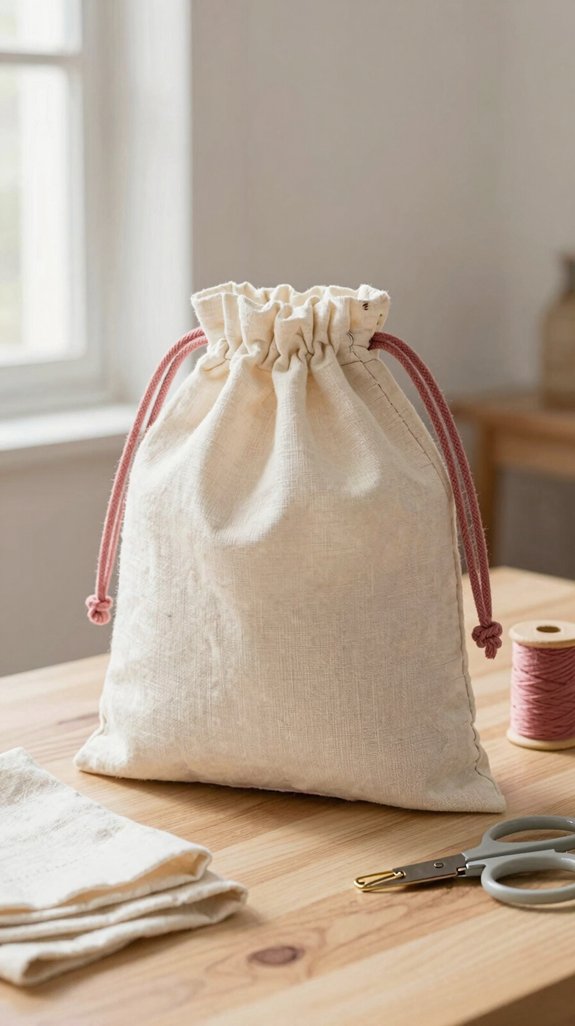
For quick wrapping that feels far more special than store-bought paper, sew a drawstring gift bag! You’ll make a reusable little treasure that friends and family will love.
- Choose medium-weight cotton; Fabric choice gives it a polished feel.
- Cut two rectangles, sew wrong sides together along sides and bottom, then trim neatly.
- Press a 1/4-inch top hem and stitch it down for a tidy casing.
Thread cord through the openings with a safety pin—tiny tool, big hero! Your finishing techniques hide raw edges beautifully.
For an upgraded look, add contrasting thread or a crisp lining. Start with small gift sizes, and you’ll feel like part of the handmade-gift club!
Fabric Bread Basket
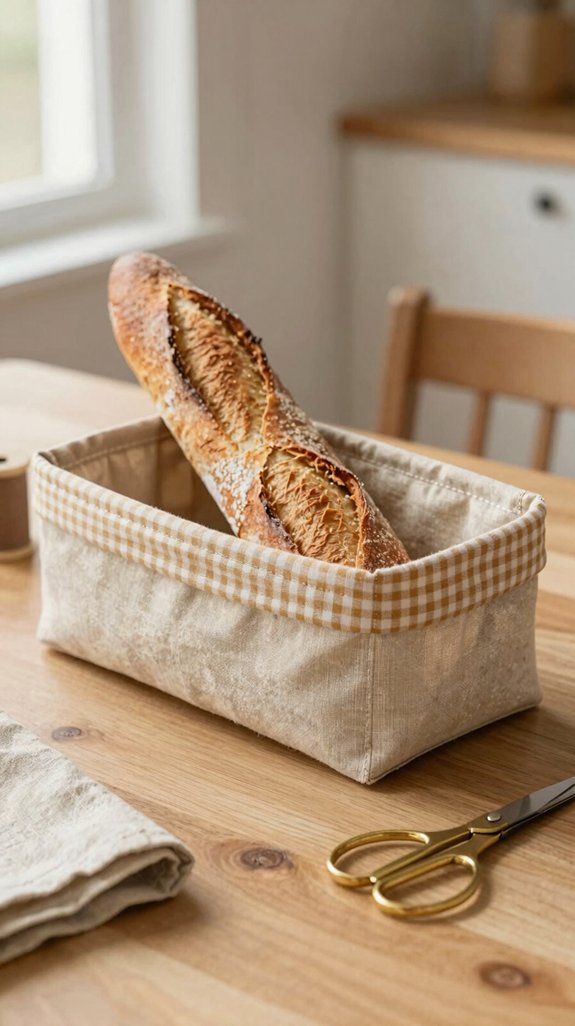
Bring that handmade charm to the table with a fabric bread basket—yes, the kind that makes a simple loaf look bakery-window posh! You’ll use medium-weight cotton, straight stitches, and an open top—easy win!
| Detail | Why it matters |
|---|---|
| Fabric basket lining | Feels neat and welcoming |
| Sturdy base reinforcement | Holds its boutique shape |
Cut outer and lining pieces, add a second bottom layer or light interfacing, then press accordion pleats before sewing. Trim, turn, and topstitch the rim for a crisp finish. Set it out at brunch, and suddenly everyone feels like they belong at your table—fancy bread, zero fuss!
Bowl Cozy
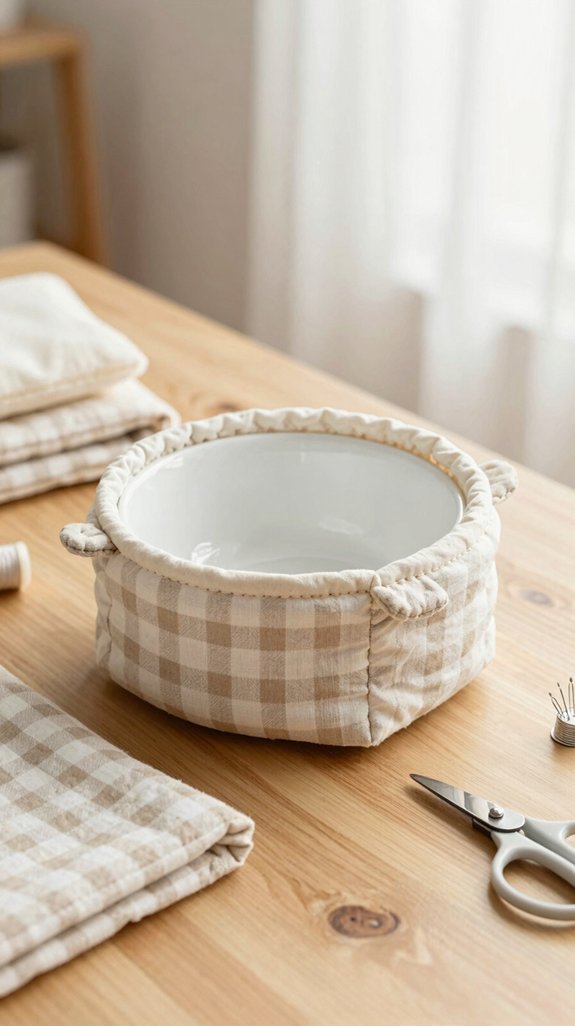
Why wrestle a steaming soup bowl with a towel when you can sew a cozy little holder that looks straight from a gift shop? You’ll fit right in with fellow makers using these easy beginner techniques!
- Choose medium-weight cotton or cotton/flannel, plus insulated batting and a lining.
- Layer all three, sew simple straight lines, and shape a snug sleeve that hugs the bowl’s bottom.
- Turn the edges or add a clean top seam, then topstitch for polish.
The thick middle provides heat insulation, while the layered shape looks wonderfully designer. It uses very little fabric, so it’s budget-friendly too. Add a contrasting top band for the “wait, you made that?” moment!
Reusable Snack Bag
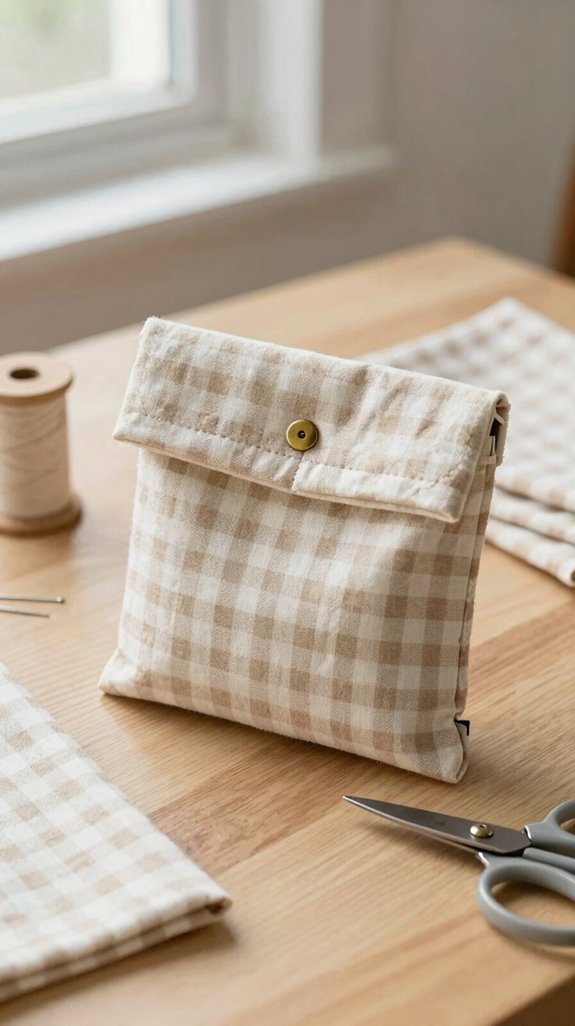
Choose 100% cotton or a cotton blend, cut pieces for crackers or fruit, then press each seam. Keep your presser foot edge in line with the fabric, and your stitches will look wonderfully neat.
For closure, try a basic drawstring, or examine zipper closure options for that polished, store-bought finish.
Make several at once from scrap yardage—your new lunchbox organization crew will look coordinated, and you’ll build confidence fast.
Tiny project, big “I made that!” energy!
Cord Organizer
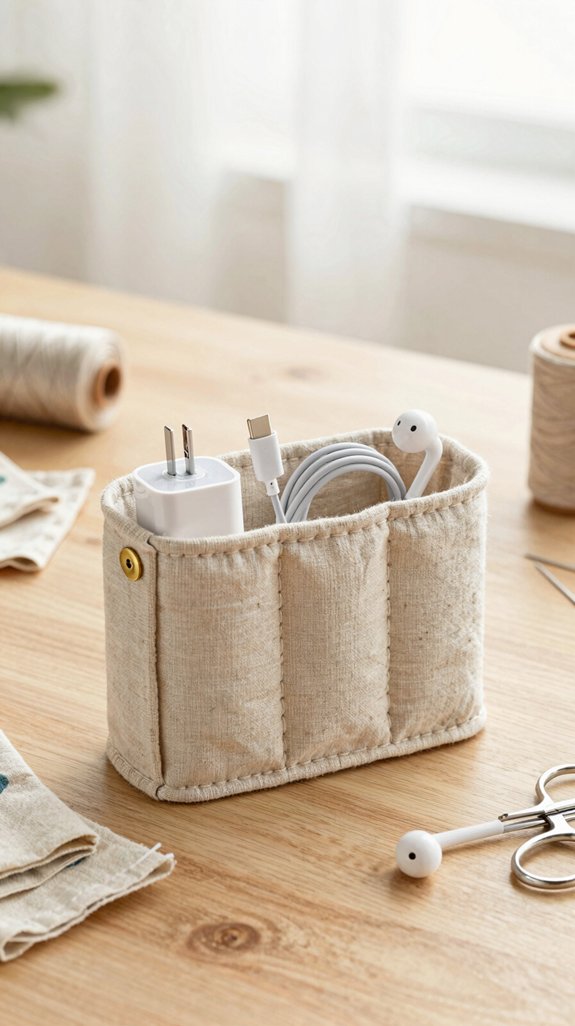
Tame that spaghetti pile of charging cords with a simple fabric organizer that looks far pricier than it is! You’ll need cotton canvas or denim, elastic, and snaps or hook-and-loop.
- Cut matching rectangles and sew simple straight-line seams.
- Add elastic loops, spacing centers 1–1.5 inches apart, so chargers lie flat.
- Fold over a flap closure and secure it neatly.
These Cord organization tips help your setup join the tidy-home club—no more cable jungle!
For neat seam finishing, topstitch a border or faux welt along the outside. Even if the inner seams aren’t perfect, that crisp detail creates a surprisingly store-bought result.
Batch-sew several for your crew!
Passport Holder
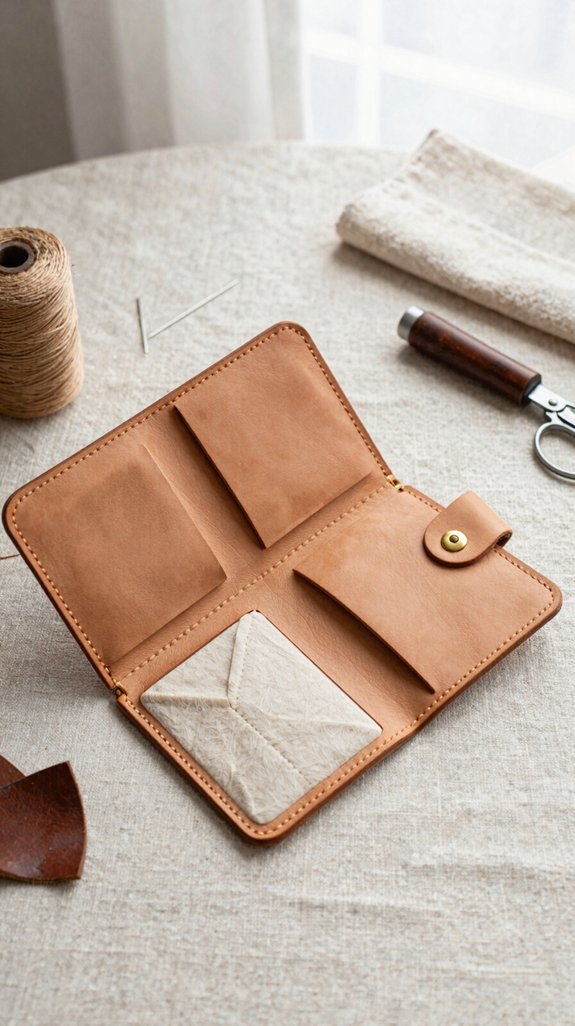
A handmade passport holder makes your travel papers feel polished before you even reach the airport—fancy, right? You’ll join the well-prepared travel crowd with medium-weight cotton or canvas, two outer pieces, and one lining panel.
| What you need | Easy move | Why it works |
|---|---|---|
| Cotton canvas | Cut straight lines | Holds shape |
| Color matched interfacing | Fuse to outer shell | Looks luxe |
Measure your passport, add a little ease, and sew an inner pocket. Fold, then top-stitch the edges for crisp lines.
Finish with Velcro or a snap for secure flap closures. It’s quick, affordable, and surprisingly polished—no secret tailor club required!
Book Sleeve
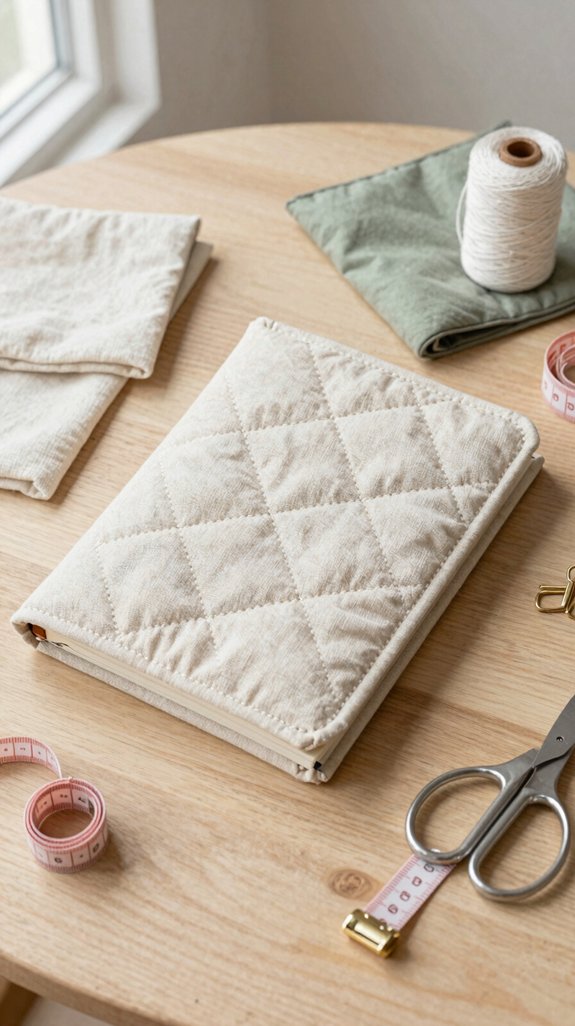
Give your favorite novel a soft, tailored little jacket with a beginner-friendly book sleeve—because bent covers deserve better!
Choose medium-weight cotton or canvas outside, plus thin cotton inside. These fabric texture choices feel polished without costing much.
- Cut an outside panel, lining panel, and spine piece.
- Sew straight seams with right sides together, then turn.
- Press crisp corners and topstitch close to the edge.
Follow these lining thickness tips: keep it light to avoid puckers.
Add batting for extra cushion, then finish with a button-and-loop or hook-and-loop tab.
Your reading club will think you bought it at a boutique!
Laptop Sleeve
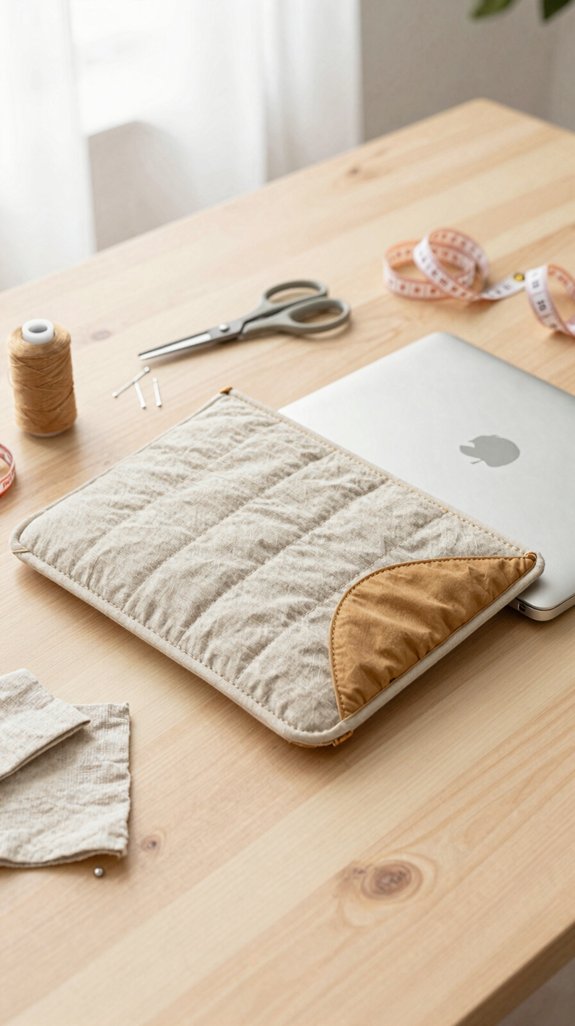
Your laptop deserves more than a loose tote-bag ride, and this padded sleeve looks surprisingly high-end without requiring advanced sewing skills!
Use medium-weight cotton, lining, batting, and simple padding inserts. Smart fabric selection makes you part of the polished DIY crowd!
| Step | What You’ll Do | Why It Works |
|---|---|---|
| Measure | Add ½–¾ inch ease | Easy sliding fit |
| Sew | Create boxed bottom seams | Crisp, tailored shape |
| Turn | Line, turn, topstitch | Clean boutique finish |
Cut a straight sleeve with one flap, sew the layers, then add Velcro or a snap. That final closure is the tiny “wait, you made this?” moment!
Scrunchie Set
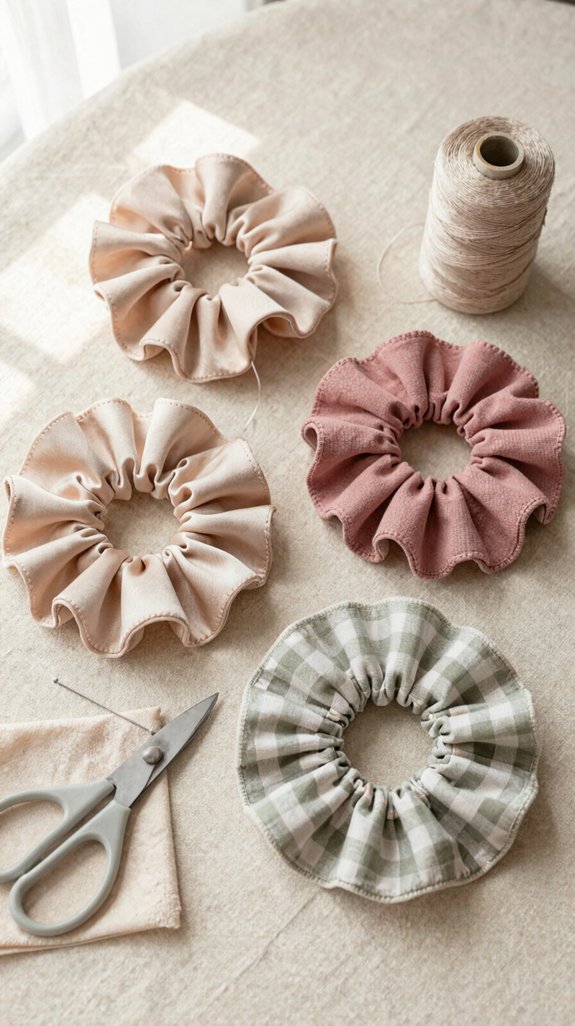
Scrunchie sets are the kind of quick, scrap-friendly project that makes your sewing pile look instantly more put together—no elaborate skills required!
Your Fabric choice can unite 2–5 prints and solids, so you’ll create matching sets that feel like they belong together. Grab soft knit scraps, elastic, thread, and scissors—budget-friendly win!
- Cut identical long rectangles and sew each into a tube.
- Use gentle stretch handling as you thread and attach elastic.
- Close the opening neatly, then add polished topstitching.
Batch-sew every tube first, then add elastic in order. Even slightly wobbly seams look intentional when your colors coordinate—hello, boutique-style accessories!
Knotted Headband
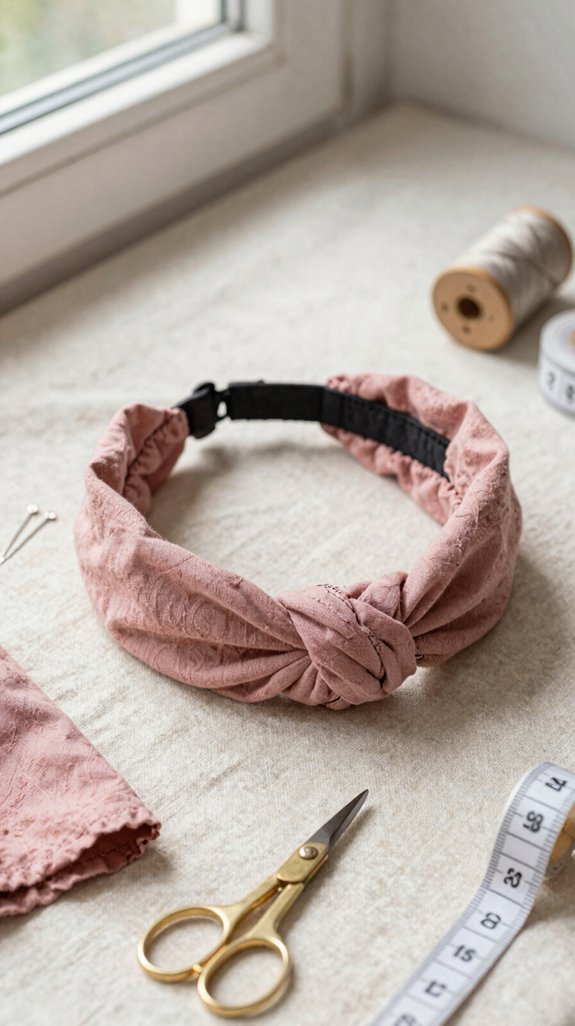
Twist up a knotted headband with lightweight jersey knit, and you’ll get that soft, boutique-style look without wrestling bulky seams—yes, please!
For Fabric choice, choose stretchy jersey, then cut a strip about 1.5–2 inches wide and 24–30 inches long for easy headband sizing. Sew the ends right sides together, turn the loop, and press lightly.
Next, practice beginner knots at the center, keeping the folds even before you stitch. Finish inside edges with a narrow zigzag, then tack the knot through both layers.
You’ll have a polished accessory that feels comfy, stays put, and looks like it came from your favorite little shop!
Fabric Key Fob
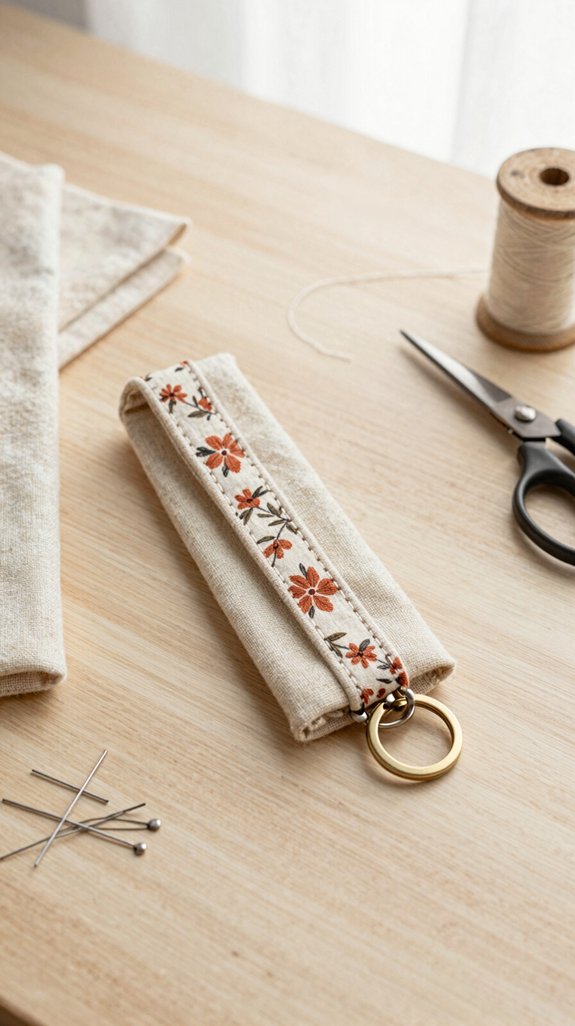
A fabric key fob can quickly make your everyday keys look like a tiny boutique find, and it’s one of those beginner projects that’s almost all straight lines—hooray!
Try these Sewing tips:
- Choose medium-weight cotton; smart fabric selection helps it hold shape.
- Cut two matching rectangles, sew right sides together, turn, press, and topstitch.
- Investigate key attachment methods with a ring or swivel clip.
Use beginner finishing tricks, like crisp pressing, for a polished look. Solids feel sleek, while scraps or a contrast band make your fob look custom-made.
Finish with a bartack at the hardware, and you’ll have a sturdy little gift-worthy accessory—even for busy kids’ keys!
Travel Jewelry Roll
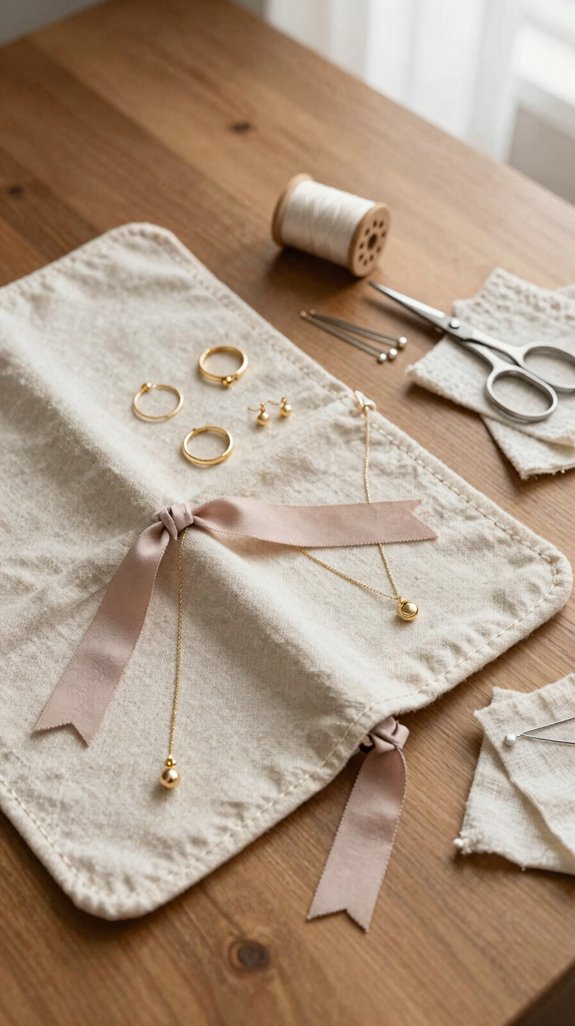
Travel jewelry rolls bring that neat, boutique-hotel feeling to your suitcase, and you can sew one with mostly straight lines—seriously, no skillful machine skills required!
For Luxury fabric selection, choose medium-weight cotton or quilting cotton, plus light interfacing.
Cut one rectangle, then stitch simple pocket sections for rings, earrings, and bracelets.
Beginner friendly construction techniques make it feel polished: sew parallel elastic loops or narrow channels, then finish edges with bias binding or a double-fold hem.
Nobody will inspect your seams with a magnifying glass!
Add a fabric-ribbon tie, roll it neatly along the same creases, and you’ll have a compact organizer that looks like it belongs beside everyone’s elegant carry-on.
Baby Bib
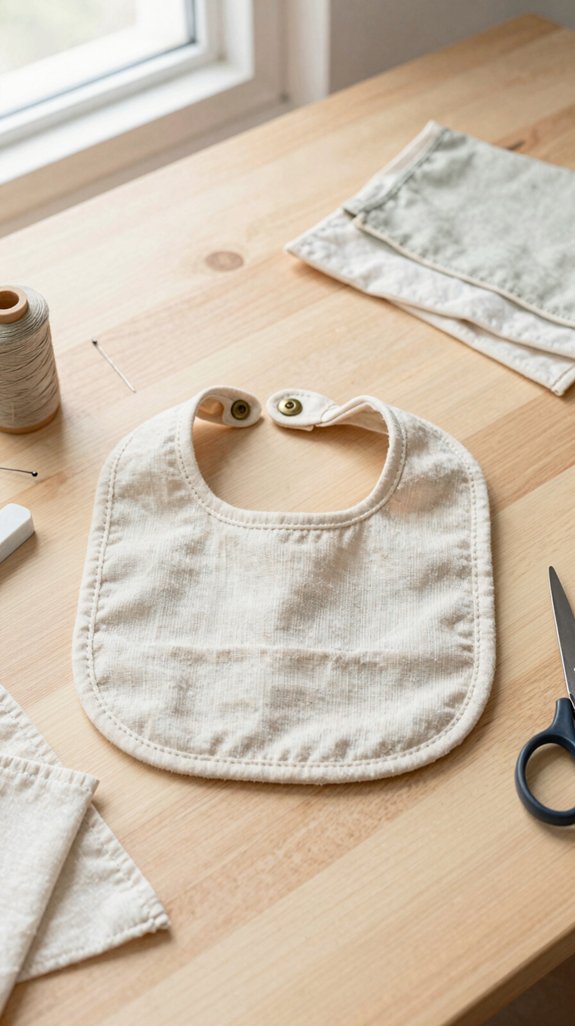
Baby bibs may be small, but they’re a fantastic beginner project because you can turn a few soft layers into something useful, washable, and surprisingly chic—yes, even for applesauce emergencies!
Choose medium-weight cotton or flannel, plus waterproof backing in laminated cotton or PUL.
You’ll feel right at home with this easy, budget-friendly make!
- Cut matching front and backing pieces.
- Sew straight seams, then use pressing techniques before topstitching.
- Finish with narrow binding and add snaps or hook-and-loop.
Keep your stitch spacing even for a crisp border.
The adjustable closure is the secret: it makes your handmade bib look like a boutique find!
Dog Bandana
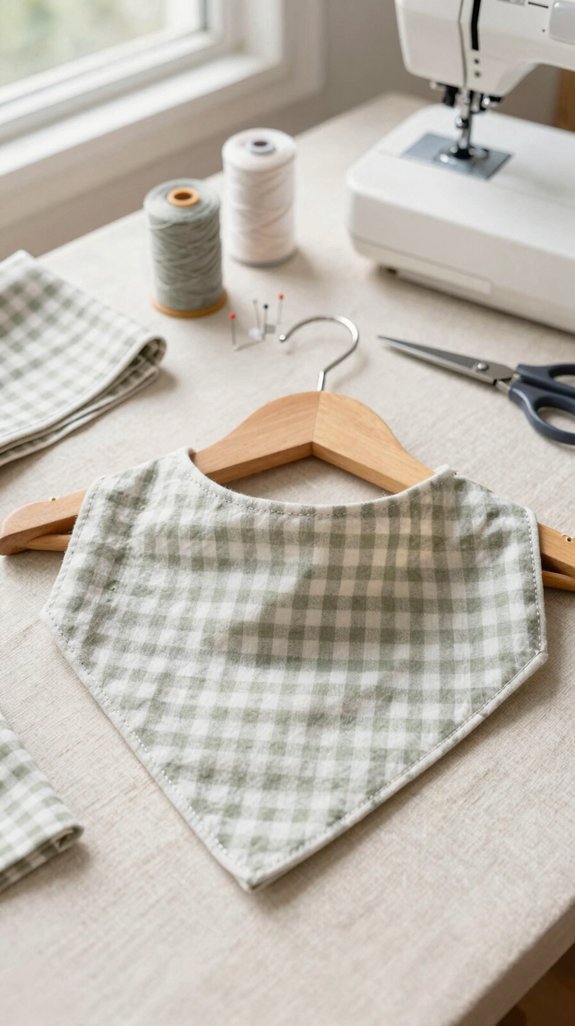
With a crisp cotton dog bandana, you can give your pup a polished, boutique-style look in one easy afternoon—no elaborate pattern required!
Choose medium-weight cotton or denim, two Beginner friendly fabrics that hold their shape nicely. Measure your dog’s neck with room for two fingers, then cut a triangle with ends that match the measurement.
Fold each raw edge 1/4 inch, press, and straight-stitch close to the crease. Matching thread keeps everything sleek, even if your pup wiggles like a tiny CEO.
Next, look into simple closure options: sew small Velcro or snap tape tabs onto the ends. Add topstitching near the hem for that surprisingly upscale, neighborhood-pup-approved finish!
Catnip Toy
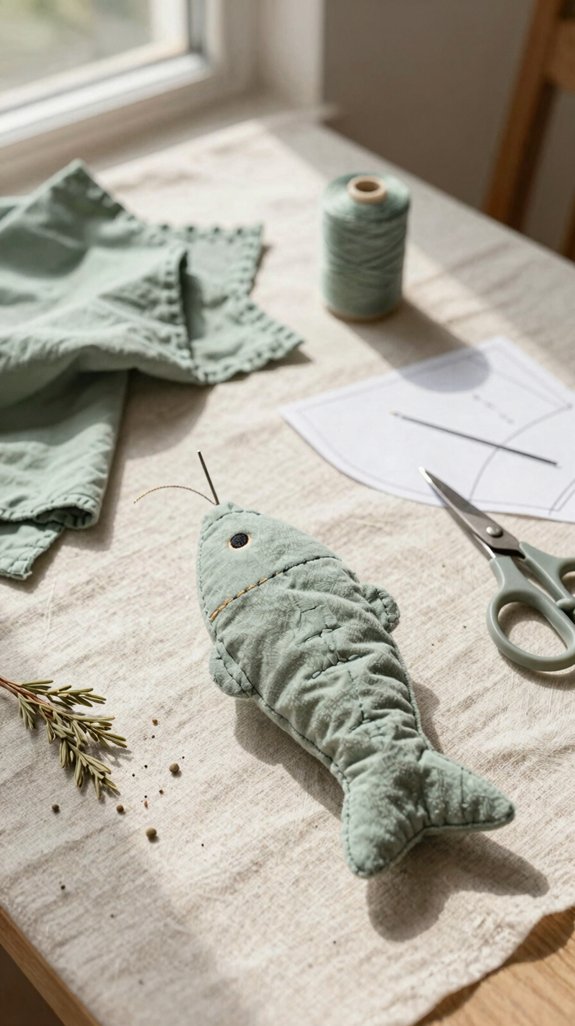
Why not turn a few sturdy cotton or denim scraps into a plush little catnip toy your cat will treat like a luxurious purchase? It’s affordable, quick, and perfect for your handmade-loving crew!
- Follow Fabric choice guidance: use medium-weight woven cotton or denim, and prewash it for easy laundering.
- Sew matching shapes right-sides together, leaving an opening; turn and fill with 1–2 teaspoons of dried catnip, plus scrap stuffing. Catnip sourcing tips: choose fragrant, dry leaves from a trusted pet supplier.
- Stitch closed, backstitching tug-prone spots.
For the luxurious finish, topstitch the edges or embroider a tiny face—suddenly, it’s boutique-level cute!
Reading Pillow
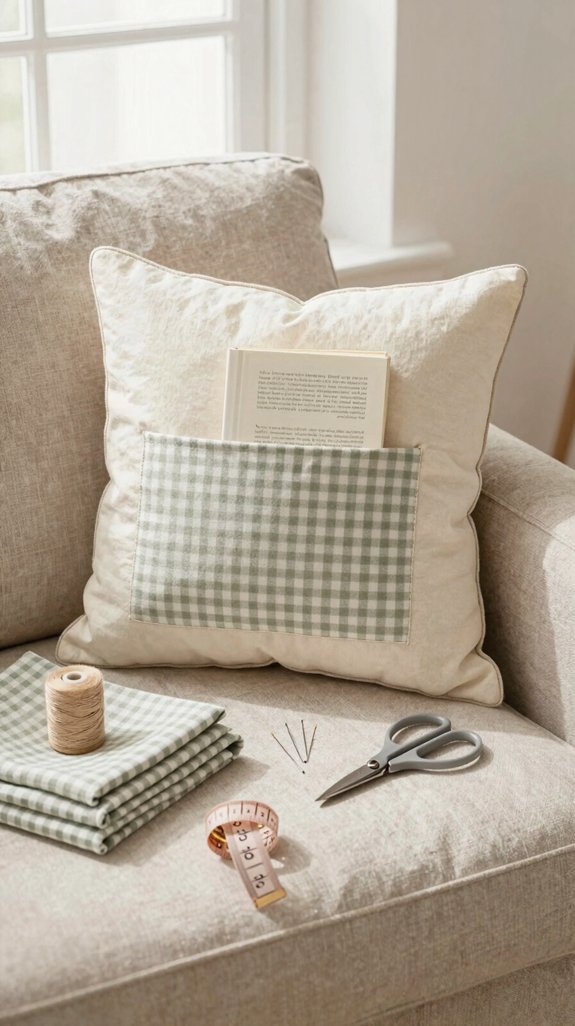
A reading pillow looks wonderfully stylish on a bed, couch, or favorite book nook, yet you can sew one with mostly straight seams—no special skills required! Choose medium-weight cotton or a cotton blend; these pillow fabric choices are easy to handle and fit right into a cozy, welcoming space.
Measure, cut, sew, and press your seams for that neat, store-bought finish. An envelope back keeps assembly simple, and a matching pillow form gives your cover a full, polished shape—tiny wobbles vanish like magic!
For the detail that makes everyone ask where you bought it, topstitch near the edge and add narrow faux piping trim. Stylish-looking, beginner-made, totally yours!
Quilted Pot Holder
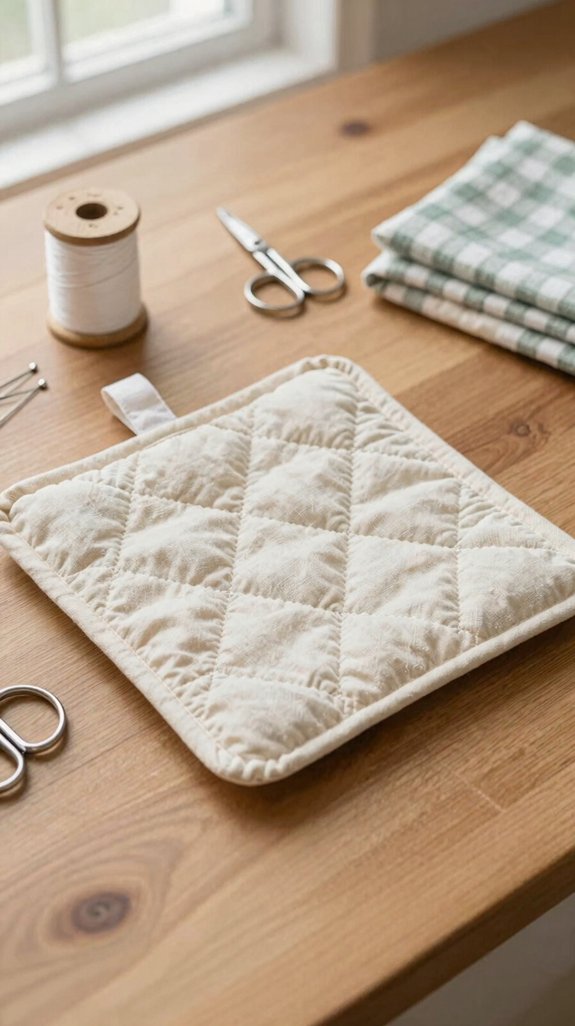
Next up, turn a few fabric scraps into a quilted pot holder that looks like it came from a charming kitchen shop—seriously! You’ll get a polished result without fancy skills or a giant fabric stash.
- Choose 100% cotton, sturdy thread, and insulating batting for heat safe materials.
- Cut two matching squares, add batting, then pin well so nothing scoots away.
- Sew simple diagonal lines, then bind the edges with bias tape.
These beginner friendly patterns create that cozy, handmade look our kitchens deserve!
Use a short stitch length for durability.
The crisp binding is the secret: it makes your little pot holder look wonderfully expensive—no boutique price tag required!
Fabric Door Stop
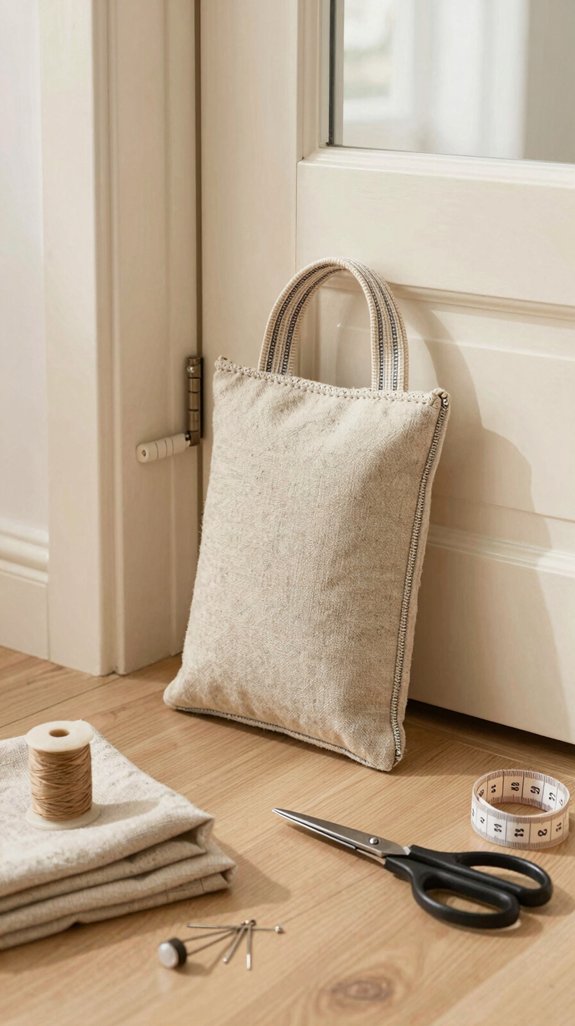
Keep a drafty door in check with a fabric door stop that looks more like a sweet little home accent than a practical heavyweight—bonus! You’ll make something useful for your cozy crew!
| You need | Do this | Polished result |
|---|---|---|
| Two pieces, batting | Sew 1/2-inch seam, leave opening | Thick, tidy shape |
| Pellets or rice | Pack firmly, stitch closed | Won’t scoot away |
For Choosing weighted stuffing, use poly pellets or dried rice. Turn, press, and topstitch close to the edge—classic beginner finishing techniques! Add piping, an apron band, or, best of all, a playful faux-button applique. It’s straight-line simple, budget-friendly, and looks wonderfully custom.
Best Fabrics for Elegant Projects
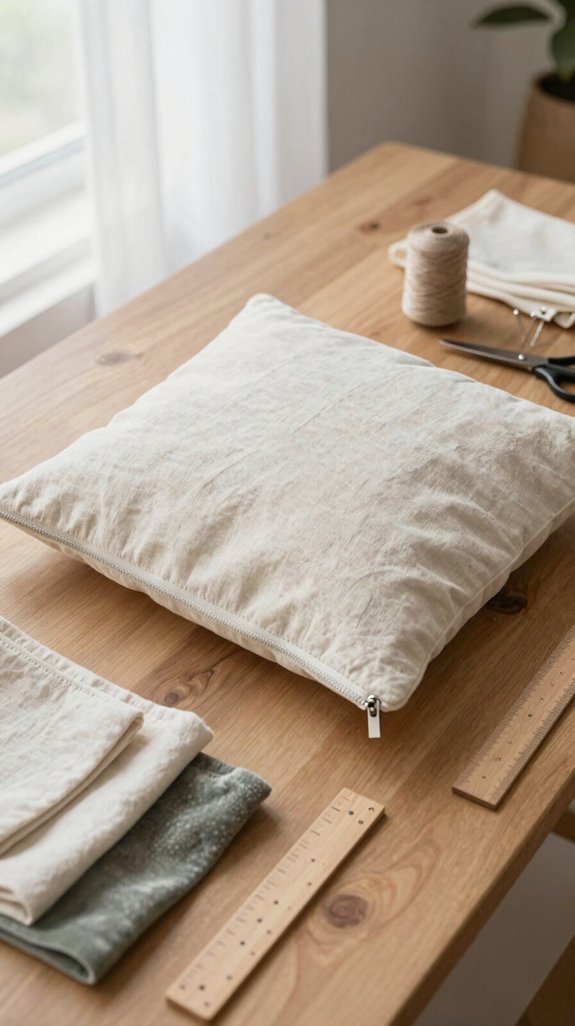
Fabric choice does a lot of the “wow, you made that?” work before you even sew a stitch! You’re in good company with stable, medium-weight cottons—they’re forgiving and crisp.
- Choose poplin or cotton sateen for smooth surfaces and neat lines.
- Use canvas, twill, or decorator-weight cotton when panels need tailored body.
- Pick quality solids or prints, and skip slippery synthetics; puckers are party crashers!
Prewash and press cotton before cutting, then consider Contrast thread choices that complement your fabric.
Explore seam finishing options later, but for now, enjoy how a tight weave makes even simple projects look polished and proudly handmade.
Simple Finishing Tricks
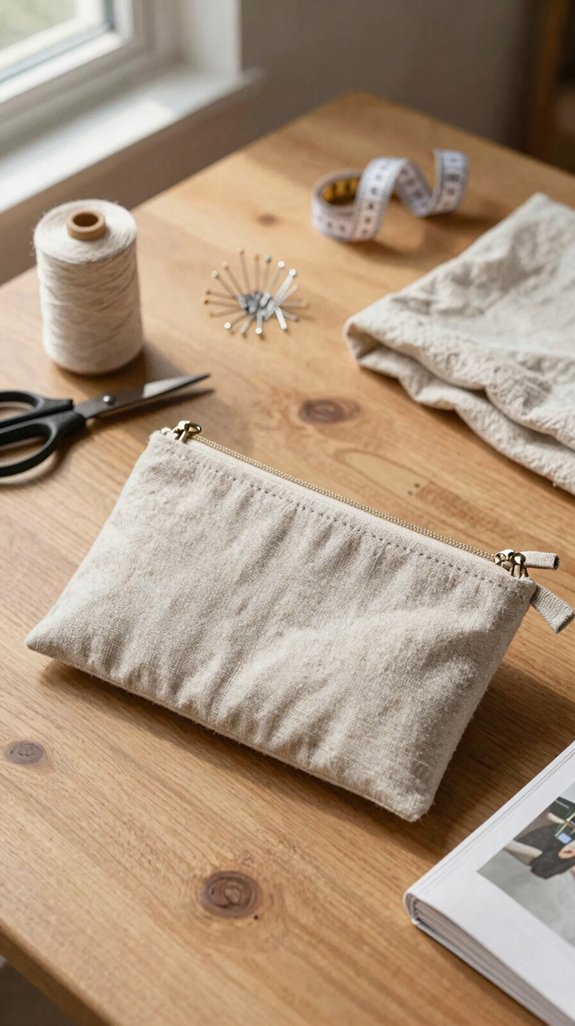
Small finishing details can turn a simple sewing project into something that looks shop-quality—in the best way!
Before each new step, use smart Pressing techniques: press seams, hems, and turned corners flat. Your iron does the extra work, no designer budget required!
Next, use a presser-foot edge guide for crisp, parallel stitches. Keep your topstitch spacing at 1/8–1/4 inch, using matching thread to frame edges neatly.
For the inside, zigzag raw edges or sew a narrow double-fold hem. Choose the right needle and thread for your fabric, then rip out puckers without guilt. That tidy inside? It’s the surprisingly luxe secret fellow sewists notice!