21 Sewing Room Decor Ideas That Make You Excited to Create
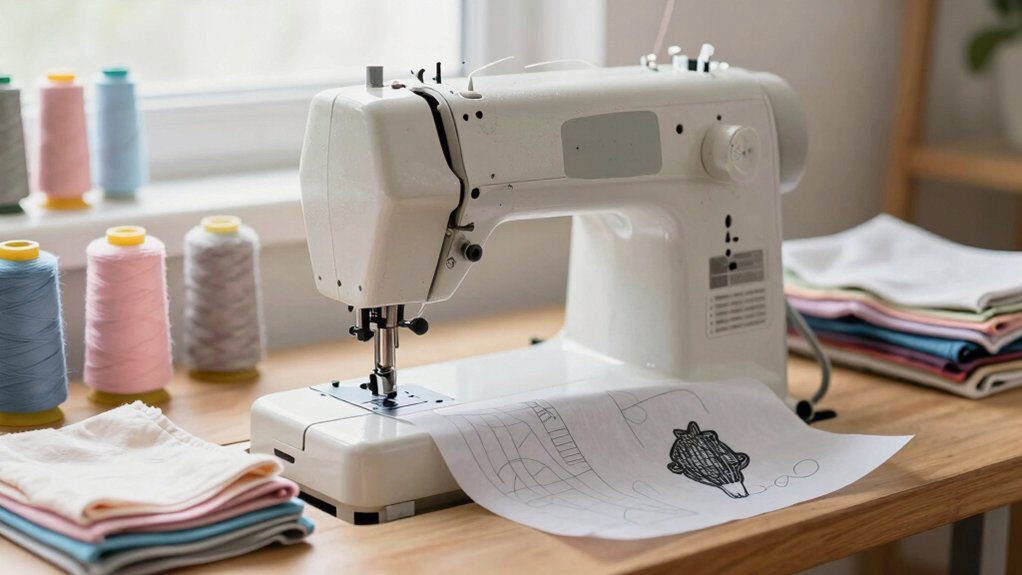
Transform your sewing room with a vintage thread wall, floating fabric shelves, a pegboard tool gallery, and a rolling cart for grab-and-go supplies—easy wins with racks, clear bins, labels, and hooks! Add a sunny farmhouse cutting table, a cozy chair, and budget-friendly vinyl labels for instant charm. Then try the showstopper: a ribbon station with two holders that frames your machine like decor, not clutter. Keep going for more clever, beginner-friendly makeovers!
Love cozy DIY projects? 💕
Get free printable guides, exclusive tutorials & surprise craft goodies straight to your inbox.
Disclosure: This post may contain Amazon affiliate links, at no extra cost to you. Content on DiyCraftNest is created with research support from AI tools and carefully reviewed, edited, and fact-checked by the lead author, Daniel Pat, to ensure accuracy and reliability. Learn more
Key Takeaways
- Create a colorful thread wall with racks, labeled bobbin containers, ribbon holders, and apothecary jars for a functional vintage display.
- Turn a pegboard into a notion gallery using clear bins, eye-level tool hooks, spice jars, and matching baskets for visual order.
- Add floating fabric shelves with color-coded labels, neatly folded fabric stacks, and low-profile scrap bins to keep supplies accessible.
- Design a farmhouse cutting and pressing zone with natural light, under-table hooks, a hidden ironing cabinet, and focused task lighting.
- Make the room inviting with a cozy planning chair, thrifted side table, seasonal quilt display, and a personalized vintage sewing sign.
Vintage Thread Wall
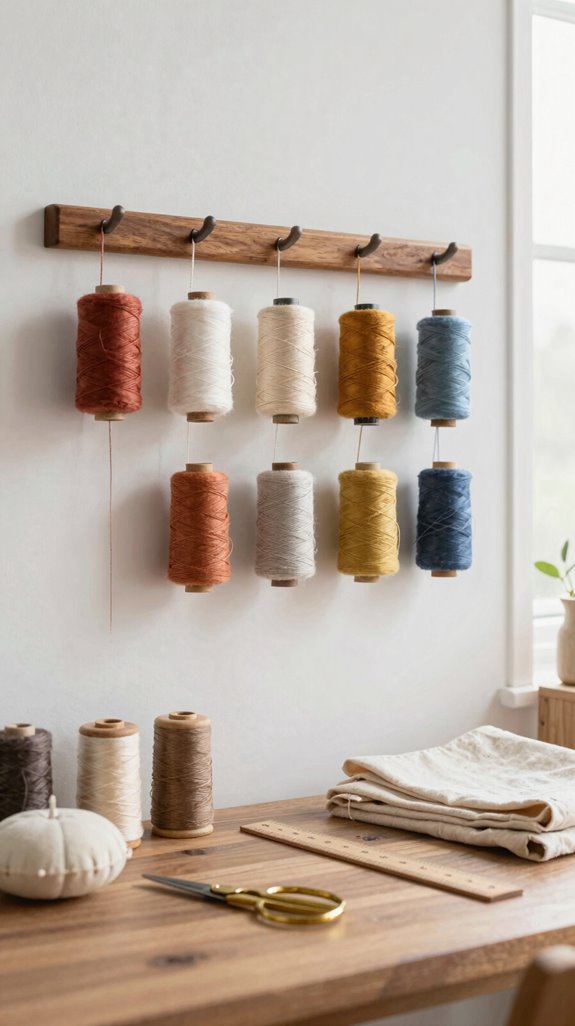
Turn an empty sewing-room wall into a vintage thread display, and you’ll gain storage that looks downright charming!
Mount a Mega Rack for everyday spools, then add mini racks for Aurifil and cone racks for serger thread. You’ll create a colorful little club for every stitcher’s favorite supplies!
Use Vintage spool labels and thread color coding to group regular, embroidery, and serger threads, so choosing a shade feels quick, not like a scavenger hunt.
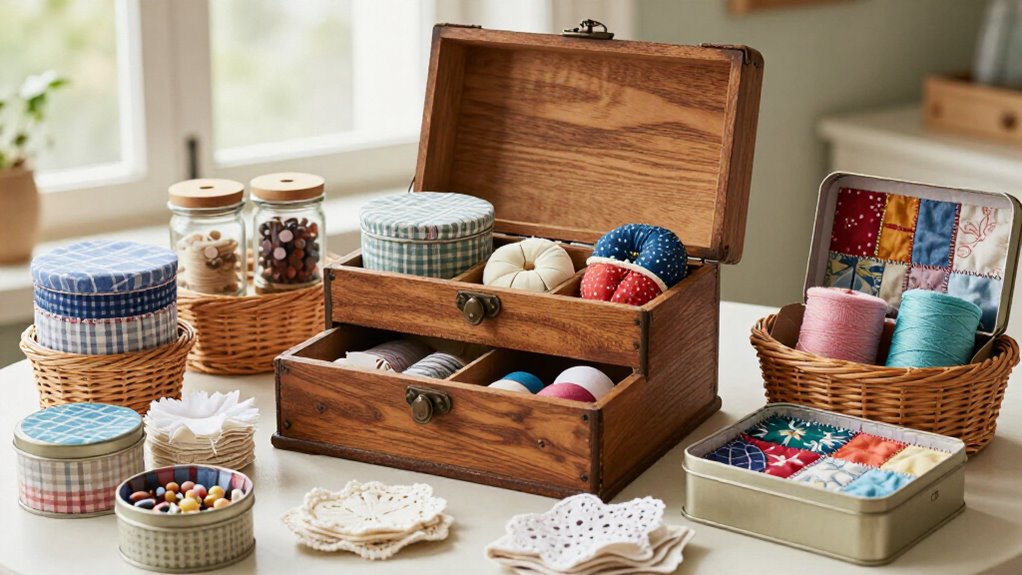
Add side ribbon holders, plus clear labeled containers for bobbins.
For the finishing surprise, place apothecary jars nearby with felt balls or untangled floss. Your wall becomes useful décor—and seriously inspiring!
Floating Fabric Shelves
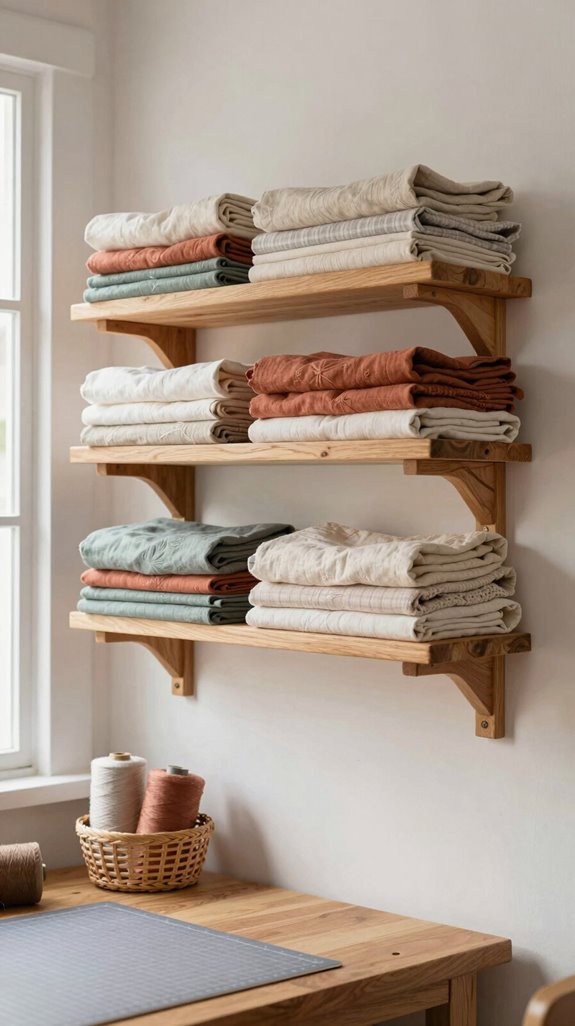
Floating fabric shelves make your prettiest yardage part of the décor while freeing up valuable desk and floor space—yes, your fabric can finally stop living in mystery bins! Try clear acrylic or thin wood ledges with hidden brackets for cheerful wall storage.
| Material | Easy step | Result |
|---|---|---|
| Acrylic ledges | Mount to studs | Space saving display |
| Vinyl labels | Sort by color | Labeling organization |
Fold fabric to board height, wrap it neatly, and tuck scraps into low-profile bins. Creative sourcing can uncover inexpensive ledges, too! Keep heavier stacks centered toward the back, and your sewing crew will always know where everything belongs.
Farmhouse Cutting Table
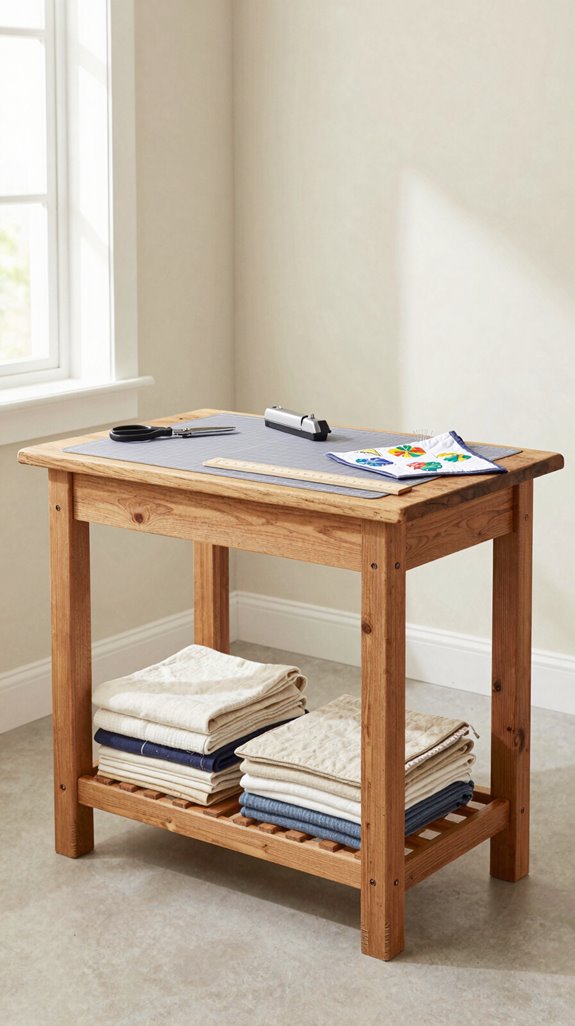
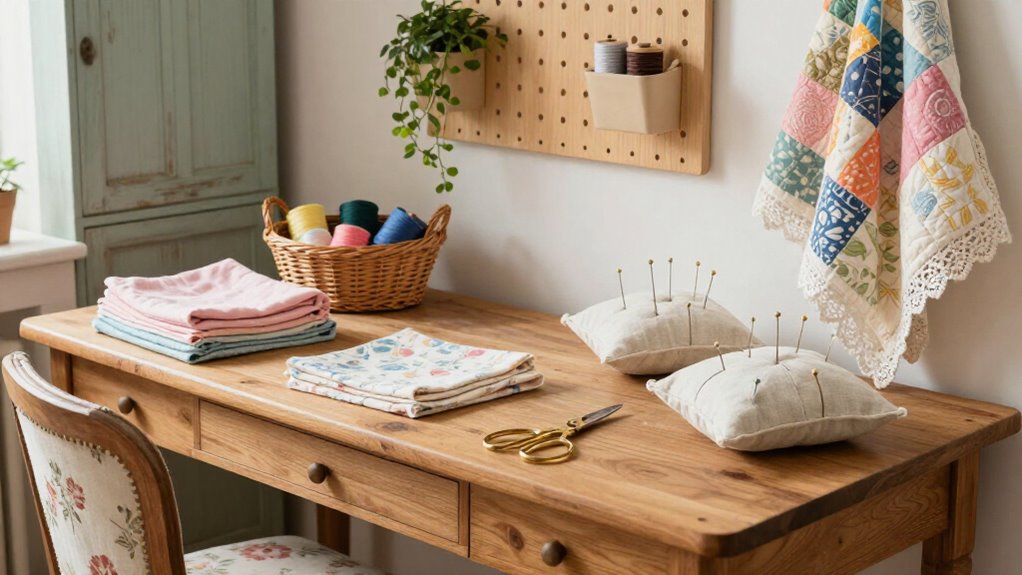
A farmhouse cutting table gives your sewing room a hardworking heart, especially when you clear a flat spot near your main machine for laying out fabric, pinning pieces, and making clean cuts—no more balancing a quilt top on the floor!
Choose a sturdy long table, then place it where Natural light reaches your work.
Add labeled fabric bins and clear jars for notions, so pinned fabric stays safe and your room feels welcoming, not wildly busy.
Hang a favorite quilt nearby for instant farmhouse charm!
For an easy upgrade, tuck hooks beneath the tabletop for rulers and scissors.
You’ll create a cozy, ready-to-make gathering spot!
Pegboard Tool Wall
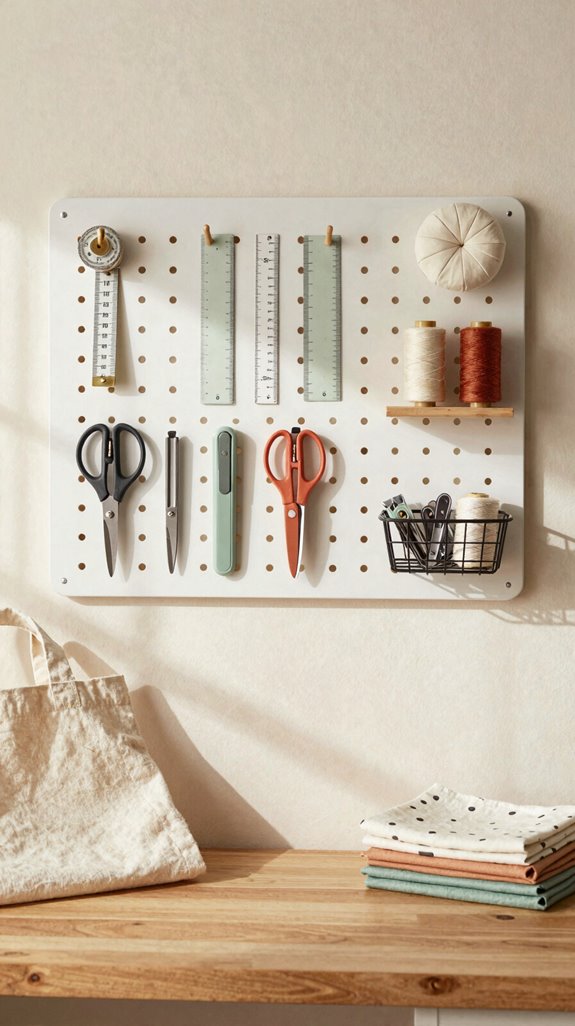
When your sewing tools keep wandering across the table, an IKEA pegboard tool wall can bring them into view—and within easy reach! It’s an affordable, beginner-friendly upgrade that makes your creative corner feel like it belongs to you.
Start with the pegboard, hooks, mounts, clear boxes, and simple vinyl labels.
Use clear container positioning to Organize notions, extra bobbins, clips, and tiny accessories without the dreaded rummage hunt.
Hang scissors and rulers at eye level for better tool access speed while you sew.
Then make label placement your secret weapon: every item gets a home, so nobody—especially future you—shoves things wherever.
Rolling Fabric Cart
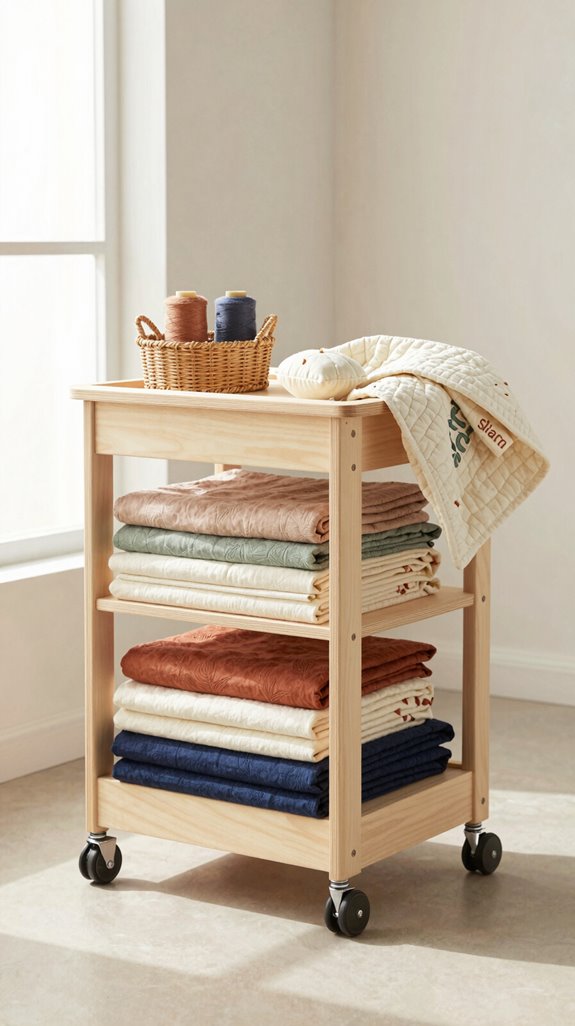
Your pegboard keeps everyday tools in reach, but a rolling fabric cart lets your whole project move with you—pretty handy, right? Start fabric cart organization with collapsible baskets, color sorted bins, and larger baskets for fat quarters. You’ll spot the right shade fast, no tote-diving required!
Add drawer inserts or divider trays for scissors, pins, and little supplies, so nothing plays bumper cars when you roll. Clear-lidded containers keep bobbins and thread tools visible yet tidy.
Here’s the game-changer: use removable vinyl labels on every section. Your cart becomes a welcoming, grab-and-go station that makes sewing feel easier—and more like your happy place!
Glass Jar Button Display
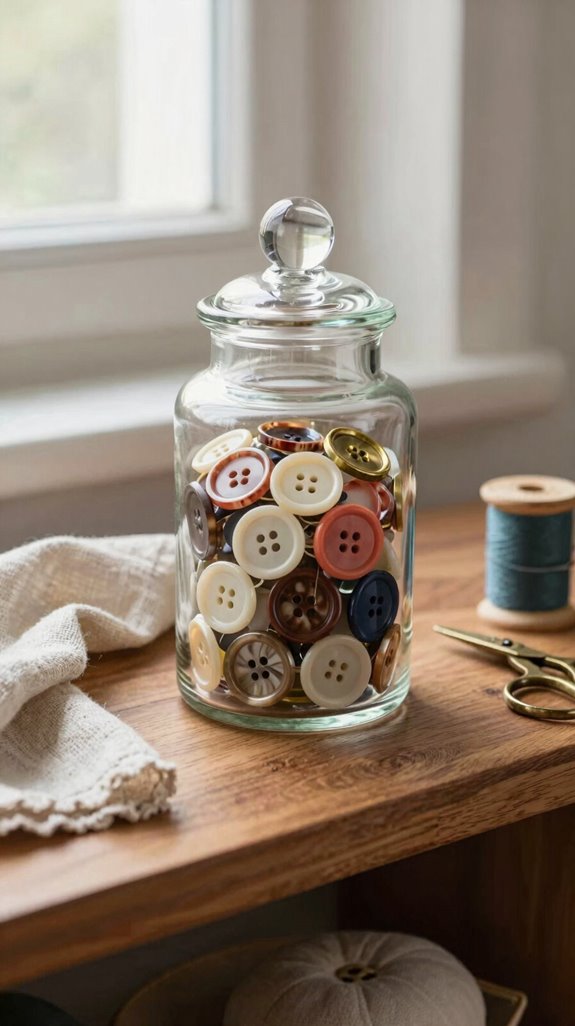
On an open shelf or beside your sewing machine, clear glass apothecary jars turn loose buttons into colorful little decor—no more digging through a button jumble like it’s a tiny plastic treasure hunt!
Grab jars, simple vinyl labels, and a tiered stand.
Sort by color family or size for easy Color coded storage, then make separate homes for everyday hem buttons and playful novelty finds.
Label each lid so everyone in your creative corner can help return buttons where they belong.
It’s beginner-friendly, budget-friendly, and oddly satisfying!
For a showstopping finish, stack the jars into a neat button wall near your pegboard organization.
You’ll spot the perfect match instantly—and feel right at home creating.
Neutral Linen Curtains
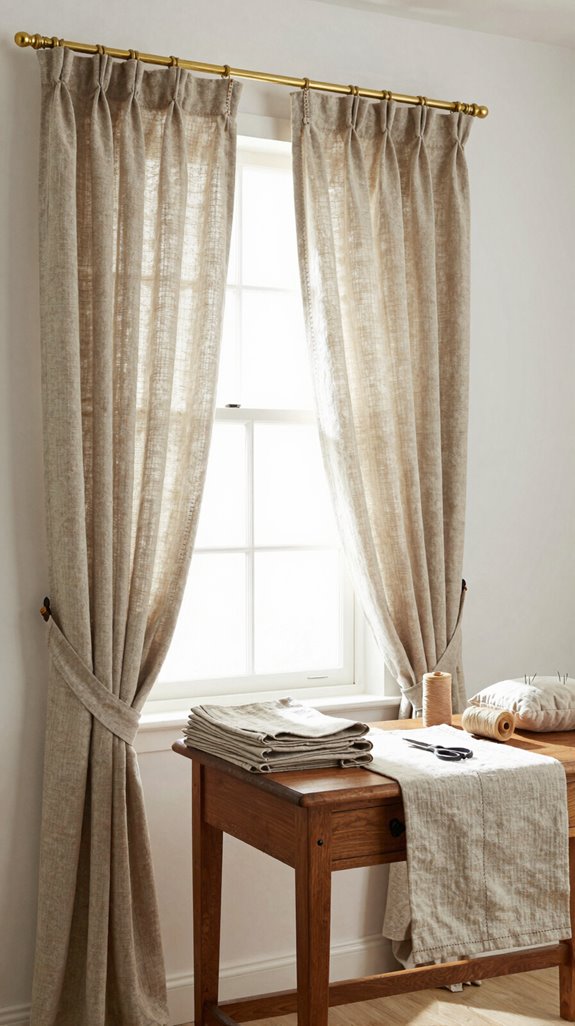
After those cheerful button jars catch the eye, neutral linen curtains can give your sewing room a calm, finished backdrop—like a soft frame around all your colorful creative chaos!
Choose natural or cream panels to soften loft or basement light without dimming your creative spark.
Use a tension rod or simple track, then pick panels a few inches wider than each window.
You’ll open them fast for your sewing workflow, photos, and flat-lay moments—easy!
For storage styling, let bright labeled bins and cube shelves shine against this neutral color.
Match rods and finials to nearby white hardware for a welcoming, pulled-together look.
Best part? Linen supports layered lighting beautifully, so your room feels like your creative club.
Wall Quilt Gallery
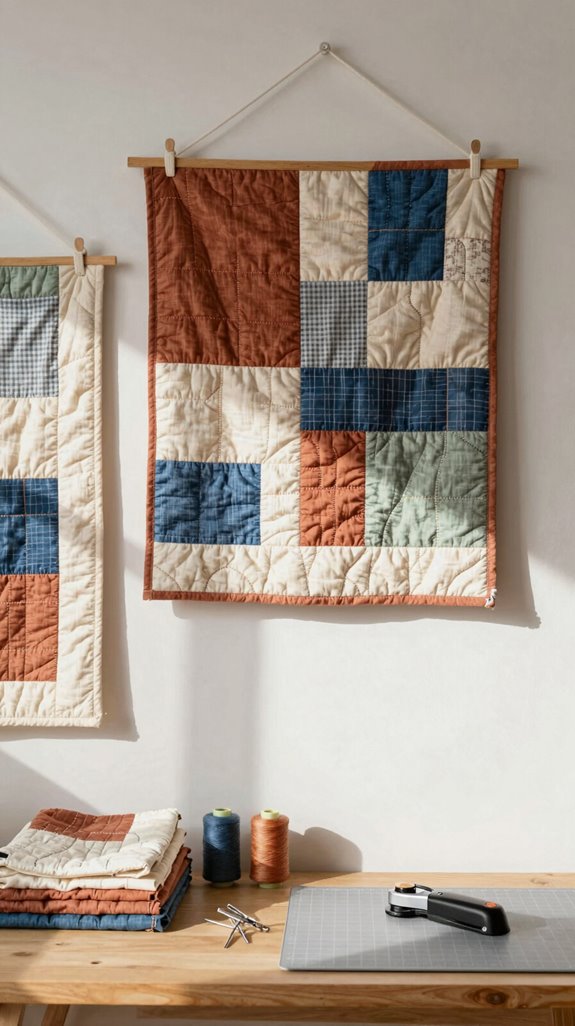
A wall quilt gallery turns your sewing room into a cheerful little timeline of what you’ve made—no museum ropes required! Choose a spot near your cutting table, then hang small finished quilts with simple clips, a rod, or removable hooks. It’s affordable, beginner-friendly, and instantly makes your workspace feel like part of a creative community.
Try Texture led layouts by mixing mini quilts, bold blocks, and softer patchwork. Add seasonal swap ins, like your Harbor Lights quilt for Memorial Day or July Fourth.
Here’s the fun surprise: place a design wall beside the gallery. You can pin up WIP blocks next to finished pieces, so every glance invites your next stitch!
Wooden Thread Rack
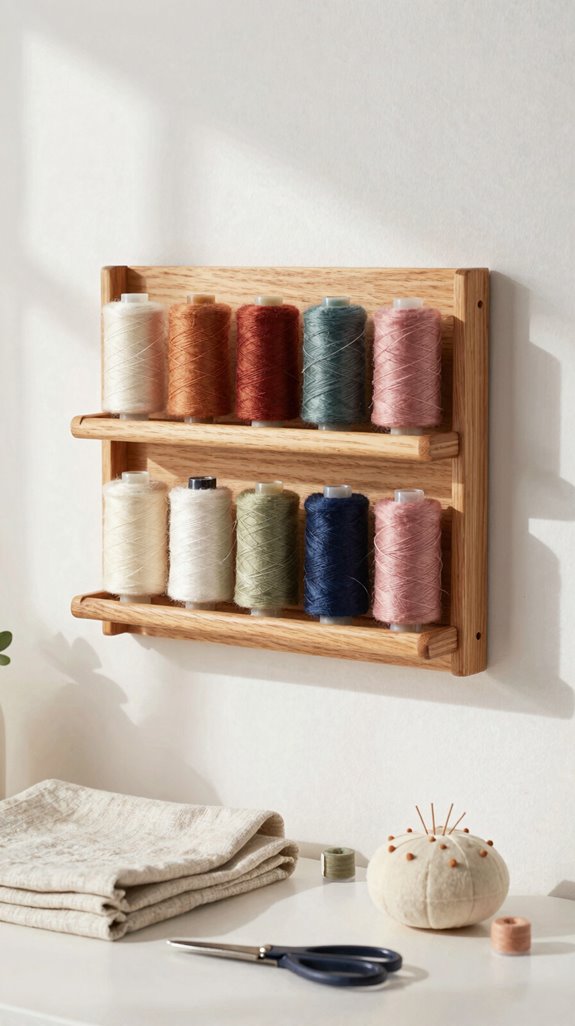
Turn a tangled thread basket into a colorful, grab-and-go station with a wooden thread rack—such a simple upgrade, yet it feels wonderfully organized!
For creative thread storage, match the rack to your stash: use a mini rack for small spools and a cone thread rack for heavier serger cones. You’ll spot the right shade fast—no basket-diving required!
Choose a multi-size, mega-style wooden thread rack if you use several brands. It costs little, takes minutes to set up, and supports an organized craft workflow.
Arrange colors in cheerful rows, then let this practical display boost your sewing space styling. Your supplies finally feel like they belong!
Botanical Craft Corner
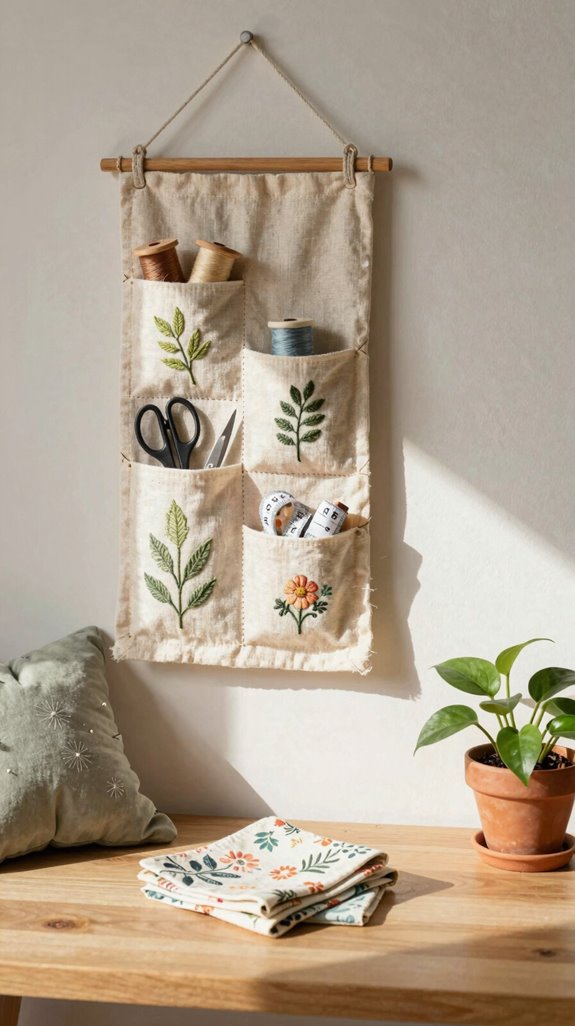
Bring a little garden energy to your sewing space with a Botanical Craft Corner, where leafy prints, soft florals, and cheerful greens make even a quick project feel special!
Stack a small Seasonal motif of felt leaves or flowers near your cutting area for color without chaos.
Use clear, labeled jars or small boxes for floss, glitter, and tiny embellishments—easy eco friendly storage that helps everyone feel at home creating here!
Next, wrap fabric around boards so prints stand upright, ready for matching greens.
Add a pegboard or door organizer with mini hooks for snips.
Finish with a matching garland, and voilà: your cozy corner invites low-pressure crafting!
Window Sewing Station
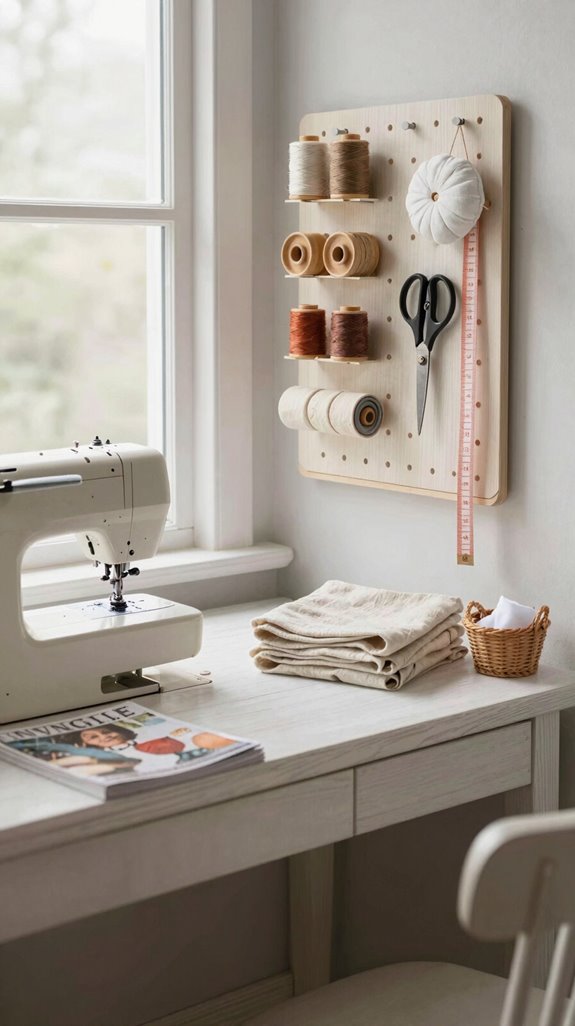
Let that leafy, cozy feeling lead you toward the brightest spot in the room: a window sewing station!
Place a long desk beneath two small windows, giving your machine plenty of natural light for neat stitches and easy flat-lay photos.
Add a mini thread rack or cone holder, so window organization keeps every spool close—no supply scavenger hunt!
Set a small cutting table nearby for grab-and-go projects.
If shadows sneak in, aim bright task lighting at your needle area.
Then add quilt inspiration beside the station: pin up blocks, color ideas, or a favorite mini quilt.
Suddenly, your little sewing nook feels like everyone’s favorite creative clubhouse!
Hidden Ironing Cabinet
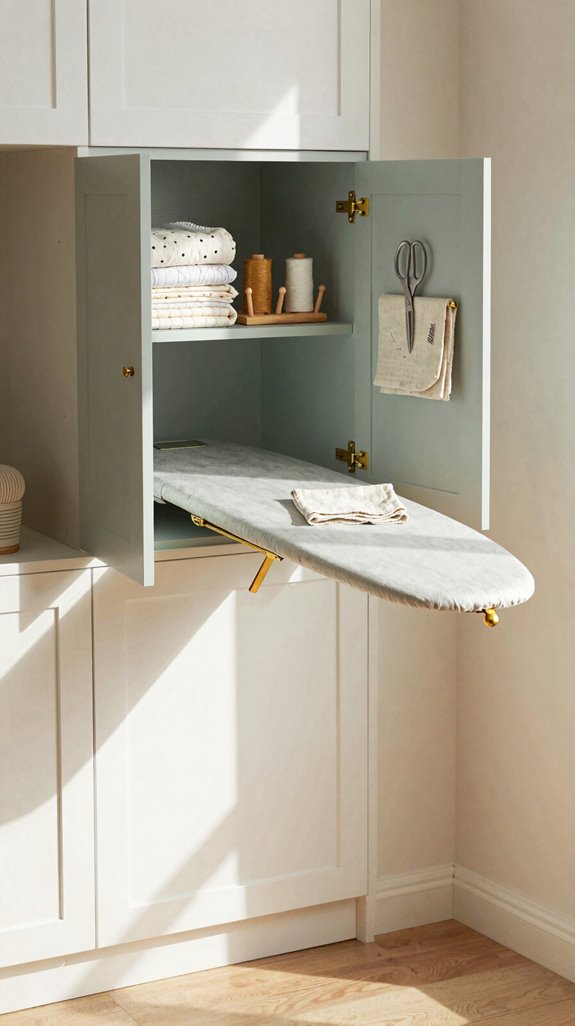
A hidden ironing cabinet keeps your sewing room looking calm and “tour-clean,” even when a quilt project has taken over every other inch—because somehow, fabric multiplies overnight! Choose a cabinet with a pull-out board, sturdy hinges, and doors that match your room.
For quiet organization, tuck a press cloth, spray bottle, fusibles, and sizing into labeled clear bins. It’s an easy, space saving setup that keeps necessities close instead of wandering across the room!
Place it beside your machine or cutting table, then add a focused light above it if your basement or loft feels dim. You’ll carry fewer half-finished blocks, press comfortably, and feel right at home.
Open Pattern Library
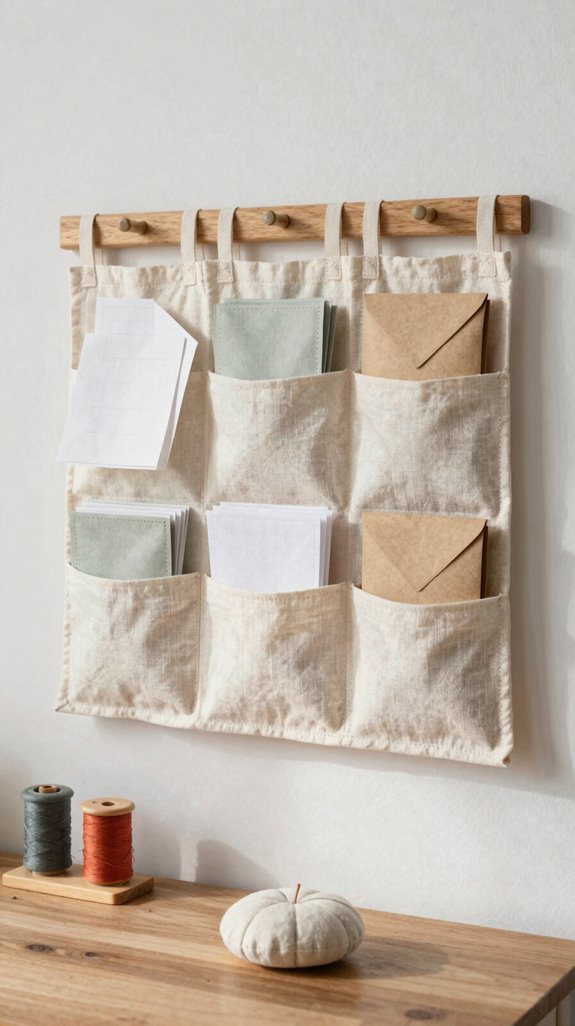
Once the ironing board folds away, an open pattern library gives your sewing room a fresh little spark—no expensive makeover required!
Save sewing room templates with printable PDF or JPEG files; click the picture, accept the terms, and you’re in the club! Choose craft ready builds that match your tools and stash.
Try a felt pattern for a tiny sewing-machine display: gather cardstock, felt, embroidery floss, glue, and a wood blank. Cut layered machine shapes, use a Cricut rotary blade for felt and a fine-point blade for details, then glue on knobs, spool, and wrapped floss.
Mount several together for quick decor that feels handmade, cheerful, and totally yours.
Cozy Reading Chair
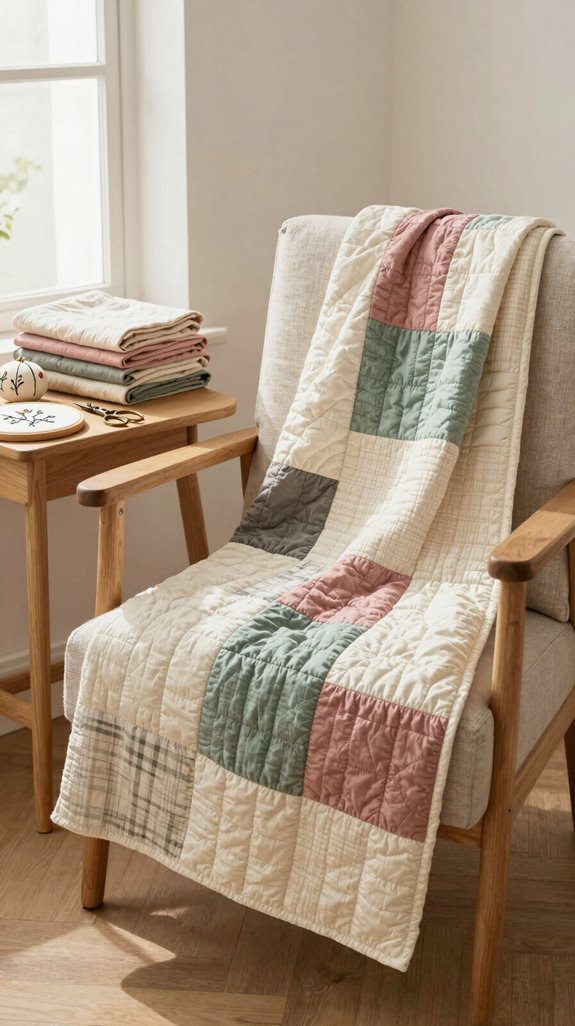
Turn one quiet corner into a cozy reading chair zone, and your sewing room suddenly has a built-in “pause and plan” spot—so nice! Choose a supportive chair with roomy arms for sketching, fabric pondering, and a quick Pattern review between projects.
Place it near Comfortable lighting, such as a window or fluorescent lamp, so your eyes stay happy. Add a thrifted side table or basket for snips, needles, and notes—easy, affordable, done!
Then bring in a seasonal throw quilt or tiny quilt hanging. You’ll create a welcoming nook that feels like it belongs to your creative community, not a fabric-storage avalanche.
Statement Sewing Sign
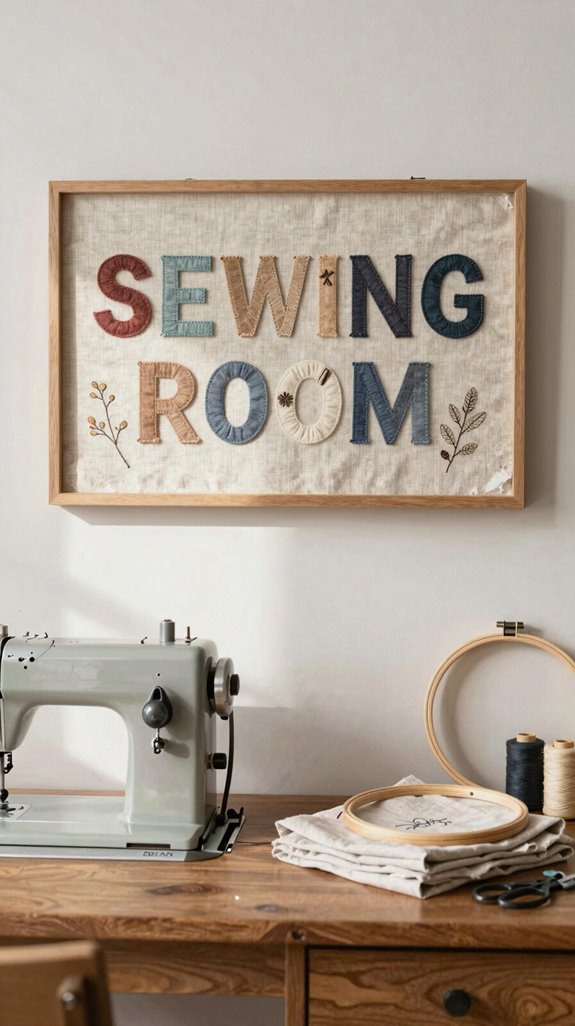
Because every creative space deserves a little personality, a statement sewing sign gives your room an instant “yes, cool things happen here!” feeling.
Cut felt letters or playful icons with a Cricut, using a rotary blade on a Maker, then layer them on cardstock.
Choose bright felt against a neutral base, especially if your basement sewing nook needs a visibility boost.
Keep the spacing even, glue pieces down with a glue gun, and add iron-on vinyl labels for quick reading.
Here’s the clever part: attach mini hooks or clear containers beneath it for textile storage and a stitch organizer.
Your sign becomes a friendly command center—cute, useful, and totally yours!
Antique Sewing Machine Display
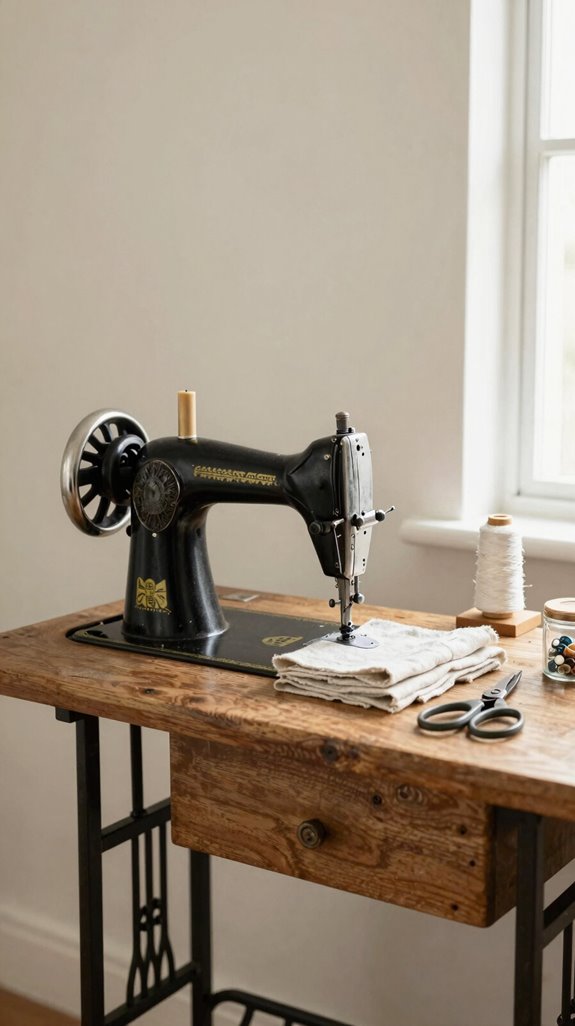
An antique sewing machine display adds vintage charm without requiring you to hunt down a heavy, dusty machine at a flea market—win!
Use a Cricut rotary blade to cut felt and cardstock machine shapes, an easy project for your upcycling crafts crew.
Glue each felt body onto a cardstock base, then space the knobs evenly, leaving room for the side knob.
Add the spool and thread rectangle by following the outline.
Next, wrap matching embroidery floss around each spool and glue it on top and back.
These scrap fabric tips make details feel special!
Arrange several machines on a wood blank, then glue them down for a cozy, shared-maker wall.
Plant Filled Craft Room
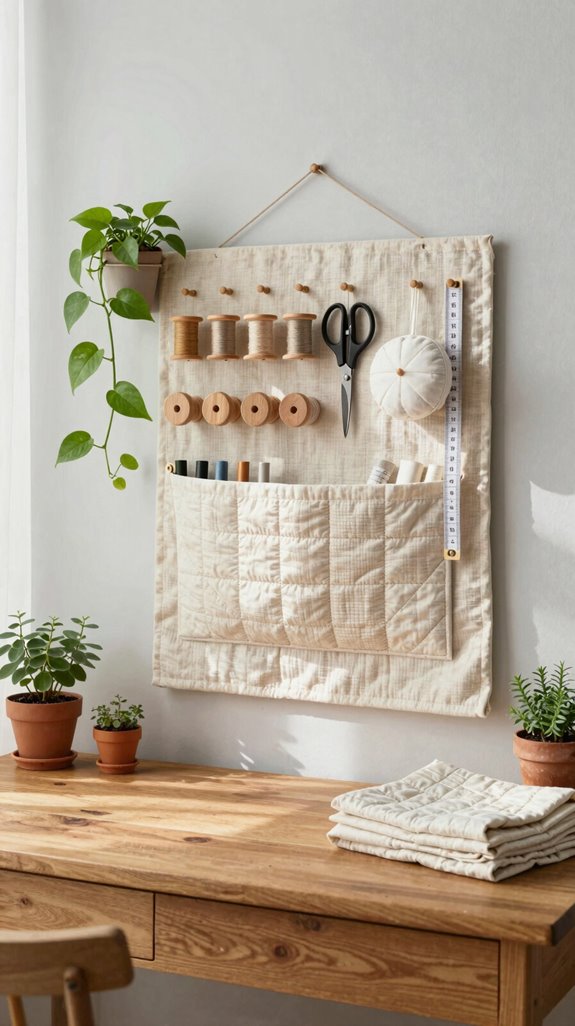
Let greenery brighten your sewing space by tucking a few easy-care plants near the basement windows, where they’ll catch natural light while you stitch and style flat lays—instant happy vibes!
Try Budget friendly potting with thrifted cups, jars, or colorful planters, then add easy care cuttings for a low-cost start.
Place a tall leafy plant in a corner, medium pots on your desk, and tiny trailing plants on a pegboard or clear organizer.
Keep pots near the L-shaped desk entrance without crowding your cutting zone.
Finally, set two plants by the entry-side cube storage—your sewing friends will feel welcomed before they’ve even admired your fabric stash!
Built-In Fabric Cabinets
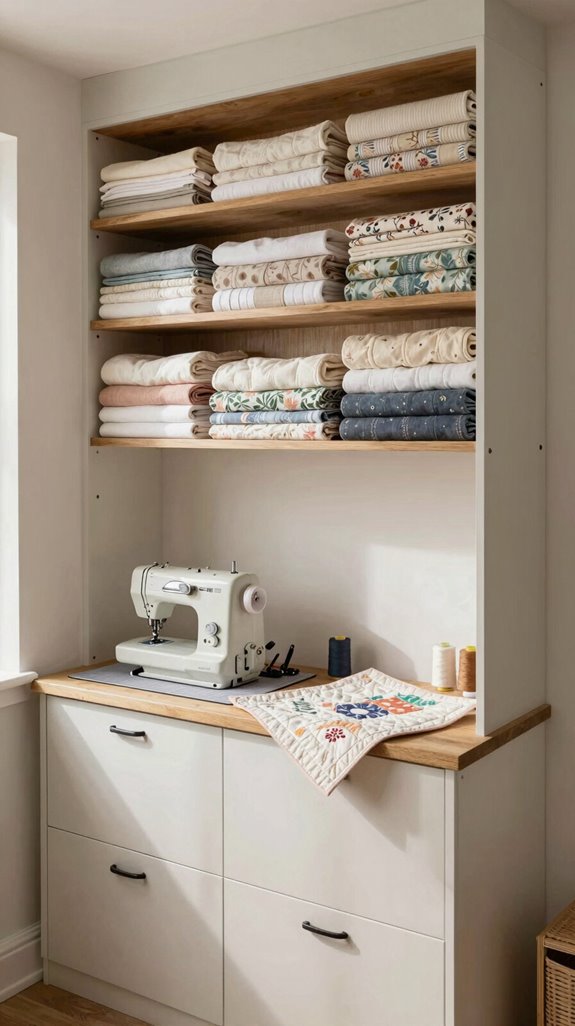
Once your plants have added a little life by the windows, built-in fabric cabinets can bring the calm—no more mystery piles eating your cutting table!
- Sort folded yardage and fat quarters into Color coded storage bins with simple cardstock labels. You’ll always know where each print belongs!
- Set shelves at drawer-bin height, then add collapsible bins for scraps and spice-jar-style organizers for tiny treasures. It’s budget-friendly and beginner-easy.
- Try Folding consistency hacks: fold fabric to board height, then wrap it upright. Dedicate one cabinet section to batting and fleece in plastic crates. Suddenly, your sewing crew’s shared creative space feels wonderfully tidy!
LED Shelf Lighting
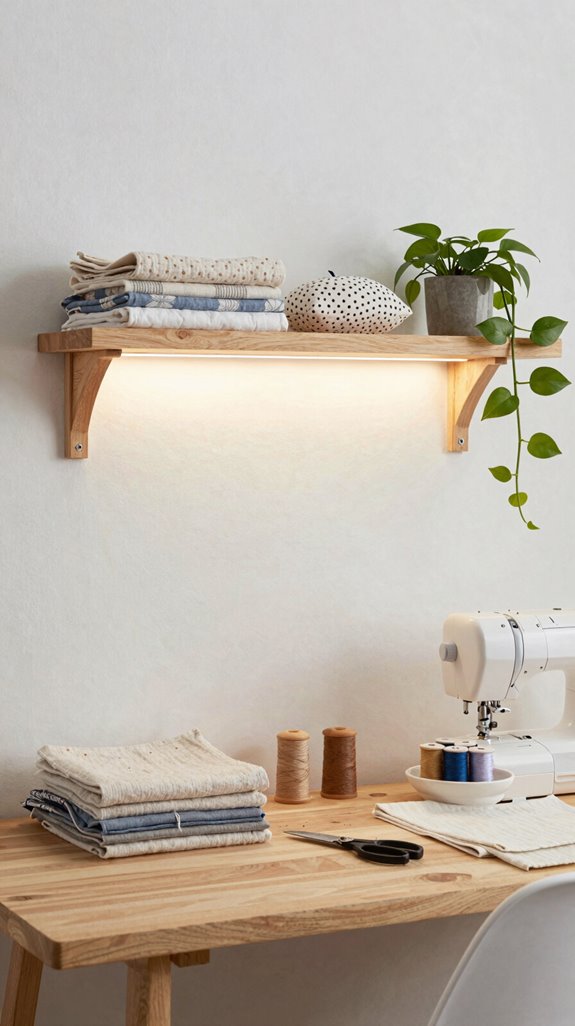
Even if your basement or loft has basic overhead lights, LED shelf lighting can brighten your cutting and sewing zones right where you need it—no electrician, ceiling fixture, or dramatic ladder stunt required!
| Light | Place | Benefit |
|---|---|---|
| Strip LEDs | Shelf underside | Fewer ruler shadows |
| Puck LEDs | Back edge | Clear thread labels |
| Warm-white dimmer | Cube storage | Cozy control |
You’ll need peel-and-stick LEDs, a plug-in driver, and a switch. Mount them beneath shelves near Colorful storage and tool organization, then dim to a welcoming 2700–3000K glow. Your whole creative crew will love the polished look!
Mini Coffee Corner
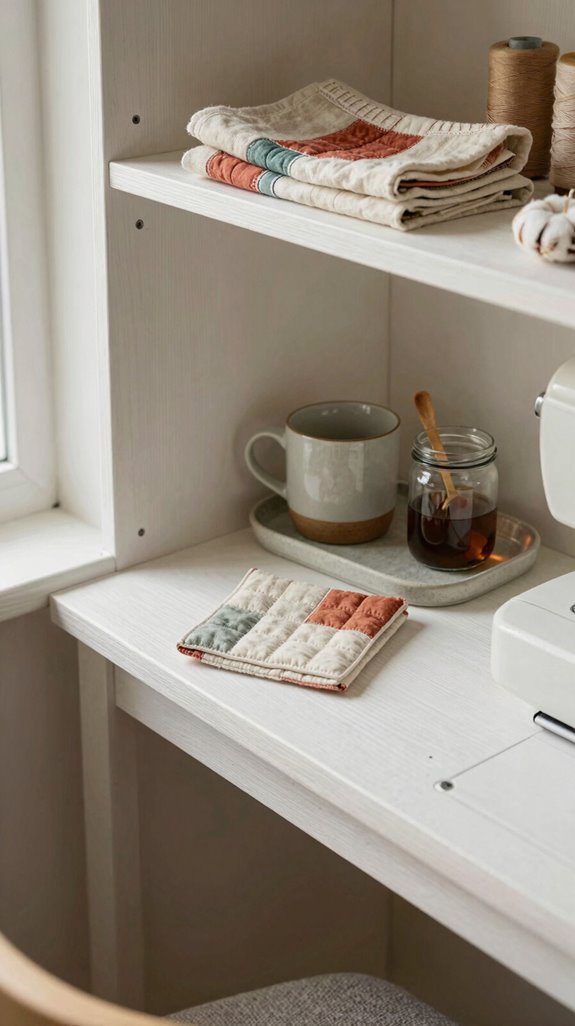
A mini coffee corner keeps your sewing-room energy warm, handy, and happily within reach—because no one wants to trek across the house with thread clinging to their sweater!
- Claim a compact 5×5 cube near your work zone. Add bright morning mugs, a tray, and a small coffee maker—easy, affordable, and clutter-free!
- Repurpose sewing jars for sugar, tea bags, and stirrers. Clear containers let you spot supplies as quickly as bobbins between seams.
- Label everything with iron-on vinyl labels, then add one cheerful retreat-style decor piece. Your corner becomes a welcoming pause spot for you and sewing friends—no scavenger hunt required!
Seasonal Decor Shelf
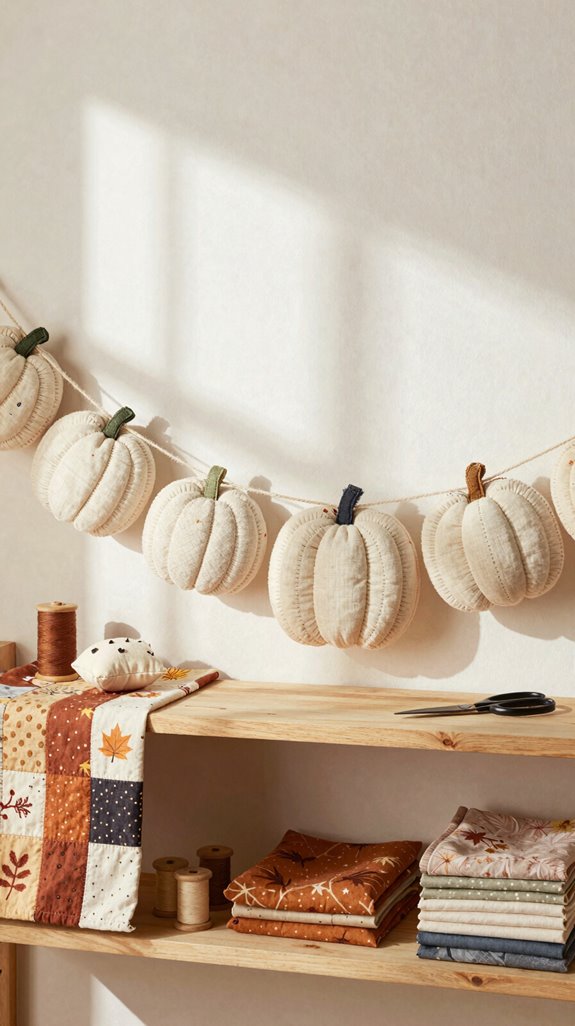
Give your sewing room a quick seasonal lift with one small shelf that changes right along with the calendar—no full-room makeover required!
Try a Yearly swap with a mini Harbor Lights quilt, compact organizer, and a few curated accents. It’s easy, cheerful, and won’t eat your cutting space!
| Season | Add | Cue |
|---|---|---|
| Memorial Day | Red-white-blue quilt | Start patriotic blocks |
| July 4th | Tiny flags | Plan a picnic project |
Keep it beside your design wall for instant inspiration. The best part? This familiar little spot helps your creative corner feel like it truly belongs to you—and your next project is always waiting!
Decorating Without Spending a Fortune
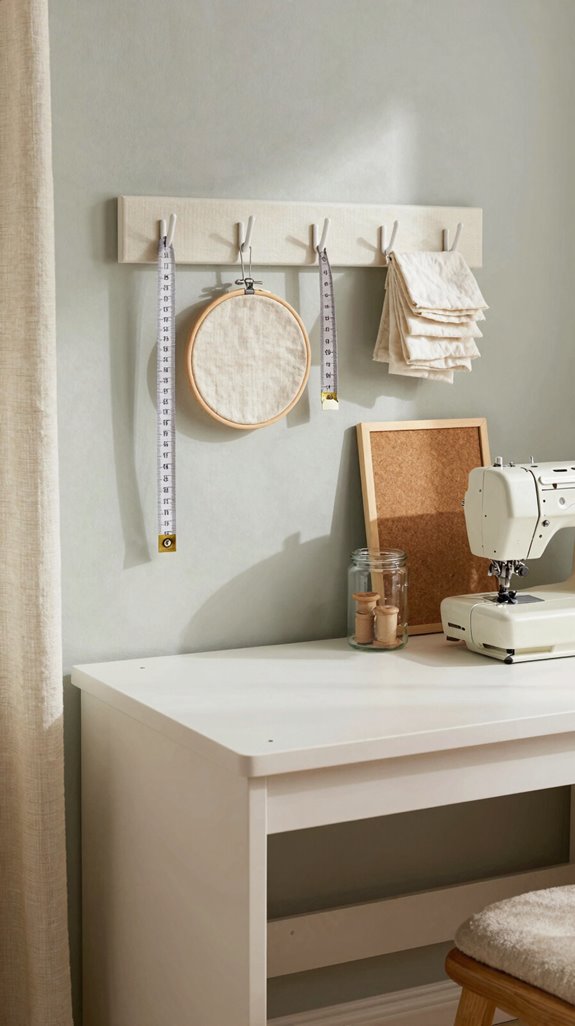
Decorating on a budget doesn’t mean your sewing room has to look plain—your everyday organizing tools can do double duty as cheerful decor! Try budget friendly organizing that makes you feel right at home.
- Add Cricut vinyl labels to bins you own. They’re cheap, easy, and keep supplies from playing hide-and-seek.
- Use thrift store styling with spice jars for beads, clear containers for bobbins, and baskets for fat quarters. Group colors together for an instant pop!
- Make a pegboard feature wall with clear cups for notions. For a DIY touch, cut a felt sewing-machine shape using felt, floss, cardstock, and glue. It looks custom without built-in prices!
Creating a Pinterest-Worthy Sewing Room
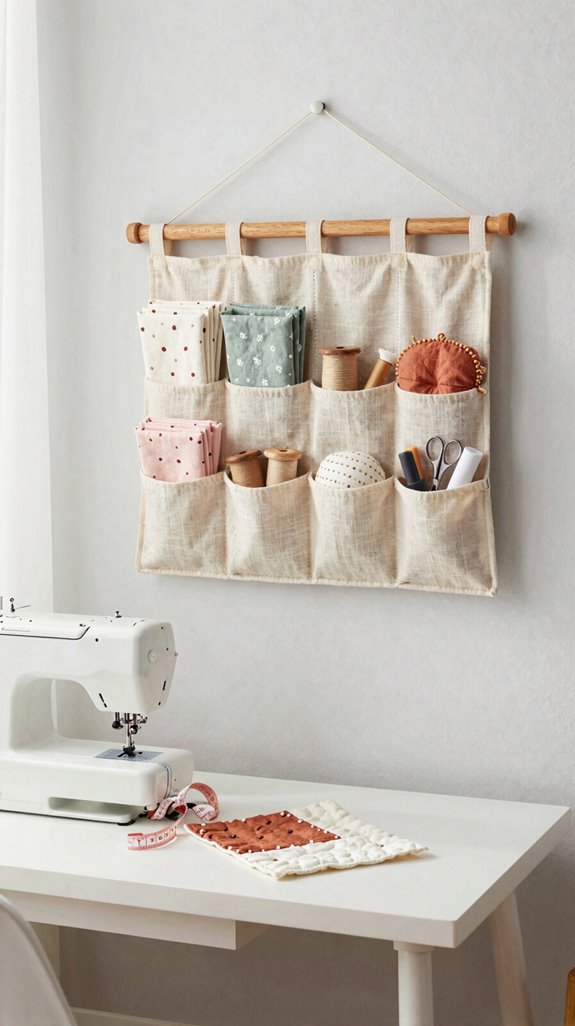
When your sewing room looks good from every angle, creating becomes even more fun—and you don’t need a designer budget to pull it off! Place a Kallax by the entry for grab-and-go supplies.
| DIY | Materials | Result |
|---|---|---|
| Fabric Labeling | Iron-on vinyl | Clean shelves |
| Thread Organization | Mega Rack | Colorful display |
| Ribbon station | Two holders | Machine framing |
| Pegboard gallery | Clear IKEA bins | Tiny-item order |
For color continuity, sort glitter into spice jars and fat quarters into matching baskets. Then try the showstopper: a pegboard wall! It turns bobbins and notions into a little gallery, so your creative corner feels like a place you belong.