13 Sewing Box Ideas Every Crafter Should Try
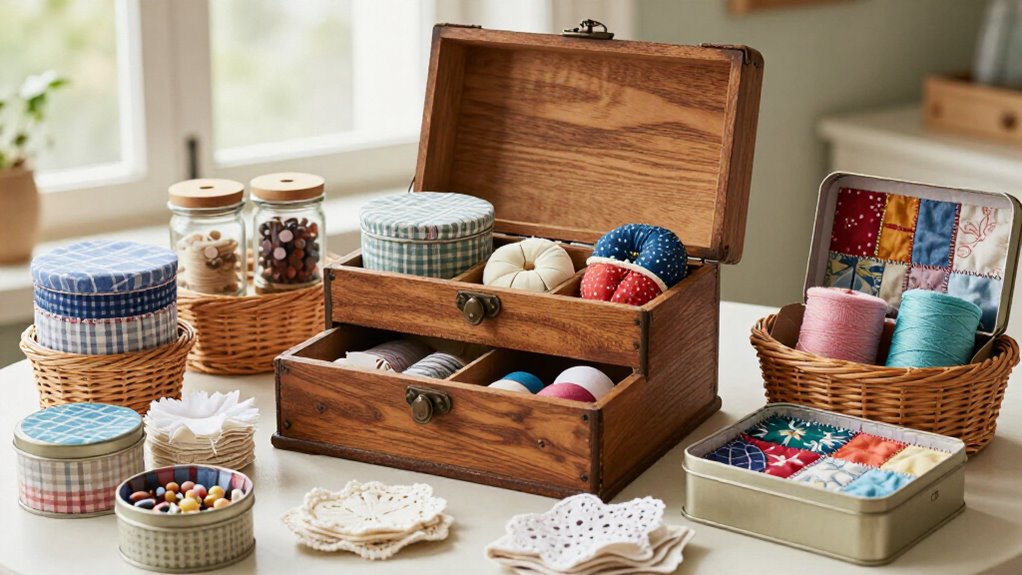
Try a vintage wooden box, stackable tackle trays, a tiny travel kit, or a floral fabric-covered chest—each uses simple dividers, jars, and labels to tame thread, pins, and snips! You can add linen, burlap tags, or a glass lid for style without spending much. Don’t overstuff it; keep everyday tools within reach. Best surprise? A personalized, bread-box-size sewing chest with tiers makes your stash feel wonderfully sorted. Keep going for more easy setups!
Love cozy DIY projects? 💕
Get free printable guides, exclusive tutorials & surprise craft goodies straight to your inbox.
Disclosure: This post may contain Amazon affiliate links, at no extra cost to you. Content on DiyCraftNest is created with research support from AI tools and carefully reviewed, edited, and fact-checked by the lead author, Daniel Pat, to ensure accuracy and reliability. Learn more
Key Takeaways
- Refresh a vintage wooden sewing box with felt lining, simple dividers, and labeled jars for a cozy, practical setup.
- Create a floral fabric-covered box using sturdy cotton and quilted lining for decorative storage that protects delicate notions.
- Use stackable trays or clear drawers to separate tools, bobbins, thread, elastic, pins, and needles by frequency of use.
- Turn a compact tackle box or small suitcase into a travel sewing kit stocked with repair essentials and tiny containers.
- Choose a glass-lid, linen, or embroidery-sized box when visibility, calm aesthetics, or hoop-friendly compartments matter most.
Vintage Wooden Sewing Box
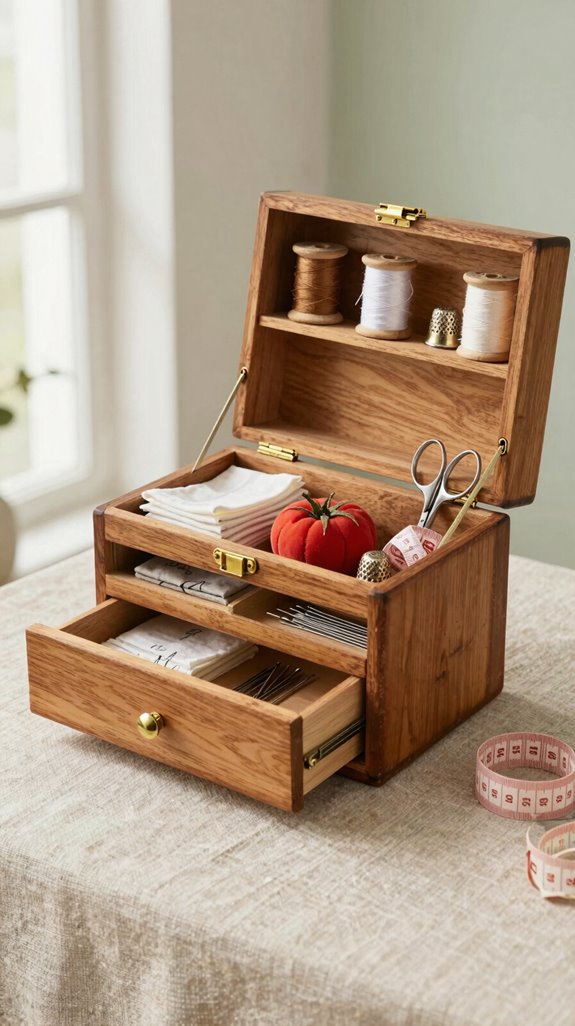
A vintage wooden sewing box brings instant charm to your craft corner, and it’s far more useful than a pretty thrift-store find! You’ll love its warm wood, simple hardware, and cozy, shared-maker-space feel.
Check the lid, hinges, and size before buying; a smaller box you can reach easily beats a giant, clutter-loving beast. Add felt if the interior needs a refresh.
For easy upcycled storage, cut cardboard or scrap wood into fitted dividers. Use small jars for buttons and a pencil case for scissors or long tools.
Then try modular compartments for thread, pins, and your seam ripper. Everything stays friendly, visible, and ready for your next project!
Stackable Craft Box
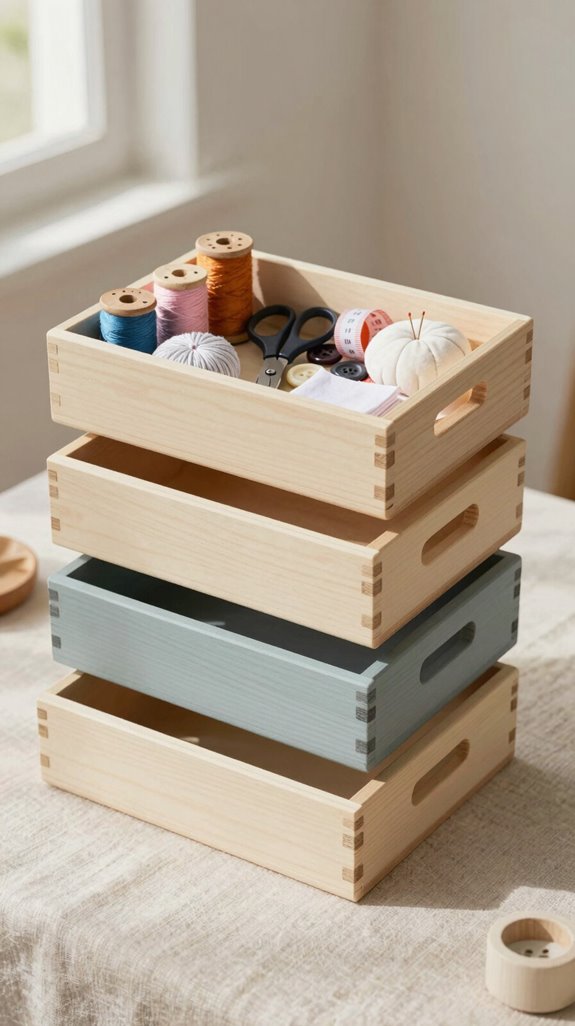
Stackable craft boxes turn a small sewing stash into a neat, grab-and-go setup—so satisfying! You’ll feel right at home with fellow makers when every notion has a place.
| Layer | What you’ll store |
|---|---|
| Top | Scissors, seam ripper |
| Clear drawer | Needles and pins |
| Middle | Bobbins by color |
| Bottom | Extra thread, elastic |
Choose stackable tiers with fixed dividers, sturdy latches, and a handle. Start with an inexpensive tackle-box organizer, then sort tools above supplies—easy! Add interchangeable trays as your collection grows. Nothing rolls, dust stays out, and your sewing corner looks wonderfully put together.
Portable Travel Sewing Kit
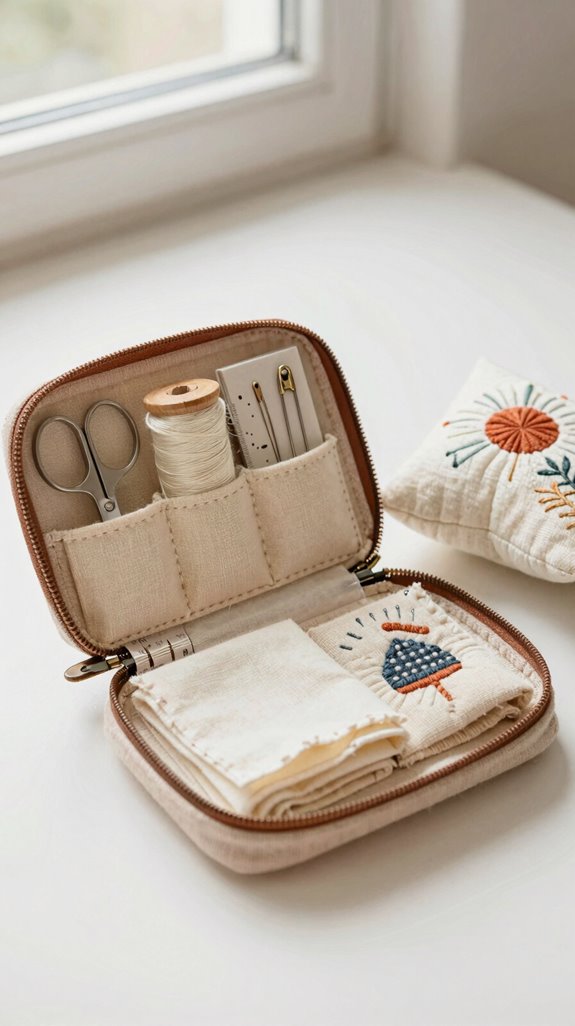
Turn any small suitcase or compact tackle box into a portable travel sewing kit, and you’ll have your *necessary* repair necessities ready wherever life takes you—hotel room, campsite, or that button-pop emergency at dinner!
Start by packing *necessary* tools: scissors, a seam ripper, pins, needles, and your favorite thread. Add cardboard or scrap-wood dividers, or use built-in tackle-box tiers, for travel friendly organization.
Tuck buttons, tape measures, and machine feet into tiny jars or a metal pencil case, so nothing wanders off! Before each trip, purge unused supplies from the last six months. You’ll keep your kit light, useful, and ready to help fellow crafters too.
Floral Fabric Covered Box
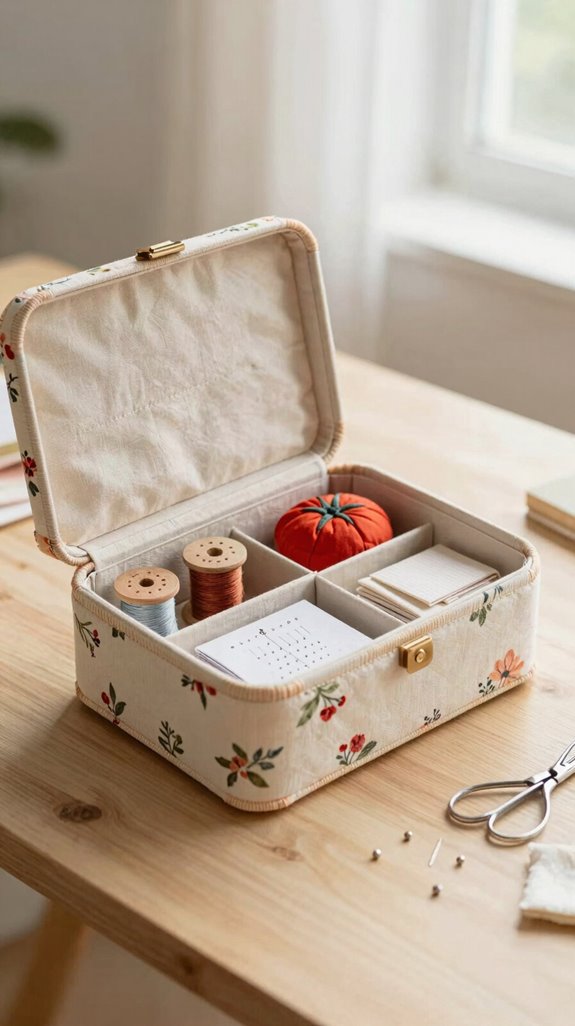
Give an ordinary box a garden-fresh makeover with floral fabric, and you’ll create a sewing home that’s pretty enough to leave on display—yay!
Choose sturdy cotton décor fabric and a quilting lining to cushion threads, needles, and tiny notions.
Wrap and glue the fabric smoothly, then add cardboard or scrap-wood dividers.
A soft cloth panel keeps spools from tangling with snips, seam rippers, and pens—no more crafty spaghetti!
Aim for a bread-box size, roomy but not drawer-hogging.
If your box has a lid or tiers, tuck scissors and measuring tape up top for quick grabs.
You’ll have a cheerful, organized little member of your sewing circle!
Minimalist Linen Storage Box
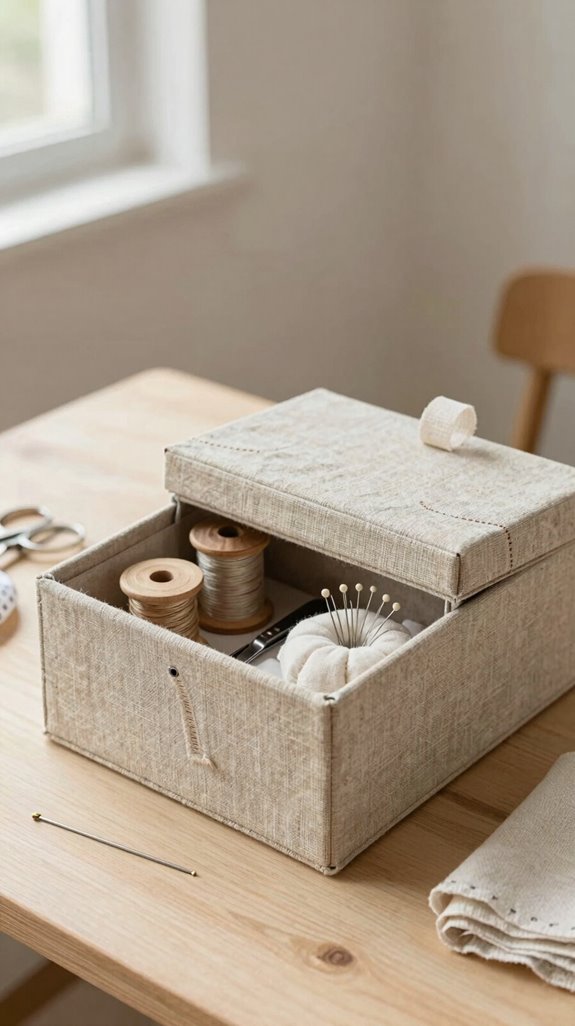
For a calmer look after all those cheerful florals, try a minimalist linen storage box—clean, soft, and wonderfully practical! You’ll create a cozy home for everyday sewing necessities without bulky clutter.
- Sturdy linen or a cotton-linen blend
- Simple thread organization with one divider
- Small tool compartments or removable trays
- A spot for beginner kits and fabric scraps
Line the box, add two or three sections, and keep only pins, needles, a seam ripper, and favorite thread inside. It’s affordable, easy, and welcoming!
Every few months, swap what no longer serves your projects. Best trick? Use cardboard inserts, so your little sewing community can grow with you.
Drawer Organizer Sewing Box
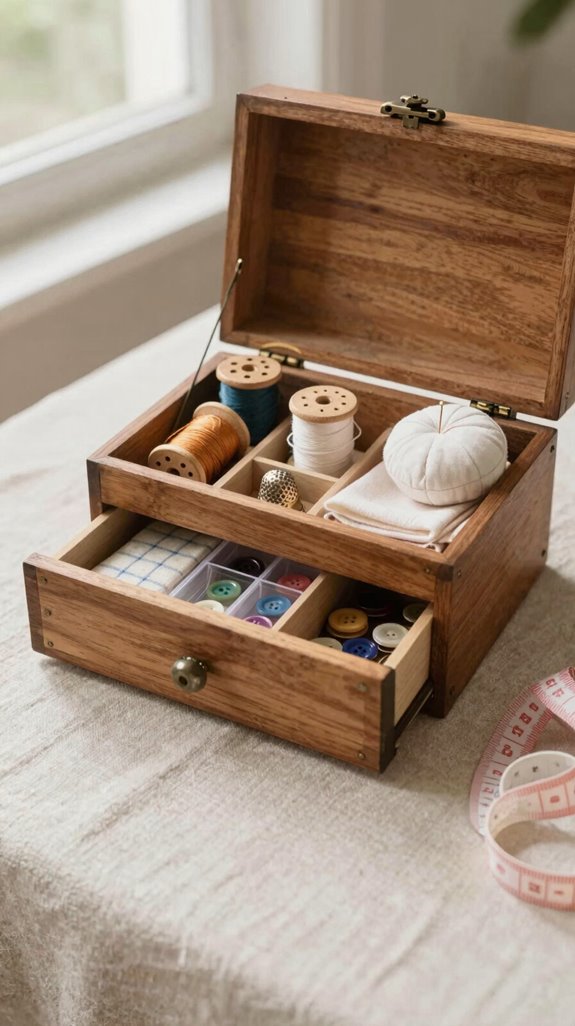
A drawer organizer sewing box puts every little sewing necessary in its place, so you won’t have to dig through a tangled pile of thread and runaway pins—what a relief!
Use scrap wood or cut cardboard boxes to make simple dividers. These drawer spacing hacks create snug homes for thread, tape, needles, and tools, so nothing rolls around like it owns the place!
Keep scissors in a longer section, and place needles and your seam ripper close by. For tiny supplies, try pin jar storage with small containers for pins, snips, and marking pens.
Best part? Every few months, purge extras and refresh the layout. You’ll keep your shared crafting rhythm neat and ready!
Glass Lid Sewing Box
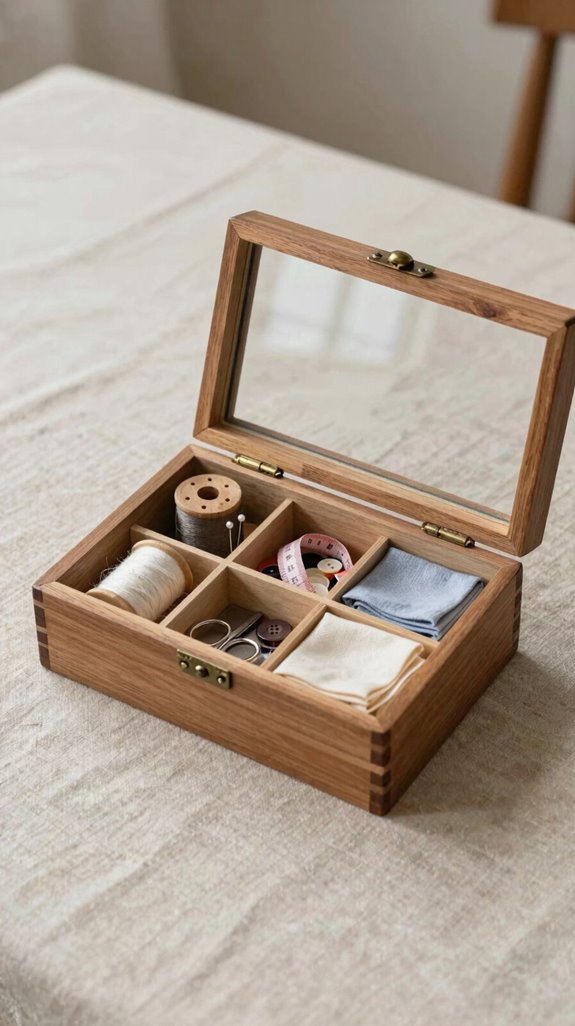
With a glass-lid sewing box, you can spot your favorite thread, shiny buttons, and tiny tools before you even lift the top—talk about a time-saver! You’ll feel right at home with clear organization that keeps every project ready.
- Choose a sturdy frame and secure latch.
- Add trays for organizing thread neatly.
- Label cups for pins, needles, and seam rippers.
- Pick a size you can reach into easily.
These beginner friendly tips keep lint from stealing the spotlight, too!
Place spools upright along one side, then group small notions in compartments.
Your box becomes a cheerful, polished sewing station—proof you’re part of a creative crew that knows where everything belongs.
Embroidery Storage Box
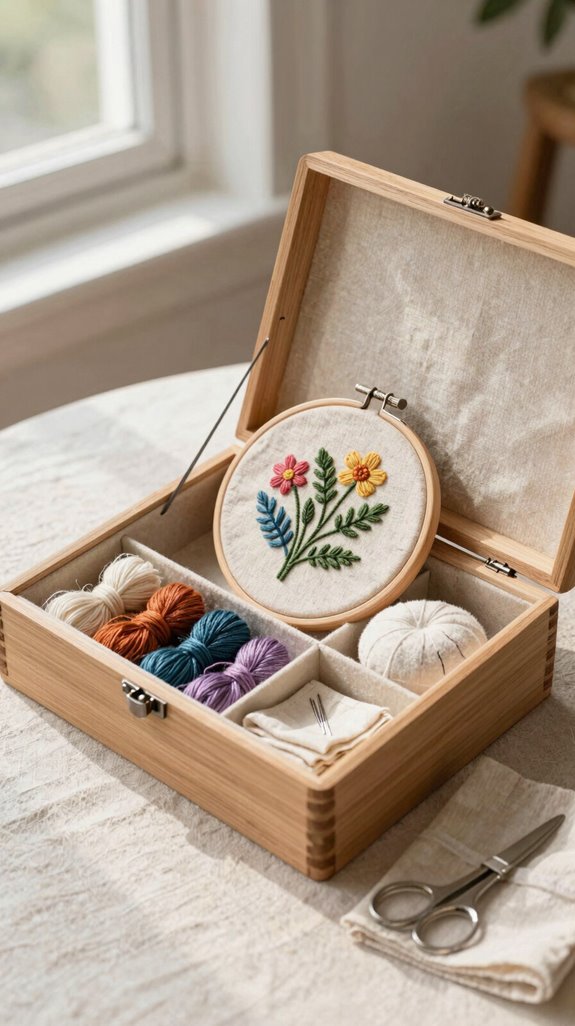
An embroidery storage box keeps your hoops, floss, fabric, and tiny tools from staging a disappearing act mid-project!
Choose Hoop friendly sizing so hoops lie flat or stand upright without bent fabric or snagged thread.
Start simply: add removable compartments, clear containers, or zipper pouches.
Sort floss by color, keep needles and snips together, and tuck stabilizers where they won’t wrinkle.
It’s affordable, beginner-friendly, and feels like joining a tidy stitchers’ club!
For the best upgrade, use labeled bobbins or floss cards inside a dedicated organizer.
A snug lid and enough height protect your hoop, so nothing shifts, pokes, or plays hide-and-seek.
Rolling Sewing Cart Box
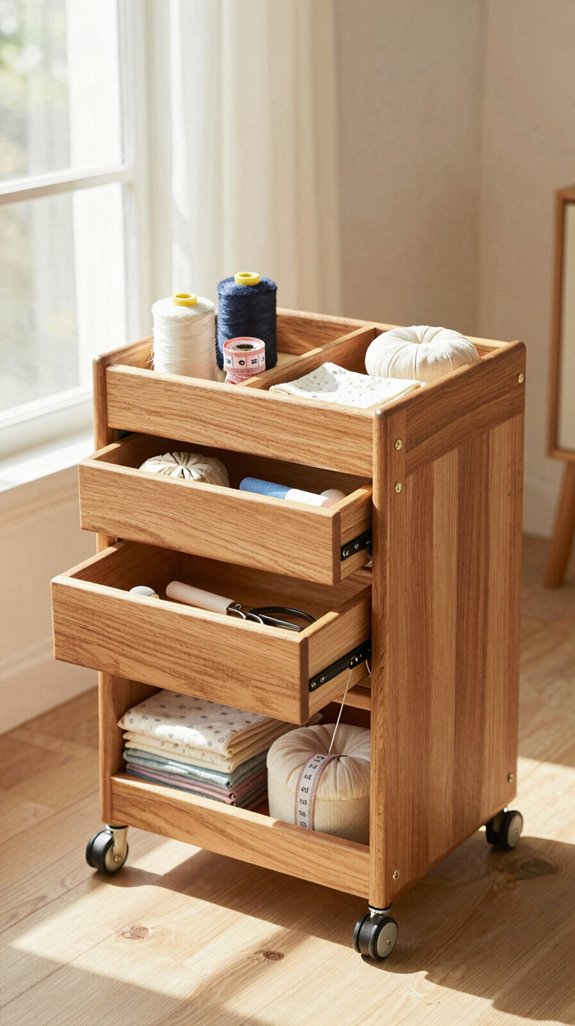
Because it rolls right beside your chair, a rolling sewing cart box keeps scissors, thread, pins, and other little escape artists within easy reach—no more trekking across the room mid-seam!
Make it yours with simple drawer divider hacks using cardboard, cut-down box inserts, or scrap wood. You’ll sew alongside fellow makers with a calmer, tidier setup!
- Separate pins, snips, and marking tools
- Add jars for buttons and thread extras
- Create upright notions storage in drawers
- Skip loose packs that become drawer chaos
Start with free materials, then test each section as you work.
The best surprise? Small tins keep snag-prone supplies standing neatly, so every drawer opens smoothly.
Magnetic Needle Box
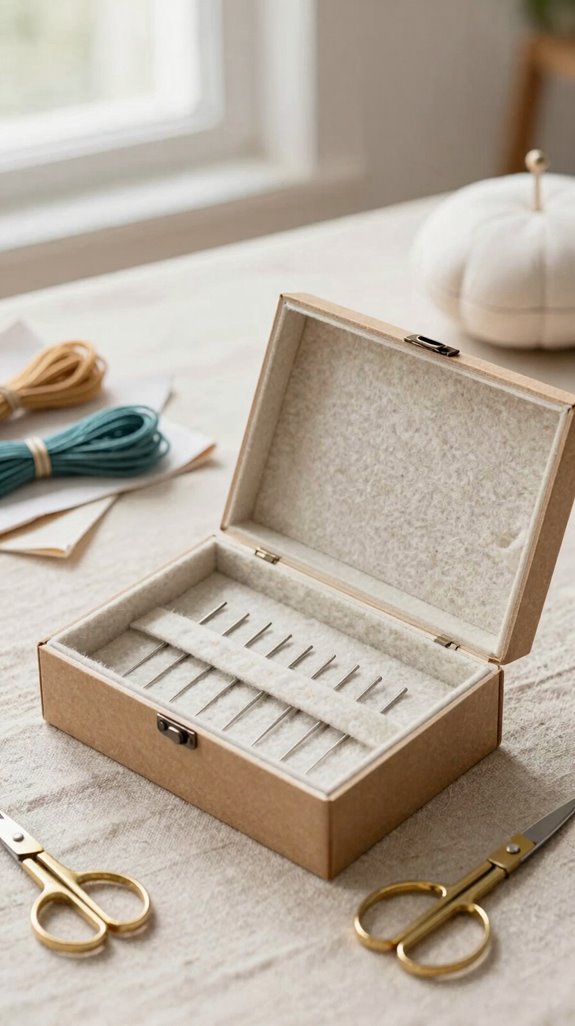
Keep loose needles from playing hide-and-seek in your sewing basket with a magnetic needle box! This small organizer uses a magnetic base to hold needles still, so you can grab one safely mid-stitch—no tiny metal surprises!
For easy Magnetic needle safety, choose a box with a strong magnet and snug lid. Press needles onto the flat top after basting, hand-sewing, or quick repairs, and they won’t roll away like escape artists.
Try these needle organization tips: place your box beside scissors and a seam ripper. You’ll create a handy little hand-sewing team, ready whenever your crafting crew needs a fix!
Wall Mounted Sewing Cabinet
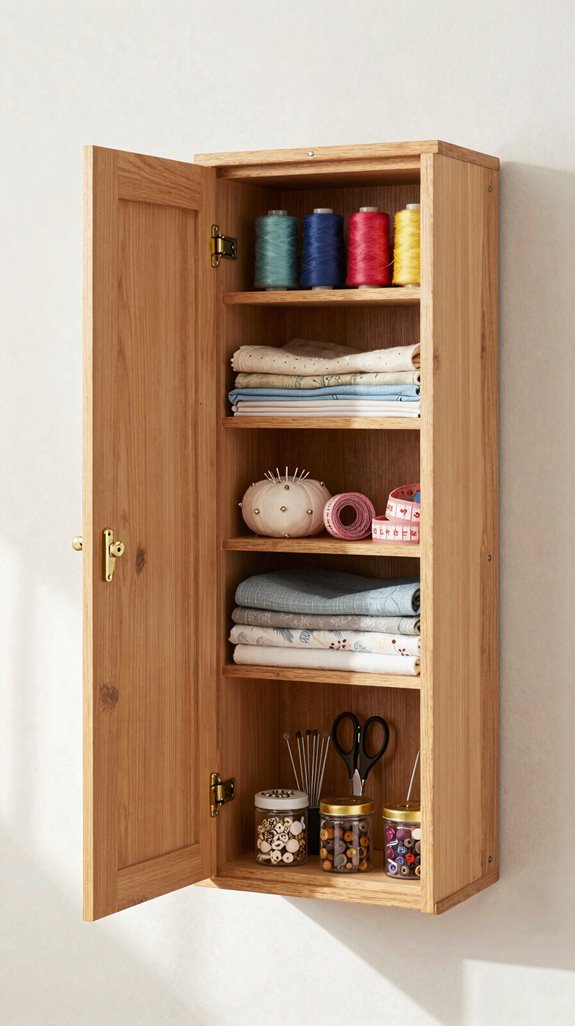
Turn an empty patch of wall into a handy sewing station with a wall-mounted cabinet—no more digging through a deep box while your scissors play hide-and-seek!
You’ll boost Storage efficiency and tool accessibility by keeping daily supplies at eye level. Start with a shallow cabinet, basic screws, and cardboard or scrap-wood dividers—easy, affordable, and beginner-friendly!
- Separate pins, thread, scissors, and seam rippers.
- Add shelves for rulers and pattern envelopes.
- Choose a width that fits your everyday tools.
- Use the top surface for marking or cutting.
Best of all, you can tuck supplies away right after each project, keeping your creative corner neat and ready for the next sew-along!
Rustic Farmhouse Sewing Box
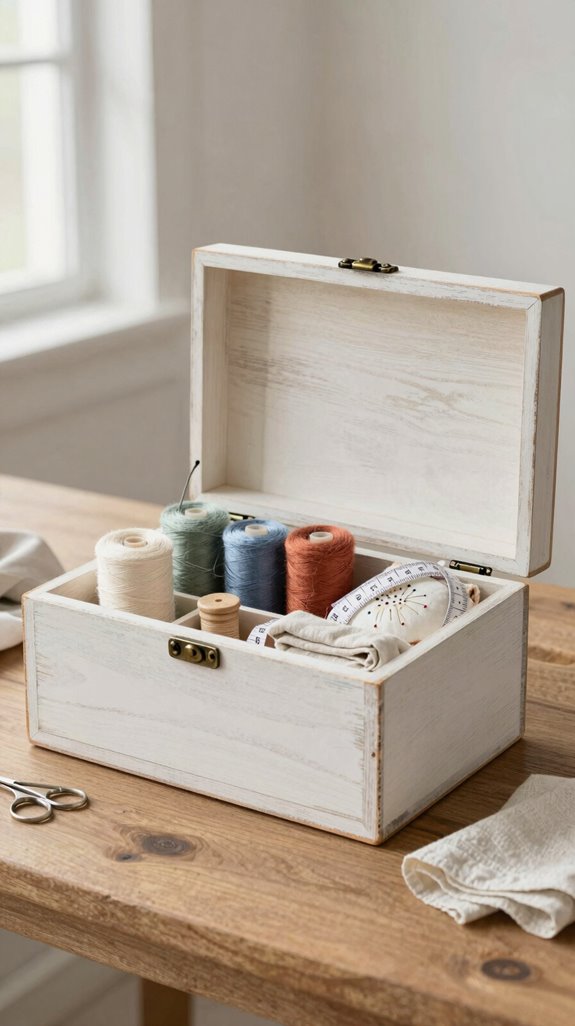
A rustic farmhouse sewing box brings cozy, well-loved charm to your craft corner while still keeping every little notion where you can find it—what a win! Choose distressed wood, then add removable trays or DIY dividers from scrap wood and cardboard.
Keep pins, scissors, needles, your seam ripper, and favorite thread up top for everyday stitching.
Cover one section with cheerful fabric, and use warm burlap label tags to separate thread from buttons.
For a sweet, budget-friendly touch, tuck buttons into tiny jars and marking pens into a metal pencil case.
Upcycled drawer inserts make surprisingly handy organizers!
Don’t overstuff it; purge unused supplies every six months, and your box stays welcoming.
Personalized Sewing Chest
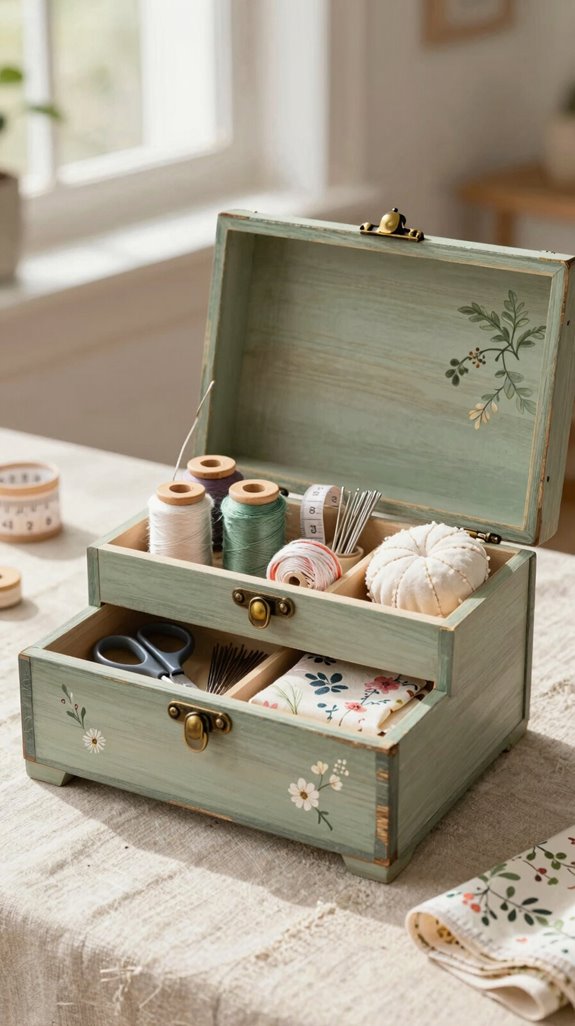
Try size customization near bread-box size, then test your daily tools. You’ll create a chest that feels like part of your creative circle!
- Add scrap-wood or cardboard dividers.
- Label small jars for pins and needles.
- Use tiers to separate thread from notions.
- Revisit contents every six months.
Your Tool layout should favor easy reach, not fussy accordion compartments. Choose a polished finish if you love it, but keep usability first.
A multi-level design makes every project feel delightfully ready!
Best Ways to Organize Sewing Supplies
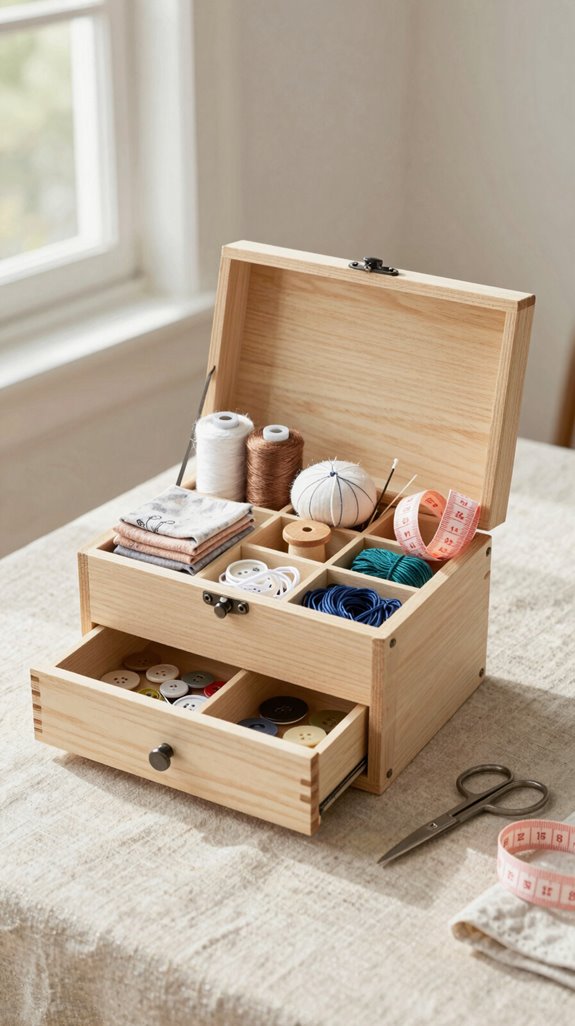
Once your sewing chest has a homey layout, keep it working hard by organizing only the supplies you reach for again and again—pins, needles, scissors, a seam ripper, and your favorite thread colors.
For drawer dividers planning, cut scrap cardboard or thin wood into simple sections. It’s cheap, beginner-friendly, and keeps tiny tools from rolling off like they’re escaping!
Next, try labeled jars for buttons and machine feet, plus a metal pencil case for snips, marking pens, and your seam ripper. Labeling habit loops make putting things back feel natural, not fussy.
Every few months, gather with your sewing crew spirit and remove anything untouched for six months. Your box stays welcoming and ready!
Mistakes That Waste Storage Space
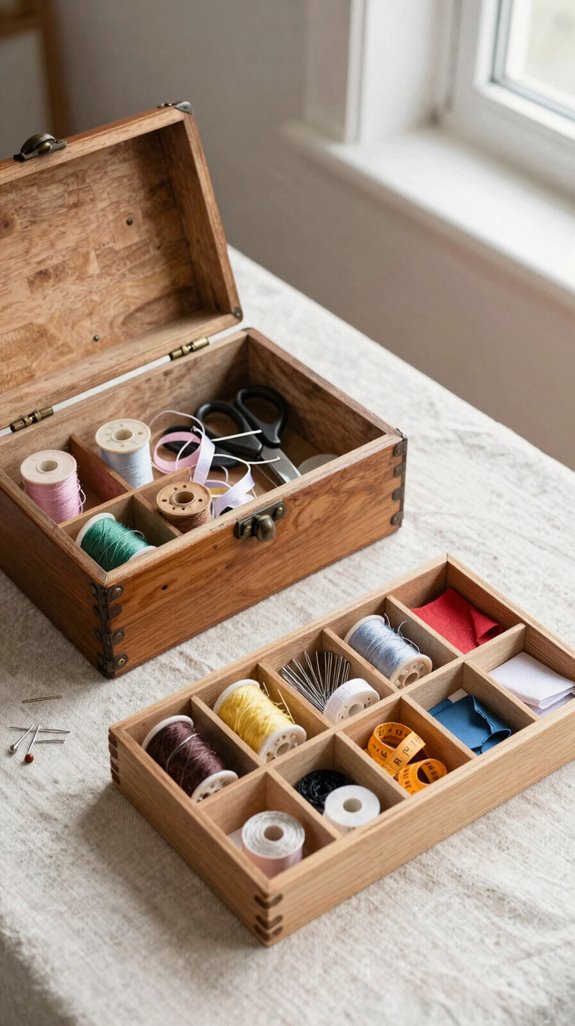
Overstuffing is one of the fastest ways to make a sewing box feel smaller than it really is—ugh! When pins, scissors, and seam rippers hide in a crowded jumble, you lose time and space.
You’re not alone; every crafter hits storage overflow sometimes!
- Don’t choose pretty accordion boxes with awkward access.
- Add dividers or pockets to stop tangled, wide-open piles.
- Skip rolling notions in undivided drawers; they shift and expand.
- Build declutter habits: review “just in case” supplies every six months.
Here’s the surprising win: removing outdated notions often creates the best compartment of all—free space!
Your box will feel calmer, friendlier, and ready for your next project.