14 Beaded Animals Tutorials for Cute Handmade Creations
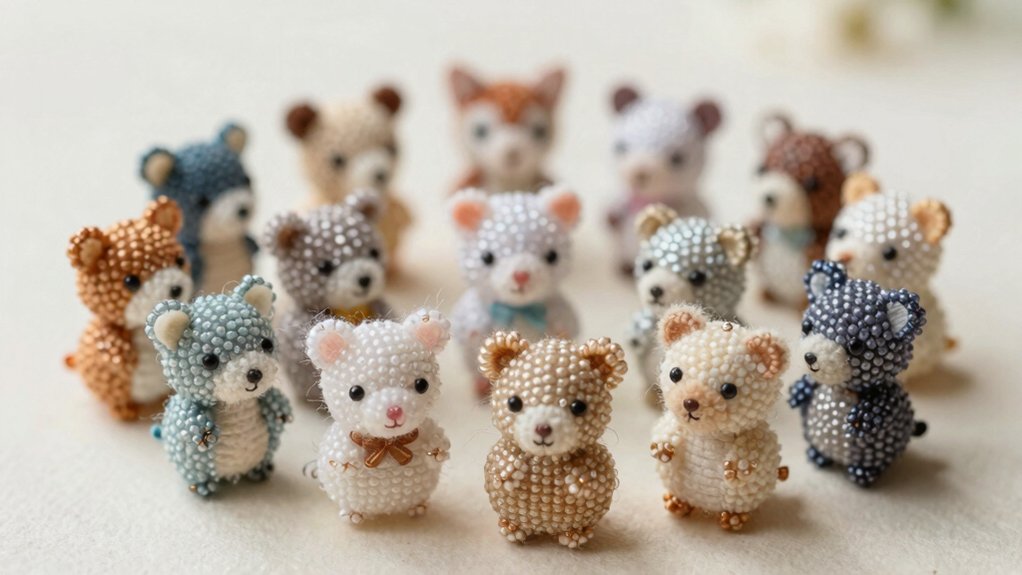
You can turn 11/0 seed beads or Miyuki Delicas into cute animals fast! Try a beaded turtle, frog, butterfly, or dragonfly with brick stitch and a simple color chart, then add a penguin, cat, dog, bee, and snake using neat rows, snug tension, and tiny finishing details. Most are beginner-friendly, low-cost, and surprisingly sturdy when you swatch first. Keep going, because the last few tricks make your mini zoo even cuter and way less wobbly!
Love cozy DIY projects? 💕
Get free printable guides, exclusive tutorials & surprise craft goodies straight to your inbox.
Disclosure: This post may contain Amazon affiliate links, at no extra cost to you. Content on DiyCraftNest is created with research support from AI tools and carefully reviewed, edited, and fact-checked by the lead author, Daniel Pat, to ensure accuracy and reliability. Learn more
Key Takeaways
- Use size 11/0 seed beads or Miyuki Delicas, brick stitch, and steady tension for neat beginner-friendly animal forms.
- Follow color-coded 2D bead charts and quick swatches to avoid mistakes in cute handmade animal tutorials.
- Shape turtles, frogs, butterflies, owls, dolphins, and seahorses with increases, decreases, and mirrored rows for symmetry.
- Add dimension to penguins, foxes, elephants, cats, and dogs using right-angle weave, circular shaping, and snug joins.
- Finish bees and snakes with clean stripes, tapered tails, and eye details last for polished mini charm results.
Beaded Turtle
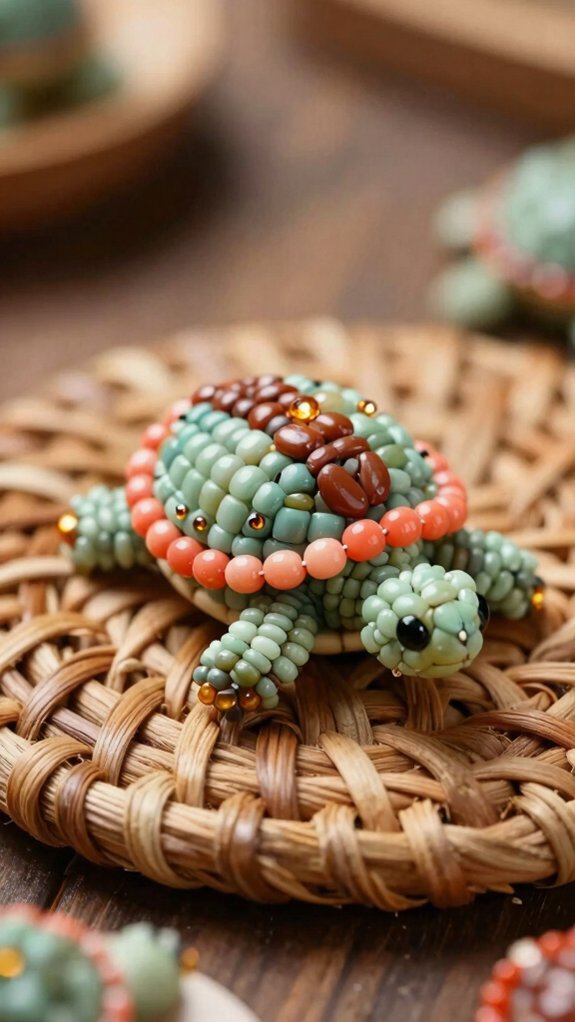
If you’re making a beaded turtle, start with small, neat beads like size 11/0 seed beads, or use Miyuki Delicas if you want that super smooth shell look—either way, your turtle will thank you!
You’ll feel right at home once you follow a Color coded bead chart and build a brick stitch flat shell row by row.
Keep your colors in greens and browns, and check tension so everything stays sturdy, not floppy.
Want more shape? Try right angle weave turtle shaping for the body, then add tiny eye and claw beads for a cute finish.
A quick swatch can save the day!
Tiny Frog
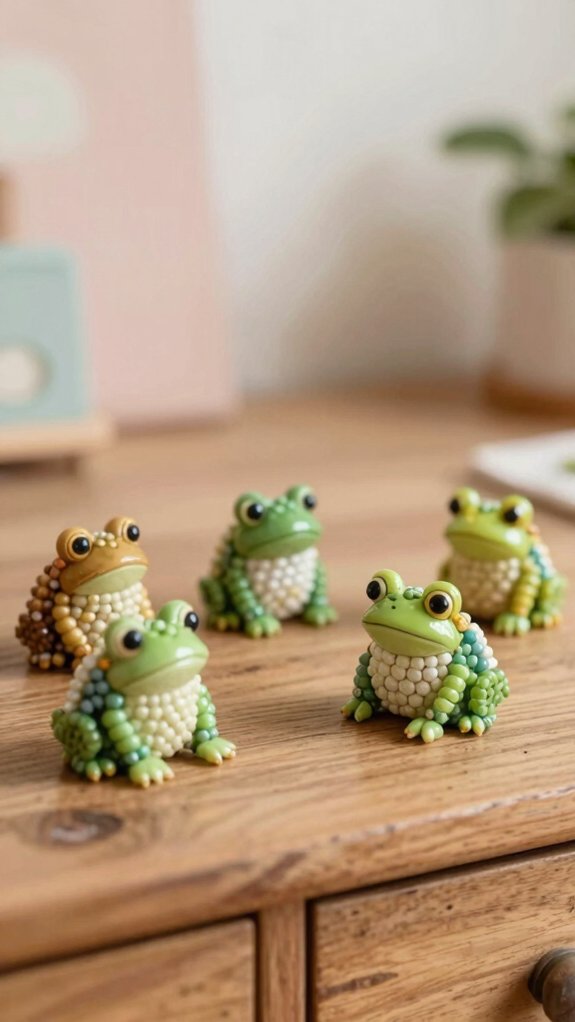
A tiny beaded frog is a total pocket-sized showstopper, and you don’t need skilled skills to make one!
Grab size 11/0 seed beads, or Miyuki Delicas, and start with a simple 2D brick stitch chart so each bead locks in neatly.
Want a little bounce?
Add a small right-angle weaving step for dimension, keeping tension moderate so your frog stays sturdy, not floppy.
Use Crochet inspired textures and Kawaii color palettes for extra charm, then swap bead colors for bright eyes and a cute mouth.
Finish with strong thread, tuck it into a tiny container, and you’ve got a frog buddy ready for keychains!
Butterfly Design
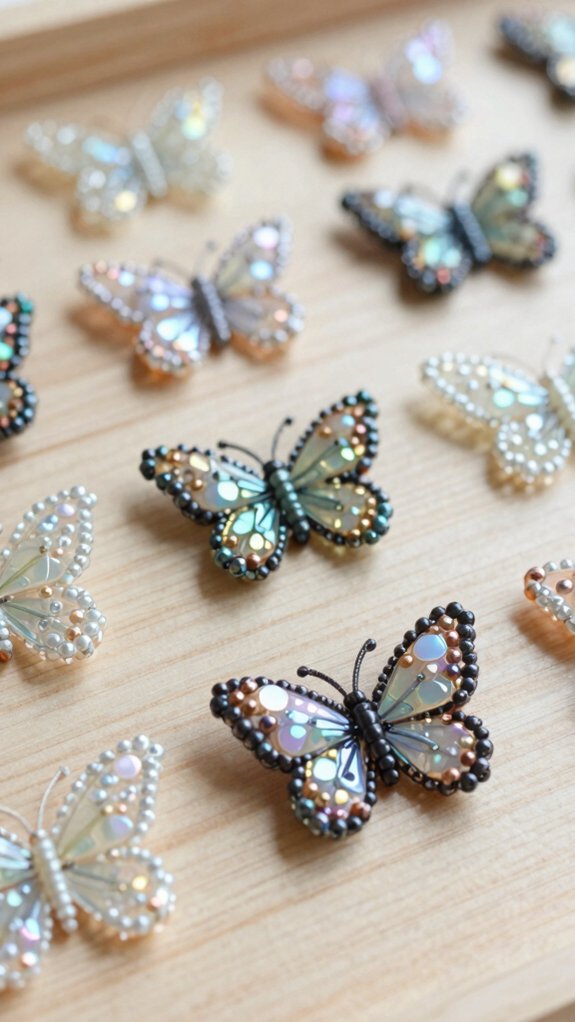
For a butterfly design that looks crisp and cute, start with smooth seed beads, like size 11/0 or Miyuki Delicas, because they help the wing pattern stay neat instead of wobbling all over the place.
- You’ll stitch two mirrored wings, and that symmetry feels so satisfying!
- Use brick stitch to keep the bead grid steady and friendly.
- Follow tiny increases and decreases at the edges for that soft wing flare.
- Keep your thread snug, not tight, so the butterfly doesn’t pout and curl.
- Finish with beaded wing finishing and antenna attachment tips near the head, then grin—your little buddy looks ready to fly!
Dragonfly Pattern
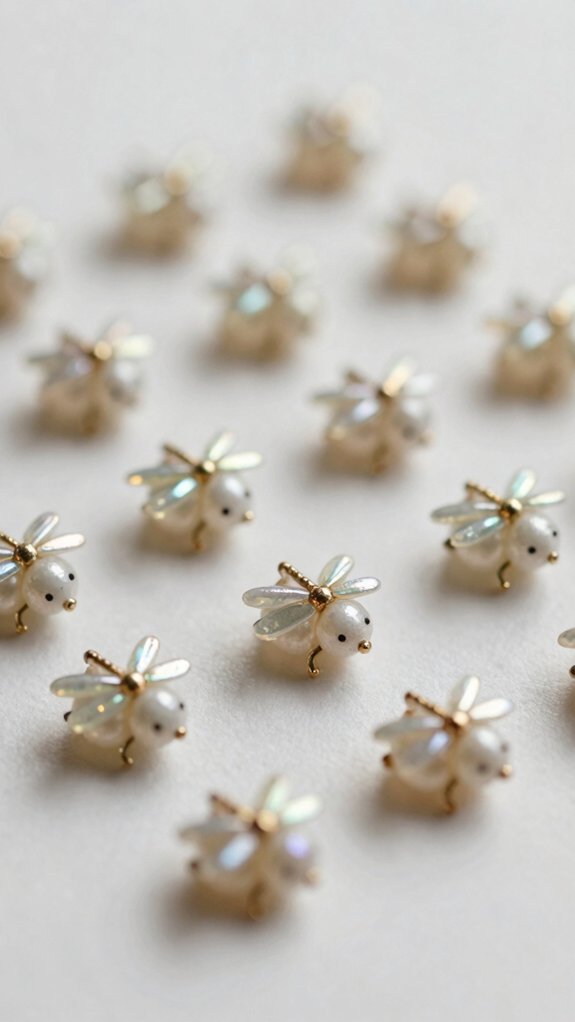
When you want your dragonfly to look crisp and airy, start with uniform seed beads like Miyuki Delicas in size 11/0, because those tidy little cylinders help the wing grid sit flat and symmetrical instead of doing its own weird dance.
Grab a chart, count every row, and find the center spine first, then stitch with brick stitch for stable wings that grow outward. Nice, right?
For a little depth, add right-angle weave near the body, and keep tension snug, not bossy.
Try color palette tips with bright wing tips and darker stripes, then do wing edge finishing so your dragonfly feels polished, friendly, and totally display-worthy!
Penguin Figure
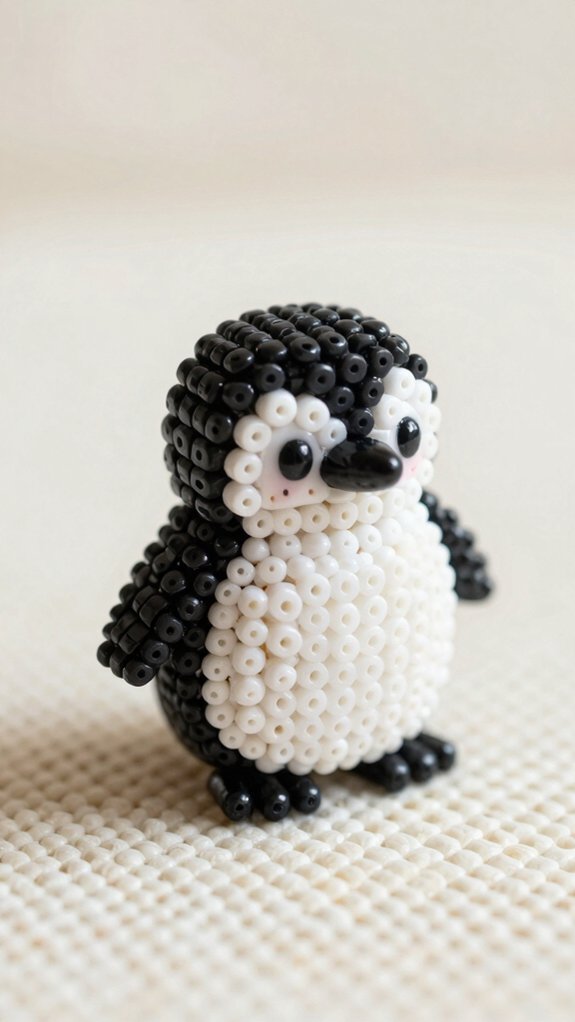
Under a neat little grid of Miyuki Delicas or 11/0 seed beads, your penguin starts to take shape with that cute black-and-white tuxedo look! Using right angle weave, you’ll build a flat base first, then lift it into a tiny 3D pal. Keep these color change bead tips handy for crisp belly, feet, and beak lines.
- black body
- white belly
- orange feet
- tiny beak
- snug flippers
Adding 3D volume shaping around the chest makes the bird round and huggable, while securing flipper edges keeps them neat. You don’t need simple tools, just patience, thread, and a grin—fun, right?
Fox Charm
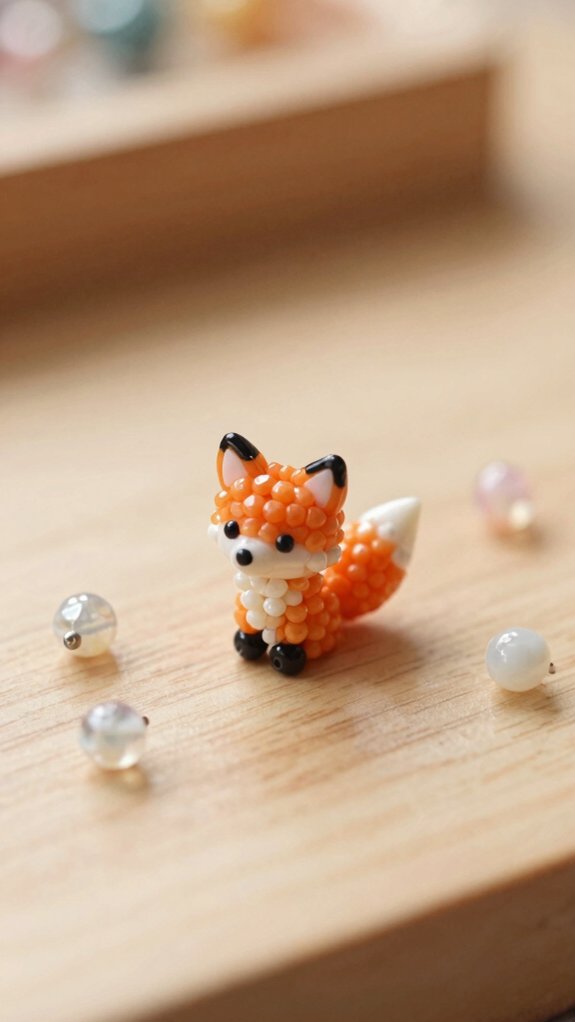
If you want a fox charm that looks crisp and cute, start with consistent seed beads, like 11/0s, or Miyuki Delicas if you’d love extra sharp edges and clean face markings. Pick your colors with Pattern selection tips, then stitch the body in flat brick stitch so every bead clicks into place like your crafty squad cheering you on!
Keep your thread tension control snug, not cranky, especially at the snout and tail, or the fox may flop like a sleepy noodle. Add tiny raised ears with right-angle weave for a playful pop.
Swap eye and muzzle shades, finish with a jump ring, and you’re set!
Owl Ornament
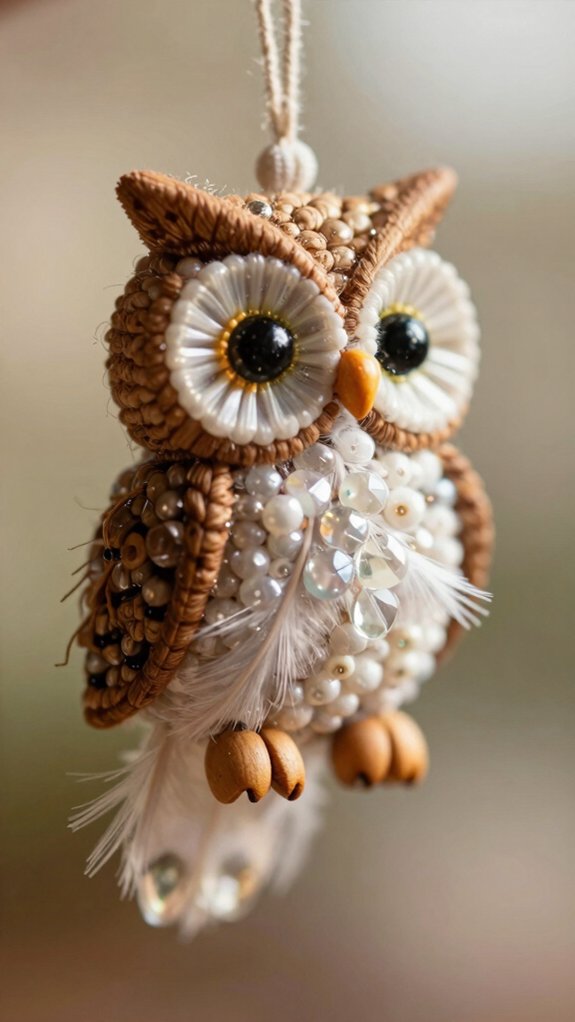
For a cute owl ornament, start with a clear 2D bead chart and 11/0 seed beads, or go with Miyuki Delicas if you want those tidy, crisp edges that make feathers look extra neat—so satisfying! You’ll fit right in once you try these feather friendly stitch tips and a Color matching bead chart.
- sketch the big eyes
- brick stitch the flat wings
- build the round body gently
- keep tension calm and even
- thread pieces together snugly
You’ll get a sturdy little owl that hangs sweetly, costs little, and feels proudly yours. Finish the joins carefully, and your tiny night buddy won’t wobble!
Dolphin Craft
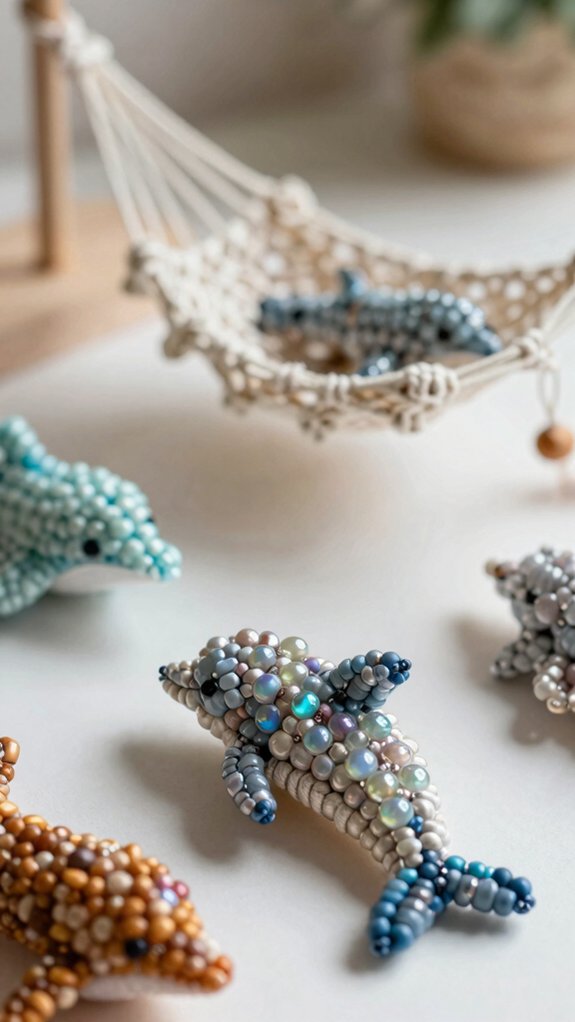
Because dolphin crafts look so smooth and playful, you’ll want to start with uniform seed beads, like size 11/0, plus a comfy needle and thread so the curves don’t get wobbly. Read your pattern chart first, then stitch carefully, keeping the belly and snout shaping clear.
| Step | What to use | Result |
|---|---|---|
| 1 | Brick stitch halves | A neat base |
| 2 | Join at the body | A rounded dolphin |
| 3 | Contrasting eye beads | A cute face |
You can even add it to a colorful bracelet or mix it with ocean themed charms. Finish snugly, and you’re in the pod!
Seahorse Design
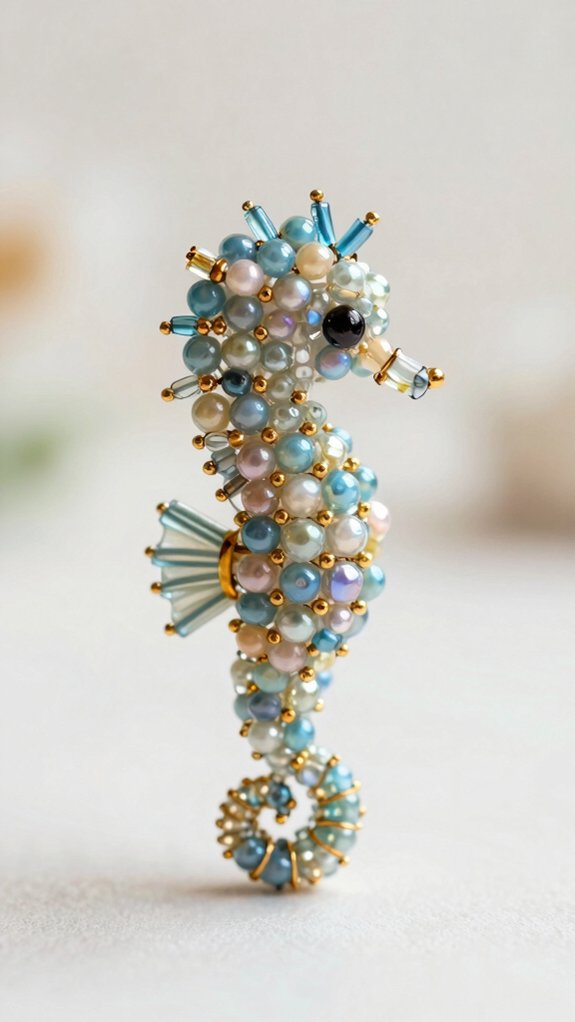
A seahorse design starts looking charming fast when you pick even 11/0 seed beads or tidy Miyuki Delicas, since those little beads help the curved body stay neat and the stitches hold their shape.
You’ll fit right in with this project, and yes, it’s friendlier than it looks!
- Trace the chart row by row, so the neck curl stays crisp.
- Use brick stitch for a smooth, sturdy base.
- Shape the head and tail with right-angle weave.
- Keep tension balanced, not floppy or tight.
- Join the pieces, then lock in those swirl details.
Try colorful seahorse motifs and advanced stitch variations—cute magic, honestly!
Elephant Keychain
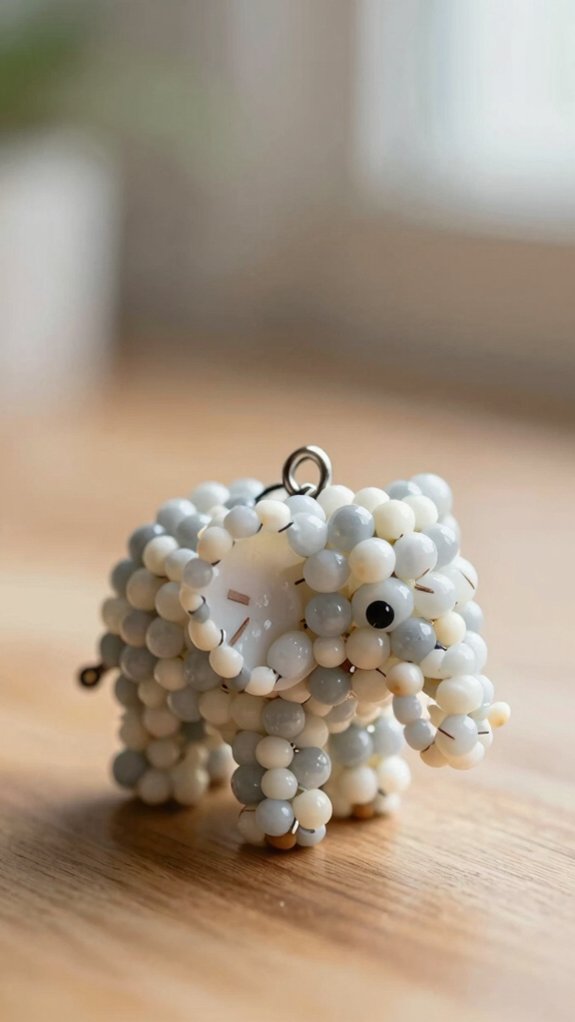
When you want an elephant keychain that looks cute instead of clunky, start with uniform 11/0 seed beads or Miyuki Delicas, plus a strong needle and thread so those tiny details actually behave.
Your seed bead selection sets the whole vibe, and a simple 2D body helps you stay in the group, not the flop zone!
Build a little shape, then use the right angle weave technique or neat circular increases to puff the head and belly.
Keep tension snug, but not angry-tight, so nothing cracks.
Add ears and trunk as small side pieces, stitch them on, then finish with a reinforced ring—aww, instant charm!
Cat Figure
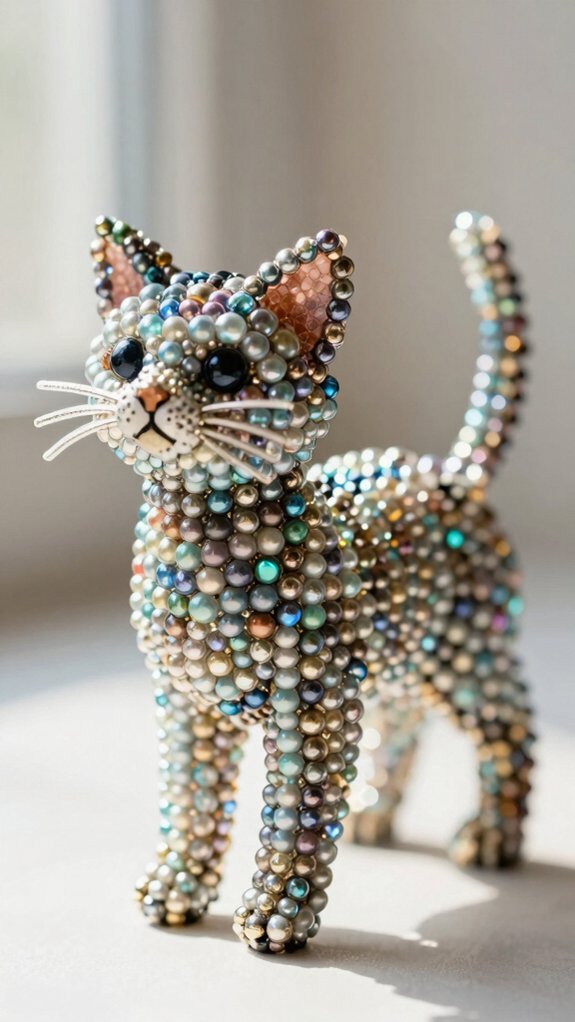
On a tiny cat figure, the bead choices make a huge difference, so start with small, uniform seed beads like 11/0s for sharp eyes, whiskers, and little paw details, and grab Miyuki Delicas if you want the flat sections to line up extra neatly.
- Chart the body with clear increases and decreases.
- Use brick stitch base shaping for a steady bottom row.
- Keep tension firm, not stiff, so your kitty stands proud.
- Try color swap expressions for kawaii or realistic faces.
- Test a tiny sample first, because wonky beads can make a droopy cat.
Add volume with circular or 3D right-angle weave, and voilà, you’ve got a cute buddy!
Dog Charm
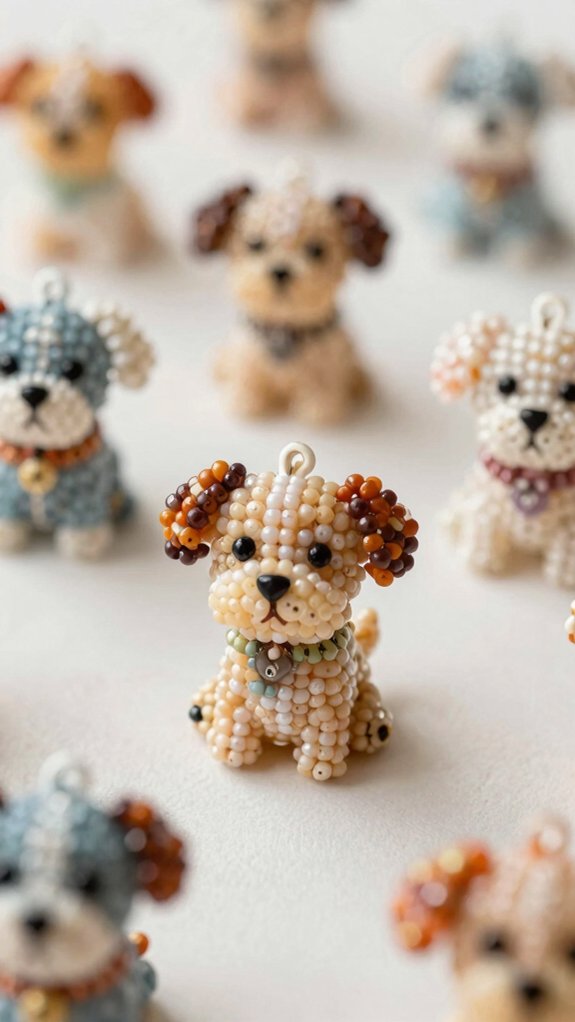
If the cat figure got you hooked, a dog charm is the perfect next bite-sized project—cute, sturdy, and ready to tag along on a keychain or zipper pull!
Grab uniform 11/0 seed beads or Delicas, strong thread, and a simple bead chart, then use beginner brick stitch shaping to build the body row by row.
Color banding tips help you mark spots, ears, and paws without fuss.
Keep your thread snug for thread tension troubleshooting, but don’t yank it.
Want a sturdier, more dimensional pup? Add a touch of right-angle weave, then finish with a secure keychain attachment.
Bee Decoration
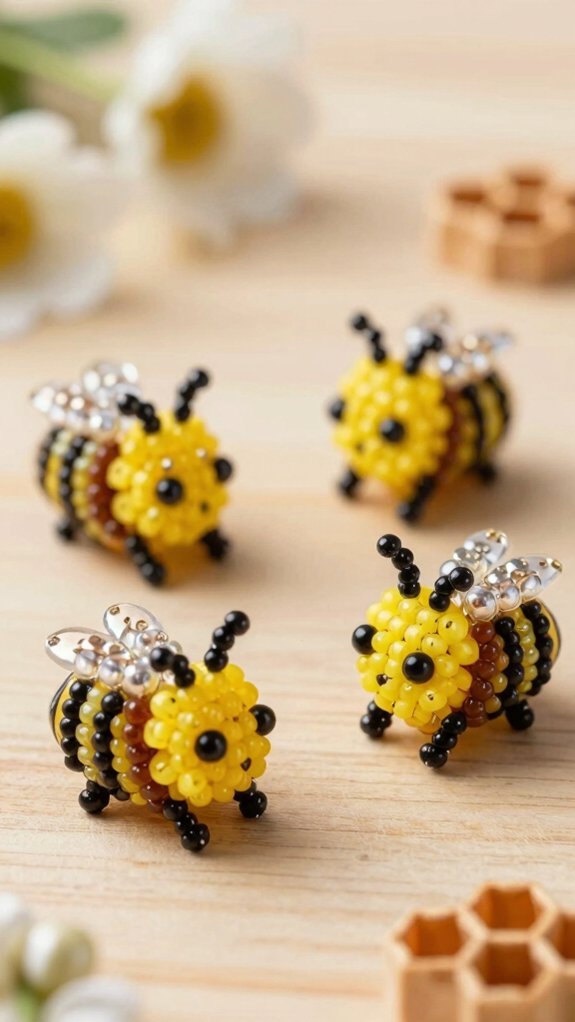
A tiny bee decoration can be a total showoff in the cutest way! You’ll feel right at home making one with simple Seed bead techniques, and it doesn’t cost much, either.
- Pick 11/0 beads, or Delicas for a neat shine.
- Follow a flat brick-stitch chart for the bee body.
- Add black and mustard stripes for that sweet buzz.
- Stitch tiny wings with a snug loop, not a squeeze.
- Reinforce the last rows so it stays tidy.
Keep your thread tension tips gentle, and your bee won’t warp or snap. Finish with little eyes, then smile—your mini friend looks ready to buzz right onto your bag!
Snake Pattern
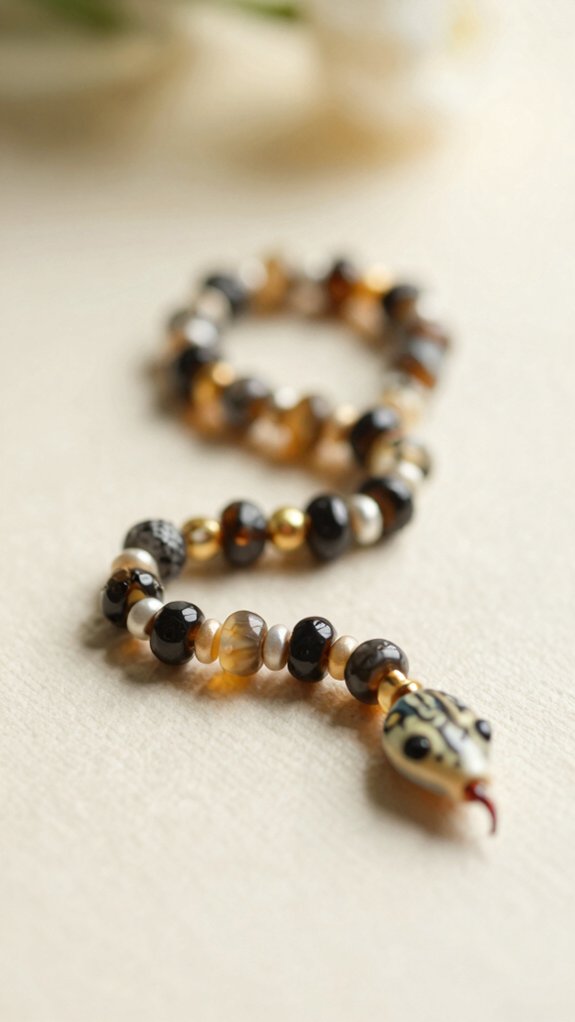
That tiny bee you just finished can share the spotlight with a snake pattern, and yes, it can look way cooler than it sounds! For Materials for snake, grab 11/0 seed beads, or Miyuki Delicas if you want sleek, even scales.
| Step | Look |
|---|---|
| Flat rows | tiny ribbon snake |
| 3D weave | round body |
| Tight grid | sharp head |
| Tail taper | sly curl |
Start with 2D rows, then build volume with right-angle weave or circles. Follow the visual grid, and use color gradient techniques for realism near the head. Keep tension snug, add eye details last, and you’ll fit right in with your bead crew!