15 Crafts to Do When You’re Bored That Are Actually Fun
Try air-dry clay charms, painted flower pots, or beaded keychains with cheap supplies and easy steps, then seal the finished pieces for a clean look. You can also make DIY photo frames, painted jars, decorative trays, paper flowers, gift tags, handmade candles, and mini canvas art—each one’s beginner-friendly and actually useful. Start small, keep it fun, and save the cutest surprise projects for last, because the best boredom-busters are still coming up next!
Love cozy DIY projects? 💕
Get free printable guides, exclusive tutorials & surprise craft goodies straight to your inbox.
Disclosure: This post may contain Amazon affiliate links, at no extra cost to you. Content on DiyCraftNest is created with research support from AI tools and carefully reviewed, edited, and fact-checked by the lead author, Daniel Pat, to ensure accuracy and reliability. Learn more
Key Takeaways
- Make quick paper garlands, paper flowers, or pressed-flower cards for fast, colorful boredom-busting crafts.
- Try air-dry or polymer clay charms for mini animals, magnets, keychains, or tiny gifts.
- Upcycle jars, pots, or trays with paint, Mod Podge, and scraps for easy decorative projects.
- Create friendship bracelets, beaded keychains, or personalized gift tags for simple hands-on making.
- Use pressed nature, fabric scraps, washi tape, or magazine bits to add variety without needing many supplies.
Air Dry Clay Creations
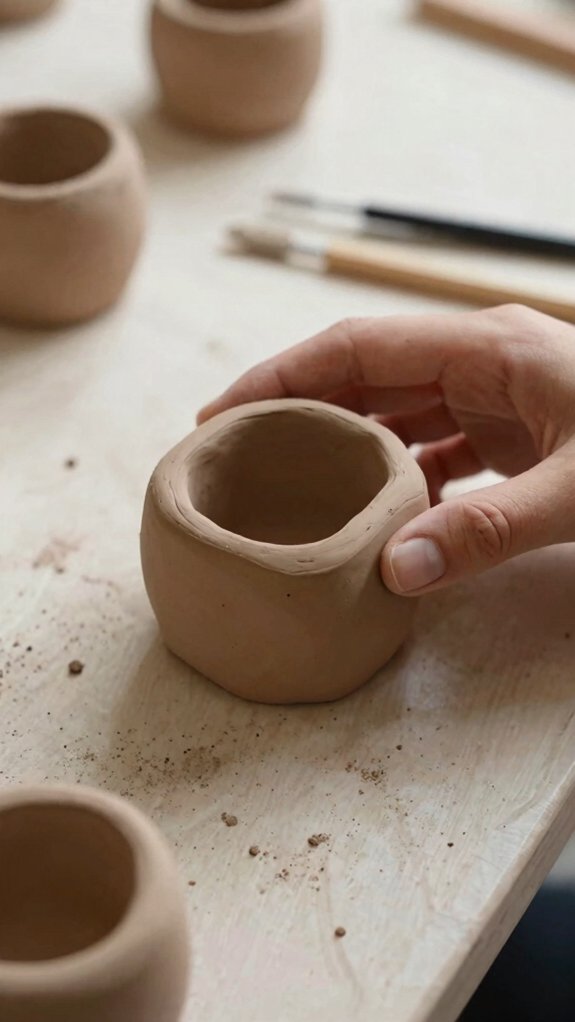
If you want a craft that feels a little magical without turning your kitchen into a science lab, air-dry clay is a great place to start!
You can grab a kit, shape charms, mini animals, or tiny figures, and enjoy those playdough textures without needing a kiln.
Let your pieces dry in a warm, breezy spot for 24 to 72 hours, depending on thickness.
After that, smooth rough spots with fine-grit sandpaper, then paint or marker them.
Finish with clay sealing using clear varnish or Mod Podge, and turn them into magnets or keychains once fully cured.
Painted Flower Pots
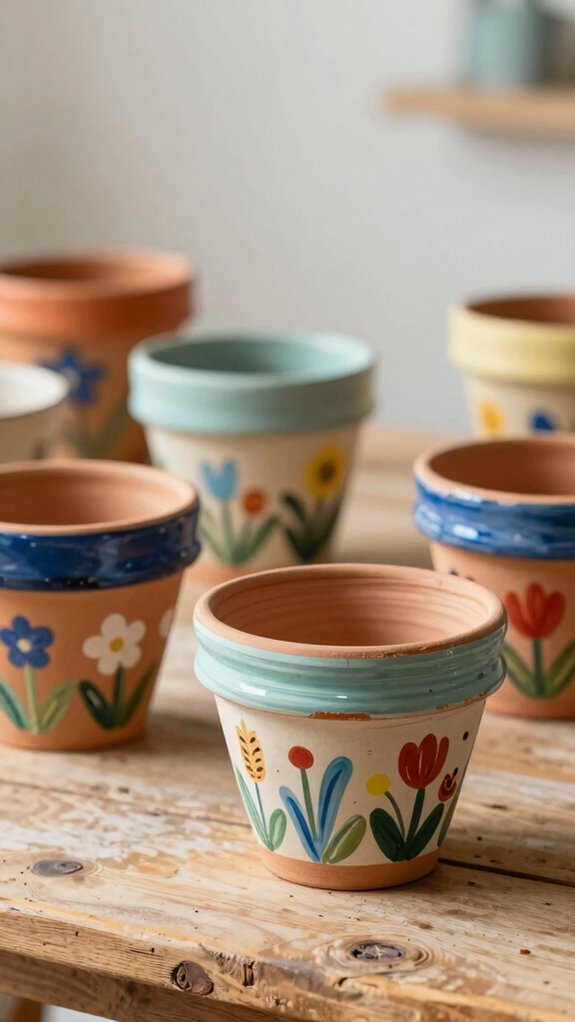
A plain terracotta pot can turn into a tiny masterpiece with just a little paint and a big splash of personality!
Grab a cheap pot, craft paint, and a brush, then start with simple stripes, faces, or rainbow bands.
The porous clay grips color nicely, so your design stays crisp and bright.
Try color mixing for a custom shade, then let each coat dry before adding dots, cheeks, or tiny eyes.
Cute, right?
When you’re done, use pot sealing for extra protection against sun and watering.
Once it’s fully dry, repot your plant, and boom, your greenery and pot finally match!
Handmade Candles
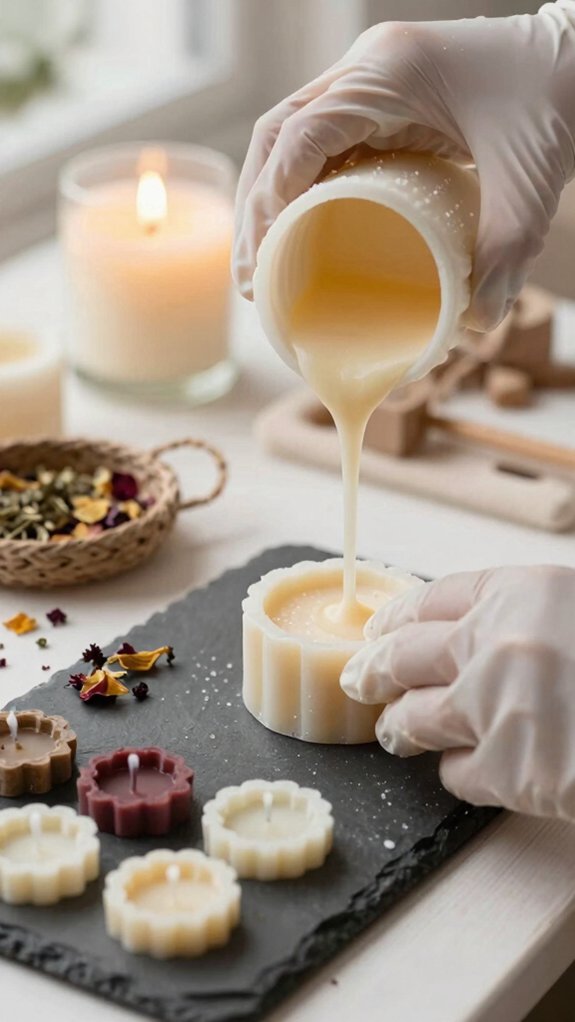
Painted flower pots are a fun way to wake up a room, but handmade candles bring that cozy, glowy magic to the whole space! Grab a beginner candle-making kit, and you’ll skip the guesswork with wax, wicks, and fragrance ready to go.
Melt the wax gently, then stir in color and scent after candle scent testing, so your favorite vibe spreads evenly.
Center the wick in your jar, pour at the right temp, and let it cool fully.
Want extra charm? Try jar label design on a cleaned-up container for a cute, giftable finish.
You’ll end up with a warm, homemade glow!
DIY Photo Frames
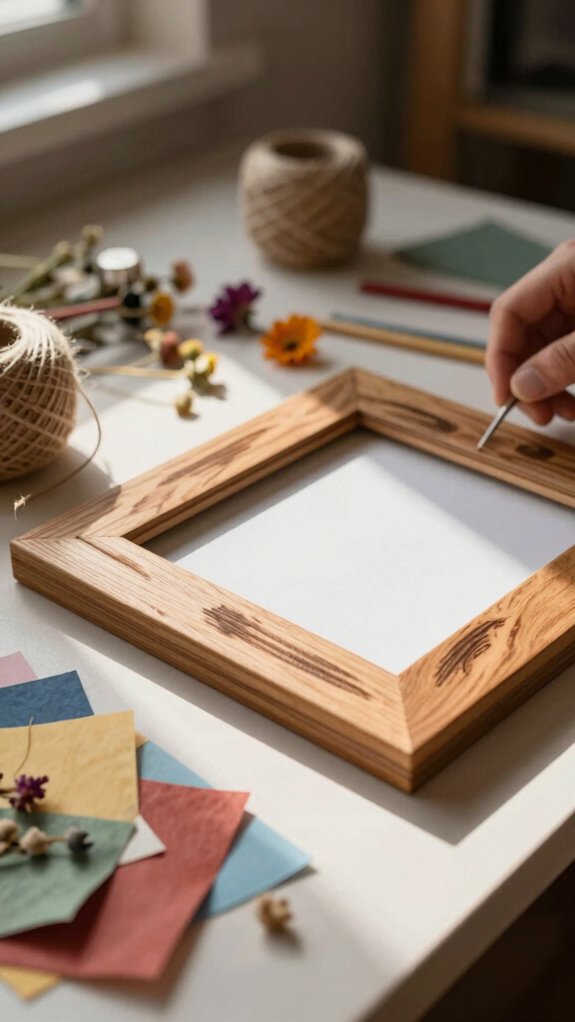
While you’re snapping a few favorite photos, why not give them a frame that feels just as special? You can make one that fits right in with your crew, and it won’t cost much at all!
- Start with a plain wood or metal frame, add torn photo edges or magazine bits for a decoupage photo look, then seal it with Mod Podge for shine.
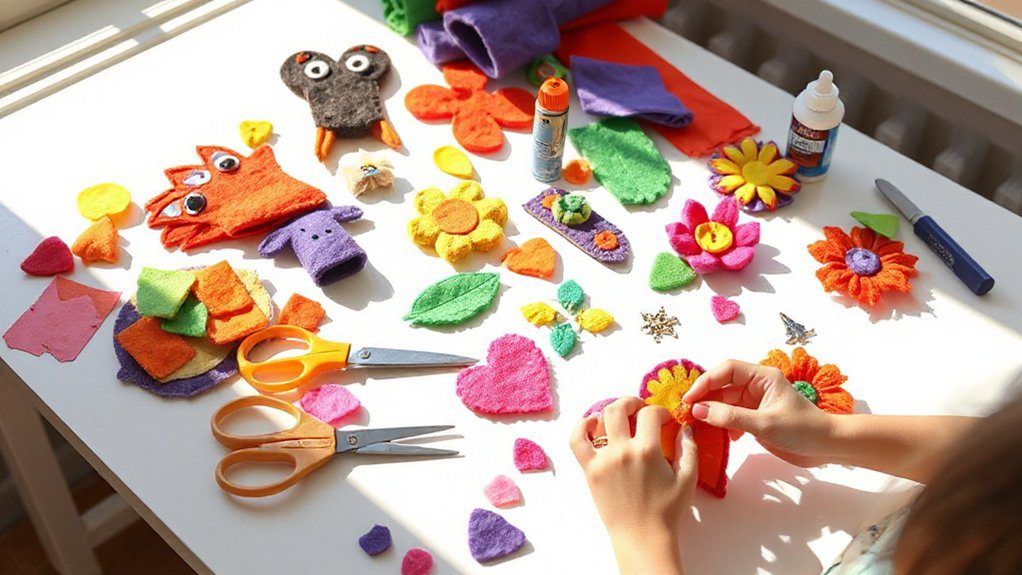
- Try fabric scraps or washi tape, plus tiny pressed flowers, for a quick, cozy style.
- For wow factor, use mosaic accents, twine, or buttons; let it dry, then seal everything. Your shelf’ll look amazing!
Painted Glass Jars
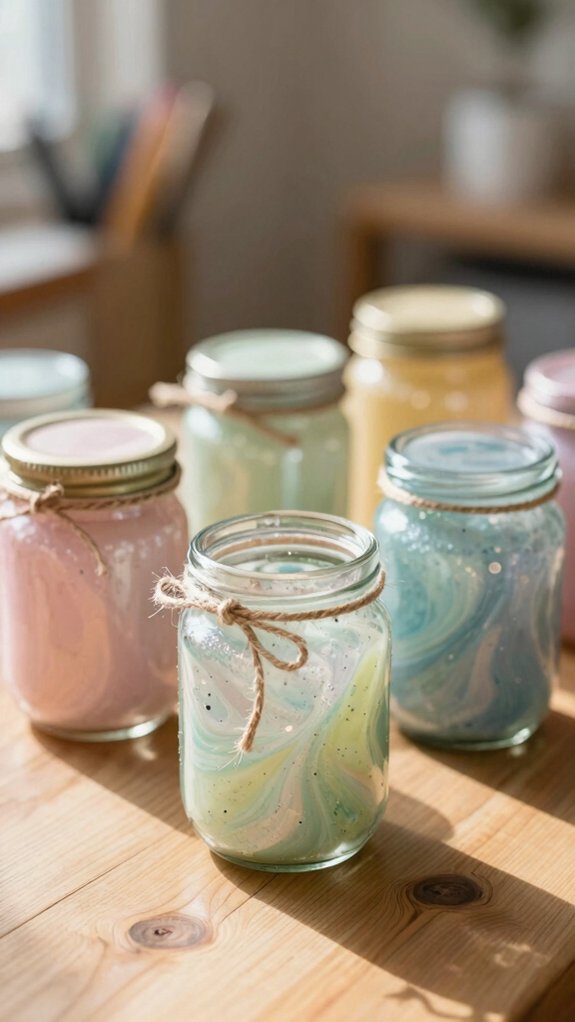
There’s something magical about turning an empty glass jar into cute little décor! Clean and dry it, then paint your pattern with craft paint or pens.
| Step | What you do | Why it helps |
|---|---|---|
| 1 | Add paint | Sets the look |
| 2 | Use Mod Podge | Locks scraps in |
| 3 | Cure fully | Stops smears |
You can mix in fabric scraps or paper shapes, then let everything dry for hours. Add twine or pressed flowers for extra charm, then seal again. Fill it with tea lights or pens, and boom—your upcycled home décor feels polished. It’s budget friendly crafting that makes you feel right at home!
Friendship Bracelets
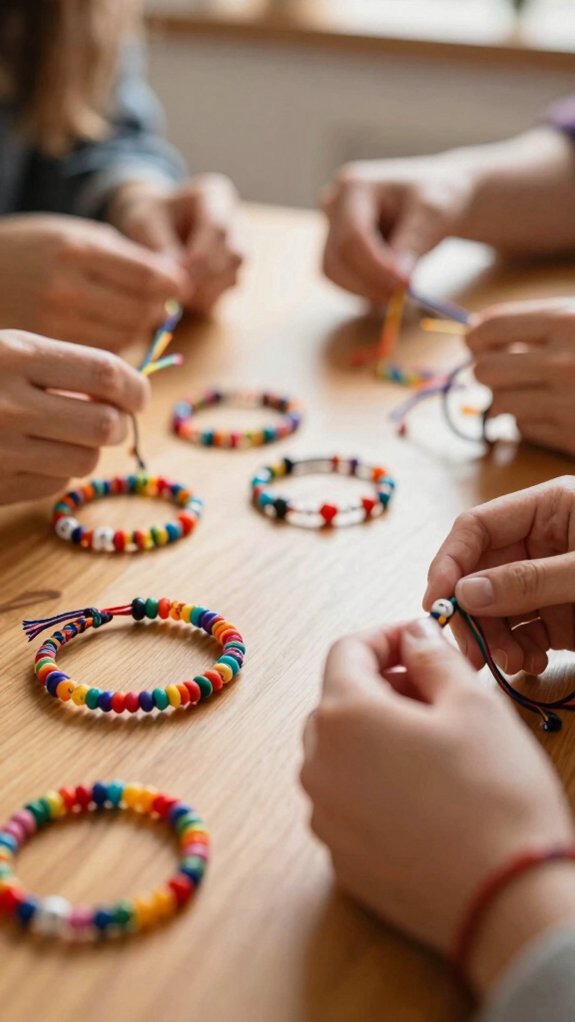
If you’ve got a few yards of embroidery thread or yarn and a little free time, friendship bracelets are such a fun way to keep your hands busy!
You start with a simple braid or plait, and after a few repeats, your fingers almost do it on their own.
- Pick 2–8 colors and keep the tension even, so your bracelet stays flat and neat.
- Add beads or tiny charms before the final braid; if you’re wondering about how to choose beads, go small and lightweight.
- For bracelet clasp tips, leave longer tails, then tie them snugly around your wrist.
Cute, cheap, and super giftable—yay!
Polymer Clay Charms
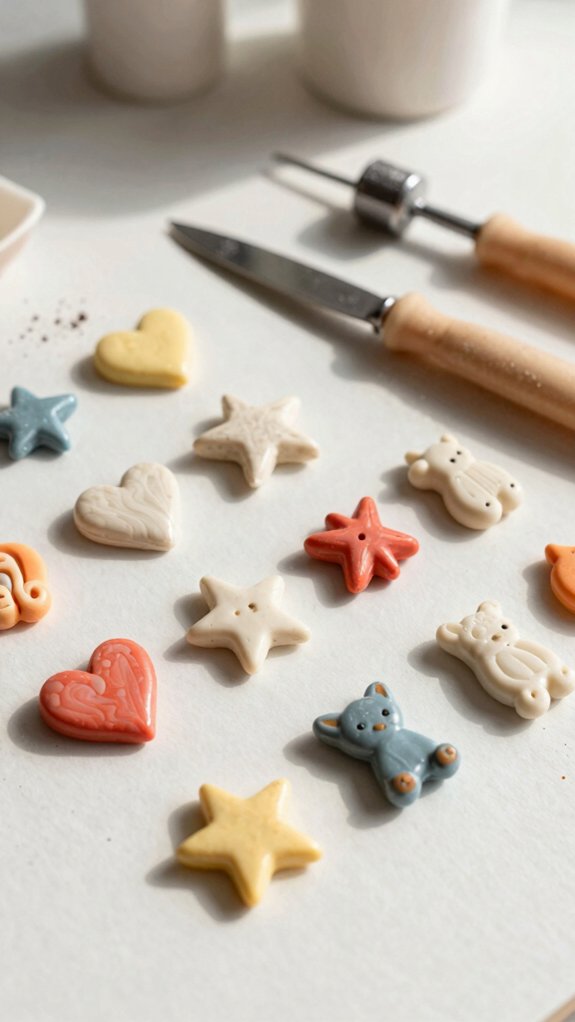
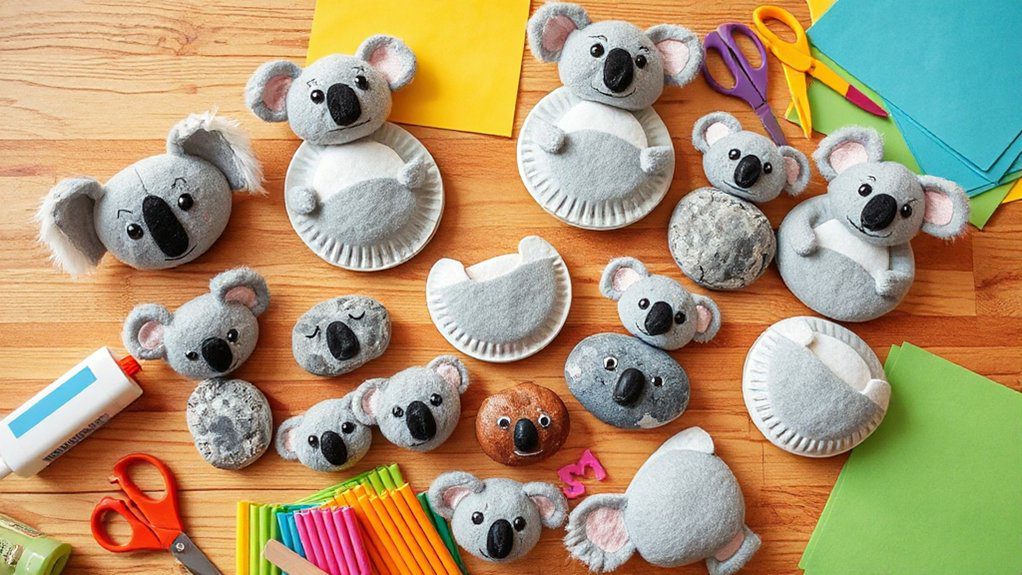
Need a tiny break from thread and knots? Try polymer clay charms, and you’ll feel like part of a tiny maker crew! Grab clay, a toothpick, and simple tools, then sculpt mushrooms, ghosts, cute food minis, or tiny animals.
Use Polymer clay tips: keep shapes small, and smooth cracks with your fingers. For charm detailing, press in eyes, ridges, or swirls, then bake it in your home oven exactly as the package says.
After cooling, glue on magnet backs or keychain loops.
Want extra fun? Make a miniatures batch, bake a whole seasonal set, and trade the extras!
Decorative Bookmarks
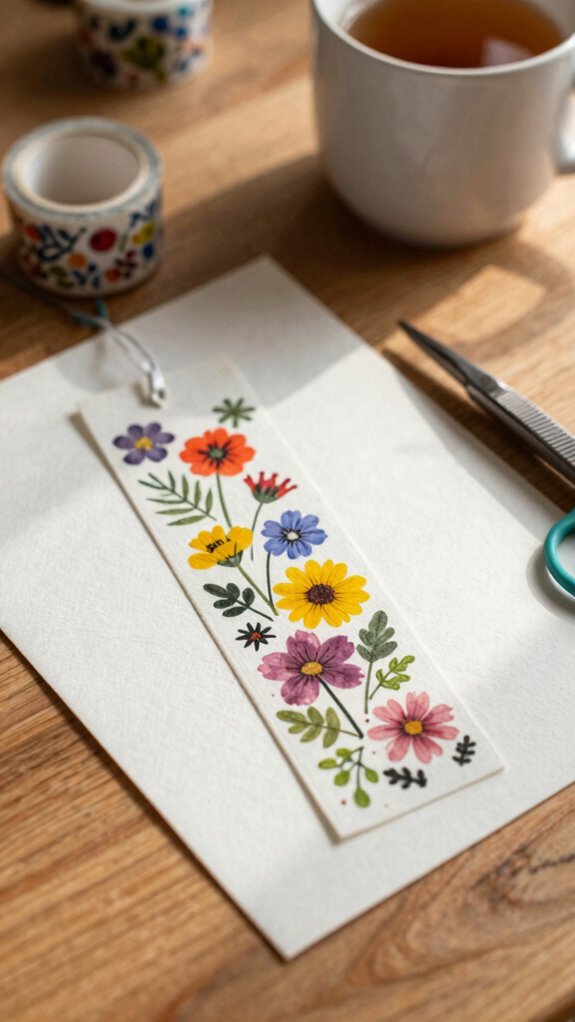
While your page-savers are usually plain old scraps of paper, decorative bookmarks can turn tiny fabric leftovers into something way more charming! You can join a little scrap fabric sewing and make something that feels like yours, not a store-bought clone.
- Cut a finger-length strip, then sew or glue the edges for a neat finish.
- Add a reinforced top tab, so your bookmark stays strong when you grab it.
- Try lace button embellishing, tiny felt shapes, or stitched accents, then let it dry.
It’s cheap, beginner-friendly, and oddly satisfying—your reading nook crew will totally get it!
Pressed Flower Art
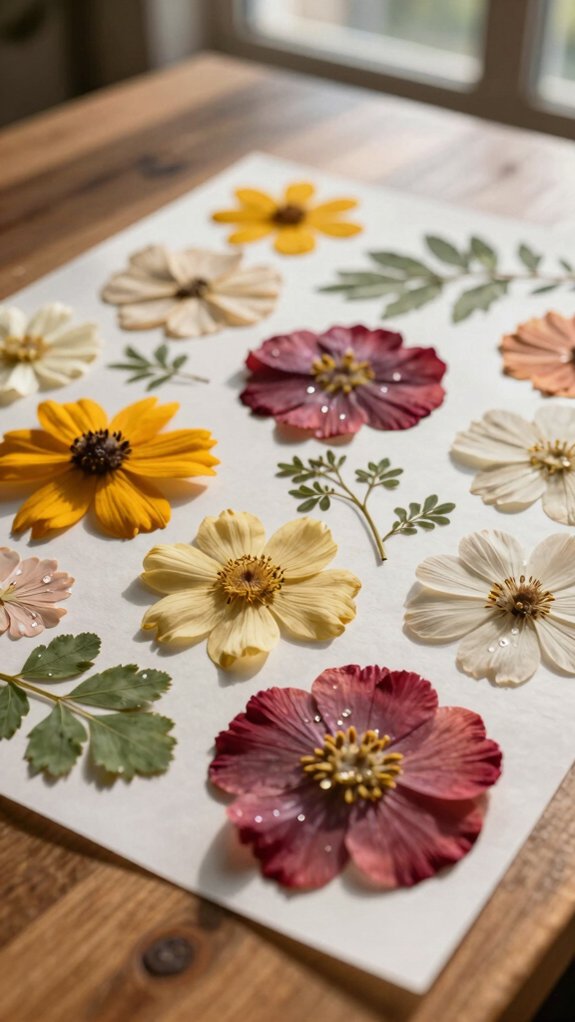
Pressed flower art is one of those tiny crafts that feels a little magical, because you can turn a handful of petals into something sweet and frame-worthy!
You just press fresh flowers or leaves between paper and heavy books, then wait until they’re fully dry so they won’t brown or mold.
From there, arrange them on cardstock or canvas for cards, bookmarks, or wall art, and seal the design with Mod Podge so it stays flat.
For extra charm, add lace, foil, or a handwritten label.
Textile pressed fans and bookbinding basics lovers, this one’s a cozy win, and it’s cheap!
Save leftovers flat for next time.
Mini Canvas Paintings
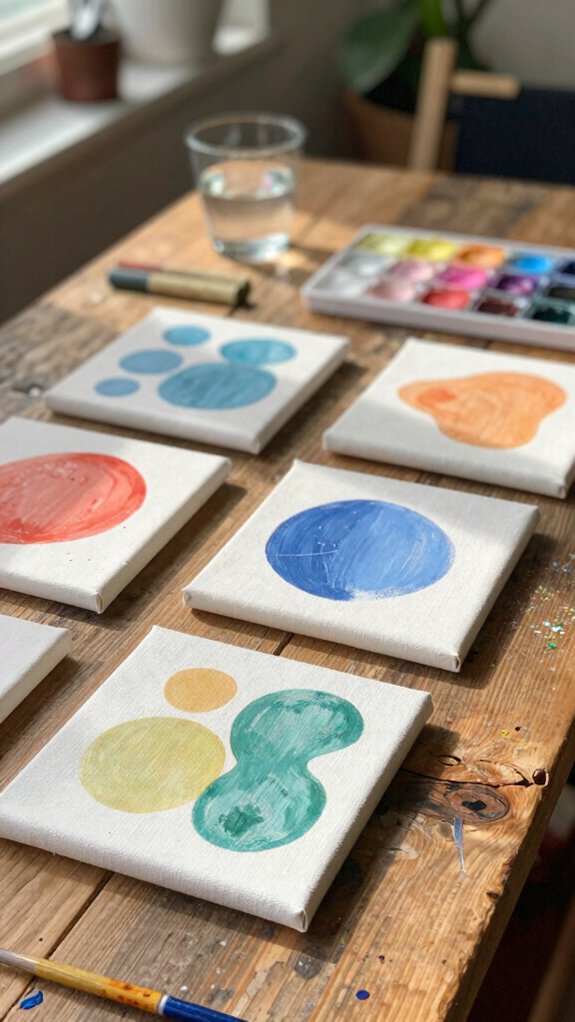
Mini canvas paintings are such a fun way to make a tiny piece of art without needing a huge setup, and because the canvas is wallet-sized, you can finish one fast and still feel extra stylish!
Try these quick sketch prompts and affordable color mixing ideas to keep it easy:
- Pick one subject, like a flower or tiny scene, and sketch it lightly.
- Paint big shapes first on gessoed mini panels, then let each layer dry.
- Finish with a clear topcoat, then group them into fridge art or a mini shelf gallery.
You’ll feel instantly part of the craft club!
Yarn Wall Hangings
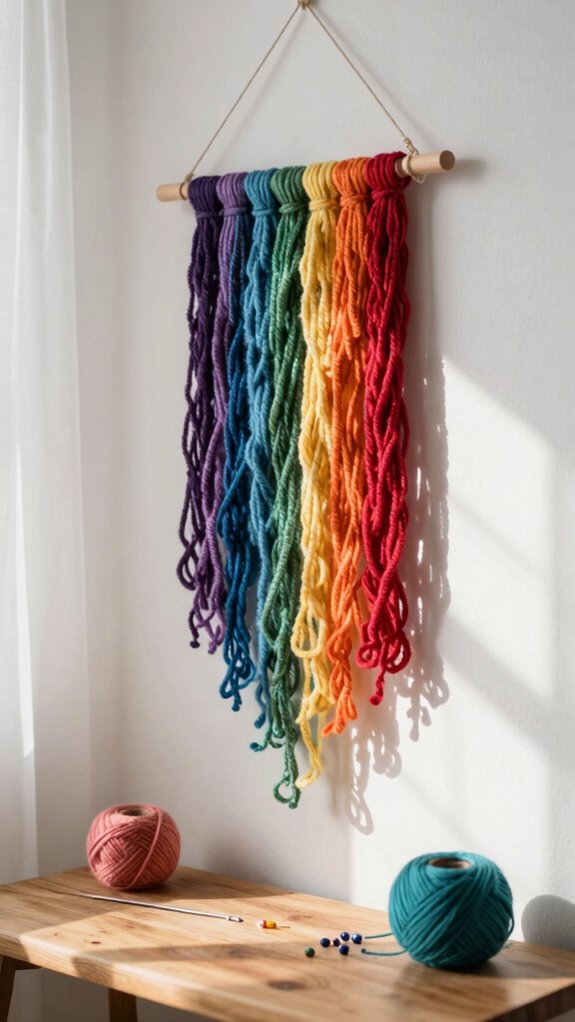
Yarn wall hangings are a super cozy next craft if you want something hands-on but not too fussy, and you can make one from yarn you probably already have tucked in a drawer! Grab a dowel, branch, or hoop, then knot on strands in a vertical row. Use simple color knot patterns and double strands for extra fluff.
| Step | Look |
|---|---|
| Knot | Soft fringe |
| Wrap | Bold accent |
Add a yarn fringe trim at the bottom, then brush and snip fuzzy ends so it looks neat. Hang it up, and boom, your wall feels handmade and welcoming!
Decorative Trays
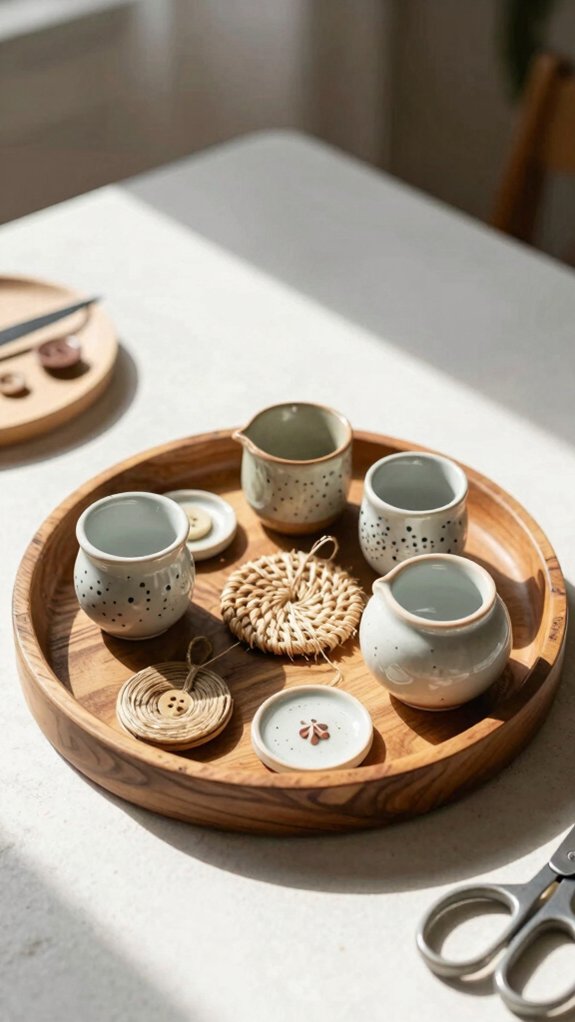
If you want a fast craft that makes your space look instantly more put-together, ornate trays are a total win! You can join the fun with simple supplies, a little Mod Podge, and scraps you already own. Try these:
- Mosaic sealing: glue seashells or pebbles onto a shallow base for a sturdy, stylish look.
- Fabric decoupage: smooth fabric scraps over a plain tray, then let it dry for easy storage.
- Pressed botanicals: layer flowers for a sweet seasonal centerpiece, then topcoat for shine.
Paint first if you want extra flair—easy, cheap, and seriously cute!
Beaded Keychains
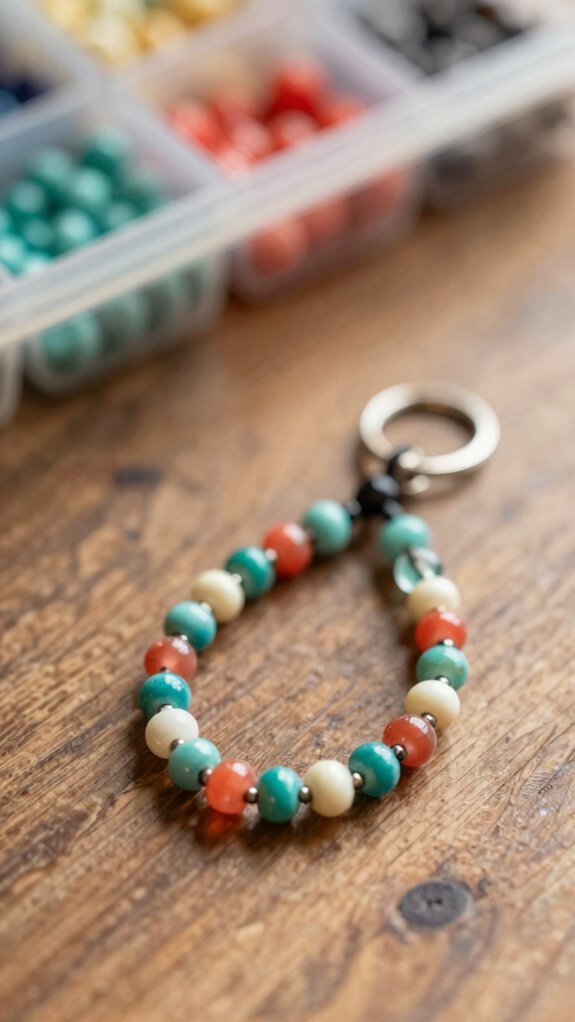
Beaded keychains are a super fun way to turn a few tiny supplies into something you’ll actually use every day! Grab a metal split ring or clip, sturdy jewelry cord, a needle, and beads, then start threading your favorites.
Try Beginner friendly tutorials with a simple pattern, like alternating colors or letter beads for your name, so you can finish fast and still feel proud.
Add a charm or tiny tassel for extra personality, and don’t skip quick knot tips: tie tightly, add a drop of clear glue, then trim the excess.
Want multiples? Make 3–4 inch strands for 2–5 keychains, easy!
Paper Flower Crafts
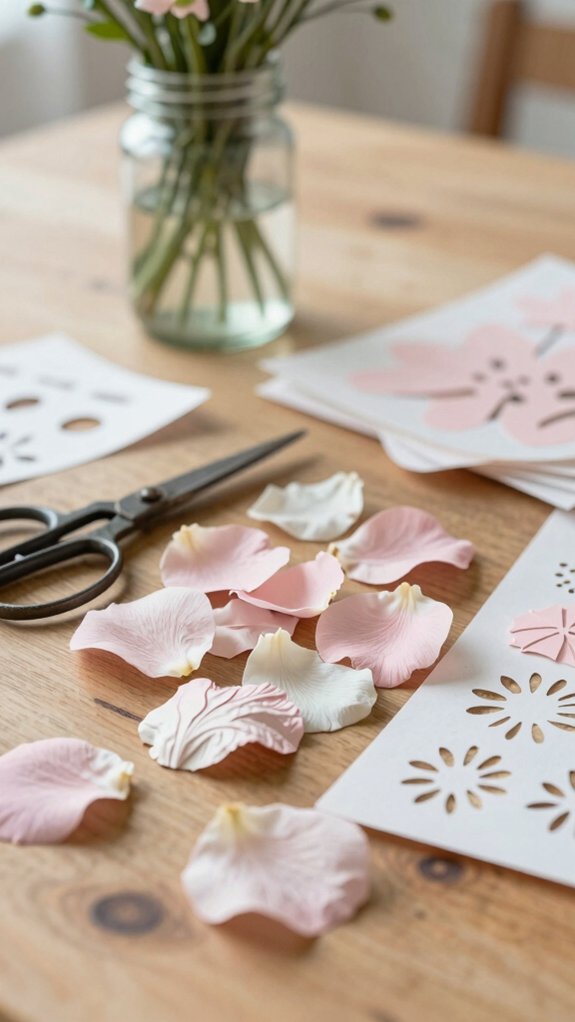
Paper flower crafts are such a cheerful way to turn plain supplies into something that actually looks cute on purpose! You’ll fit right in making these easy wins, and they won’t drain your energy or your wallet.
- Cut hearts, stars, or ghosts from colored paper for a fast garland. Thread them on twine for instant Color Pop.
- Make five-minute crepe blooms with just paper and scissors. They’re perfect when you want fun right now, no experience needed.
- Try paper weaving or layered petal bouquets, then add flower pens for Gift Wrapping flair. The structured results feel elegant, but they’re honestly simple!
Personalized Gift Tags
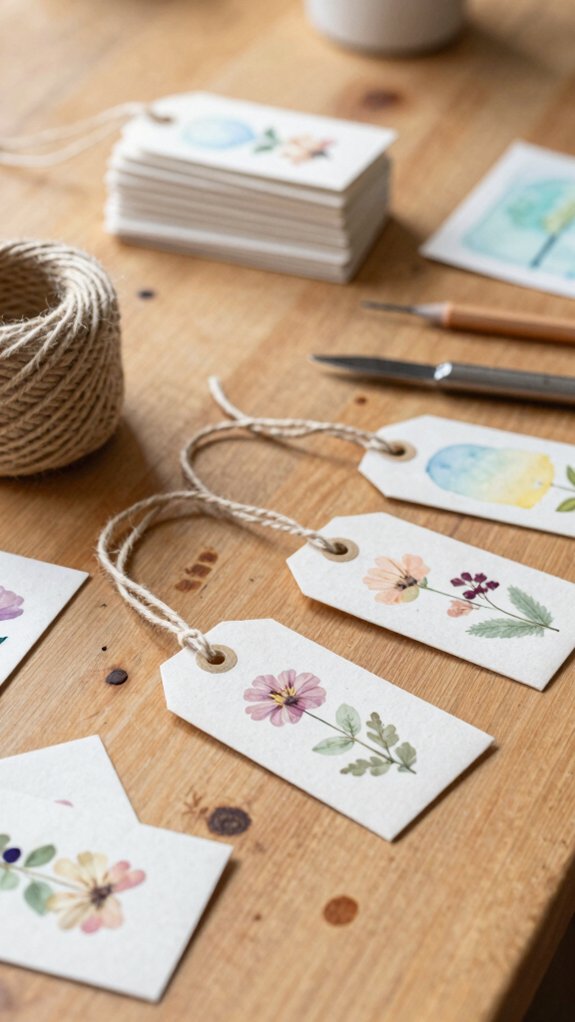
After all those cheerful paper flowers, you’ve probably got scraps, stamps, and pretty little bits everywhere—so why not turn them into personalized gift tags?
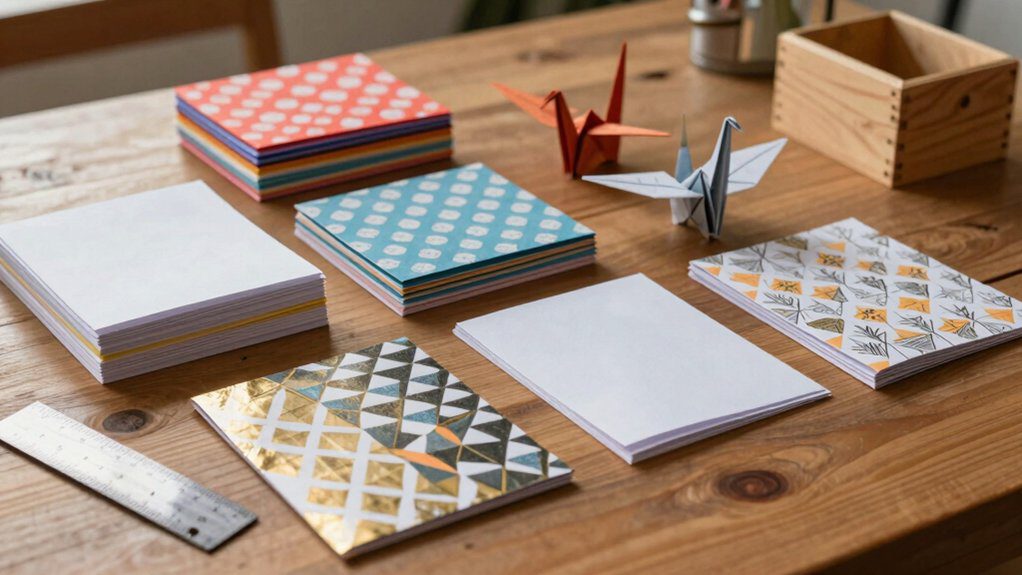
Cut simple shapes from cardstock or cereal-box cardboard, then stamp, doodle, and add a To/From line for quick gift labeling ideas.
Want more charm?
Slip in pressed flowers or leaves inside a clear pouch, or glue them flat with a thin coat of Mod Podge.
For creative tag materials, try tissue paper, magazine bits, or fabric scraps, then punch a ribbon hole.
Save the surprise finish for last: tiny polymer clay charms make your tag pop!