18 Pottery Project Ideas for Every Skill Level
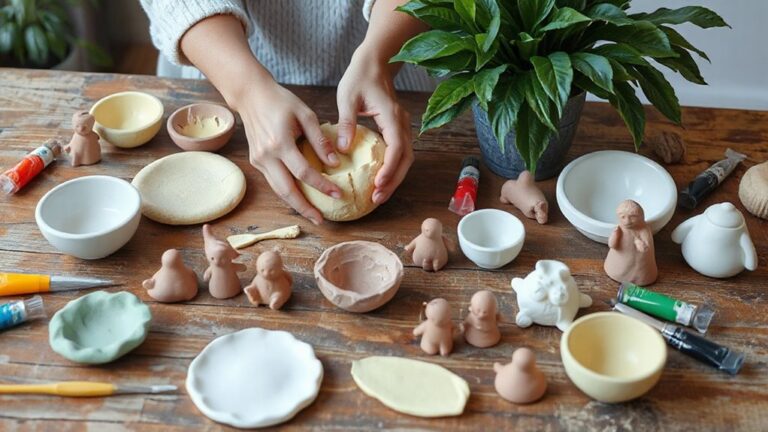
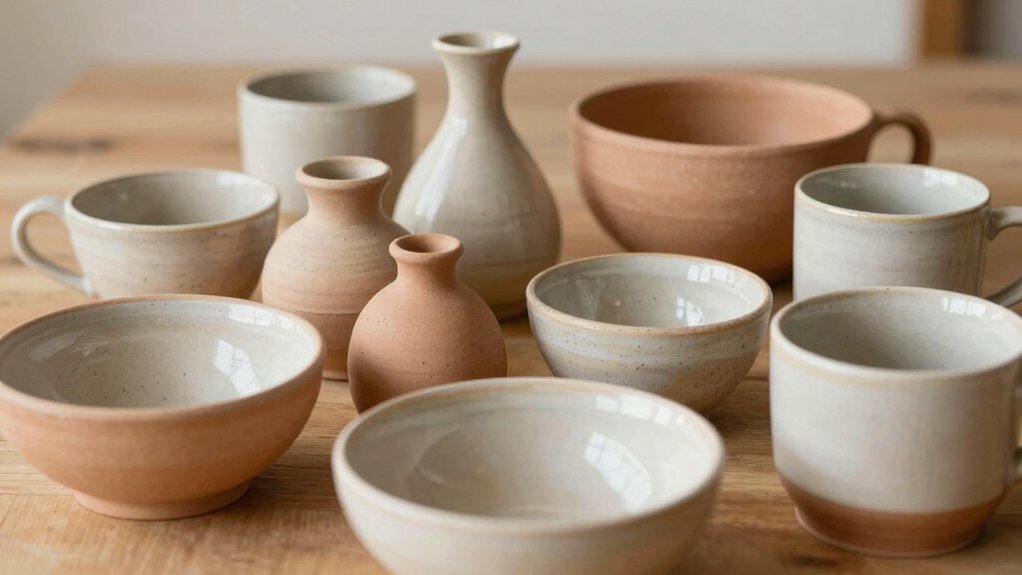
You can make 18 pottery projects at any skill level, and slab work is the easiest way to start—yay, no wizard tools needed! Roll clay flat, use templates, then cut bowls, tealight holders, soap dishes, spoons rests, mugs, and even lidded pots. Add slip-and-score joins, simple texture, and drainage holes for pieces that work well and look cute. If you keep going, you’ll find a few clever forms that get even more fun!
Love cozy DIY projects? 💕
Get free printable guides, exclusive tutorials & surprise craft goodies straight to your inbox.
Disclosure: This post may contain Amazon affiliate links, at no extra cost to you. Content on DiyCraftNest is created with research support from AI tools and carefully reviewed, edited, and fact-checked by the lead author, Daniel Pat, to ensure accuracy and reliability. Learn more
Key Takeaways
- Slab pottery is a beginner-friendly starting point for bowls, mugs, soap dishes, and gift-ready tealight holders.
- Proper clay prep, even rolling, and 6–10 mm thickness help prevent warping and improve cutting accuracy.
- Easy beginner projects include tealight holders, soap dishes, spoon rests, jewelry trays, slab bowls, pinch bowls, and mini vases.
- Functional features like drainage holes, ridged bases, snug notches, and smooth seams improve durability and usability.
- As skills grow, try slab mugs, cup variations, handle attachment, and more refined closure forms with leather-hard finishing.
Why Start With Slab Pottery?
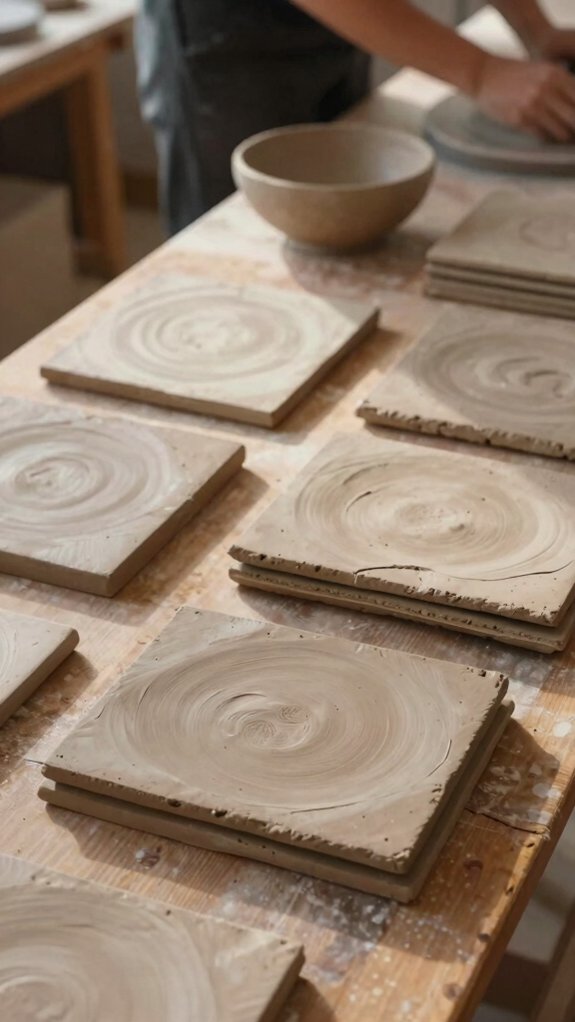
Slab pottery is a fantastic place to start because it keeps things simple without feeling boring! You roll clay into flat sheets, then use template driven cutting to make bowls, mugs, and soap dishes with confidence.
That gives you beginner hand skills fast, plus easy seam practice when you join pieces with slip and score.
Want a fun twist? Add stamps, lace, or carved lines for texture customization, no elaborate gear needed.
These projects can become Gift ready outcomes, like tealight holders or spoon rests, so you make something useful while learning.
Later, you’ll be ready for simple covered forms too.
Prepare Clay for Slab Projects
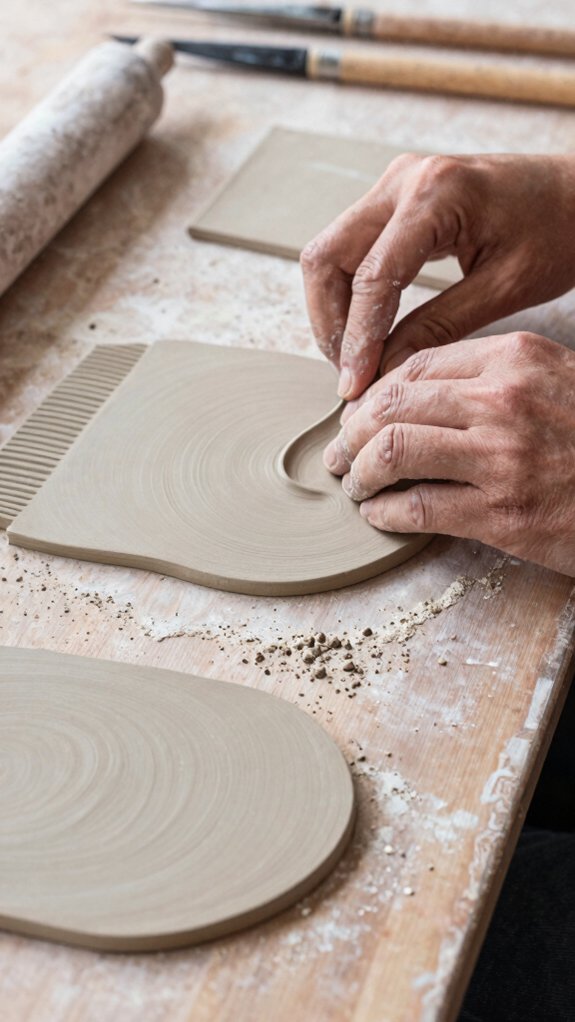
Before you roll out your first shape, take a minute to prep the clay the right way, because a smooth start saves a lot of wobbly trouble later! Check moisture testing by pinching a bit, and knead until it feels even, with no dry cracks or mushy spots.
Keep your tool organization tidy, so your rib, knife, and cloth are ready when you need them. Dust your surface lightly, rotate the slab often, and use trimming techniques to soften edges after cutting.
When pieces reach leather-hard, you can join them with stronger seam strength, and your slab project starts looking like part of the crew!
Roll Out an Even Clay Slab
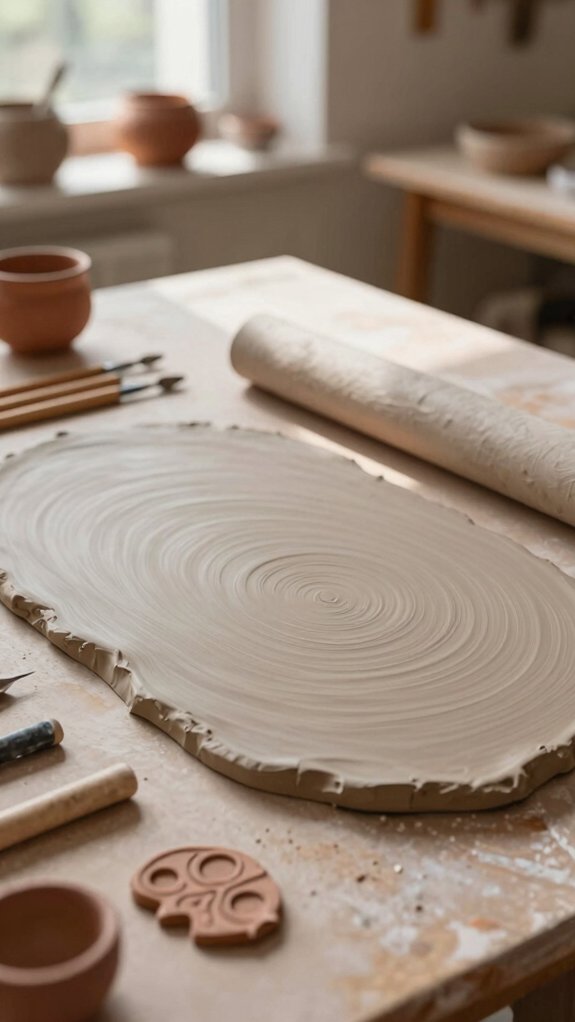
Roll that clay out like you mean it! Use spacers on a flat surface, keep the slab about 6–10 mm thick, and dust lightly with flour slip for drying prevention. Lift and rotate often, so it stays proud, not pancake-flat.
| Step | Why it helps |
|---|---|
| Roll evenly | Keeps thickness steady |
| Rotate slab | Stops warping |
| Trim edges | Makes clean lines |
| Smooth marks | Preps template testing |
| Wait for leather-hard | Cuts cleaner |
A quick sponge or rib pass evens roller marks, then you’re ready to cut with a sharp wire or rib. That clean edge? It’s your buddy for strong joins later.
Make a Simple Tealight Holder
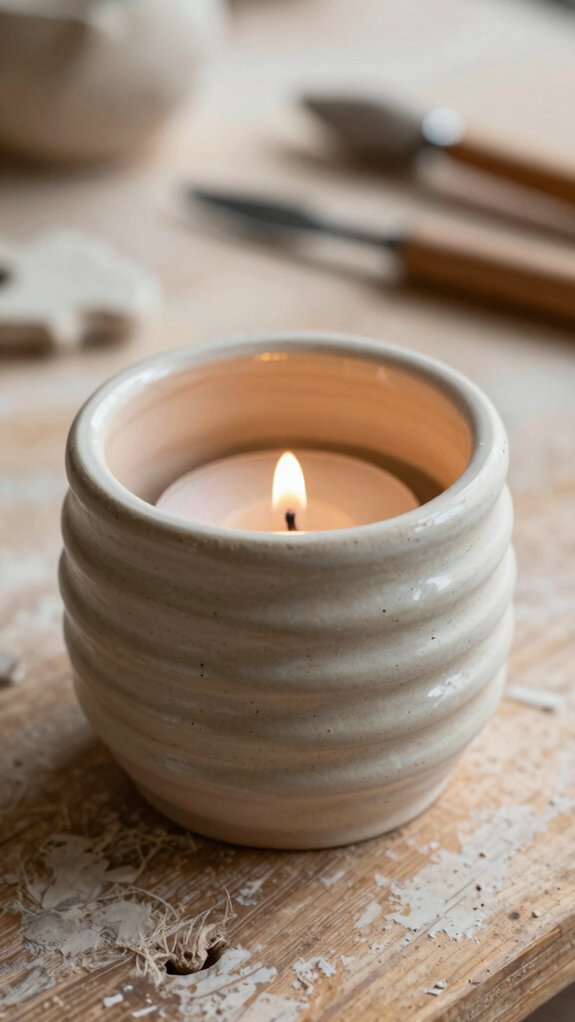
A simple tealight holder is a tiny project with big cozy energy, and it’s perfect if you want something cute without wrestling a giant pile of clay! You can make one fast, and it still feels personal.
- Roll a small slab, cut a rectangle, and curve it around a tealight.
- Smooth the seam with slip-and-score if it needs help.
- Punch a centered opening, but keep sturdy clay around it.
- Add stamps or carved patterns before it dries.
Let it bone-dry slowly, then fire it with kiln safety in mind.
After firing, glazing basics matter: glaze, cure, cool, then test it.
Build a Beginner Soap Dish
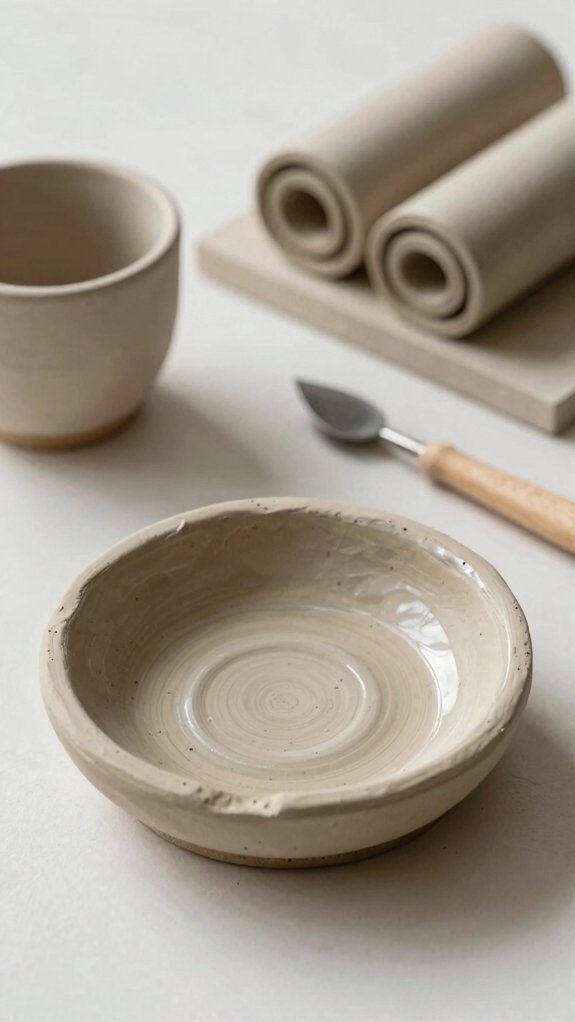
Grab a small piece of clay, a bowl or soap-dish mold, and a sponge, and you’re already on your way to a neat little soap dish that won’t feel decorative or overly—just fun!
Press the slab into shape, smooth the rim and inside so it feels nice in your hand, then add 2–4 drainage holes so the soap doesn’t sit in a tiny puddle like it’s on vacation.
If you want it to stay put, a tiny coil or ridged base can help, and once it dries slowly, you can fire and glaze it for a sturdy finish that looks great too!
Choosing Clay and Tools
For a beginner soap dish, the clay you choose can make the whole project feel much easier—or sneakily annoying! Pick air-dry clay for simplicity, or low-fire earthenware or stoneware if you want stronger clay durability.
- Need beginner safety? Use soft, forgiving clay that won’t fight you.
- Keep tool organization simple: rolling pin, sponge, needle, done.
- Watch moisture control, because soggy clay gets cranky fast.
- A basic slab works best, and a tiny bowl helps shape it nicely.
With the right setup, you’ll save money, avoid stress, and end up with a cute dish your bathroom buddies’ll notice!
Forming the Soap Dish
Now that you’ve got your clay and tools ready, it’s time to shape that little soap dish into something useful and cute!
Press a small slab over a bowl or simple mold, then gently curve the sides so it hugs the soap like a tiny cozy bed.
Use soap dish slips at the joins, and smooth the edges until you’ve got tool friendly seams that look neat after a sponge finish.
Then add 2–4 tiny holes, plus a light ridged bottom for airflow.
Let it dry slowly, because no one likes surprise cracks at the finish line!
Adding Drainage Details
Once your little dish has its *basic* shape, the magic really starts with drainage details, because a soap dish that holds water is *basically* a tiny puddle with ambition!
Keep your Clay Thickness even, then focus on Hole Placement so water can slip out fast.
- Use a bowl mold, a slab, and a sponge.
- Pierce 3–5 small holes near the lowest spot.
- Smooth each edge so nothing crumbles.
- Add a ridged base for airflow and lift.
Let it dry slowly, turning it if needed, and you’ll get a sturdy little dish that fits right in with your handmade crew.
Shape an Easy Spoon Rest
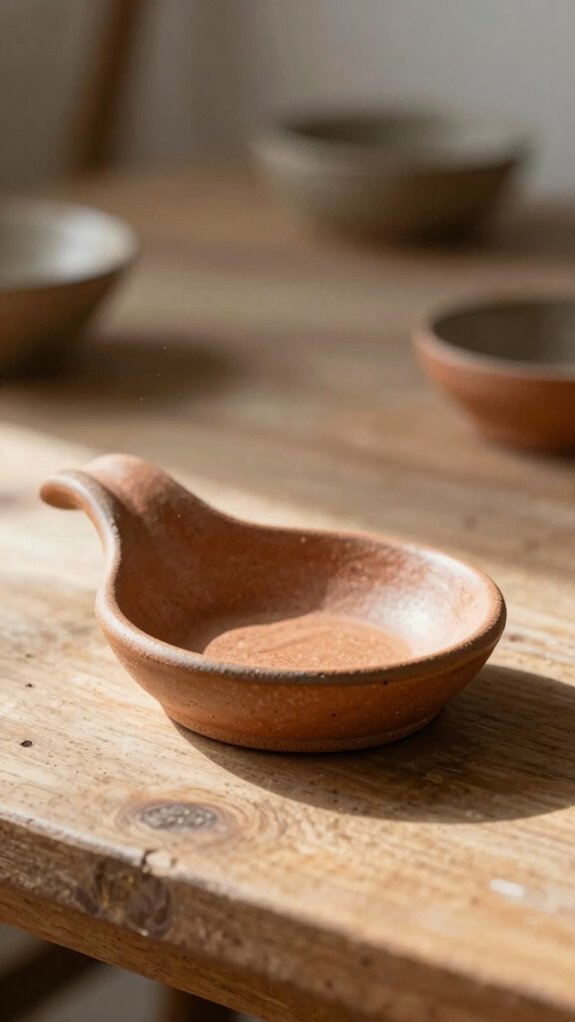
Roll up your sleeves and shape a spoon rest that’s as handy as it’s charming! Start with a slab 1/4–1/2 inch thick, then gently curve it into a shallow cradle. Cut a snug notch with a pottery tool or craft knife, so the spoon stays put, not slippery and dramatic.
Want tool based personalization? Add tiny feet or side walls, score and slip them, then smooth seams with a damp sponge.
Dry it slowly, covered lightly with plastic, to dodge curing and cracking.
After bisque firing, glaze the top for easy cleanup.
Fire again, and you’ve got a cute, useful kitchen buddy!
Create Small Jewelry Trays
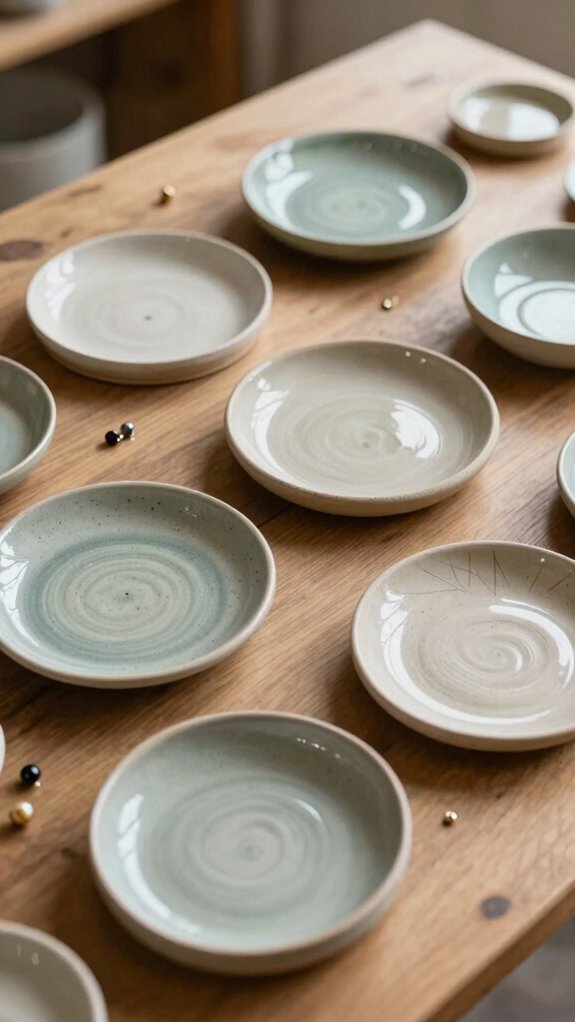
If you want a tiny project that feels elegant without being fussy, small jewelry trays are a perfect pick! You’ll roll a slab with clay thickness guides, cut circles, and curve the edges over a bowl so rings don’t roll away like escape artists.
- Stamp in leaf or mesh texture for charm
- Use safe glaze tests on a sample tile first
- Score and slip any added rims or discs
- Dry slowly, then bisque-fire for strength
You’ll get a durable tray for earrings, bracelets, and daily clutter.
Add a little carving, and suddenly your piece feels personal, cozy, and made for your crew.
Try Slab Bowls and Pinch Bowls
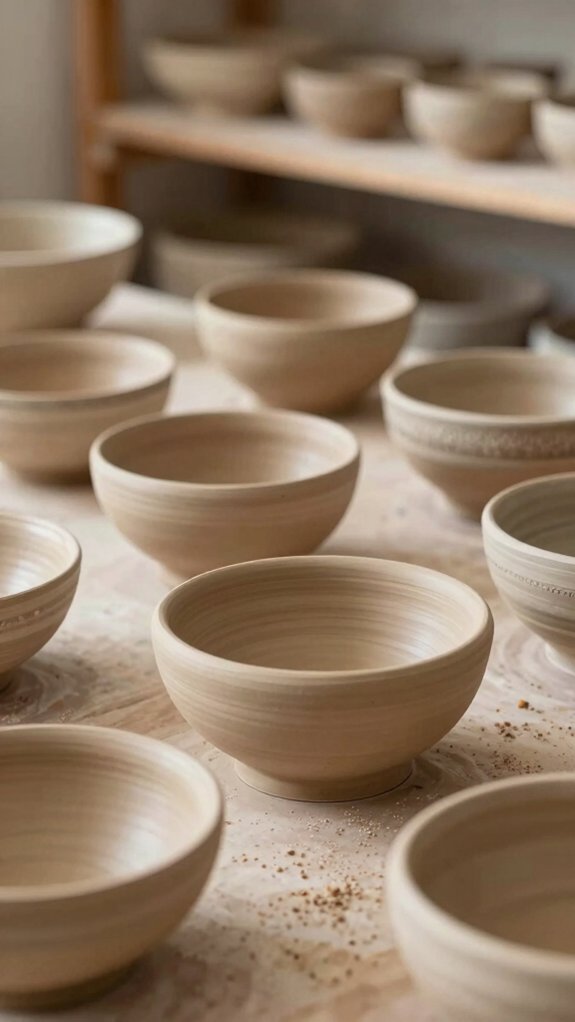
Give slab bowls and pinch bowls a try, because they’re simple, hands-on, and way more fun than they sound!
You’ll need clay, a rolling pin, a small mould or bowl, and a sponge.
For a slab bowl, drape a rolled slab over the mould, then flare the walls for a rounded inside.
For a pinch bowl, pinch a clay ball, then smooth the rim and interior.
Keep the surface texture even, and check a glazing test on a scrap piece.
Make a few at once for practice, follow drying tips, and do tool maintenance so your tools stay ready.
Make Mini Vases for Gifts
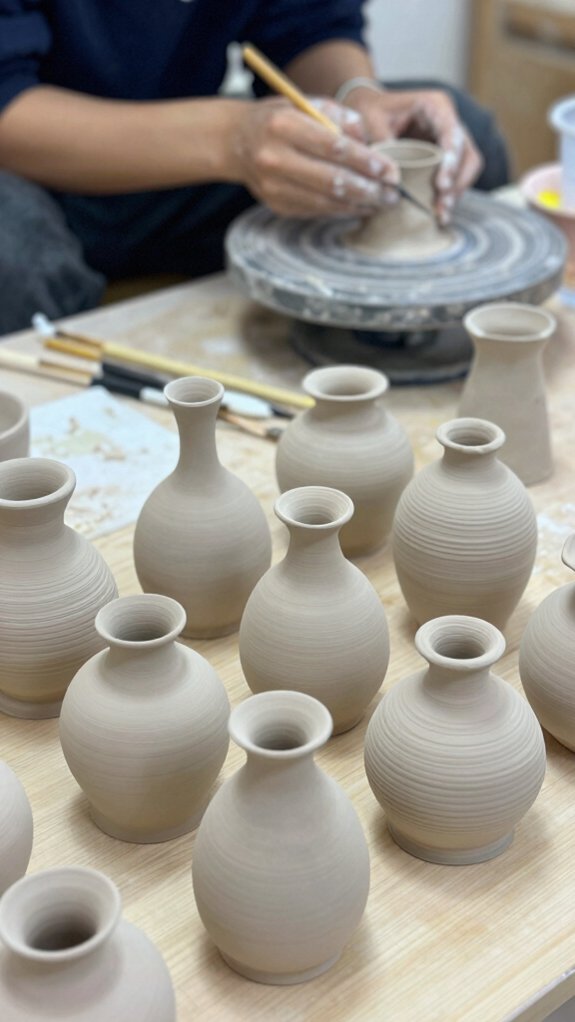
For a gift that feels tiny but still looks super thoughtful, mini vases are a total win! Roll a small clay slab into a cylinder, then pinch the neck inward for a narrow stem opening.
- Keep the seam smooth with slip and score.
- Add fluted or stamped texture when the clay’s leather-hard.
- Try Glaze testing on one piece first, then mix colors for Gift set planning.
- Dry slowly, covered, so the dainty neck won’t crack.
Keep the walls even, and polish the rim neatly. You’ll end up with cute, sturdy minis that feel personal, gift-ready, and seriously charming!
Build a Slab Vase
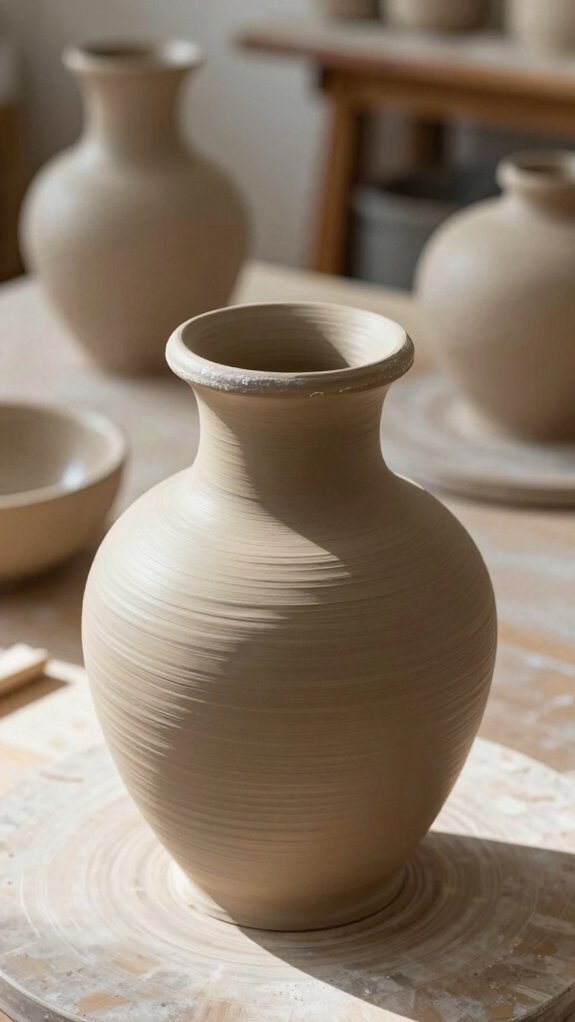
Building a slab vase is a fun way to make something that looks sleek and handmade, without needing a elegant pottery wheel! You’ll feel right at home as you stack vertical clay strips, then slip-and-score every seam so they bond tight.
Add a clay spine or a small inner form to keep the shape from slumping, and thicken the base and rim with extra bands.
Let it dry slowly to leather-hard, trim the foot, and smooth overlaps.
Then enjoy slab vase glazing and firing seam care, because even seams can shrink differently if rushed—tiny drama, big payoff!
Hand-Build Simple Mugs
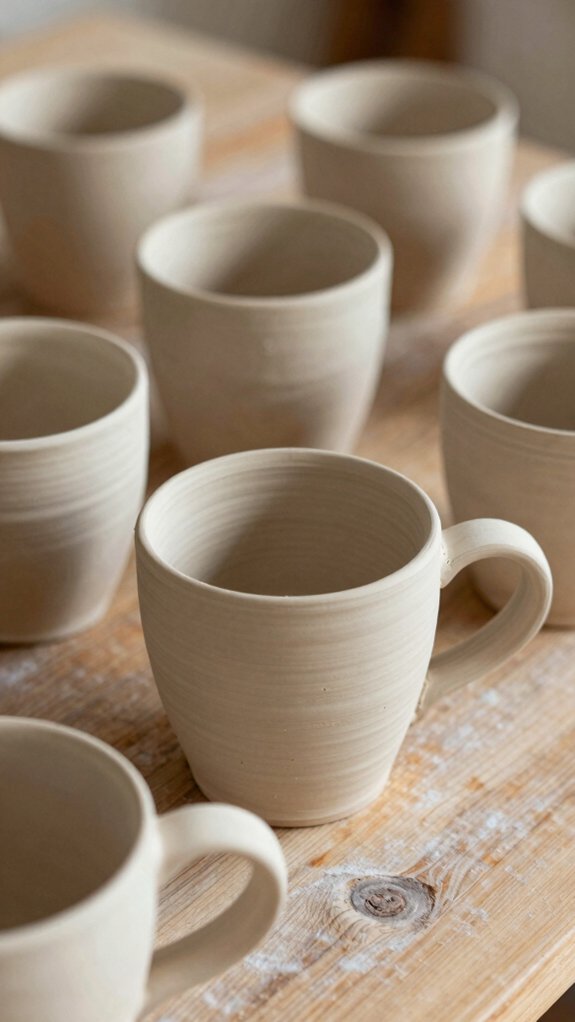
Hand-building a simple mug starts with a flat base, then you’ll cut and attach slab walls so the shape stays sturdy and easy to hold.
Once the body starts to set, you can add the handle last, which helps it grip better and keeps it from wobbling like it’s late for class!
A little patience here goes a long way, because a clean mug shape now makes the whole piece feel smooth, balanced, and ready for your own fun touch.
Mug Base Shape
Once you’ve got your clay ready, a simple mug starts with a flat slab base, and that little foundation does a lot of heavy lifting!
Shape it into a rounded cylinder, keep the walls even, and you’ll feel like part of the mug-making crew right away.
- Slip-and-score the seam so it stays strong.
- Keep the rim open and comfy.
- Let it dry slowly to dodge cracks.
- At leather-hard, smooth the seam and trim a tiny foot ring.
A balanced base helps with handle stress points later, and it makes glaze fit testing easier too. Nice, right?
Build Slab Walls
With your flat base ready, it’s time to give that mug some walls, and yes, this is where the little clay pancake starts acting like real drinkware! Roll an even slab, wrap it around the base, and smooth the seam from the inside so your crew of clay stays together.
| Step | What to do | Why it helps |
|---|---|---|
| 1 | Score and slip | Stronger bond |
| 2 | Blend at leather-hard | Less warping |
| 3 | Dry under plastic | Safer drying |
For Air dry troubleshooting, slow drying wins. Texture while trimming, if you want charm, after it firms up.
Attach Handle Last
After your mug body feels sturdy, it’s time for the fun part—giving it a handle! Shape your handle while the clay is still slightly leather-hard, so it bends to your mug’s curve without sulking and cracking.
- Make a simple loop from a clay coil or slab.
- Use handle scoring tips: score, slip, and press both ends well.
- Try the Join seam technique, then smooth the seam with a sponge.
- Dry the mug slowly and evenly, especially near the handle.
A neat, comfy handle makes your mug feel like it belongs in your hands. Tiny wobble? Smooth it now, not later!
Form an Espresso Cup
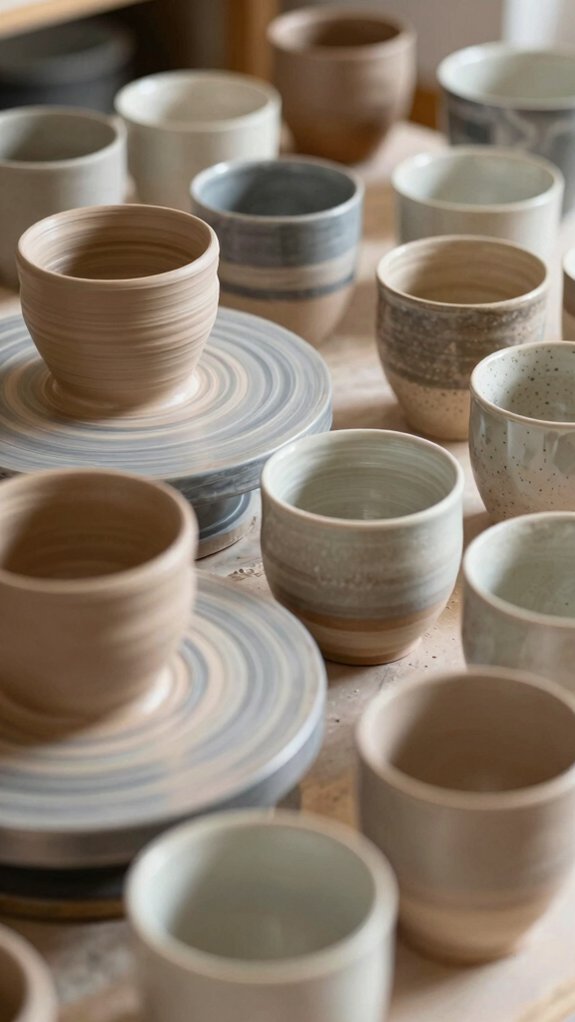
Shape the base of your espresso cup as a small, smooth cylinder, then gently round the walls so it starts to look like that classic tiny café cup we all recognize—cute, sturdy, and just a little stylish!
With handbuilding techniques or a wheel, you’ll shape an espresso silhouette that feels right in your palm, then use a sponge for careful smoothing so seams disappear.
Do your rim finishing now, keeping the inside clean and comfy for sipping.
Add a tiny handle after it’s leather-hard, then test glaze durability with a firing plan.
A light scallop? So fun!
Make a Coffee Mug Next
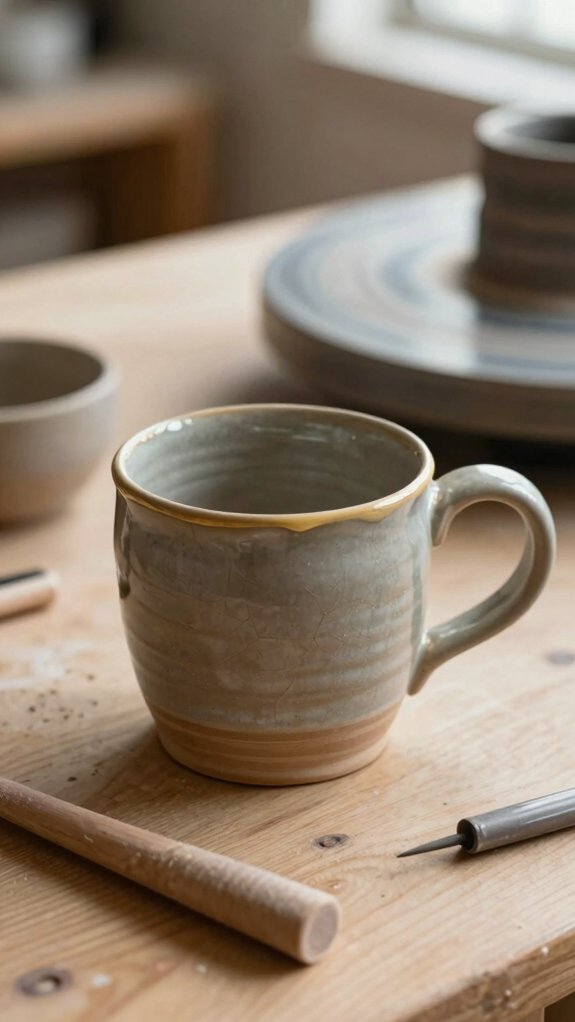
Ready to make a coffee mug? Start with slab-building by laying down a flat base, adding slab-cut walls, and smoothing the joins with slip, score marks, and a sponge so everything feels sturdy and neat. Once it’s leather-hard, you can shape the rim, attach a comfy handle that won’t wobble in the kiln, and even add a little texture on the outside if you want your mug to look extra cool!
Coffee Mug Basics
If you’re itching to make a mug next, start simple and let the clay do the showing off! Use handbuilding tips: build a slab base, add a wall, then score, slip, and smooth every seam for seam safety.
Trim a small foot when it’s leather-hard for steady sips.
Keep wall thickness even, so drying methods work kindly.
Attach a comfy handle, thick enough for daily grabs.
Test glaze on a tiny cup first, because beginner troubleshooting beats surprise drips!
Slow drying, then a clay-matched firing, helps your mug survive coffee, tea, and proud kitchen shelf life.
Slab Mug Building
Since you’ve got the mug basics down, slab building is a fun next step, and it’s easier than it sounds!
Cut long, even strips, join them to a flat base with slip-and-score, and smooth every seam.
Shape a tiny espresso-cup first, then grow into a fuller mug, just like Wheel throwing basics taught you about steady walls.
Keep the profile gently curved, support the inside, and add the handle only after the body feels leather-hard.
Score, slip, attach, and blend those joins.
Slow drying, bisque firing, and smart Glazing options help protect your drinking edge.
Practice With a Slab Cylinder
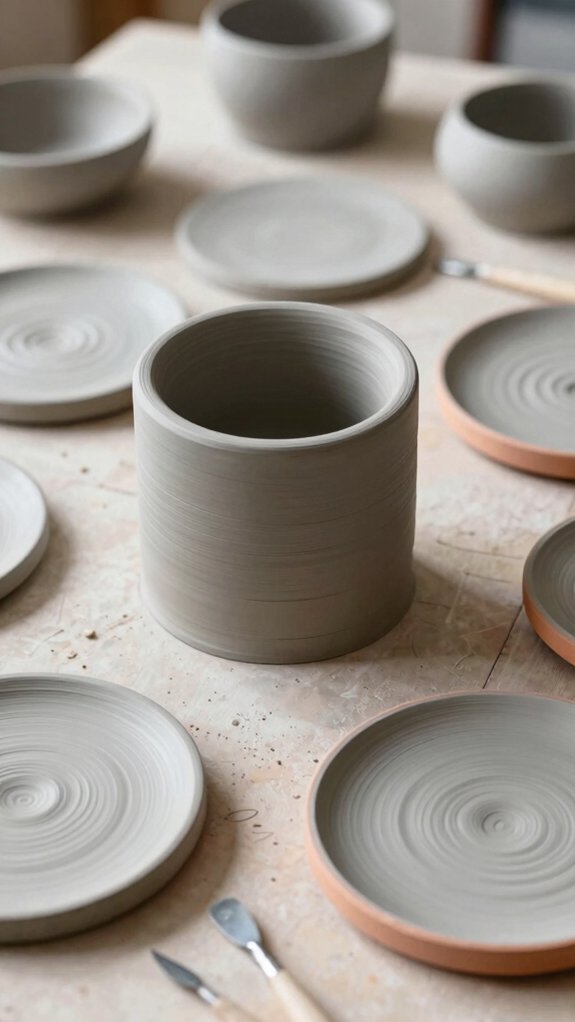
When you’re ready to practice a new clay shape, a slab cylinder is a fantastic little test run!
You’ll feel like part of the club fast, and that’s half the fun.
- Roll an even slab, wrap it around a dowel, and overlap the seam.
- Use slip seam smoothing at leather-hard, then trim the top and bottom.
- Keep the walls like your favorite cup, not a wobbly tower.
- Cover for slow slab cylinder drying, turn it now and then, and bisque it bone-dry.
Make 3–5 versions in different sizes.
You’ll spot how straight walls, seam work, and drying change, and that little aha! is gold.
Join Slabs Into a Closed Form
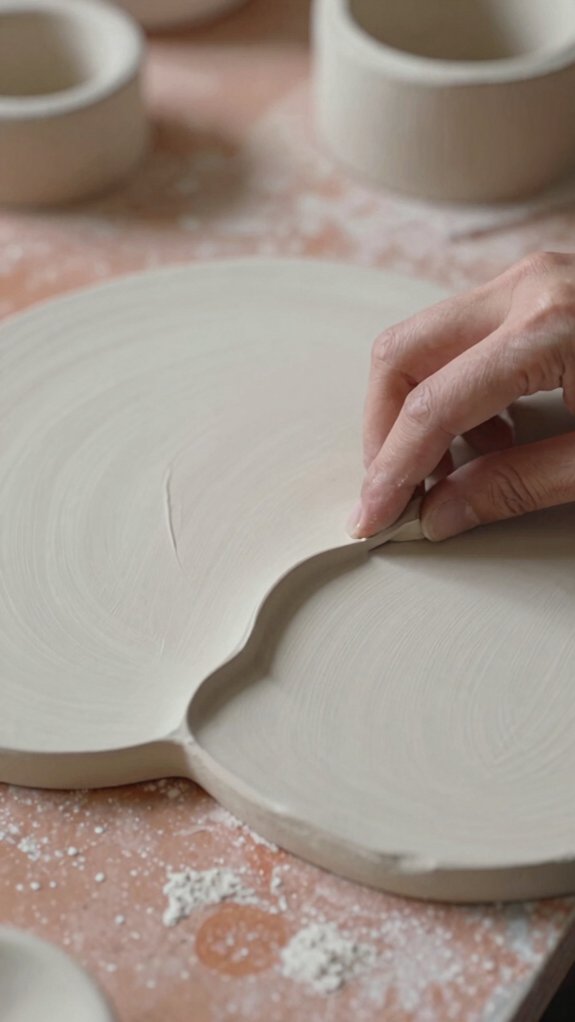
Now that you’ve had a go at making a slab cylinder, it’s time to level up and close those flat pieces into a real vessel—hello, tiny clay magic!
Cut two matching slab panels, then use slip scoring on every edge and press them together like you mean it.
Keep the seam thickness even by trimming overlap, because lumpy spots get grumpy fast.
Support the form with an inside shape, and check drying consistency so it stays round while the clay firms up.
At leather-hard, smooth with a sponge or rib for a smooth shift, then add seam reinforcement.
When dry, trim high spots, fire, and cheer!
Try a Simple Lidded Pot
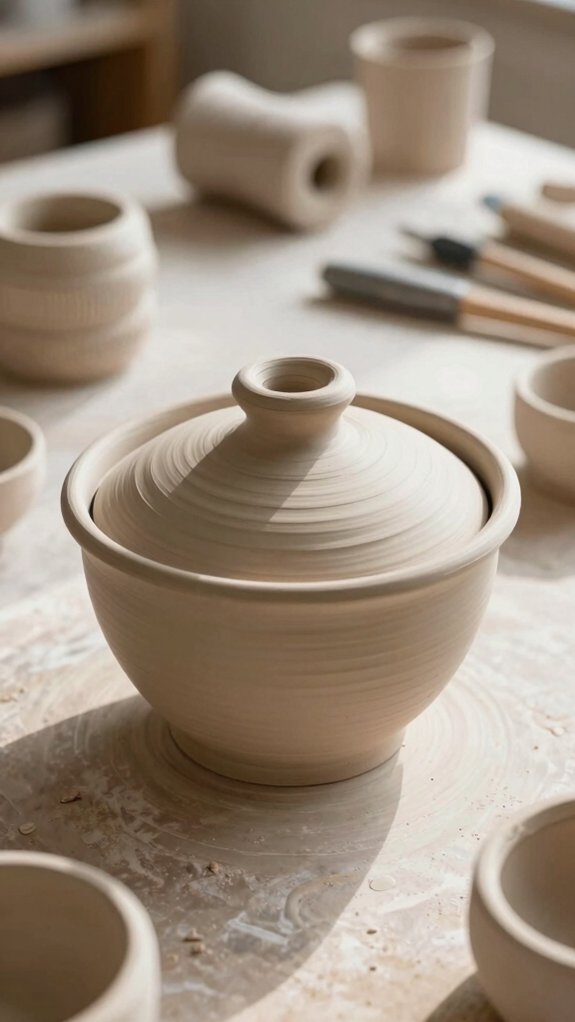
A little clay hat can turn a plain pot into something extra charming! You can make yours with a template-based slab lid, then trim it while the clay’s leather-hard for a snug fit.
- Cut the body and lid separately
- Test-fit often for wobble-free edges
- Follow Drying timeframes slowly, under plastic
- Use Lid sealing tips after bisque firing
It’s beginner-friendly, low-cost, and feels like you’re joining the cool pot club. Keep both pieces covered, away from drafts, so they dry evenly and don’t warp.
After firing, glaze carefully near the rim, or leave an unglazed ring for better friction and a better seal.
Combine Pinch Pots and Slabs
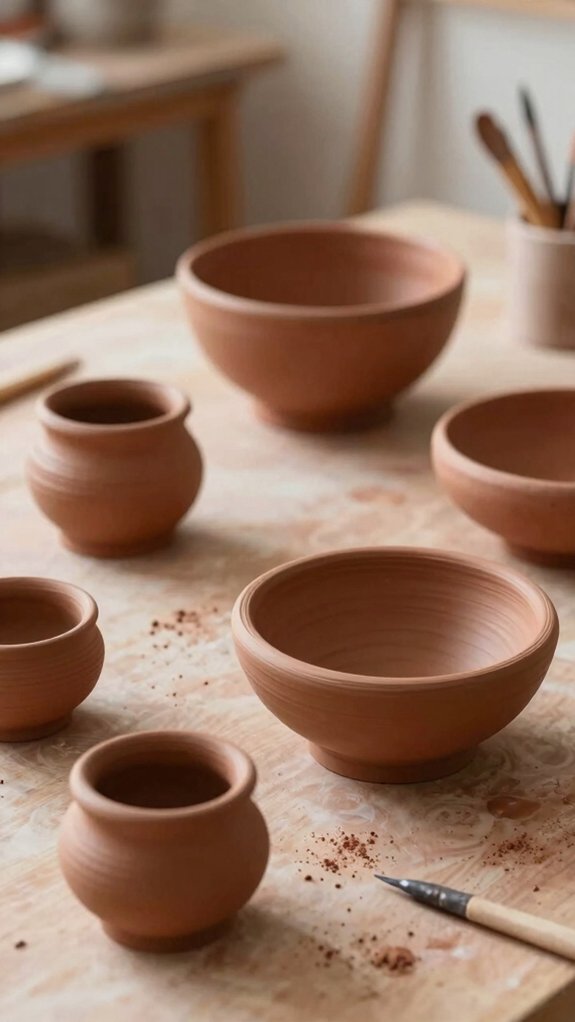
If that lidded pot made you feel like a clay wizard, here’s another fun mash-up: mix a pinch pot base with slab-built sides for a cup that looks handmade in the best way!
Grab clay, a needle tool, a sponge, and a little slip, then pinch a small bowl, cut a strip, and curve it upward.
When both parts reach similar leather-hard stages, score, slip, and press them together for solid joint reinforcement.
Smooth the seams with gentle texture blending, watching for drying stress.
Add handle alignment last, then dry slowly under plastic.
You’ll get a sturdy, low-cost cup with charm!
Add Texture, Glaze, and Finish Your Piece
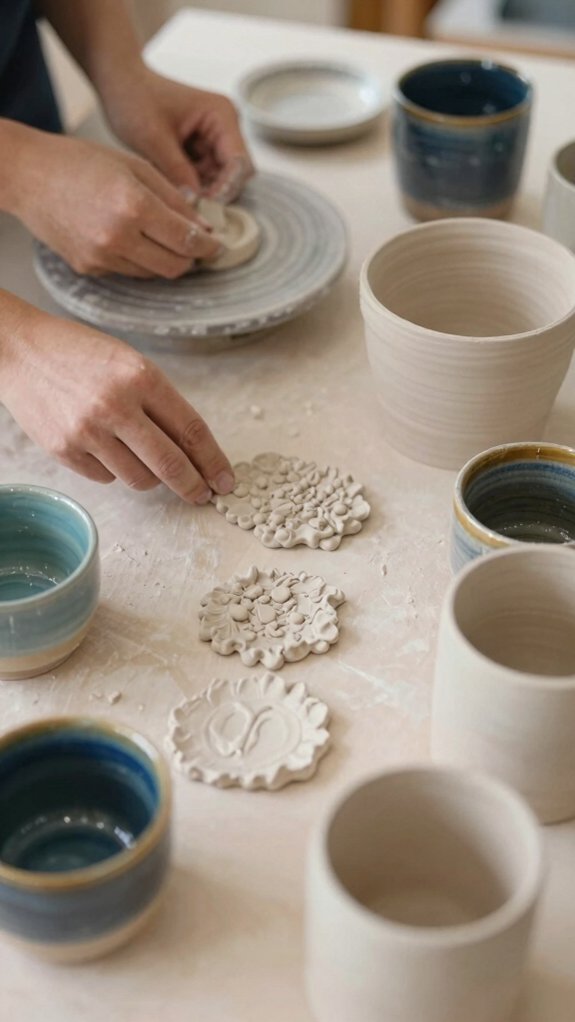
Texture brings your piece to life, and the best time to add it’s at the leather-hard stage, when the clay feels firm but still lets you work its surface! Try these quick moves:
- Carve lines with a potter’s needle for crisp surface design.
- Press stamps, cookie cutters, or hardware for playful patterns.
- Plan glazing basics with color theory, clay body, and firing schedule.
- Test glaze on mini pieces before the big one.
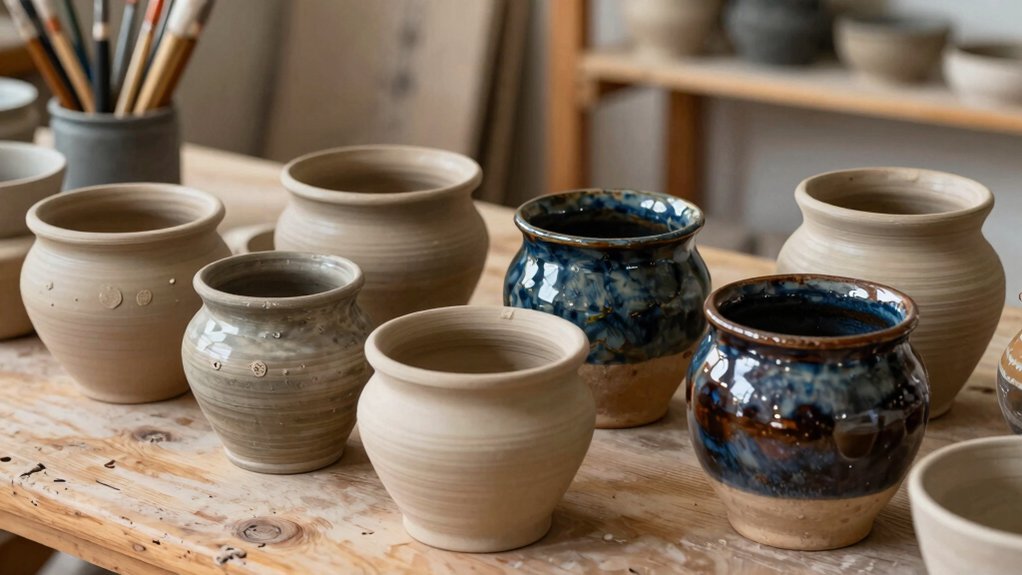
After bisque firing, add underglaze or colored slip, then clear glaze for shine. Smooth edges, let each step dry, and you’ll finish with fewer cracks, better texture, and a piece that feels like yours!