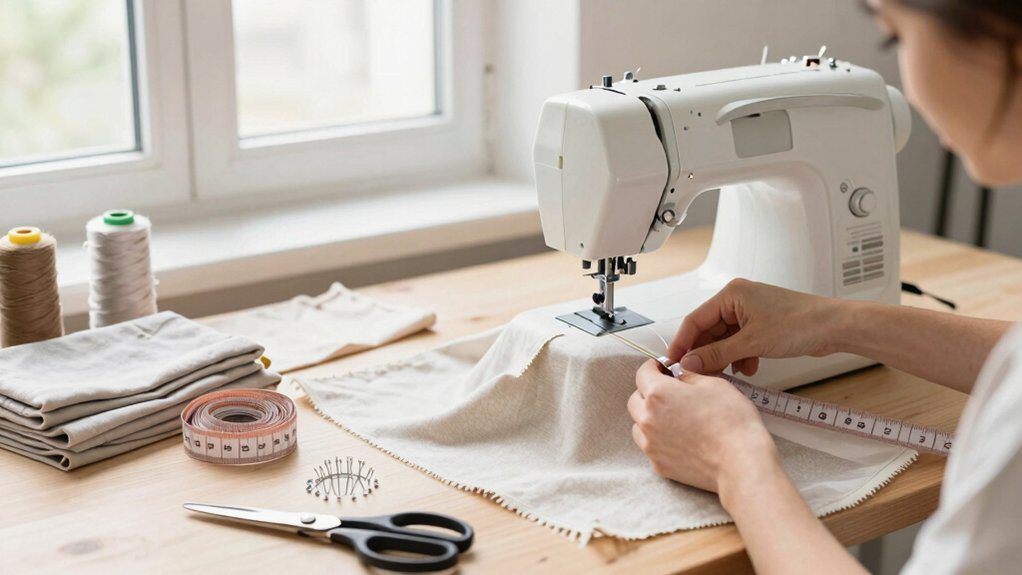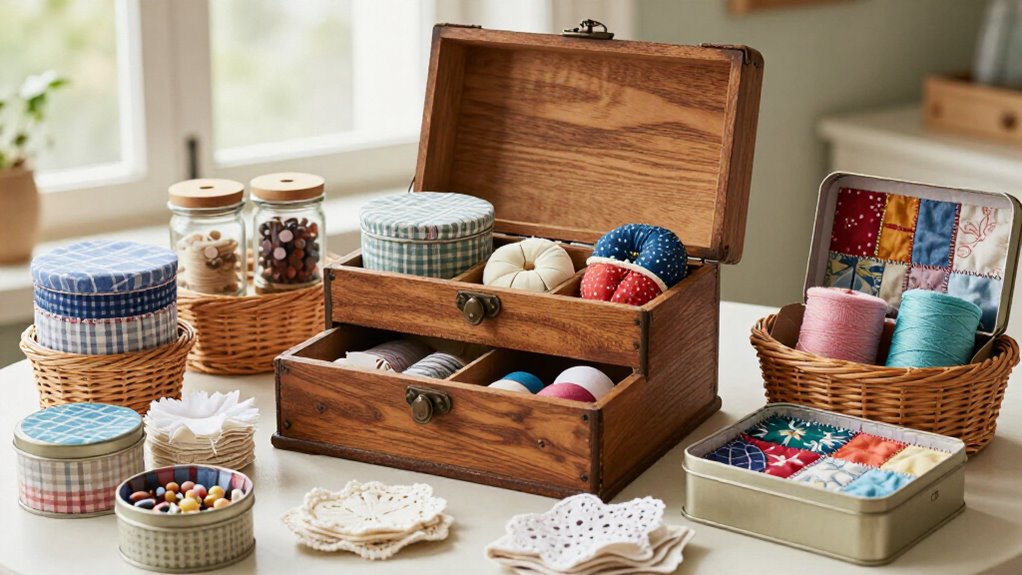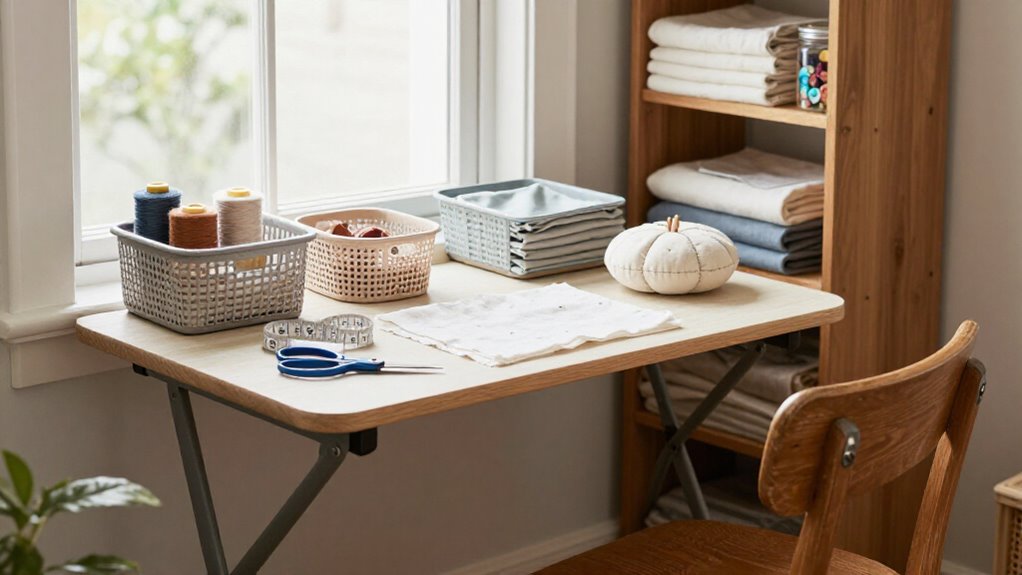
21 Sewing Set Up Ideas for Small Spaces That Maximize Every Inch
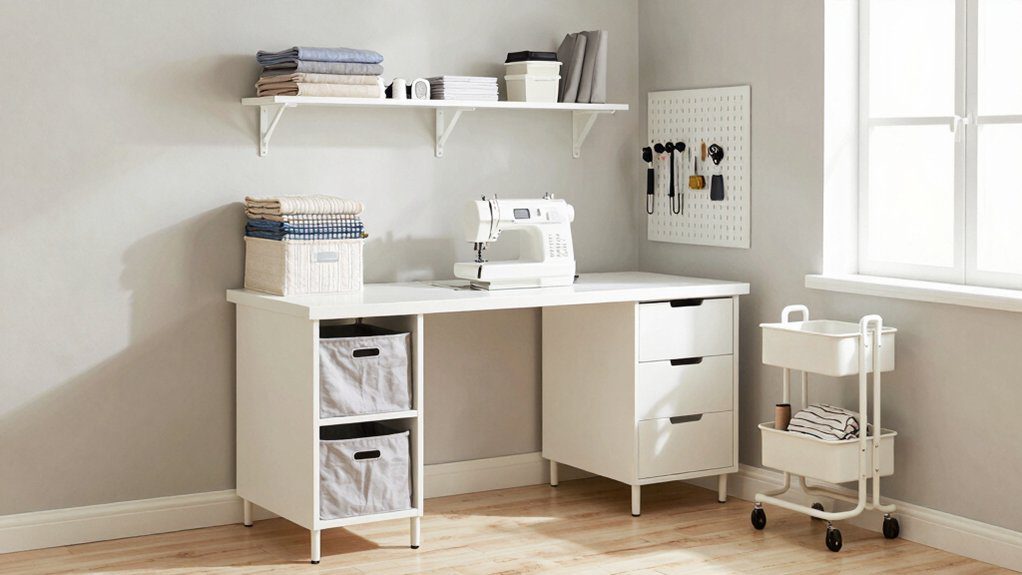
You can enhance a tiny sewing spot with a wall-mounted folding table, a closet station, rolling cart, corner desk, and floating shelves—easy wins! Use labeled bins, shallow drawers, and door pockets to stop tool clutter from staging a takeover. Repurpose a dresser or TV cabinet for hidden fabric storage, then add a bright task light for cleaner seams. Best surprise: an under-bed project system keeps supplies handy but completely out of sight. Keep going for more clever setups!
Love cozy DIY projects? 💕
Get free printable guides, exclusive tutorials & surprise craft goodies straight to your inbox.
Disclosure: This post may contain Amazon affiliate links, at no extra cost to you. Content on DiyCraftNest is created with research support from AI tools and carefully reviewed, edited, and fact-checked by the lead author, Daniel Pat, to ensure accuracy and reliability. Learn more
Key Takeaways
- Install a wall-mounted folding table for cutting, pressing, or sewing, then fold it away to reclaim valuable floor space.
- Turn a closet into a hidden sewing station with shelves, door organizers, task lighting, and closed doors for instant visual calm.
- Use a slim rolling cart with labeled drawers and locking casters to keep everyday tools mobile, organized, and within reach.
- Maximize vertical space with shallow fabric shelves, pegboards, magnetic strips, and slim cabinets secured safely into wall studs.
- Create a light-filled corner or window nook with a compact desk, portable pressing board, and closed under-bench storage.
Wall-Mounted Folding Table
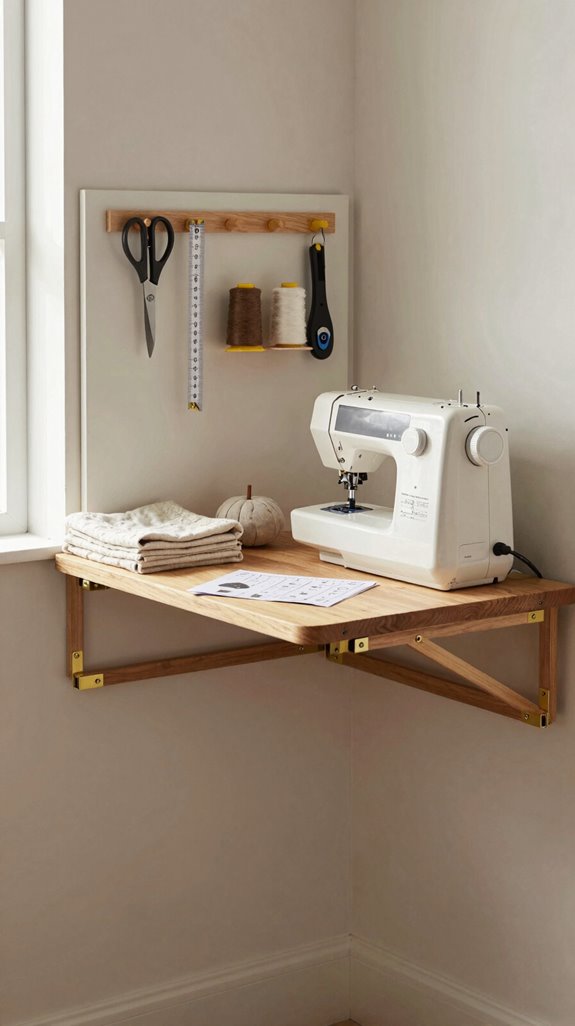
A wall-mounted folding table can turn even a tiny sewing corner into a useful work zone—then disappear when you need the floor back, which feels a little like magic!
Choose a sturdy model, find wall studs, and use strong screws; you’ll get a steady spot for cutting fabric and pressing patterns without the annoying wobble. Set it near counter height so your shoulders won’t complain during a long project.
Add hooks, a ruler ledge, or a slim lower shelf to create friendly declutter zones for scissors and notions. Tuck cords neatly behind the table for simple cable management.
Before installing, test its swing clearance around doors and blinds. Your little sewing community corner is ready!
Closet Sewing Station
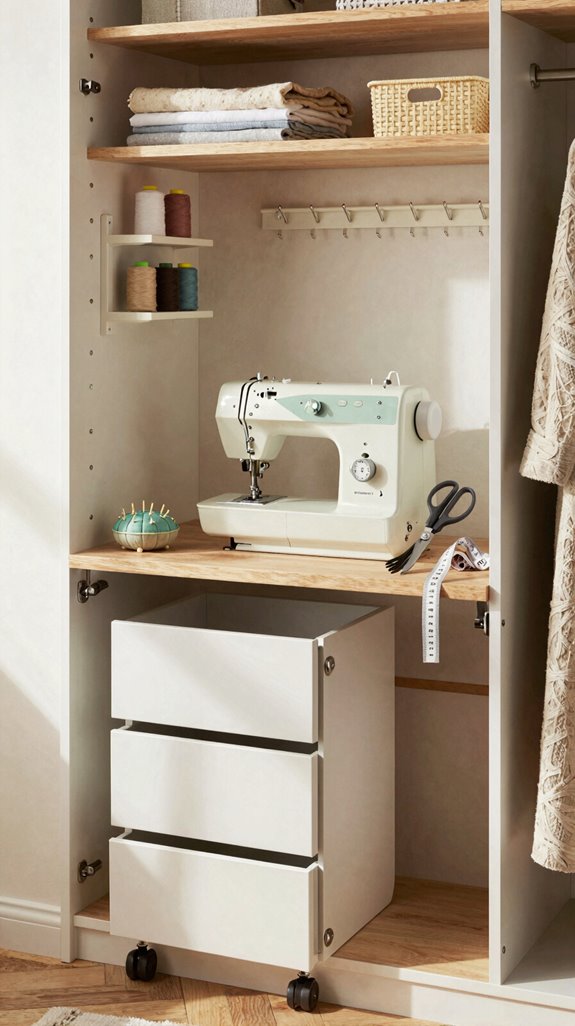
When floor space is tight, a closet can become a neat little sewing headquarters—close the doors, and the fabric piles vanish like they were never there! Dedicate one section to drawers or cabinets for fabric, notions, and pattern organization.
| Keep | Where |
|---|---|
| Daily tools | Sewing cabinet shelves |
| Yarn, bulky bits | Labeled closet bins |
You’ll love this simple decluttering workflow: sew, sort, shut the door—done! Add a door-mounted ironing board to avoid trip hazards. Need breathing room? Hang in-progress garments on a rack outside the closet. Your cutting surface stays clear, and your cozy creative corner feels ready for the whole sewing crew!
Rolling Storage Cart
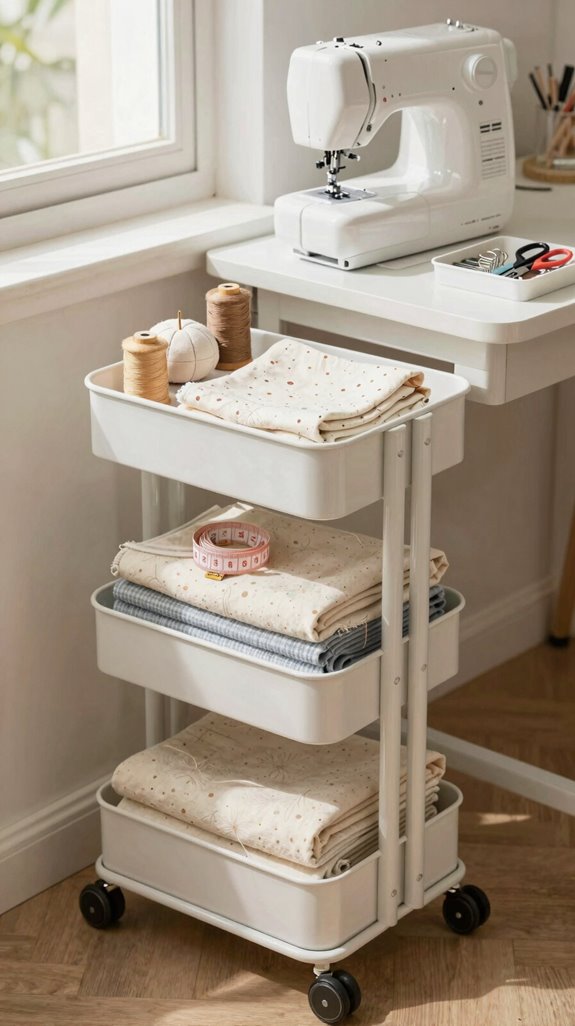
Beside your sewing table, a slim rolling storage cart can work like a tiny helper on wheels—no cape required! Choose one that slips into a narrow gap without crowding your walkway, so your cozy sewing nook still feels welcoming.
Use labeled shallow drawers for threads, scissors, seam rippers, and machine feet. This vertical organization keeps clutter hidden and puts your everyday tools at the front of the cart—easy!
Look for smooth casters with a Wheel lockout, especially if you cut or stitch fast. Match the cart’s height to your machine table, and it can become a handy extra surface. Your small-space sewing crew just got smarter!
Corner Sewing Desk
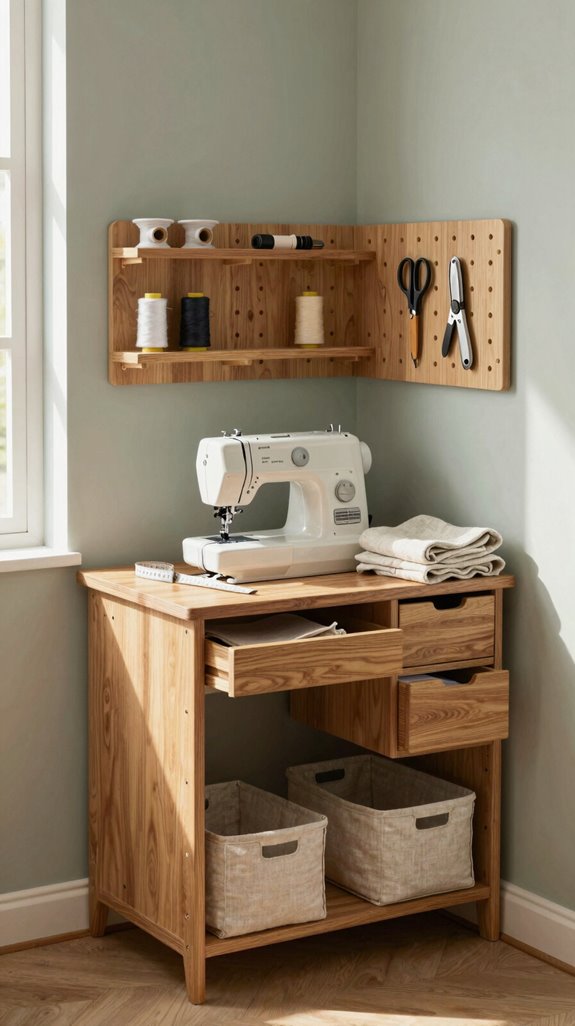
Turn an unused corner into a hardworking sewing zone with a compact corner desk—yes, even that awkward little spot can pull its weight! Set it diagonally, or choose an L-shape, so cutting stays in front while pressing and supplies sit along the next wall.
Choose drawers or cabinets for thread storage hacks that hide visual clutter. Use a shallow drawer or under-desk bin for needles, feet, and bobbins—your tiny sewing crew stays close!
Try these cable management tips: place your machine near an outlet, then route the cord and pedal without stretching. Add a wall- or door-mounted ironing board nearby. You’ll gain a smooth, cozy workflow without sacrificing floor space!
Floating Fabric Shelves
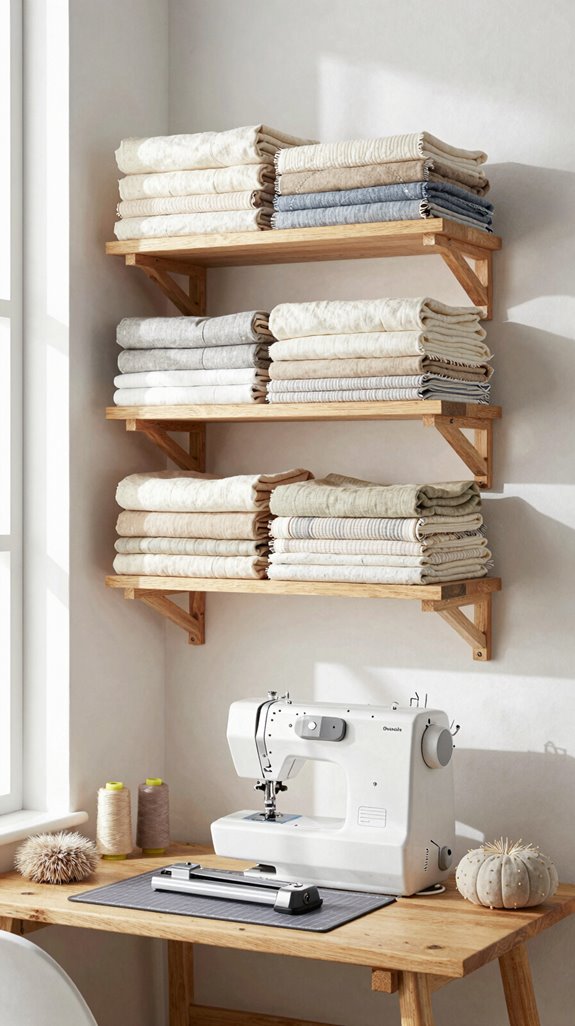
Floating fabric shelves lift your prettiest yardage off the floor and into easy reach—hello, instant sewing-room upgrade!
Choose shallow shelves, brackets, and clear-front bins, then install brackets directly into studs. It’s a beginner-friendly project that keeps your cozy creative corner feeling shared, not stuffed!
Follow lightweight storage tips: fold fabrics neatly, keep slippery knits from hanging over edges, and place heavier wovens on lower shelves.
Add Fabric bin labeling so every print has a home—no more mystery piles!
Place shelves beside your cutting or ironing area.
The best part? You’ll grab fabric, return it quickly, and protect your work surface from the dreaded “just for now” stack.
Pegboard Tool Wall
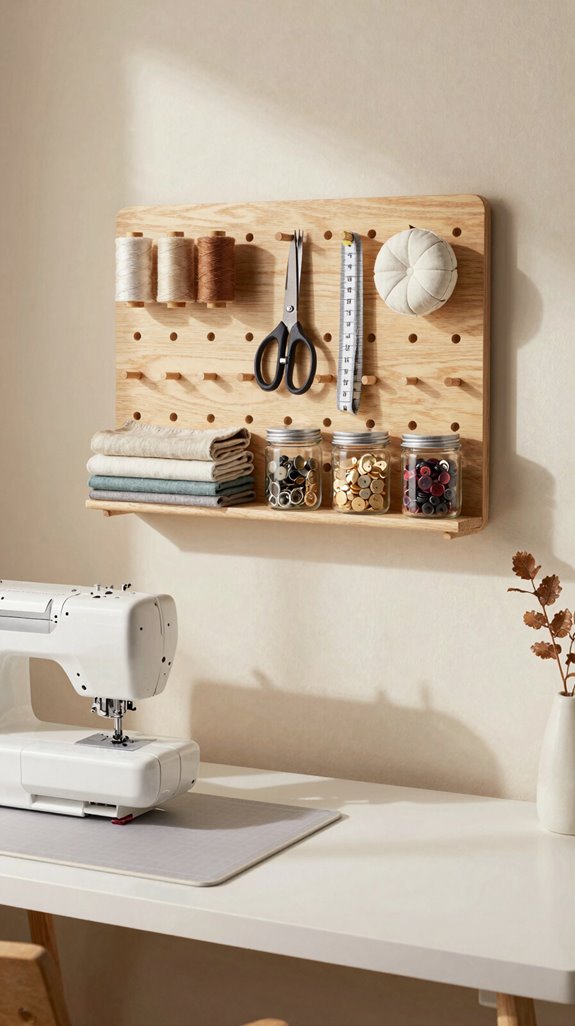
A pegboard tool wall gives your busiest sewing tools a cheerful home, so your scissors, rotary cutter, seam ripper, tape measure, and marking pens stay within arm’s reach instead of wandering across the table—again! Securely mount an affordable board, then sketch a simple layout grid before adding hooks.
Place heavy shears low and lighter tools high, leaving breathing room so your wall feels welcoming, not like a hardware-store avalanche. Add shallow bins for clips, needle packets, and thread snips.
Here’s the magic: label every hook and bin with maker tape. You’ll Declutter Faster, and Project Resetting becomes a quick, satisfying ritual that keeps your creative corner ready for the next shared sewing win!
Window Sewing Nook
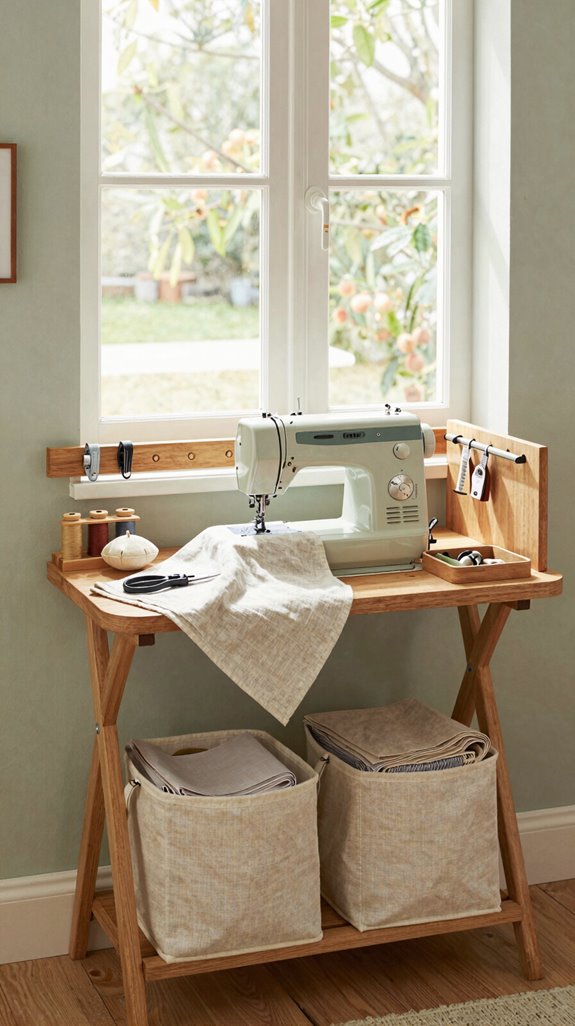
Once your pegboard keeps the little tools in line, let a sunny window do some heavy lifting! Create a cozy window-seat nook, then place your cutting mat or compact ironing board right beside it. Natural light helps you mark patterns more accurately—no squinting required!
Add a simple shade or adjustable curtains for light control when afternoon glare gets bossy.
For pattern organization, keep rulers and current pieces in a slim tray nearby.
Choose a wall-mounted or over-the-door ironing board to save floor space.
Finally, build closed drawers beneath the bench for supplies, and add a folding table that disappears after use.
Hello, calm creative corner!
Under-Bed Fabric Storage
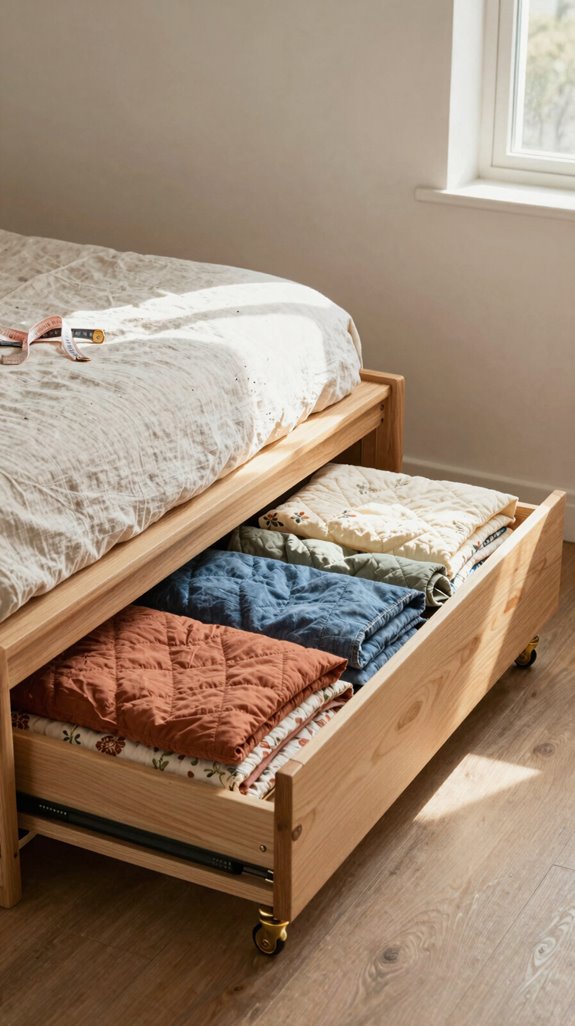
When closet space runs out, the quiet zone under your bed can become a surprisingly handy fabric hideaway! Measure clearance, then choose shallow lidded bins with handles; they block dust and slide out easily.
| Store | Organize | Benefit |
|---|---|---|
| Half-yards | Fabric labeling | Find sizes fast |
| Backing yardage | drawer dividers | Keep stacks tidy |
Lay cut panels flat, and reserve this spot for off-season or less-used stash, not daily favorites. You’ll avoid the “fabric avalanche” effect—hooray!
For a simple DIY upgrade, add cardboard dividers inside each bin. You’ll create neat categories, protect bulky bolts from sagging, and join fellow makers who know every inch counts.
Foldable Cutting Table
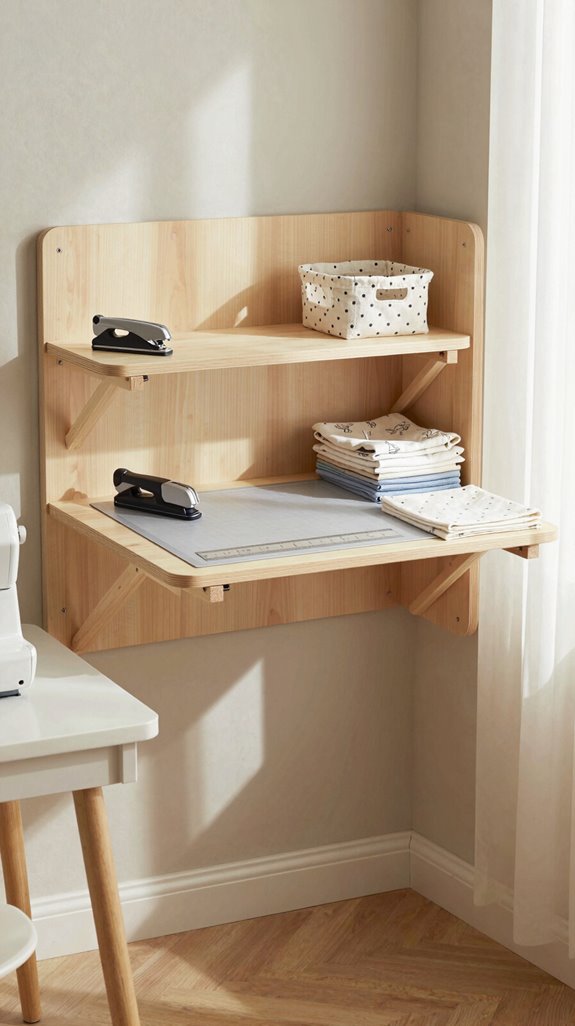
If floor space disappears the moment you start a project, a foldable cutting table can save the day—then tuck away neatly after the last snip! You’ll feel right at home with a dedicated spot, even in a tiny sewing nook.
- Choose an adjustable table, often about $77, and check width first. Two may fit folded fabric better.
- Skip heavily textured tops; smooth surfaces make pattern tracing easier. Try cutting mat hacks to protect the tabletop.
- Want an upgrade? Build a removable IKEA setup with four trestles and two countertops. It’s pricier, around $580, but roomy—great for fabric layout tips and weekend sew-ins!
Thread Wall Rack
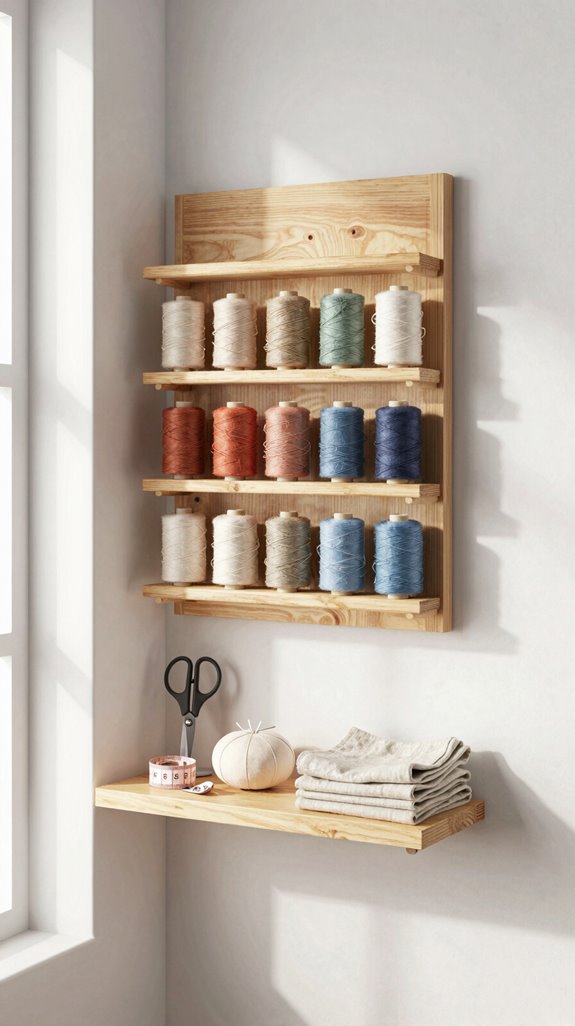
A foldable table clears your work surface, and a thread wall rack keeps that fresh space from disappearing under a rainbow of spools—yay!
Mount a simple rack on an open wall using screws, anchors, and a stud finder. Choose Clear spool spacing so each spool pulls smoothly, without a tiny thread traffic jam.
Add Vertical thread labels with color names or numbers, making matching fast when your project calls. Keep everyday shades at eye level, then stagger specialty threads above or below.
Here’s the game-changer: leave drawers or a cabinet for bobbins, needles, and patterns. Your rack becomes a neat, welcoming “threads only” zone—like your sewing crew’s color wall!
Drawer Divider System
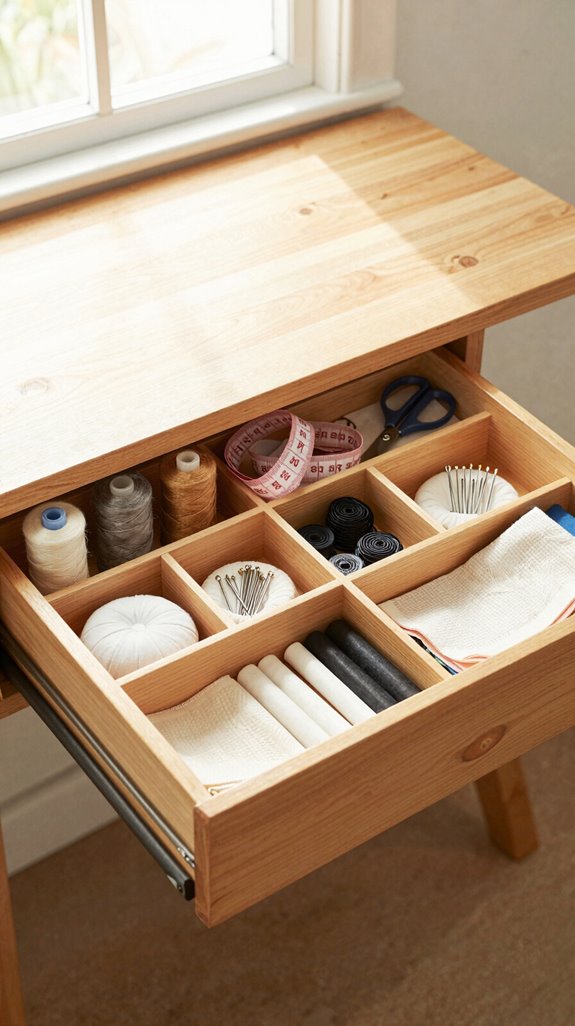
Drawer dividers turn one crowded sewing drawer into a tidy little supply station—no more digging past rogue bobbins to find your seam ripper!
Use inexpensive long, shallow inserts or adjustable cells, then give every favorite notion a home. You’ll feel like part of the organized sewing club!
- Create a Thread inventory row for spools and bobbins.
- Make seam ripper lanes, plus cells for needles, feet, buttons, and zippers.
- Label sections by tool or project stage: grab tray, sew, return.
For deep drawers, add a simple second tier for backup supplies. This mostly closed setup hides visual chaos, yet everything stays visible—magic, minus the rabbit!
Over-the-Door Organizer
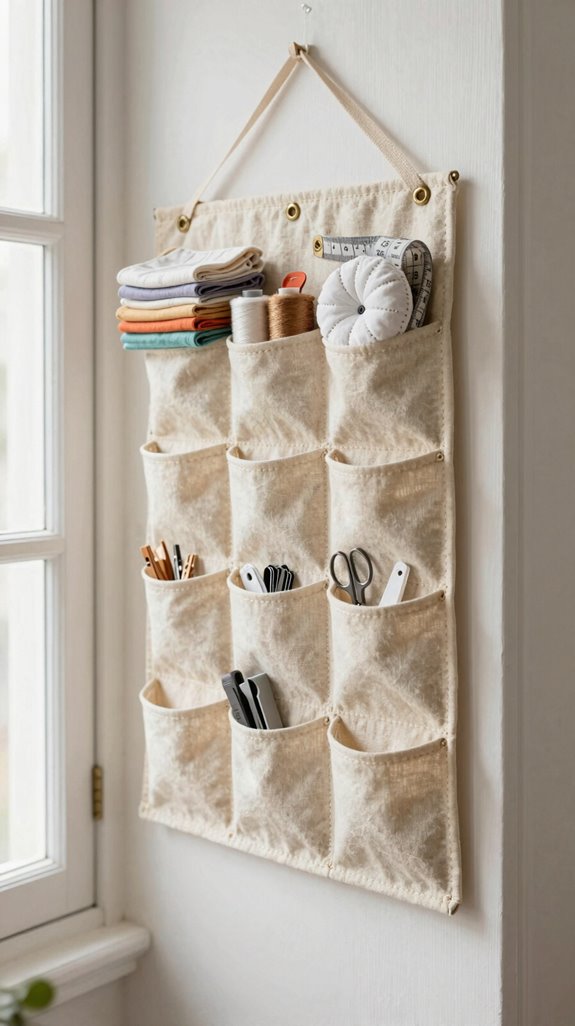
Take that neat drawer system upward with an over-the-door organizer, and suddenly your sewing supplies have a cozy home that uses zero wall or floor space—hooray!
Measure door swing first. Choose clear, labeled pockets, then sort with your sewing crew’s rhythm!
| Materials | Result | |
|---|---|---|
| Top | thread keeper, feet | Fast matching |
| Middle | fabric clips, scissors | Easy grabbing |
| Slim | seam ripper, needles | No digging |
| Closed | patterns, batting scraps | Calmer look |
Add a Command hook for lightweight tape. Keep tools above little hands, and your tiny sewing corner feels welcoming, tidy, and wonderfully yours!
Portable Ironing Station
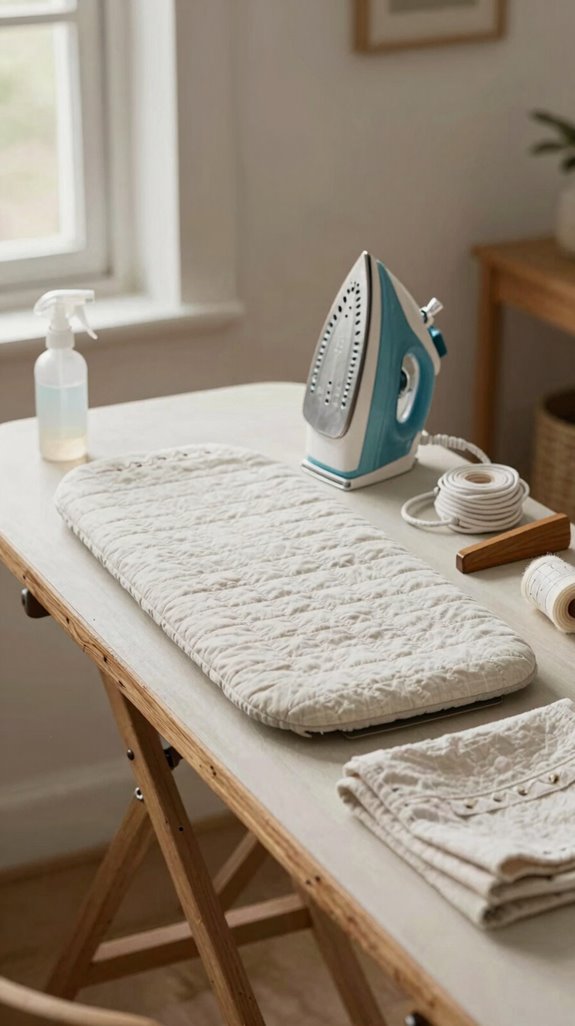
Near your sewing spot, a portable ironing station keeps crisp seams within reach without stealing precious floor space—such a win!
- Hang an over-the-door board near your closet. It’s affordable, easy to install, and keeps kids away from busy walkways.
- No door nearby? Mount a folding board on a reachable wall, then tuck your iron, spray bottle, and press cloth into closed storage for clutter control.
- Here’s the game-changer: use tool caddies inside a drawer for cords and supplies. You’ll reset in minutes, support a minimalist workflow, and keep budget lighting clear for bright, happy sewing sessions. Your small-space crew will get it!
Slim Fabric Cabinet
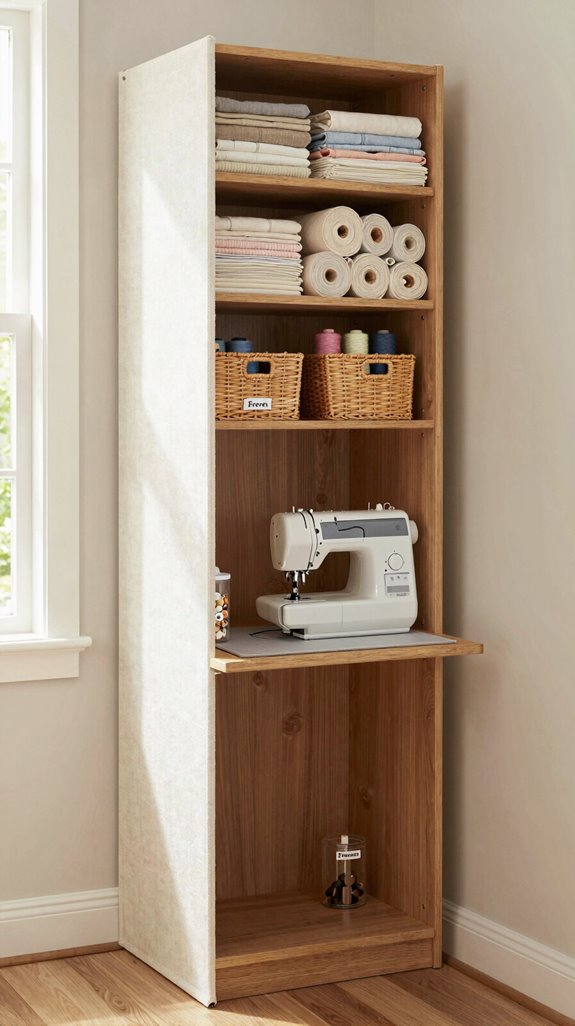
A slim fabric cabinet turns an unused stretch of wall into a tidy fabric home—yes, even in a tiny sewing nook!
Choose a 12–18-inch-deep Vertical cabinet with doors, so your space feels calm, not like a fabric avalanche.
Use shelf dividers for upright yardage, then try fabric labeling ideas on simple bins for knits, cottons, and prints.
Pull out tray organization makes it easy to spot what you own—no digging required!
Store heavy batting and flannel low, lighter cuts up high.
Add thread and patterns in a small notions zone.
For door based storage tips, use narrow pockets inside doors for interfacing.
You’ll sew faster!
Project Basket Shelf
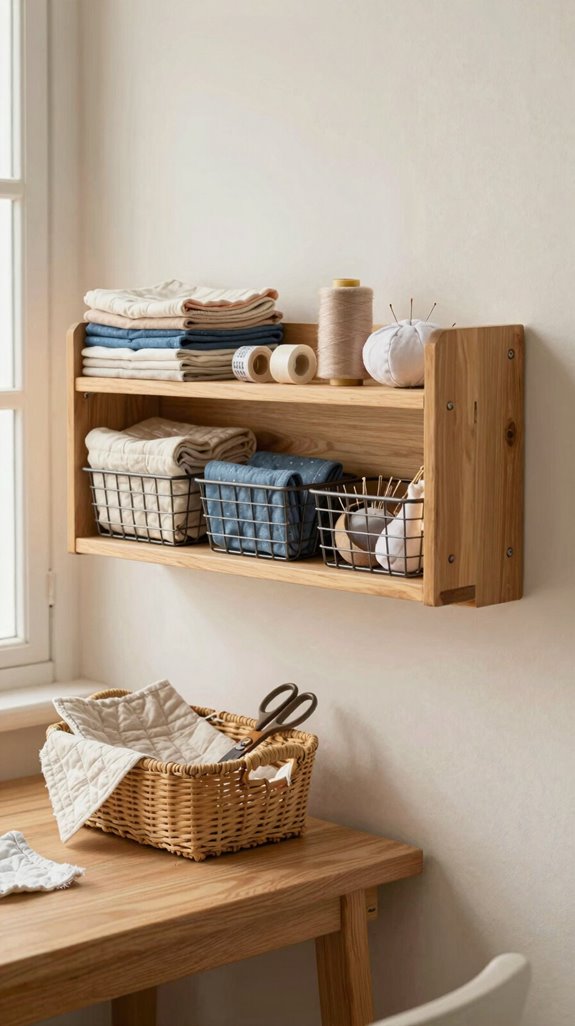
When your sewing projects tend to migrate from chair to floor to mysterious corner, a project basket shelf can bring instant calm—hooray!
Choose shallow baskets for closed, vertical storage that won’t crowd your room.
- Use an affordable narrow shelf and matching baskets.
- Try phase based sorting: cutting, sewing, pressing, and finishing.
- Add color coded labeling so you can find notions fast.
Keep only next-project key near your machine, creating a friendly staging spot instead of a clutter magnet.
After each session, return everything to its basket—easy!
You’ll join the tidy-sewing club, even if your “studio” is one cheerful corner.
Magnetic Tool Strip
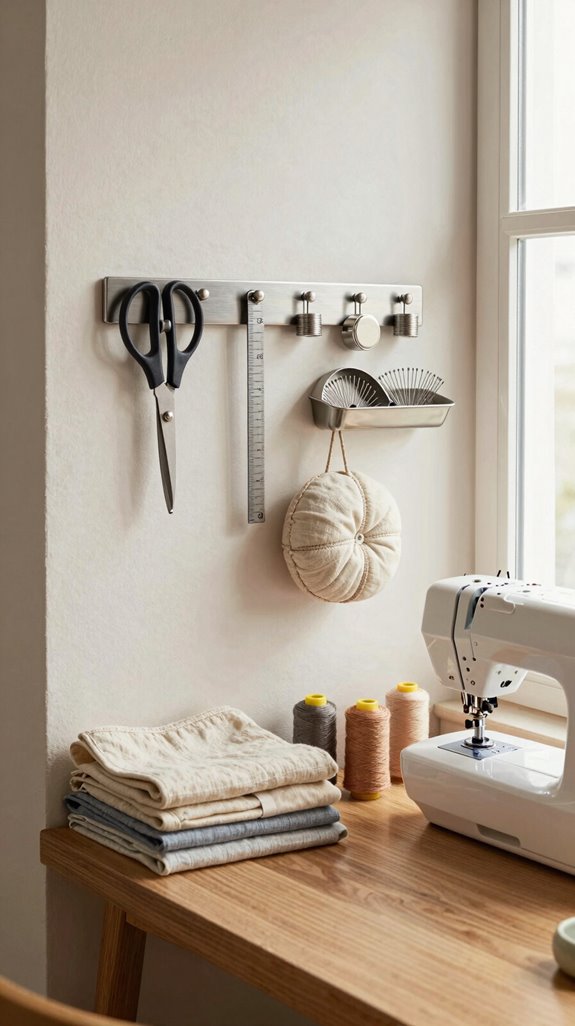
Clear your tabletop in minutes with a magnetic tool strip—such a small upgrade, yet it feels wonderfully organized! Try magnetic strip mounting on your cabinet side or closet door using a rated bar and screws.
Choose a length that fits your everyday scissors, seam ripper, pincers, and pinhead tin. Skip flimsy fridge magnets; strong neodymium hold keeps heavier tools from taking a surprise dive!
Place scissors and your seam ripper nearest your chair, then line up smaller helpers farther along. This boosts tool access speed and makes your little sewing corner feel like it belongs to a creative community.
Keep nearby drawers closed for a calm, uncluttered finish.
Vertical Pattern Storage
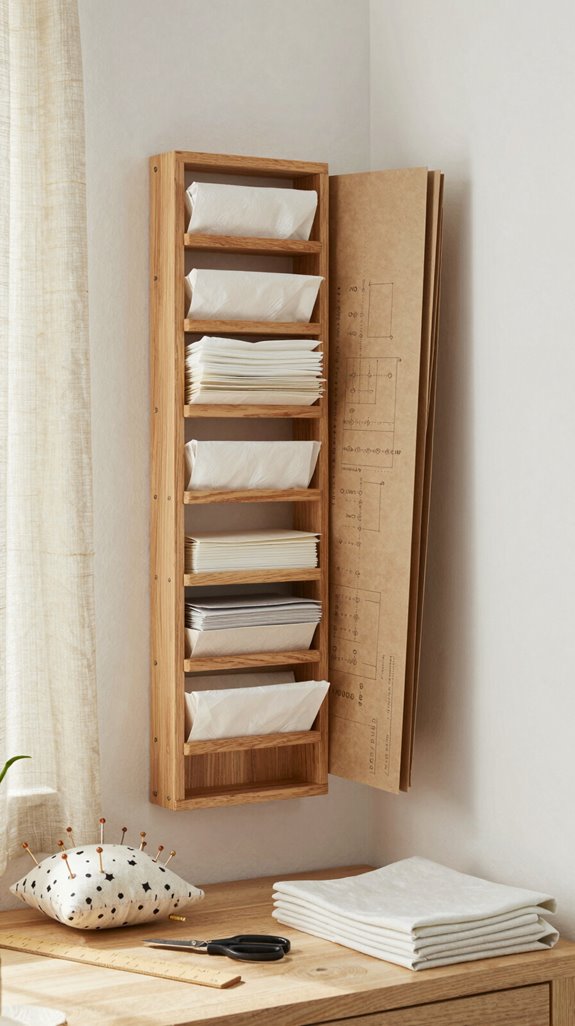
With your everyday tools neatly parked, give those slippery pattern envelopes a home that won’t turn into a paper avalanche! Try these pattern sorting tips to keep your creative corner welcoming.
- Slide patterns into closed sleeves, then stand them in a clear recipe organizer. Add labels like “Dresses” or “Kids”—easy, cheap, and dust-busting!
- Use cardboard dividers in a tall, narrow cubby unit. Put heavier envelopes low, so nothing sags or wobbles.
- For a brilliant space-saver, mount a vertical rack behind your door! These sleeve organization methods keep patterns visible, off your cutting table, and ready when your sewing crew inspiration strikes.
LED Task Lighting
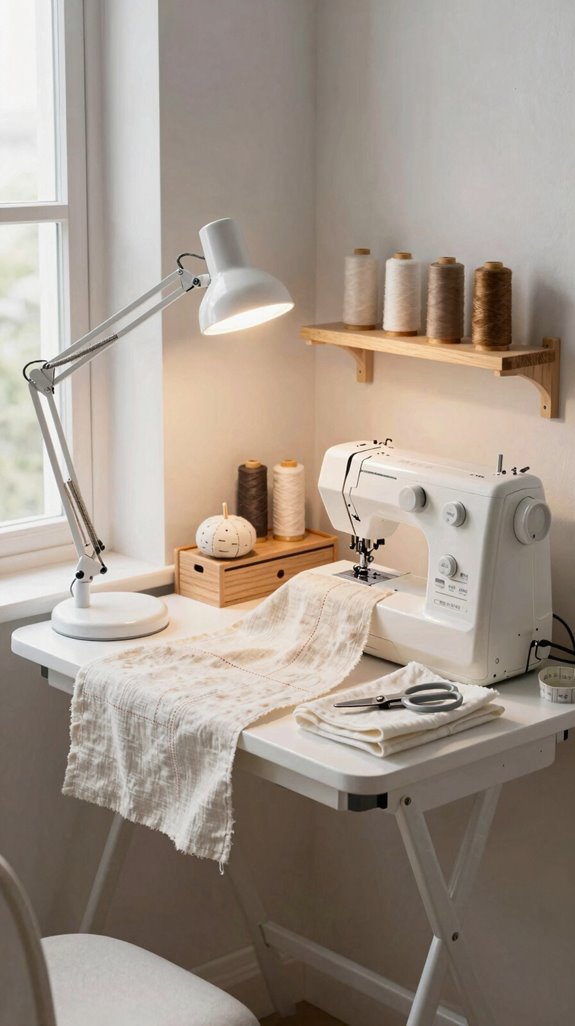
Brightening your sewing spot with a flexible LED task light can make tiny stitches, dark thread, and tricky seams much easier to see—hooray for fewer “how did I miss that?” moments!
You’ll feel right at home with a lamp that aims directly at your fabric, cutting presser-foot shadows.
When choosing bulbs, pick 4000–5000K for a daylight-like light temperature and truer fabric colors.
Look for 700+ lumens, a cool-to-touch bulb, and a stable gooseneck base.
For simple placement tips, angle the head above and slightly beside your needle to reduce workspace glare.
A USB-powered lamp or low-profile cord keeps your cozy shared sewing corner tidy—small-space magic!
Mini Pressing Station
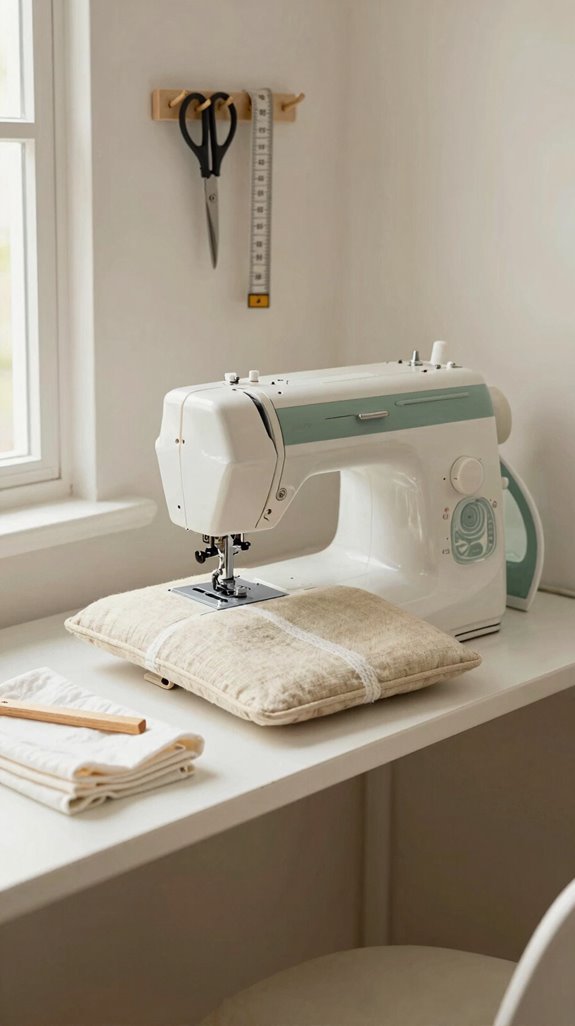
A mini pressing station keeps your sewing flow moving, even when your craft area is mostly one cozy corner—no giant ironing board required!
- Hang an over-the-door board high above traffic. It saves space and supports Safe ironing tips, especially around kids.
- Keep press cloths, a clapper, and a small spray bottle in a closed drawer. These steam control methods help you reset fast—no clutter party!
- Here’s the cozy-game-changer: use a closet door for a small pressing surface, with your iron in a nearby bin. You’ll press quick seams between stitches, stay with your creative crew, and tuck everything away afterward.
Hidden Sewing Cabinet
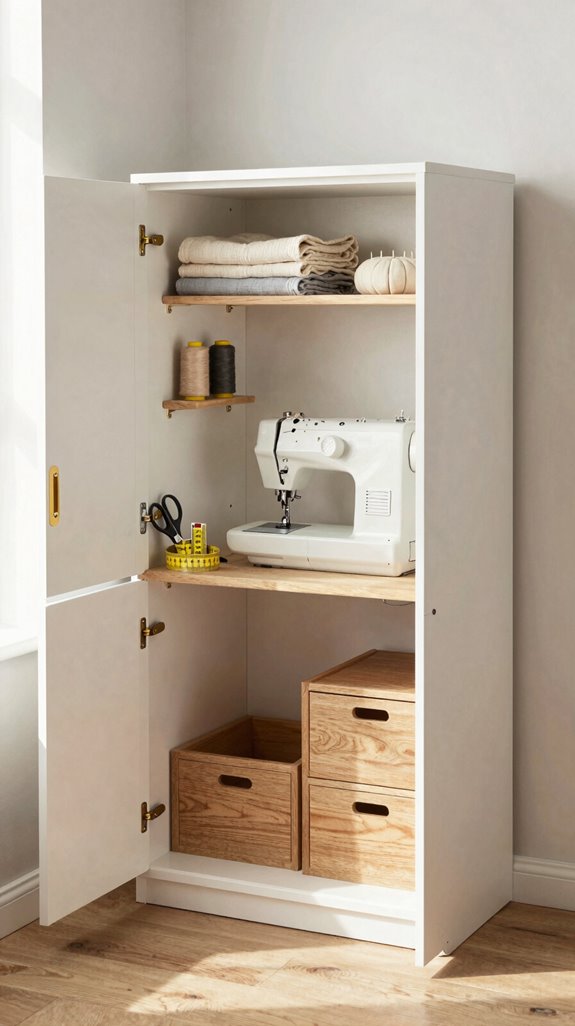
Turn a repurposed TV cabinet or sewing cabinet into your craft room’s secret weapon, and your fabrics, patterns, and tiny notions can vanish behind closed doors—magic trick, minus the cape!
Choose one with pull-out shelves and drawers, then use simple drawer labeling for thread, feet, and tools.
Keep your iron and pressing supplies in a nearby closet, creating one hidden zone for easy resets.
Store bulk fabric below, and keep daily favorites within reach.
This Declutter workflow frees visual space, so your small room feels welcoming, not crowded.
Best part? The cabinet doubles as a sturdy work base—no extra furniture needed!
Multi-Purpose Craft Desk
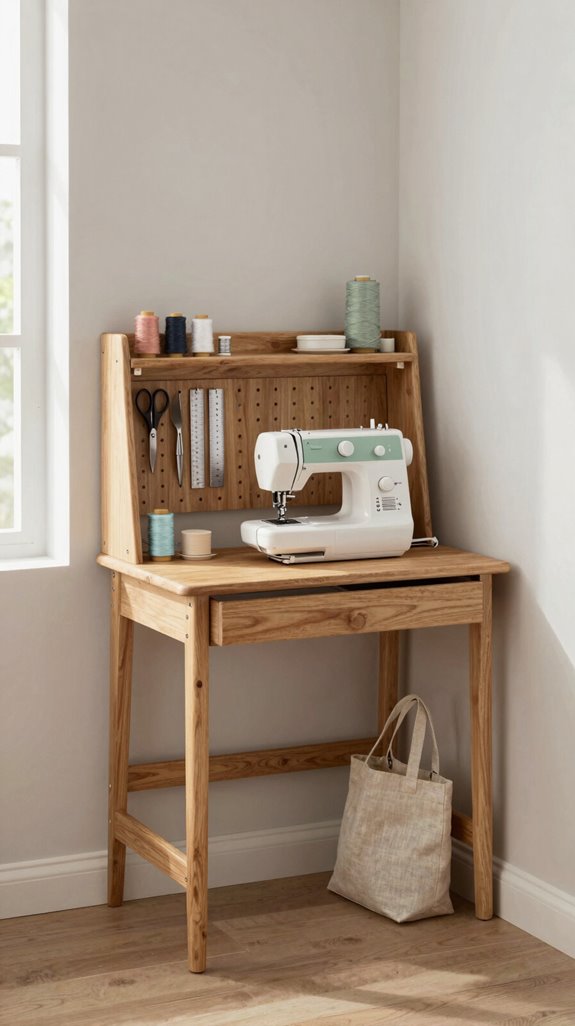
When your sewing corner also has to handle homework, bills, or work calls, a sturdy multi-purpose craft desk keeps everything pulling double duty—without the wobble during fast stitching!
- Choose solid legs for workspace stability; your machine won’t do the jitterbug!
- Add thread access drawers: shallow trays hold spools, feet, and tools, while deep drawers hide fabric and patterns.
- Keep a small craft tray as your project home base, so setup and cleanup feel easy.
Need more room? Pair the desk with a hinged cutting top that folds away after use. For long sessions, an adjustable-height table saves your back—welcome to a setup that works with you!
Budget-Friendly Organization Ideas
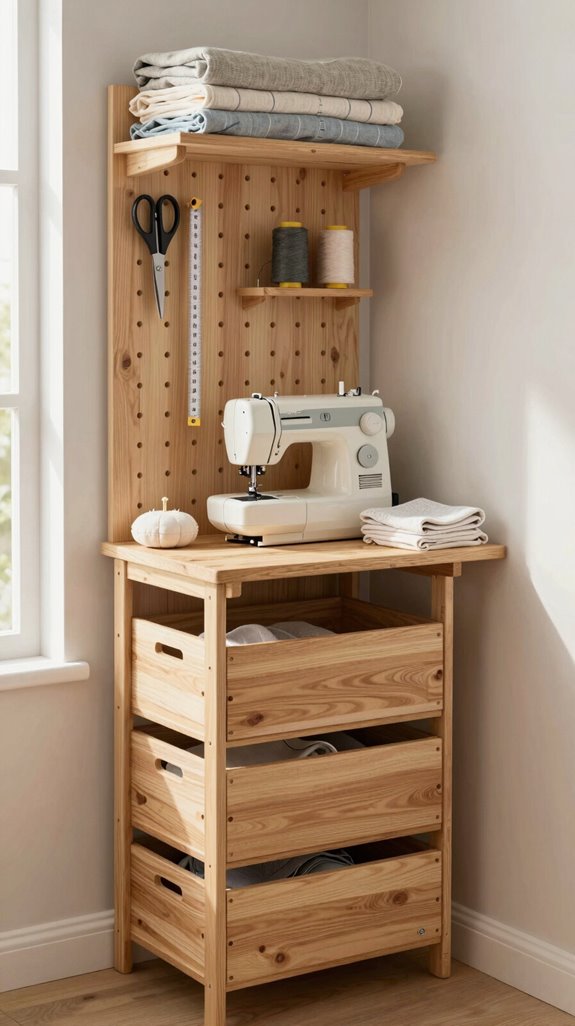
Start by clearing out what you already own—seriously, this free step saves more space than a mountain of cute storage bins! For clutter control, tuck fabric, patterns, and notions into closed drawers or cabinets, not visual chaos on every wall.
Next, repurpose a dresser: use shallow drawer bins for thread, feet, and tools. A small craft tray holds your daily basics, creating a smooth drawer workflow you can reset in minutes!
Need more room? Borrow coat-closet shelves for yarn and use under-bed bins for rarely used supplies. The best budget win: choose a sturdy workbench with long, shallow drawers, then keep each project queue on a labeled list, not in piles.
Keeping Small Spaces Clutter-Free
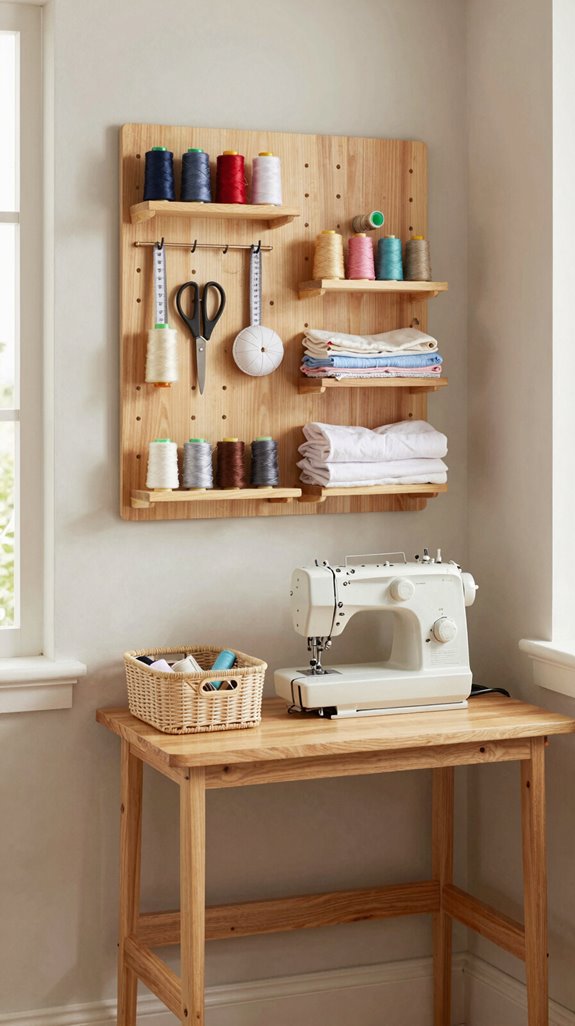
A clutter-free sewing nook isn’t about buying more bins—it’s about giving every useful item a quiet “home” and keeping only today’s project within reach. You’ll feel like part of a calm, creative club—no thread avalanches!
- Use dresser drawers for fabric, patterns, and notions. Add Color coded labeling so you can spot supplies fast.
- Create Quick access zones with a tray and shallow drawer for scissors, pins, and seam rippers. Return extras after each session.
- Before buying organizers, donate what you don’t use. Then try an over-the-door ironing board—your floor stays clear, safer, and ready to sew!