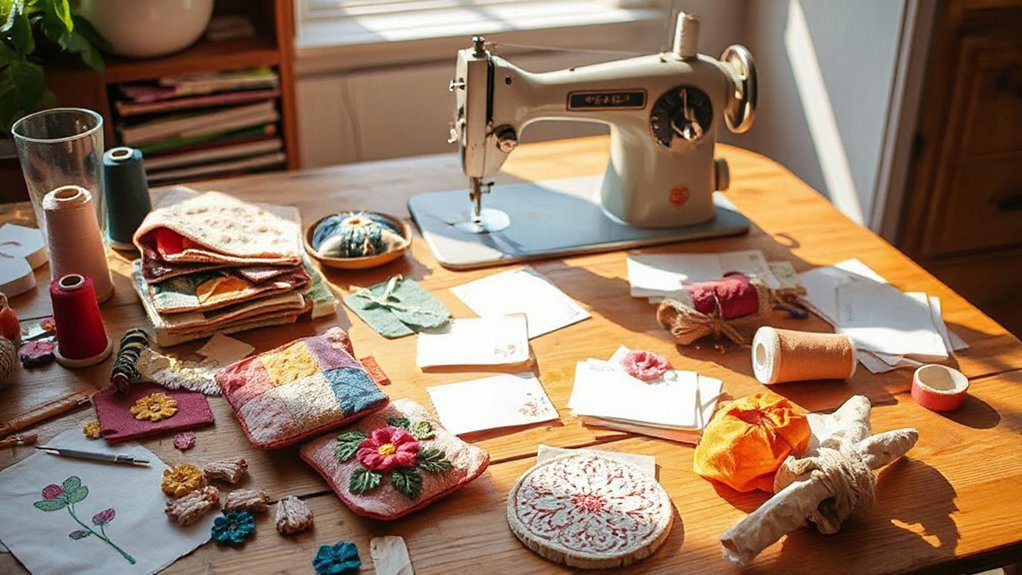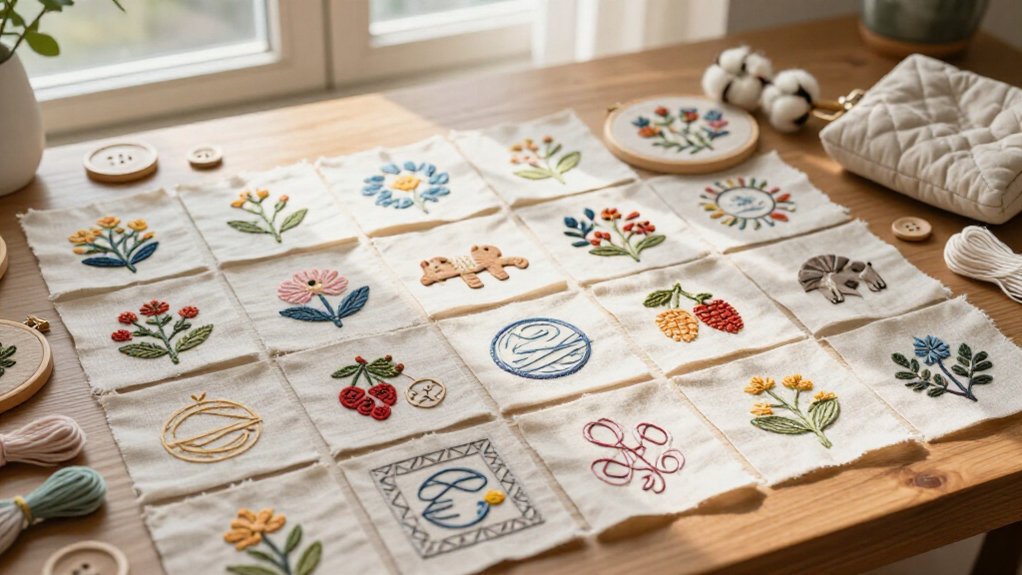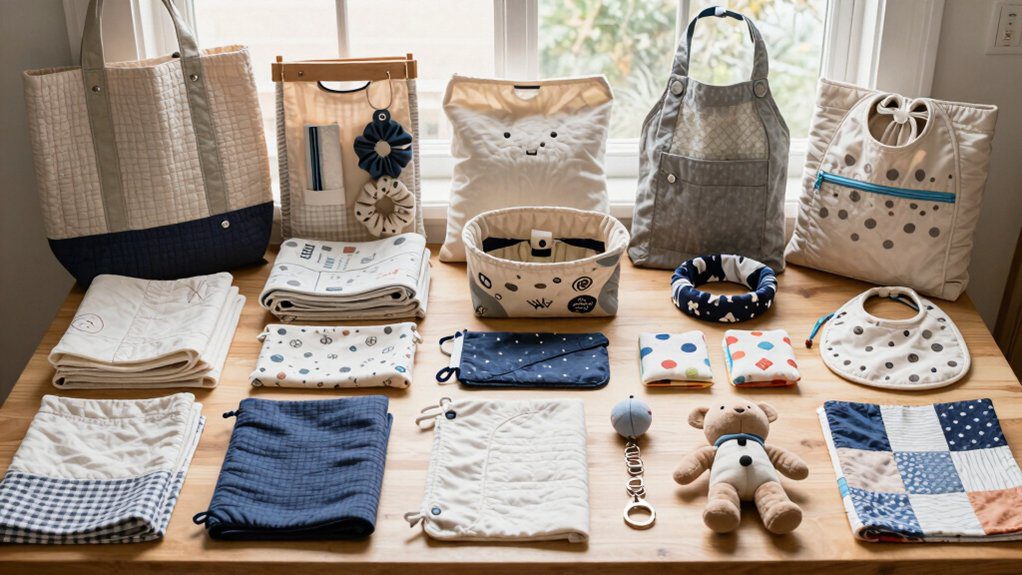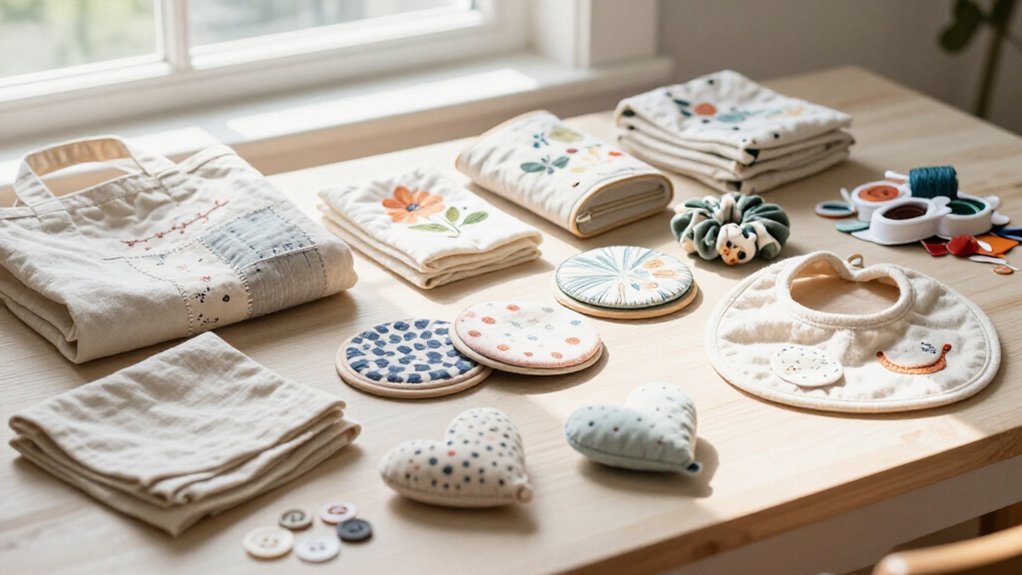
25 Sewing Machine Cover Ideas That Protect Your Machine in Style
You can make a decorative dust shield from quilted scraps, farmhouse linen, vintage florals, canvas, neutral cotton, or denim—no decorative skills required! Measure over knobs, add seam room, then sew simple panels with a handle slit. Add a pocket, lace, buttons, or a name patch for personality. Use thin batting for soft padding, or waterproof lining for tougher storage. Best surprise? A reversible cover gives you two looks for one afternoon. Keep going for easy fit tips and finishing tricks!
Love cozy DIY projects? 💕
Get free printable guides, exclusive tutorials & surprise craft goodies straight to your inbox.
Disclosure: This post may contain Amazon affiliate links, at no extra cost to you. Content on DiyCraftNest is created with research support from AI tools and carefully reviewed, edited, and fact-checked by the lead author, Daniel Pat, to ensure accuracy and reliability. Learn more
Key Takeaways
- Choose quilted patchwork, denim, linen, canvas, or cotton covers to match your sewing room while protecting against dust and pet hair.
- Measure the machine’s height, width, depth, and knobs, then add seam allowances and extra ease for a comfortable fit.
- Add a neatly topstitched handle opening so the cover can stay on while the machine is carried.
- Personalize a simple cover with appliqué names, embroidery, vintage florals, boho tassels, lace trim, or seasonal fabrics.
- Improve utility with lined pockets, waterproof lining, button or snap closures, and reinforced seams for durable everyday protection.
Quilted Patchwork Cover
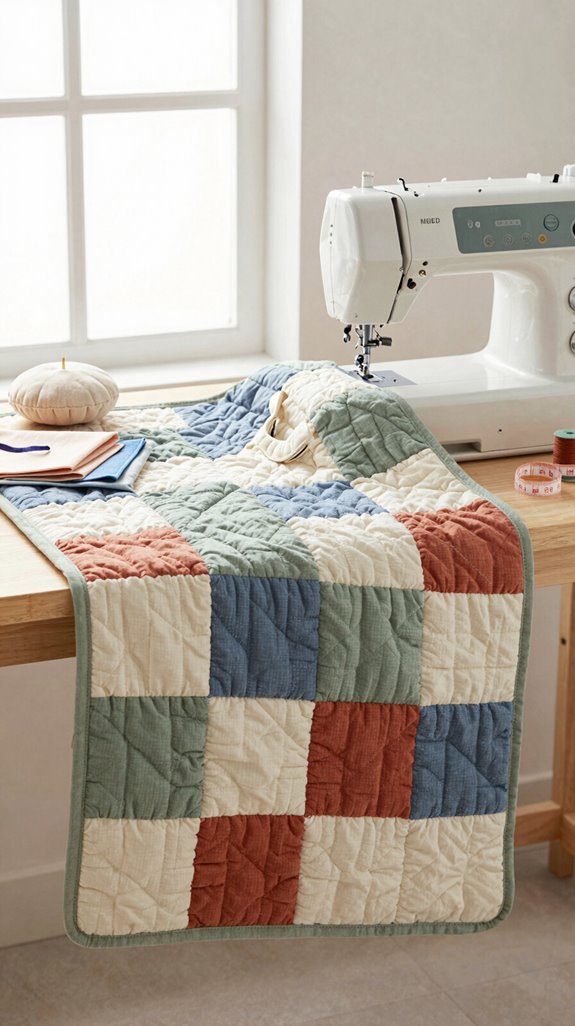
A quilted patchwork cover gives your sewing machine a cozy, custom “home” while keeping dust and curious paw prints away—win-win!
Measure the machine’s tallest, widest points and footprint, then add ½-inch seam allowances and a little outer ease. Choose scraps, batting, lining, and bias tape; this beginner-friendly project costs little and feels wonderfully personal.
Plan your quilted panel layout with color placement tips that echo your sewing space. Cut panels 2 inches larger, batting 3 inches larger, then quilt with a walking foot.
Trim, sew box corners, and finish the bottom with bias tape. Add a neat lined handle opening, and voilà—your machine joins the craft-room family!
Farmhouse Linen Cover
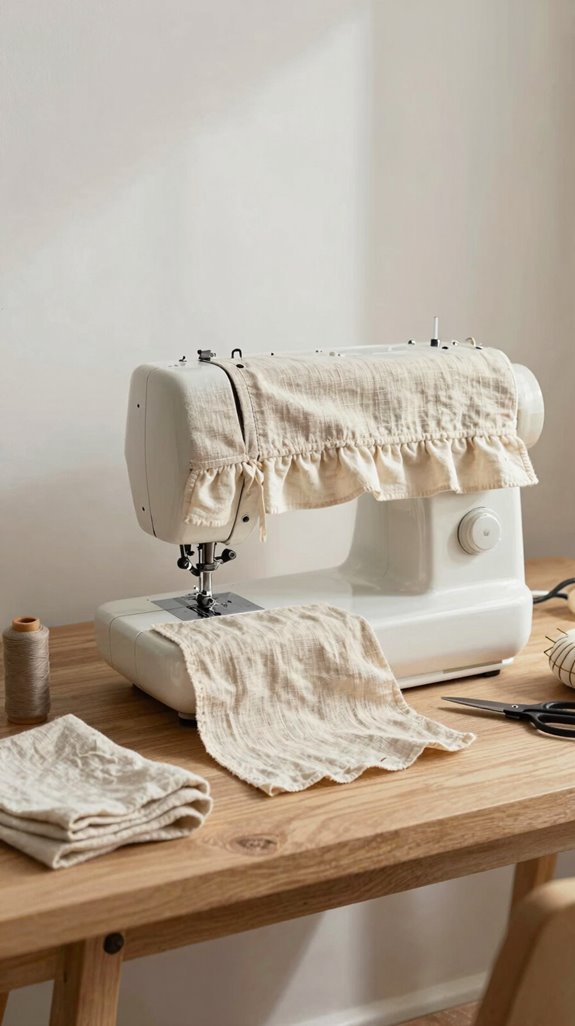
With its soft texture and relaxed, homey look, a farmhouse linen cover can make your sewing machine feel like part of the décor—rather than a tool waiting for its next project!
Use 1/2 yard of sturdy linen blend, matching thread, and your preferred seam finishing method: serging or zigzagging.
Measure length and height, including knobs, then add allowances.
Cut two front/back rectangles and mirrored trapezoid sides if needed.
Finish and topstitch the upper edges for a tidy handle slit, then sew the pieces together.
Hem the bottom, and you’re nearly done—easy, right?
For a surprisingly polished result, add a simple lining with a turning gap.
Your sewing corner will feel warmly yours!
Vintage Floral Cover
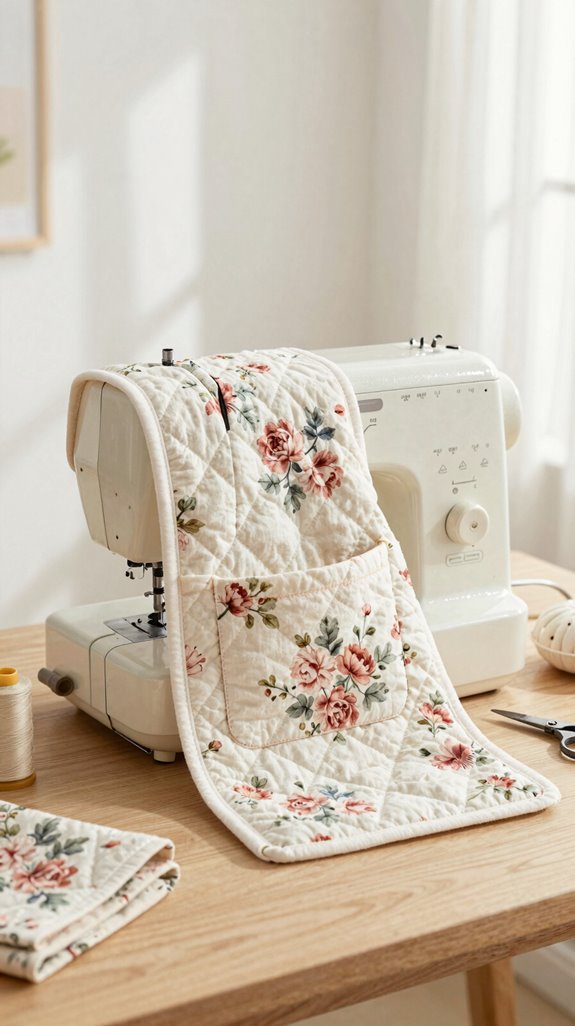
Ready for a cover that looks like it wandered out of a charming old sewing room? Choose 1/2 yard each of vintage floral cotton, canvas, or denim, plus solid cotton for your lining selection and matching thread.
Measure height, knobs included, and widths; add 1 inch for seam allowances and 2 inches to height.
Cut two front/back and two side pieces, then serge the front and back top edges.
Fold, press, and topstitch the handle slit, then hem the bottom.
Check machine fit mid-assembly—easy insurance!
For the sweetest museum-style finish, add a matching floral pocket; thoughtful pocket placement makes it feel like it belongs in your sewing circle.
Minimal Canvas Cover
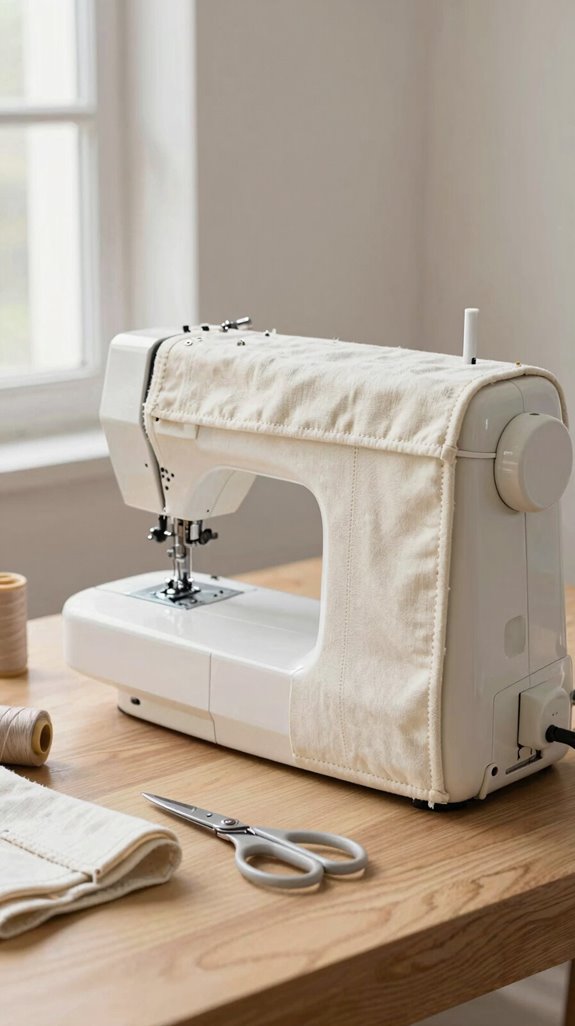
Minimal canvas gives your sewing machine a clean, sturdy little shelter, and you can make one with just 1/2 yard of canvas, matching thread, and a serger—or a zigzag stitch if that’s what your machine offers!
Measure the front, back, and sides, adding seam allowance and extra height to roll over the top. Cut mirrored trapezoids if your machine narrows at the top—your cover will look custom, not boxy!
Finish the top edges, fold, press, and topstitch a handle slit. Then pin sides from the top center and sew slowly with seam reinforcement where needed.
Add Waterproof lining for splash protection, then hem the bottom. You’ve got this—simple, polished, and proudly handmade!
Neutral Cotton Cover
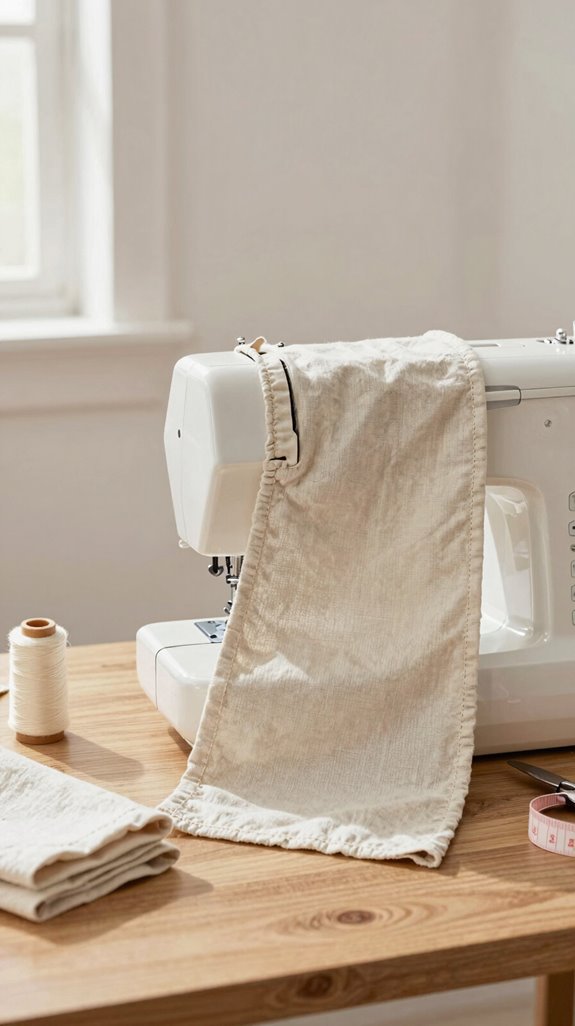
A neutral cotton cover offers the same simple protection as canvas, but it feels softer, lighter, and easy to match with any sewing-room style!
- Choose 1/2 yard of solid or subtly woven cotton and matching thread for tidy machine storage.
- Measure the widest points, then add 1 inch for seams before cutting two front/back and two side panels.
- Serge or zigzag the top edges, fold them 1/2 inch, and topstitch 1/4 inch away for handle slits.
- Finish the hem the same way for reliable dust protection.
Want a polished upgrade? Add a matching lining, leaving a 3-inch turning gap—your sewing friends will notice!
Denim Patchwork Cover
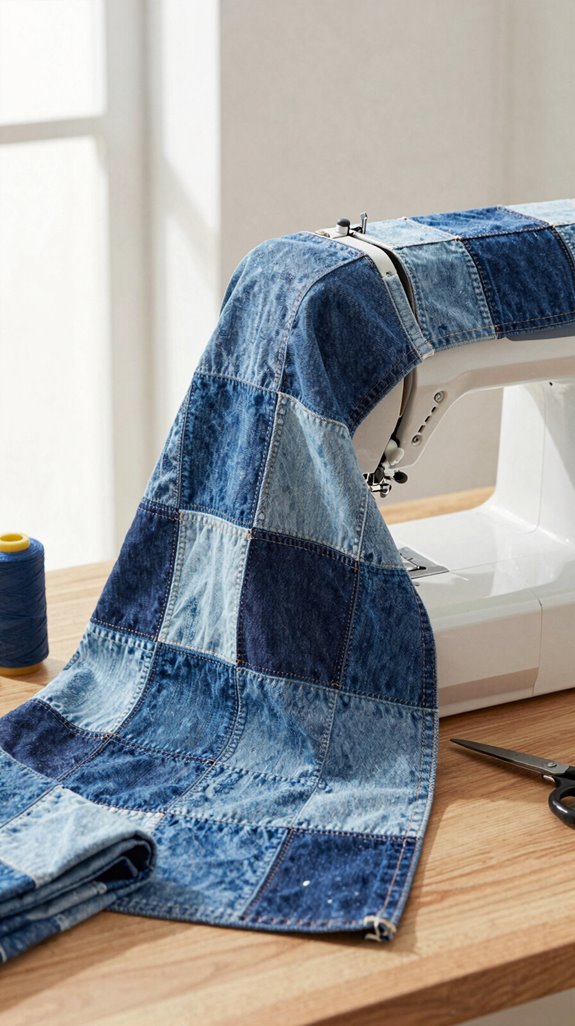
Turn old jeans into a rugged denim patchwork cover, and your sewing machine gets serious dust protection with plenty of handmade charm! Piece 2–3-inch scraps into front, back, and side panels, checking seam allowance accuracy as you size them.
Try bold color thread choices for visible topstitching, or match the denim for a quieter look. Finish, fold, and stitch the top edges to create handy handle slits, then hem the bottom neatly. Easy, budget-friendly, and totally your crew’s kind of project!
Want the surprise upgrade? Add a lining, or sandwich batting inside before sewing right sides together. You’ll get a sturdier, quilted-feel cover that stands up beautifully.
Boho Tassel Cover
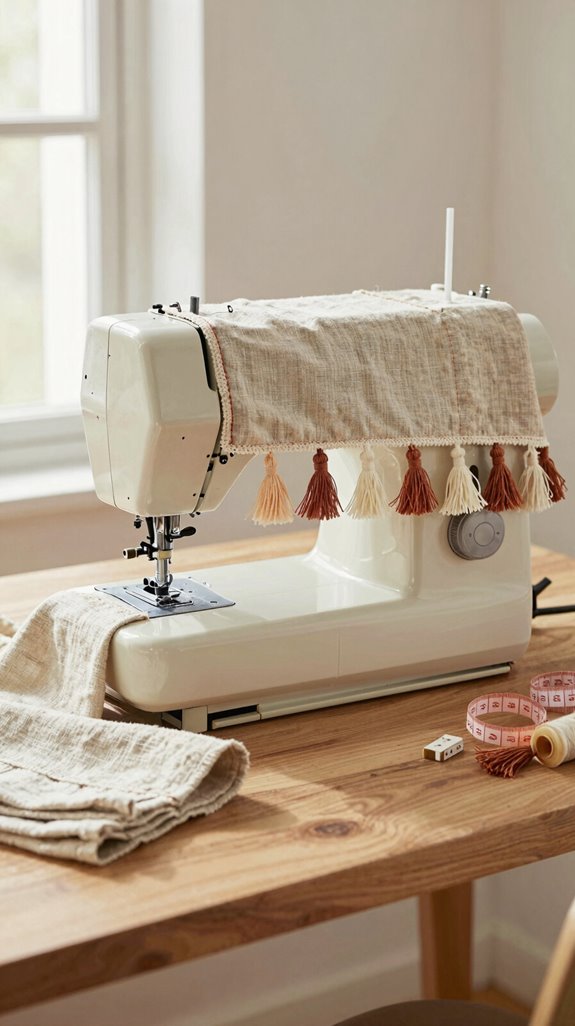
Bring a little festival flair to your sewing table with a boho tassel cover—it’s an easy beginner project that looks far fancier than it costs!
- Choose 1/2 yard of cotton, denim, canvas, or vinyl; fabric weight choices help you match your sewing-room vibe.
- Add seam allowances, plus 2 inches in height, then cut two front/back and two side pieces.
- Finish the handle opening, stitch seams at 1/2 inch, and hem the bottom neatly.
- Save the magic for last: tassel placement along the front hem or sides creates a playful, welcoming finish without blocking the handle.
You’ll have a cover that feels handmade, happy, and totally part of your creative crew!
Christmas Sewing Machine Cover
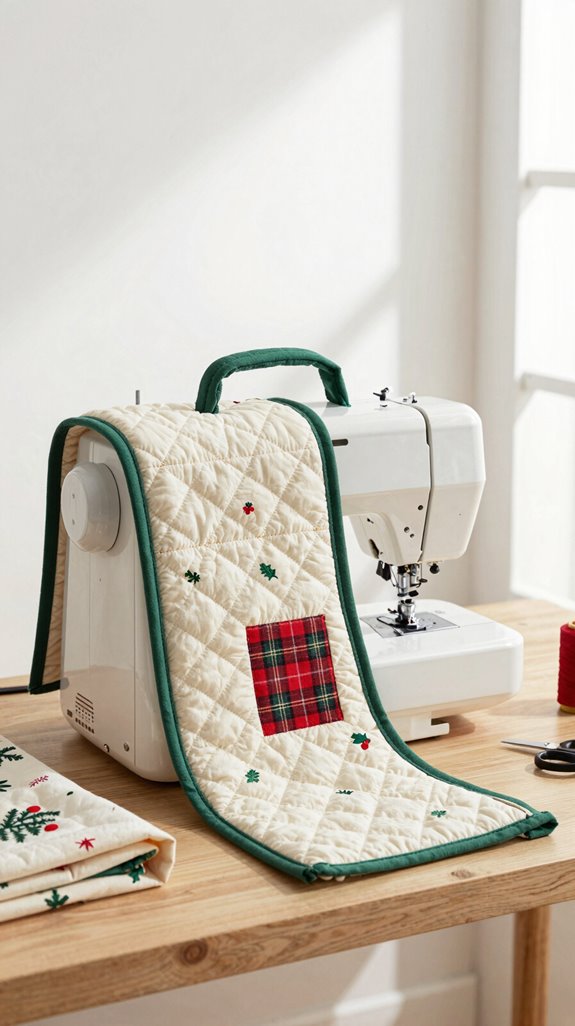
Nothing says “ready to sew” like a Christmas sewing machine cover dressed in candy-cane stripes, snowy florals, or a cheerful vintage Santa print!
Choose holiday fabric choices in cotton, canvas, denim, or vinyl, then measure length, height, and side widths, adding seam room and extra height.
Cut two front/back panels and two sides, mirroring tapered sides. Add quilting, a festive panel, or embroidery to the front before sewing—your machine gets its own party outfit!
For a tidy handle opening, serge or zigzag it, fold the edge down, and topstitch.
Want the coziest upgrade? Sew in a protective dust lining, turn through a bottom gap, and topstitch closed.
Halloween Cover
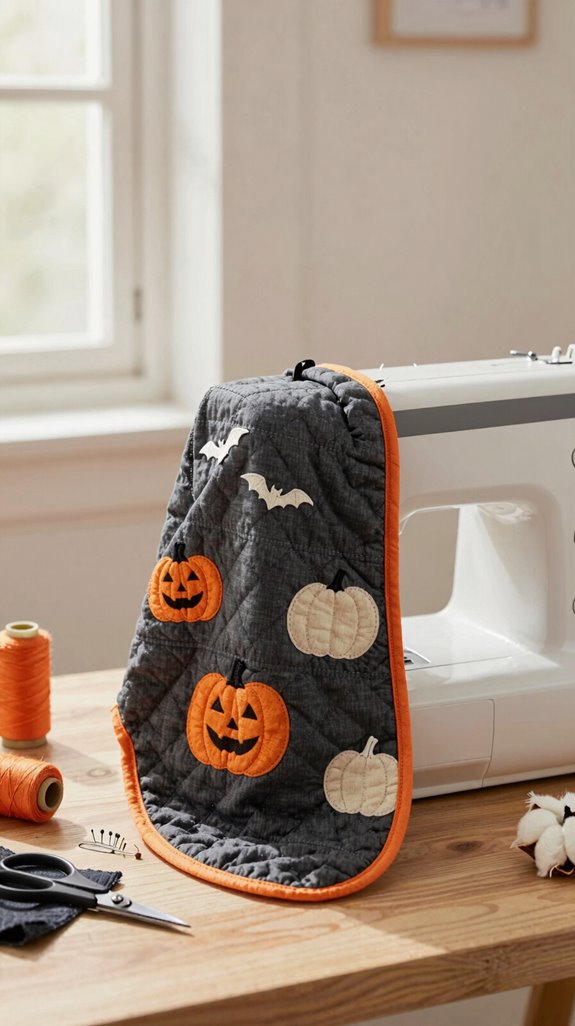
After the Christmas prints come down, let your sewing machine join the spooky fun with a Halloween cover in black cats, orange pumpkins, bats, or moody purple florals—so cute!
- Measure the widest, tallest point, adding 1 inch for seams and 2 inches of height.
- Cut front, back, and mirrored side pieces; zigzag handle-slit edges, then topstitch.
- Add waterproof lining and a pocket for needles or scissors—your sewing crew will love it!
- Box corners, hem the bottom, and finish with contrast bias tape or an easy zipper.
You’ll get a crisp, cozy cover that protects corners and looks wickedly polished!
Spring Floral Cover
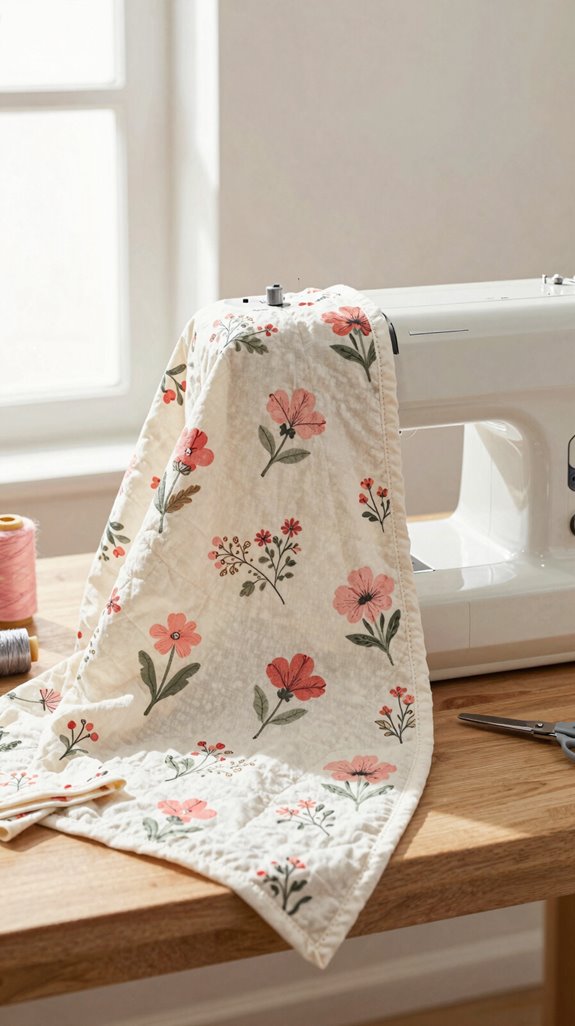
Why not give your sewing machine a fresh little garden of its own? Choose floral cotton or spring quilting fabric, then add batting for a cozy dust barrier. It’s an easy, cheerful project your sewing circle will admire!
Measure height, knobs included, and side widths; add 1 inch for seams and 2 inches to the height. Cut two front/back panels and mirrored sides.
Finish the handle opening, then stitch with 1/2-inch seams, easing curves gently.
Hem the bottom neatly.
For extra polish, add a lining and turn through a small gap—surprise, it looks boutique-made!
Smart Fiber care and fabric durability keep your cover blooming beautifully.
Waterproof Utility Cover
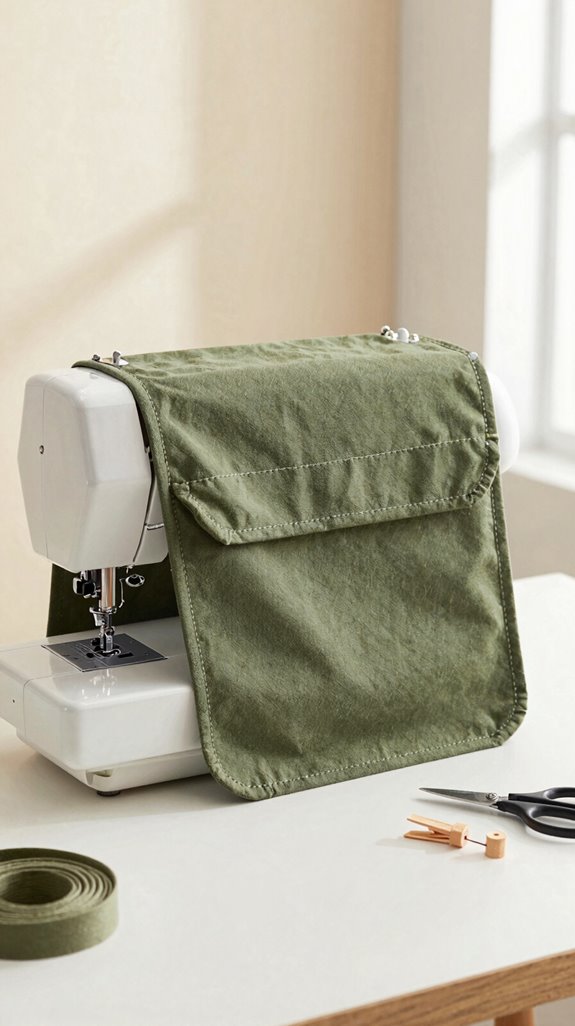
For a cover that can handle splashes, dusty shelves, and the occasional chaotic craft-room moment, try a waterproof utility version!
- Choose vinyl or coated canvas, plus a cotton lining to fight mildew.
- Check Sewing machine fit: measure wide and tall, add one inch, plus two for knobs.
- Cut panels, zigzag raw edges, and sew ½-inch seams.
- Finish with waterproof seam sealing, boxed corners, and a hemmed handle opening.
You’ll get a sturdy cover that feels right at home with your sewing crew!
It’s beginner-friendly, costs little fabric, and keeps its shape during storage or travel—no floppy, sad cover drama!
Personalized Name Cover
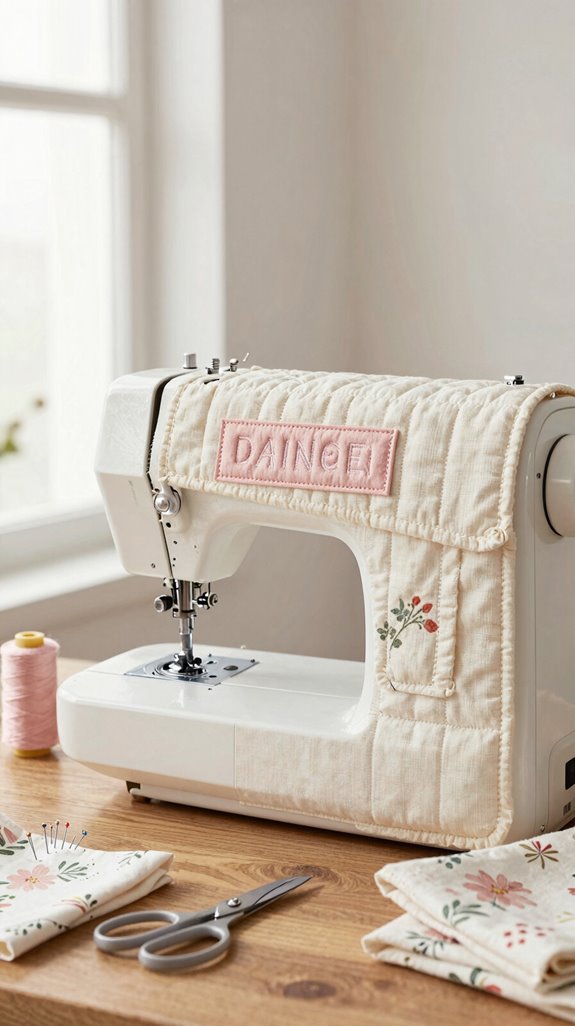
Give your sewing machine cover its own little spotlight with a personalized name patch—because “Mom’s Machine” deserves better than a sticky note!
Measure the machine’s height and width, add seam allowances, and allow extra room over knobs.
Use cotton, canvas, or denim that matches your cover, then cut the name panel wider than the letters.
Plan lettering placement below any handle slit, so carrying stays easy.
Appliqué letters with satin stitch or zigzag, or quilt them onto the outer layer before assembly.
Serging raw edges helps!
For durable finishing, topstitch around the patch and finish cover edges with a zigzag.
Your machine gets a polished, proudly yours look!
Pocket Storage Cover
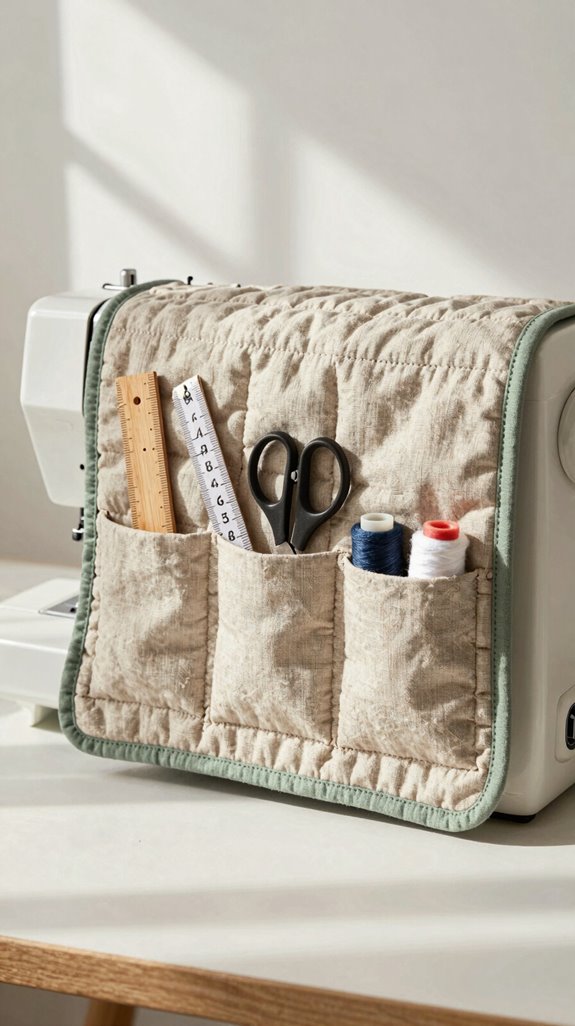
A name patch makes your cover feel personal, but a roomy pocket makes it work harder—yay for storage that doesn’t vanish into a drawer!
Try this beginner-friendly upgrade with matching fabric, thread, and a snap or button.
- Use Pocket size planning to measure dead space, avoiding the handle gap.
- Cut a deep front or side pocket with 1/2-inch seam allowances.
- Zigzag or serge edges, then topstitch the opening neatly.
- Follow closure placement tips: add a flap or snap to keep needles, scissors, and snips secure.
Sew it on before assembling cover sides, press it flat, and enjoy a tidy sewing-circle *necessary*!
Embroidered Cover
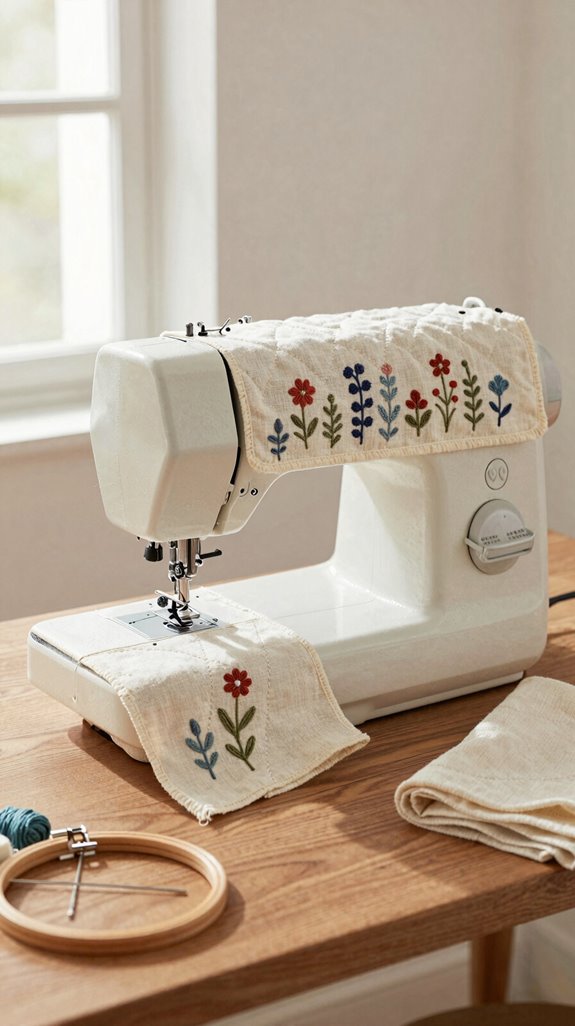
Turn a plain sewing machine cover into a tiny piece of fabric art with embroidery—so fun, and much easier than it looks!
Choose cotton, canvas, denim, or vinyl, plus matching thread.
Check a thread weight selection chart and hoop size guide, then mark a centered design or corner motif on the front panel only.
Keep clear of the handle slit and side seams—no one wants a flower trapped in a seam!
Embroider before assembly, then serge or zigzag raw edges and topstitch.
Adding a lining? Sew identical covers right sides together, leave a 3-inch gap, turn, and close it.
Finally, fit-check for flat stitches and a aligned handle opening.
Reversible Cover
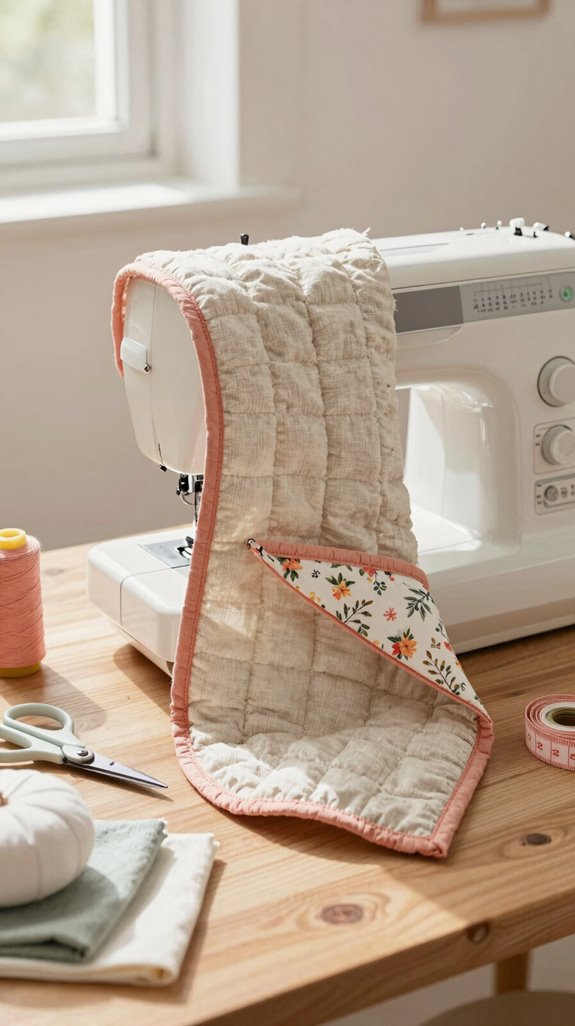
Want two looks from one sewing machine cover? You’ll fit right in with this clever, beginner-friendly project!
- Pick two contrasting fabrics for your fabric choice—one for front and back, another for sides.
- Sew a boxy shape with few gaps, keeping dust out on either side.
- Finish both top and bottom edges alike: zigzag, fold, press, and add reversible topstitching.
- Fold and stitch a matching handle opening, then add double-fold bias binding for a crisp finish.
Flip it whenever your sewing space needs a refresh! Both sides look polished, and the binding delivers the surprise: durable style, no inside-out awkwardness.
Ruffle Edge Cover
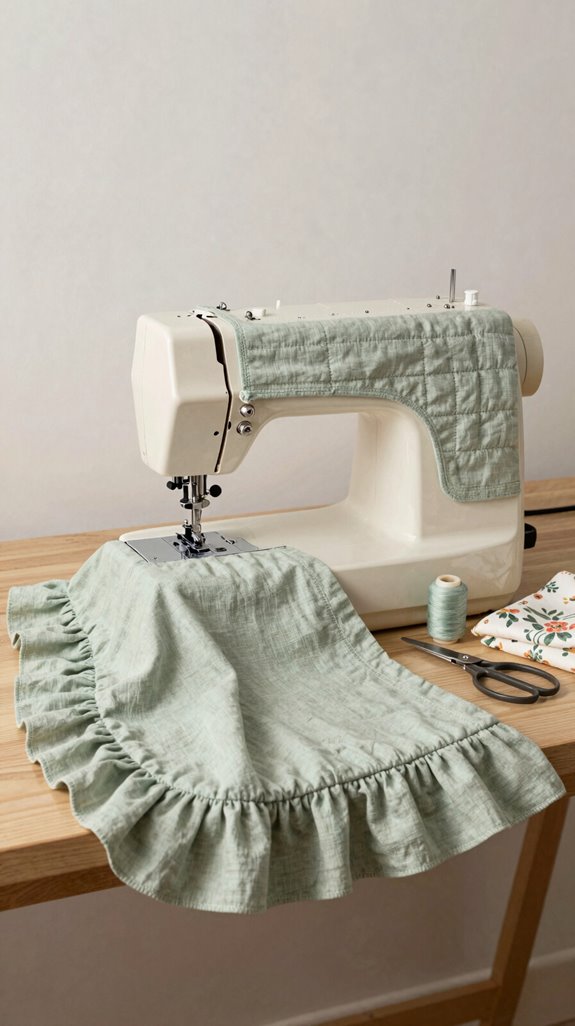
Give your sewing machine cover a little swish with a ruffle edge—because even practical projects deserve some flair! You’ll fit right in with fellow sewists who love a cozy, handmade look.
Measure the machine’s widest point and full height, including knobs, then add seam allowances. Cut front, back, and side panels, finishing the top edge first.
For simple materials, use cotton fabric, thread, pins, and a serger or zigzag stitch. Gather a long fabric strip until it matches the top perimeter, then sew it on with a 1/2-inch seam allowance.
Make draping fit adjustments before hemming. Careful frill seam finishing keeps curves smooth—and preserves the handle gap!
Modern Geometric Cover
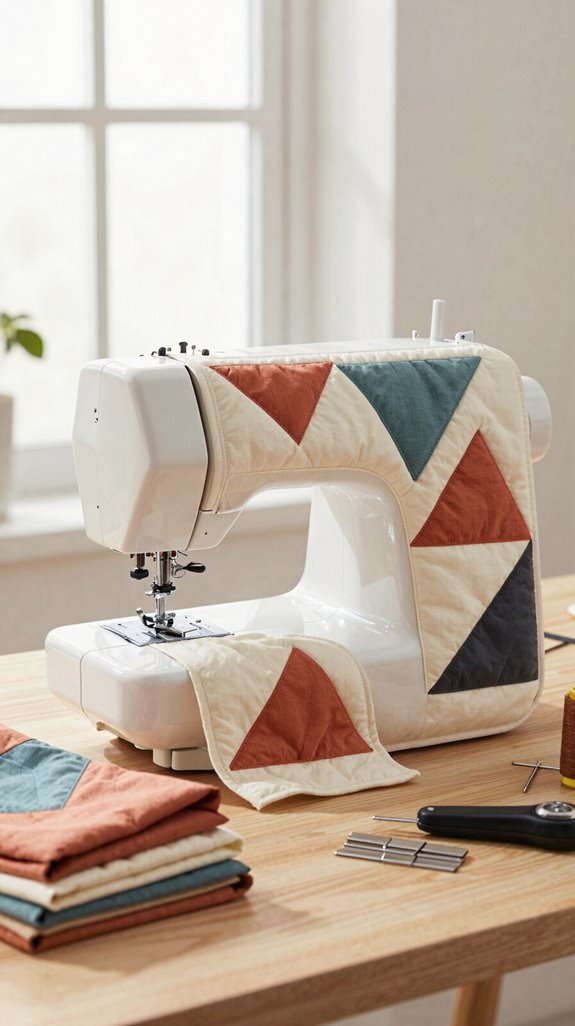
A modern geometric cover makes your sewing station look instantly sharper, especially when you choose a bold print with clean lines, triangles, or color blocks—hello, mini studio makeover!
- Choose ½ yard of cotton, canvas, denim, or vinyl for fabric durability and vibrant geometric color.
- Cut two front/back and two side panels, adding ½-inch seam allowances; mirror angled sides.
- Finish handle slits, then stitch panels together at ½ inch, pinning curves carefully.
- Hem the bottom, or add a lined version for a polished surprise!
You’ll get a practical cover that feels right at home among fellow modern makers. Leave a 3-inch turning gap in the lining, close it, and topstitch neatly.
Gingham Fabric Cover
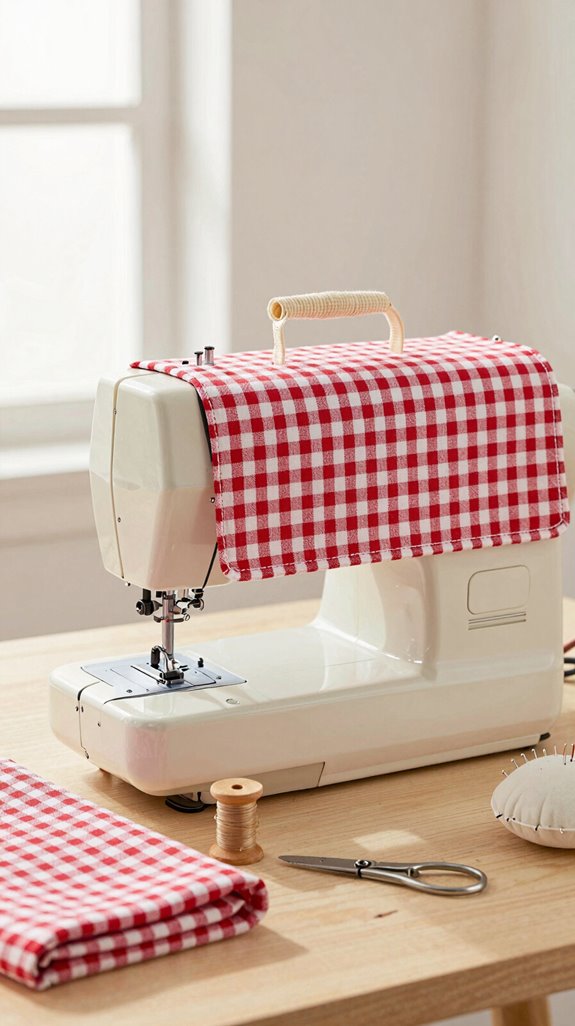
Nothing says cozy sewing corner quite like a gingham fabric cover, with its cheerful little checks and farmhouse-style charm—so cute, right?
Choose sturdy cotton or canvas for fabric durability, then add a simple lining to block dust and keep it polished.
Measure your machine’s widest height and width together, adding one inch per main dimension for easy 1/2-inch seams.
Pattern matching matters, so use matching thread and sync the checks before sewing side panels; press seams flat.
For a handle opening, fold, press, and topstitch a hem.
Zigzag raw edges, hem the bottom, and voilà—your machine joins the sewing-club look!
Cottagecore Cover
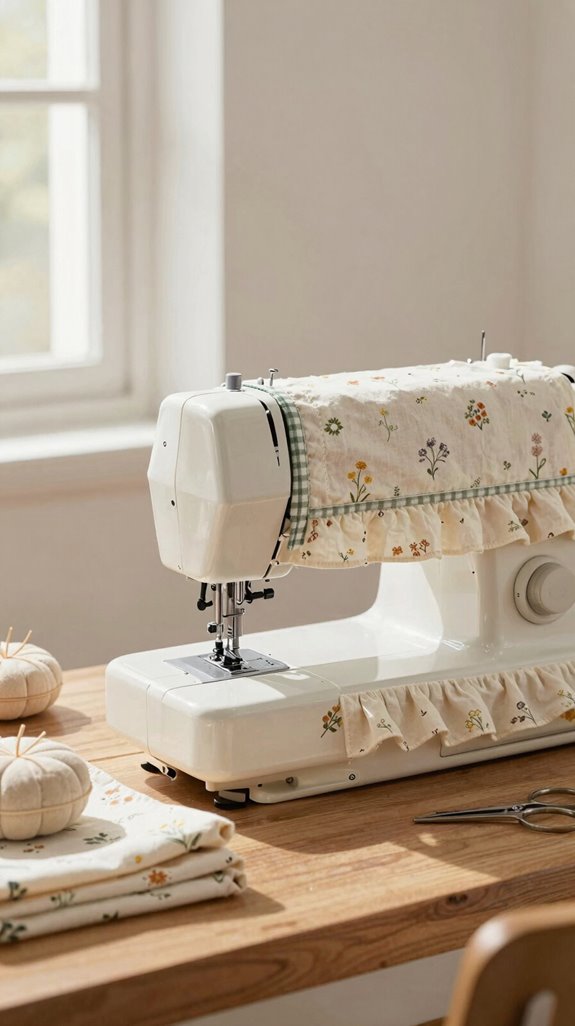
Because cottagecore style loves a little handmade charm, this sewing machine cover turns everyday dust protection into something straight from a sunny storybook!
- Choose 1/2 yard cotton, canvas, or denim plus 1/2 yard lining.
- Cut boxy panels, adding seam room and 2 inches of height.
- Bind the bottom, add button details, and sew a roomy notions pocket.
- Zigzag edges, fold, and topstitch handle slits neatly.
You’ll create cottagecore charm that feels right at home in your sewing nook!
For a sturdier, softly quilted finish, use a walking foot, box the corners, then topstitch.
Your machine stays dust-free, and your creative corner looks delightfully welcoming.
Kids Sewing Machine Cover
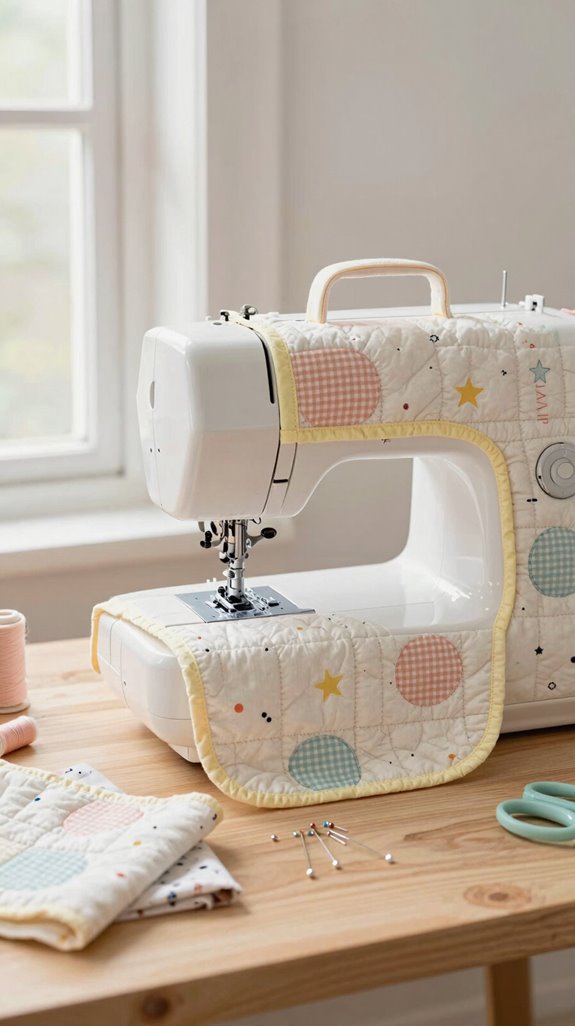
Kids’ sewing machines deserve a cover that’s as bright and hardworking as their next big project—glittery dinosaur pillow, anyone?
For smart machine cover sizing, measure the tallest knob, add 1 inch for seams and 2 inches for the top rollover.
Choose denim or canvas—great for kids fabric safety when it’s clean, sturdy, and free of loose decorations.
Cut two front/back panels and two sides, leaving a center handle gap.
Serge or zigzag the edges, fold the opening 1/2 inch, and topstitch.
Then test-fit it with the machine centered.
If it slips, tighten seams by 1/4 inch.
Add a fun lining for a cheerful clubhouse-ready finish!
Travel Dust Cover
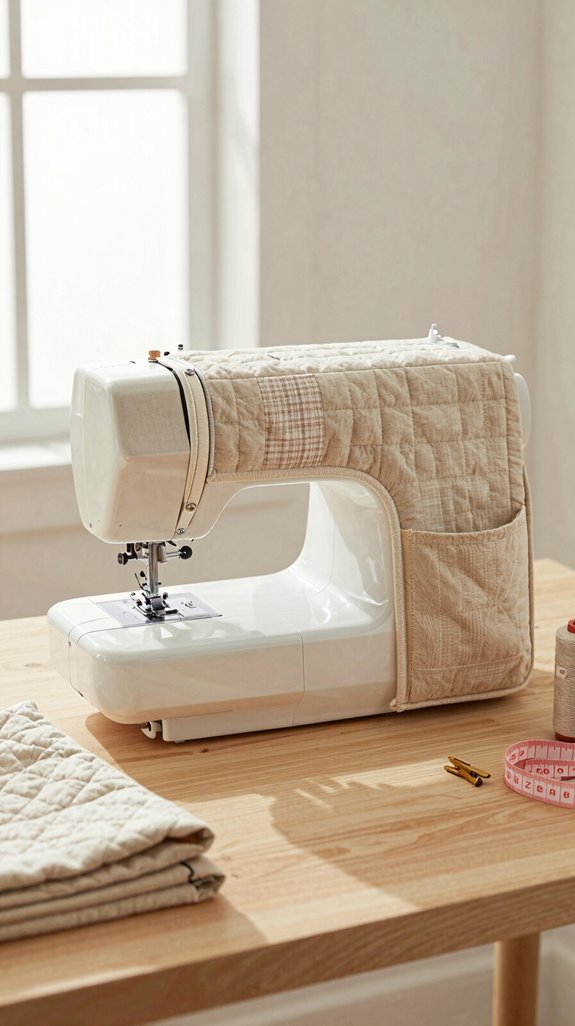
A travel dust cover keeps your sewing machine clean, cushioned, and less likely to collect mystery crumbs on the road—always a win!
- Measure the widest, tallest spots, then add 1 inch total for tidy seams.
- Cut outer and lining fabric, about 1/2 yard each, and zigzag edges to stop luggage fray.
- Finish and fold the top edge, creating a neat handle slit for your machine strap.
- Stitch layers right sides together, turn through a 3-inch gap, then topstitch and hem the bottom.
You’ll join fellow makers with smarter travel organization ideas—and a cover that stays put!
Heavy Duty Canvas Cover
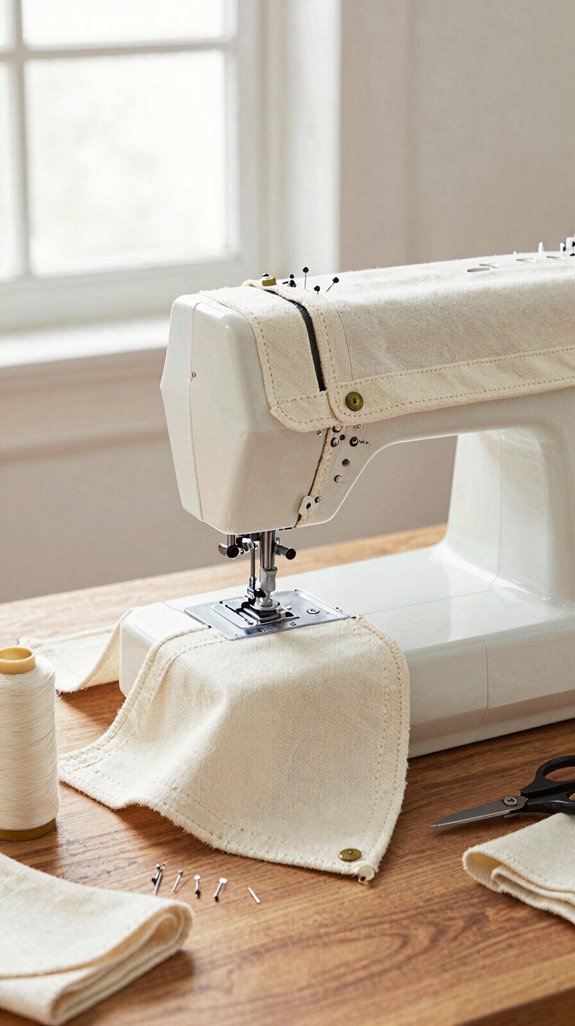
For a cover that can handle daily dust, busy craft rooms, and the occasional wandering snack crumb, heavy-duty canvas is a fantastic choice!
You’ll need 1/2 yard cotton duck canvas, matching thread, and a serger or zigzag stitch. In the canvas vs denim debate, canvas feels sturdy yet easy to sew.
Measure your machine, including knobs, then add 1 inch for seams. Cut front, back, and mirrored sides, or trapezoids for narrow tops. Finish fraying edges, sew, and hem the bottom.
Want a surprise upgrade? Add a lining and waterproof sealing for storage-ready protection. Your sewing corner will feel polished, practical, and proudly yours!
Striped Fabric Cover
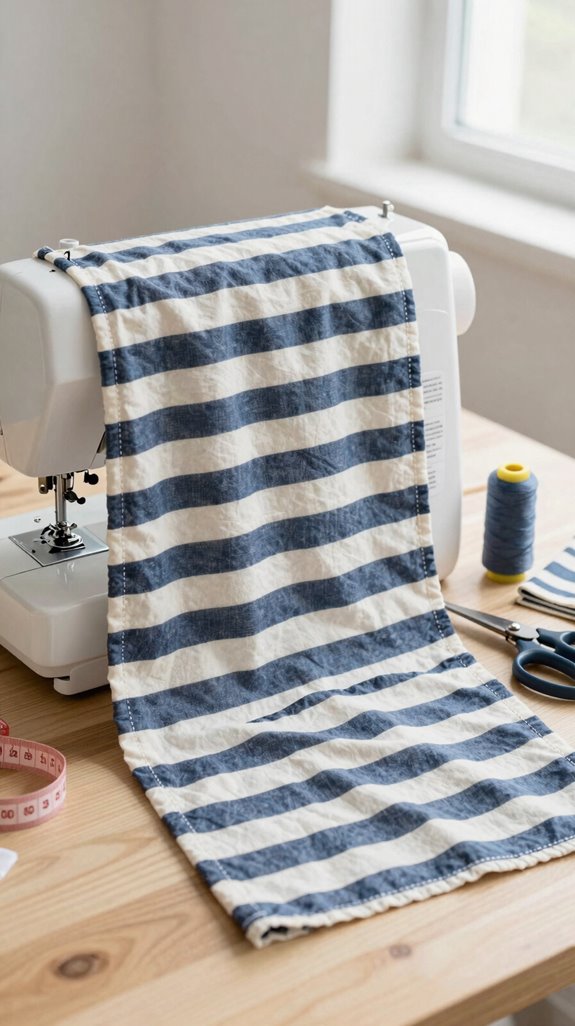
Striped fabric turns a basic sewing machine cover into a cheerful little statement piece—no skillful skills required!
- Measure the widest, tallest point, then add 1 inch for seams. Cut two front/back rectangles and two sides.
- Finish only the front/back top edges, fold 1/2 inch, and topstitch to create the handle opening.
- Pin right sides together, leave the center open, then sew sides with 1/2-inch seams. Go slowly—stripes love to wander!
- Zigzag the bottom, fold and stitch a neat hem.
Skip Choosing zipper, adding binding, or using interfacing; your bright, smooth cover already looks wonderfully polished.
Button Closure Cover
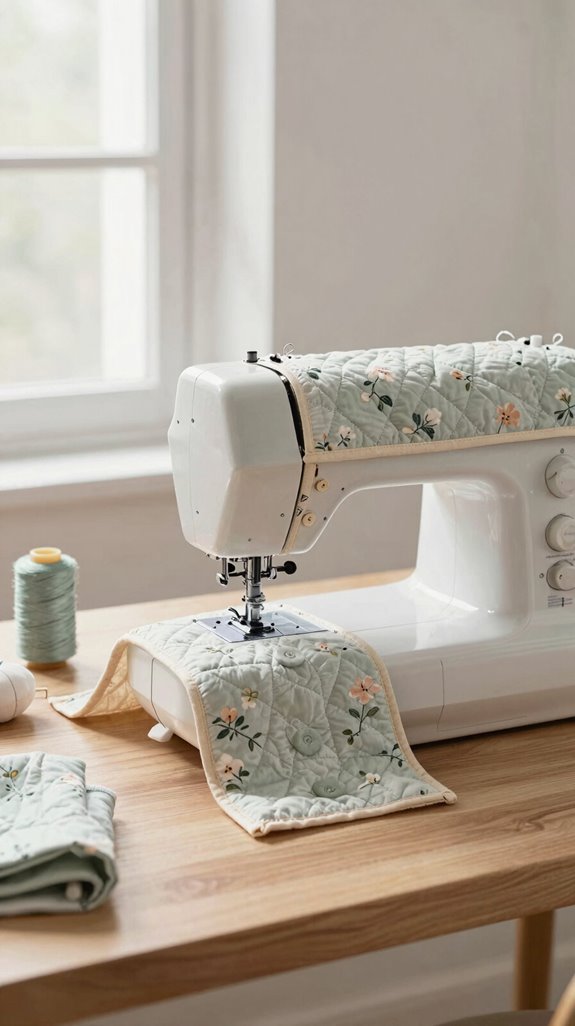
Button Closure Cover gives your sewing machine a tidy, tailored look, and you can make it with basic fabric, matching thread, a sturdy button, and a small piece of interfacing—easy peasy!
Measure the opening at the top/back overlap, then add 1/2–1 inch seam allowances before cutting. Finish flap edges with staystitching, zigzagging, or weatherproof seams so they won’t stretch or fray.
Add an easy lining if you’d like a polished inside. Reinforce the buttonhole with interfacing, especially on cotton.
Then place the cover on your machine, mark the button spot, and sew it through several times. A large shank button creates a snug, durable finish—your sewing crew will notice!
Lace Trim Cover
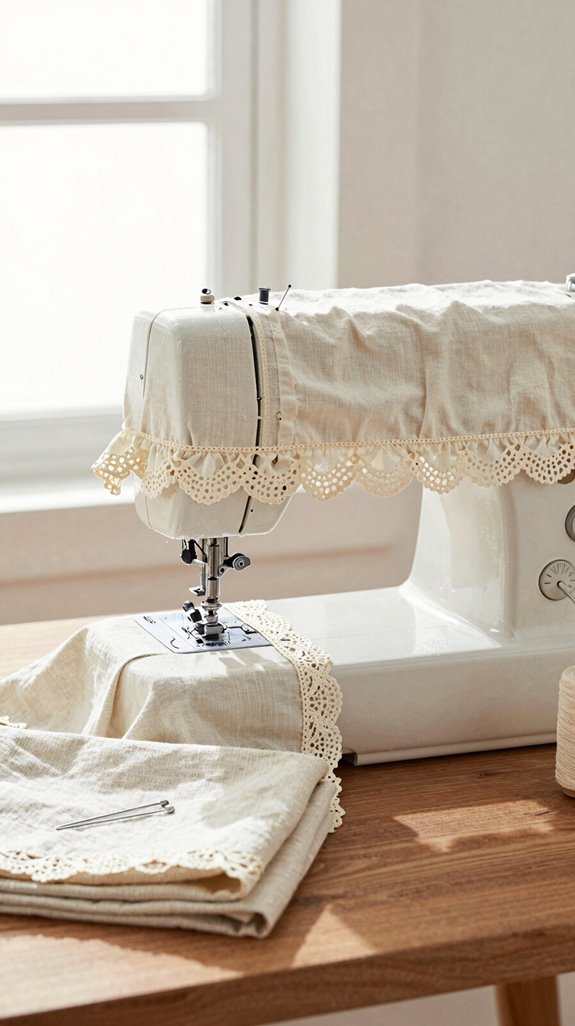
A lace trim cover gives your sewing machine a sweet, vintage-style upgrade without turning the project into a fussy marathon—hooray! You’ll need lace, thread, pins, and your trusty machine.
- Cut your cover with usual seam allowances, then finish raw edges with a serger or zigzag stitch.
- Press the handle-slit seam first; neat topstitching techniques keep the opening smooth.
- Plan lace placement around the outside perimeter only, so the bottom hem stays slim.
- Baste lace around curves, ease corners gently, and topstitch with a 1/4-inch guide.
For extra polish, sandwich lace between outer fabric and lining, trim the seam allowance, then turn it out. Your sewing circle will swoon!
Choosing Batting and Interfacing
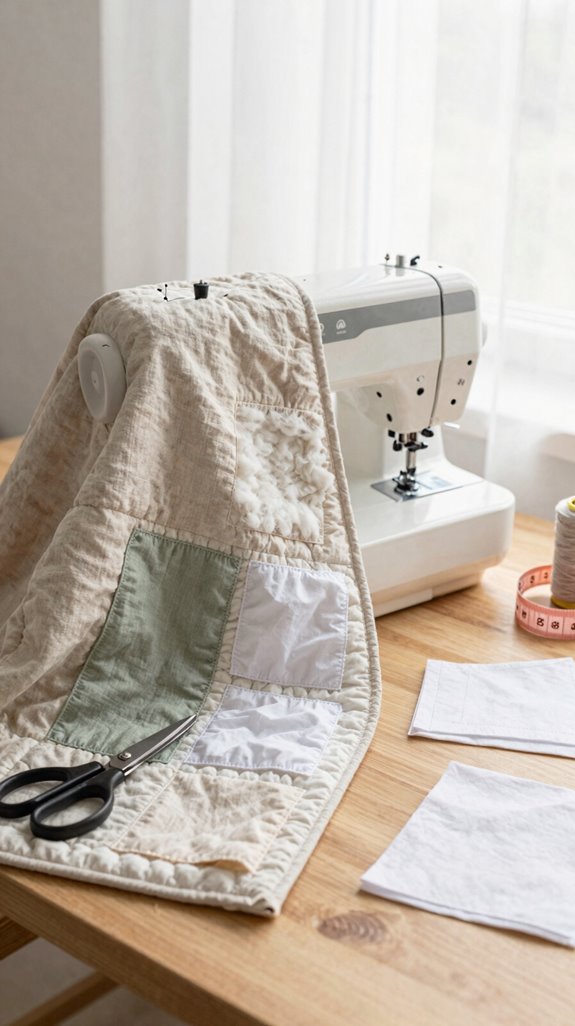
Choosing the right batting and interfacing helps your sewing machine cover feel cozy, hold its shape, and actually protect your machine—win-win! Your Batting thickness choice matters: thin 1/4-inch batting suits lightweight quilting cotton, while medium-loft 1/2-inch batting adds cushion yet still folds neatly.
For a quilted cover, layer outer fabric, batting, and optional backing, then use a walking foot to keep everything from doing the shuffle. Cut batting 1–3 inches larger, then trim it after quilting.
Your Interfacing placement strategy can stay simple: reinforce handle openings and boxed corners only. Test scraps first—sturdy canvas loves heavier batting, but overly stiff fabric won’t hug your machine smoothly!
Tips for Measuring Your Machine
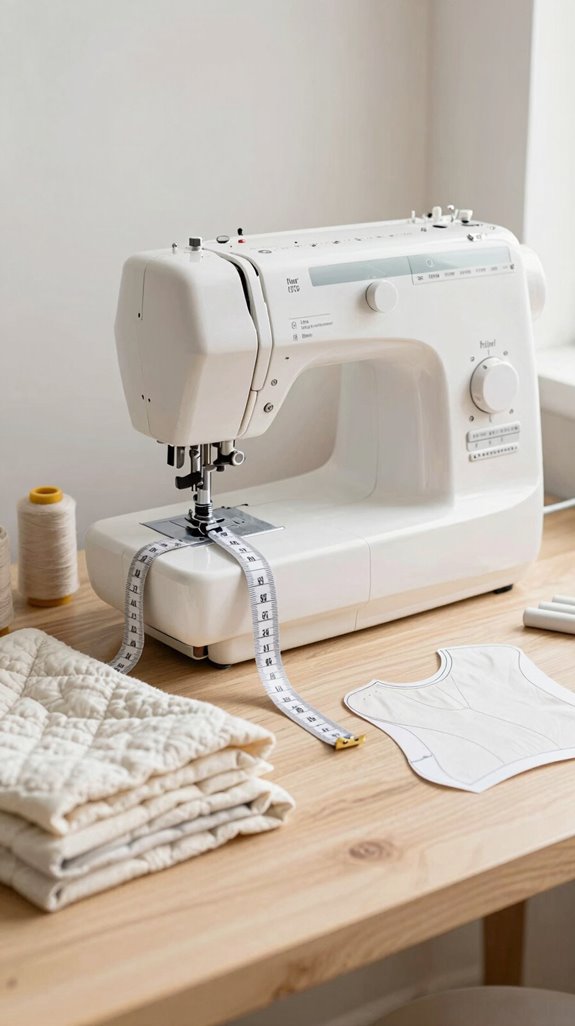
Getting the measurements right is the secret to a cover that fits like it was made for your machine—because it was! These measuring tips help your Fabric fit feel polished, just like the covers our sewing crew loves.
- Measure height and width at the tallest, widest spots, including knobs, then note the total.
- Add 2.5 inches, divide by two, and round to a half-inch.
- Measure width plus depth around the machine, add 3 inches, then round.
- Check depth for boxed corners, and include handle clearance—this is the game-changer!
A 7¾-inch depth rounds to 8 inches, so your cover won’t squeeze like skinny jeans.