17 Hand Clay Pottery Ideas for Creative Handmade Decor
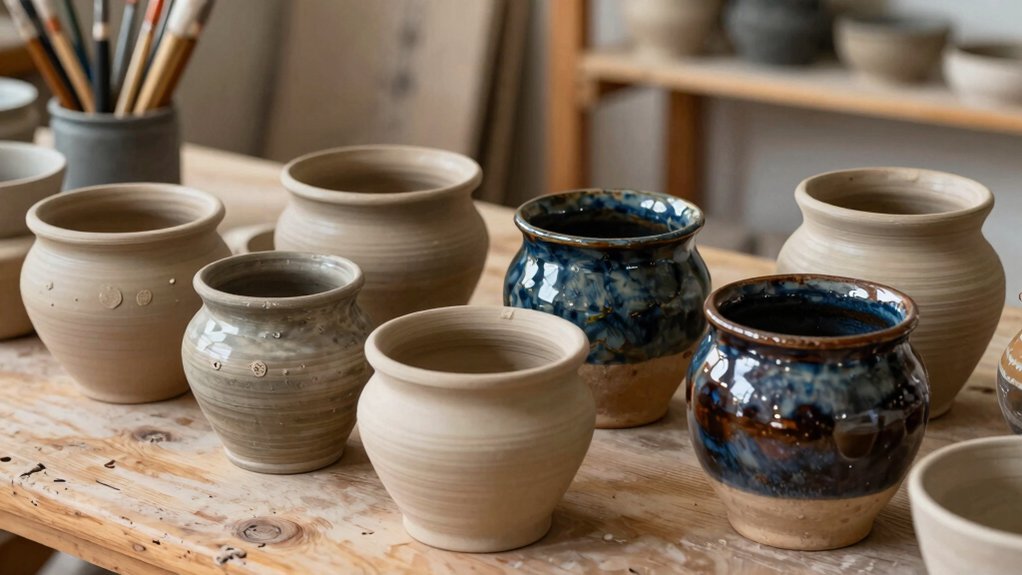
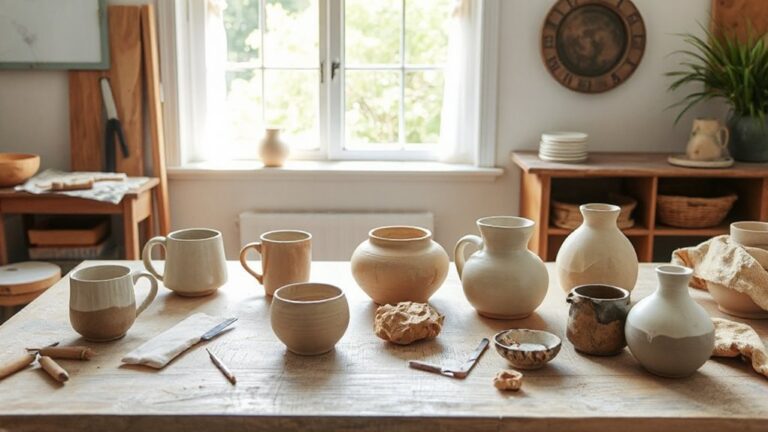
You can make 17 fun hand clay decor ideas, like tiny bowls, soap dishes, tealight holders, mugs, vases, spoon rests, and lidded boxes, all without a wheel. Grab clay, water, a sponge, and simple tools, then pinch, roll, slab, cut, and press in texture for custom charm. Start with easy shapes, let pieces dry slowly, then bisque and glaze for a polished finish, and save the coolest surprise projects for the final few ideas!
Love cozy DIY projects? 💕
Get free printable guides, exclusive tutorials & surprise craft goodies straight to your inbox.
Disclosure: This post may contain Amazon affiliate links, at no extra cost to you. Content on DiyCraftNest is created with research support from AI tools and carefully reviewed, edited, and fact-checked by the lead author, Daniel Pat, to ensure accuracy and reliability. Learn more
Key Takeaways
- Hand-build clay without a wheel using pinch, coil, and slab methods for beginner-friendly handmade decor.
- Make useful decor like soap dishes, tiny bowls, trays, spoon rests, and mini vases from 1/4-inch slabs.
- Create tealight holders and light-filtering pieces by cutting openings and keeping walls even for safe firing.
- Add texture with stamps, rollers, or stencils while the clay is leather-hard for crisp, decorative details.
- Let pieces dry slowly, bisque fire, glaze carefully, and fire again for durable finished handmade pottery.
What Is Hand-Building Clay
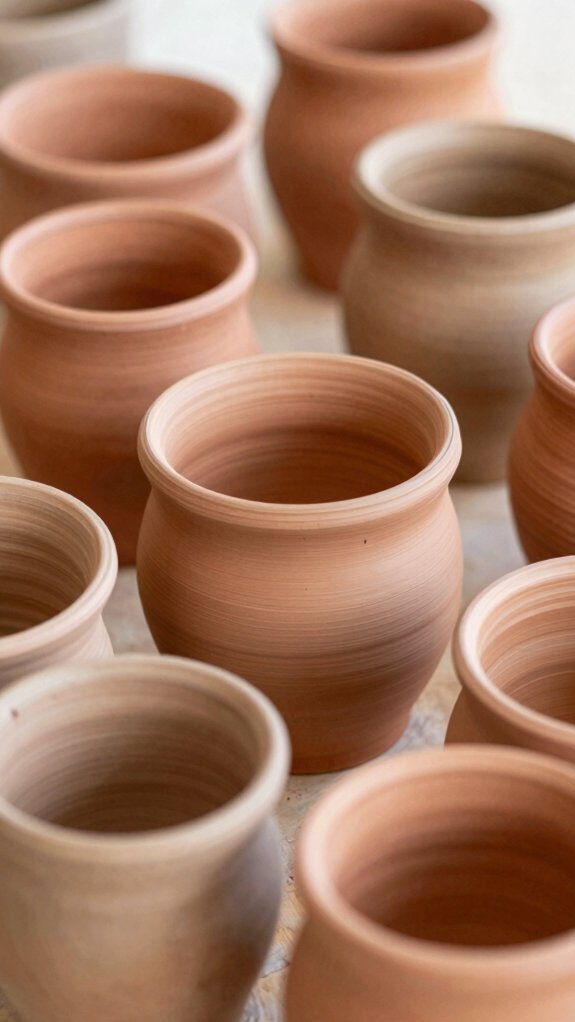
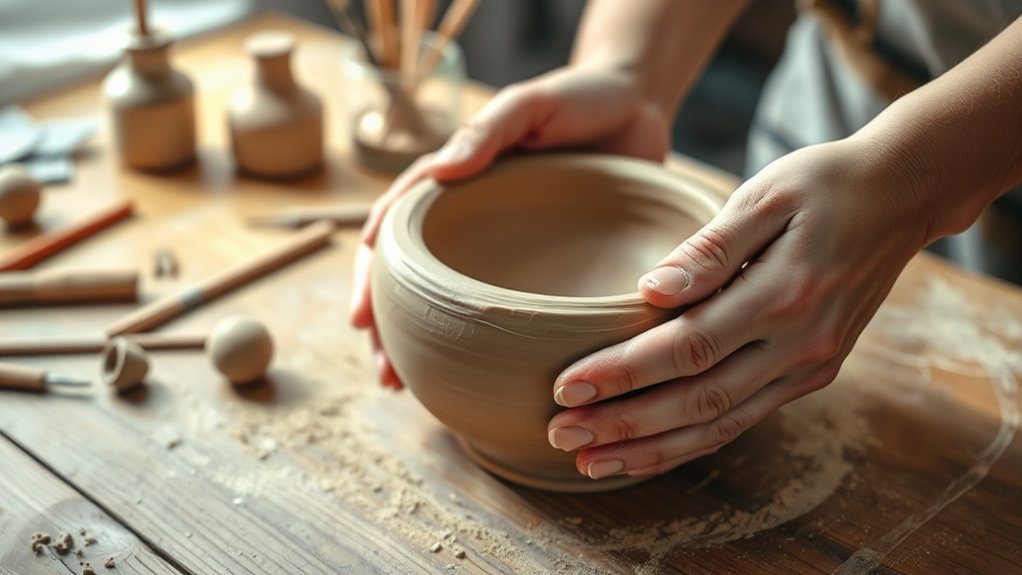
When you hand-build clay, you shape it completely by hand instead of spinning it on a wheel, which makes it feel a little more personal and a lot more fun! You can pinch a small ball into a tiny bowl, coil ropes into a vase, or roll slabs to make plates and trays.
For Beginner safety, keep your workspace tidy and your hands damp, not dripping. Watch clay drying so pieces don’t crack, then follow glazing tips after bisque firing.
Your firing schedule matters, because firing turns soft clay into sturdy ceramic. Best part? You get handmade pieces that look charming, even if they’re a little wobbly!
Why Slab Pottery Is Great for Beginners
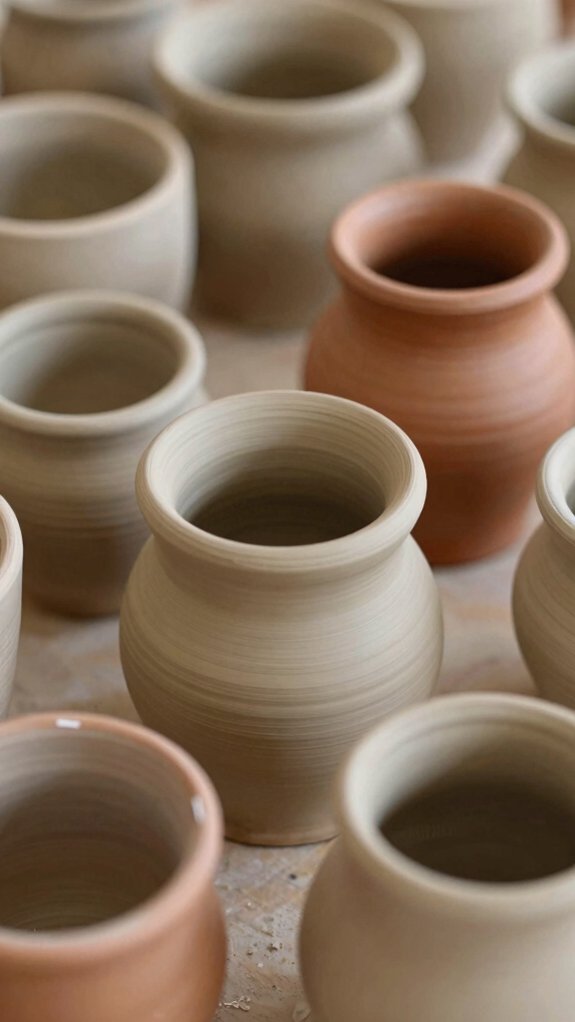
Slab pottery is a fantastic place to start, because you roll clay into flat sheets, cut it into simple shapes, and build things without a wheel—so it feels way less intimidating right away! You’re learning with the crew, not alone, and every little piece can feel like yours.
| Try | Feel |
|---|---|
| small bowls | proud |
| spoon rests | calm |
| trays | capable |
| stamps | creative |
Use basic tools, start around 1/4 inch thick, and practice seams, edges, and textures. These slab troubleshooting tips help a lot. Then comes kiln drying patience, and that wait makes the reveal sweeter—honestly, it’s like clay’s tiny surprise party!
Tealight Holders With Cut-Out Details
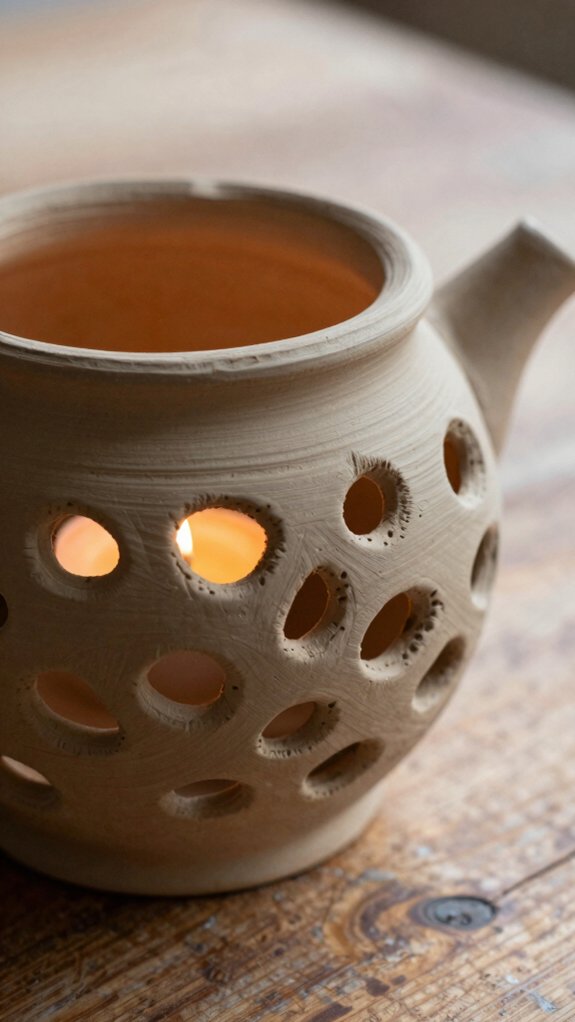
You can start with a simple slab cut-out shape, rolling and trimming a rectangular piece, then curving it into a cozy little cup for your tealight—easy enough, right?
Add a small template-made opening so the flame can glow through, and if you press in tiny stars, florals, or lines while the clay’s leather-hard, you’ll get crisp details that catch the light like magic.
After it dries, glaze and fire it, and you’ve got a handmade holder that looks elegant but still feels beginner-friendly!
Slab Cut-Out Shapes
A little cut-out magic can turn a plain clay tealight holder into a glowing showpiece! You’ll roll clay into a 1/4-inch slab, cut a rectangle, and curve it into a tealight shape. Smooth the seam, then use a template to place openings, or grab a cookie cutter for easy florals.
Keep the slab even for slump prevention tips and firing shrinkage control, so it won’t twist while drying. Want extra charm? Carve tiny details before joining.
After bisque and glaze firing, the cut-outs catch light and make your table feel like the friendliest little glow club ever!
Light-Filtering Details
When your tealight holder starts as a simple rolled slab, the real fun kicks in with the light-filtering details! You’ll curve and join the clay so the flame sits safely inside, then punch one neat opening for that cozy glow.
Next, add small cut-out patterns with a craft knife or cookie-cutter shapes, keeping them spaced so the walls stay strong.
Simple floral or vine lines can turn into sweet light-and-shadow magic later.
After drying, bisque fire for structure, then glaze fire for finish, with firing temperature choices and glazing safety tips helping your piece come out firm, pretty, and party-ready!
Template And Texture
For a cleaner cut-out look, start with a template before you touch the clay, and your tealight holders will suddenly feel much less “oops” and much more “wow!” You’ll fit right in with makers who love neat, matching sets.
- Roll a slab, cut a rectangle, curve it into a cup, and join the seam.
- Mark windows with printable guides, then punch or carve them so your tealight fits cleanly.
- Add stamps or rollers for texture, then finish edges before drying; glaze testing and firing schedules can make those vine details bloom beautifully!
Soap Dishes That Drain Water
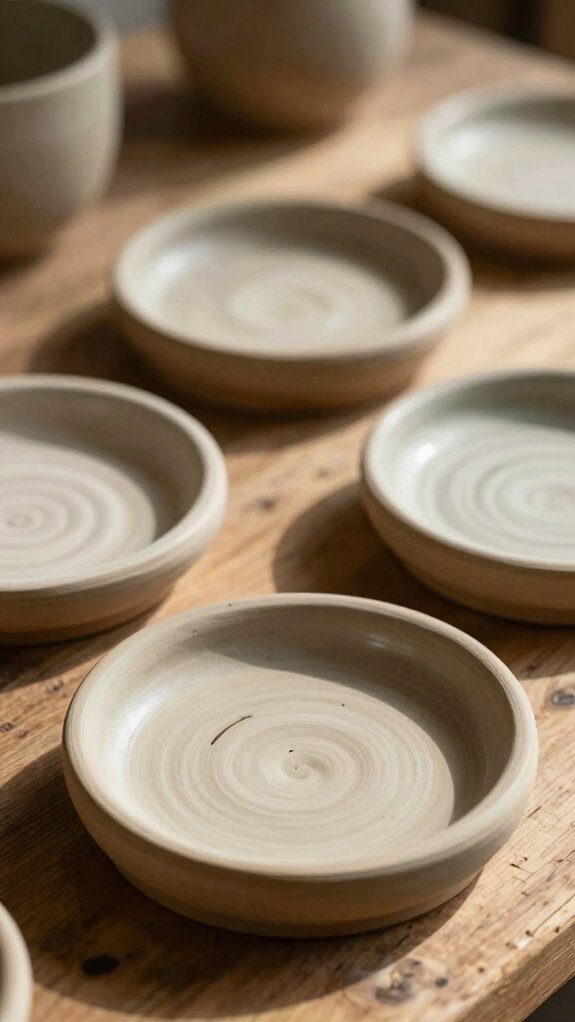
For a soap dish that actually helps your soap last, you can press a clay slab over a bowl, then shape a shallow drainage channel and place a few tiny holes at the lowest point so water can escape.
Add a little ridged texture on the base for grip, and to guide drips toward those holes instead of letting them puddle up like a mini lake.
If you’re glazing a kiln-fired piece, keep the drainage openings clear, because a blocked hole means your elegant dish just turned into a soggy soap spa!
Drainage Hole Placement
Drill in the details, and your soap dish will thank you later! Place 2–4 small holes near the lowest point before you shape it, so water channeling and an internal slope work together.
- Simple punch: Use a leather-hard slab, a cheap punch tool, and a steady hand. You’ll get clean drains, and it’s easy on the wallet.
- Even spacing: Spread holes across the base, not just one side, for preventing scum and quicker drying.
- Last check: Tilt the dish on a sink, and if water heads toward the holes, surface sealing isn’t trapping puddles—nice!
Molded Texture Details
Once your soap dish has its basic curve, texture can turn it from plain to playful, and wow, it’s easier than it sounds!
Roll your slab with a textured roller, or stamp in little patterns, then keep the drain area smooth so water can slip out.
A quick press of small ridges can guide drops toward the holes, like tiny clay road signs.
If you’re choosing stoneware vs earthenware, both work, but stoneware feels sturdier for daily use.
Add sculpted handle options if you want extra charm.
Let it dry fully, then test glaze on a scrap tile first!
Mini Vases for Shelves and Desks
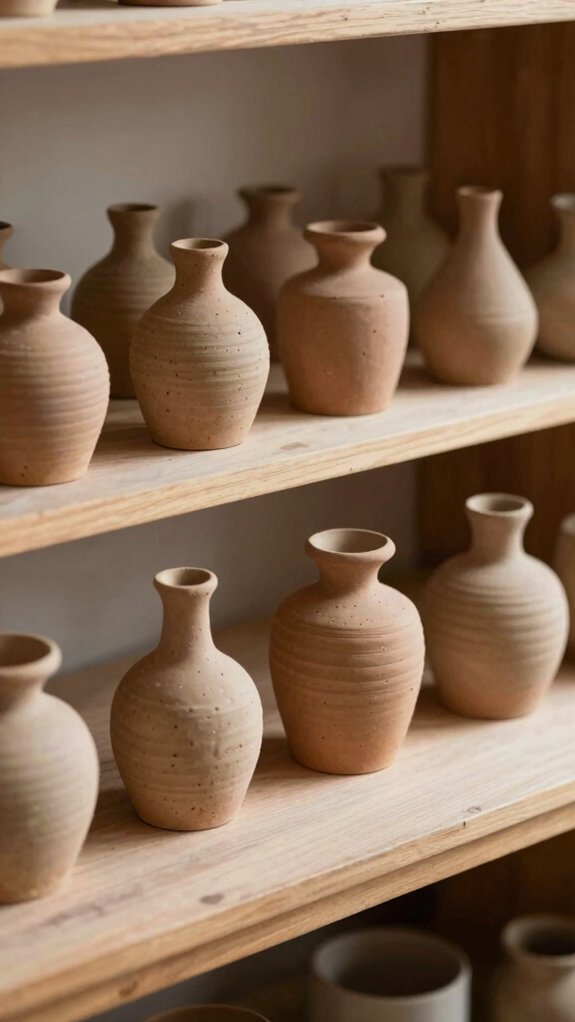
Tiny vases can really steal the show on a shelf or desk!
You can roll a slab into a small cylinder, keep it about 1/4 inch thick, and build a sturdy little home for single stems.
Add gentle vine or blossom texture, then let it dry fully before bisque firing.
- Quick form: Cut, wrap, and join the slab, then smooth the seam.
- Color play: Try small batch glazes, and compare how they pool on textures.
- Smart finish: Use waterproofing techniques in your two-stage firing plan for a glassy, lasting result.
They’re easy, low-cost, and oddly charming—like tiny desk cheerleaders!
Slab Vases With Simple Lines
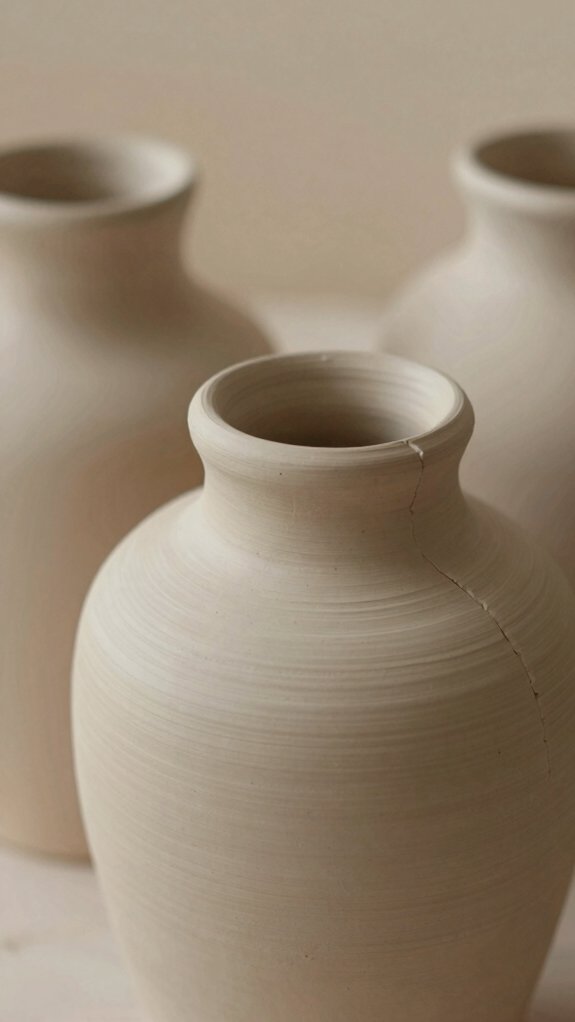
If mini vases made you smile, slab vases are like their taller, cooler cousins—still beginner-friendly, but with a sleek look that feels a little more grown-up.
Roll clay to about 1/4 inch, cut straight panels, and stand them up with hand building techniques that keep edges lined up.
Score, slip, and use clean seam finishing with a damp sponge or rib, then add a hidden coil or clay spine inside so the walls don’t slump.
Trim the rim level for a crisp top, and keep texture light—tiny lines or stencil marks look modern, not busy.
Nice, right?
Small Bowls for Snacks or Trinkets
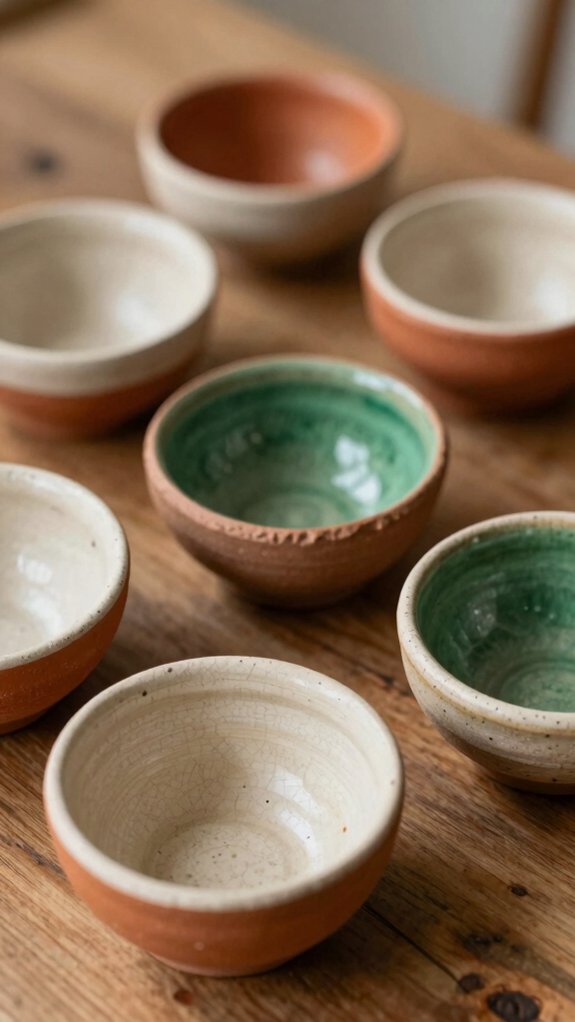
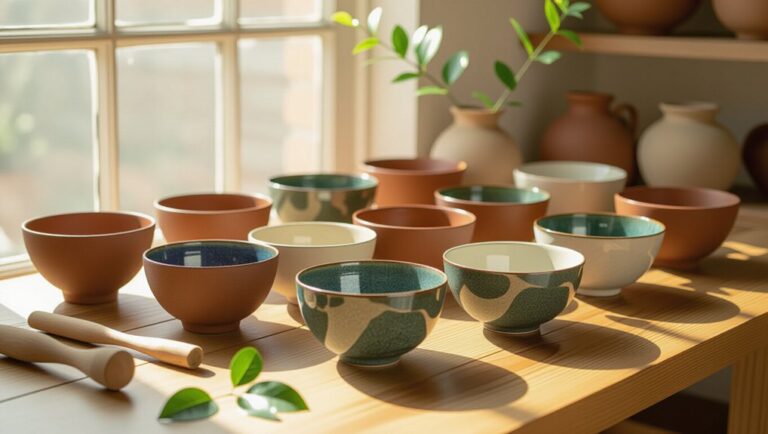
You can shape adorable little snack or trinket bowls by draping a clay slab over a bowl-shaped mold, then trimming the rim for a neat finish—easy, right?
For extra charm, press in a subtle floral vine texture before you form it, and if you want that “wow, I made this!” look, try a few glaze colors on a batch of mini bowls.
Want them to work hard too? Add tiny holes in the base for moisture-prone items, then glaze and fire them so they’re ready for everyday use!
Easy Snack Bowl Shapes
Snack-sized clay bowls are a perfect little win: they’re simple to shape, fun to personalize, and they look charming on a shelf or table!
- Roll a slab, drape it over a bowl mold, then trim the rim when it’s leather-hard. You’ll get a neat little snack bowl without elegant tools.
- Want it useful? Pierce one or two drainage holes, roughen the base, and test glaze safety at kiln temperature, with texture testing and drying consistency in mind.
- Make a few sizes at once, from dip bowls to trinket bowls, so you can share the set and see which shape feels best!
Trinket Bowl Texture Ideas
Tiny bowls don’t have to be plain at all—they can be the cutest little catch-alls on your table, and texture is what makes them pop! Press a slab over a small mold, keep the walls even, and add little holes if you’ll hold soap or damp fruit.
Next, try a textured roller, stamp, or stencil, even a Cricut-made one, for ceramic surface patterns that feel homemade and fun.
A shallow pinch bowl is cheap, easy, and fast, and those grooves help with glaze pooling control later, so colors settle in cozy little pockets.
After bisque firing, you’ll get a tiny treasure with big charm!
Glazing Small Bowl Finishes
Once your small bowl has dried all the way and survived its bisque firing, the fun part begins—glazing turns that plain little form into something glossy, colorful, and ready to show off. Your clay drying tips matter here, because a settled bowl won’t crack or warp, yay!
- Simple dip: Use a basic glaze, dip fast, and wipe the rim. Cheap, easy, and smooth.
- Brush layers: Paint thin coats for glaze thickness control, especially on carved spots. You’ll get depth without messy drips.
- Test tile check: Keep a sample nearby; colors can surprise you!
Then fire again, and boom—tiny treasure!
Simple Practice Cylinders
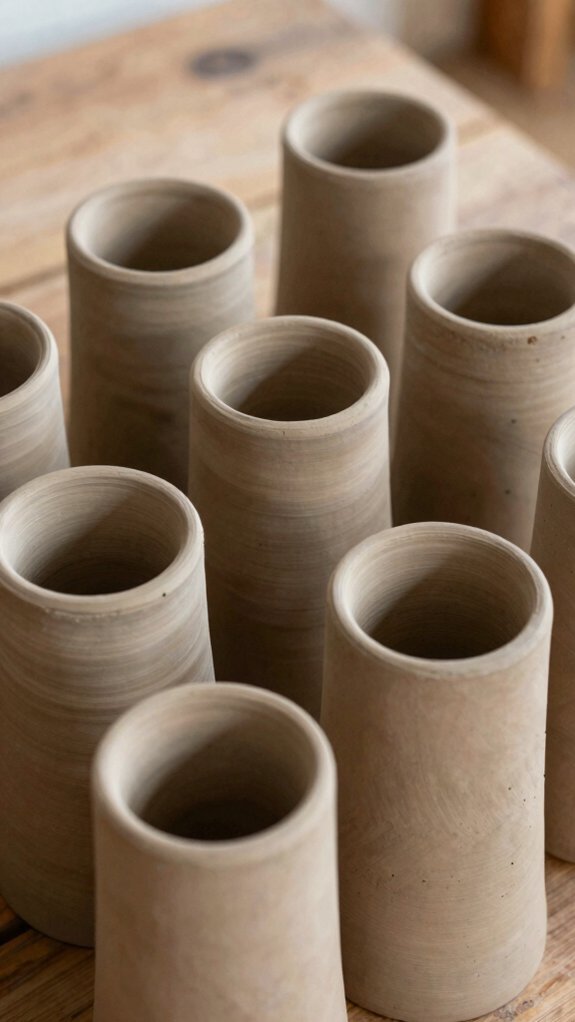
If you want to get a feel for clay without wrestling with complex shapes yet, start with a slab-built practice cylinder—it’s a super-friendly little project! You’ll fit in fast, and yes, your hands can do this.
| Step | What You Do | Why It Helps |
|---|---|---|
| 1 | Roll 1/4-inch slabs | Keeps walls even |
| 2 | Wrap into a cylinder | Trains shape control |
| 3 | Smooth the seam | Prevents cracks |
| 4 | Support inside | Stops slumping |
| 5 | Repeat several times | Builds skill |
Use Clay drying tips and Seam smoothing tricks while the clay’s leather-hard. Make a few, compare heights, and smile—your little tube crew is getting stronger!
Pinch-And-Slab Combo Ideas
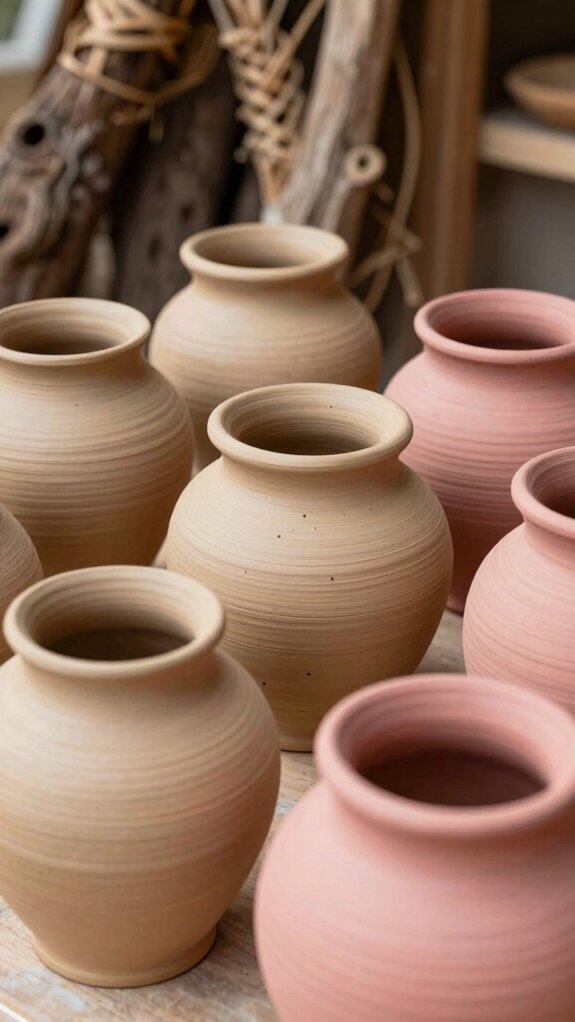
Because pinch pots are so easy to start, they make a great base for a little clay mashup project! You’ll fit right in with this friendly combo.
- Slab Band Planter — Cut 1/4-inch strips, score and slip them onto the pinch base, then smooth the seam. It’s low-cost and beginner-friendly.
- Patterned Catch-All — Press a stamp or stencil into the slab before attaching it; the texture still pops after firing.
- Mini Gift Cup — Keep it small, dry slowly, and try color matching glazes for a polished finish.
With smart drying time strategies, your seams stay strong, and the final look feels totally gallery-cool!
Jewellery Trays With Textured Edges
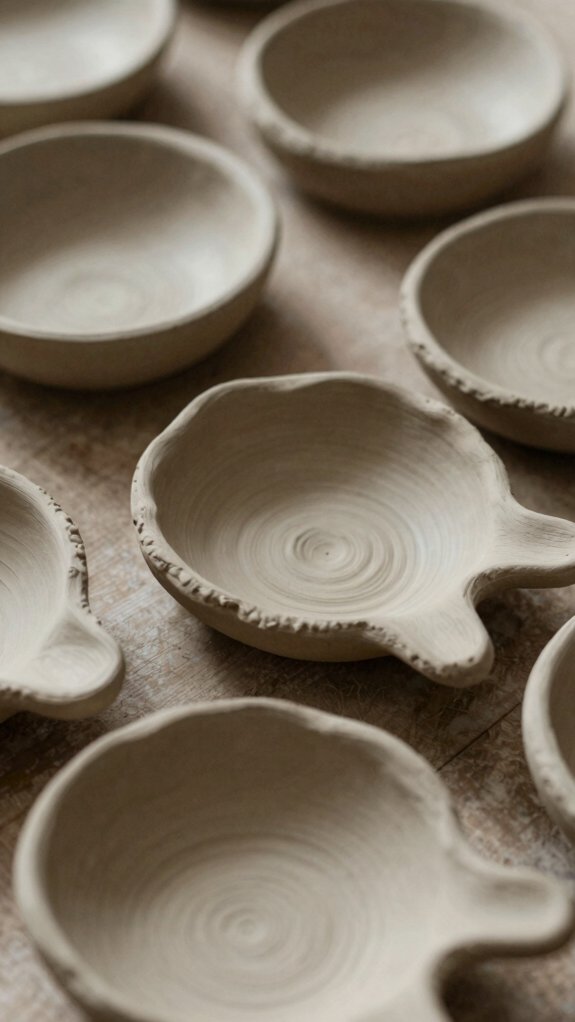
You can turn a simple clay circle into a cute jewellery tray by rolling a slab, cutting it round, and gently curving the edges so your rings and earrings stay put—easy, right?
For extra flair, press in stamps, roll on a textured pattern, or use a stencil on the rim, and keep the slab even so those grooves show up nicely after firing.
Don’t skip a small test piece first, because a little glaze drip can actually make the texture pop in a fun, artsy way!
Textured Edge Techniques
Along the rim of a little jewellery tray, texture can turn a plain clay dish into something that looks handmade in the best possible way—tiny details, big charm! You can join the club with easy steps and low-cost tools.
- Roll a 1/4-inch slab, curve the rim, and press in stamps or rollers.
- Cut your circle, smooth the inside, and leave the bumpy edge proud.
- Try a Cricut stencil for crisp borders, then let it dry slowly for kiln drying and glaze tests.
That textured rim catches glaze and makes every tray feel special!
Shape And Style Ideas
What shape should your jewellery tray take—tiny flower, neat circle, or a wavy little catchall with attitude? You can join the club by rolling clay to 1/4 inch, cutting a circle, and curving the rim over a mold or your fingers. Easy, right!
| Shape | Style payoff |
|---|---|
| Flower | Sweet, giftable |
| Circle | Clean, classic |
| Wavy | Fun, artsy |
| Custom | Totally you |
Press floral vines, ruffles, or a Cricut stencil before shaping for texture that hugs your treasures. Keep mold positioning steady, and don’t thin the edges; that helps prevent ugly glaze pooling later.
Salt Pinch Bowls for Everyday Use
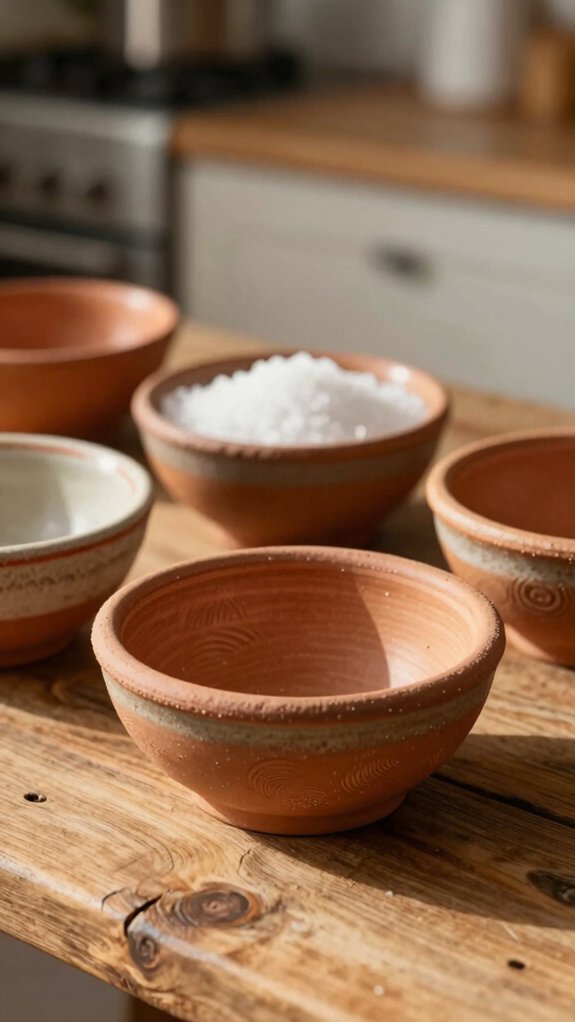
Tucked into the corner of a busy kitchen, a tiny salt pinch bowl can feel oddly elegant, even when it’s just holding a little pile of seasoning! You can hand-build one from a small slab or pinch form, then keep the bowl a bit wider than the pinch area so crumbs land inside.
- Smooth the rim so it’s kind to hands and cookware.
- Add light stamping or rollers for texture, but remember glaze safety and studio ventilation.
- If you skip the kiln, air-dry and seal it for dry spices only.
With a bisque and glaze firing, you’ll get a durable little keeper!
Simple Mugs With Hand-Formed Handles
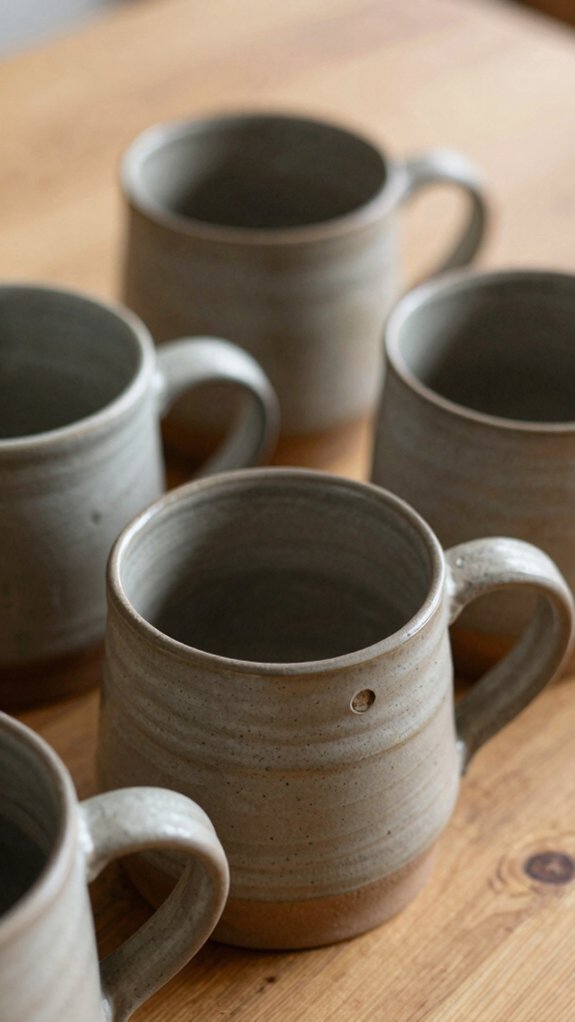
A simple mug can feel like a tiny victory in your hands, especially when you make it from flat slabs and give it a handle you molded yourself!
You cut a flat base, wrap on 1/4-inch walls, and smooth every seam so it feels solid, not wobbly.
Then roll a clay strip into a C, score both spots, and blend the handle on well, because nobody wants a surprise drop!
Add stamps or a stencil roller before assembly, but keep the grip area smooth.
Dry it slowly, then bisque, glaze, and fire.
Wondering about underglaze vs slip? Try both.
Use kiln loading tips carefully!
Espresso Cups for Glaze Testing
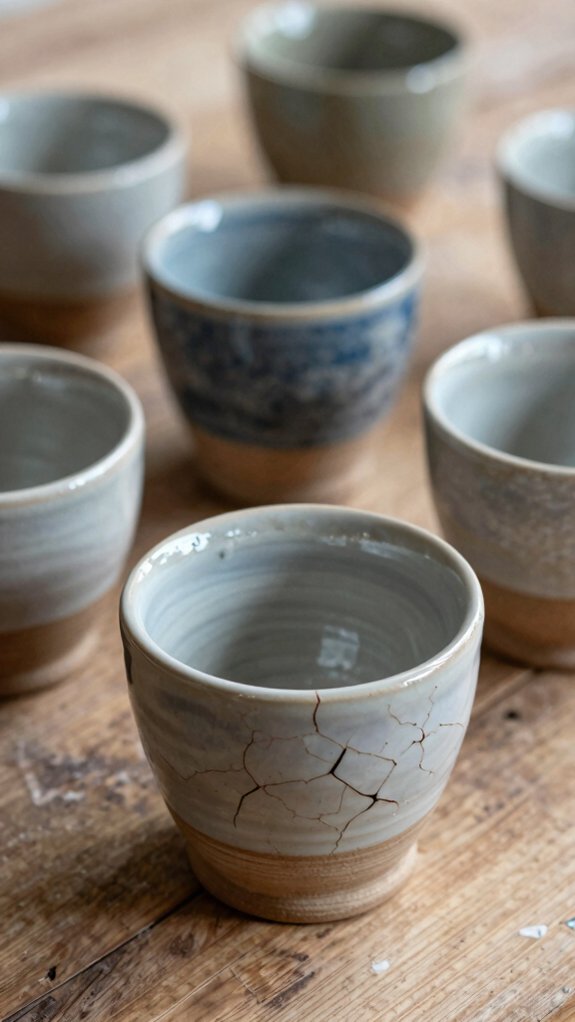
If you’ve been having fun shaping handmade mugs, espresso cups are the tiny sidekicks that make glaze testing feel like a mini science lab, and they’re just as satisfying to make!
You can build them in slab form, with a flat base, walls, and a tiny handle, then score and slip every seam so they survive bisque firing and glaze firing.
- Make three cups with the same clay.
- Try different glazes on each one.
- Watch thickness and glaze pooling, then jot notes.
Dry them fully, fire patiently, and you’ll join a crafty crew that loves little wins!
Coffee Mugs for a Bigger Challenge
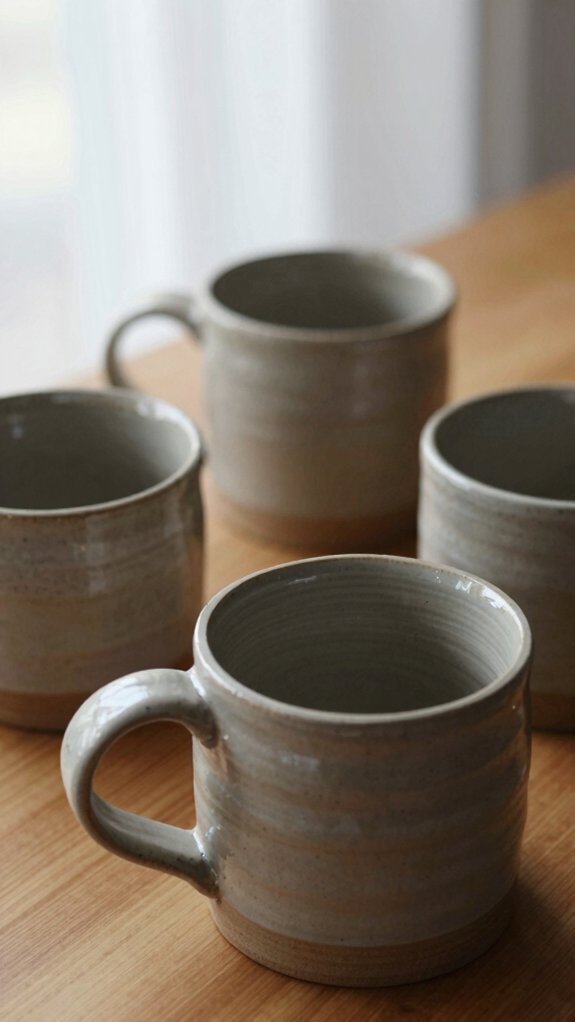
Once you’ve nailed those tiny espresso cups, coffee mugs are the next big, satisfying leap, and yes, they do feel a little more impressive on the wheel or tabletop!
Roll your clay slab a bit taller, cut clean panels, and join them with care, because those seams and handle spots take the most stress.
Keep drying slow, smooth every joint, and you’ll cut cracking way down.
After bisque firing, you’re ready for glaze layering, then the final shine.
Respect kiln safety, and your mug can become a sturdy everyday favorite, not just a pretty shelf buddy!
Beginner Lidded Boxes and Closed Forms
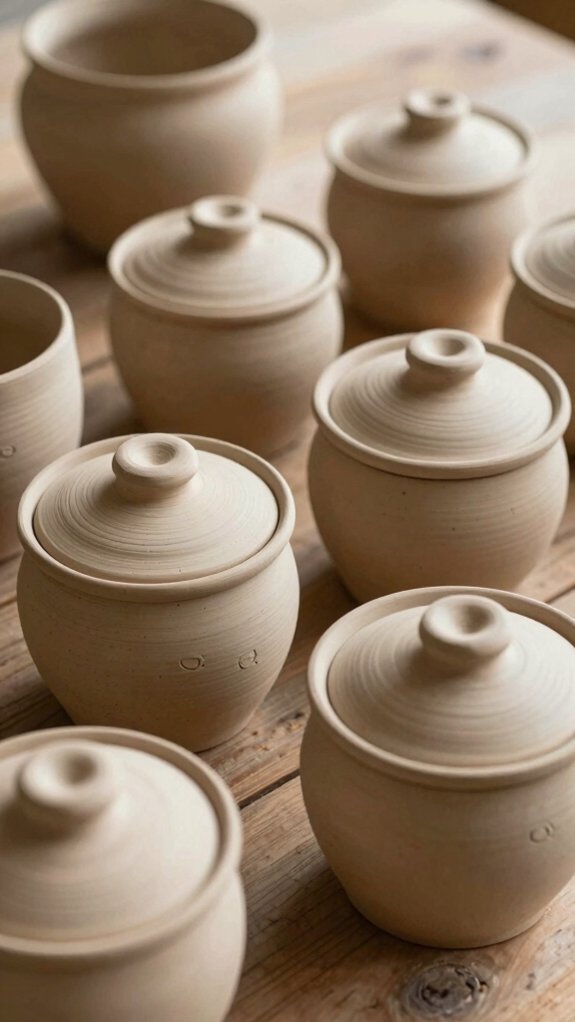
While you’re ready to level up from open bowls and mugs, beginner lidded boxes bring in a fun new trick: you’re making a little “closed” form that feels finished from the start!
Roll clay to about 1/4 inch, cut a base and lid with a template, then curve the walls and smooth every seam with care.
- Keep the fit snug with stackable lids.
- Watch shrinkage control, or the lid may warp.
- Bisque fire, glaze both parts, then fire again for that proud, polished reveal!
The dried fit test is your biggest aha moment, and yes, you belong in this clay club!
Spoon Rests With a Spoon Notch
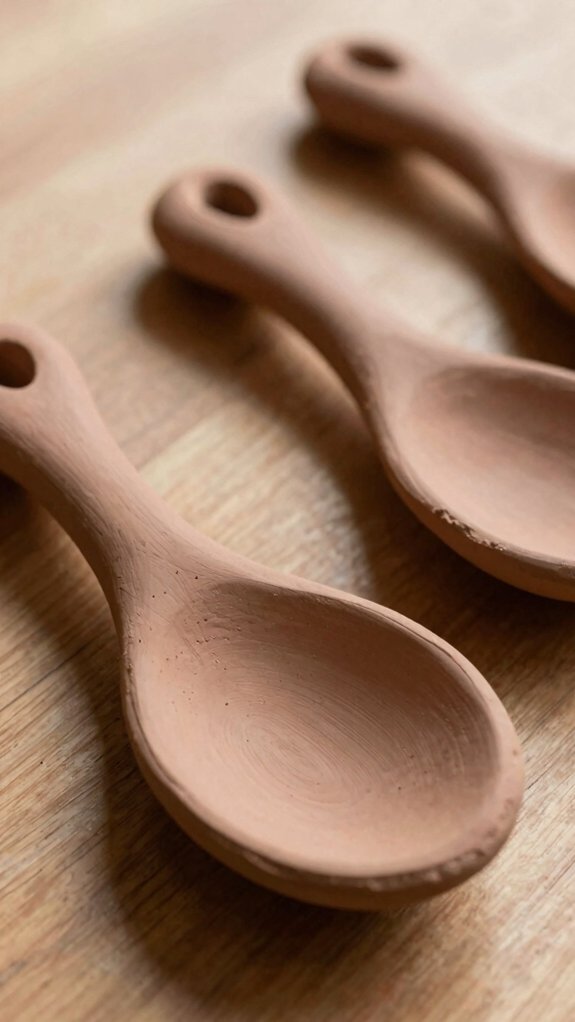
Ready for a project that’s small, useful, and oddly satisfying? You can make a spoon rest that feels like it belongs in your kitchen tribe. Cut a slab, curve it gently, and carve a shallow notch so the handle sits snugly. | Material | Use |
| — | — |
|---|---|
| Clay slab | Base |
| Spoon | Fit check |
| Tool | Notch |
| Fingers | Smooth edges |
Keep the spoon notch fit wide or shallow for different spoons, and test it before the clay dries. For better counter drip prevention, add a raised lip or thicker edge. It’s beginner-friendly, costs little, and works fast. After drying, you can add tiny details for extra charm!
Add Texture, Dry Slowly, and Fire Properly
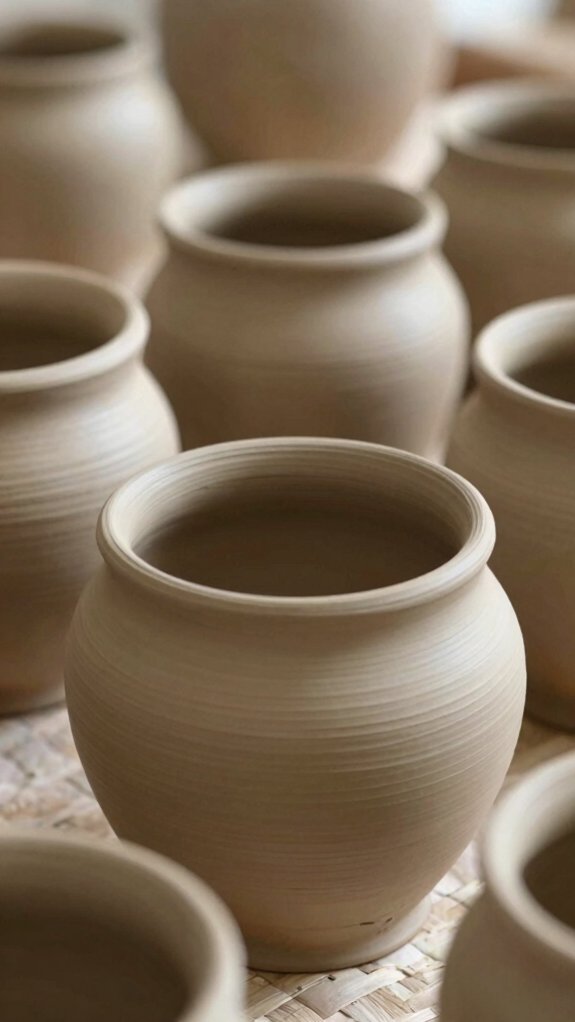
Texture can take a plain clay piece from “nice” to “ooh, where’d you get that?” in a hurry! Press floral vines, blossoms, stamps, or Cricut-made stencils gently, so the details stay crisp and ready for glaze pooling later.
- Use a roller or stamp.
- Let it dry slowly, even at seams.
- Plan kiln scheduling: bisque first, glaze second.
You’re joining the maker crowd now, and that’s the fun part! Greenware isn’t food-safe yet, so don’t rush. Glaze safety matters, and final firing seals the deal.
The surprise? Texture can make every piece look custom, though results shift with clay body and temperature.