14 Simple Things to Make With Clay for Every Skill Level
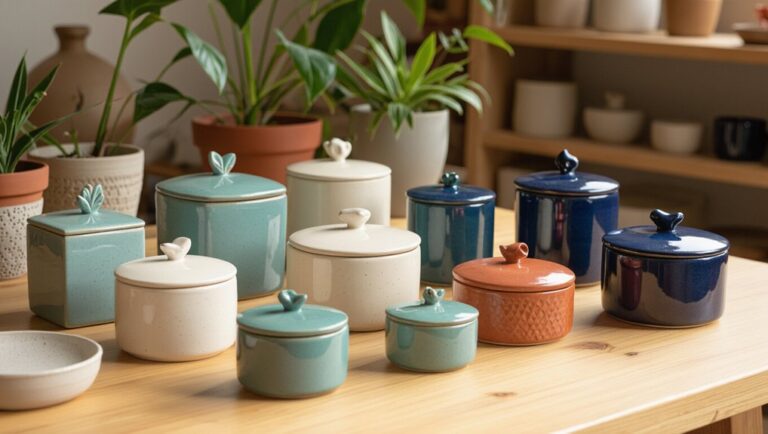
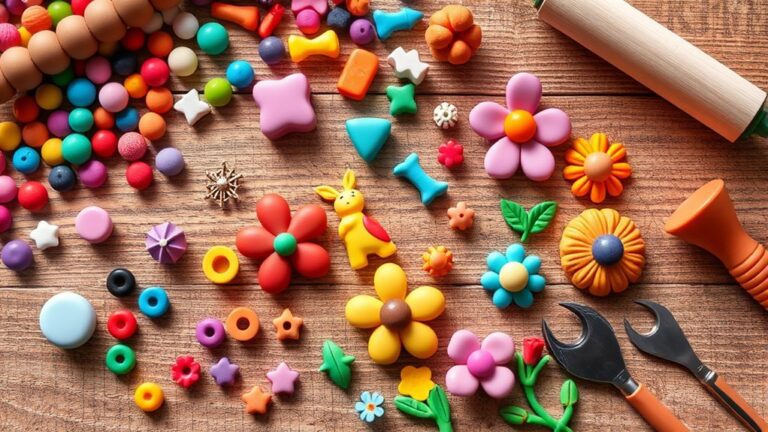
Clay projects can be easy, cheap, and seriously fun! Start with air-dry clay for pinch-pot trinket dishes, flower coasters, ornaments, photo holders, or wavy bowls, using just water, a smooth surface, and basic tools. Try bookends, bead-texture dishes, ring holders, salt spoons, or incense holders for sturdier pieces. Each one dries in 24–72 hours, sands clean, and paints up nicely, so you get cute results without any fancy gear. And yep, the best ideas are still ahead!
Love cozy DIY projects? 💕
Get free printable guides, exclusive tutorials & surprise craft goodies straight to your inbox.
Disclosure: This post may contain Amazon affiliate links, at no extra cost to you. Content on DiyCraftNest is created with research support from AI tools and carefully reviewed, edited, and fact-checked by the lead author, Daniel Pat, to ensure accuracy and reliability. Learn more
Key Takeaways
- Air-dry clay is best for beginners because it is soft, easy to shape, and needs no oven.
- Simple starter projects include pinch pot trinket dishes, coasters, ornaments, and tiny magnet vases.
- Everyday functional ideas include photo holders, wavy bowls, drink stirrers, and sturdy bookends.
- Small decorative pieces like beaded dishes, salt spoons, and incense holders add useful variety.
- Finish most air-dry clay projects by drying fully, sanding edges, painting, and sealing for durability.
Which Clay Is Best for Craft Projects?
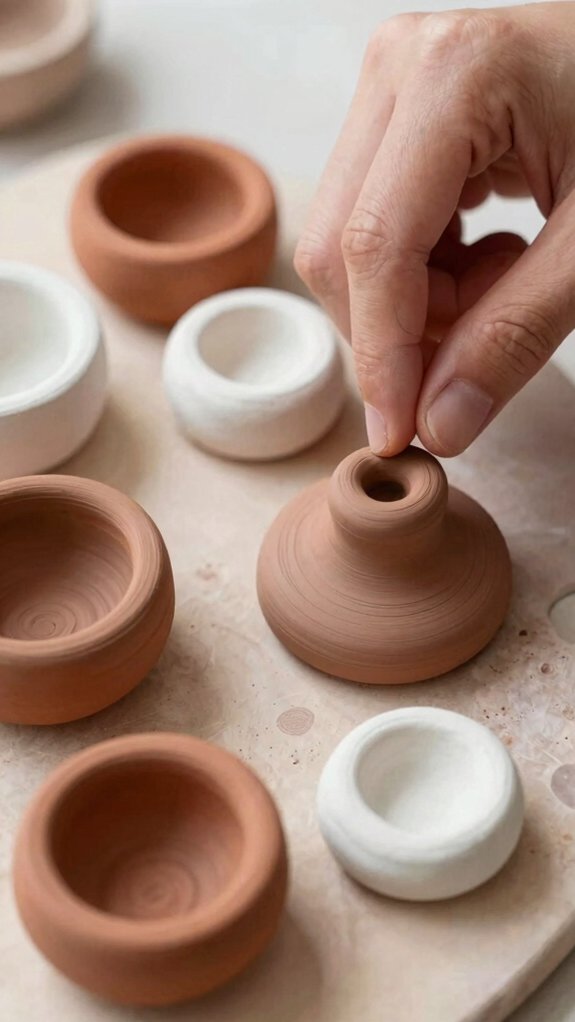
If you want the lowest learning curve, go with air-dry.
If you love redoing ideas, choose oil-based.
For bright, durable creations, polymer clay shines, with adult help.
Keep safety and cleanup tips handy, and you’re set!
Air Dry Clay Basics for Beginners
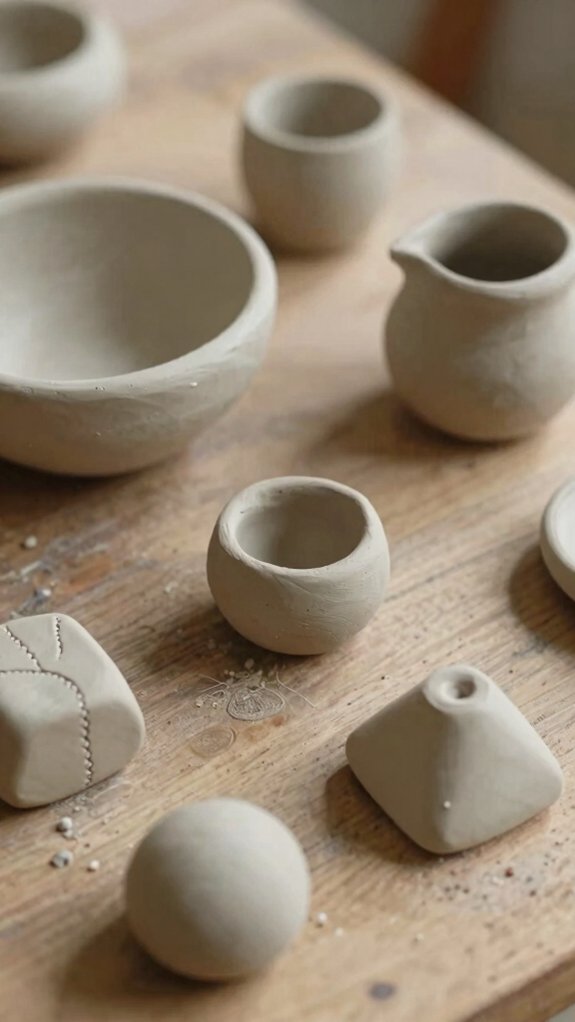
Air-dry clay is a fantastic starting point for beginners, because it’s soft, easy to shape, and doesn’t need an oven or any extra heated tools—just your hands, a little patience, and a flat spot to work on.
Tools you need, include water, a craft knife, and a smooth surface.
Clay safety tips: keep it clean, don’t rush, and wash hands after you’re done.
Let your piece dry 24–72 hours, turning it now and then so it stays even.
Once dry, sand lightly for a smoother finish.
Got cracks? Add a little slip and let it dry again.
Easy, right!
Make a Simple Pinch Pot Trinket Dish
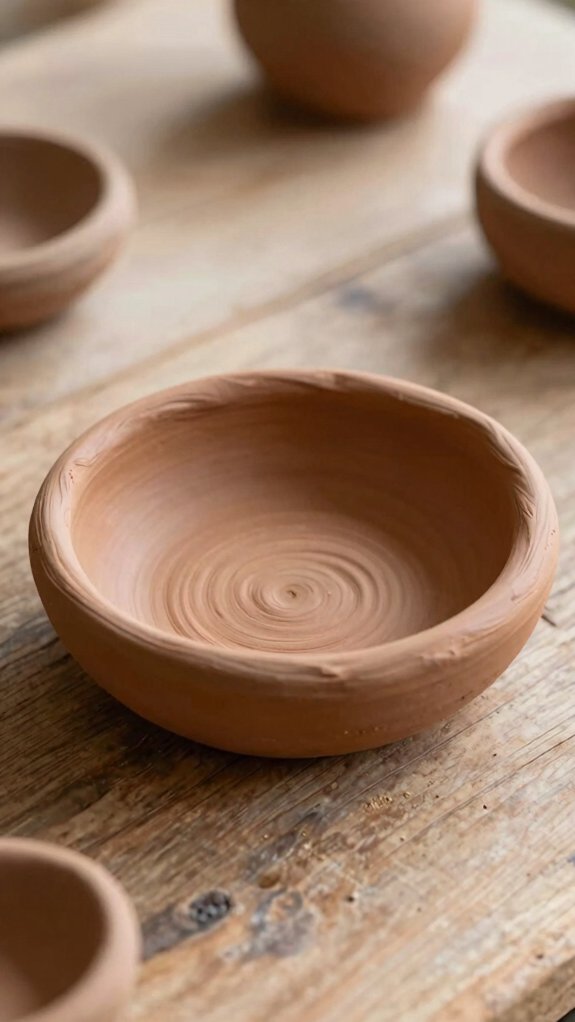
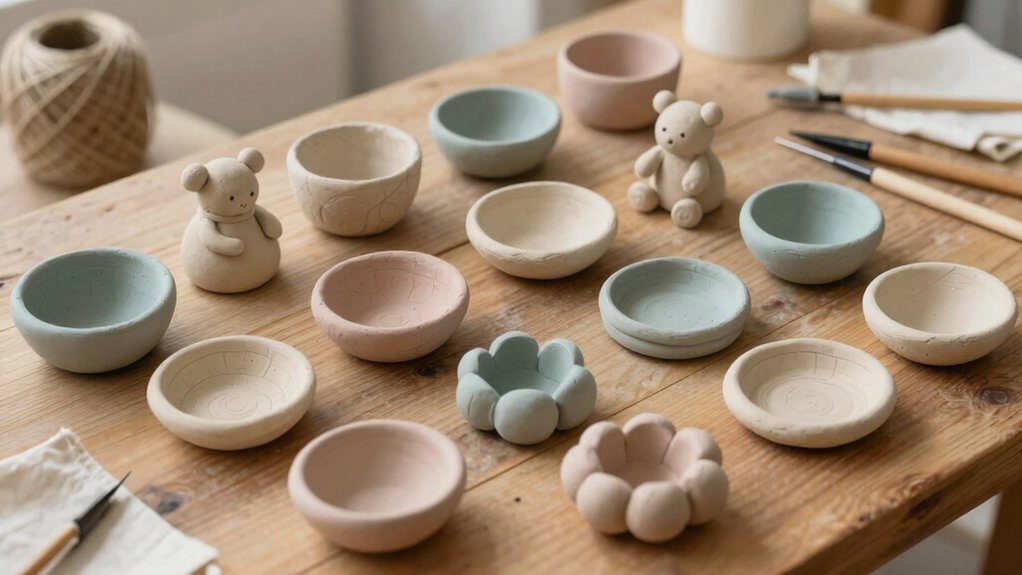
Ready to make your first tiny catch-all dish? Grab terracotta air-dry clay, water, fine sandpaper, paint, and varnish. Roll a tennis-ball lump smooth, then pinch a shallow bowl while rotating. Keep this pinch pot design friendly and easy, and tap the base flat.
| Step | What you do |
|---|---|
| 1 | Push thumb in 1/2 inch |
| 2 | Widen gently |
| 3 | Smooth inside |
| 4 | Add textured rim tips |
| 5 | Let air dry drying |
After 24–48 hours, sand lightly, paint glossy white inside, stop near the rim, then seal both sides. Cute, sturdy, and perfect for rings!
Shape Easy Flower Coasters
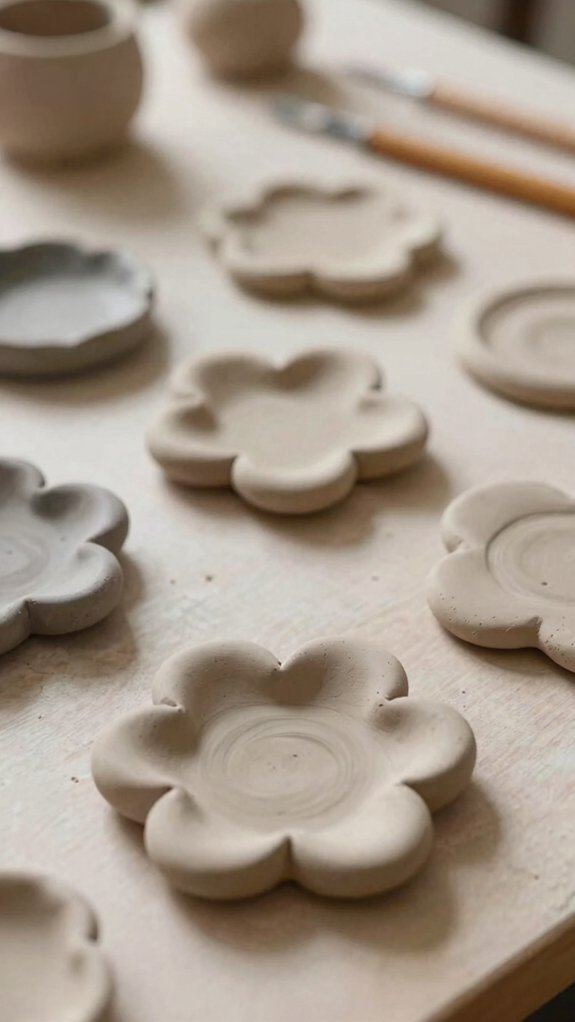
With just a few basic supplies, you can turn a flat slab of clay into the sweetest little flower coaster set—no pottery wheel, no stylish tools, just a round cutter and a bit of patience!
Roll air-dry clay to 1/4 inch on parchment, cut 3.5–4 inch circles, and smooth the rims with a tiny bit of water.
Now the fun part: press botanical stamps or wildflowers for crisp blooms, and try smart Stamp placement guidance so each coaster feels balanced.
Need a pop? Use Color mixing tips before you roll.
Let them dry 12 hours, flip, then finish drying, sand, and seal for mug-ready charm!
Build Cute Home Ornaments
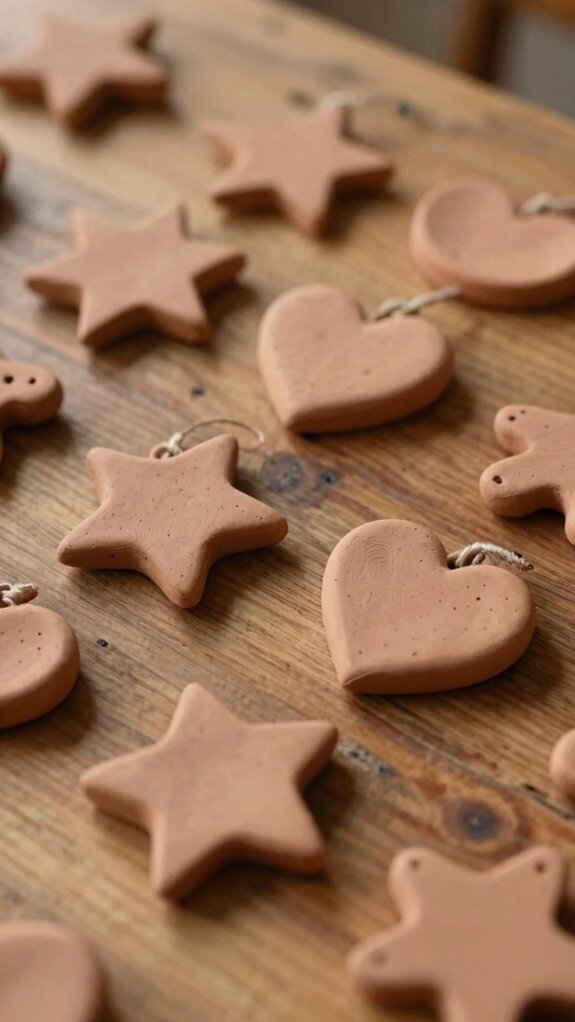
Grab a rolling pin and let’s make the cutest little home ornaments ever! Flatten air-dry clay, press in stars, trees, or hearts with a cookie cutter, then smooth rough spots before drying. That little step matters, and your future self will cheer.
After they’re firm, add tiny windows, doors, or roof lines by pinching or stamping details. For tool safety tips, keep blades and sharp tools away from little hands.
Next, try choosing paint finishes that fit your vibe, from matte to glossy.
Want a sweeter gift? Shape tiny house scenes, paint them in favorite colors, then seal with clear varnish for lasting charm.
Try Tiny Magnet Vases for the Fridge
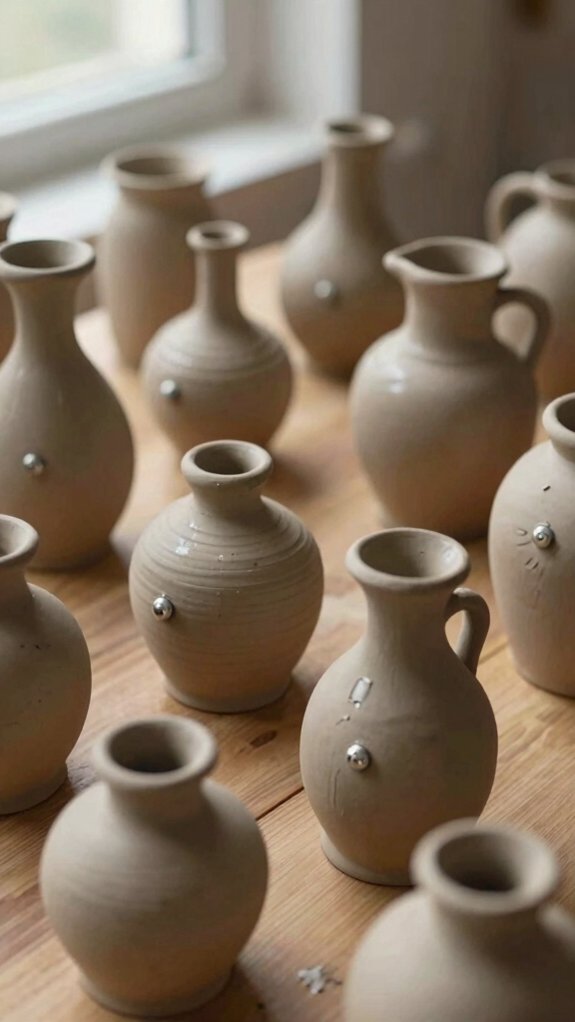
If those little clay house ornaments made you smile, here’s a fun next step for your fridge: tiny magnet vases!
You roll small air-dry clay balls into vase shapes, press a shallow hole on top, and let them dry 24–48 hours, rotating once so the bottom sets evenly.
When they’re hard, sand lightly if needed, then paint them to fit your style.
For Magnet placement tips, glue a small magnet to the back with strong hot glue only after drying.
Finish with Sealant for durability, and you’ve got a cute, low-cost piece that makes your kitchen feel friendly and a little magical!
Create Modern Photo Holders
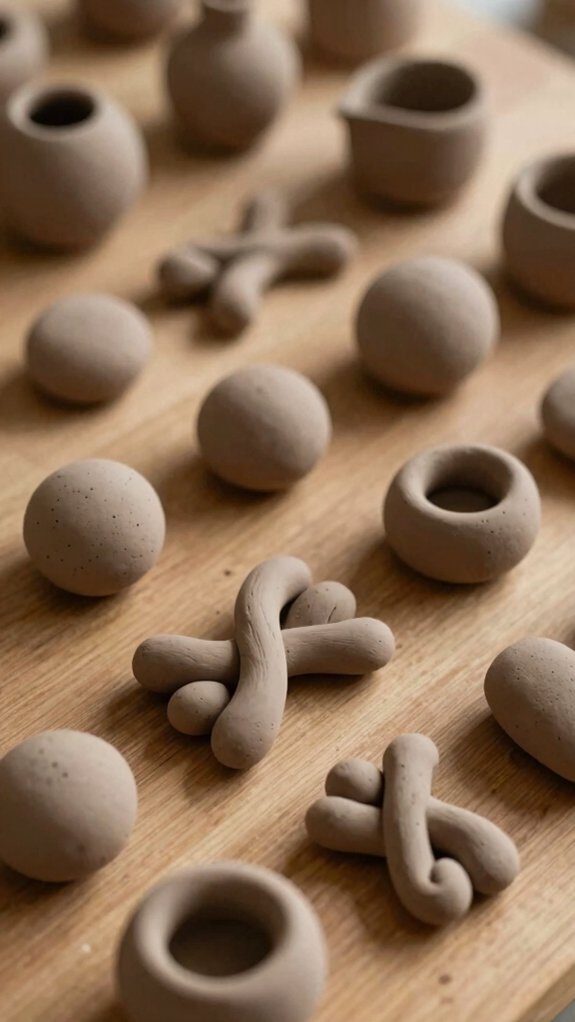
For a desk display that looks clean and modern, try making a clay photo holder that’s as useful as it’s cute!
You’ll need air-dry clay, a craft knife, sandpaper, and paint.
Shape a flat base with a back clip area sized for your photo, then let it dry 24–48 hours, rotating it so it hardens evenly.
After it’s bone dry, use Texture smoothing tips to soften rough spots and make the fit crisp.
Paint it in matte or glossy shades that match your vibe, then try finishing sealant options for extra shine.
Pop in a favorite photo, and voilà—instant desk bestie!
Paint a Wavy Clay Bowl
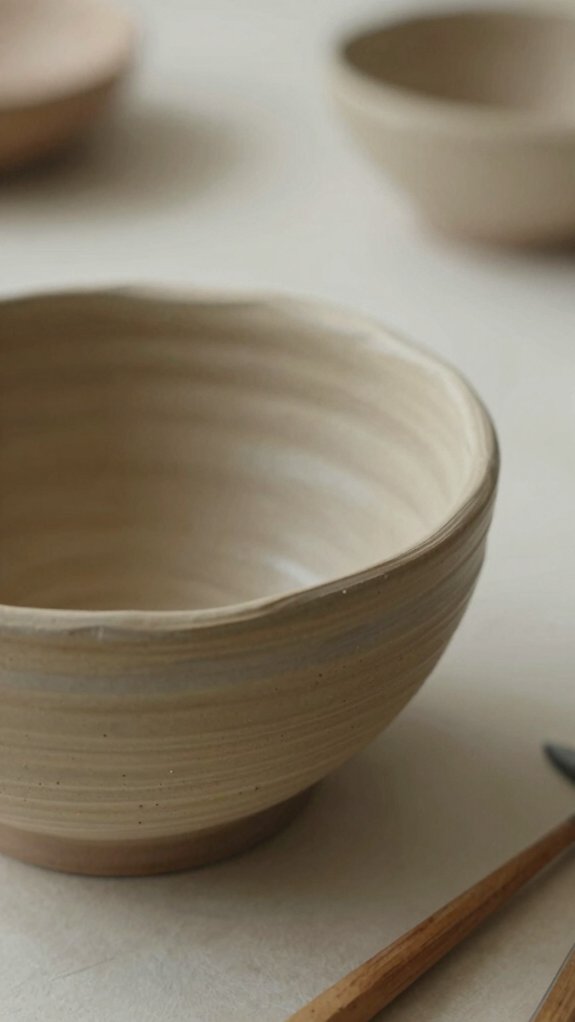
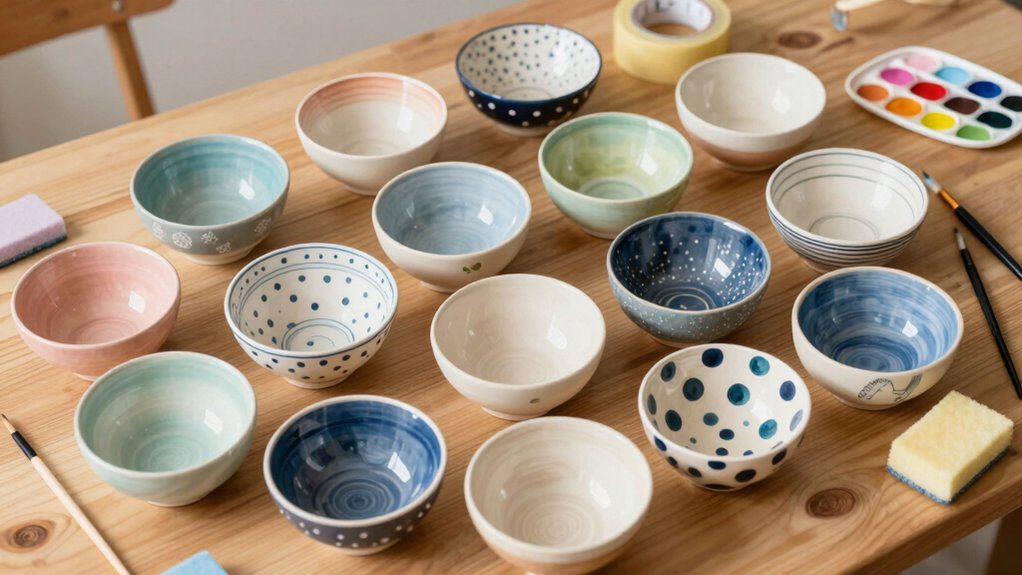
A little clay and a few bold colors can turn into the cutest catchall ever! With Clay tool necessities, you only need your hands, water, and a sanding block to get started.
- Roll clay into a shallow bowl.
- Smooth the rim and inside.
- Press soft waves into the sides.
- Let it dry 24–48 hours, turning it now and then.
These beginner texture tips keep the shape even and the ridges lively. After drying, sand lightly, wipe off dust, then paint curved strokes in bright colors. It’s cheap, easy, and honestly, a little addictive.
Your finished bowl’ll look artsy and hold spare change, keys, or tiny treasures!
Make a Handy Earring Holder
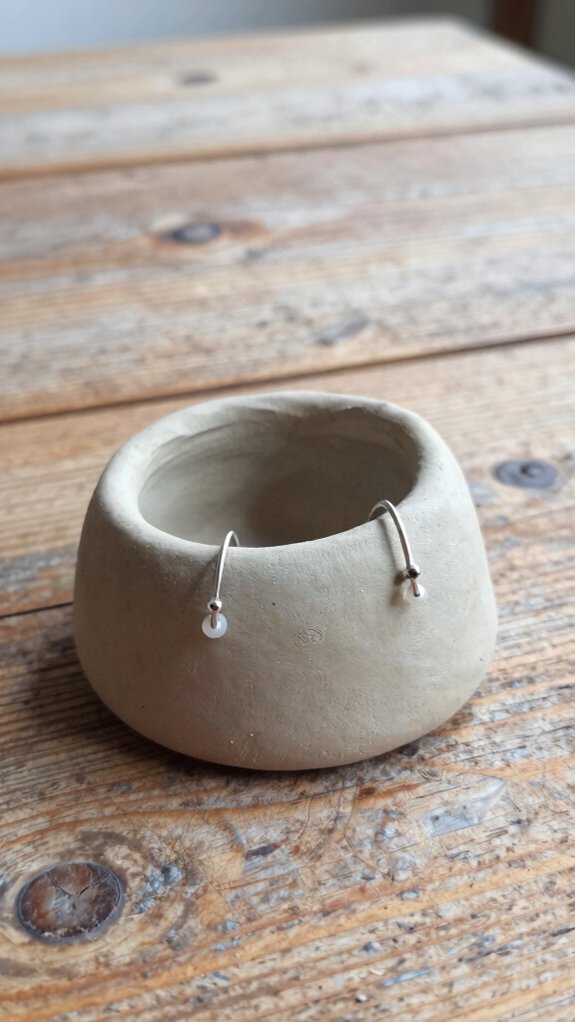
Shape your own earring holder with air-dry clay, and suddenly your dresser has a tiny organizer that feels way fancier than it is! You only need clay, a damp finger, and patience. Pinch a tray-like base, smooth the edges, and let it set before adding little dividers or shallow pockets.
| Step | Tip |
|---|---|
| Shape | Keep it simple |
| Dry | 24–72 hours |
| Finish | Sand, then seal |
Choosing glazing options? Go matte for a soft look. Preventing clay warping means leaving it alone until bone dry. That’s the secret, friend, and it stays sturdy!
Craft Fun Clay Drink Stirrers
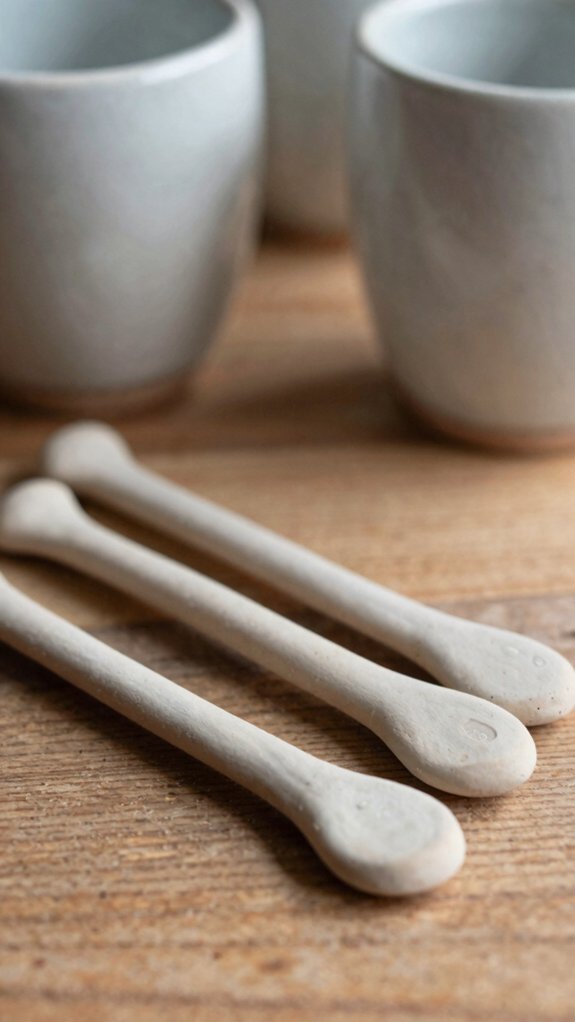
You can make cute clay drink stirrers with simple shapes, like tiny flowers, stars, or swirls, and they’ll instantly add a festive pop to your drinks—so fun!
With air-dry clay, a few easy tools, and a little paint, you can whip up a quick project that doesn’t need an oven, which is always a win.
Try making matching sets for your next party, and press in little details before the clay dries for a surprise that really stands out!
Simple Stirrer Shapes
With just a little air-dry clay and a few basic tools, you can make drink stirrers that look cute, feel sturdy, and instantly make any drink more fun!
You’ll fit right in with these easy shapes, and they’re a breeze to customize with glazing techniques and subtle texture effects.
- Roll clay into thin sticks.
- Cut hearts, leaves, or stars with a cookie cutter or plastic knife.
- Smooth edges, then poke a tiny hole or notch before drying.
- Let them dry 24–72 hours, then paint or seal with matte varnish.
Make a batch for coffee night, birthdays, or just because!
Festive Drink Decor
Festive drink decor is way more fun when your stirrers double as tiny party props! You can roll air-dry clay into thin strips, then squeeze on stars, hearts, or mini ornaments with a plastic knife or cookie cutter. It’s cheap, beginner-friendly, and gives your crew instant holiday vibes.
Let the shapes dry fully, about 24–72 hours, so they stay straight in your glass.
After that, add bright paint or Beginner glazing for extra sparkle, and keep easy safety in mind by using them only after they’re cured.
Pop them into drinks, and boom—your stirrers become little party favors everyone wants!
Quick Clay Project
When you want a fast little craft that still feels elegant, clay drink stirrers are a total win! You’ll fit right in with the crowd when you make a set in minutes.
- Roll air-dry clay into flat strips or wavy shapes.
- Cut them to stirrer length, then smooth the edges with a damp sponge.
- Stamp, carve, or add tiny lines before drying.
- Let them dry 24–48 hours, turning once for even results.
After they’re bone dry, compare glaze vs paint, then check clay sealing tips so your stirrers can handle regular drinks. Cute, cheap, and surprisingly polished—nice!
Build Chunky Book Ends
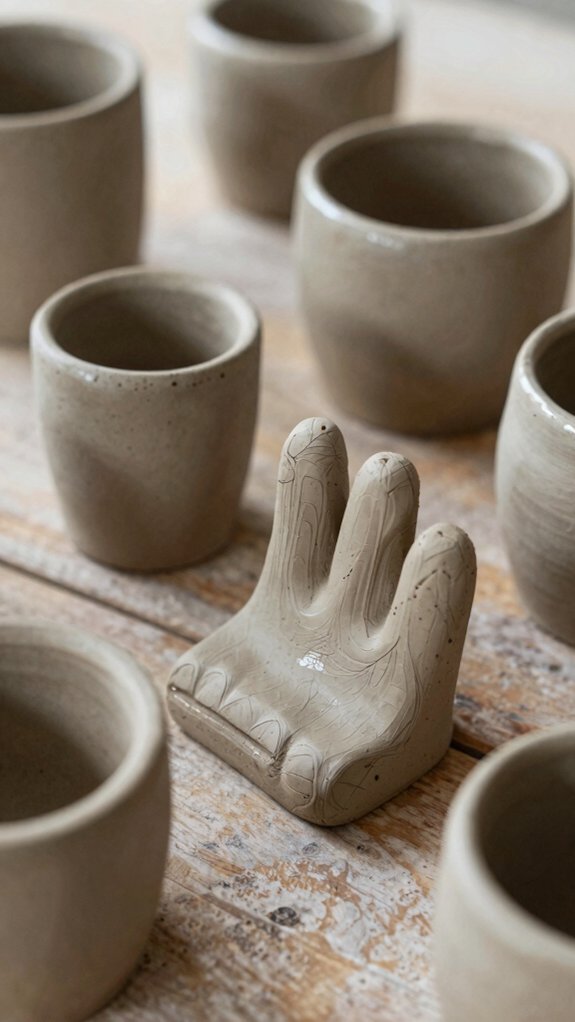
Ready to make your shelves look amazing? You’ll shape chunky clay book ends with sturdy flat bases, then smooth the sides and top so they hold books without wobbling or snagging pages.
After they dry, paint them in bold colors or funny mismatched patterns, and you’ve got a handmade set that’s both useful and a little bit show-offy!
Clay Bookend Shapes
Using air-dry clay, you can make chunky bookends that look sturdy, cute, and way more expensive than they are! You’ll fit right in with this easy maker project, and your shelves will thank you.
- Shape thick rectangles or animal silhouettes for functional desk organizers.
- Stack slabs or pinch coil-like bits, then rotate them while they dry.
- Use a plastic knife or toothpick for texture, and practice clay tool safety.
- After 24–72 hours, sand with fine-grit paper, wipe dust, and seal it.
For beginner cleanup tips, keep a damp cloth nearby. You’ll get bold, custom bookends with charm!
Building Stable Bases
Before you add all the fun chunky details, start with a solid base, because a wobbly bookend is basically a tiny shelf menace!
You’ll do best with simple, functional shapes that stand upright easily, and air-dry clay gives you time to adjust before it hardens in 24–72 hours.
Press and blend the clay well, then flatten the bottom so it hugs the shelf.
Let that first layer dry fully before adding texture.
For a polished finish, try Sanding techniques with 220–400 grit, then use sealing methods to keep it steady, neat, and library-cute.
Painting Bold Finishes
Once your chunky book ends are bone-dry, give them a light sanding with fine-grit paper so the paint grips better and the surface feels less like lumpy sidewalk art.
Then jump in, friend!
- Mix thick acrylics with Color mixing tips, aiming for bold, cozy shades.
- Paint chunky bands and shapes, not skinny lines, so the texture works with you.
- Brush on two coats, letting each dry to the touch, or you’ll smear your masterpiece.
- Finish with varnish, and use Brush cleanup hacks after the final swoosh.
You’ll get crisp, happy book ends that look proud on any shelf!
Shape Beaded Dishes for Small Treasures
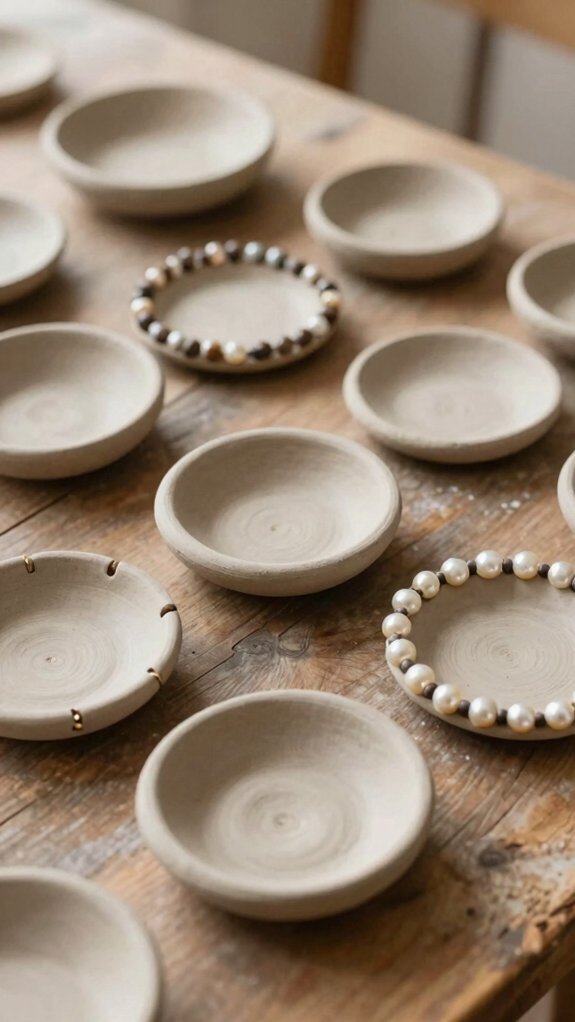
If you want a tiny catch-all that looks way fancier than it is, start with a small lump of air-dry clay and shape it into a shallow dish for rings, beads, or those mystery bits that always show up on your desk!
Roll, press, and smooth it, then add bead-like texture by gently pressing small rounded bits into the surface in a neat pattern.
Let it dry 24–72 hours, rotating it now and then so it hardens evenly.
After it’s bone dry, sand the edges, wipe dust away, and add paint.
Curious about finish? Try simple glazing options or clay sealants types for extra protection.
Make a Ring Holder for Daily Use
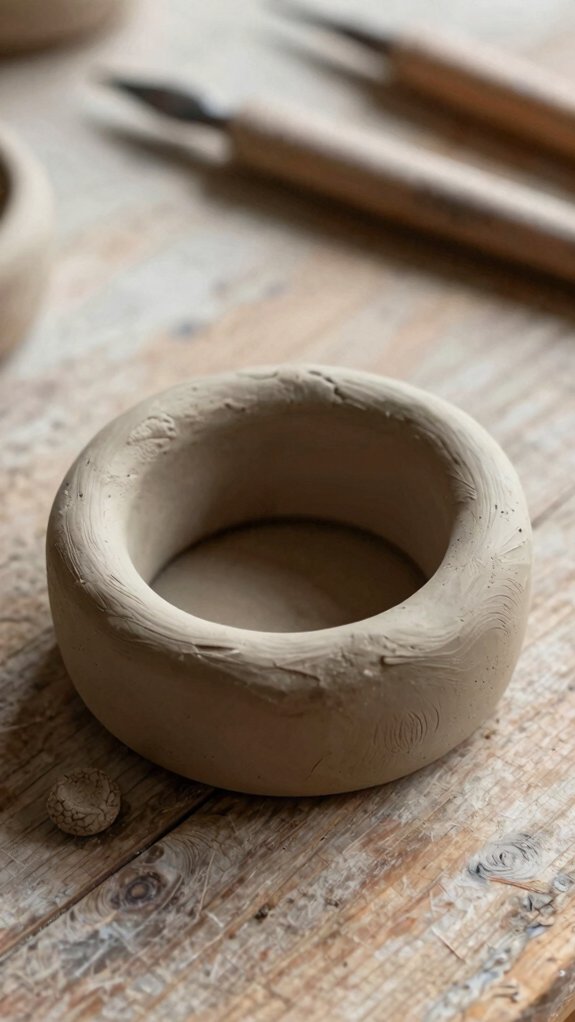
That little clay dish you just made can do more than hold loose beads—it can become a handy ring holder for everyday life! You’ll fit right in with this easy project, and it costs almost nothing.
- Roll air-dry clay into a small pinch-pot base.
- Pinch a gentle U-notch at the top for quick ring hanging.
- Let it dry fully, watching Clay drying time, about 24–72 hours.
- Sand rough spots, paint it, then use sealing tips if it’ll meet water.
Soon, your rings rest safely by the sink, neat, cute, and ready for your day—no more frantic countertop searches!
Make Salt Spoons and Incense Holders
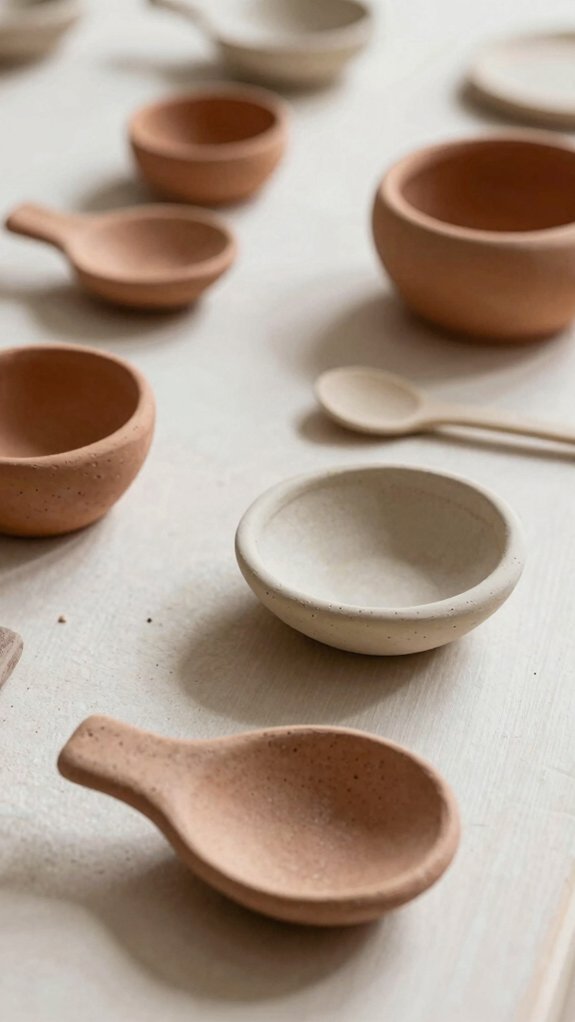
You can shape tiny salt spoons and sturdy incense holders with air-dry clay, and honestly, it’s easier than it sounds!
Start by forming the basic shapes, then let them dry fully, because rushing this part can lead to cracks, wobbles, or a spoon that looks like it lost a fight with gravity.
After that, add stamps, carved details, paint, and a sealer, so your pieces look cute, last longer, and feel like they came straight from a crafty little boutique.
Shaping Salt Spoons
Once your clay feels ready, shaping salt spoons can be a tiny, satisfying project that looks way fancier than it is!
You’ll fit right in, even if you’re brand new.
- Roll or pinch a little clay into a spoon shape.
- Use your fingers and Clay Tool Tips to deepen the bowl and smooth the handle.
- Let it dry 24–72 hours, rotating it so it stays even.
- When it’s bone-dry, sand the edges, then try Finish Options like clear varnish.
Cheap, easy, and kinda adorable, these little spoons add handmade charm fast!
Crafting Incense Holders
If you want a quick project that looks cool on a shelf, crafting an incense holder is a fun little win! You only need air-dry clay, water, and an incense stick, so it’s cheap and beginner-friendly.
Shape a small base, hollow the top, and carve a snug channel so the stick burns steady, not wobbly like it’s late for a meeting.
Press in simple patterns for texture, then let it dry 24–48 hours.
If cracks pop up, patch them with slip.
For Tips for incense safety, keep the holder stable.
When it’s bone-dry, try choosing suitable varnish for extra protection!
Decorating Functional Clay Pieces
Decorating functional clay pieces is where things start to feel extra satisfying, because now your handmade items can be both useful and pretty at the same time! You’re building little favorites for your space, and that’s a cozy win.
- Salt spoons: shape, dry 24–72 hours, sand, then paint.
- Incense holders: form the stick support, dry fully, and check for warping.
- Coloring tips: keep colors light, then add detail for a clean look.
- Glazing options: finish with clear varnish, or seal tiny cracks with slip first.
A smooth finish makes your piece feel store-bought, but way more you!