19 Sewing by Hand Projects That Are Beautiful and Beginner Friendly
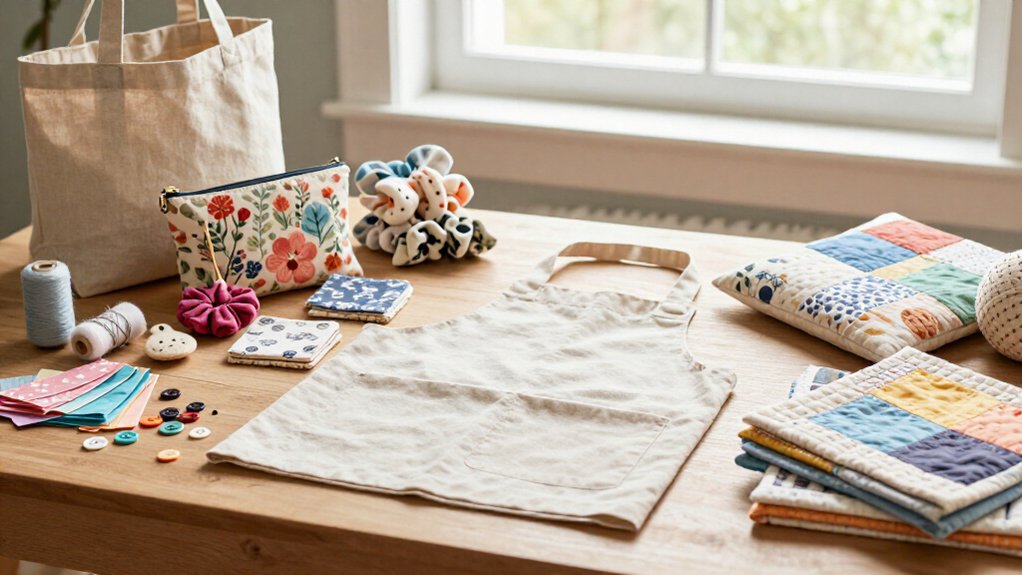
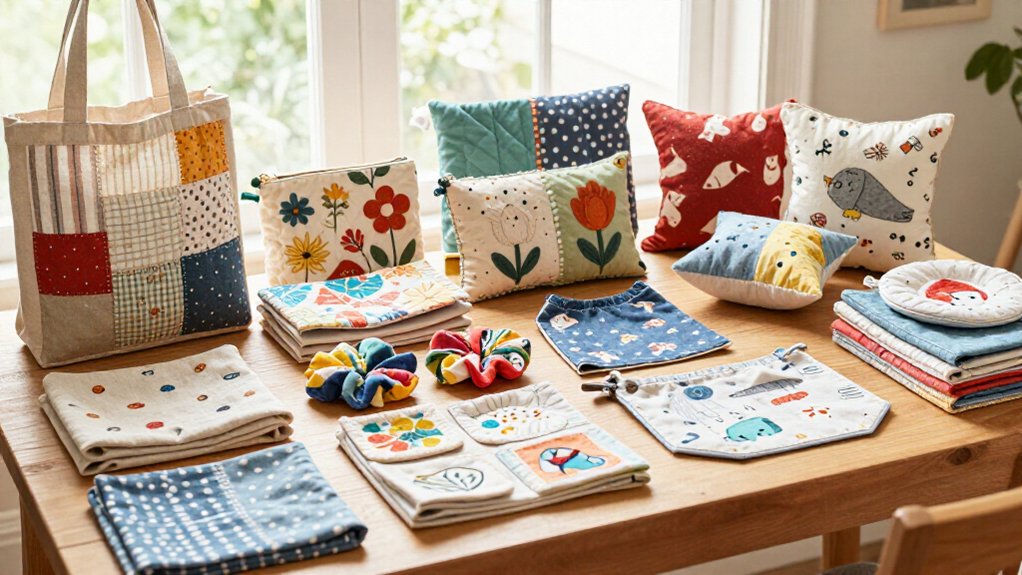
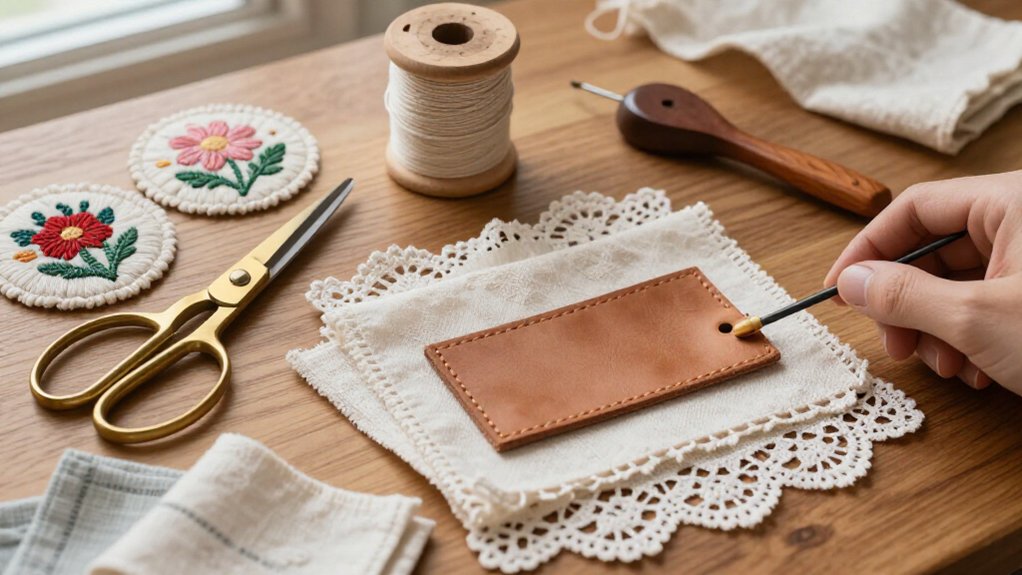
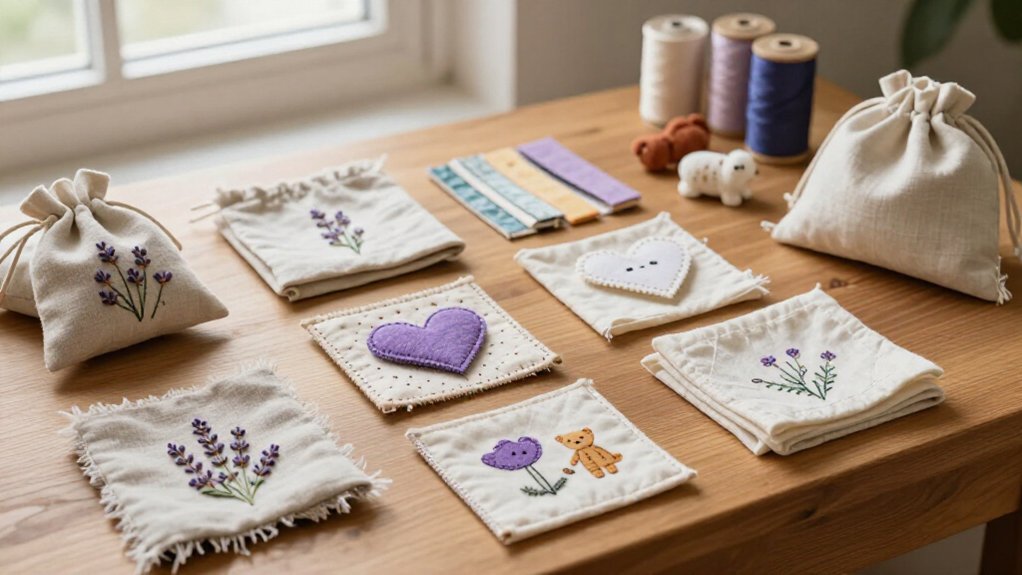
You can make beautiful hand-sewn gifts from scraps—no ornate machine required! Try lavender sachets, felt heart ornaments, bookmarks, coin purses, coasters, a phone sleeve, or a sturdy tote using cotton, felt, thread, and simple running or backstitches. Sew small shapes right sides together, turn, stuff, and close with a ladder stitch. Add initials, lace, or tiny appliqué hearts for charm. Best of all, a patchwork mug rug makes a surprisingly cozy first project—keep going for more easy ideas!
Love cozy DIY projects? 💕
Get free printable guides, exclusive tutorials & surprise craft goodies straight to your inbox.
Disclosure: This post may contain Amazon affiliate links, at no extra cost to you. Content on DiyCraftNest is created with research support from AI tools and carefully reviewed, edited, and fact-checked by the lead author, Daniel Pat, to ensure accuracy and reliability. Learn more
Key Takeaways
- Start with simple projects like lavender sachets, felt heart ornaments, and fabric bookmarks that require only straight stitches and basic materials.
- Use small fabric scraps for practical gifts, including coin purses, patchwork coasters, mug rugs, and lined fabric baskets.
- Personalize beginner projects with tiny appliqué hearts, stitched initials, embroidery, lace, buttons, or ribbon loops.
- Build confidence with reliable hand stitches: running stitch for assembly, backstitch for strength, and ladder stitch for invisible closures.
- Create polished finishes by turning seams, adding simple linings, boxing bag corners, and reinforcing stress points with extra backstitches.
Lavender Sachets
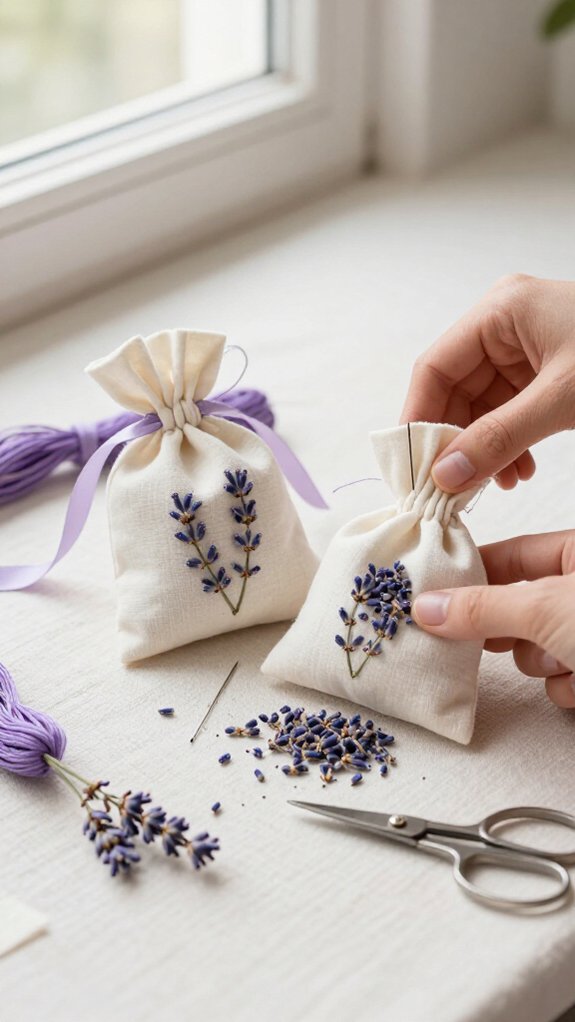
Lavender sachets are one of those tiny hand-sewing projects that feel dressed-up but are wonderfully easy to make!
You’ll need cotton or linen scraps, dried lavender, a needle, and thread—nothing fancy, promise.
Cut two matching rectangles, stitch them right sides together, and leave a small gap.
Turn the pouch, add lavender, then close it with a tidy ladder stitch.
A simple liner helps keep sneaky bits from escaping!
Try circles or squares, then add lace, embroidery, or a button for personality.
These make budget friendly gifting feel thoughtful, especially for friends who love handmade touches.
Best of all, your storage drawer sachets turn tiny remnants into fresh-smelling little treasures.
Felt Heart Ornament
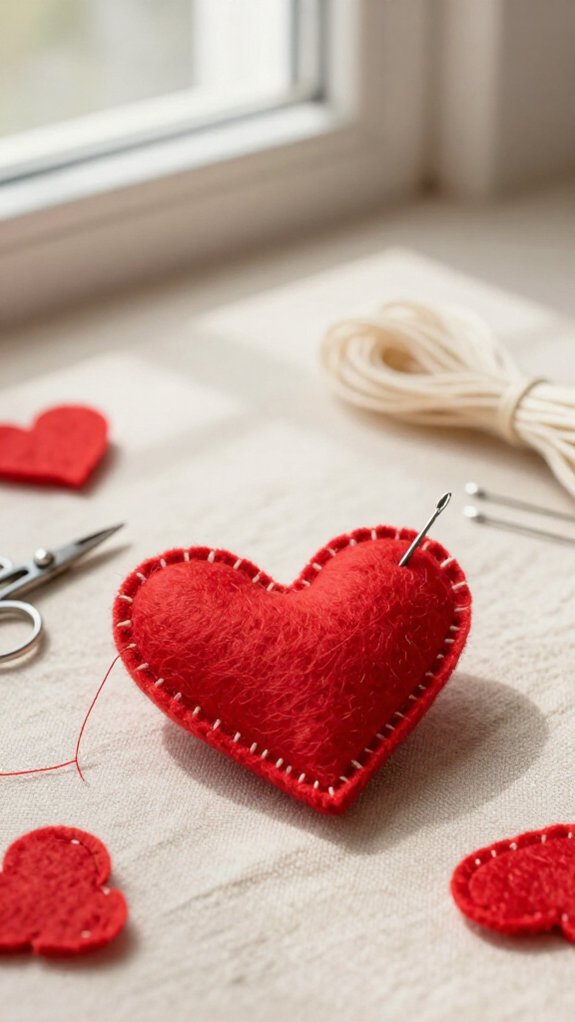
A felt heart ornament is a cheerful little project you can finish in an afternoon—no elaborate sewing skills required!
- Choose colorful felt ideas, then cut two matching hearts. Felt doesn’t fray, so you’ll get neat edges without fuss—hooray!
- Add simple embroidery designs to one heart first: try tiny straight lines, a French knot, or a stem stitch. These beginner stitch options make yours feel personal.
- Place ribbon or yarn at the top, stitch the layers with a running or blanket stitch, and add cotton or felt scraps for a puffy look.
Leave it flat if you prefer! That’s gift ready finishing your crew will love.
Fabric Bookmark
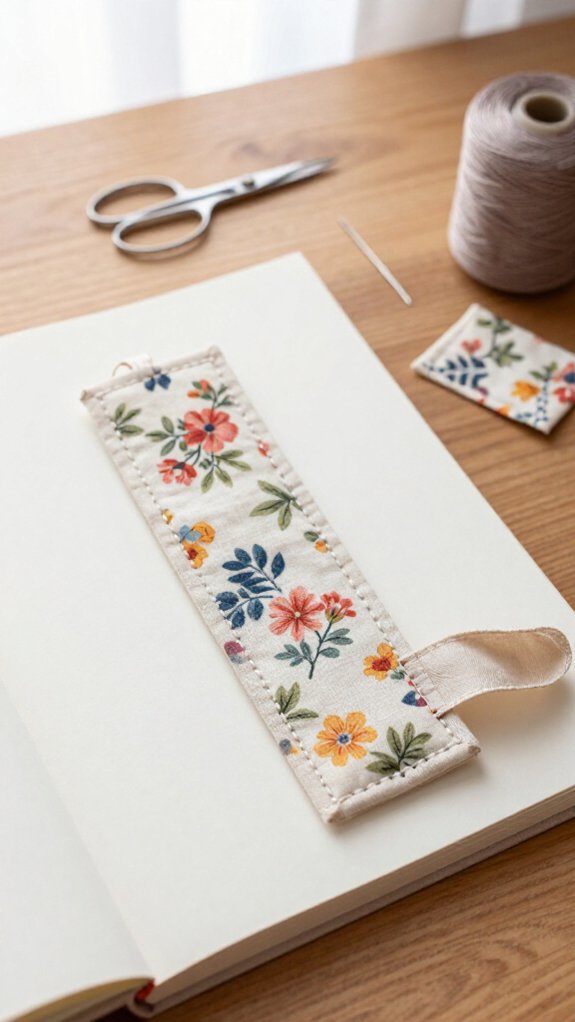
Turn a few favorite fabric scraps into a bright, sturdy bookmark you’ll actually want to use—no specialized tools or tricky curves needed!
Choose two matching rectangles, plus needle, thread, and optional interfacing. This fabric scrap use costs almost nothing, and you’ll feel right at home making it alongside fellow stitchers!
Sew the pieces right sides together, turn them, and press flat. Add a neat threaded edging as you stitch the opening closed.
Next, try simple embroidery or a tiny applique—your bookmark can show your style!
For a surprisingly polished finish, tuck in a ribbon loop before closing the top. That ribbon finishing makes your page easy to spot, even during marathon reading sessions.
Mini Coin Purse
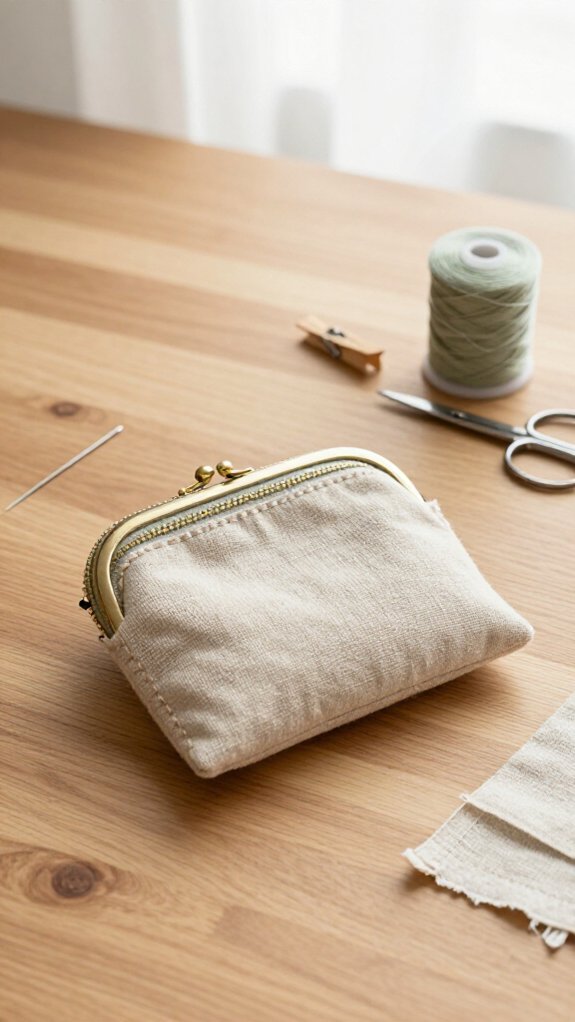
Your fabric scraps can do more than mark a page—they can hold loose change, earbuds, or that mystery button rolling around in your bag!
- Choose medium-weight cotton or canvas, then sew a small rectangle right sides together, leaving the top open.
- Add a coin purse lining with slipstitches or catchstitches, so it won’t fray during daily adventures.
- Finish the opening with a narrow hem, then try hand sewing closures: a zipper, snap, or Velcro tab.
You’ll join the clever little-pouch club in no time! Use a thimble and add backstitches at stress points. Suddenly, your pocket coins have a cozy home!
Patchwork Coaster
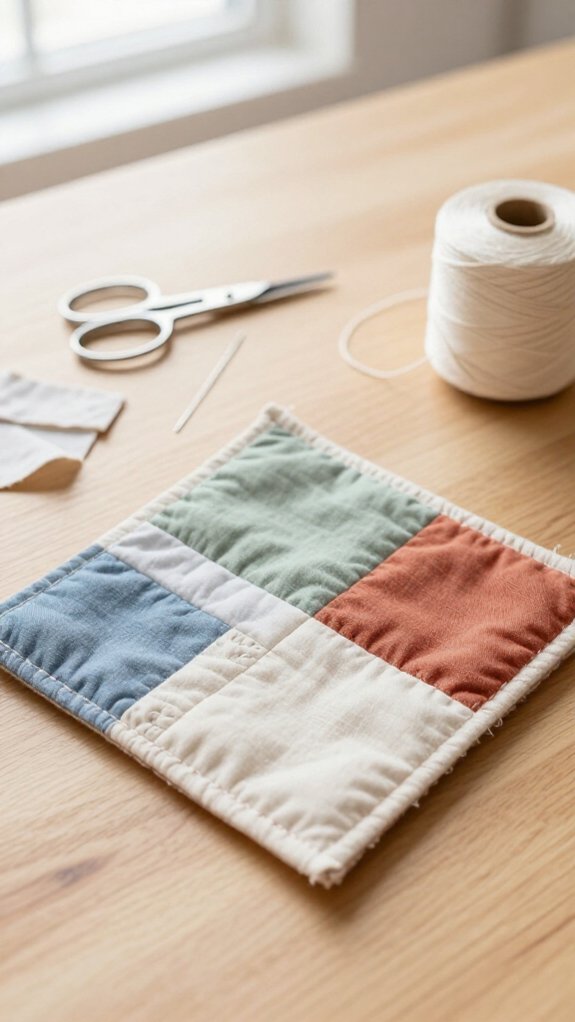
With a handful of colorful scraps, you can stitch up a patchwork coaster that’s useful, cheerful, and much easier than it looks! Start by choosing scrap fabric that feels like it belongs together, then sew squares or strips into a 4–5-inch top with straight stitches.
Add matching backing and, if you’d like, a thin layer of batting or folded fabric for extra protection from drips and warm mugs. It’s a tiny project with a big cozy payoff!
For simple seam finishing, turn under the edges or bind them with a narrow scrap strip, then edge-stitch all around. Your table gets a handmade hug—no elegant pattern required!
Fabric Bracelet
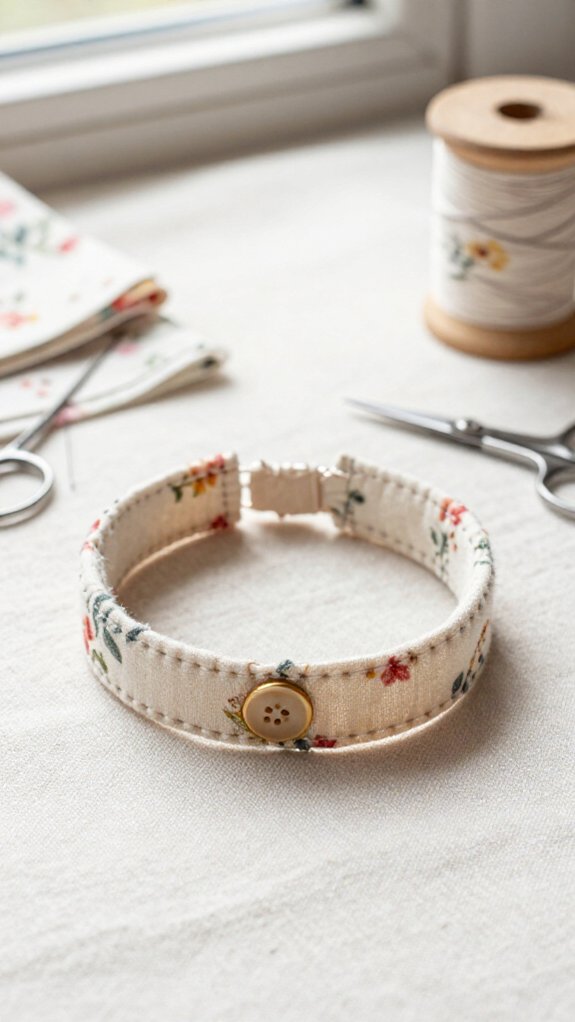
A fabric bracelet is a quick, cheerful way to turn small scraps into something you can actually wear—no sophisticated tools or jewelry-making skills required!
- Start with Scrap selection: choose sturdy cotton or denim strips, 1–2 cm wide. Color coordination makes even tiny leftovers feel like they belong together!
- Measure your wrist, add 1–2 cm, then braid strips or sew them into a tube with a running stitch. Add interfacing if fabric stretches or frays.
- Stitch ends securely, then add a button or hook-and-loop closure. Tiny knots, embroidery, or an appliqué patch create a custom finish—your new favorite conversation starter!
Decorative Pin Cushion
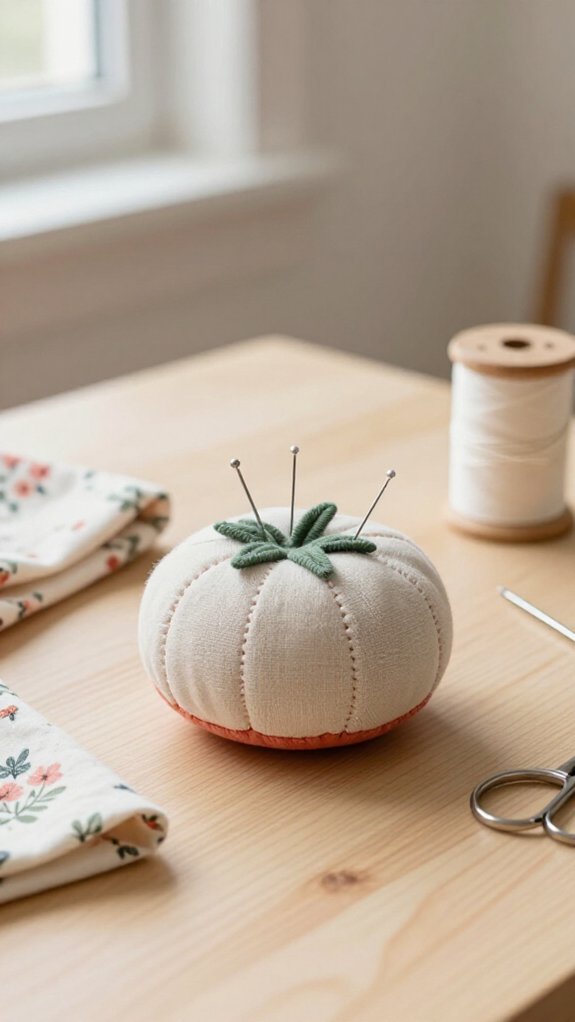
For Pin cushion stitching, sew the pieces right sides together, leaving a small gap. Turn, fill with fiberfill or clean scrap stuffing, then use beginner friendly finishing: whipstitch the opening closed.
Now add a button or embroidered motif in the center—instant personality!
Your pins stay put, your workspace feels complete, and you’ve made something your sewing circle will admire.
Hand-Stitched Pillow Cover
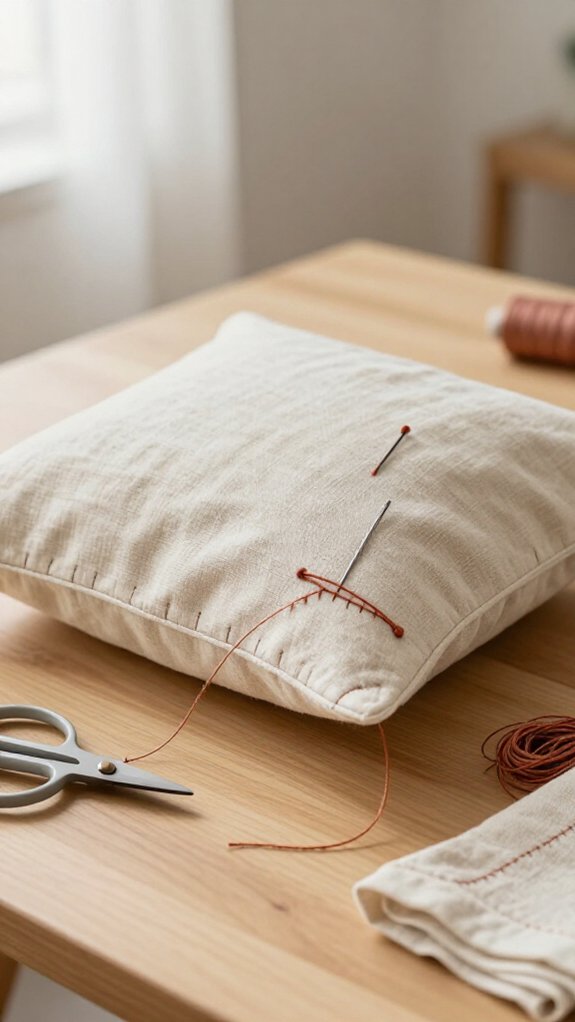
Turn a plain pillow form into something cozy and custom—no sewing machine required! You’ll feel right at home making this simple, budget-friendly project.
- Choose cotton or linen, two rectangles, and a pillow insert. Use fabric placement tips: keep prints facing inward before stitching.
- Finger-press or iron edges, fold seam allowances, then baste to hold everything steady. Sew with running stitches, adding backstitches for strength—easy does it!
- Leave an opening or make an envelope back, then use beginner finishing methods like a neat ladder stitch to close it. Your tidy cover will look wonderfully handmade, not “oops, I tried” handmade!
Tea Towel Hanging Loop
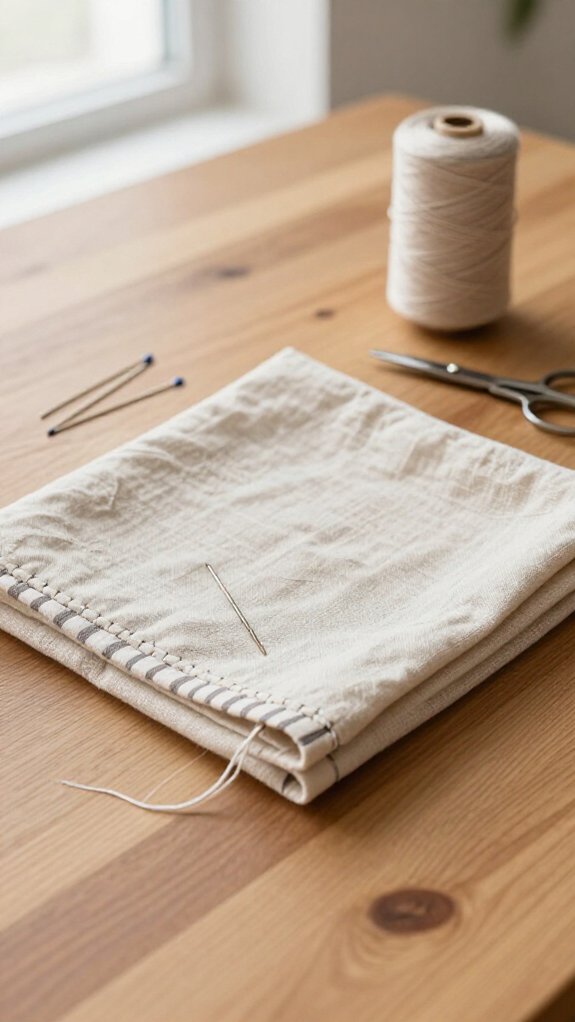
With one small fabric loop, your tea towel can finally hang where you need it—on an oven handle, a wall hook, or anywhere it tends to slip into a crumpled heap! You’ll need a fabric strip, sturdy cotton or polyester thread, and a needle—simple, affordable, and wonderfully useful!
Start by folding a 2–3-inch strip into a loop, pressing or basting it for shape.
When Choosing loop placement, center it along the top seam so your towel hangs straight.
Tuck under the ends, then use tight running stitches and backstitches to attach them.
Reinforce each join with extra passes—your kitchen crew will appreciate it!
For finishing raw edges, trim corner bulk and whip stitch fraying edges.
Fabric Plant Pot Cover
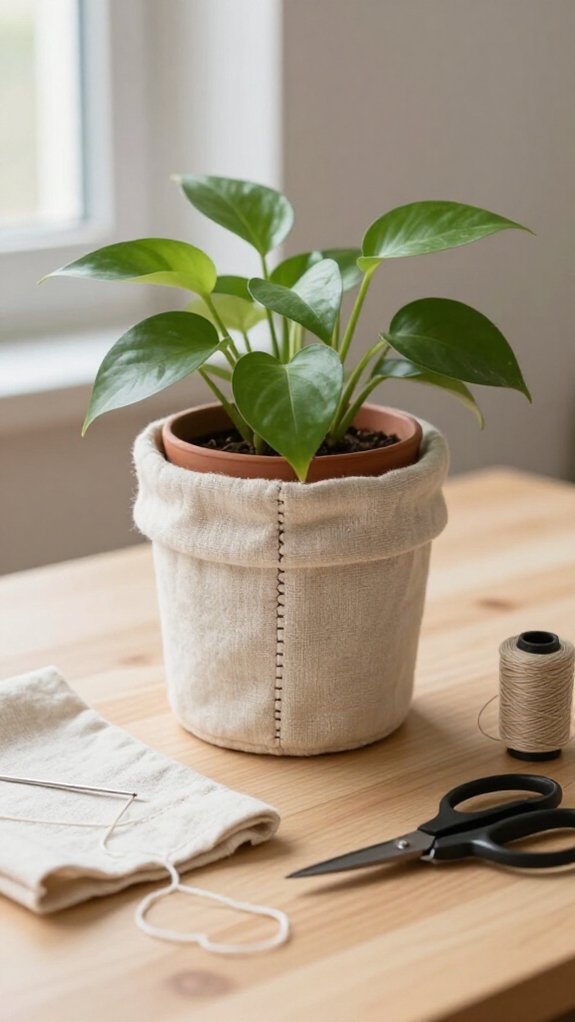
A fabric plant pot cover gives a plain nursery pot an instant little wardrobe upgrade, and you can sew one from scraps in an afternoon—no stylish pattern or sharp-corner drama required!
- Choose cotton or linen scraps; these material options press easily and feel friendly in your hands.
- Sew two rectangles right sides together, turn them, then close the bottom around a 6–8-inch pot. Add light interfacing or lining for a sturdy shape.
- Make fit adjustments with a simple drawstring casing, then keep it removable for watering.
You’ll have a cheerful cover that feels handmade, useful, and totally yours.
For extra charm, stitch an appliqué leaf or add a contrasting ribbon band—tiny details, big plant-parent pride!
Needle Book
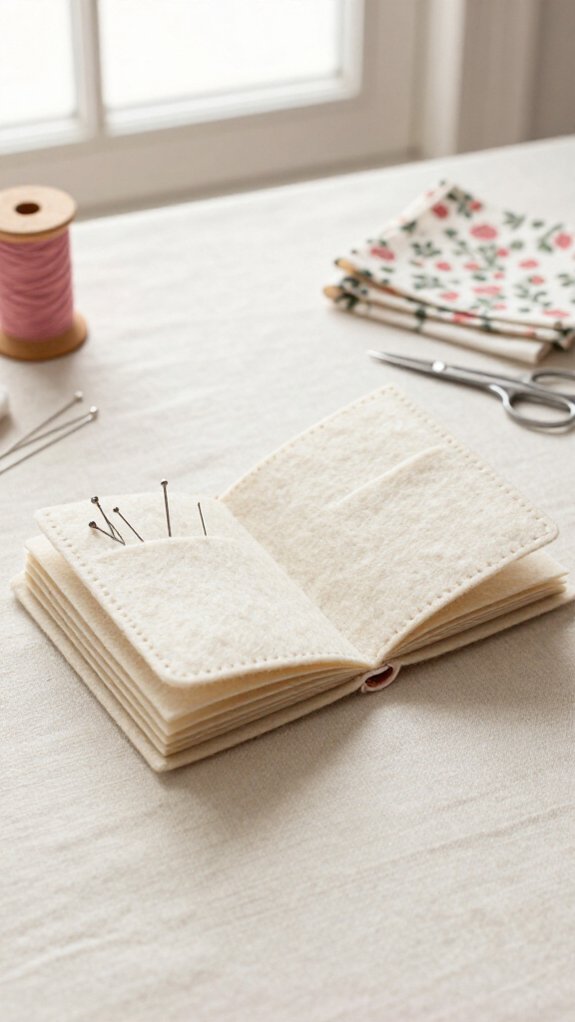
After dressing up your plant pot, put those leftover scraps to work on a tiny needle book—an easy felt booklet that keeps sharp needles safely tucked away instead of roaming your project bag like miniature porcupines!
| You need | You do |
|---|---|
| Felt, fabric, thread | Cut pages |
| Needle, scissors | Stitch cover |
| Ribbon loop | Add grab strap |
| Scraps | Decorate boldly |
This budget-friendly needle storage project gives you cheerful stitch practice and makes personalized gifts for fellow makers. Sew fabric over felt, add simple running stitches, then tuck needles inside. It’s perfect for travel sewing—your supplies stay together, and your bag stays poke-free!
Reusable Gift Bag
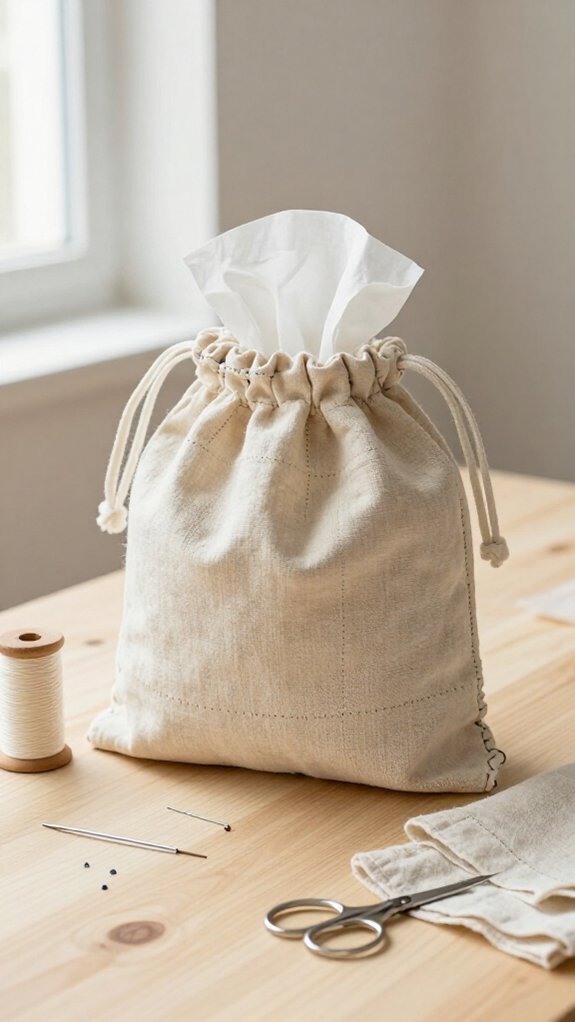
Turn a favorite cotton or linen scrap into a reusable gift bag, and you’ll have a wrapping option that looks thoughtful, costs very little, and won’t tear before the cake gets cut!
- Cut two matching panels, then stitch edges with a running stitch or backstitch.
- Finger-press straight seams and sew on a small top casing.
- Thread ribbon or cord through it—instant closure, no tape battles!
These Beginner friendly gift wrapping hacks help you join the thoughtful, low-waste gifting crowd.
Add a tiny appliqué heart or stitched initials, then box the bottom by folding and sewing each corner.
Your bag stands neatly, looks charming, and returns for birthdays, holidays, and thank-yous!
Embroidered Hoop Art
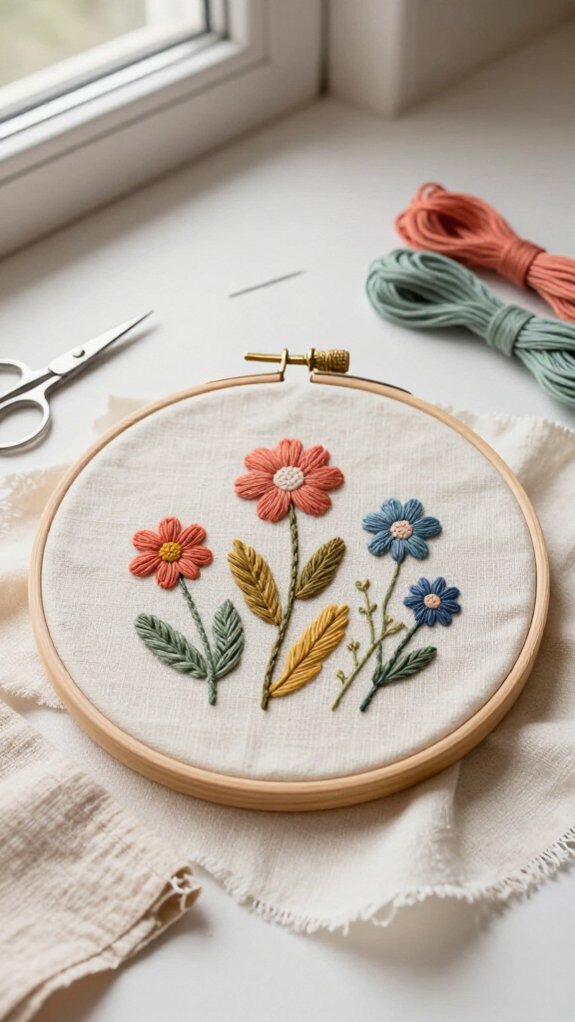
Your hand-sewing skills can brighten more than gift bags—an embroidered hoop turns a small piece of fabric into cheerful wall art!
Choose linen or cotton, consider hoop sizing, and pull it taut for smooth stitches.
Trace flowers, tiny stars, or a cute motif with washable marker.
Use two or three strands of floss, keeping color harmony in mind, then try running stitch, backstitch, and satin stitch.
You’ve got this!
For extra personality, add French-knot berries or lazy-daisy petals—tiny details, huge charm!
Finish with simple framing: trim the back fabric and secure it with tape or hand stitches.
Hang it proudly, or gift it to someone who’ll feel included.
Patchwork Mug Rug
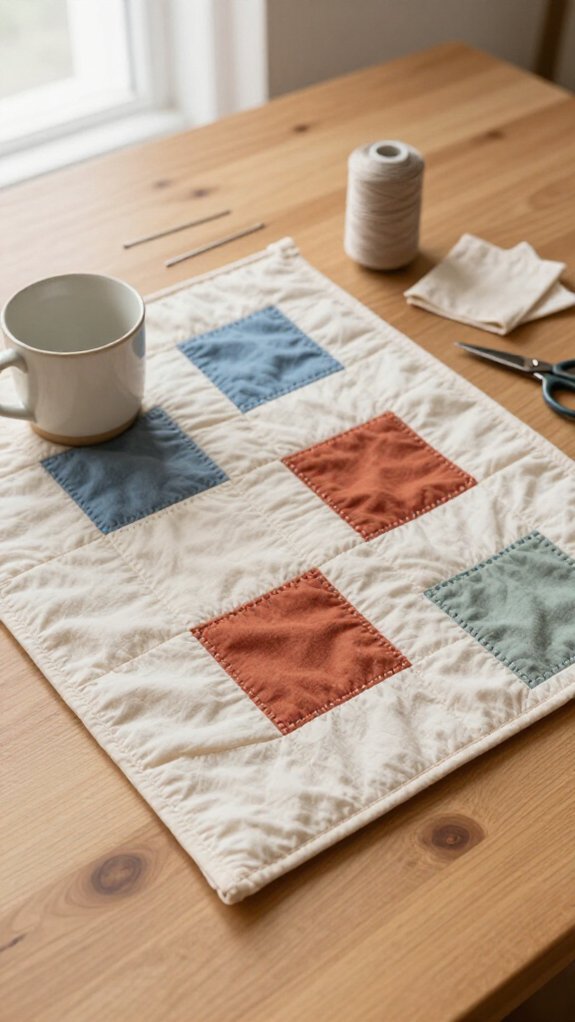
A patchwork mug rug gives your favorite coffee cup a cozy little landing spot, and it’s a fantastic first project for using those fabric scraps you can’t bear to toss—no judgment!
Gather a Colorful scrap selection, needle, thread, batting, and backing fabric. Keep it 5–7 inches square, so you’ll finish fast!
- Arrange pre-cut squares or strips into a cheerful top.
- Join them with a running stitch or backstitch.
- Layer top, batting, and backing, then stitch the edges.
This simple stitch practice helps you feel part of the patchwork club. Soon, your mug gets a handmade throne—fancy, right?
Cloth Napkins
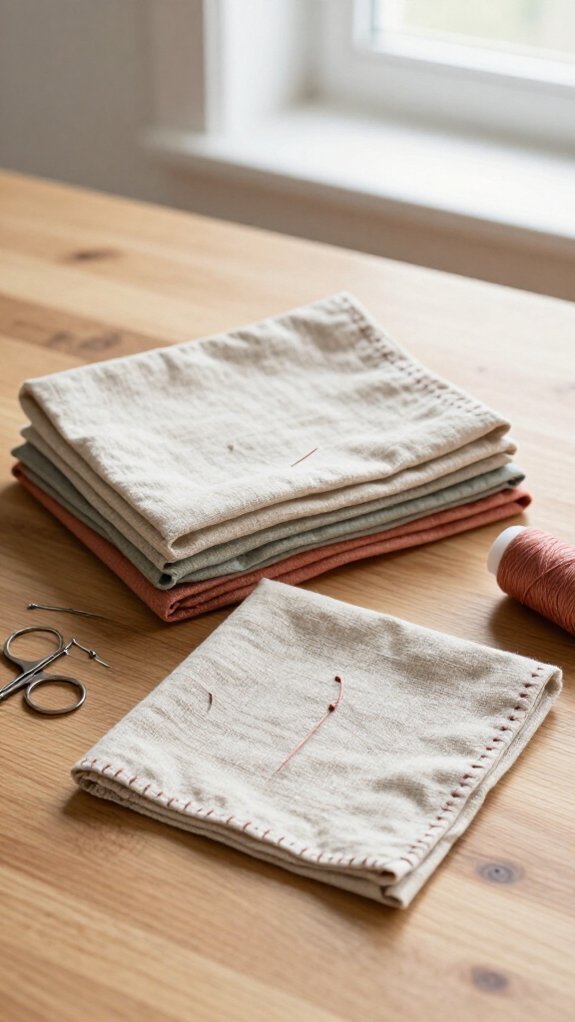
With a few cuts of cotton or linen, you can stitch cloth napkins that make even Tuesday-night leftovers feel a little stylish!
Use Fabric Selection Tips: choose washable, forgiving fabric, then cut matching rectangles for a set everyone at the table can enjoy.
For Beginner Hemming Techniques, finger-press a narrow double fold along each edge. Straight-stitch the hem with a relaxed, slightly longer stitch, and add a few extra stitches at each corner. No stylish machine required—just a needle, thread, scissors, and a little patience!
Soon, you’ll have durable napkins that survive regular washing and make everyday meals feel welcoming.
Bonus: coordinating sets make guests feel like they belong.
Fabric Basket
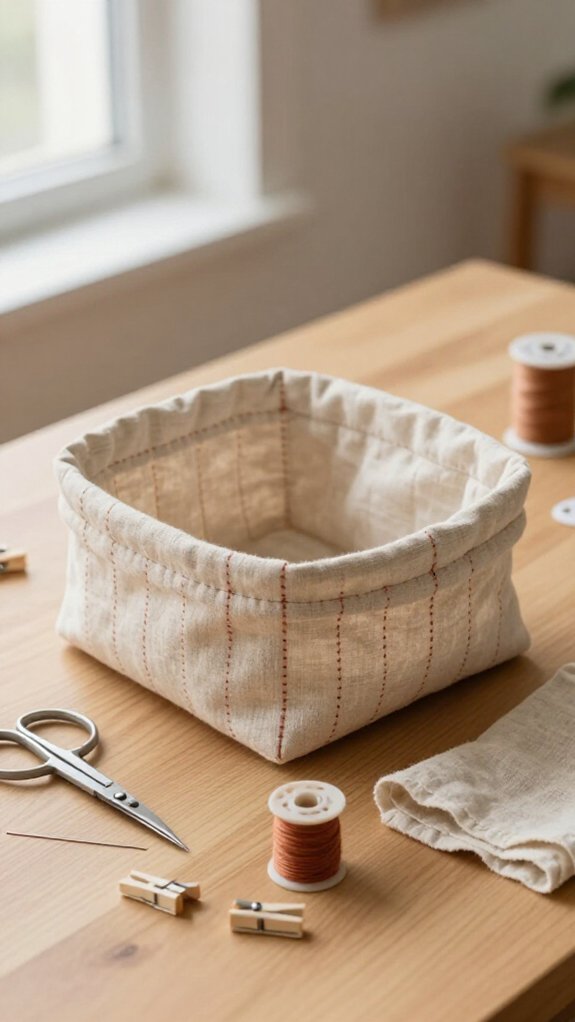
After hemming those cheerful cloth napkins, put the leftover bits to work in a tiny fabric basket—because loose threads and mystery squares seem to multiply when nobody’s watching!
- Try Scrap sorting first: group pieces by size, then color or fabric type. You’ll feel like part of a tidy little sewing club!
- Stitch scraps into panels, box the corners, and make a simple container. Or line a ready-made basket and sew down the trim—easy win!
- Use it for thread organization, pre-cut squares, circles, and strips. Keep it nearby in a clear labeled bin, and your next project starts faster.
Christmas Ornament
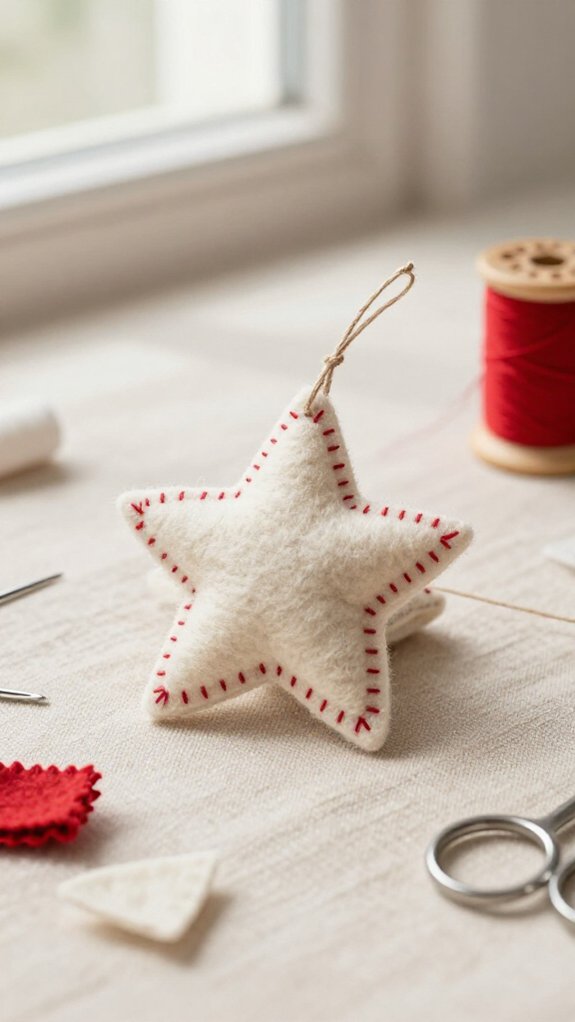
Turn a handful of bright scraps into Christmas ornaments, and you’ve got a cozy little project that’s easy to batch for gifts—hooray! You’ll feel part of the holiday-making crew fast.
| Try this | Why it works |
|---|---|
| Yo-yo circles | No tricky measuring |
| Appliqué shapes | Sweet, personal detail |
| Cotton scraps | Firm fill |
| Fleece scraps | Fluffy fill |
For Ornament stuffing basics, layer two shapes, stitch edges, turn, and fill lightly. Fabric scrap finishing is perfect for movie nights, car rides, or dance-day waits.
Keep pieces in a small bin, then peruse beginner patterns from Mmmcrafts, Blue Footed Boobie, or Christmas Houses. Tiny stitches, big cheer!
Hand-Sewn Tote Bag
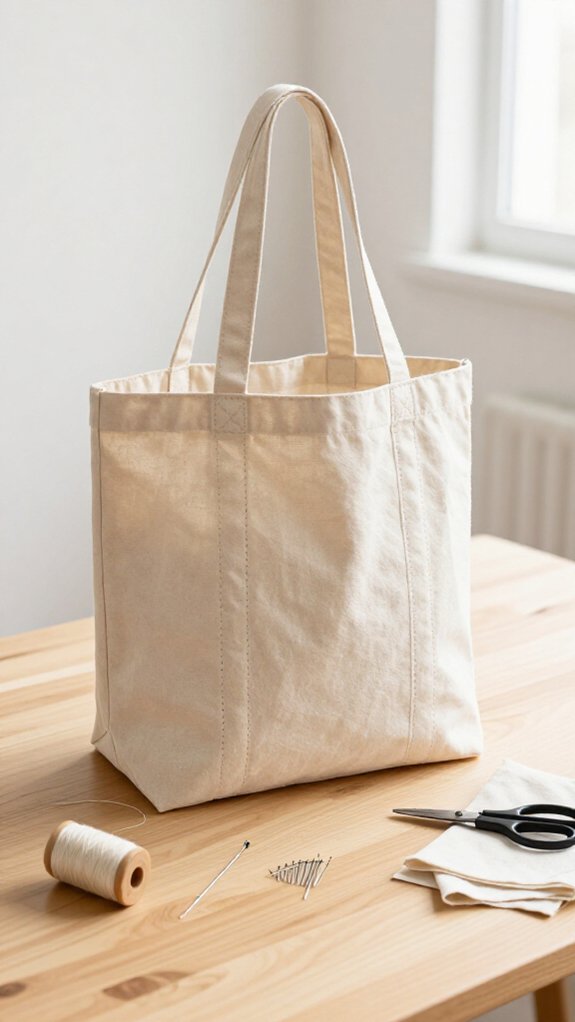
A hand-sewn tote bag gives you a useful, sturdy project without a mountain of tricky steps—yes, you can make one from a couple of fabric rectangles and a little patience!
- Pick an Easy tote design, scraps or fat quarters, needle, thread, and optional interfacing.
- Backstitch side seams, use running stitches for assembly, and try tidy fabric seam finishes.
- Investigate beginner lining methods, then add sturdy handle reinforcement with reinforced rows.
You’ll create a bag that feels like it belongs in your everyday routine—library books, market finds, or craft supplies included!
Interfacing helps it stand tall, while a neatly finished lining gives it a polished surprise inside.
Fabric Phone Sleeve
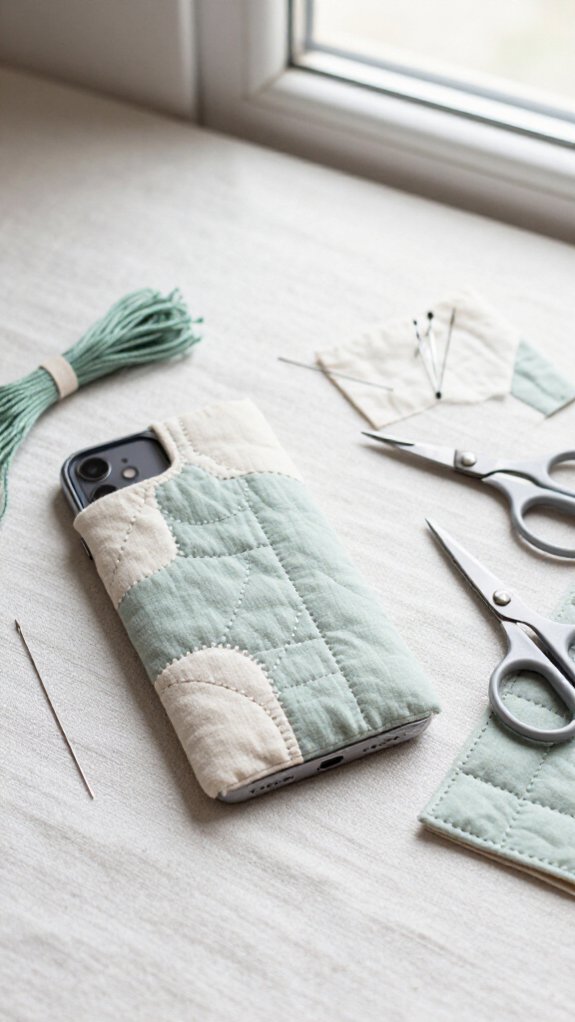
Stitch up a simple fabric phone sleeve, and you’ll have a soft little shield for your phone in an afternoon—no elaborate tools, no sewing-machine drama!
Fold fabric around your phone to mark a snug shape, then cut two rectangles with seam allowance.
This is perfect for upcycling fabric, and it makes thoughtful Handmade gifts!
Add scrap batting or thin interfacing for cushion, plus a smooth lining if you’d like.
Stitch the sides with a running stitch or whipstitch, leaving the top open.
Press and sew a narrow hem along the opening.
For the finishing touch, add a button-and-loop or elastic closure—your phone stays put, looking cozy and cared for!
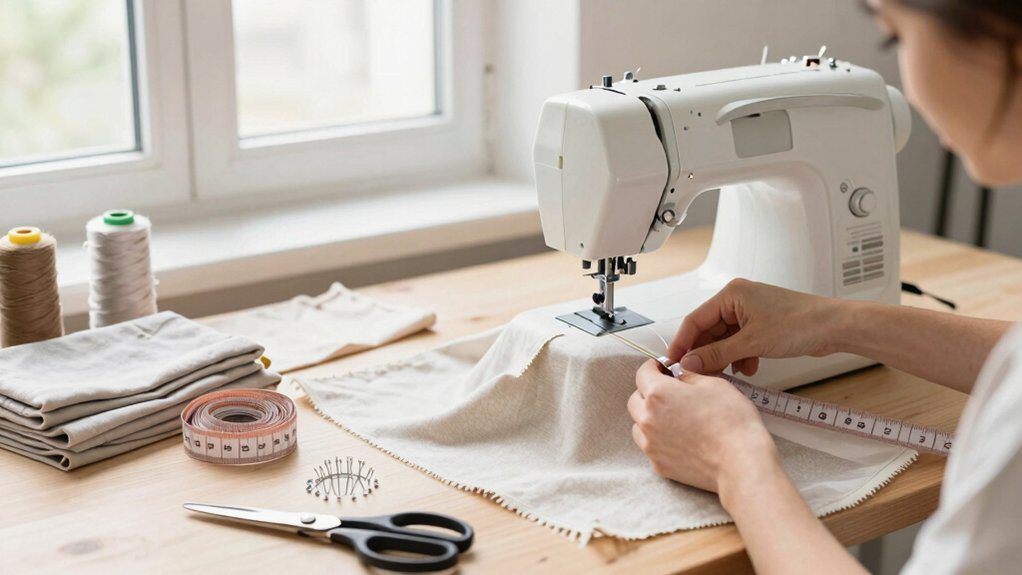
Essential Hand Sewing Supplies
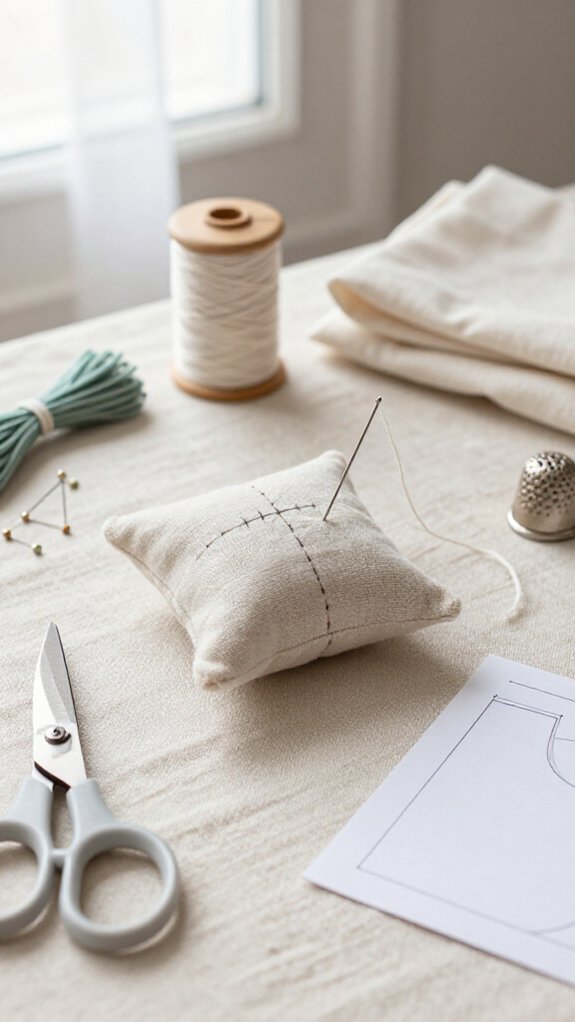
Before you thread that first needle, gather a small, dependable kit that makes hand sewing feel calm instead of like a tiny battle with tangled thread!
- Pack sharp large and small scissors, a needle book, one spool of Beginner thread, and a thimble. You’ll feel ready, not rummaging!
- Choose a basic needle for woven fabric and a finer one for delicate scraps, helping prevent snags during seam finishing.
- Cut thread about an arm’s length, then re-thread when needed. Add a seam roller, or finger-press on the go.
For bookmarks, lightweight interfacing or cardboard adds a surprisingly sturdy, polished finish!
Tips for Stronger Hand Stitches
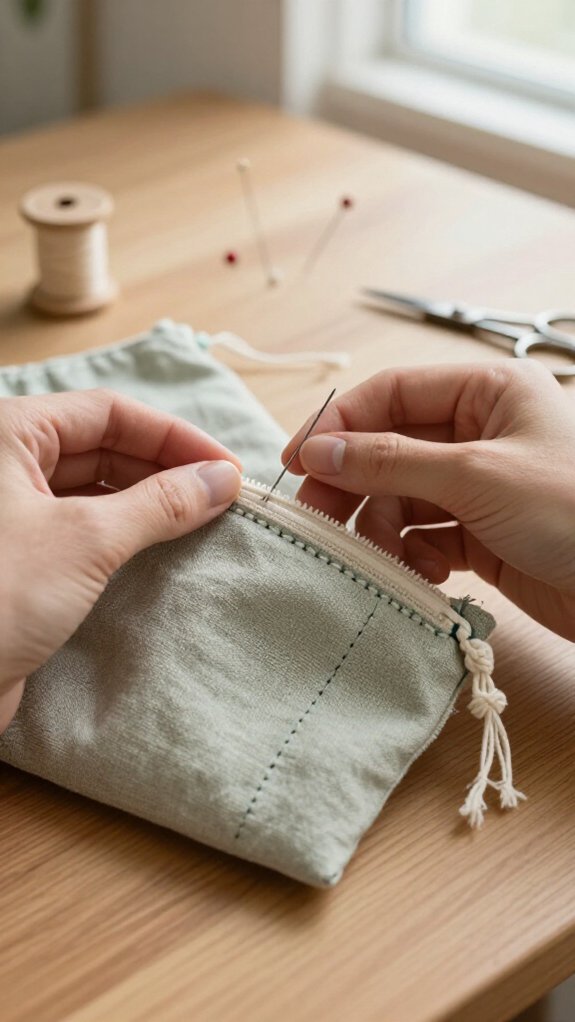
With your small sewing kit ready, you can make every seam tougher with a few simple habits—no superhuman pulling required! Keep stitches 2–4 mm long, and support fabric flat with your off-hand.
| Habit | Do this | Result |
|---|---|---|
| Stitch length | Keep it consistent | Even strength |
| Thread anchoring | Knot, then secure 2–3 stitches | Ends stay put |
| Tension control | Pull snug, not tight | No puckers |
You’re part of a crafty crew now—practice makes this feel natural! For handled edges, overlap stitches or switch to backstitch or ladder stitch. That little upgrade beats a running stitch when life gets tuggy!