17 Free Sewing Tote Bag Patterns You’ll Want to Make
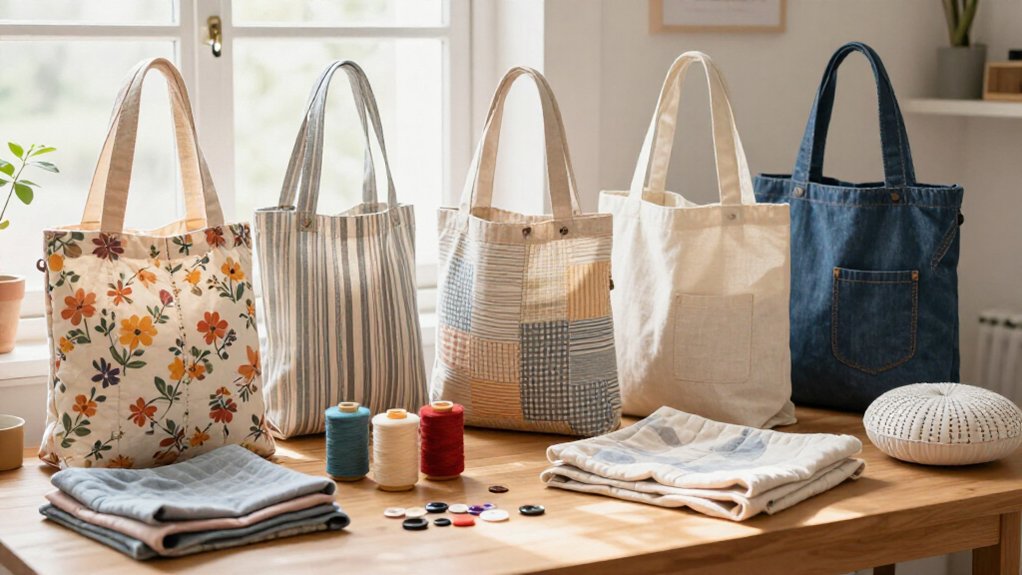
You’ll find 17 free tote patterns for every errand, gift, and fabric stash emergency! Start with an everyday canvas tote: fold a 14-by-32-inch rectangle, sew the sides, and add stitched handles. Try a foldable grocery bag with a pocket, a reversible tote with two looks, or a boxy market bag with roomy corners. Canvas, denim, or lined cotton all work well. Best surprise? A Japanese knot bag closes itself—keep going for more easy ideas!
Love cozy DIY projects? 💕
Get free printable guides, exclusive tutorials & surprise craft goodies straight to your inbox.
Disclosure: This post may contain Amazon affiliate links, at no extra cost to you. Content on DiyCraftNest is created with research support from AI tools and carefully reviewed, edited, and fact-checked by the lead author, Daniel Pat, to ensure accuracy and reliability. Learn more
Key Takeaways
- Choose from versatile tote styles, including everyday canvas, reversible, Japanese knot, beach, market, laptop, and foldable grocery bags.
- Use durable canvas, duck cloth, denim, or twill for sturdy bags; add interfacing or fusible fleece for extra structure.
- Customize each pattern with exterior quick-grab pockets, interior slip pockets, zipper pockets, or built-in foldaway storage pockets.
- Create roomier, more stable bags by adding boxed corners, bottom pleats, or side darts to shape the base.
- Reinforce handles with edge topstitching and boxed-X stitching for dependable carrying strength.
Everyday Canvas Tote
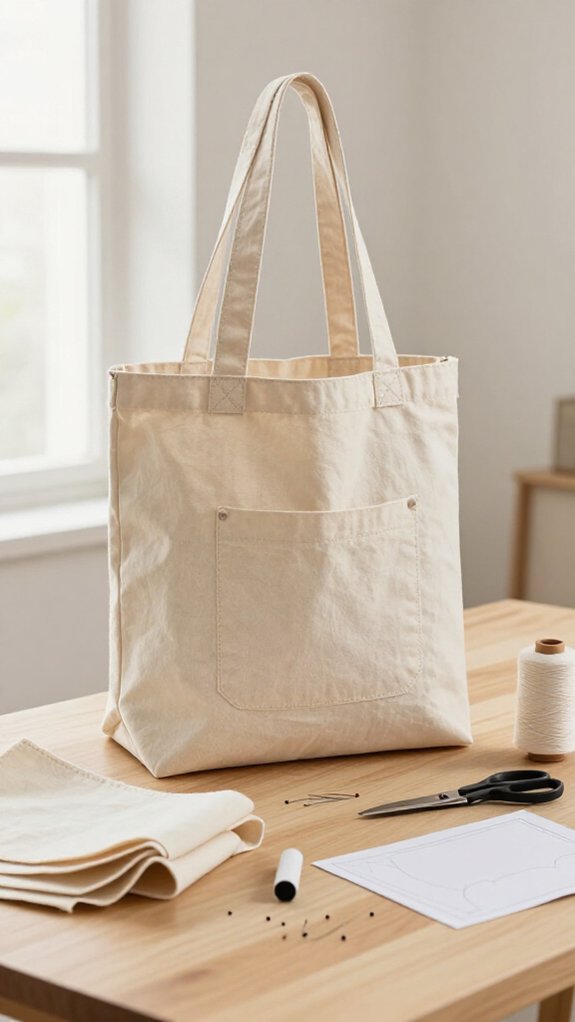
If you want a sturdy grab-and-go bag without a pile of tricky pieces, this everyday canvas tote is a perfect place to start! Choose heavier canvas, then cut one 14-by-32-inch body rectangle and two 3-by-21-inch handles.
Press each handle’s long edges inward 1/2 inch, and stitch near both outer edges for a snug Handle comfort fit. You’ll feel right at home carrying this beginner-friendly make!
Fold the body right sides together, mark a 1 1/2-inch bottom pleat, and sew 3/8-inch side seams. Zigzag raw edges, hem the top, then topstitch.
Those tote reinforcement seams give your simple, shared-favorite bag surprising strength—no elaborate fuss required!
Japanese Knot Bag
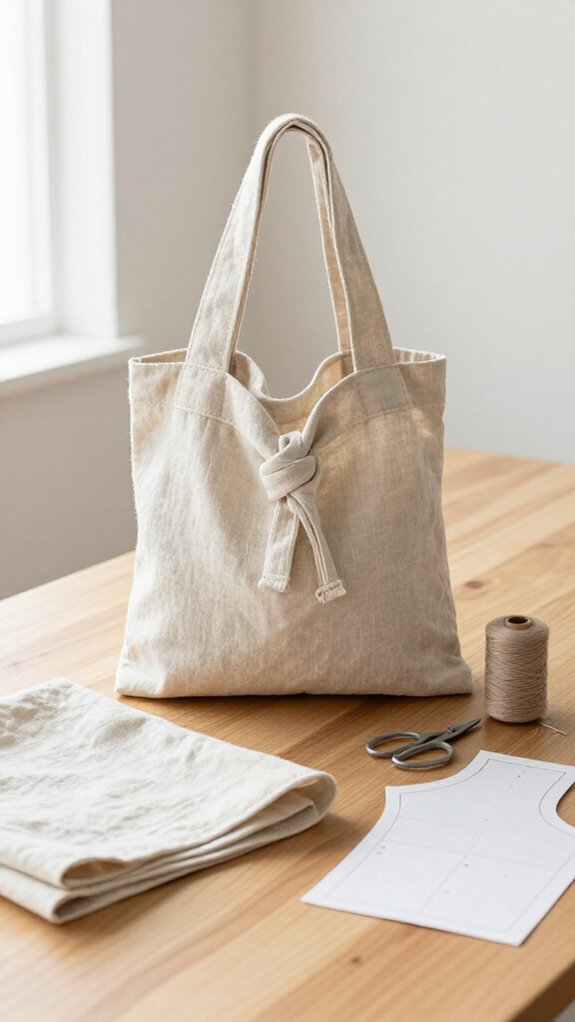
Although it looks like a clever little fabric puzzle, a Japanese knot bag is a beginner-friendly reversible tote you can sew with quilting cotton, a few basic tools, and no expensive hardware—hooray!
| You’ll use | You’ll do |
|---|---|
| Quilting cotton | Cut body panels |
| Thread | Sew side darts |
| Iron | Press neatly |
| Pattern | Turn reversible layers |
Try Fabric selection tips: choose two cheerful prints your sewing circle will love. Use tidy seam finishing methods, then follow a Japanese Style Square Bag pattern to shape the curved sides. The dart-based knot sits flat, wraps securely, and makes a sweet personal tote or gift-size surprise—ta-da!
Foldable Grocery Bag
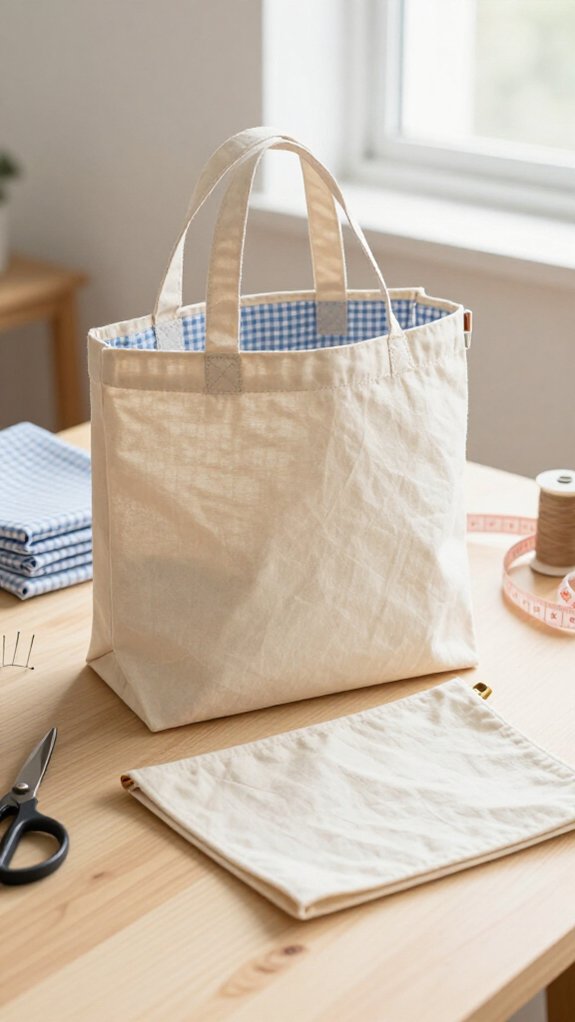
Ready for a tote that works as hard as your grocery list? Use sturdy canvas or a drop cloth, cutting a 20-by-34-inch body and two 29-by-3.5-inch straps. It’s affordable, beginner-friendly, and ready to join your market-day crew!
Finish the pocket’s raw edges with zigzag stitching or Fray Check, then sew the 9-by-18-inch pocket into the top hem.
Fold the bag wrong-side-out, stitch the sides, and box 3-inch corners for roomy results.
For neat fabric seam finishing, add tape along side seams.
Topstitch straps, then reinforce them with a square and X—your secret to reliable foldable tote storage!
Reversible Tote
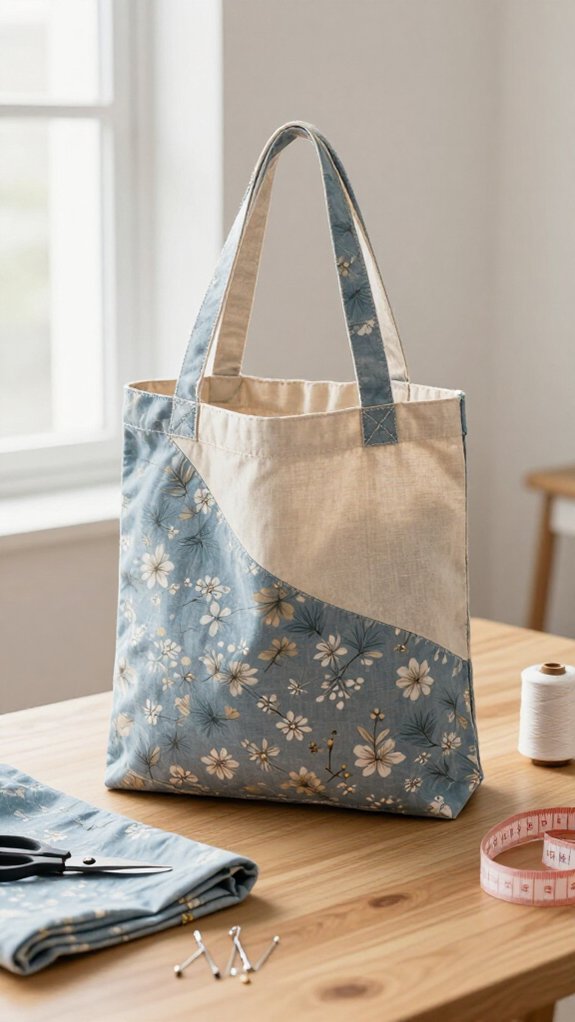
A reversible tote gives you two polished looks in one easy project, so you can flip from sturdy canvas to a fun decorator print whenever the mood strikes—pretty handy, right?
Check Pattern sizing first, then pull similar-weight fabrics from your fabric stash ideas. You’ll need two tote bodies, matching pocket or zipper pieces, thread, and basic sewing tools—nothing basic!
Stitch the bodies right sides together, leaving a turning gap.
Add pockets in the same spot on each side, then box both sets of corners before trimming.
Turn it out, double-fold or topstitch the opening, and admire that crisp finish.
Best part? Every side feels like the “right” side—your sewing friends will love it!
Boxy Market Bag
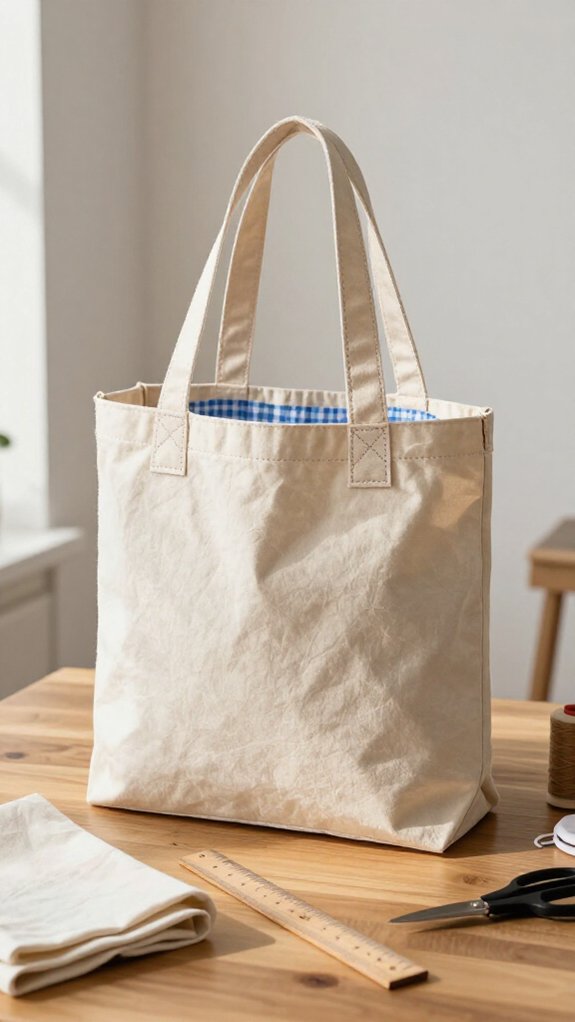
Want a tote that stands up on its own and holds more than it looks like it should? You’ll love this friendly, beginner-ready market bag!
Cut a 20-by-34-inch rectangle through two layers, then finish pocket edges with zig-zag stitches or Fray Check.
These pocket placement hacks tuck the pocket neatly into the top hem—smart and tidy!
Fold wrong sides together, stitch the sides, and try these boxy shape tips: sew across each corner 3 inches from the peak, then trim and finish.
Finally, secure straps with a 1-inch square and X. Add twill tape over side seams for strength—your grocery haul won’t stand a chance!
Beach Tote
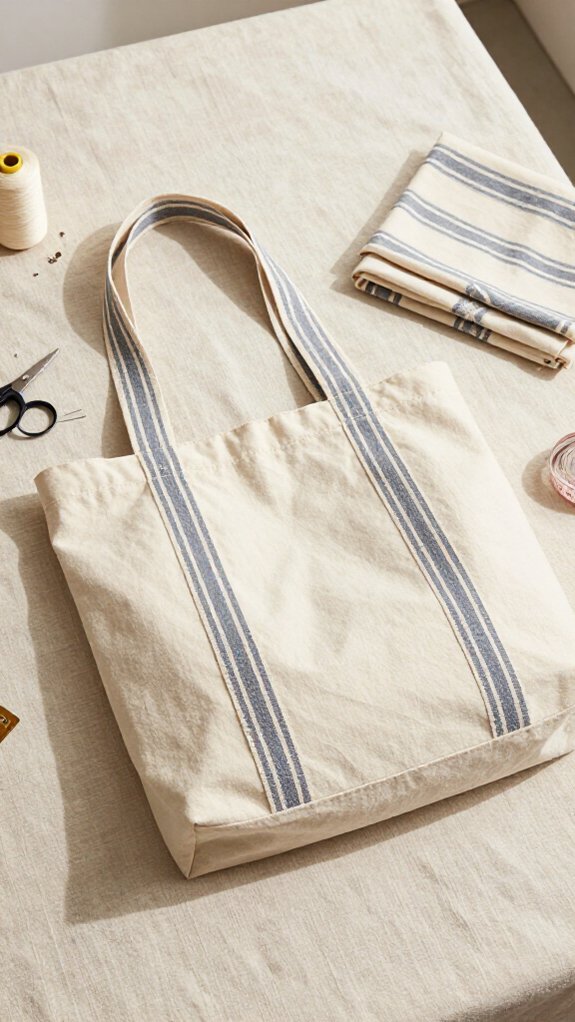
Sun, sand, snacks, wet swimsuits—your beach tote has to handle it all! Join the shore-day sewing crew with sturdy cotton canvas or sateen, chosen for saltwater durability and easy washing.
- Cut a 20-by-34-inch rectangle for a roomy, beginner-friendly body.
- Zig-zag raw seams and pocket edges, or use Fray Check—bye, fraying!
- Add a 9-by-18-inch exterior pocket, catching it in the top hem.
- Finish with handle reinforcement, then box the corners three inches up.
That flat base keeps towels, sunscreen, and sandy flip-flops standing tall. You’ll have a polished tote that looks ready for every group beach trip!
Library Book Bag
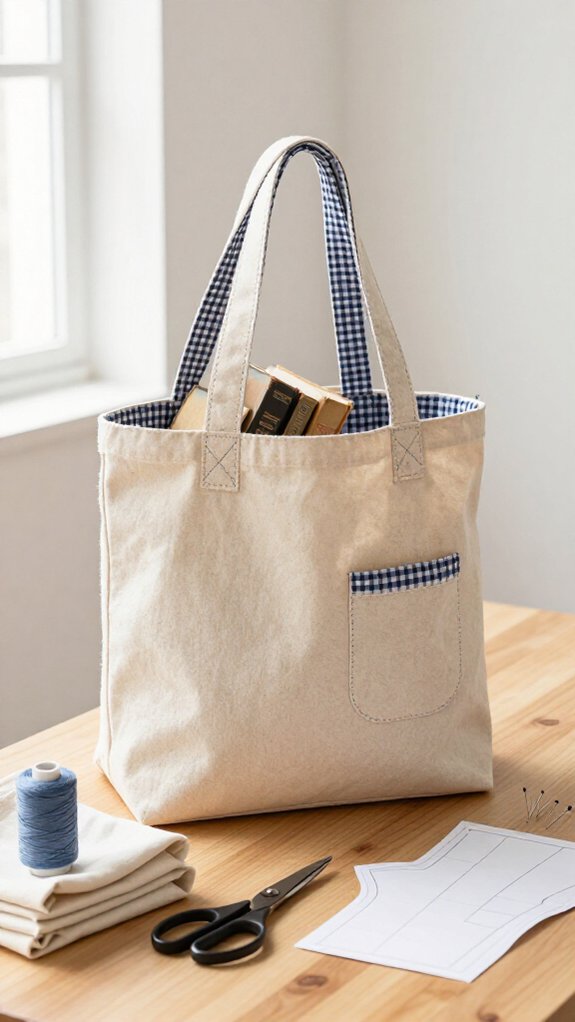
For library trips, a sturdy handmade book bag keeps heavy hardcovers, picture books, and that “just one more” novel from tumbling everywhere! You’ll join fellow book lovers with canvas, duck, or drop cloth—budget-friendly and beginner-ready!
| Piece | Cut | Purpose |
|---|---|---|
| Body | 14 x 32 inches | Roomy books |
| Handles | 3 x 21 inches | Easy carrying |
| Seams | 3/8 inch | Strong sides |
| Finish | Wide zigzag | Clean edges |
For book bag sizing, fold the body right sides together, add 1 1/2-inch bottom pleats, and stitch. Press, fold, and edge-stitch straps for sturdy handle construction. Hem the top, then box-X each handle—your surprise-strength finish!
Quilted Tote
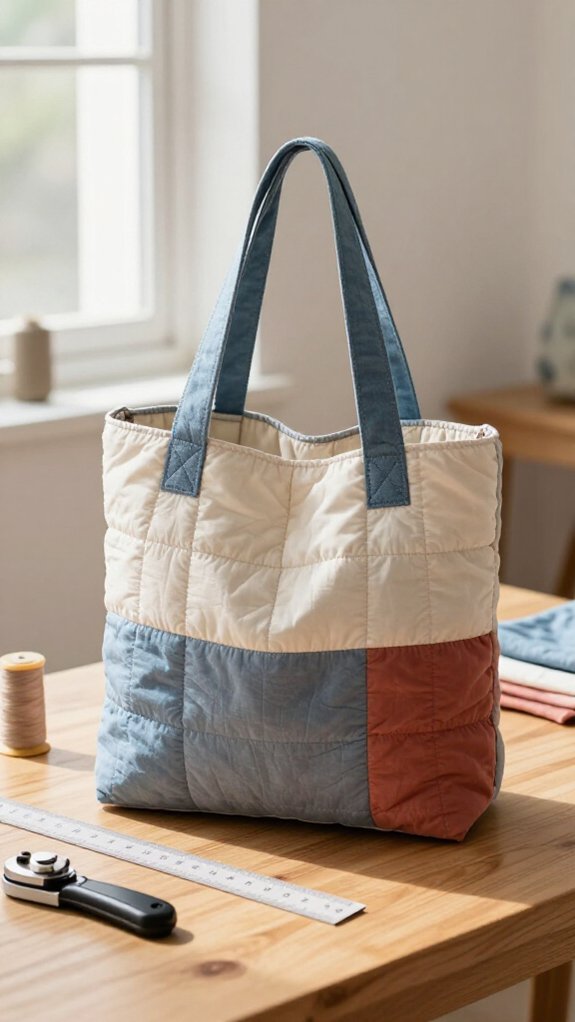
A quilted tote brings a little softness to your everyday carry, yet it’s sturdy enough for groceries, notebooks, or that oversized water bottle you somehow always need!
Layer quilting cotton, batting, and optional backing, then use these quilting technique tips to make it yours:
- Choose a simple tote shape and sturdy straps.
- Add outside pockets for quick-grab items.
- Sew inside pockets for keys and phones.
- Follow stitch spacing basics for neat, even lines.
You can use traditional quilting stitches or create a simpler quilted look—either way, you’re in good company!
Reinforced seams and boxed corners give your bag a polished shape, even after a very busy errand day.
Denim Upcycled Tote
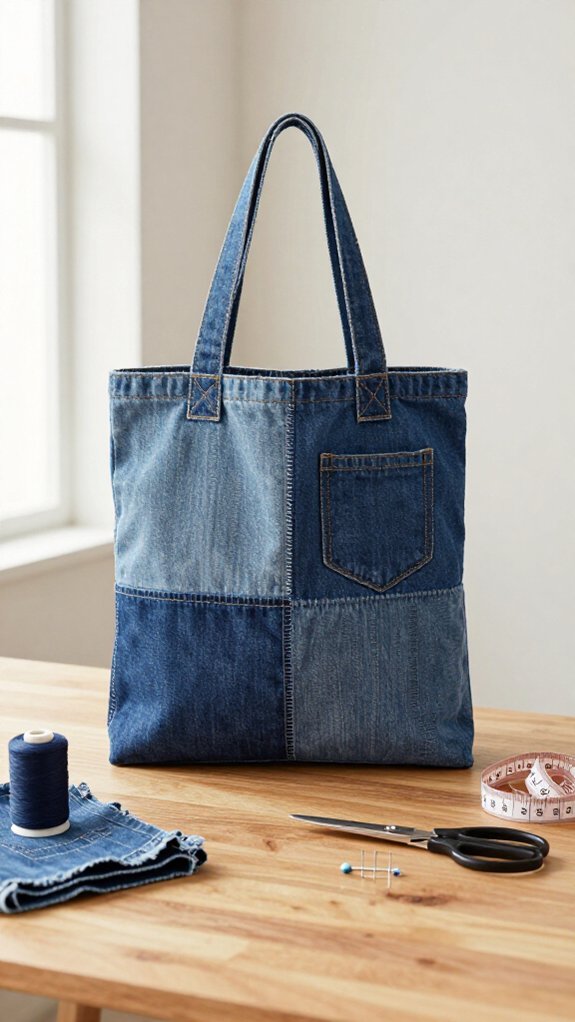
Turn worn jeans, an old denim jacket, or a pile of scraps into a tough, charming tote that’s ready for library books, market finds, and everyday chaos—no stylish supplies needed!
Cut a body rectangle and two handles from denim you already love.
Try Denim colorblocking with different washes, then press the panels flat before sewing.
Choose one layer for a quick, rugged bag, or add a lining cut three inches shorter to prevent top-edge bunching.
Finish raw edges with a wide zigzag, shape boxed corners, and topstitch the hem.
Here’s the secret for a tote that joins your daily crew: sturdy handle reinforcement!
Tuck ends into the fold and sew a boxed X.
Patchwork Tote
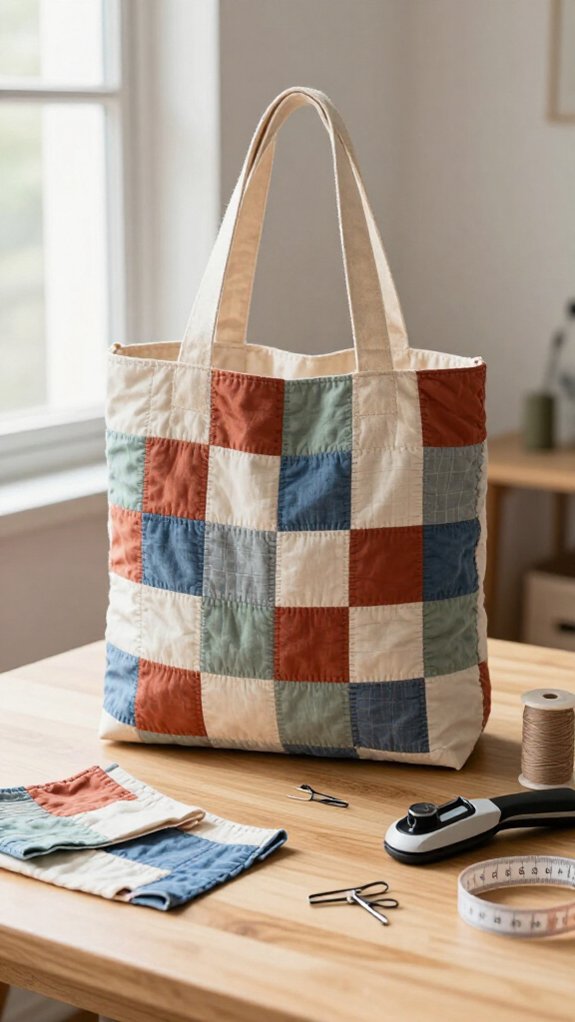
Patchwork lets you trade denim’s rugged look for a tote full of color, pattern, and personality—yes, even if tiny quilt blocks sound like a weekend-long math problem!
- Pick cheerful fabric colorways in canvas or decorator cotton.
- Plan patchwork placement with simple cut-and-sew panels.
- Stitch every seam at a matching 1/2-inch width.
- Add straps, then finish edges for a sturdy, shared-sewing-circle-worthy bag.
Want the easy route? Use a preprinted Crafty Tote panel for a pieced look without block assembly—score! Or sew a zig-zag-finished pocket into the front panel or lining. You’ll get a useful, bright tote that feels handmade and wonderfully yours.
Minimalist Linen Tote
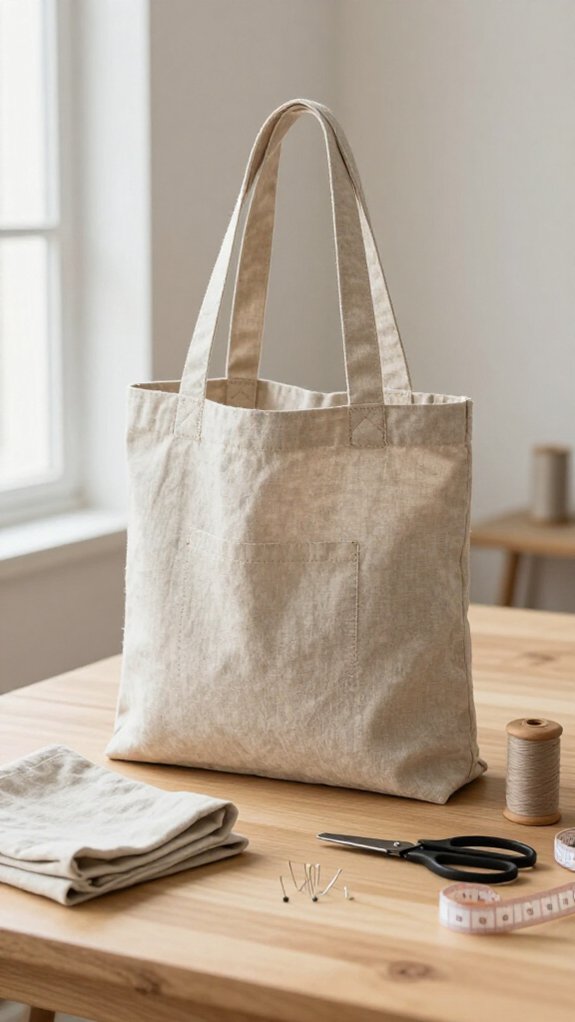
Clean lines and natural texture make a minimalist linen tote feel polished without much fuss—hooray!
Your Fabric selection matters: choose medium- or heavy-weight, home-decor linen so the simple rectangle shape holds up beautifully.
Cut one tote body rectangle and two handle strips, then sew the sides and bottom.
For seam finishing, use a double-fold top hem—fold 1/2 inch, then 1 inch—for a tidy, lining-free edge that looks wonderfully intentional.
Topstitch the handle edges for crisp definition, and reinforce where they meet the bag with extra stitching.
Want a clever durability boost? Add small interfacing patches at those stress points.
Your everyday carryall will feel handmade, sturdy, and proudly yours.
Crossbody Tote
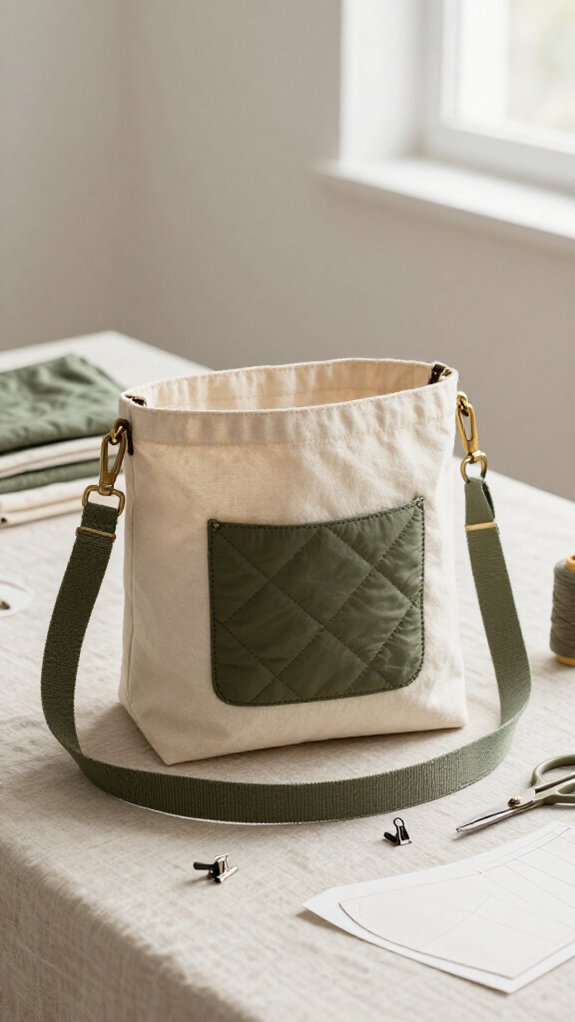
For hands-free errands and busy days, a crossbody tote gives your simple linen bag a practical upgrade—hooray! You’ll feel right at home carrying it with your crew.
- Choose canvas or denim, plus fusible fleece for structure.
- Cut straps 2–3.5 inches wide, checking adjustable strap length.
- Plan zipper pocket placement outside, then add interior slip pockets.
- Sew clips onto a convertible strap for shoulder or crossbody wear.
Follow pattern measurements carefully; most beginner options are budget-friendly and easy to customize.
The best part? Your tote can switch carry styles without changing the bag body—like a tiny sewing magic trick!
Laptop Tote
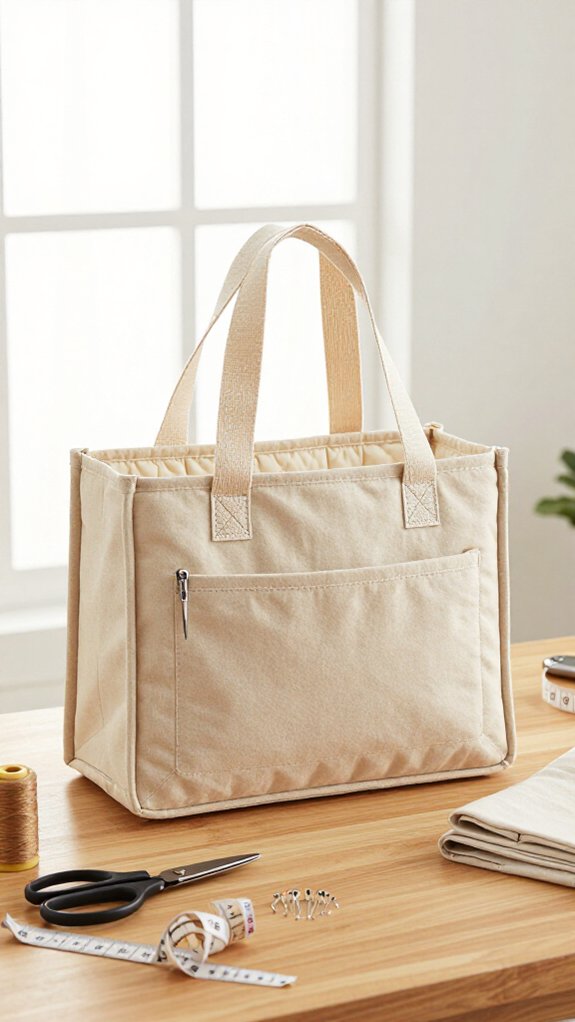
A laptop tote keeps your tech protected while looking polished enough for class, work, or a coffee-shop sewing brag—hooray! Choose canvas or duck fabric, since it stays crisp for that flat, screen-sized carry.
For laptop sizing, cut a 14-by-32-inch rectangle, or adjust it to fit your device, then fold it and sew the sides.
Finish raw edges with a wide zigzag, and hem the top by folding 1/2 inch, then 1 inch.
Make two 3-by-21-inch handles, press their edges inward, and topstitch close to both sides.
Strap reinforcement gives your tote real everyday strength!
Add a lighter lining, cut three inches shorter, for a neat surprise inside.
Picnic Tote
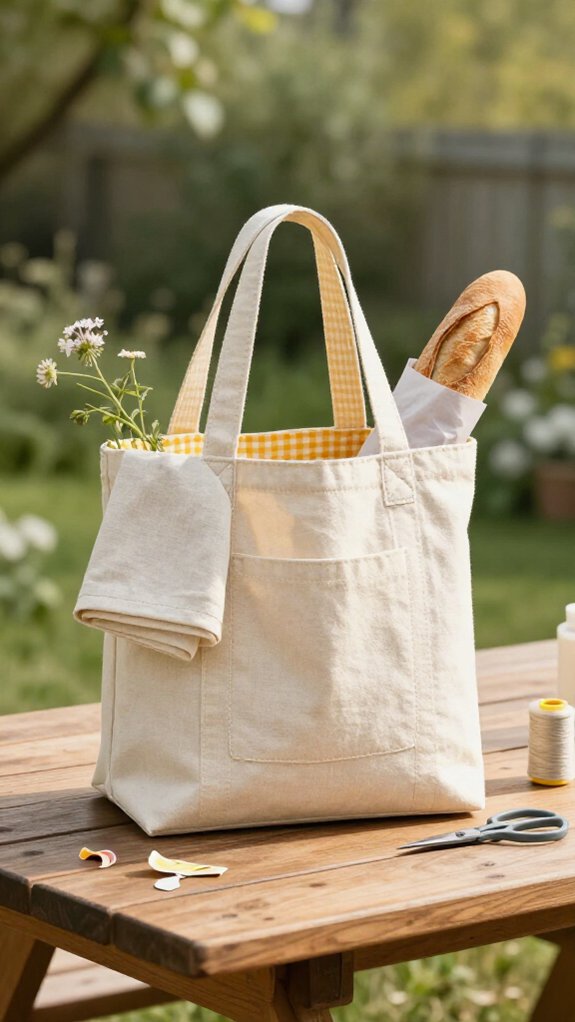
Picnic days call for a tote that’s as cheerful as the snacks inside! You’ll love this beginner-friendly project, whether you’re joining friends at the park or running errands.
- Choose bright fabric selection choices, like florals or gingham.
- Pick sizing variations that fit your blanket, fruit, and sunscreen.
- Sew the straightforward pieces together—no tricky shaping required!
- Add interior pockets for keys, a phone, and those rogue granola bars.
The result looks polished but comes together simply, so you can feel proud carrying it everywhere.
Get the free bag pattern here through the “15 Free Bag Patterns” collection, and make your next outing extra fun!
Drawstring Tote
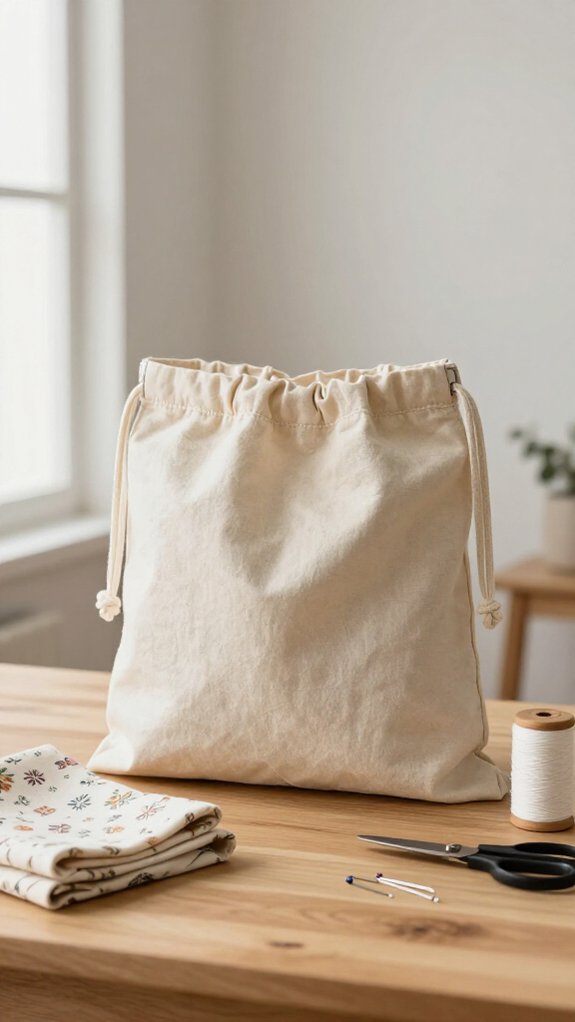
Drawstring totes bring a little magic to everyday carrying—pull the cords, and your book, water bottle, and loose bits stay tucked inside!
Choose canvas or sateen, then cut the body and casing exactly. Straight seams make this beginner-friendly—welcome to the club!
| What you need | Why it helps |
|---|---|
| Heavy fabric | Keeps the top crisp |
| Cord length | Creates an even cinch |
Sew the casing, check your hem finishing, and thread cord through both sides. Add huge inner pockets if your pattern allows; they’re the surprise hero, keeping snacks and keys easy to find even when the bag closes tight!
Oversized Shopping Tote
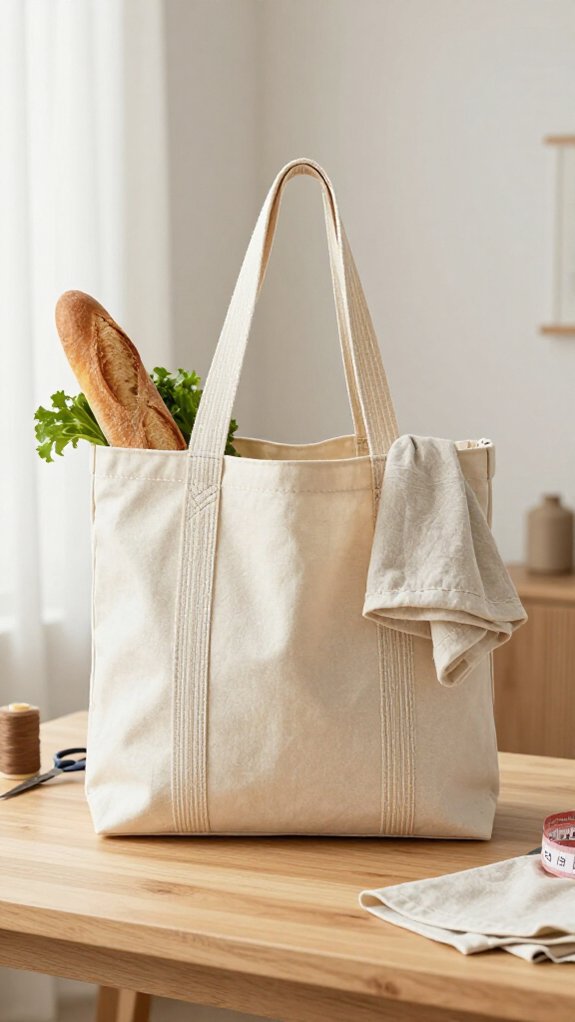
When your errands seem to multiply overnight, an oversized shopping tote gives you one roomy, sturdy place to toss groceries, beach towels, library books, and that “just one more” item!
- Pick decorator-weight canvas for fabric durability.
- Check tote sizing for your usual haul.
- Sew the simple seams and reversible lining.
- Secure rope handles exactly as directed.
You’ll finish quickly, even as a beginner, and join fellow makers who love a bag that works hard!
Flip the reversible design when you want a fresh look, then load it up without the dreaded sag.
The surprise? It’s comfy enough to carry your whole weekend!
Kids Mini Tote
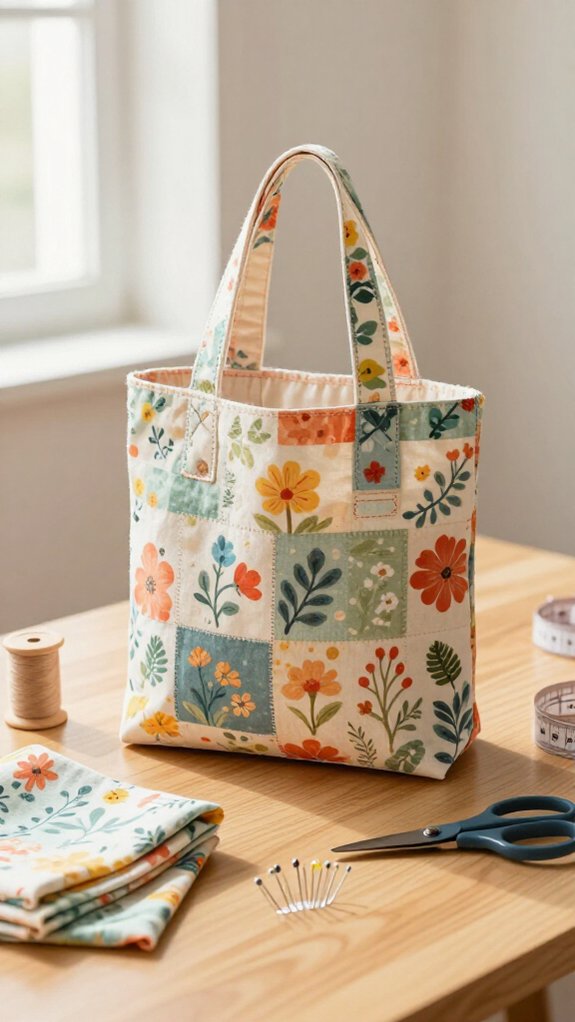
Although it’s small enough for little hands, a Kids Mini Tote packs plenty of charm—and it’s surprisingly useful for books, snacks, tiny treasures, or a quick day out!
You’ll need 1/2 yard outer A, one fat quarter outer B, 3/4 yard lining, plus fleece and interfacing.
Use the pattern’s cut-and-sew measurements, then stitch outer and lining with 1/2-inch seams.
Box the bottom corners, turn through the lining opening, and press—easy!
For smart Kids sizing tips, keep it about 9 inches wide, 11½ inches tall, and 4 inches deep.
Check tote handle placement carefully, then secure those handles well.
Add a pocket snap or button, and your little one gets a proudly made carryall!
Choosing the Right Fabric
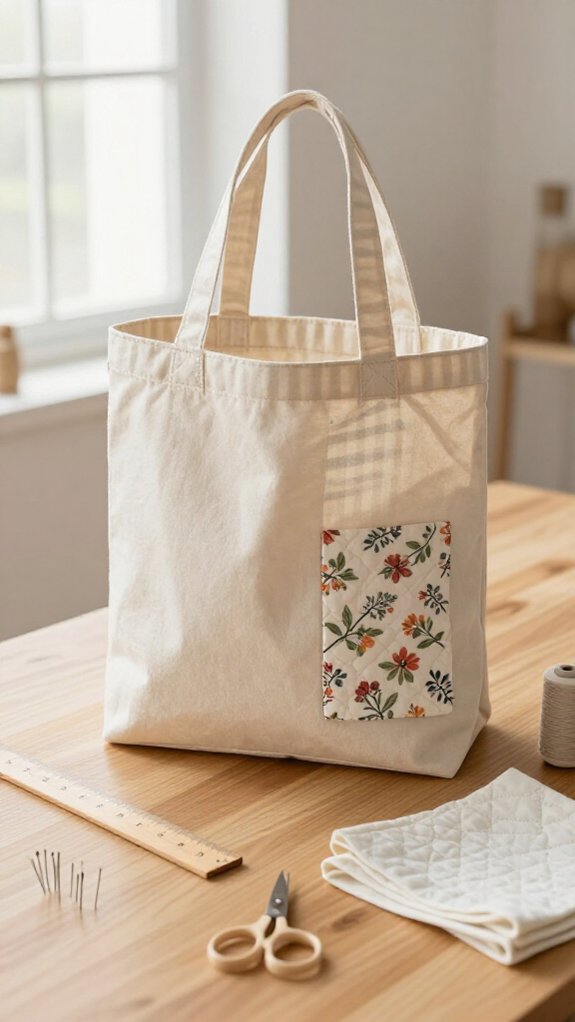
Fabric choice sets the whole mood for your tote, from a soft, slouchy market bag to a sturdy carryall that can handle library books without throwing a tantrum!
- Choose canvas, duck cloth, denim, twill, or corduroy for tough, one-layer bags.
- Pick medium-weight fabric when your pattern uses fusible fleece or interfacing, so it stays formed, not bulky.
- Try home-dec cotton for an easy, casual tote with a clean drape.
- Do Fabric stretch testing: cut a scrap, tug it, then sew a zig-zag sample.
Check fraying before you commit! Your seam finishing methods can make an unlined tote feel polished, and you’ll join fellow makers with a bag built to last.
Lining and Handle Tips
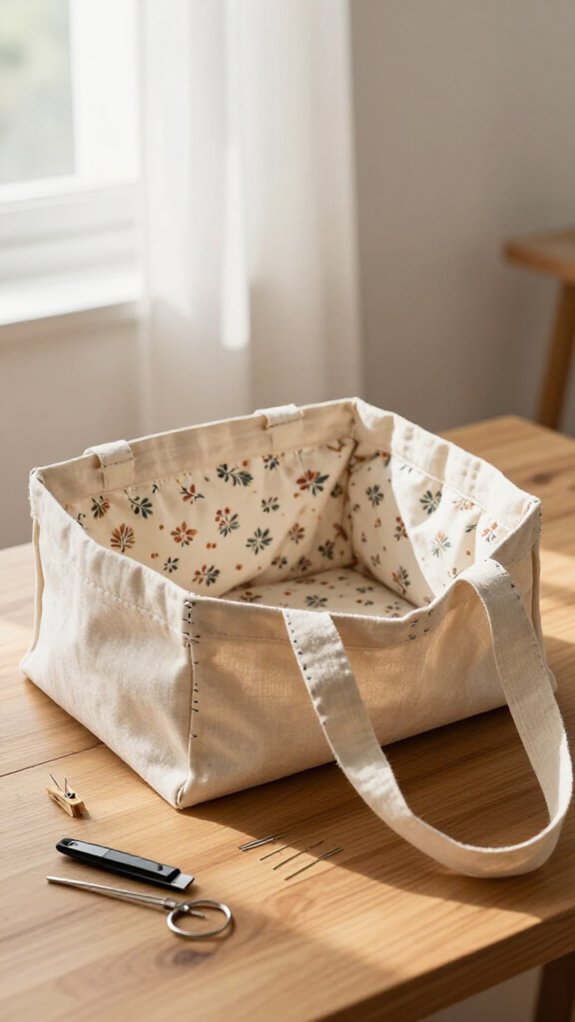
A neat lining and sturdy handles can turn a simple tote into a bag you’ll reach for every day—no saggy straps or messy inside seams here!
Cut your lining about 3 inches shorter than the outer, build it the same way, then slip it inside before hemming.
Lightweight lining fabric keeps the interior polished, while heavier canvas works well for one-layer totes.
For straps, press long edges 1/2 inch inward, fold, and stitch 1/8 inch from both sides.
Keep stitch consistency for that “we made this!” look.
Place ends 3 inches from side seams, tuck them into the top fold, then topstitch.
Finish with boxed Xs—your secret to superhero-strength handles and tidy seam finishing!