28 Simple DIY Bookshelf Ideas to Show Off Your Collection
Disclosure: This post may contain affiliate links, at no extra cost to you. Content on DiyCraftNest is created with research support from AI tools and carefully reviewed, edited, and fact-checked by the lead author, Daniel Pat, to ensure accuracy and reliability. Learn more
If you want to showcase your book collection with style and ease, I’d start with floating wall shelves for a modern, open look or a classic plywood bookcase for sturdiness and personalization. Beginners can try simple DIY tutorials using basic tools and adjustable shelves. Pocket hole joints keep the build neat and strong, while adding a library ladder or arched design brings charm and function. There’s a perfect project here to fit your space and skill—you’ll find plenty of ways to get creative and organized.
Key Takeaways
- Floating wall-mounted shelves offer sleek, customizable displays that maximize space and keep rooms feeling open and airy.
- Classic plywood bookcases provide sturdy, personalized storage with easy assembly using wood glue, screws, and finishing options.
- Simple DIY shelves using plywood or solid wood boards require basic tools and secure mounting for adjustable, safe shelving.
- Creative designs like scalloped edges, cane webbing, or high-mounted shelves add charm and unique character to collections.
- Adding aesthetic enhancements such as forest green paint, brass hardware, and LED lighting highlights books and creates inviting spaces.
Floating Wall-Mounted Shelves
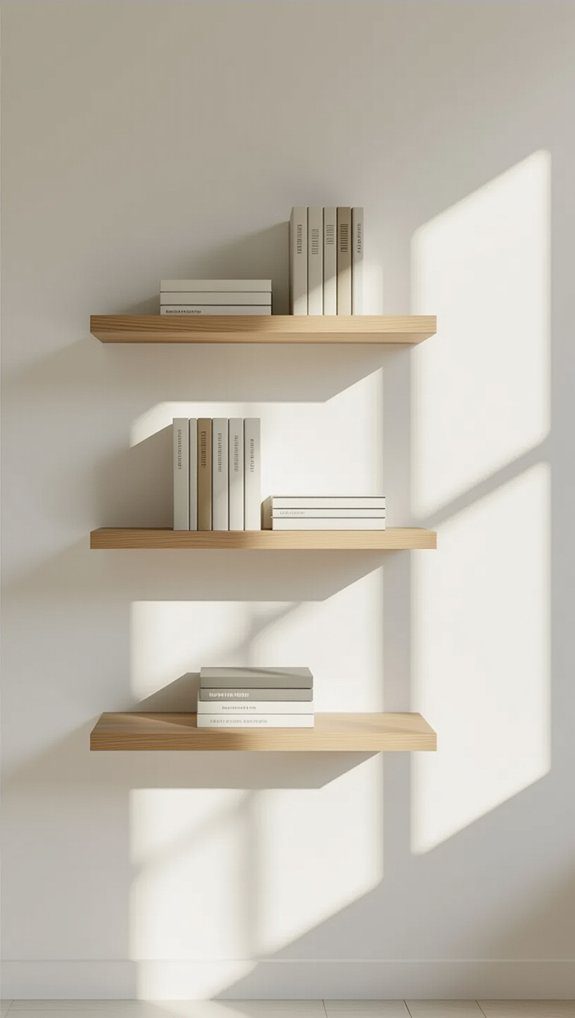
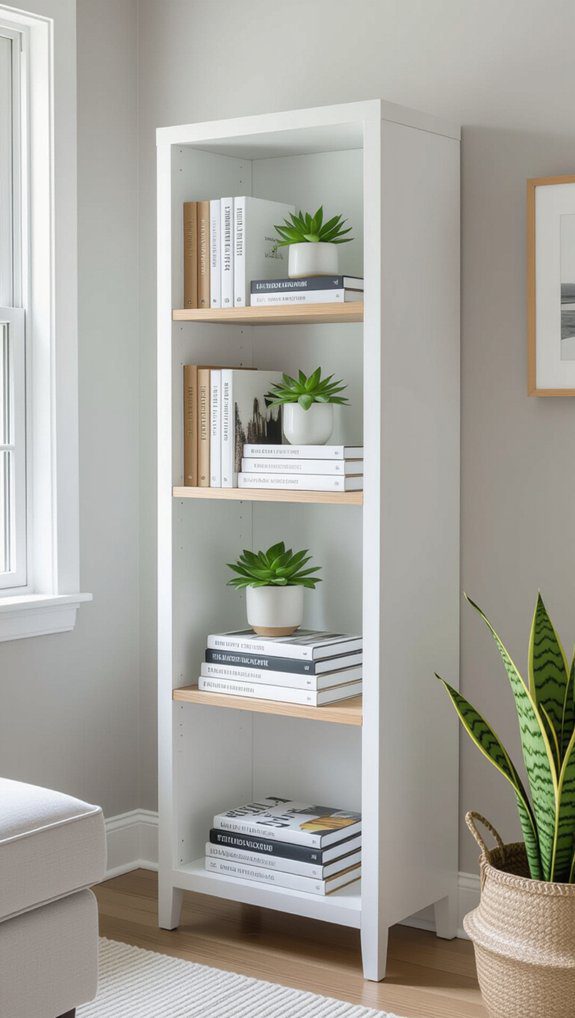
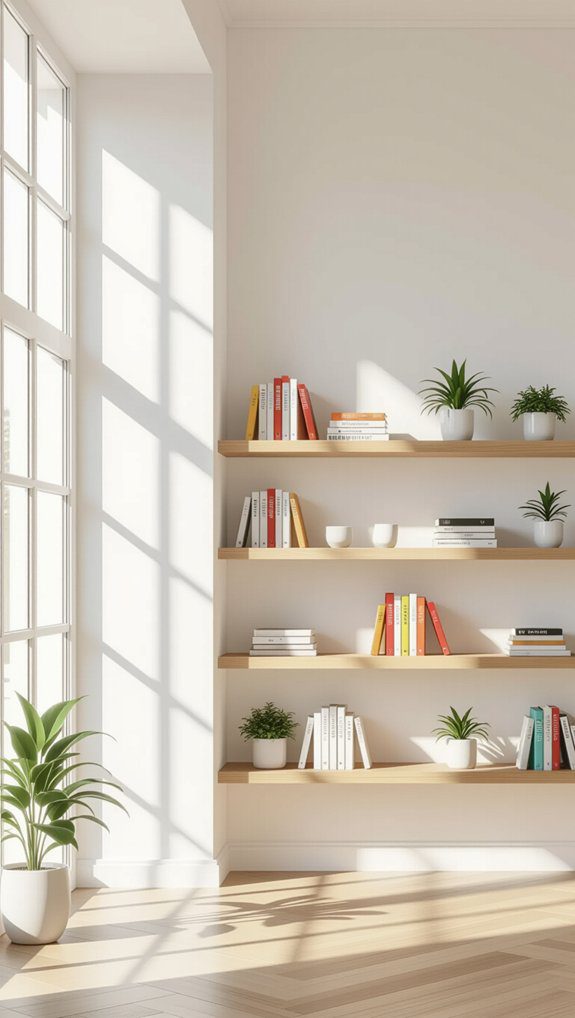
When you want to make the most of your wall space without crowding your room, floating wall-mounted shelves are a fantastic choice. I love how these shelves offer floating shelf benefits like sleek style and easy customization, fitting perfectly in small or large spaces. They keep my room feeling open and bright by drawing the eye upward and freeing up floor space. Plus, creative shelf arrangements let me mix books with plants or little treasures, making the display truly personal. Installing them is simple, and the clean, modern look helps me keep clutter at bay while showing off my collection.
Classic Plywood Bookcase Build
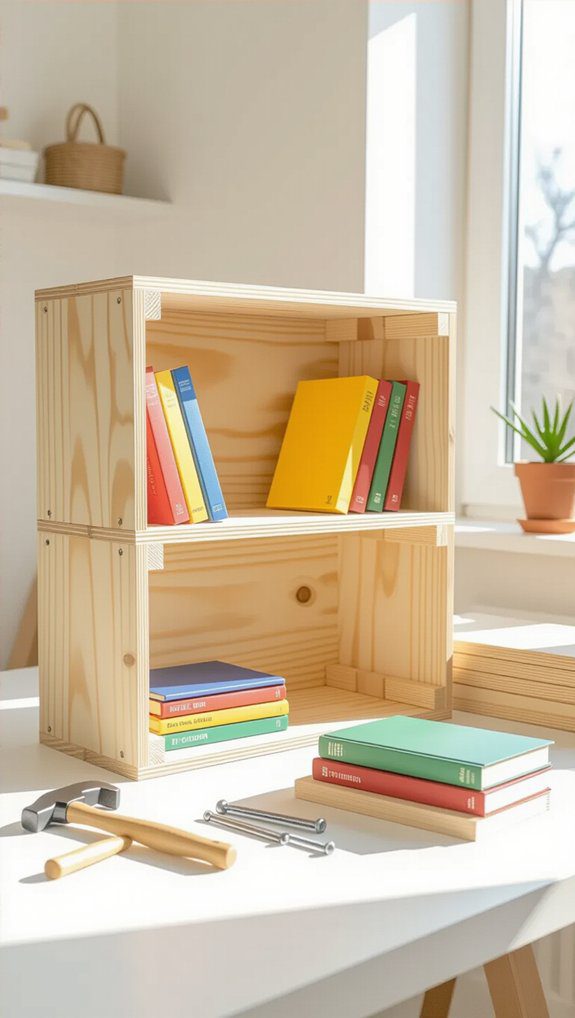
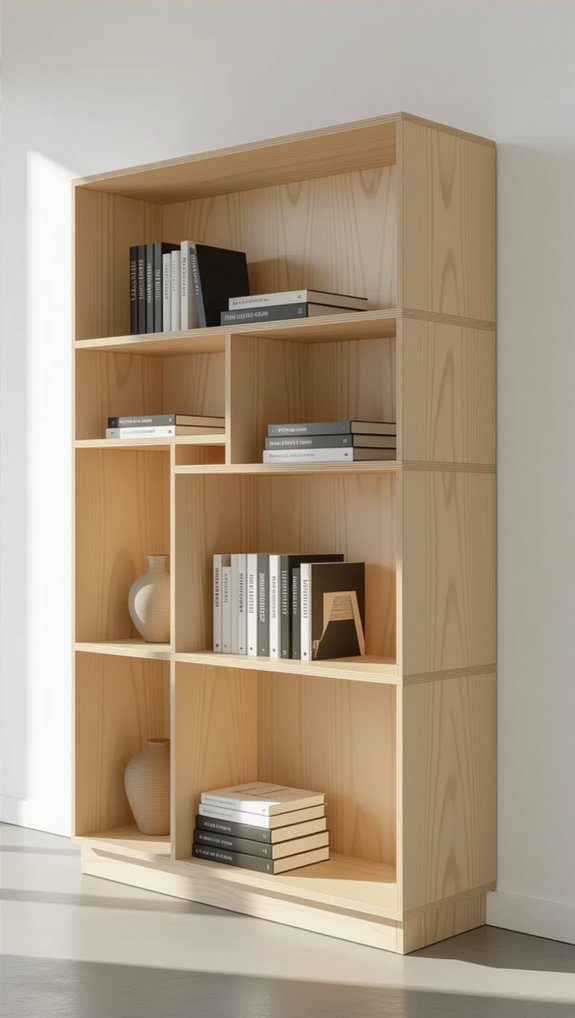
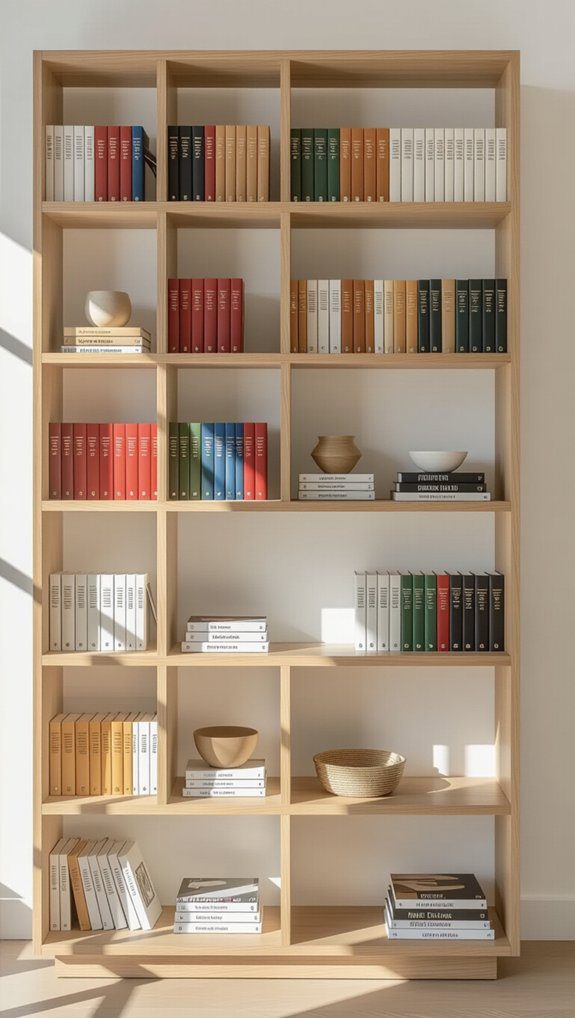
Building a classic plywood bookcase is one of the most rewarding DIY projects you can tackle, especially if you want a sturdy and personalized storage solution. Start by choosing the right plywood thickness options—3/4 inch works great for strong shelves that can hold heavy books. Cut your plywood carefully with a saw, then sand every edge smooth to avoid splinters. Use wood glue and screws to assemble the pieces tightly, boosting the bookcase weight capacity. Finally, finish with paint or stain to protect the wood and match your style. It’s a project that feels truly yours!
Beginner-Friendly Bookshelf Tutorial
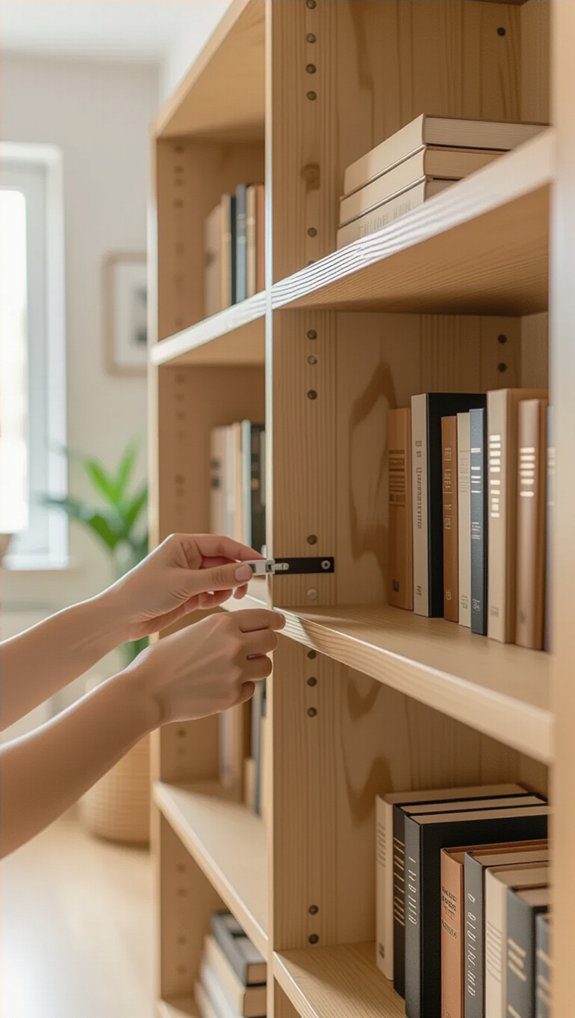
Even if you’ve never picked up a force drill before, you can create a sturdy and stylish bookshelf that fits perfectly in your space. Start with simple DIY bookshelf materials like plywood or solid wood boards—they’re easy to handle and customize. Gather beginner tools: a saw, drill, and level will do the trick. Use brackets or wall anchors for secure mounting, so your shelf safely holds all your books. I recommend adjustable shelves to fit books of all sizes. Finish with paint or wood finish to match your room’s vibe. Trust me, building your own shelf feels amazing!
Pocket Hole Assembly Method
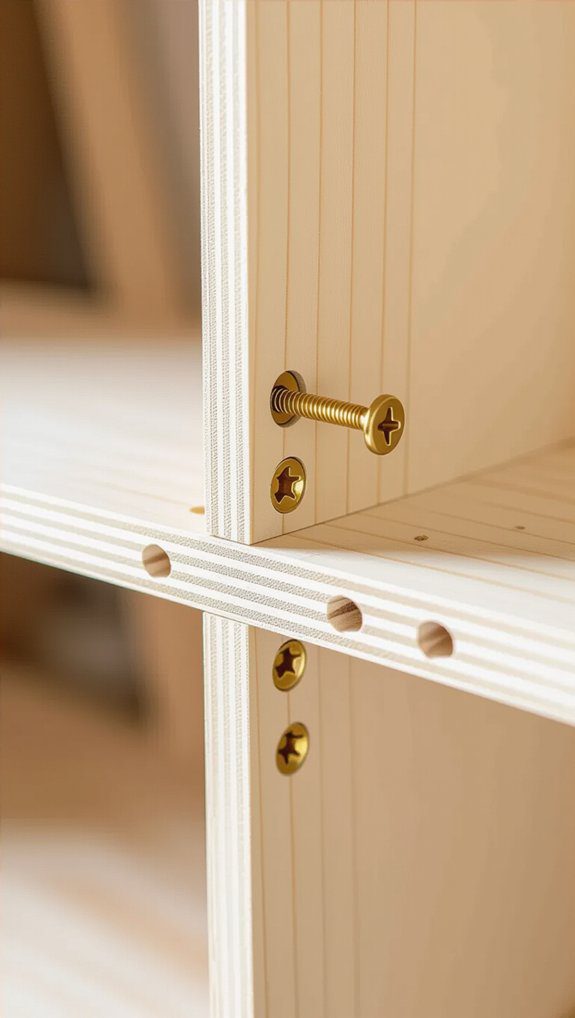
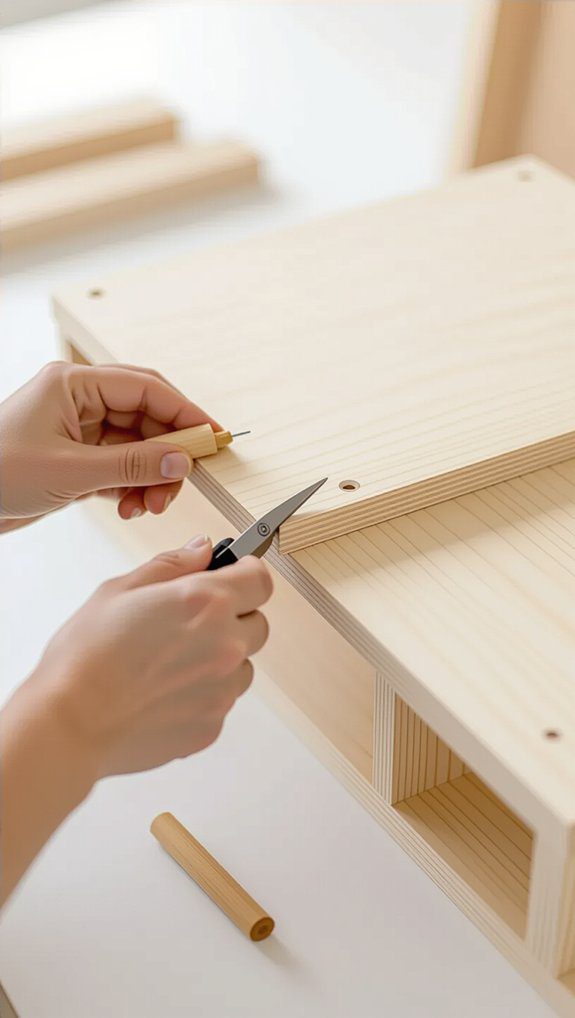
Since I love sharing clever woodworking hacks, I’m excited to introduce you to the pocket hole assembly method—a fantastic way to join your bookshelf pieces without any screws showing on the surface. Using pocket hole techniques, you drill angled holes that create hidden joints, giving your shelf a clean, professional look. Pocket hole jigs make this easy for all wood thicknesses, speeding up assembly and eliminating tricky joinery. Remember to add wood glue for extra strength. This method not only looks great but also builds a sturdy bookshelf that you and your friends will proudly share and admire.
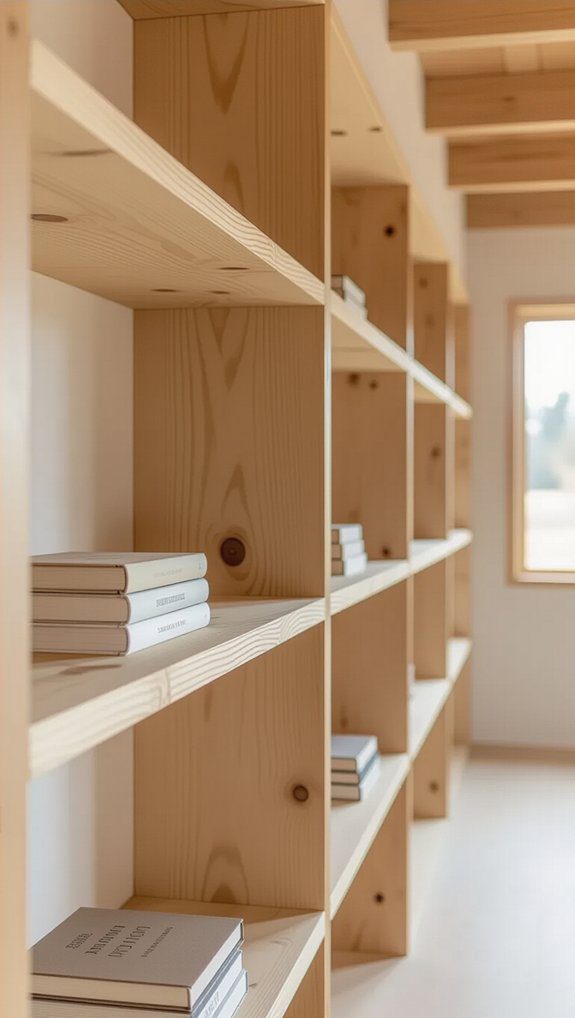
Budget-Friendly Pine Boards Shelf
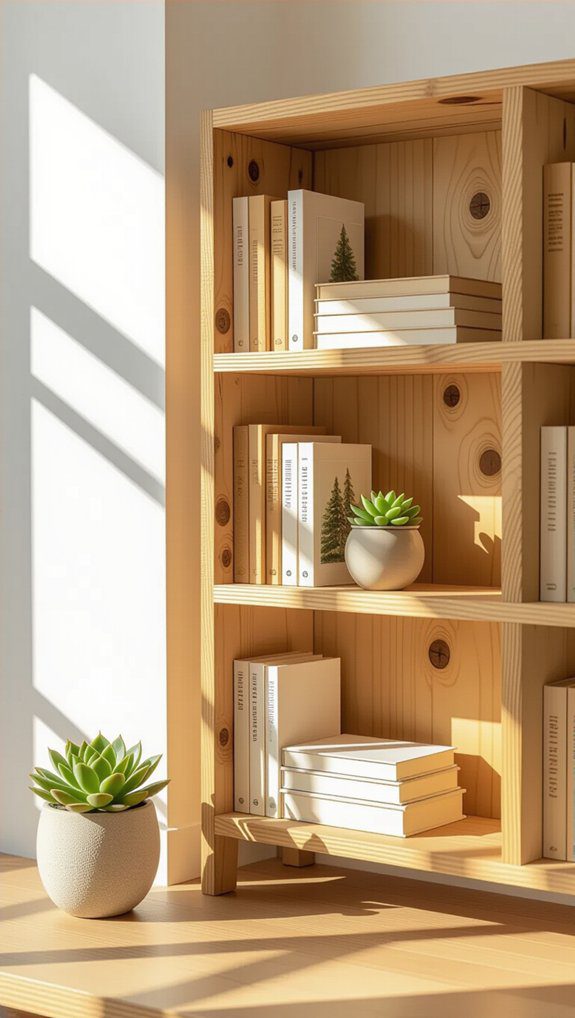
Although there are plenty of elaborate materials out there, I’ve found that budget-friendly pine boards offer a perfect balance of affordability and durability for DIY bookshelves. Pine is lightweight yet strong, making it easy to handle while securely holding your favorite books and decor. You can customize the size to fit any space, which really sparks my DIY creativity. Plus, affordable wood like pine is available at most home improvement stores, and all you need are simple tools like brackets and screws. A coat of paint or stain adds a personal touch, making your shelf truly yours.
Cheap Low-Waste Bookshelf Plans
When you want to build a bookshelf that’s easy on your wallet and kind to the planet, cheap low-waste plans can be a fantastic way to go. Using repurposed pallets or sustainable materials like reclaimed wood not only saves money but adds charm. Here’s a simple guide:
| Material | Cost Estimate | Eco Benefit |
|---|---|---|
| Repurposed pallets | Very low | Reuse wood waste |
| Unfinished pine | Low | Renewable resource |
| Reclaimed wood | Minimal | Reduces landfill |
| Rope & planks | Low | Natural materials |
| Upcycled furniture | Very low | Saves resources |
Try these ideas and join our eco-friendly DIY community!
Modern Single Sheet Plywood Design
One of the coolest things about a modern single sheet plywood bookshelf is how it turns just one piece of plywood into a stylish and functional piece of furniture. Its minimalist bookshelf aesthetics—clean lines and simple shapes—fit perfectly in any room. What I love is the plywood customization options: you can stain it, paint it, or add unique cutouts to make it truly yours. Plus, plywood is lightweight yet sturdy, so your books stay safe without a bulky frame. This design feels like belonging to a community of makers who appreciate smart, beautiful simplicity.
IKEA Billy Bookcase Upcycle
Since the IKEA Billy bookcase is such a popular and affordable staple, I love how easily it can be transformed with a little creativity and some DIY magic. A Billy bookcase transformation lets you personalize your space and showcase your collection uniquely. Here are my favorite DIY design techniques:
- Paint or add wood veneer for a custom finish that fits your style.
- Incorporate arches or LED lighting for a sophisticated, cozy vibe.
- Mix materials like metal or glass to add texture and contrast.
These simple steps make your bookshelf feel truly yours, inviting and stylish.
Shallow Desk-Mounted Bookshelves
Although wall space can feel limited, shallow desk-mounted bookshelves offer a smart way to display your favorite books and decor without crowding your room. These space saving solutions fit snugly against your wall, usually just 6 to 12 inches deep, making them perfect for small books, plants, or decorative displays. I love how easy they are to install with simple brackets or anchors, so you can adjust or move them anytime. Plus, they keep everything within reach, making your workspace both tidy and inviting. It’s a cozy way to show off your collection without sacrificing space!
Wallpapered Back Panel Style
Adding wallpaper to the back panel of your bookshelf instantly transforms a simple storage solution into a vibrant focal point that reflects your personality. I’ve found that choosing wallpaper patterns that complement your book collection really pulls the whole look together. Here’s how I tackle it:
- Pick wallpaper with colors that coordinate with your room’s palette for harmony.
- Remove the back panel carefully, apply the wallpaper smoothly, then reattach it.
- Use removable wallpaper if you like switching styles—it’s super easy and mess-free.
This simple touch makes your shelf shout “welcome” and highlights your favorite reads beautifully.
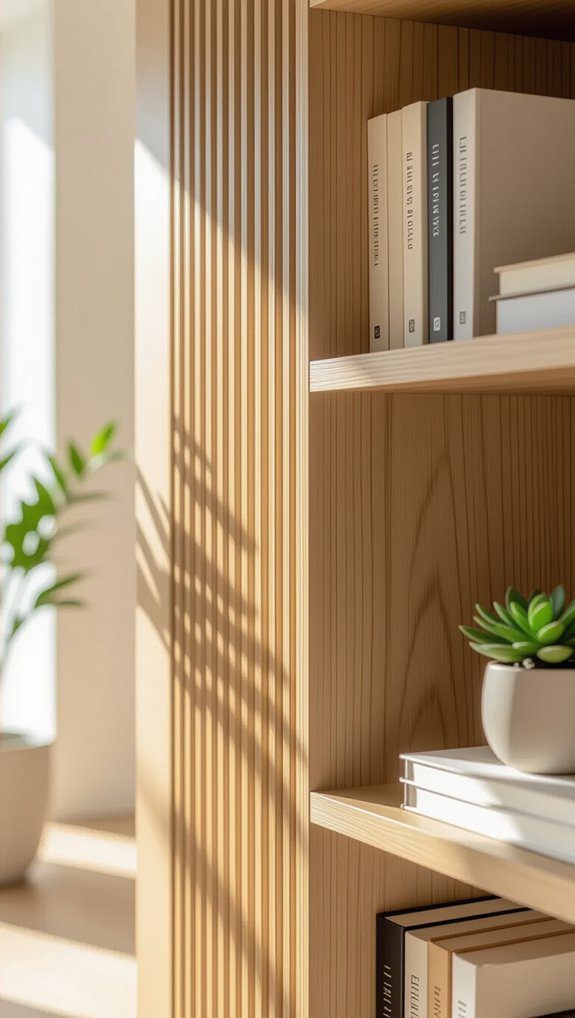
Reeded Texture Veneer Upgrade
One of my favorite ways to give a plain bookshelf a fresh, high-end look is by applying reeded texture veneer. This simple upgrade transforms standard shelves, like the Ikea Billy, adding depth and warmth with natural wood tones. Reeded texture applications bring a subtle yet striking pattern, making your bookshelf a cozy room highlight. Using basic veneer finishing techniques, you can easily customize the look to fit your style without a full rebuild. It’s a budget-friendly way to personalize your space and showcase your collection with a touch of elegance everyone will notice and appreciate.
Contrast Wood Veneer Application
Three simple steps can transform your bookshelf by applying wood veneer to its back panel, creating a stunning contrast against lighter frames that immediately catches the eye. Here’s how I do it:
- Choose veneer finishes that complement your room’s vibe; I love mixing darker tones with pale wood for depth.
- Use a miter saw to cut the veneer neatly—clean edges make a big difference.
- Apply adhesive techniques carefully; contact cement works best for a smooth, bubble-free bond.
This easy upgrade adds warmth and personality, making your space feel truly yours!
Upcycled Thrifted Piece Transformation
While it might seem intimidating at first, transforming a thrifted bookshelf into a charming, personalized piece is a rewarding project that anyone can tackle. I love starting with a simple thrifted transformation—adding molding gives that antique flair, turning ordinary shelves into standout personalized shelving. A fresh coat of paint brings new life, matching your room’s vibe perfectly. It’s budget-friendly and lets you blend vintage charm with modern style, creating warmth and character in your space. If you want a unique bookshelf that feels truly yours, upcycling thrifted pieces is the perfect way to express yourself and belong.
Built-In Stud Wall Installation
If you enjoyed giving a thrifted bookshelf a fresh new look, you’ll love how built-in stud wall shelves can completely change your space with strength and style. The stud wall benefits are huge—they hold heavy books firmly and look seamless. Here are my top installation tips:
- Find studs using a stud finder or by tapping to spot solid spots.
- Add horizontal supports between studs for a sturdy frame and customizable shelf height.
- Use strong wood cut to size, then finish with trim for a polished feel.
These steps build a cozy, lasting place for your collection.
Connecting Multiple Bookcase Units
Even though individual bookcases can stand beautifully on their own, connecting multiple units really takes your shelving game to the next level by creating a seamless, custom look that fits your space perfectly. I like using bookcase connectors or brackets to join units securely, which boosts shelving stability and keeps everything safe. Adjustable shelves let me mix tall and short books without hassle. Adding a painted or veneered back ties the look together, while leaving spots for art or decor breaks up any monotony. This way, your connected shelves don’t just hold books—they invite warmth and personality into your room.
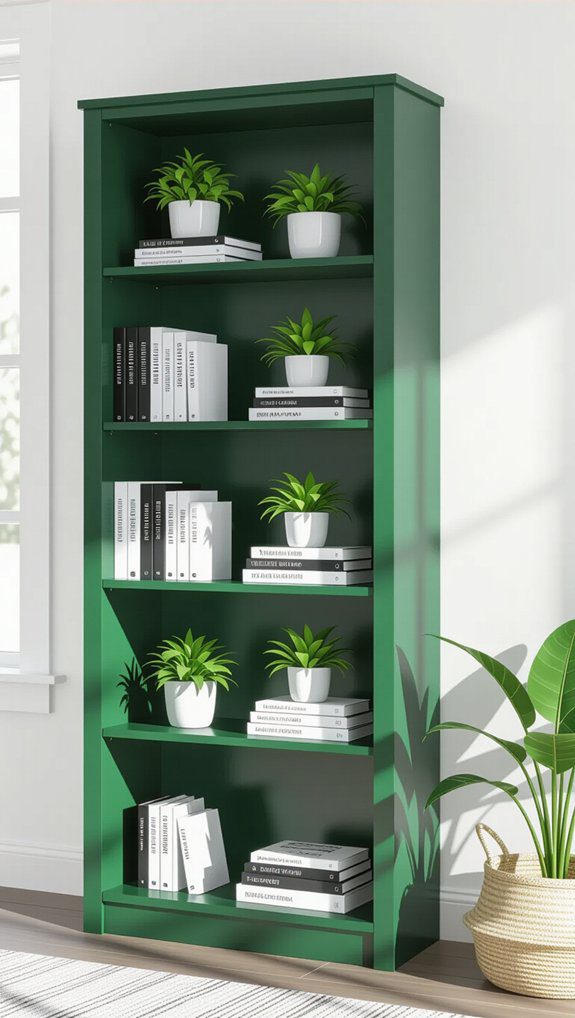
Forest Green Painted Shelving
When I painted my shelves forest green, the whole room instantly felt calmer and more connected to nature, which made me appreciate my books and decor even more. The forest green aesthetics create a cozy vibe that welcomes you in. Here’s what helped me nail the look:
- Choosing a high-quality paint guaranteed excellent paint durability and a smooth finish.
- I opted for a satin finish to reduce glare, keeping attention on my books.
- Adding brass hardware gave the shelves a chic contrast and enhanced the entire space.
Try this, and you’ll have a stunning, nature-inspired focal point!
Power Tool-Free Tutorial Option
Although electrical tools can make bookshelf building faster, you don’t need them to create something beautiful and functional. I love using sustainable materials like reclaimed wood or crates that require no electric tools. You can easily assemble pre-made shelving kits or mount floating shelves with adhesive strips—no drilling needed! Adding decorative finishes, like colorful paint or patterned wallpaper, lets you personalize your shelf without heavy equipment. This approach feels welcoming and doable, perfect for anyone who wants a cozy space to showcase their books. Trust me, you’ll enjoy building a unique shelf that fits your style and values!
Simple Wood Plank and Brackets
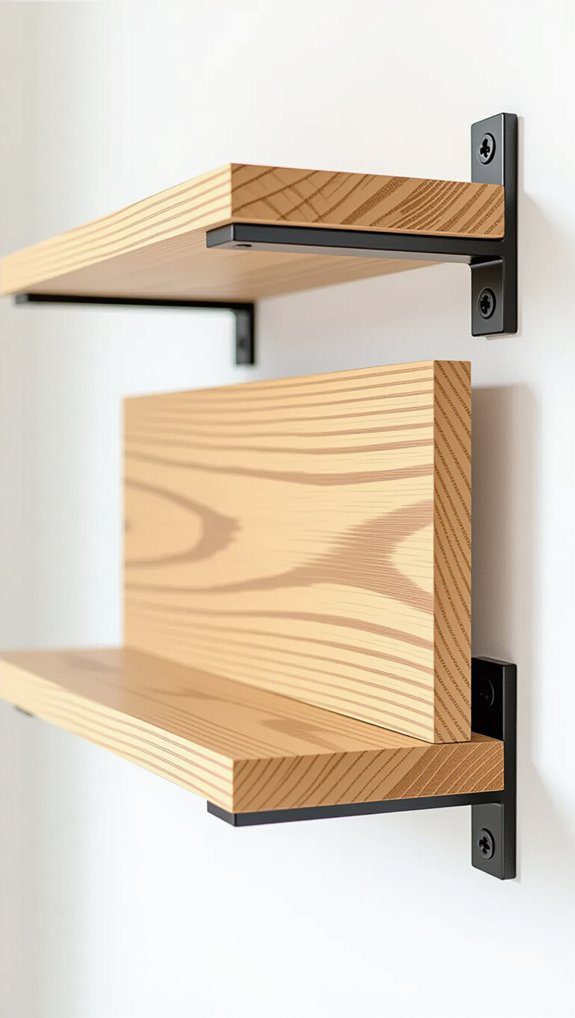
A simple wood plank supported by sturdy brackets can transform any wall into a stylish and practical bookshelf, and I’ve found it’s one of the easiest ways to add storage without overwhelming your space. Here’s why I love this approach:
- Shelf customization ideas let you pick bracket styles and adjust heights to match your room’s vibe.
- Wood finishing techniques, like staining or painting, make the plank pop and protect it.
- It’s budget-friendly and perfect for beginners wanting a durable, minimalist display. Together, these steps create a cozy spot for your favorite books and treasures.
Custom Box Display Installation
Since I love customizing my spaces, installing a custom box display has become one of my favorite ways to showcase books and decor with style and personality. For the best custom box aesthetics, I choose wood or sturdy cardboard, then paint or stain each box to blend perfectly with my room. When it comes to installation tips, I always use wall anchors and sturdy screws to make sure everything stays secure, especially with heavier books. Arranging boxes in staggered or linear patterns creates a fresh look, while adding LED lighting highlights my collection beautifully, making the whole space feel welcoming.
Scalloped Edge IKEA Modification
Anyone looking to add a touch of charm and personality to their IKEA bookshelf will love the scalloped edge modification. This playful bookshelf modification transforms plain shelves into something truly special with a scalloped edge design. Here’s how I tackled it:
- I used a miter saw and a scalloped template to carefully cut the wood for that soft, decorative finish.
- Sanding was key to smooth out any rough spots and avoid splinters.
- Finally, I painted the edges to match my décor, making the whole piece pop.
It’s budget-friendly and gives your shelf a unique, whimsical vibe!
High-Mounted Ceiling Shelves
High-mounted ceiling shelves offer a fantastic way to make the most of tall rooms by turning unused vertical space into stylish storage. If you have a high ceiling, these shelves add a dramatic effect that draws the eye upward, instantly boosting your room decor’s visual appeal. I recommend securing your shelves to wall studs or using sturdy brackets to guarantee shelf stability, especially for heavier books. Besides enhancing furniture arrangement below, these shelves create a cozy library ambiance. Plus, with thoughtful decorative integration, you’ll enjoy easy access to your collection while maximizing every inch of vertical space.
Floating Shelf with Cane Webbing
When you want to add a fresh, natural vibe to your room, a floating shelf with cane webbing can be just the ticket. This design blends modern design with the cane webbing benefits of breathability and lightness, making your space feel airy and stylish. Here’s why I love it:
- It’s a breeze to install—just brackets and you’re set.
- Customize size and color to fit any room mood.
- The cane webbing backing shows off your books while adding a unique texture.
Trust me, it creates a cozy yet chic focal point you’ll adore.
Monochrome Television Camouflage
After enjoying the airy charm of a floating shelf with cane webbing, you might want to investigate ways to make your TV blend effortlessly into your room instead of standing out. Monochrome television camouflage is a fantastic method. By painting the bookshelf or wall the same color as your TV, you create a smooth television integration that promotes aesthetic harmony. This approach minimizes distractions, making your space feel modern and cohesive. Choose a color that complements your room and add soft lighting around the shelves to highlight your books while keeping the TV discreet and functional. It’s a simple, stylish trick!
Floor-to-Ceiling Built-in Library
Although building a floor-to-ceiling library might sound like a big project, it’s one of the best ways to make the most of your wall space while adding a stunning focal point to any room. I love how built in aesthetics create a seamless, elegant look that feels truly custom. To get started:
- Measure your wall carefully for perfect fit.
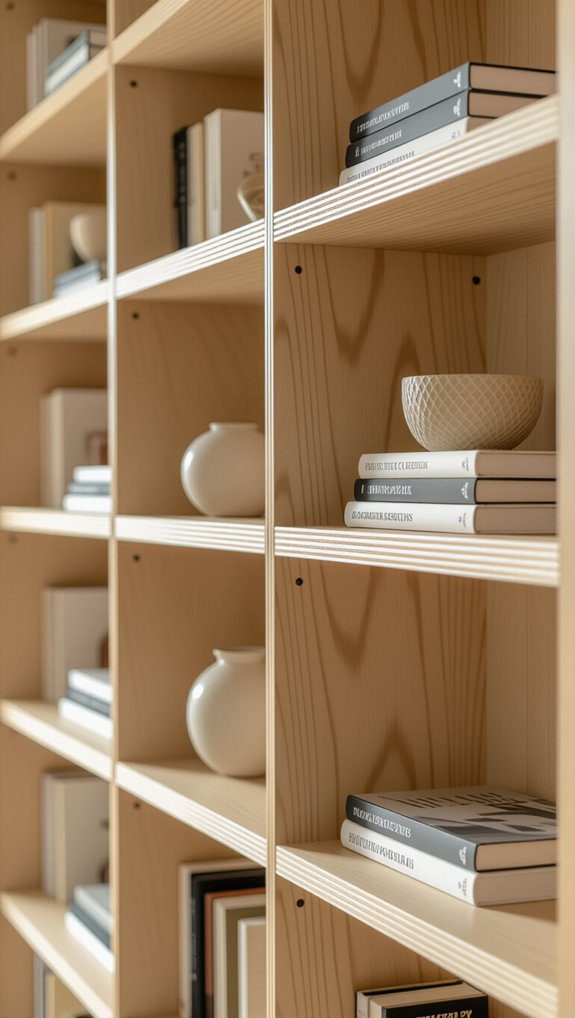
- Plan for adjustable shelves to accommodate all book sizes.
- Add library lighting to highlight your collection and set a cozy mood.
This approach not only displays your books but also invites everyone to feel at home.
Library Ladder Hanging Installation
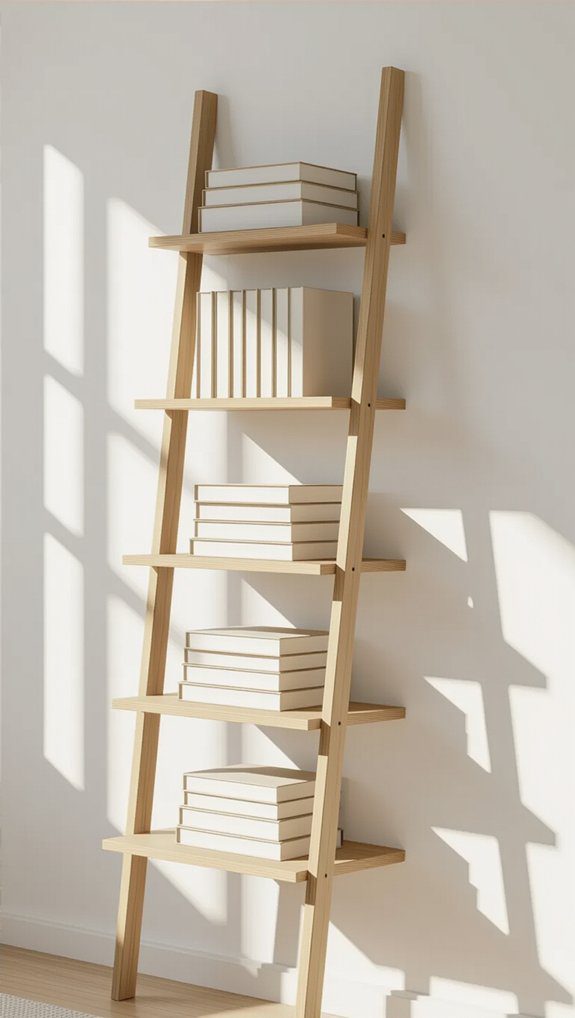
Since reaching those top shelves can be tricky, installing a library ladder not only makes grabbing your favorite book easier but also adds a charming, classic touch to your space. Start by securely attaching sturdy brackets to the wall at the right height—this rail installation is key for ladder safety and smooth sliding. Choose a durable ladder made from solid wood or metal to guarantee stability. Measure your vertical space carefully so the ladder fits perfectly without crowding the room. With these steps, your library ladder will be both a practical tool and a cozy, stylish addition to your bookshelf.
Arched Custom Bookshelf Design
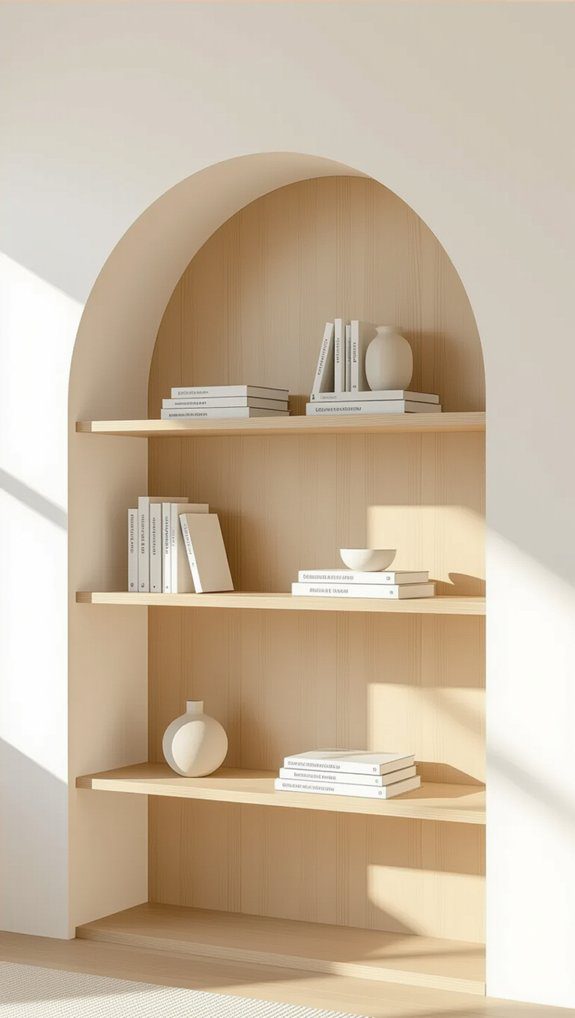
When you want to add a touch of elegance and charm to your room, an arched custom bookshelf is a fantastic choice that stands out from typical straight-edged shelves. The arched bookshelf benefits go beyond looks—it brings warmth and personality to your space. Here’s what I love about it:
- Custom design techniques let you fit it perfectly in any nook or corner.
- Using a miter saw helps create smooth curves that soften the room’s vibe.
- You can stain or paint it to match your style, making it truly yours.
It’s both functional and artistic!
Professional Looking Budget Build
If you want a bookshelf that looks sharp and professional without spending a fortune, building one yourself with budget-friendly materials is a smart move. I’ve found that using plywood or MDF paired with simple brackets or metal pipes can achieve a sleek, industrial vibe. Choosing minimalist DIY bookshelf styles keeps things functional and stylish. Here’s a quick guide:
| Material | Style |
|---|---|
| Plywood | Minimalist |
| MDF | Industrial |
| Metal brackets | Modular |
| Wood stain | Polished look |
| Open shelving | Versatile fit |
This approach gives you a great-looking, flexible bookshelf that feels like home.

