21 No-Sew Fabric Crafts DIY Ideas for Quick and Easy Creations
Disclosure: This post may contain affiliate links, at no extra cost to you. Content on DiyCraftNest is created with research support from AI tools and carefully reviewed, edited, and fact-checked by the lead author, Daniel Pat, to ensure accuracy and reliability. Learn more
Love cozy DIY projects? 💕
Get free printable guides, exclusive tutorials & surprise craft goodies straight to your inbox.
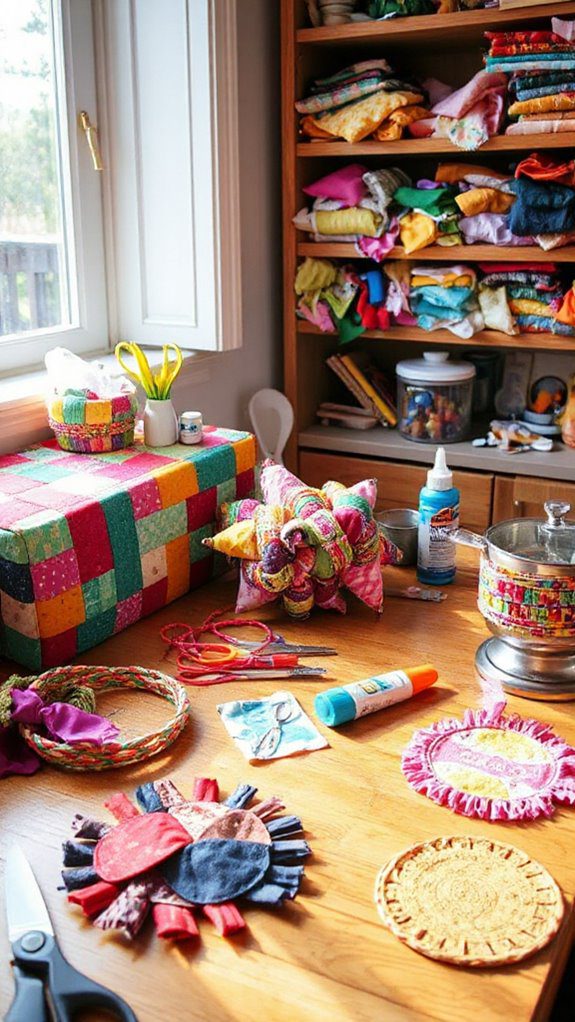
Let’s get creative with 21 no-sew fabric crafts that are fun and easy! We can start by repurposing those old jeans into a fabric advent calendar, perfect for holiday surprises. Then, we’ll transform pantry spaces with charming no-sew curtains. Adhesive and fabric scraps work magic for unique wall art and home decor. Personalize everyday items like trays or phone holders—all without sewing! Join us as we explore these quick, imaginative projects.
Key Takeaways
- Craft beeswax wraps using fabric scraps for sustainable, no-sew food storage solutions.
- Create personalized home decor with no-sew fabric wall art using Mod Podge and vibrant fabric scraps.
- Transform old jeans pockets into a reusable fabric advent calendar for an eco-friendly holiday tradition.
- Design no-sew pantry curtains with fabric glue for a quick kitchen decor update.
- Upcycle fabric scraps into stylish DIY phone holders without sewing.
Fabric Advent Calendars
While the holiday season approaches, let’s plunge into a creative project that combines charm and sustainability: Fabric Advent Calendars.
Imagine crafting a no-sew project using recycled jeans pockets. These pockets add a rustic, industrial flair perfect for our holiday decor. We’ll gather old jeans, trim the pockets, and arrange them into a festive countdown.
Each pocket becomes a tiny treasure chest, filled with small treats or personalized notes. This no-sew project is ideal for those of us who appreciate simplicity and creativity without sewing skills.
It’s an accessible craft, perfect for beginners and families seeking to infuse innovation into holiday traditions. Plus, we’re promoting sustainability by repurposing fabric, reducing waste, and creating a reusable calendar for years to come.
Beeswax Wraps Creation
As our creative journey continues from crafting charming fabric advent calendars, we now initiate a project that adds a splash of eco-consciousness to our daily routines: making our own beeswax wraps.
Let’s transform fabric scraps into sustainable wonders!
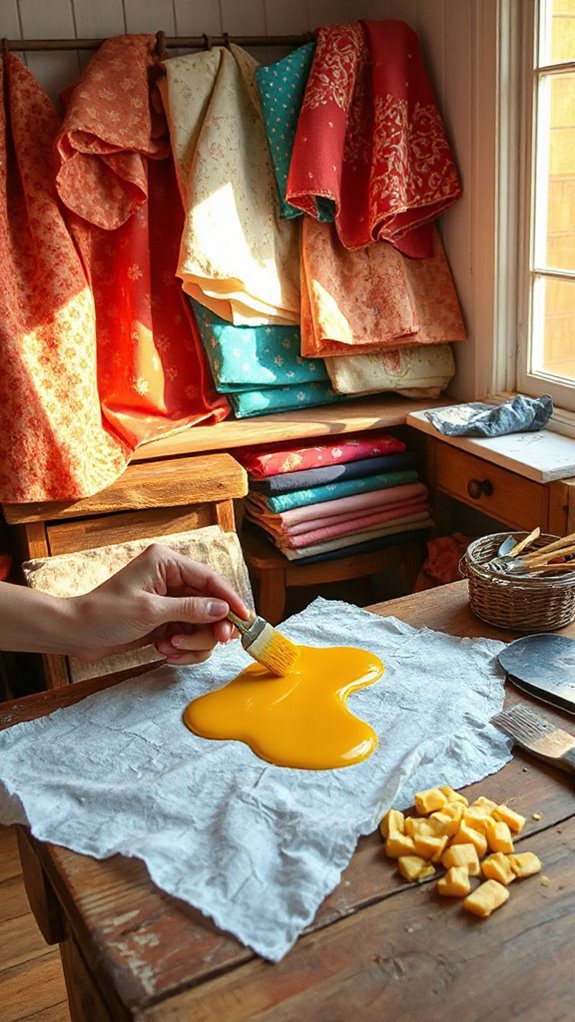
- Cut the Fabric: Choose organic cotton fabric scraps and cut them into various sizes to fit your needs—perfect for wrapping sandwiches or covering bowls.
- Melt and Brush: Melt beeswax with a touch of jojoba oil and pine resin. Brush this golden blend evenly over each fabric piece, ensuring complete coverage.
- Cool and Reuse: Allow the wraps to cool and harden.
Then, enjoy their versatility—use them, wash with cold water, air dry, and repeat!
Furoshiki Fabric Gift Wrap
Imagine transforming a simple piece of fabric into a stunning gift wrap that embodies elegance and sustainability. Furoshiki, a traditional Japanese technique, turns fabric projects into artful, eco-friendly solutions.
Let’s explore this innovative approach! First, choose a fabric that reflects the occasion or the recipient’s personality. Bright patterns or subtle hues—anything goes!
Now, place your gift at the center of the fabric. Fold the fabric creatively around the gift, ensuring it’s snugly wrapped. Tie the corners into a secure knot, adding flair with a decorative twist.
Not only are we reducing waste with these reusable wraps, but we’re also elevating our gift-giving to an artistic expression. Tutorials abound, so even beginners can master this beautiful craft.
No-Sew Pantry Curtains
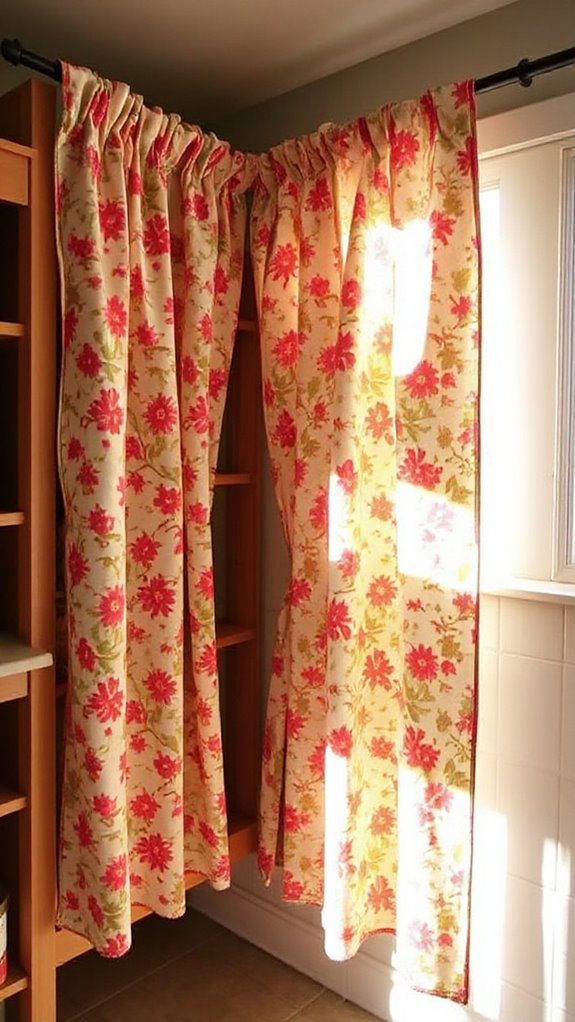
Let’s plunge into the world of no-sew pantry curtains, a delightful project that adds charm and privacy to our kitchen spaces without the need for sewing skills.
Crafted from various no-sew fabric options, these curtains offer a splash of color and pattern, transforming our pantries into stylish and functional areas.
Here’s how we can create them:
- Choose Your Fabric: Select a no-sew fabric that complements your kitchen’s aesthetics. Bold patterns or subtle tones can both make a statement.
- Measure and Cut: Measure your window or shelf area, then cut the fabric to fit perfectly, ensuring a polished, tailored look.
- Finish the Edges: Use fabric glue or adhesive tape to hem the edges, giving our creation a neat and seamless appearance.
Enjoy our innovative, no-sew fabric masterpiece!
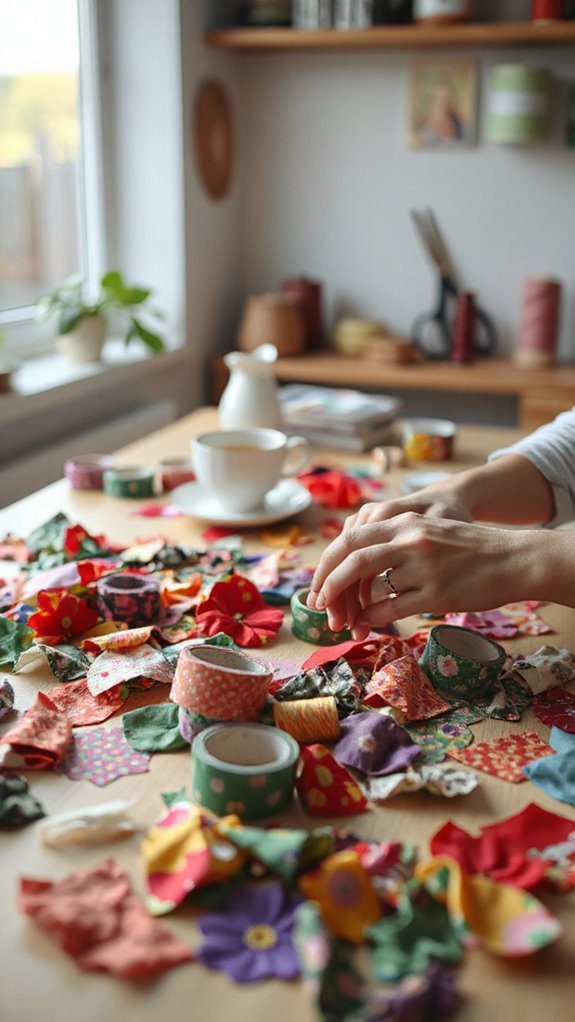
Fabric Scrap Utilization
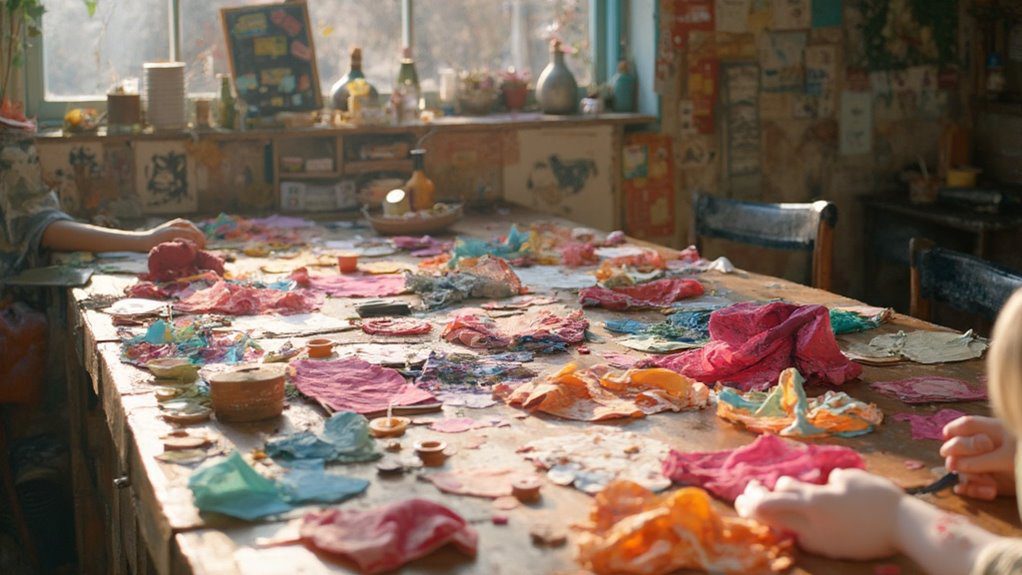
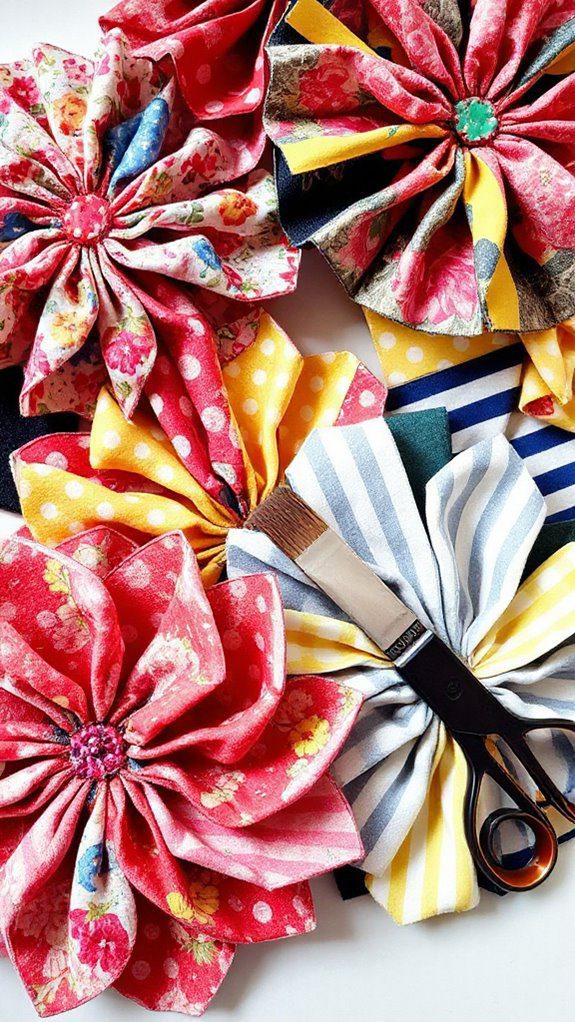
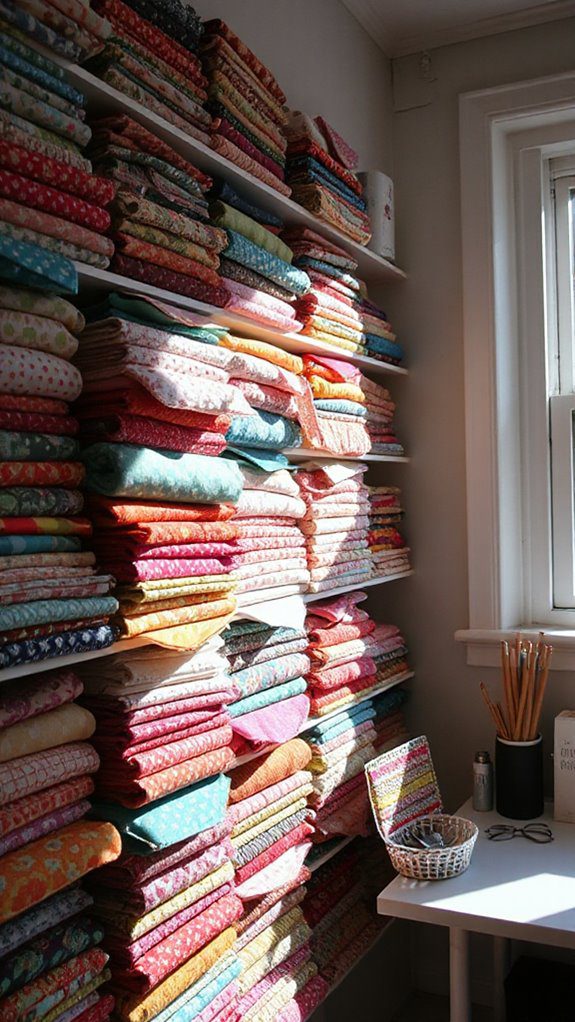
Fabric scraps are hidden gems, just waiting to be transformed into something beautiful and new. Let’s immerse ourselves in the world of creative possibilities with these colorful remnants.
First, gather your fabric scraps—those delightful leftovers from past projects. Imagine the vibrant throw pillows we can create, each one a unique masterpiece of pattern and color. Mixing and matching these scraps allows us to express our personal style and adds a touch of innovation to our living spaces.
Next, consider crafting decorative items like banners or wall art. With a little imagination, these scraps become a budget-friendly, sustainable crafting adventure that reduces waste.
As we explore fabric scrap utilization, we’re not just making things—we’re embracing an innovative spirit that turns the ordinary into extraordinary.
Mod Podge Projects With Fabric
When we immerse ourselves in the world of Mod Podge projects with fabric, we open up a domain of creativity and practicality. This versatile adhesive becomes our best ally in transforming surfaces with fabric crafts.
Let’s explore some innovative ideas:
- Fabric-Covered Boxes: We can transform ordinary boxes into stylish storage by adhering fabric with Fabric Mod Podge. It guarantees durability and a wash-friendly finish.
- Decorative Furniture: Adding fabric to furniture with Mod Podge isn’t just decorative; it also adds a layer of protection. Choose from Gloss, Matte, or Satin finishes to match your style.
- Artful Wall Décor: Use fabric scraps to create unique wall art. Apply Mod Podge in thin layers, allowing each to dry thoroughly.
With these steps, our fabric crafts become both functional and fabulous!
Fabric Covered Shelves
Although often overlooked, shelves can become the star of a room with a simple fabric makeover.
Let’s explore this innovative, budget-friendly project! First, gather your favorite fabric scraps. The beauty of fabric covered shelves lies in their ability to transform a space while repurposing materials.
Cut the fabric to the exact dimensions of each shelf. Next, apply a layer of Mod Podge to the shelf surface. Carefully lay the fabric down, smoothing it out to eliminate any bubbles. This guarantees a polished, durable finish.
The final touch? Customize with bold patterns or subtle hues to reflect your personal style and complement your decor. With just a few steps, we can make functional art pieces that add flair and character to any room.
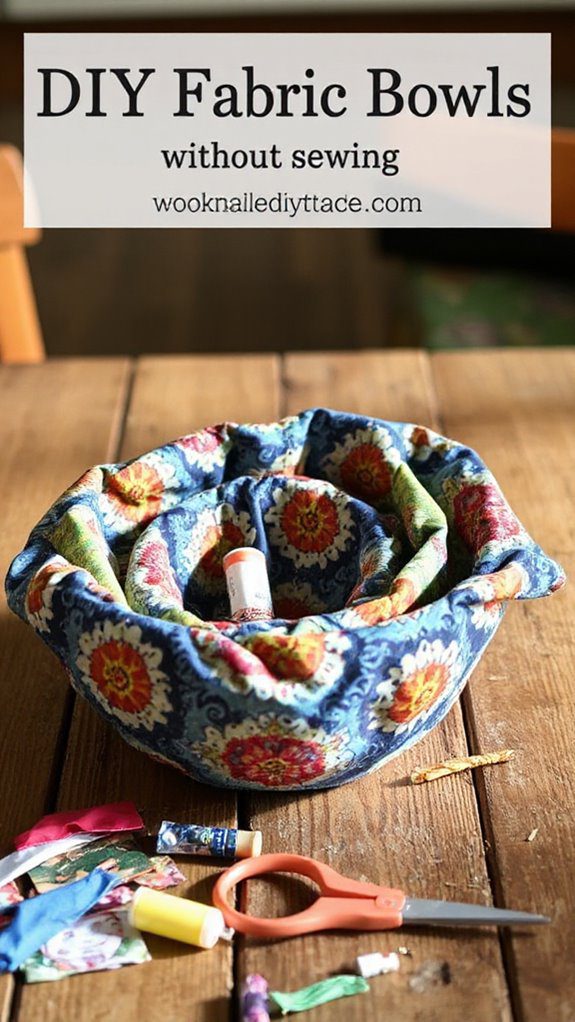
DIY Fabric Bowls
Let’s take the creativity we’ve released with fabric covered shelves and apply it to our next project: DIY fabric bowls.
These charming creations are perfect for bringing a splash of color and functionality to any space.
Here’s how we can make our own:
- Choose Your Fabric: Select a variety of fabrics to match your decor. Cut them into strips, allowing for customization in size and shape.
- Shape and Secure: Form the fabric strips into a bowl shape. Use Mod Podge or fabric glue to hold everything together, embracing a no-sew approach.
- Embellish and Personalize: Add beads, buttons, or other embellishments for a unique touch.
In no time, we’ll have stunning fabric bowls that serve as both decor and storage solutions!
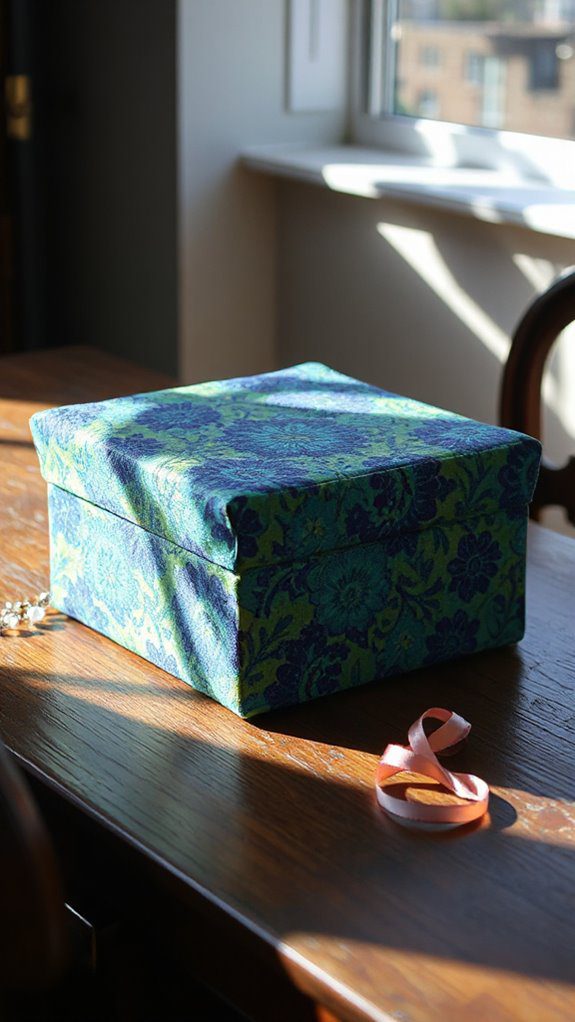
Fabric Covered Jewelry Box
Transform a simple box into a stunning fabric covered jewelry box that’s both functional and decorative.
We’ll start with a plain cardboard or wooden box—your blank canvas. Choose vibrant fabric scraps from past projects for a touch of eco-friendly creativity. Cut your fabric to fit, leaving a slight margin for folding.
Apply Mod Podge generously to the box’s exterior, then smooth the fabric over, ensuring no bubbles. For added durability and shine, coat the top with another layer of Mod Podge, sealing your masterpiece with a smooth, polished finish.
This process is quick, beginner-friendly, and requires no sewing. Our fabric covered jewelry box isn’t just a storage solution; it’s a statement piece that complements any room’s decor effortlessly.
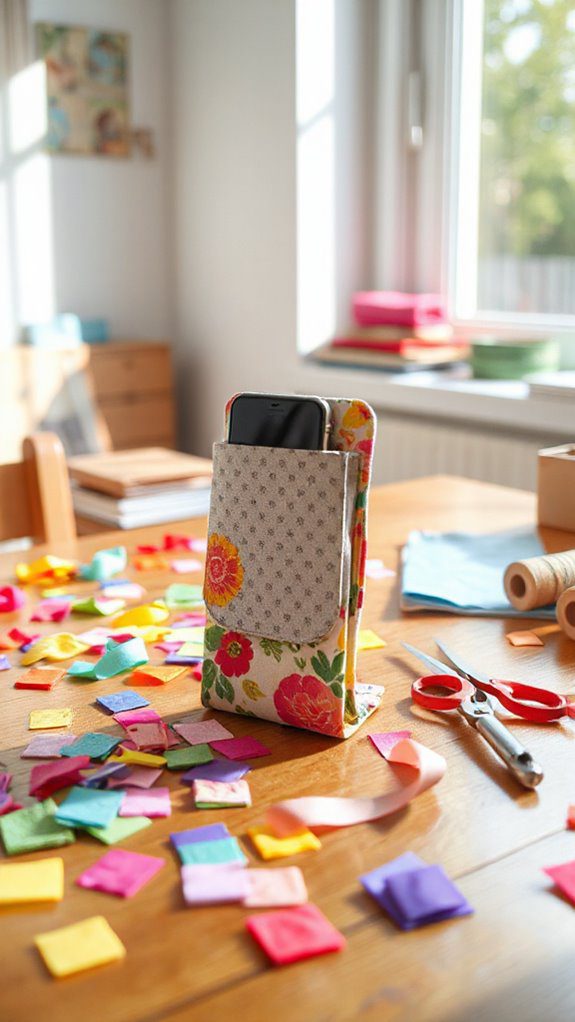
DIY Cell Phone Holder
Even with just an empty lotion bottle, we can craft a chic and handy DIY cell phone holder that adds flair to our home or office.
This no-sew project invites us to tap into our creative side with minimal materials and tools.
Let’s transform an everyday item into something extraordinary! Here’s how:
- Shape the Bottle: Cut the bottle to fit your phone, customizing the size and shape for a snug fit.
- Decorate: Use fabric scraps or paint to style the holder, making it a true reflection of our personal taste and decor.
- Assemble: Confirm everything is securely attached. Voilà! A practical, upcycled masterpiece.
This eco-friendly accessory isn’t just functional; it’s a demonstration of our innovative spirit!
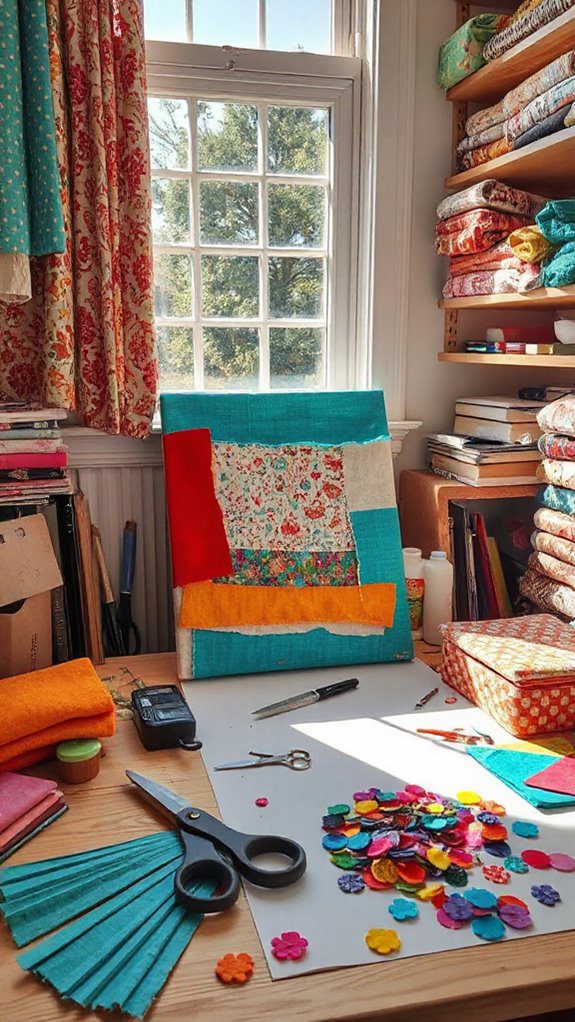
Easy Fabric Canvas Art
After crafting a chic cell phone holder, let’s channel our creativity into another enthralling project: easy fabric canvas art. This beginner-friendly endeavor transforms simple supplies into stunning wall decor.
First, grab a canvas, your choice of patterned fabric, and trusty Mod Podge. We’ll adhere the fabric to the canvas, creating vibrant, personalized art pieces that are easy to make.
Want to get even more creative? Layer different fabric scraps or use stencils to craft unique designs. This is a fantastic way to repurpose leftover materials while injecting personality into our homes.
Once finished, these artworks make perfect additions to any room or heartfelt gifts for friends and family. Let’s get started and watch our walls come alive with color and creativity!
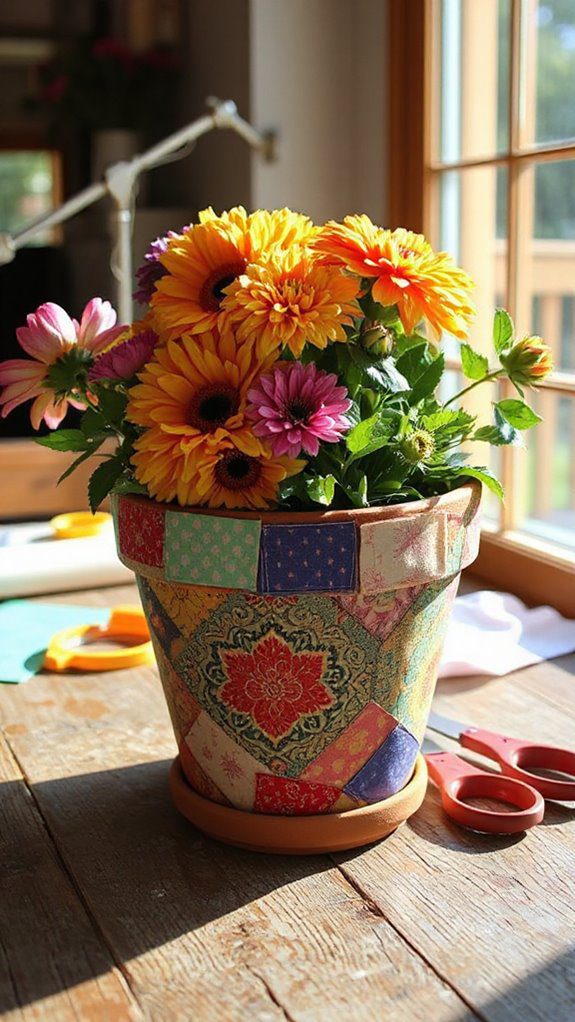
DIY Flower Pot Decoupage
While diving into the world of DIY flower pot decoupage, we’ll discover how simple it’s to breathe new life into our planters with just a few materials.
Let’s begin by ensuring our flower pots are clean and dry for the best adhesion. Next, we’ll select an array of vibrant fabric patterns and prepare to release our creativity.
Here’s how we can transform those plain pots into personalized masterpieces:
- Apply: Cut fabric pieces and adhere them using a decoupage medium, smoothing out wrinkles as we go.
- Seal: Once the fabric is set, seal the surface with another coat for durability and water resistance.
- Embellish: Add flair with fabric paint, enhancing the unique designs and vibrant colors.
This beginner-friendly project is a delightful way to innovate our home decor!
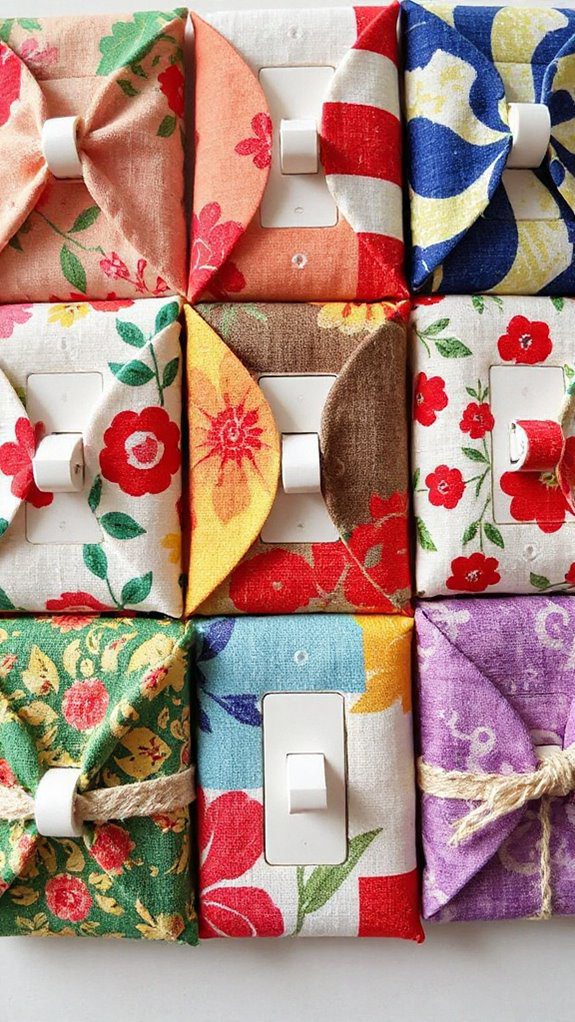
Decorative Light Switch Covers
We’ve just mastered the art of transforming flower pots with vibrant fabrics, so let’s bring that same creativity to another part of our homes—light switch covers.
Decorative light switch covers are a fantastic way to add a personalized touch to any room. First, choose a fabric that reflects your style—whether it’s a bold pattern or a subtle texture. Cut the fabric to fit your switch cover precisely.
Next, apply a decoupage medium as an adhesive, smooth the fabric over, and guarantee a neat finish. This quick, no-sew project doesn’t just enhance aesthetics; it infuses our spaces with creativity.
It’s budget-friendly and customizable, making it an innovative DIY project that’s both functional and visually appealing. Let’s transform those plain switch covers into stylish statements!
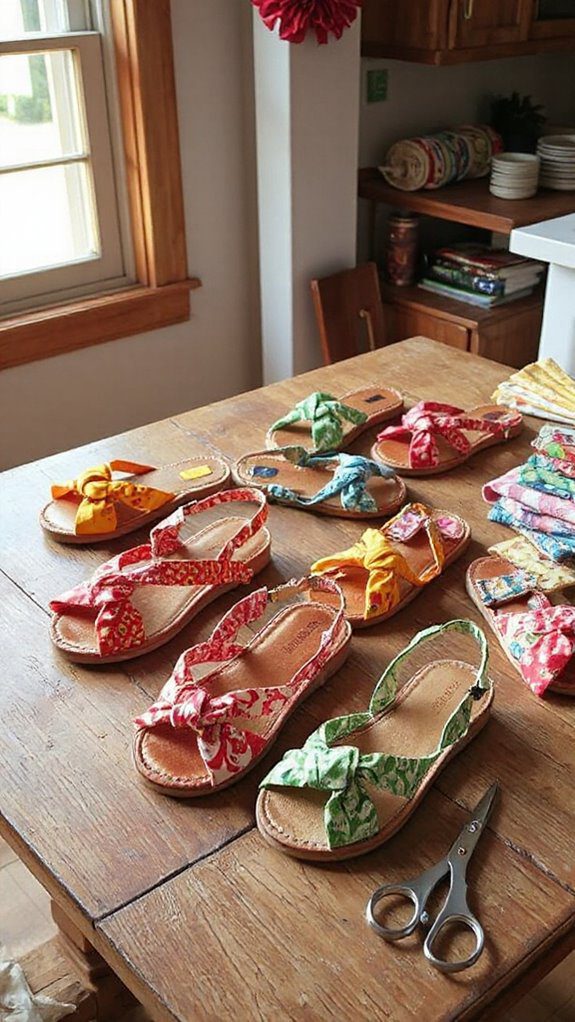
DIY Sandals From Fabric Scraps
Crafting enthusiasts, let’s plunge into the world of DIY sandals made from fabric scraps!
Imagine transforming old materials into unique fashion statements that are both stylish and sustainable. Ready? Let’s get started.
1. Gather Your Materials: Grab those fabric scraps, a pair of old flip-flops or foam soles, Mod Podge, and scissors.
This eco-friendly project is budget-friendly and perfect for every skill level.
2. Customize Your Style: Mix and match patterns and colors to craft a design that reflects your personal flair.
The possibilities are endless!
3. Create Your Masterpiece: Cut the fabric scraps to your desired shape and use Mod Podge to adhere them to the sandal base, ensuring a snug, comfortable fit.
These sandals don’t just look good; they help reduce fabric waste too!
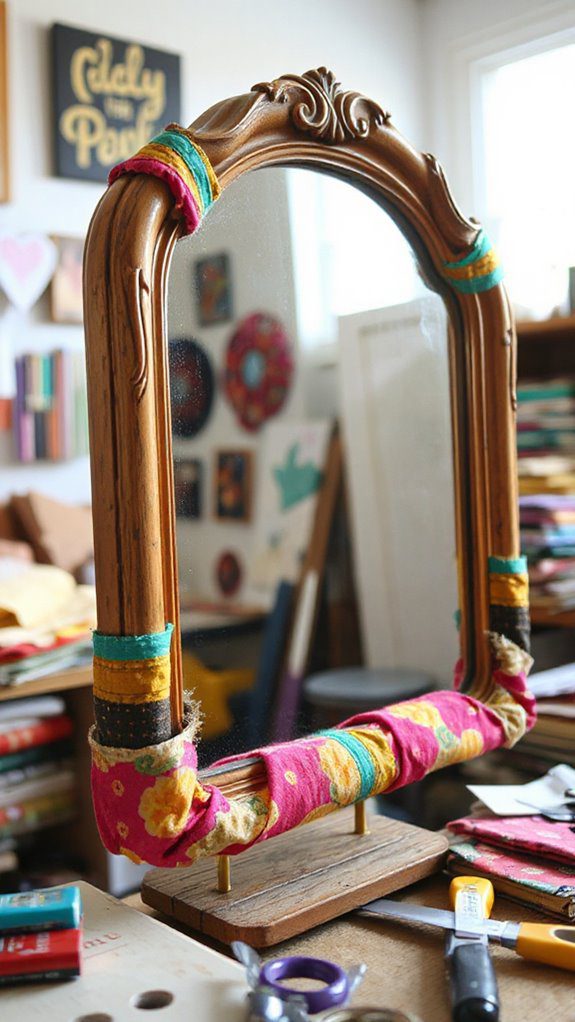
Mirror Frame Upcycling
Transforming an old mirror frame into a stunning piece of art is easier than you might think, and it all starts with a bit of upcycling magic.
Let’s revolutionize our decor using fabric in three simple steps.
First, gather an old frame and select fabric—perhaps an old pillowcase or scrap bits—and a trusty decoupage medium like Mod Podge.
Next, cut the fabric into manageable pieces, ensuring there’s enough to wrap around the edges. Apply a layer of Mod Podge on the frame, press each fabric piece, smoothing out wrinkles for a seamless look.
Finally, seal it all with another coat to protect and polish.
Voilà, our upcycled mirror frame brings innovative flair to any room!
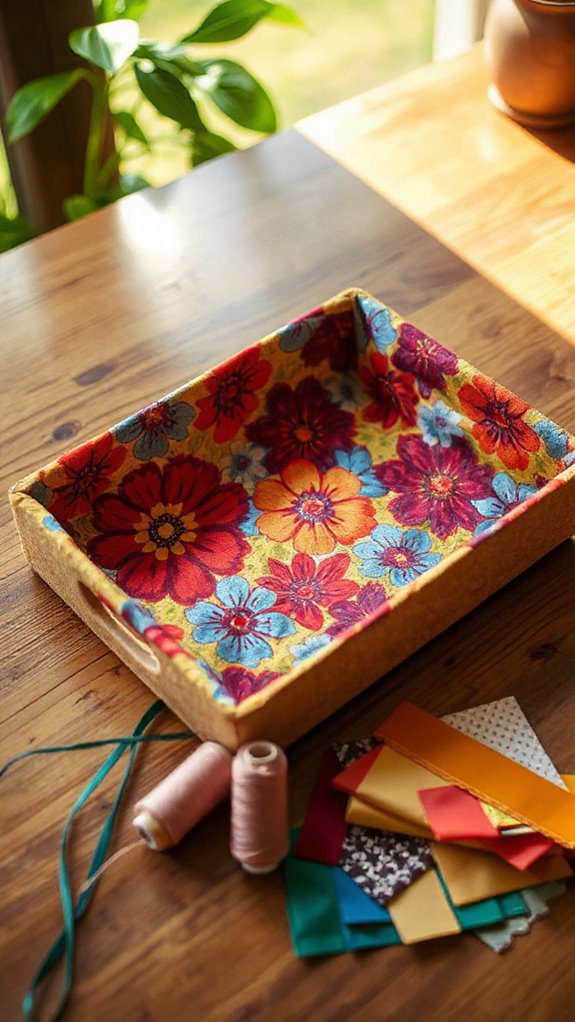
Easy DIY Tray With Fabric
When it comes to adding a personal touch to our home decor, crafting an easy DIY tray with fabric is a delightful project that combines creativity with functionality.
Let’s explore this innovative process:
- Select and Cut: Choose a foam tray and cut a piece of fabric, leaving extra for wrapping around the edges. This guarantees a snug fit and a polished look.
- Adhere and Smooth: Use Mod Podge as a decoupage medium. Apply a generous layer to the tray, pressing the fabric down, and smoothing out any bubbles or wrinkles for a seamless finish.
- Seal and Dry: Coat the fabric with another layer of Mod Podge to enhance durability. Let it dry completely before using, creating a unique, personalized piece!
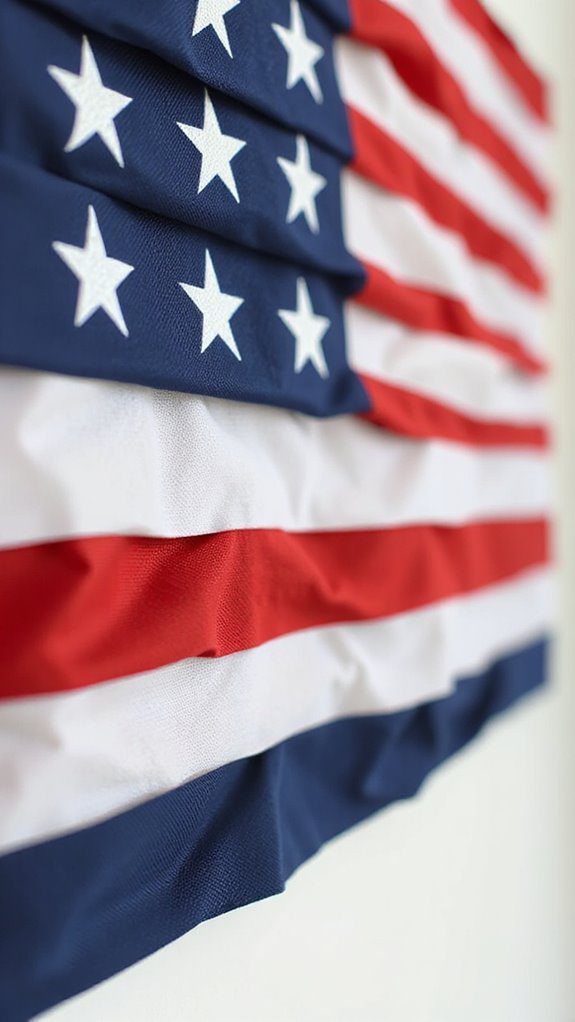
American Flag Wall Art
Creating American Flag Wall Art is a fantastic way to channel our creativity while celebrating our patriotic spirit.
Let’s plunge into this no-sew project, perfect for innovative minds who love vibrant displays. First, gather small fabric pieces in the iconic red, white, and blue. This is a great opportunity to use up fabric scraps—eco-friendly crafting at its best!
Arrange these fabric squares or strips on a canvas or board, mimicking the American flag’s design. Don’t worry if you’re a beginner; there are plenty of tutorials to guide us step-by-step.
We can customize the size and style to match our home decor, making it a versatile creation. Display it for the Fourth of July or enjoy it year-round!
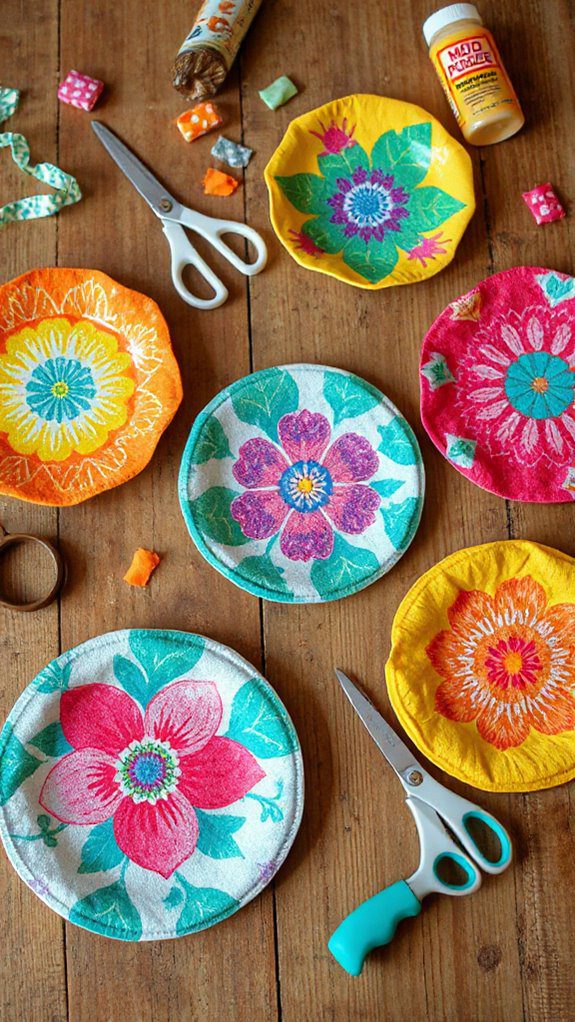
Mod Podge Plates With Fabric
After celebrating our patriotic spirit with American Flag Wall Art, let’s explore another exciting fabric craft: Mod Podge plates. Transform ordinary glass or ceramic plates into stunning decor pieces with fabric and a touch of creativity. Here’s how we do it:
- Prepare Your Plate: Cut the fabric into your desired shapes. Apply a layer of Mod Podge to the plate surface.
- Apply the Fabric: Smooth the fabric over the Mod Podge layer, ensuring a bubble-free finish. This step is essential for a sleek look.
- Seal and Finish: Add additional Mod Podge layers over the fabric for a glossy, durable finish. Let it cure for 24 hours.
Using leftover fabric scraps and dollar store plates, this budget-friendly craft is perfect for all skill levels.
Happy crafting!
Fabric Scrap Washi Tape
Fabric Scrap Washi Tape is a delightful way to breathe new life into those leftover fabric pieces we’ve all accumulated.
Imagine transforming those fabric scraps into vibrant, eco-friendly decorative tape! At Duckadilly Fabrics, we can find a step-by-step tutorial that guides us through this innovative process.
By simply adhering our fabric to double-sided tape, we create a versatile embellishment perfect for scrapbooking, gift wrapping, and home decor. This no-sew project is accessible to crafters of all skill levels, offering endless possibilities in a variety of colors and patterns.
Whether we’re aiming for a whimsical touch or a sophisticated flair, fabric scraps become a canvas for creativity, turning waste into something wonderful and unique for every occasion.
No-Sew Fabric Wall Art
When it comes to personalizing our living space, there’s nothing quite like no-sew fabric wall art to add a splash of flair and color.
Let’s explore this creative adventure, where fabric meets innovation without a single stitch.
- Gather Your Materials: Choose vibrant fabric scraps, a canvas or wooden frame, and trusty Mod Podge. These are your essentials for crafting magic.
- Create Your Art: Cut your fabric to desired shapes, whether abstract patterns or bold letters. Adhere them to the frame using Mod Podge, smoothing out any wrinkles.
- Switch It Up: The beauty of no-sew fabric wall art lies in its versatility. Easily update your masterpiece by swapping fabrics to match the seasons or your ever-evolving style.
Let’s get crafting and transform our walls with effortless artistry!
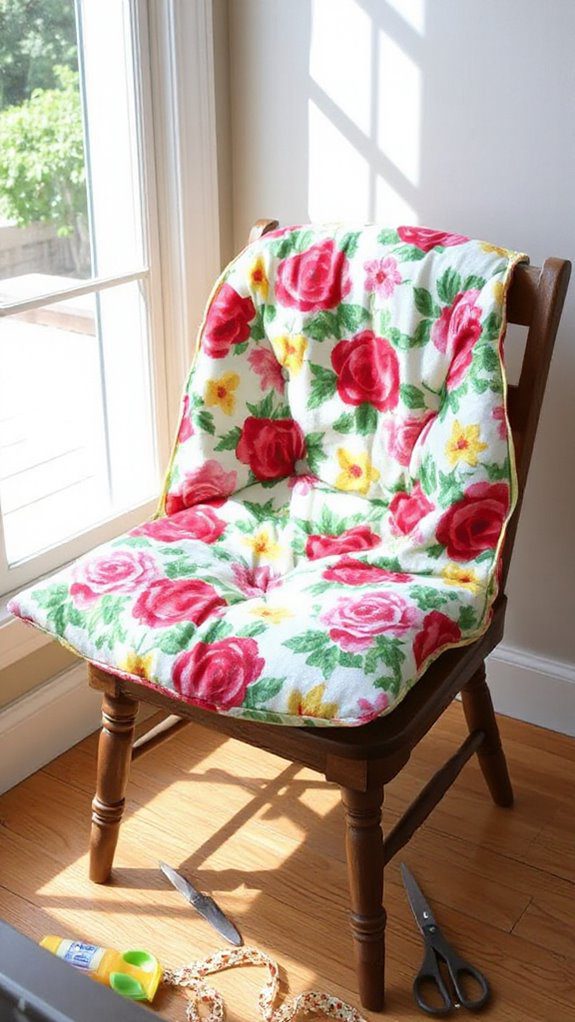
DIY No-Sew Seat Cushion
Transforming a plain seat into a cozy, stylish nook is as easy as pie with a DIY no-sew seat cushion.
Let’s grab a piece of foam or a thick pillow as our base. We’ll spice it up by cutting fabric to size, leaving a little extra to wrap around. Using adhesive spray or fabric glue, we secure the fabric snugly without a single stitch.
For that plush, inviting feel, slip a layer of batting between the fabric and foam. To add a professional touch, Heat n Bond adhesive tape works wonders on edges, creating clean seams and stopping frays.
Voilà! With endless fabric patterns and colors to choose from, our budget-friendly creation is ready to match any decor, merging function with flair.

