How to Make Resin Keychains With a Professional Finish
Pick a smooth silicone mold, wipe it clean, then mix low-viscosity resin slowly so bubbles don’t crash the party. Add mica, glitter, or fully dried flowers in thin layers, using tweezers and a light tap to release trapped air. After curing, trim sharp edges, sand them smooth, and polish for that glassy wow factor! Finish with a closed jump ring and sturdy hardware, and your keychain’ll look store-bought, not science-projectish—there’s a clever extra touch coming up next.
Love cozy DIY projects? 💕
Get free printable guides, exclusive tutorials & surprise craft goodies straight to your inbox.
Disclosure: This post may contain Amazon affiliate links, at no extra cost to you. Content on DiyCraftNest is created with research support from AI tools and carefully reviewed, edited, and fact-checked by the lead author, Daniel Pat, to ensure accuracy and reliability. Learn more
Key Takeaways
- Choose a small silicone mold with smooth edges and a built-in loop, sized for about 1–1.5 fl oz of resin.
- Prep the mold with a lint-free cloth and rubbing alcohol for a cleaner, more polished casting surface.
- Mix resin accurately, stir slowly for 3–5 minutes, and pour steadily to reduce bubbles.
- Add dried flowers or fillers in layers, using a thin base coat and tweezers to position pieces neatly.
- After curing, trim sharp edges, sand smoothly, polish if needed, and secure hardware with a closed jump ring.
Choose the Right Mold
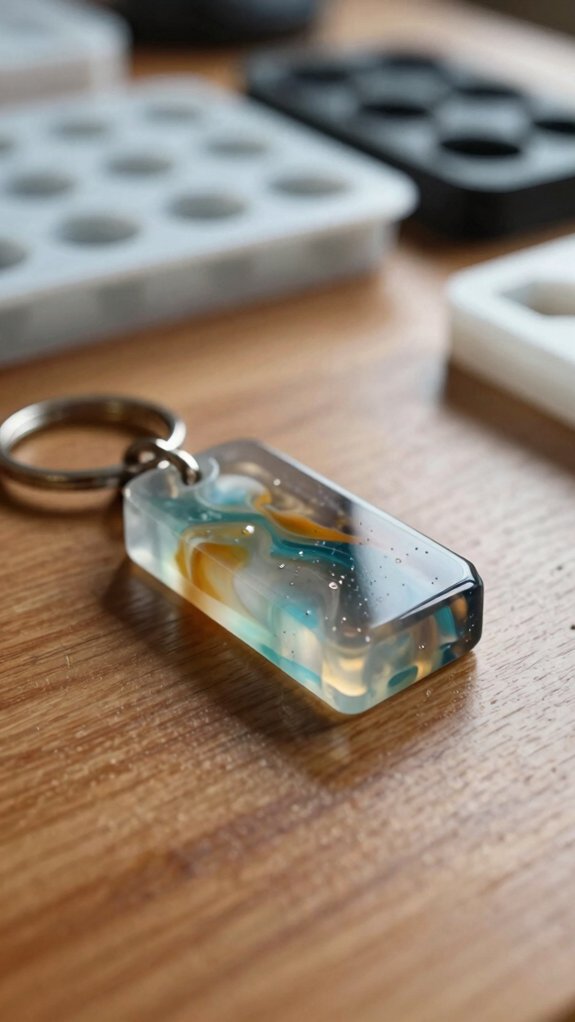
A great resin keychain starts with the mold, so don’t rush this step! You want a silicone mold made for small castings, because it uses less resin and helps you stay in the club of makers who get clean results.
Check Mold material selection by wiping it with a lint-free cloth and rubbing alcohol, then look for smooth, flexible edges and a built-in loop area.
Next, focus on Mold size calibration. Match the mold to about 1–1.5 fl oz of resin, and make sure it’s deep enough for layered designs.
Try a small test pour first; that little practice run saves big headaches!
Pick Decorative Fillers
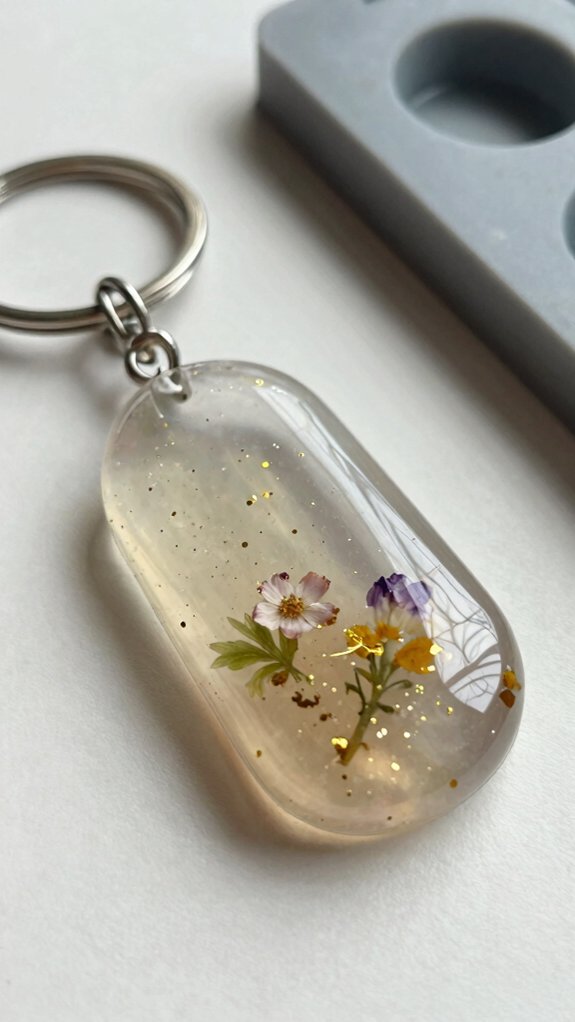
Color is where your resin keychain really starts to show off! Pick fillers that match your vibe, and test a tiny cup first so you can see the shine before you commit. Fine mica gives pearly glow, glitter adds pop, and chunky bits bring drama.
| Filler | Look |
|---|---|
| Mica powder | Soft shimmer |
| Fine glitter | Bright sparkle |
| Pigment | Opaque color |
| Beads | Heavy accents |
| Charm bits | Fun detail |
For best fillers suspension, mix evenly, then save heavier pieces for later layers. Want layered sparkle? Sprinkle glitter on a drier base, and let the magic do the rest!
Mix Resin Without Bubbles
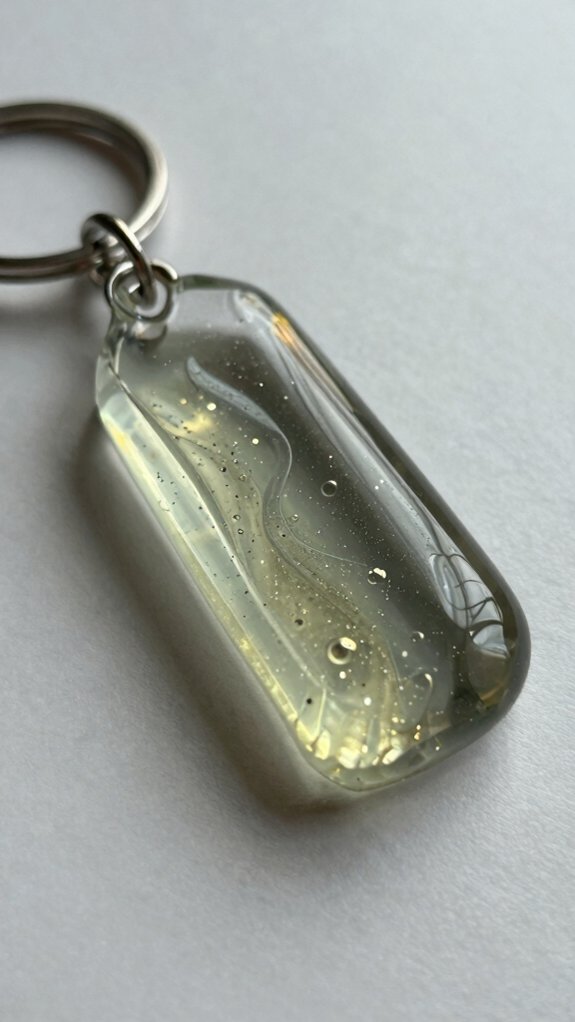
Stir with care, and you’ll save yourself a lot of bubble drama later!
You can make bubble free pouring feel easy when you measure the exact ratio, then use low viscosity mixing and slow circles for 3 to 5 minutes. Scrape the sides and bottom, because sneaky streaks love to hide bubbles.
Want extra peace of mind? Degas resin if you can, and keep humidity control in your workspace, since damp air can invite trouble. Pour in a steady stream, not a dump, so bubbles rise instead of camping out. Watch the cup closely, then pop any surface bubbles right away.
Add Dried Flowers
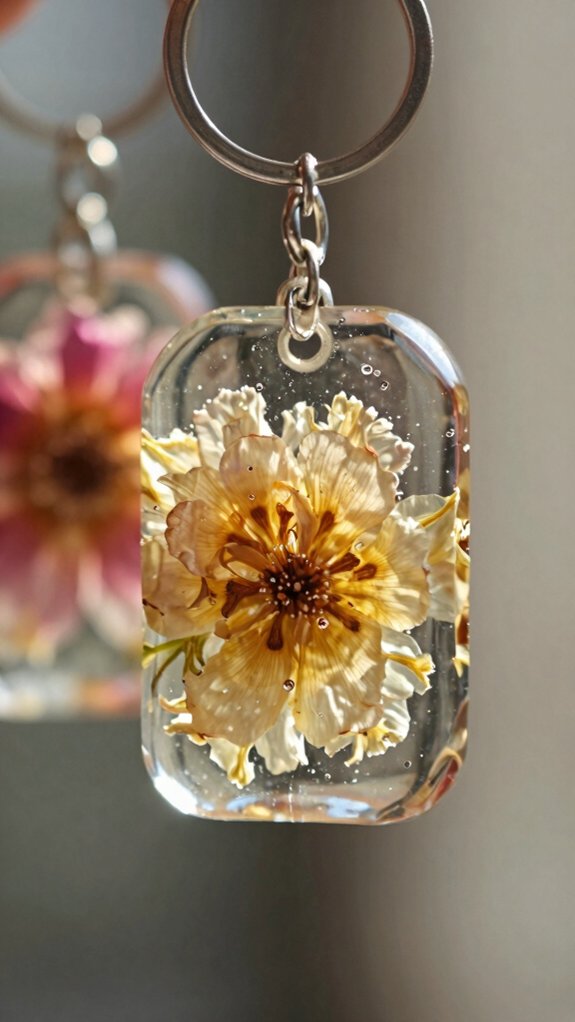
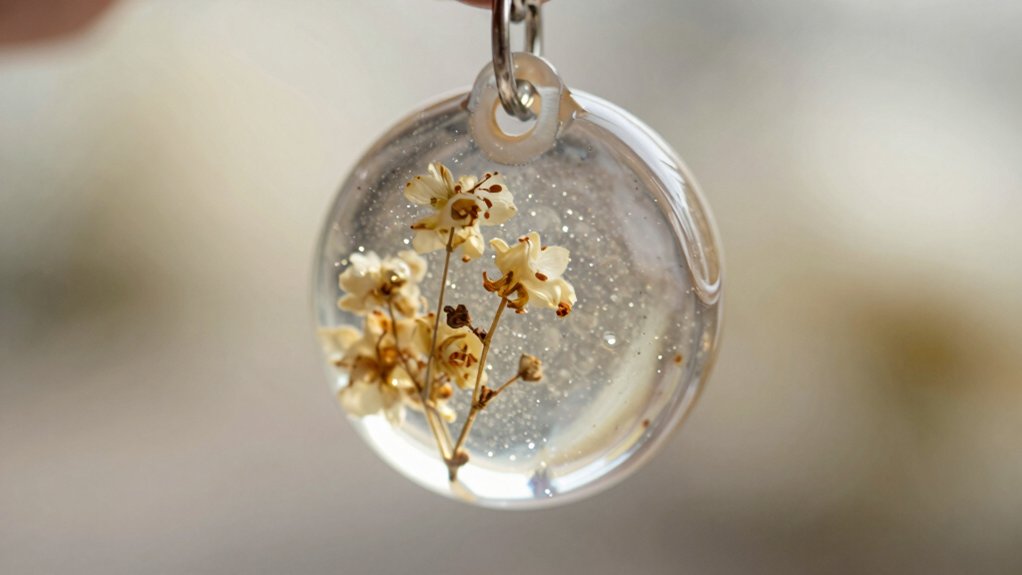
If you want that pretty, shop-worthy look, dried flowers can turn a plain resin keychain into something special!
Pick only fully dry blooms, because moisture prevention matters, and trim them so they fit your mold without crowding.
Pour a thin base layer, wait a few minutes, then use tweezers to place your botanical arrangement. Press lightly to release trapped air, like giving each petal a tiny seat.
For the cleanest finish, let that layer partly cure, about four hours, then add a clear top layer. That keeps flowers suspended, polished, and calm—no floating drama, just wow!
Create Glitter Effects
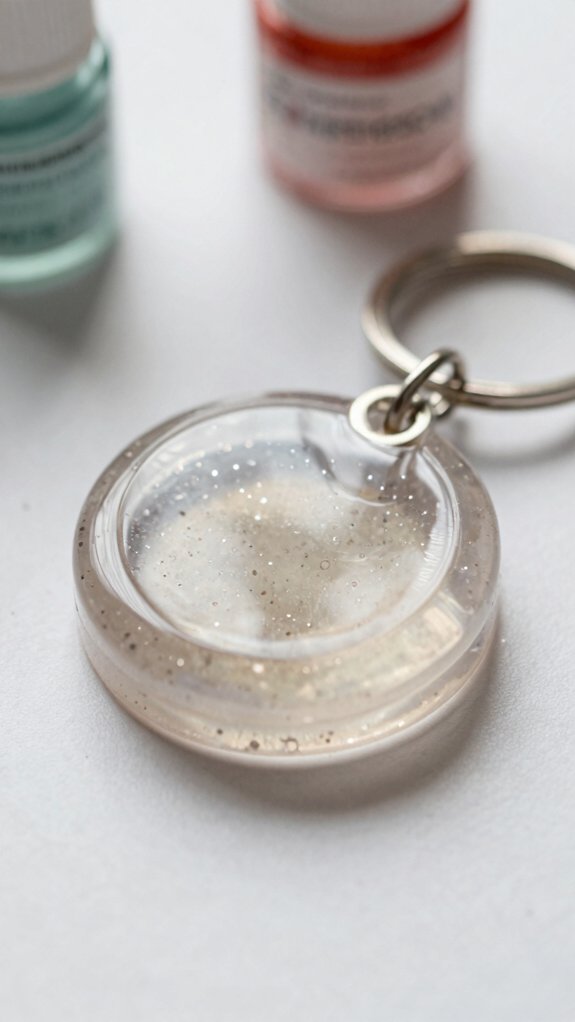
For a little sparkle that looks polished, not messy, glitter works best when you don’t rush it! Start with a clear or solid base, then let it partly cure, about 4 hours for epoxy, so your resin glitter layering stays neat and the sparkle doesn’t sink.
Next, sprinkle fine glitter on a dry layer or place it in the mold bottom before adding white resin on top. That keeps the shine where you want it, wow!
Use mica pigments for a soft pearly glow, and add color slowly. Finish with heat gun bubble removal, moving fast, so you don’t scorch the glitter.
Embed Photos or Stickers
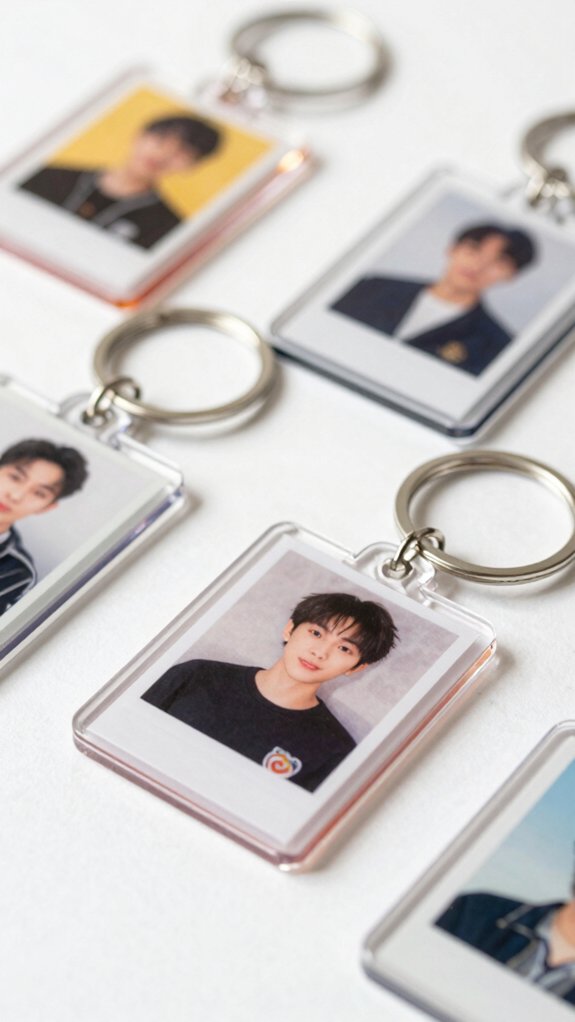
Ready to make your keychain feel extra personal? Resize your photo to fit the mold, and use a laser print if you can, because it won’t bleed.
If you’ve got an inkjet print, use Photo sealing tips: seal both sides with laminating sheets or a thin coat of Mod Podge, so the image stays crisp and cute!
Pour a thin resin layer first, then set the sealed picture face-up and press lightly for air bubble prevention.
Wait a few minutes before adding the next layer, so the photo stays put.
After the resin fully cures, pop in a jump ring, and boom—your keepsake looks store-bought, without the scary price tag!
Add Gold Foil Accents
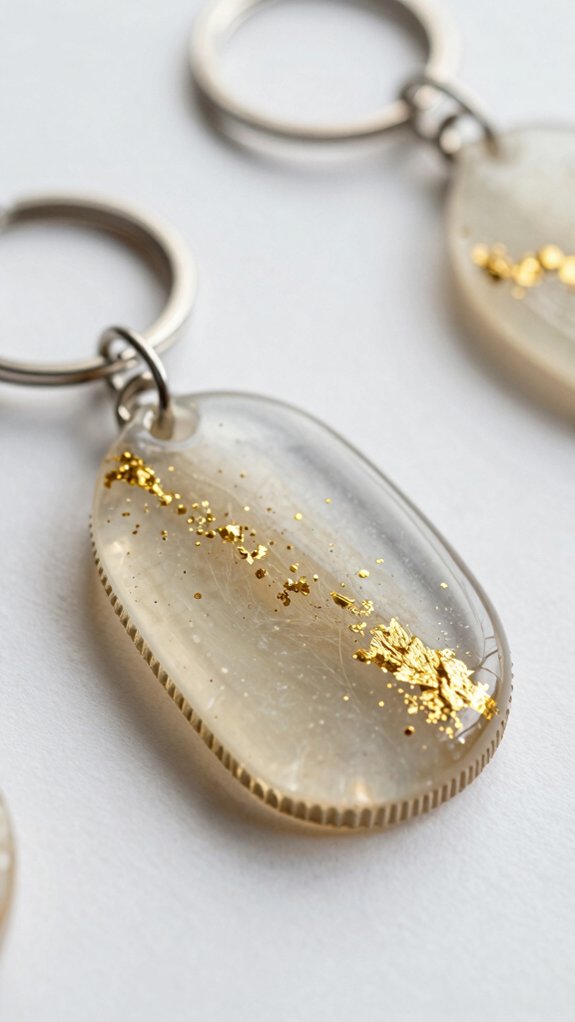
With a little sparkle at the edges, gold foil can make your resin keychain look stylish in seconds! Use real foil on a clean, fully cured surface, and grab tweezers for easy gold leaf placement.
| Step | Tip |
|---|---|
| Apply | Add tiny foil bits where light hits most. |
| Seal | Pour a thin resin seal coat after 24 hours. |
| Mix | Follow the exact epoxy ratio, then stir well. |
| Finish | Smooth bubbles fast with brief heat, no lingering! |
Use multiple thin layers, not one heavy pour, so the foil stays crisp and your crew gets that sleek, pro look.
Color Resin Like a Pro
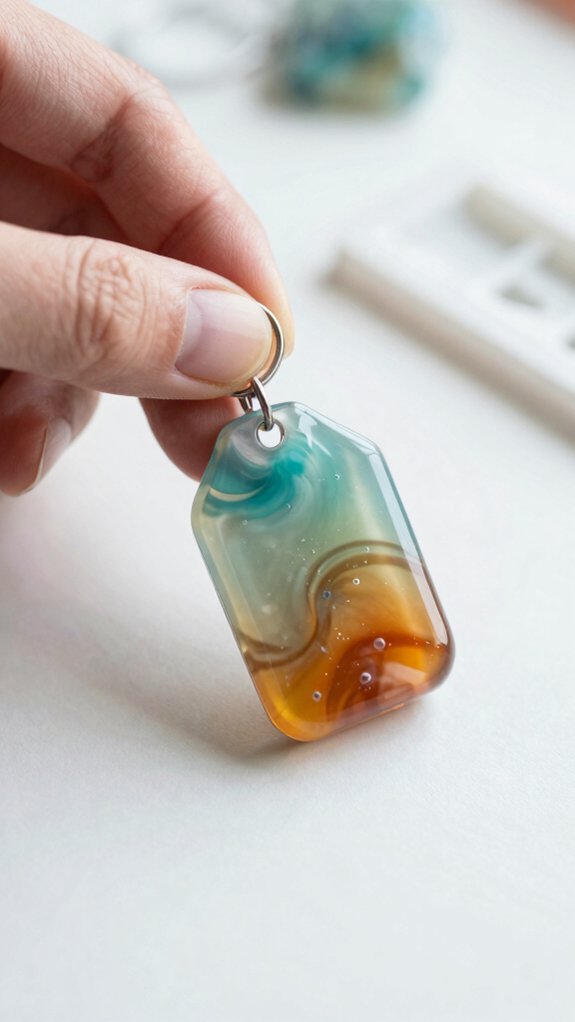
Color is where your resin keychain really starts showing off! You can get a soft glow or a bold pop with epoxy pigments, and a tiny bit goes far, usually 10–15 drops for a small batch.
Mix your resin and hardener exactly to the label, then stir for about 5 minutes, scraping the sides and bottom to Avoid tint streaks.
For Pro color batching, blend in color only after the clear base is fully mixed, then pour right away.
Want extra flair? Layer glitter instead of dumping it all in, so your sparkle stays bright, not muddy.
Finish the Edges Smoothly
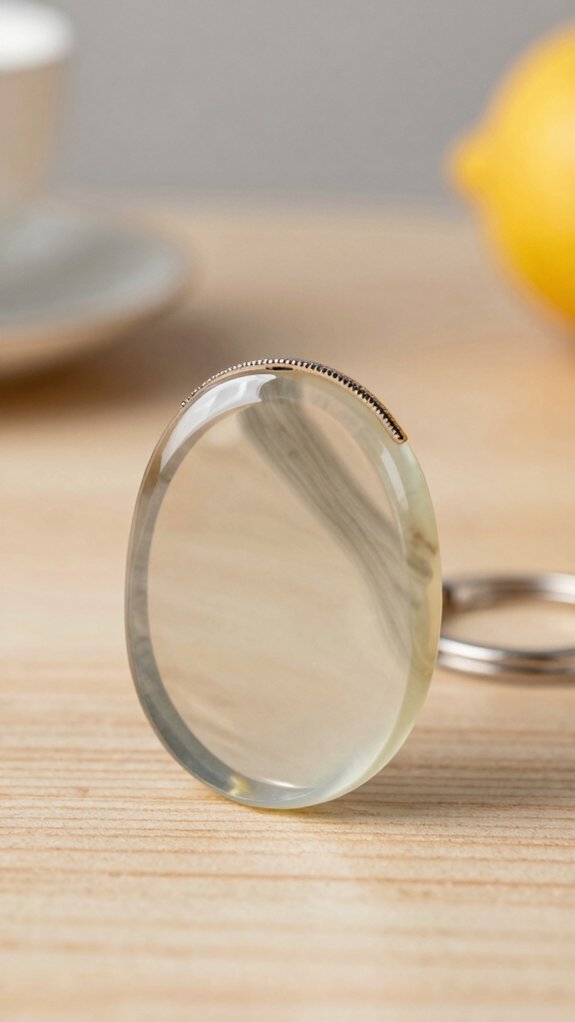
Once your resin keychain has fully cured, usually after 24–72 hours depending on the brand and room temp, pop it out of the mold and give those edges a careful look—tiny sharp bits can sneak in like uninvited party guests! For cleanup of flashes, use gentle Edge sanding techniques with fine paper, then smoother grits.
| Step | Feel |
|---|---|
| Sand | Calm |
| Polish | Proud |
If you want that glassy shine, try resin safe polishing, and keep the jump-ring hole area steady. Silicone mold removal should stay gentle, and avoid sanding near flowers or glitter too hard, so your crew-worthy finish stays crisp.
Attach Durable Hardware
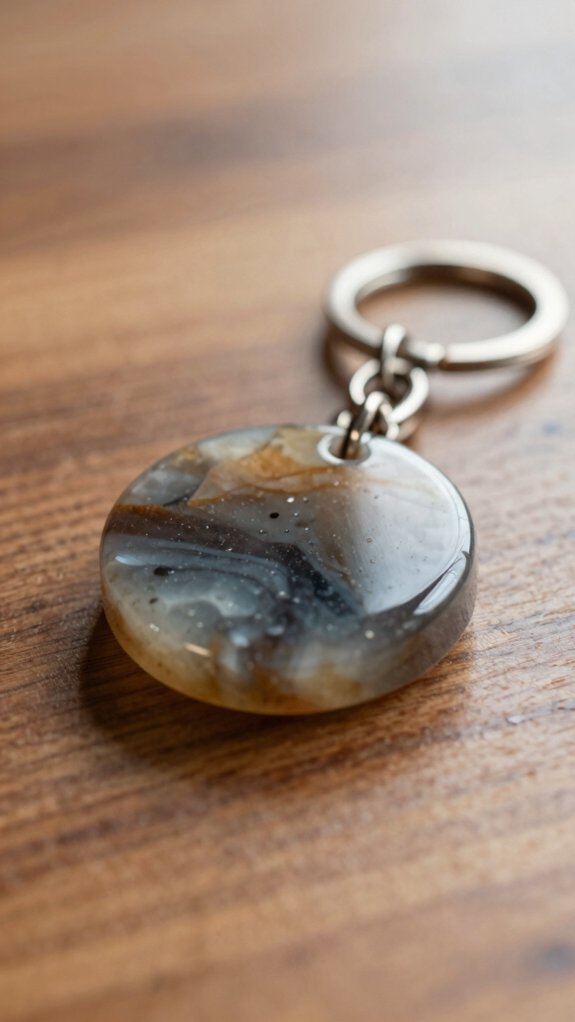
Now that your resin piece is fully cured and smooth, it’s time to give it sturdy hardware that won’t bail out on you!
You’re joining the club of makers who want keychains that last, not wobble like a loose backpack zipper.
- Use needle-nose pliers to place a fully closed jump ring.
- If you drilled the hole, do it only after curing.
- Keep the hole centered and away from edges.
- Add extra rings one at a time.
- Reinforce attachment points by tucking the metal into the channel, then Test ring closure strength.
That snug fit helps your charm feel polished, solid, and ready to tag along anywhere!
Package Handmade Keychains
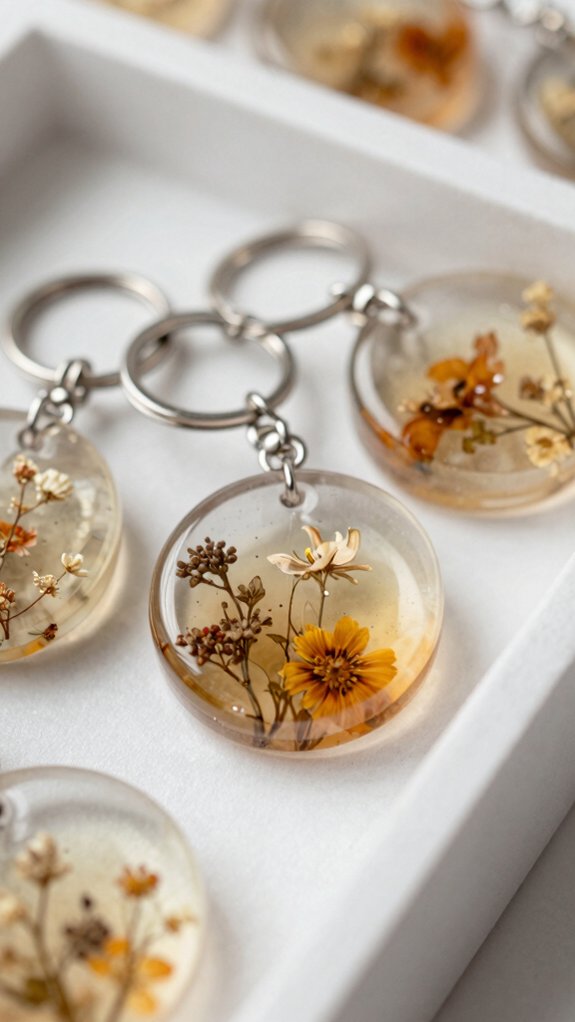
A neat package can make your handmade resin keychains feel instantly more polished, and it doesn’t have to be elaborate to work!
Use protective bags or small boxes with protective cushioning so glossy surfaces and glitter layers don’t pick up scratches or fingerprints. Clean off any resin dust first, then tuck each piece in snugly so it won’t slide around.
For better packaging presentation, add a simple care card with a quick note like, “keep dry and out of long sun exposure.”
It costs very little, looks thoughtful, and helps your keychains arrive looking shop-ready, not tossed in a drawer.
Create Matching Gift Sets
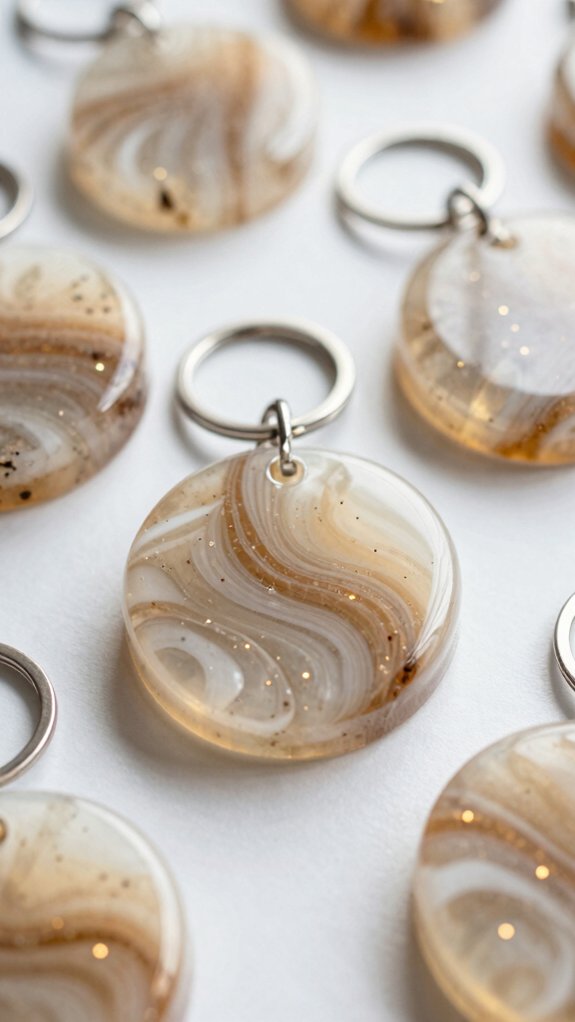
Want your resin keychains to look like they came straight from a tiny boutique? Pick one theme, then build a set that feels like it belongs together!
- Floral, glitter, gamer tags, or initials
- Same 1:1 resin mix, stirred 3–5 minutes
- Colorants added the same way, every time
- Layer resin in the same order for each piece
- Drill, then use Matching Hardware Styles
For Holiday Gift Pairing, seal photo prints first, then resin them in two layers so they stay sharp.
Keep shades steady, and your crew will notice the polished vibe fast!
A matching set costs less than you’d think, and wow, it looks pro.