How to Make a Fish Keychain in 12 Creative Styles
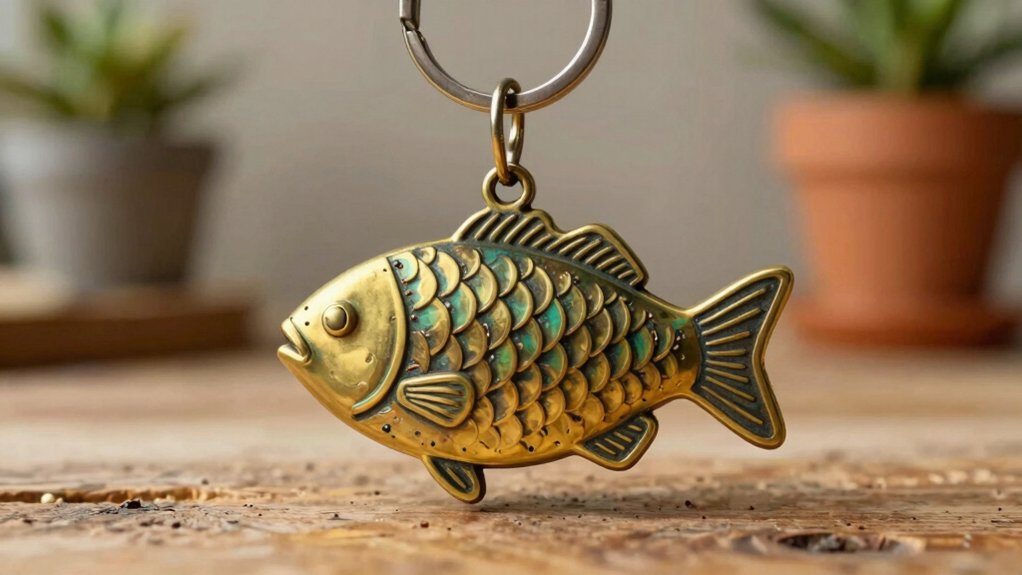
You can make a fish keychain in tons of creative ways! Try felt with two fish pieces, beads, and a ring for a soft, beginner-friendly charm, or use wire and blue beads for a shiny ladder-stitch fish. Crochet, polymer clay, resin, embroidered fabric, leather cutouts, and painted acrylic all work too, each with simple shapes, easy finishing, and cute results. Want the coolest twist? A tropical fish mix can really steal the show, and more ideas are just ahead.
Love cozy DIY projects? 💕
Get free printable guides, exclusive tutorials & surprise craft goodies straight to your inbox.
Disclosure: This post may contain Amazon affiliate links, at no extra cost to you. Content on DiyCraftNest is created with research support from AI tools and carefully reviewed, edited, and fact-checked by the lead author, Daniel Pat, to ensure accuracy and reliability. Learn more
Key Takeaways
- For a beginner-friendly felt fish, cut two fish shapes, stitch or glue them together, add stuffing, and attach the keychain ring at the top.
- For a beaded fish charm, use wire and ladder stitch, taper the body from six beads to two, then add fins and a jump ring.
- For a resin ocean fish look, build tapered wire-and-bead rows, place the eye carefully, and finish with secure keychain hardware.
- For a crochet fish, work a tapered body with rounds and decreases, add tiny fins and a bead eye, then fasten it to a key ring.
- For a polymer clay fish, shape, texture, bake, paint, and seal the piece, then attach the loop for a durable finish.
Felt Fish
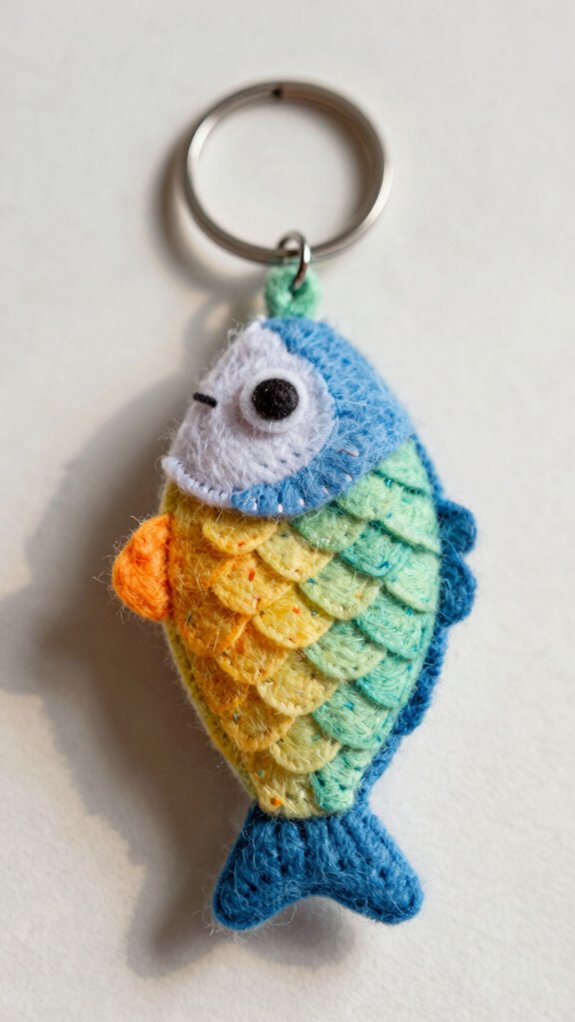
Felt fish keychains are a super cute place to start, and they’re beginner-friendly too, so you don’t need a giant craft stash or wizard-level sewing skills to pull one off!
You’ll need two felt fish pieces, a few beads, glue or thread, and a keychain ring—cheap, cheerful, and easy.
Cut the shapes, then build your fish body between them, keeping the eye on the right side. Add the ring at the top, trim the edges neatly, and use color matched stitching for a polished look.
That texture felt backing keeps everything snug, so your fish feels sturdy and ready to swim around.
Beaded Fish Charm
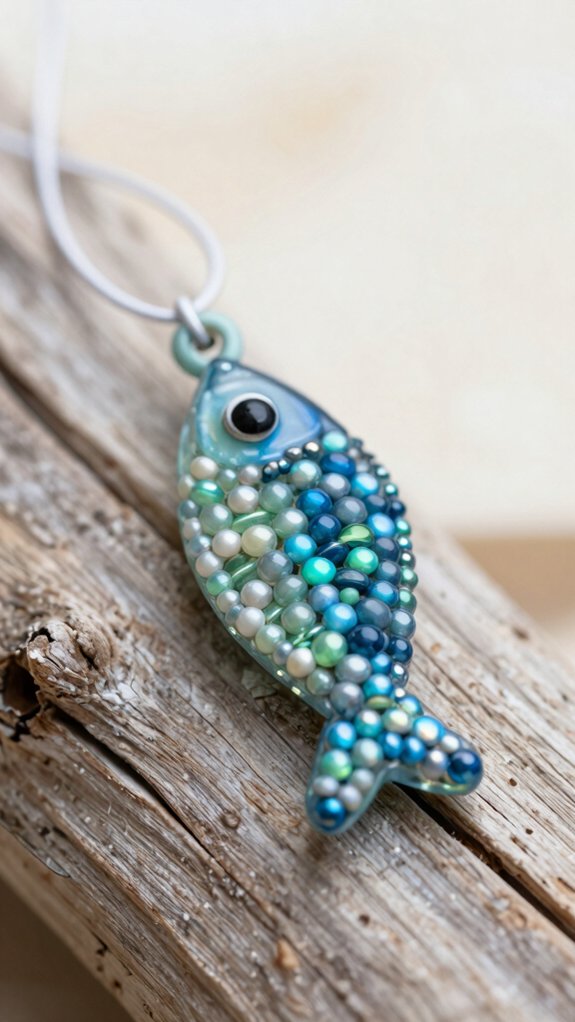
If you want a fish keychain that looks shiny, clever, and just a little bit ornate, a beaded fish charm is a fun next step!
You’ll use craft wire, blue beads, and a simple ladder stitch to shape the body, then add fins and a tidy belly.
- Pick Different fish bead patterns for a custom vibe.
- Start at the head, then taper rows from 6 beads to 2.
- Mirror the sides so the eye sits right.
- Add fins with quick wire loops.
- Finish with minimalist keychain finishing, jump rings, and a short chain.
It’s cheap, fun, and feels proudly handmade!
Resin Ocean Fish
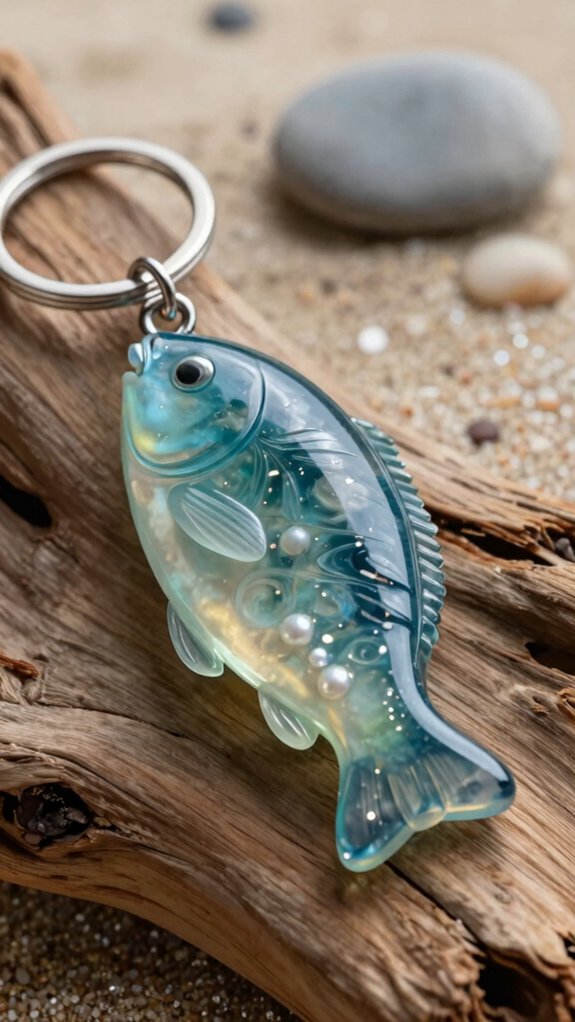
A resin ocean fish keychain feels like a tiny splash of the sea you can carry around!
You’ll use thin 28-gauge craft wire, beads, and a little patience, then build 9 tapered rows for a smooth color gradient in steel blue, dark montana blue, denim opal silver lined, and silver.
Place the Swarovski eye and black seed bead at the changeover row, so the sparkle lands just right.
Keep resin safety in mind, even if you’re only aiming for the look.
Loop the fins, join both layers, stitch the belly closed, and finish with jump rings for a cute ocean-school vibe!
Crochet Fish
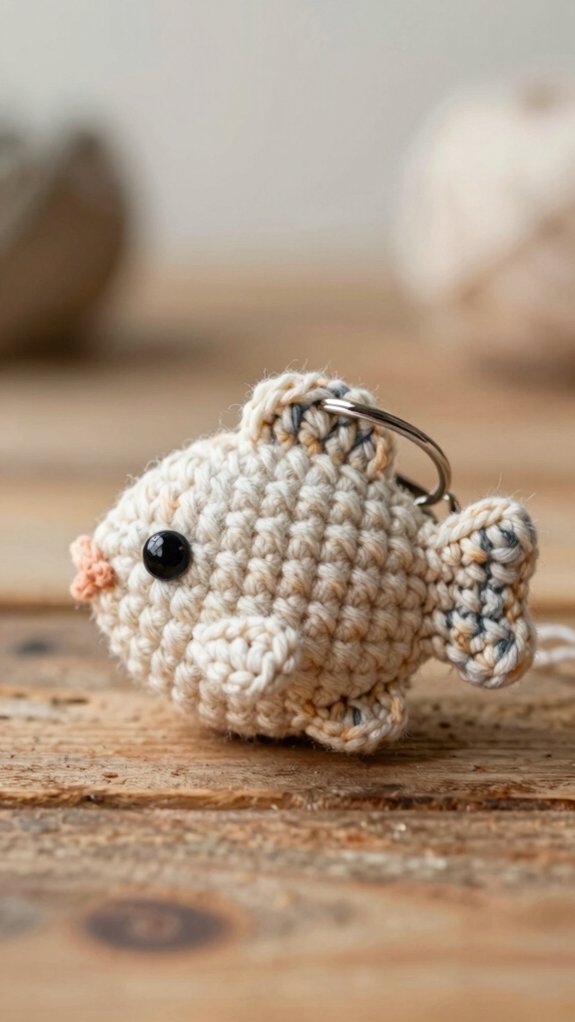
Crochet fish keychains bring that same tiny ocean charm, but in a cozy, yarn-and-hook kind of way! You’ll feel right at home making one, even if you’re new to crochet.
- Use a tapered body, working rounds and decreases.
- Add tiny fins with chain stitches and little increases.
- Stitch on a bead eye after the body’s done.
- Try stripe bands for a playful, creative style.
- Finish with a key ring attachment so it hangs straight.
You can whip one up cheaply with scrap yarn, and the best part?
Your fish won’t flop around like a sleepy noodle—unless you want it to!
Polymer Clay Fish
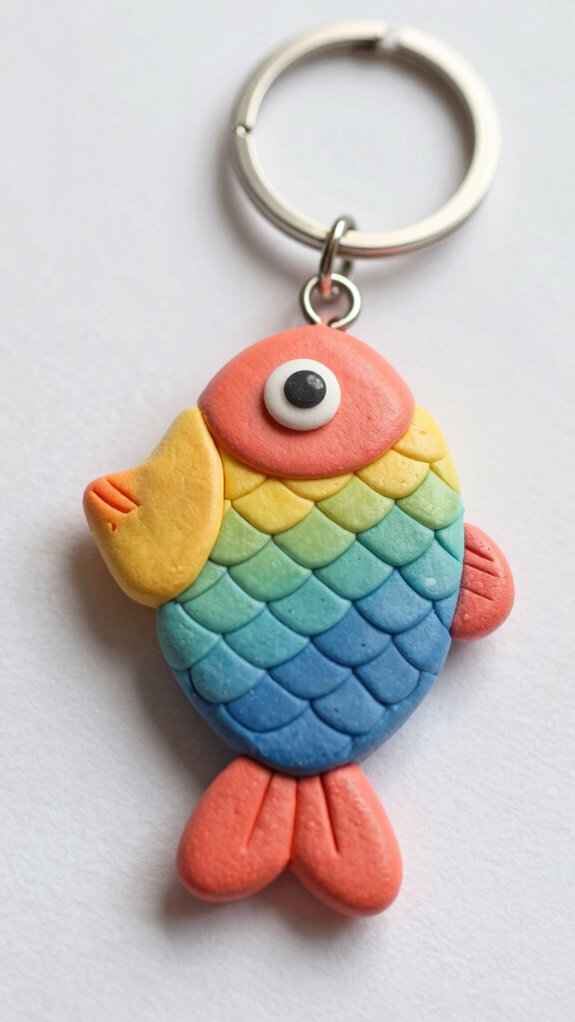
When you want a fish keychain that looks polished but still feels fun, polymer clay is a fantastic pick! You can shape a tiny sardine, add scales, then bake it.
| Step | What to use | Result |
|---|---|---|
| Shape | clay, fingers | smooth body |
| Texture | comb, sponge | lively fins |
| Bake | oven, timer | firm fish |
| Finish | paint, glaze sealing | glossy shine |
Mix denim or opal tones for a sea vibe, then add bead details after baking. Seal and attach your loop while the clay’s fresh for better keychain durability. It’s affordable, beginner-friendly, and honestly, your bag’ll look fish-tastic!
Wooden Fish Pendant
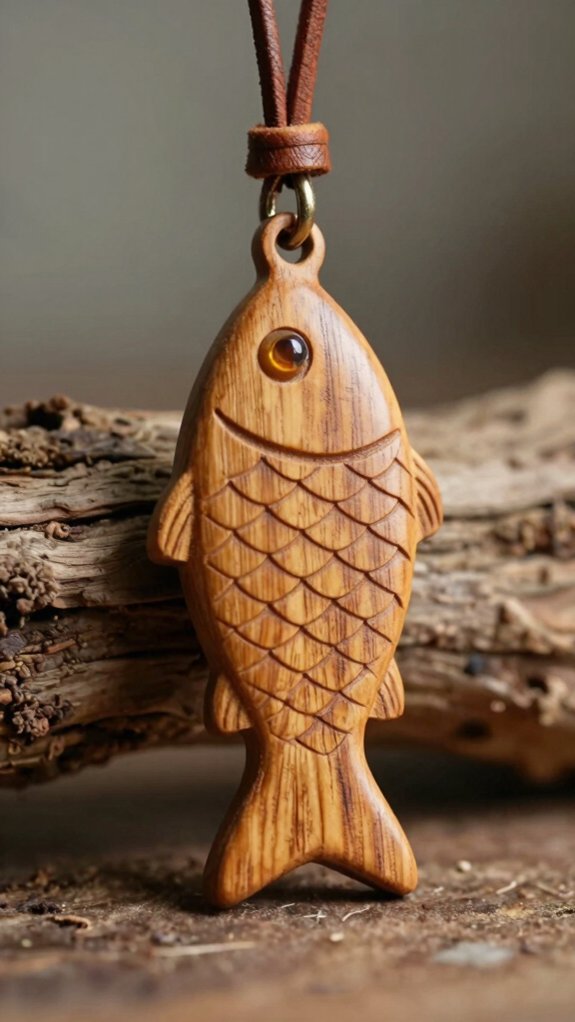
For a fish pendant that feels a little more polished, yet still playful, try a wooden-inspired version made with craft wire and Size 8 seed beads—yes, you can get that cozy “natural woodfish” look without actually carving anything!
You’ll use a wire skeleton, then bead 9 rows of 6, taper to 5, 4, 3, and 2, keeping the top a bit flatter.
- Mix Steel Blue Lined and Montana Blue/Silver Lined beads
- Add denim opal for a color gradient
- Place the eye bead on the right side
- Stop after the second body layer
- Wrap, knot, and tuck the tail for hanging
Macramé Fish
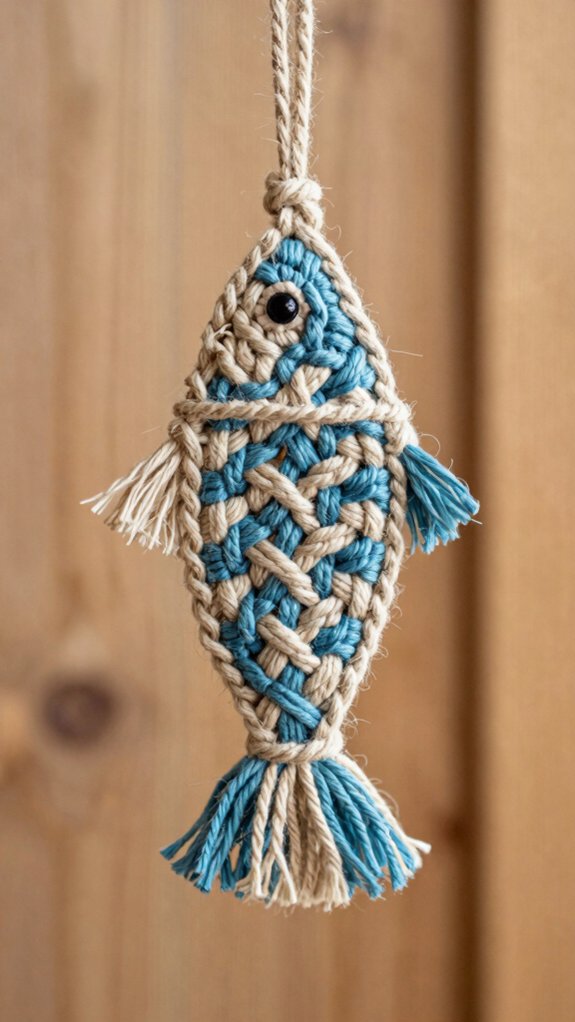
As soon as your fish bead shape is set, macramé turns it into a little sea-side showpiece! You’ll place your beads on craft wire in neat rows, then use that wire keychain core as your anchor.
Tie cords around bead clusters for bead securing, especially the black and coral accents, so nothing slips.
Add tiny fin loops by wrapping only the montana beads, skipping silver on the loop, then knot cord over the edges for a crisp look.
Repeat the back side, join both layers, and finish by knotting to a jump ring.
Easy, affordable, and so polished!
Fabric Scrap Fish
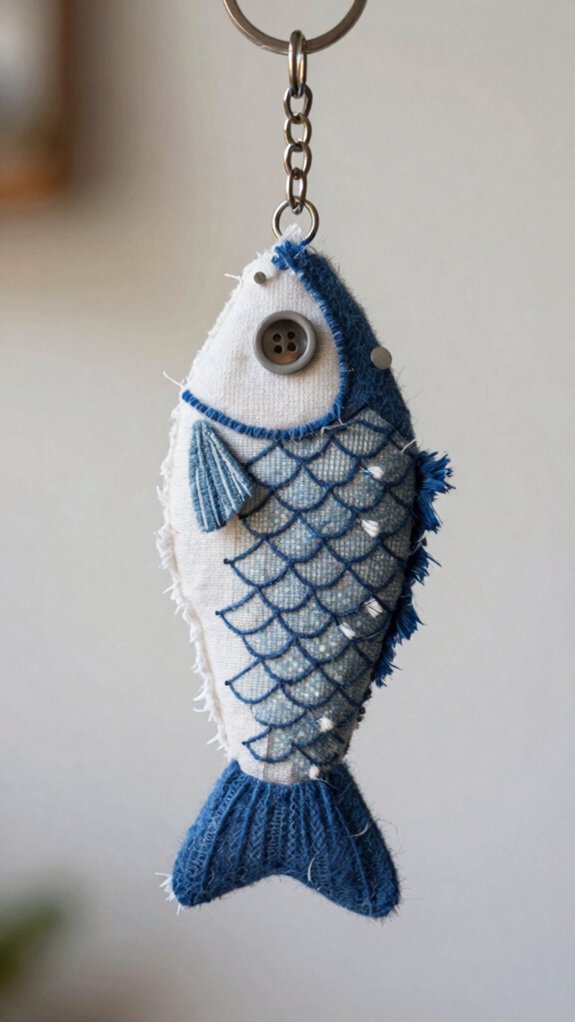
If the macramé fish had you feeling stylish, this fabric scrap fish is the cheerful, low-cost cousin that still knows how to show off! You’ll feel right at home with fiber wire techniques and bead color gradients, even if you’re new to crafting.
- Cut 28-gauge craft wire and gather scraps.
- Add 2 black, 2 pink coral beads per side.
- Build 9 tapering rows, keeping wire tight.
- Shape fins with matching montana loops.
- Stitch the two layers, then add jump rings.
Use steel-blue, denim opal, and silver-lined beads for a bright splash. The result? A tiny fish buddy that looks elegant, costs little, and totally belongs on your keys!
Embroidered Fish Keychain
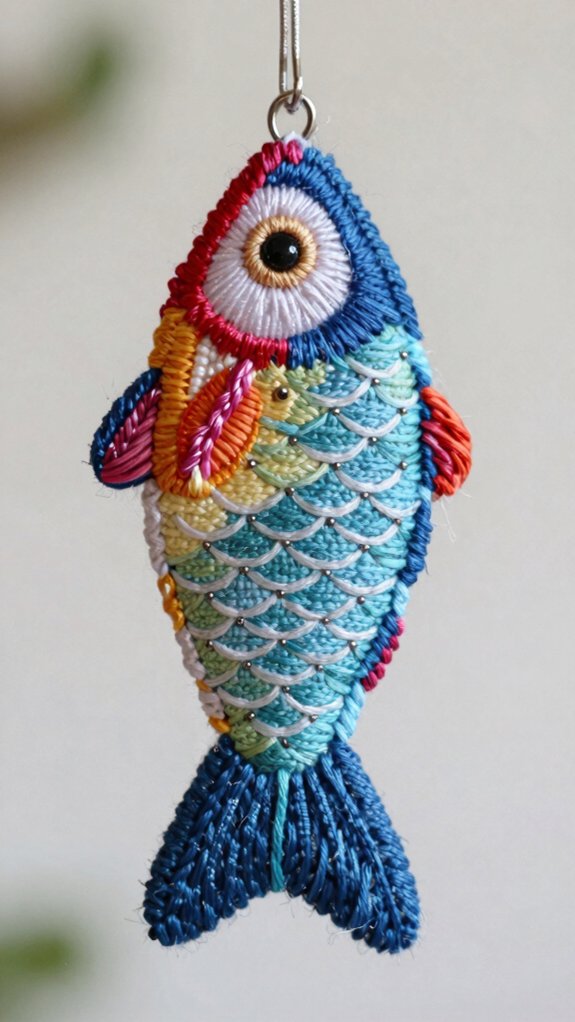
Threading beads onto wire feels a little magical, and this embroidered fish keychain makes that magic super approachable! You’ll need a size 8 beading needle, 28-gauge craft wire, seed beads, and a swarovski eye.
For color palette planning, try dark Montana Blue with silver or denim accents, then keep your needle wire tension snug after every row so the fish stays crisp.
Stitch 9 rows of 6 beads, then taper to smaller rows for the body. Build each fin on its own wire side, and place the eye on one face.
Join both sides, secure the belly pass, and finish with jump rings—cute, sturdy, and totally giftable!
Leather Fish Silhouette
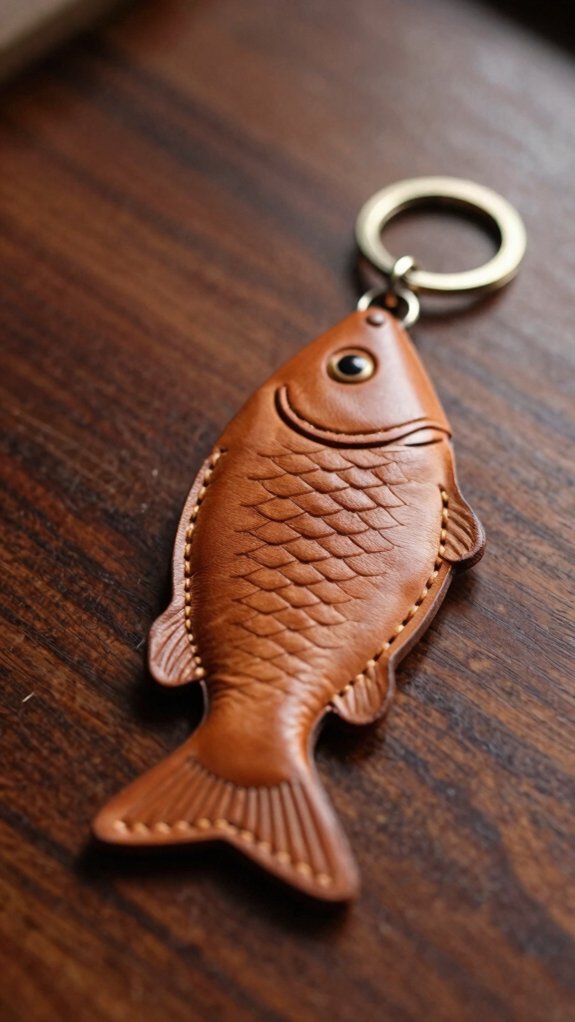
A simple leather fish silhouette can look surprisingly polished with just a few basic supplies! Trace a fish template, cut it cleanly, then do your Leather tooling to add tiny scales if you want extra charm. Use a damp cloth or slicker for edge finishing, and suddenly it feels shop-made, not garage-made.
- Mark tail, dorsal line, and belly curve
- Sew with matching thread and even spacing
- Add a stitched loop or hardware tab
- Seal holes with conditioner or edge paint
- Finish with embossed details before the ring
You’ll get a sturdy little buddy that feels personal, costs little, and hangs proudly!
Painted Acrylic Fish
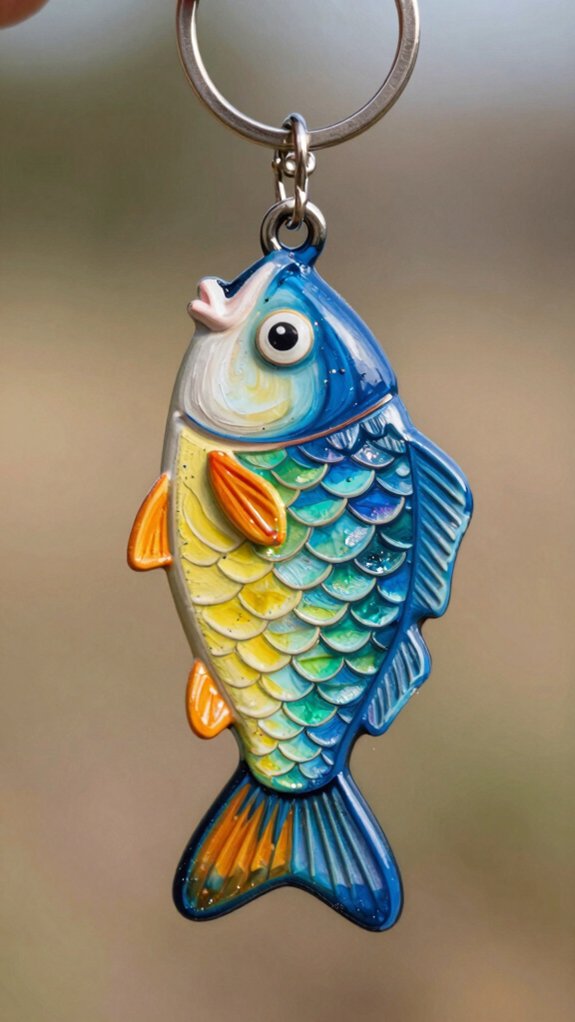
Once your beaded fish body is finished, you can wake it up with a thin painted acrylic layer that adds personality without hiding all that shiny beadwork!
| Step | What to do | Tip |
|---|---|---|
| 1 | Mix thin acrylic paint | Keep it watery for watercolor blending |
| 2 | Use fine brushwork | Add eye shines or belly fades |
| 3 | Paint tiny dots | Stop pooling between beads |
| 4 | Let it dry | Patience keeps it neat |
| 5 | Seal, cure, assemble | Protects the finish on your keychain |
Try denim-opal accents or steel-blue midtones for a cool, friendly vibe. Finish with jump rings after curing, and you’ve got a tiny fish that feels custom, polished, and totally yours!
Tropical Fish Collection
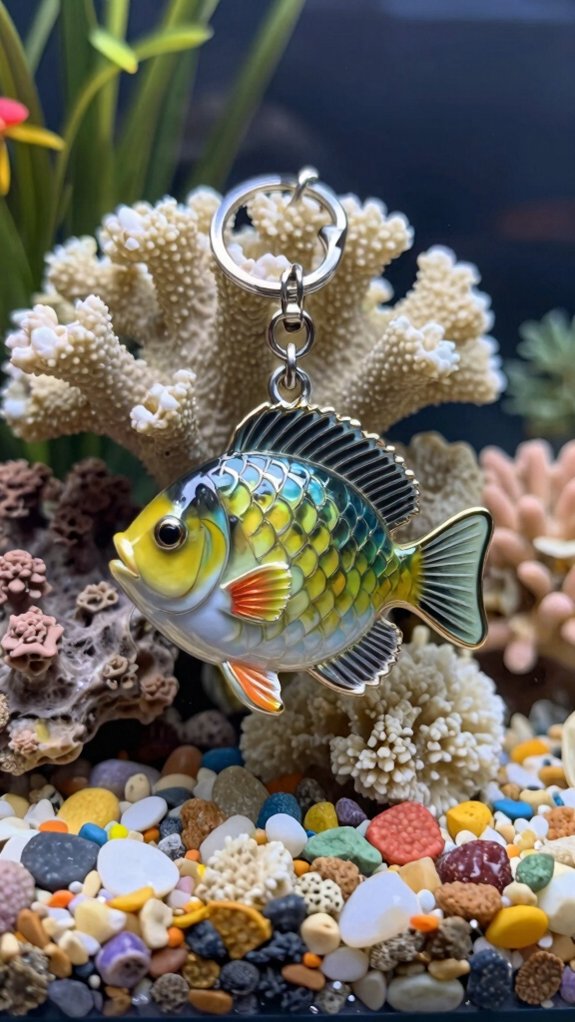
Your painted acrylic fish already has personality, but now it’s time to give it a full tropical squad!
- Use wire working to build a bead body in rows.
- Start with 6 beads, grow to 9 rows, then taper to 2.
- Mix silver, denim, steel blue, and montana for a color gradient.
- Loop fins with 3 montana beads and 1 silver bead, then return through only the montanas.
- Stitch a two-layer body so the eye stays centered, then finish the belly and clip on jump rings.
You’ll get a bright, ocean-ready keychain that feels like your crew!