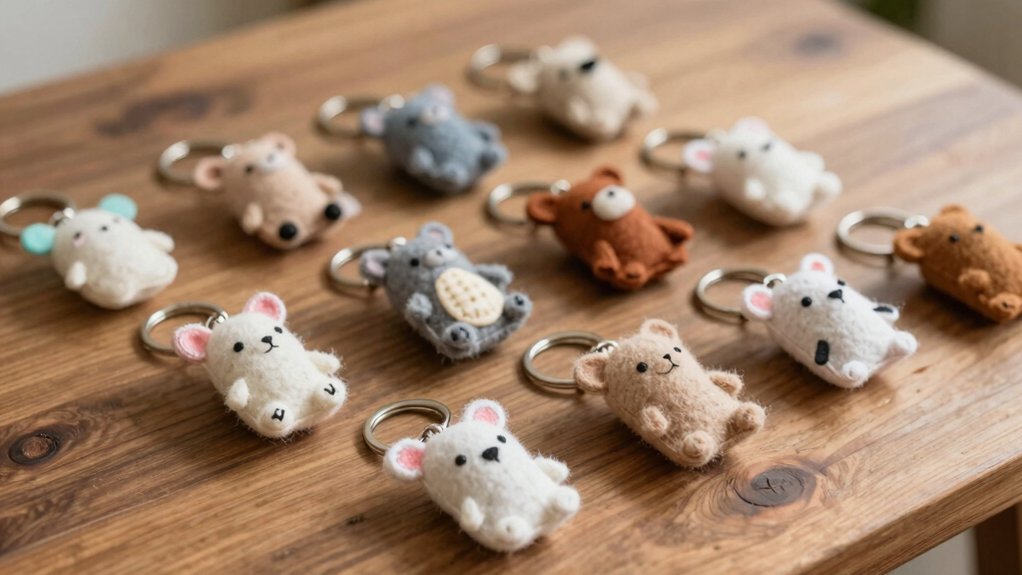
13 Cute Keychains You Can Make at Home
You can make 13 cute keychains at home with felt hearts, crochet animals, bead faces, resin shakers, clay fruit, initials, mushrooms, rainbow macramé, and floral acrylic charms. Use cheap basics like felt, yarn, beads, clay, cord, or plain wood, then add jump rings, clips, and a little glue or stitching. Start with the easiest shapes, keep colors bright, and finish with a sealer for strength. The best surprise? The prettiest ideas are just ahead!
Love cozy DIY projects? 💕
Get free printable guides, exclusive tutorials & surprise craft goodies straight to your inbox.
Disclosure: This post may contain Amazon affiliate links, at no extra cost to you. Content on DiyCraftNest is created with research support from AI tools and carefully reviewed, edited, and fact-checked by the lead author, Daniel Pat, to ensure accuracy and reliability. Learn more
Key Takeaways
- Felt hearts and cloud charms are easy beginner projects, stuffed lightly and finished with a loop or keyring.
- Crochet mini animals like cats, bunnies, and bears make adorable personalized keychains with jump rings.
- Resin, clay, or painted acrylic charms can be decorated with glitter, florals, or tiny fruit details.
- Braided cords, ribbon bows, and tassels create quick, colorful keychains using simple knots and hardware.
- Pom-poms, initials, and mushroom charms are fast makes that look cute and hold up well with strong jump rings.
Puffy Felt Hearts
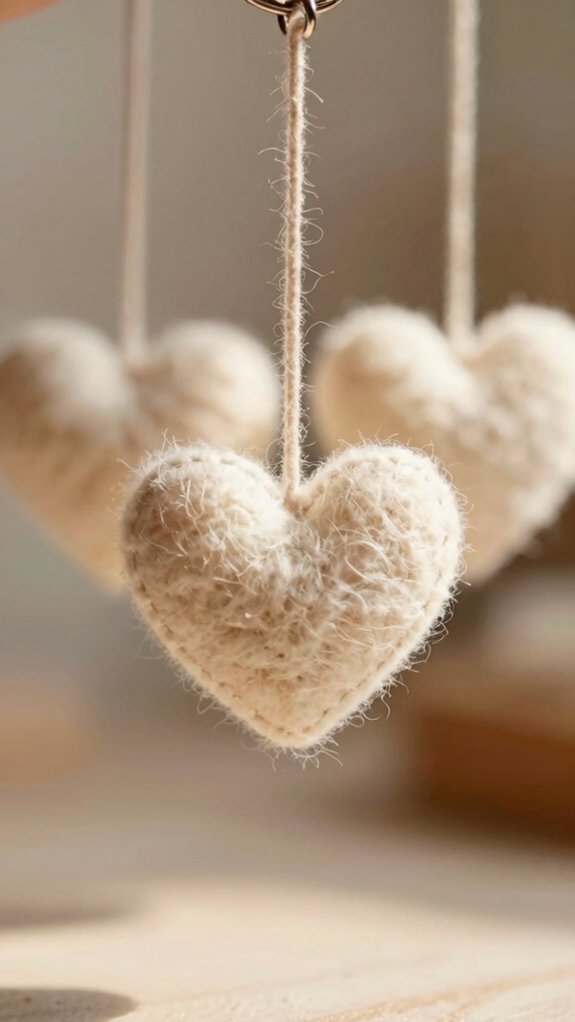
If you want a keychain that looks cute, feels soft, and doesn’t take a ton of effort, puffy felt hearts are such a fun place to start!
You’ll cut two matching felt hearts, then pick Felt color combos that make you smile.
Next, stitch or glue the edges, leave a tiny opening, and stuff it lightly with polyester fiberfill so it stays plump, not pancake-flat.
Add your keyring or loop before closing, then try beginner friendly stitching techniques like backstitch outlines, French-knot dots, or a tiny border.
Let glue cure fully, and don’t yank the ring, so your sweet little heart lasts!
Tiny Crochet Animals
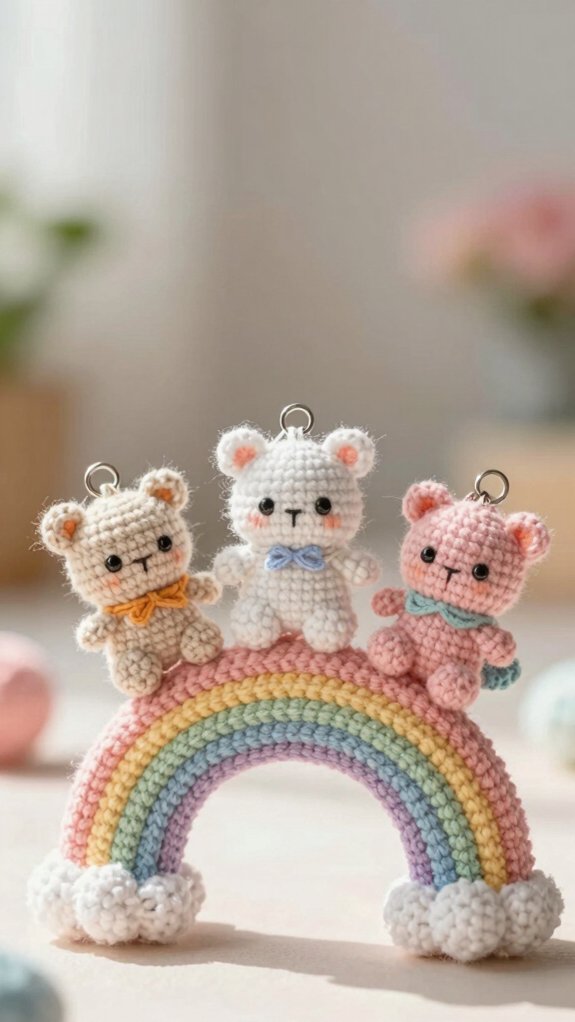
On a tiny hook and with a few strands of yarn, you can whip up micro crochet animals that look like they hopped right out of a pocket-sized zoo!
You’ll need tiny yarn, a 1.5–2.5 mm hook, and a bit of fiberfill, or none for a flat charm.
Start with a magic ring, then add ears, a tail, and a few stitched legs, easy!
For extra charm, try Color matching micro animals so your cat, bunny, and bear feel like a tiny set of friends.
Finish with safety eyes or embroidery, then secure a jump ring for stitch safety keychain durability.
Cute, sturdy, yours!
Smiley Bead Charms
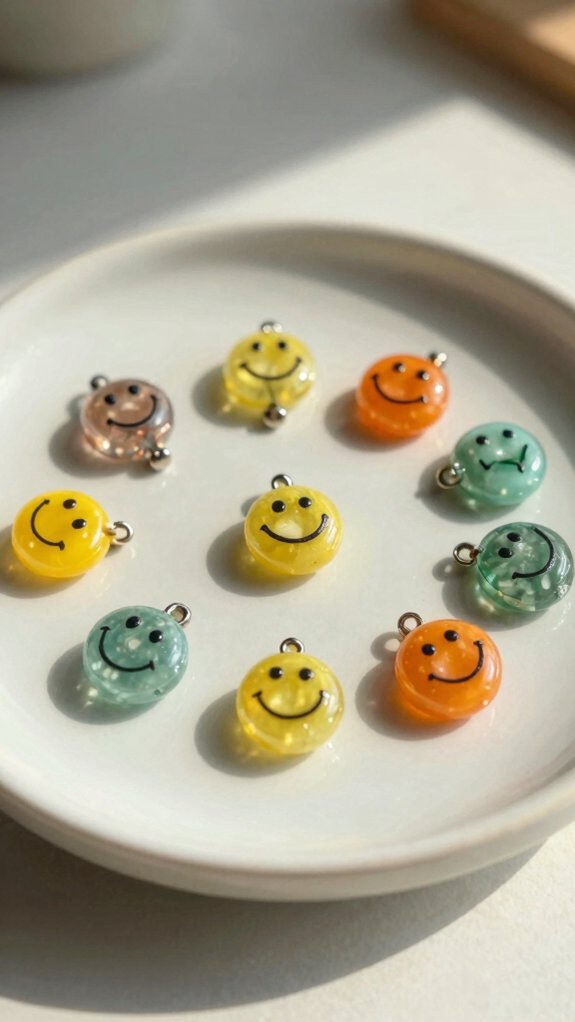
Tiny crochet critters are adorable, but bead charms bring a whole new kind of sparkle to your keychain game! You can make a smiley that feels friendly and fun, and it’s easier than it looks.
Use large pendant charms, around 40mm, plus a strong jump ring and key clip.
- Thread beads on head pins for the face
- Try bold bead color combos for a happy look
- Add a bead cap if holes seem too wide
- Trim pins short for Charm clasp security
Cluster pieces, then loop them together. Your charm’ll look neat, sturdy, and totally yours!
Mini Resin Shakers
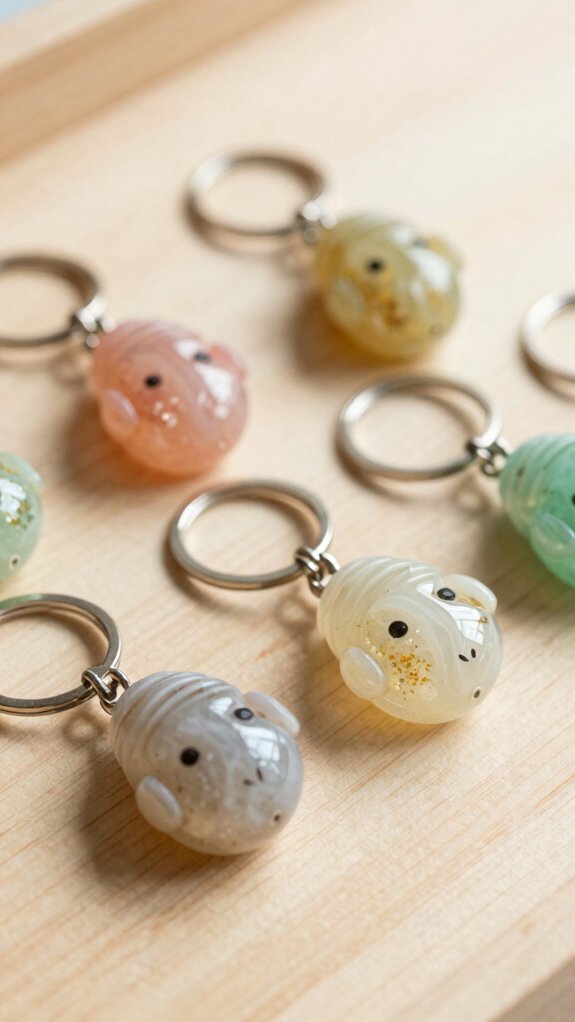
Mini resin shakers turn clear resin into a little pocket-sized snow globe, and honestly, they’re so fun to make!
You pour or spoon resin into a silicone mold, add glitter, tiny charms, or micro confetti, then seal it up with smart mold sealing tips so nothing sneaks out.
For resin bubble prevention, warm the resin a bit, stir slowly, and tap the mold or lift bubbles with a toothpick.
If you use layers, let the first one partly cure first.
After it’s fully hard, add a keychain loop securely, and you’ll get a cute shaker that feels totally yours!
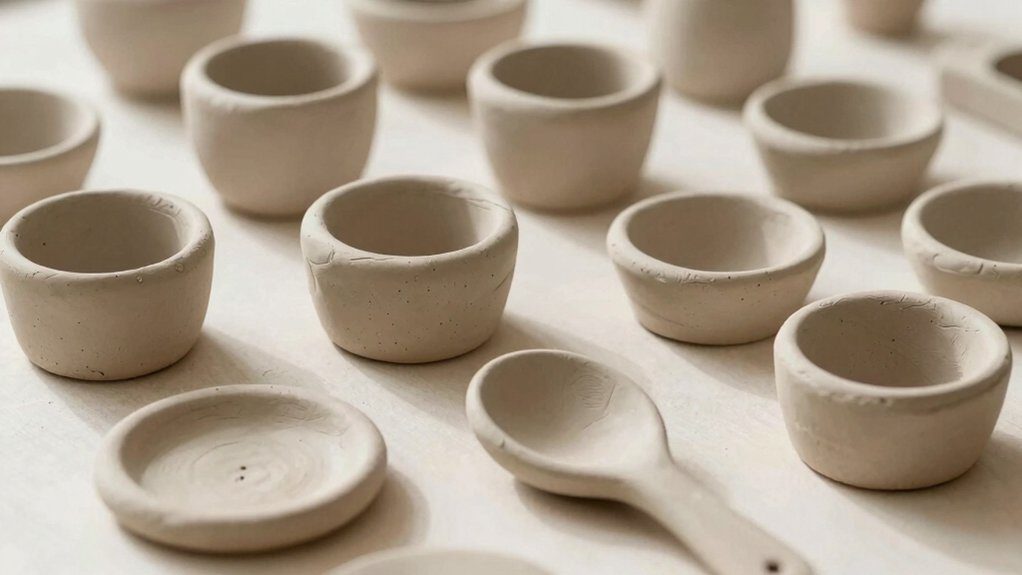
Clay Fruit Charms
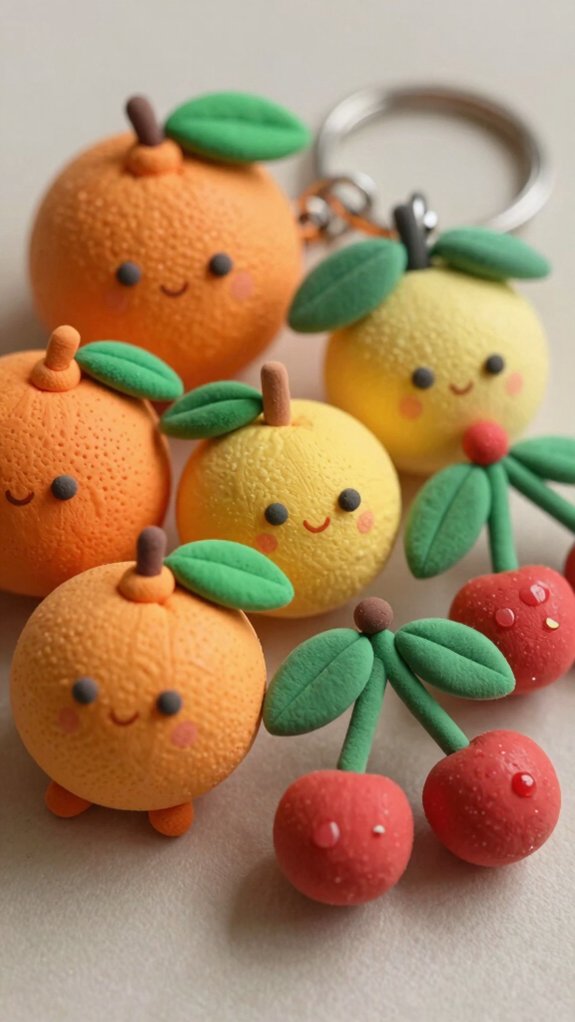
If you want a keychain that looks cheerful enough to brighten a backpack, clay fruit charms are such a cute place to start! You can sculpt tiny lemon, lime, apple, or orange “lunchbox pals” from bright polymer clay, and they’re beginner-friendly too.
- Mix colors with easy color mixing tips for juicy shades.
- Try layered clay techniques for peels, slices, or tiny highlights.
- Keep the charm thick and even, so it bakes without snapping.
- Bake, then varnish, and add an eye screw or jump ring.
Make a few in one batch, and you’ll have a matching set that feels playful, sturdy, and totally yours!
Pom-Pom Keychains
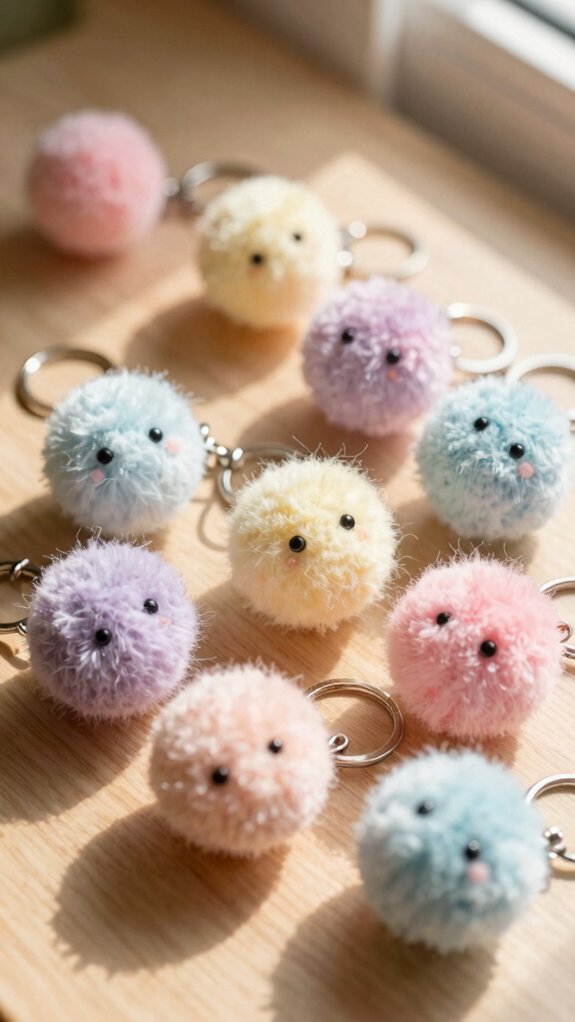
Pom-pom keychains are a fast, cheerful project that can make your keys way easier to spot in a crowded bag—plus, they’re just plain fun to squeeze!
You can use a pom-pom maker to shape fluffy balls in minutes, then twist and wrap yarn tightly for a fuller look, trim them round, and clip them onto a keyring with strong thread.
Try one color theme for a clean set, or mix bright shades for a “where’s my stuff?” win!
They pair nicely with Colorful button lanyards and glitter vinyl key tags, and you can make a batch for gifts or craft fair sales, too.
Ribbon Bow Charms
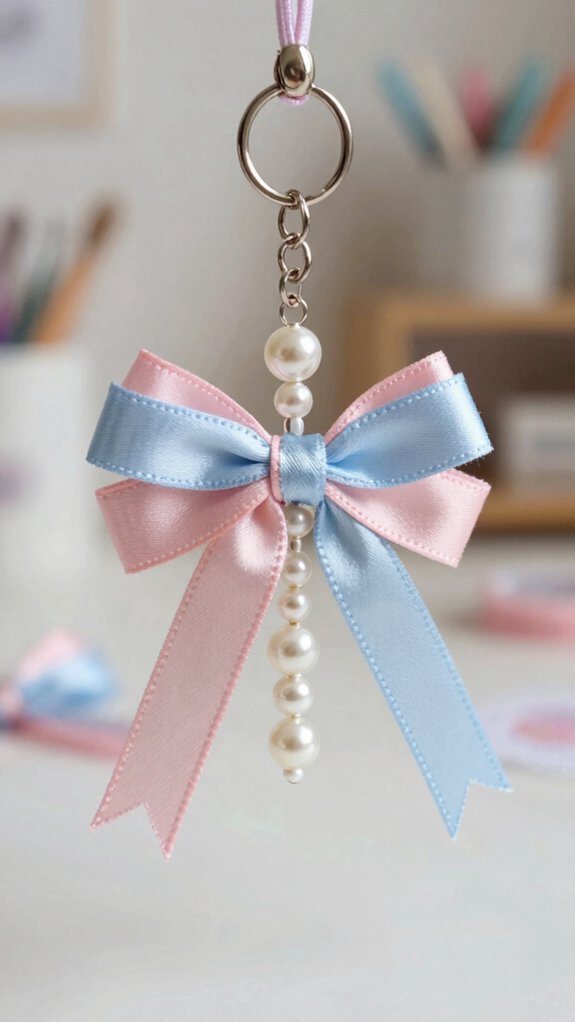
Ribbon bow charms are such a cute little upgrade, and they’re almost too easy to make! You can turn leftover scraps into something that feels totally yours.
- Cut ribbon, tie tiny bows, and trim the ends at an angle.
- Use Upcycled ribbon tips for a neat, no-fray finish.
- Clip on Beginner jewelry hardware, like a jump ring or split ring.
- Add a bead or charm, then pinch everything tight with pliers.
Around 40mm looks great on bags, while smaller bows suit key fobs. Want extra strength? Seal the edges first, then let the charm set before you show it off!
Tassel Keychains
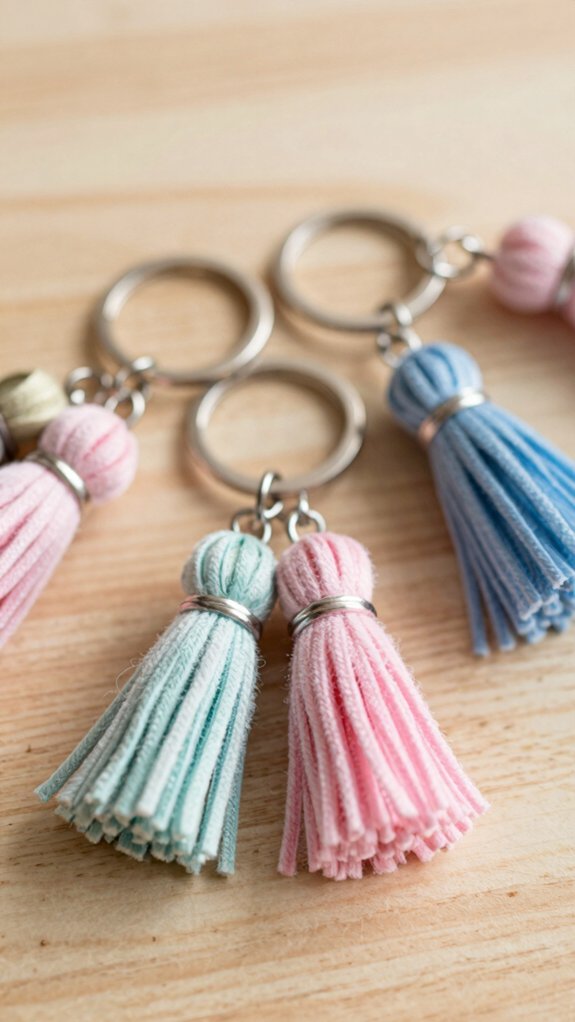
Tassel keychains are one of those projects that look stylish, but they’re actually super friendly for beginners—yay for easy wins! You can use cotton rope or embroidery-thread tassels with brass key clips, rings, and jump rings. | Materials | Why it helps |
| — | — |
|---|---|
| Rope/thread | Keeps it simple |
| Hardware | Gives a polished finish |
| Floss, beads | Adds personality |
| Small bead cap | Stops slips |
Cut equal strands, bundle them, then wrap the top tight to lock in frayed ends. Add stripes, tiny sparkles, or bead stitch patterns for flair. Love leather key fobs? Match colors, make a set, and you’ll look delightfully organized!
Mini Plush Clouds
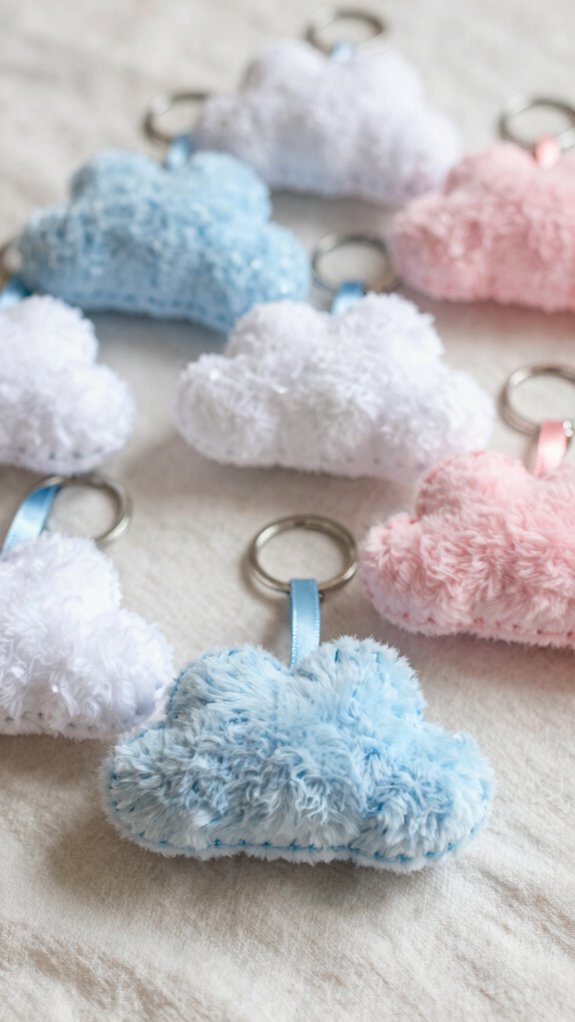
If you want a keychain that looks sweet, soft, and a little magical, mini plush clouds are such a fun pick! You’ll fit right in making one, even if you’re new.
- Cut 2–3 cloud shapes from felt or fleece.
- Sew or hot-glue them, leaving a small gap.
- Lightly stuff with fiberfill.
- Add a thread loop attachment before sealing, then finish with beginner friendly finishing.
Use pastel white, blue, or lavender, and keep each cloud about 2–3 inches wide.
A few curved stitches, or tiny pom-pom “snow,” add fluffy charm.
The result? A squishy, cute buddy that feels made just for you!
Personalized Initials
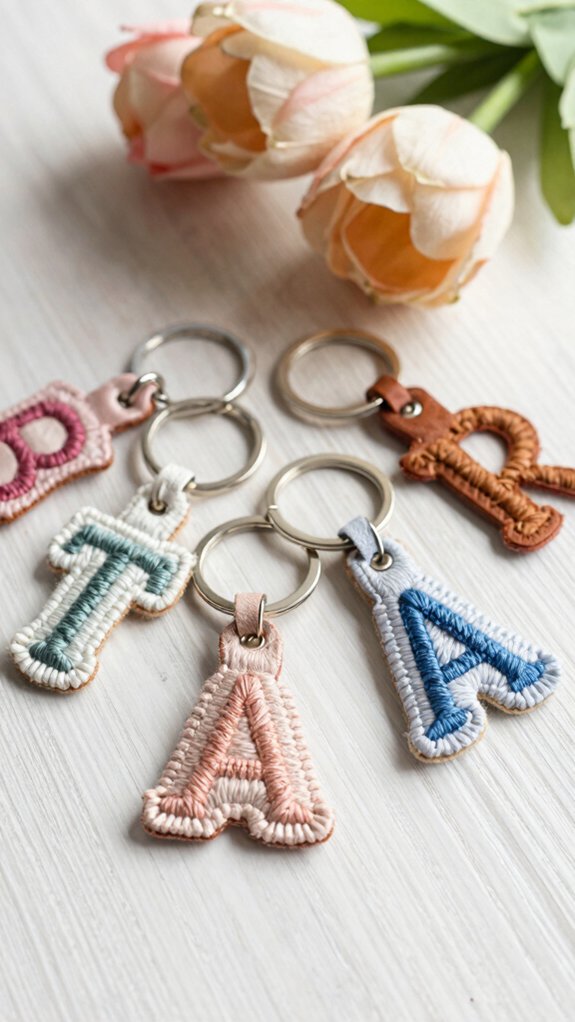
Personalized initial keychains are such an easy way to make your keys feel like *yours*! Pick wooden letters or metal initials, then paint them with acrylics and let them dry fully, because nobody wants a sticky monogram moment.
For a clean look, try Color blocked monogram tips: paint coordinated sections, then use crisp brush edge techniques with a small brush for sharp lines.
Add a leather or fabric tassel by tying it to a jump ring, so it swings just right.
Clip everything with strong jump rings, then add a tiny bead or charm.
Keep it around 40mm, and voilà—cute, personal, and totally you!
Tiny Mushroom Charms
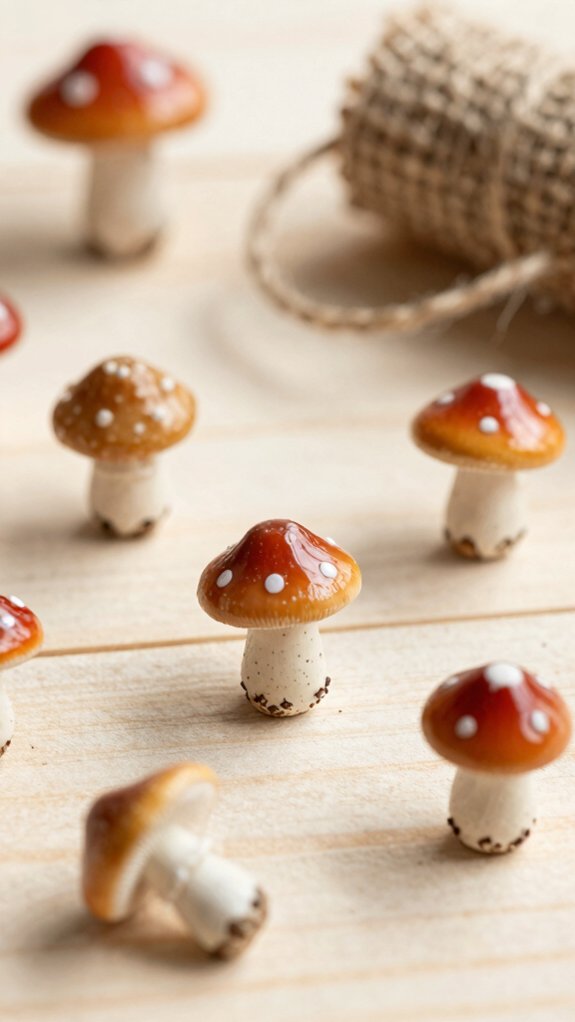
Tiny mushroom charms bring a little forest magic to your keys, and they’re way easier to make than they look! Start with a tiny cabochon or polymer-clay shroom, then add a key clip and a strong jump ring for Durable clasp tips.
- Paint a cap texture, or tint clay for depth
- Seal it with clear varnish so it lasts
- Add cream, tan, or brown micro beads for a cozy look
- Keep it around 40mm so it pops without crowding your keys
Tuck it into Colorful charm packaging, and you’ve got a cute, wallet-friendly charm your crew’ll envy!
Rainbow Macramé Designs
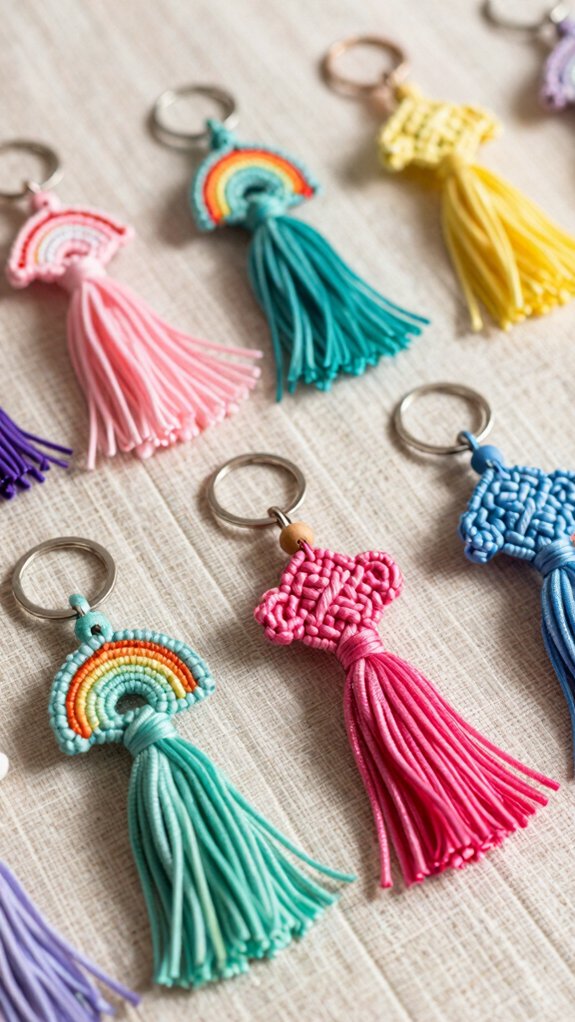
Ready for a burst of color? You can make Rainbow Macramé Designs that feel cheerful, easy, and totally yours.
Start with bright cotton or macramé cord cut the same length, then use Color cord organization so your strands stay neat and ready for easy beginner steps.
Braid the cords into alternating rainbow sections, using simple square knots, two cords cross over the middle, then the other two cross back, so your stripes stay crisp.
Keep going until the keychain looks full and bold, then secure the bottom with a tight lark’s head knot.
Trim the ends for a tidy finish, and attach a key ring or clip so it won’t slip.
Floral Acrylic Charms
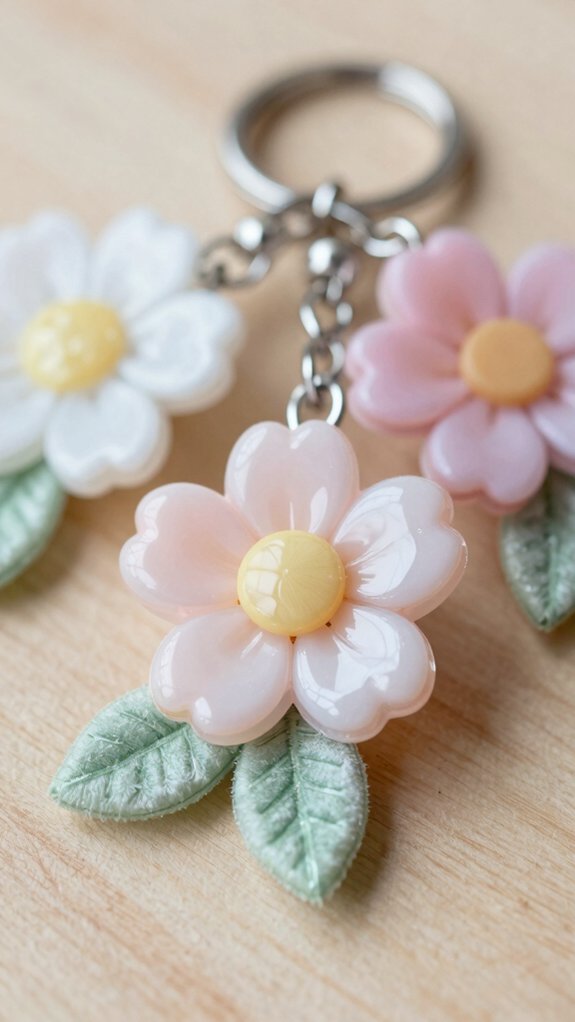
With a few paint swipes and a little drying time, you can turn plain acrylic shapes into floral acrylic charms that look bright, cheerful, and way fancier than they are.
Pick your Color palette basics first, then follow stencil positioning tips so petals land where you want.
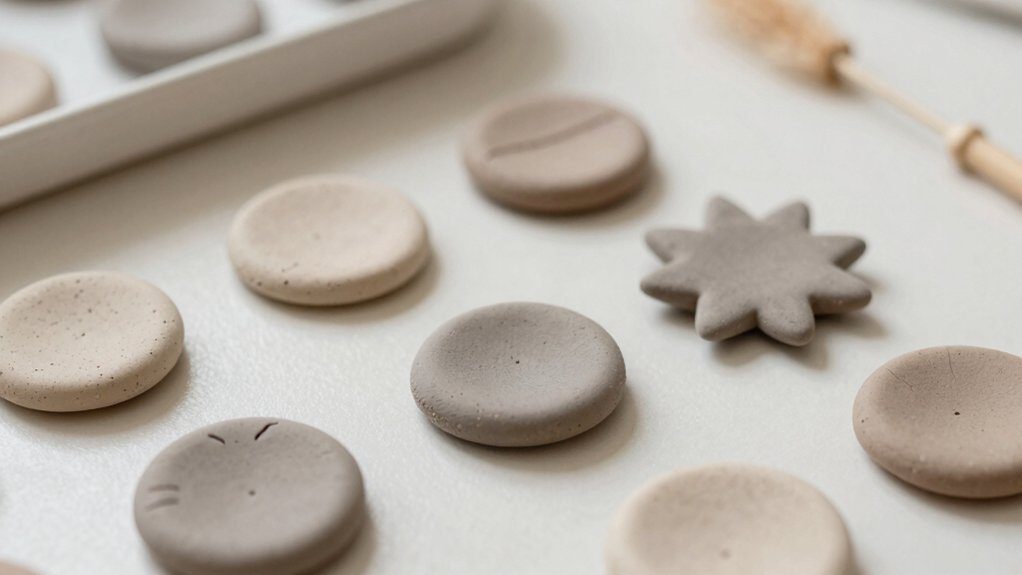
- Paint tiny acrylic or cured clay blanks.
- Stamp or stencil flowers, then let each layer dry fully.
- Add a bail or drill a hole for a jump ring.
- Seal with clear acrylic sealer, then attach strong jump rings.
For extra wow, dot glitter paint or metallic wax in the centers.
Your keychain crew’ll love it!