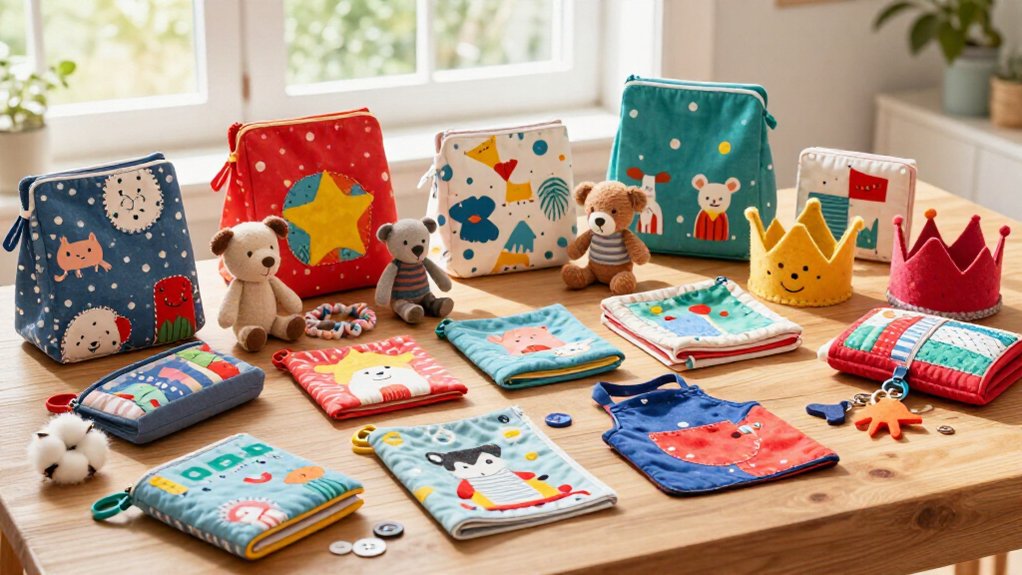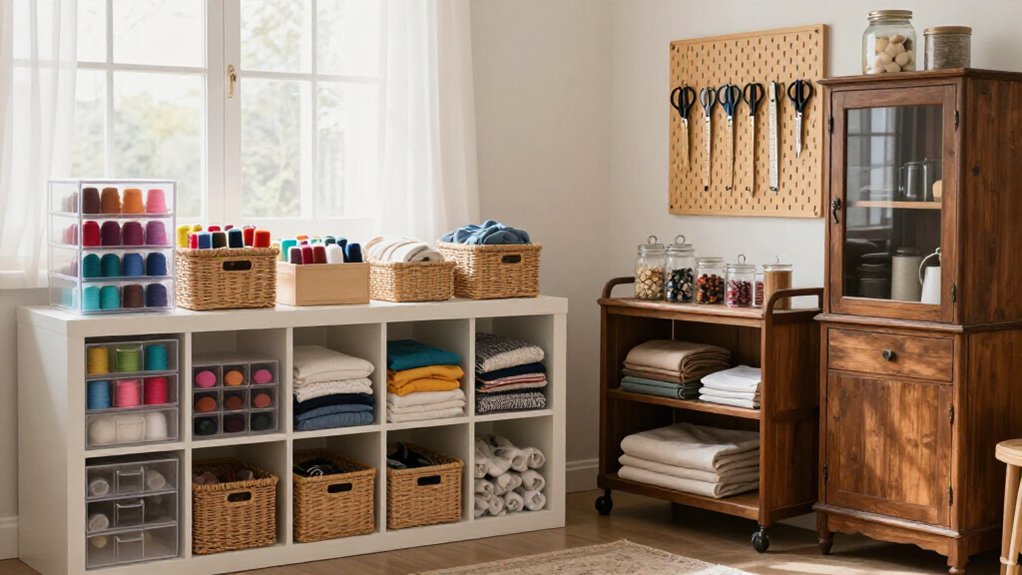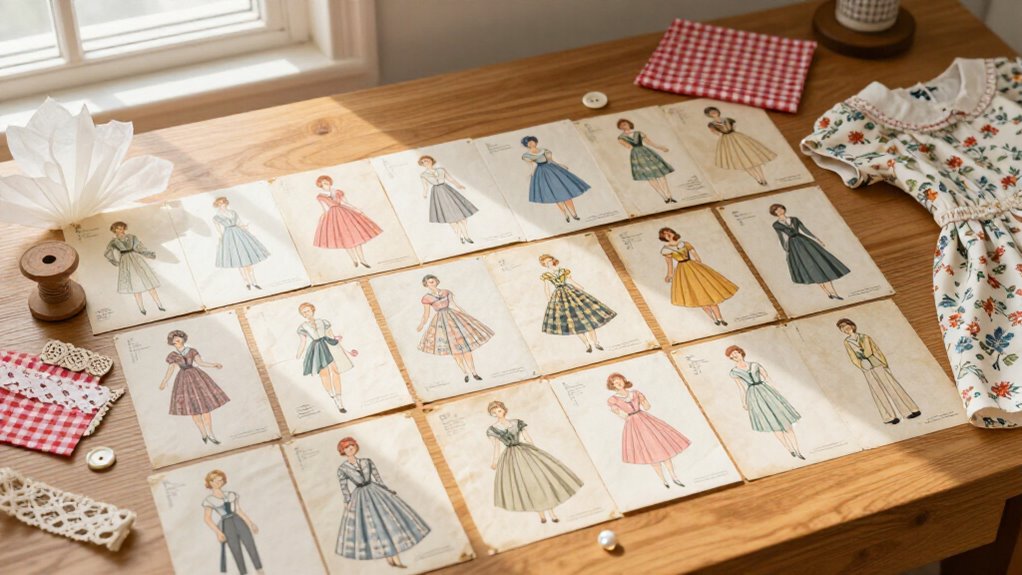
21 Vintage Sewing Patterns That Feel Fresh Again
You can refresh 21 vintage sewing patterns with crisp cotton, linen, and beginner-friendly knits—no costume-shop vibes! Start with a swishy 1950s circle skirt, a tie-front wrap dress, or a sweet Peter Pan blouse; make a muslin first for stress-free fit checks. Add practical aprons, pot holders, and pillow covers from affordable scraps. Hunt originals on Etsy or use Butterick reproductions. Best surprise? Modern double knit can revive ’70s looks beautifully. Keep going for easy, fresh project ideas!
Love cozy DIY projects? 💕
Get free printable guides, exclusive tutorials & surprise craft goodies straight to your inbox.
Disclosure: This post may contain Amazon affiliate links, at no extra cost to you. Content on DiyCraftNest is created with research support from AI tools and carefully reviewed, edited, and fact-checked by the lead author, Daniel Pat, to ensure accuracy and reliability. Learn more
Key Takeaways
- Choose vintage silhouettes like circle skirts, wrap dresses, and pinafores, then update them with modern fabrics, closures, or pockets.
- Check body measurements against pattern measurements, since vintage sizing often differs significantly from modern ready-to-wear sizes.
- Sew a quick muslin before cutting final fabric to test bust, waist, armholes, straps, and neckline fit.
- Use crisp cotton, linen, cotton lawn, sateen, or lightweight wool to preserve vintage structure while keeping garments wearable.
- Refresh classic details with Peter Pan collars, contrast trims, lace, tucks, sturdy buttons, and practical pockets.
1950s Circle Skirt
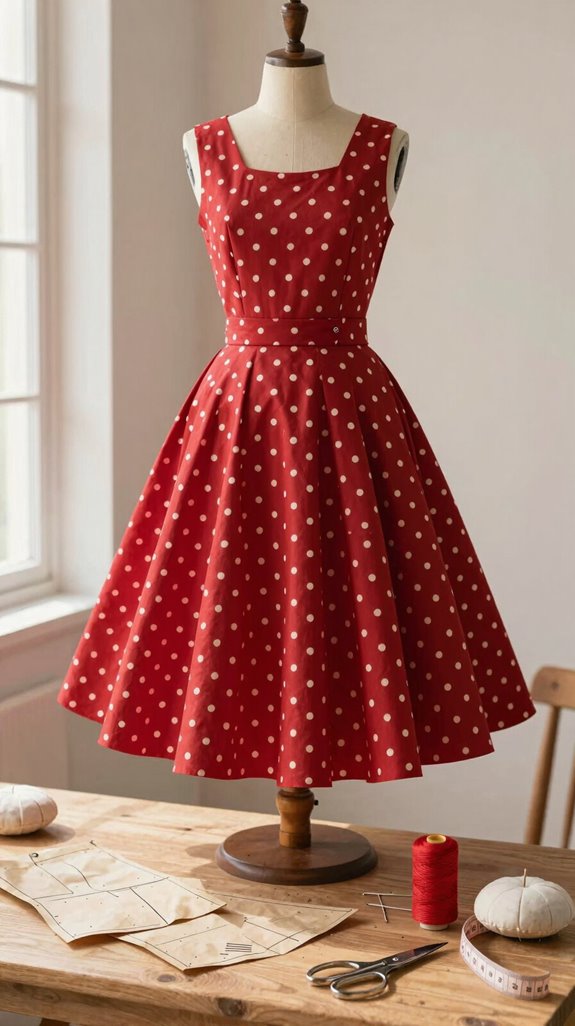
A 1950s circle skirt brings instant swing to your wardrobe, and the secret is wonderfully simple: it’s cut from one large circle of fabric, so the fullness falls naturally from the waist in a big, twirly sweep.
Choose your size by your waist, not the hem—geometry handles the drama! Use cotton sateen, crisp quilting cotton, or lightweight wool, then add an attached Circle skirt waistband for a snug fit.
For a beginner-friendly finish, try hem finishing tips like a narrow turned hem; it costs little and looks polished.
Pair your skirt with a fitted top and petticoat, and you’ll join the twirl-worthy vintage crowd!
Wrap Dress Pattern
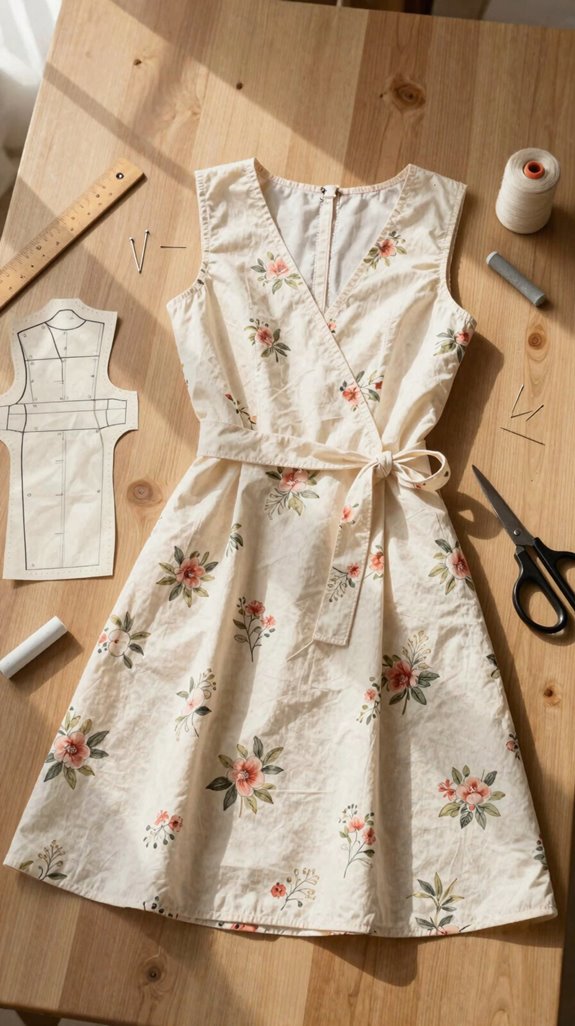
Ready for a vintage look that moves from daytime errands to dinner with one clever tie? A wrap dress lets you join the sewing crowd with a flattering shape and fresh sleeve or neckline options!
Before cutting, compare bust and waist measurements, then sew a muslin. Vintage fit assumptions can be sneaky, like a pin hiding in carpet.
Choose lightweight linen or crisp cotton, plus interfacing for tidy edges.
Curious about How to draft wrap ties? Use matching fabric, stitch, turn, and press them smooth.
Read closure and hem steps closely.
For troubleshooting wrap gaping, adjust the overlap after fitting—your finished dress will feel custom-made!
Peter Pan Collar Blouse
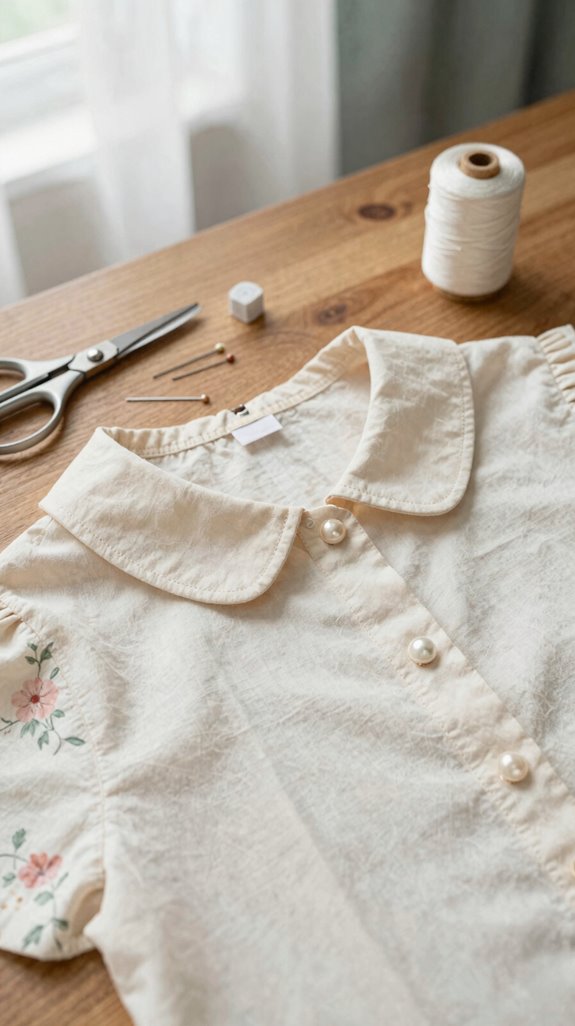
Nothing says polished vintage quite like a Peter Pan collar blouse, with its short, rounded edges framing your neckline in the sweetest way—no time machine required!
- Choose crisp cotton or cotton lawn; it’s affordable, beginner-friendly, and keeps that collar perky.
- Follow Sewing fit tips: sew a muslin first, since vintage sizing and modern undergarments can change the bust fit.
- Add a button placket, tiny tucks, or lace, then use collar finishing tricks for smooth curves.
You’ll fit right in with fellow vintage makers! For the best upgrade, pick a pattern with sleeve and closure options, so your blouse feels uniquely yours—not costume-y.
Linen Pinafore Dress
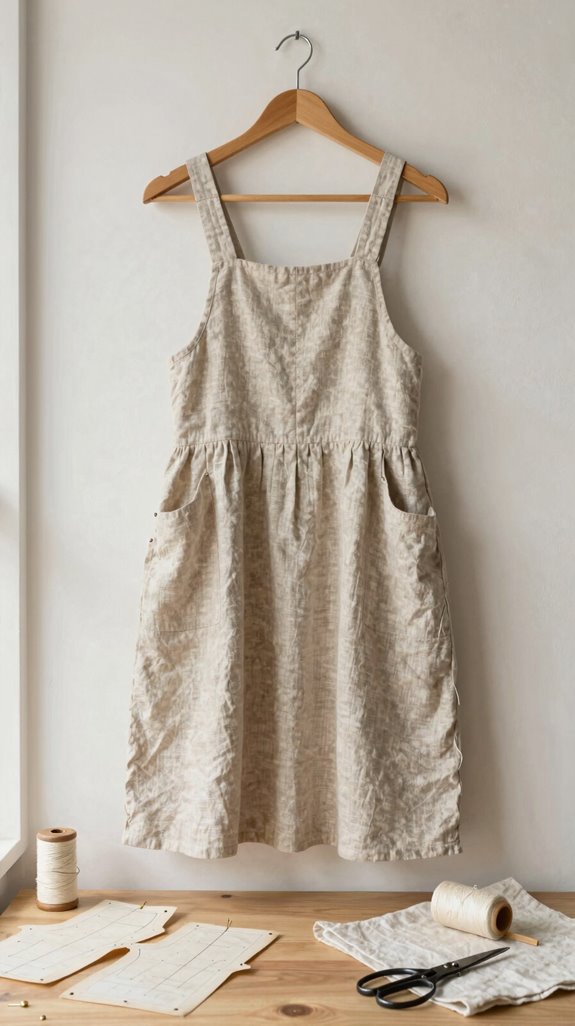
Linen brings a vintage pinafore dress back to life, giving you a cool, breathable fabric with enough body to make the bib, skirt, and straps look neatly formed—hello, effortless summer style!
Start with lightweight linen, matching interfacing, and sturdy buttons or snaps. When Choosing linen notions, pick support that holds the bib without turning it into cardboard!
Check pattern measurements, not your usual store size; fitting vintage bodice pieces may mean going up one or two sizes. Sew a quick muslin to catch gaping armholes or a wandering waistline.
For sewing for breathable comfort, try contrasting yokes, deep cuffs, or tacked pockets. You’ll create a polished dress that feels wonderfully yours—and right at home in your handmade circle.
Retro Kitchen Apron
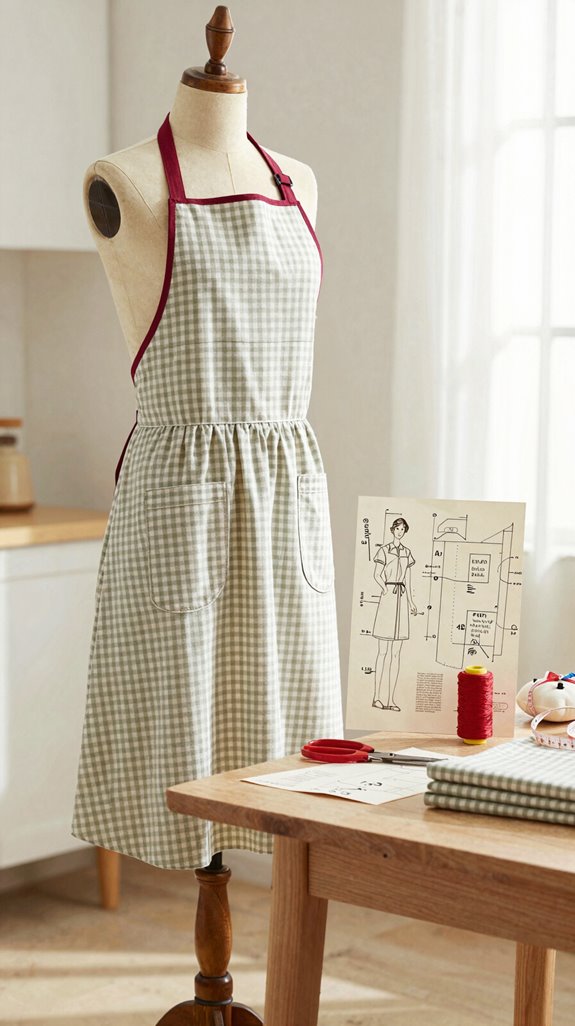
A retro kitchen apron is a quick, cheerful way to bring mid-century charm into your everyday cooking—without wrestling a complicated pattern, hooray!
- Choose crisp cotton, crinkly cotton, or a sturdy linen blend. You’ll get vintage-looking drape plus real spill protection.
- Test the waist and neck strap with a cheap scrap or pre-cut muslin first. It’s easy, affordable, and helps your apron feel made for you.
- Add contoured pockets, Colorful pocket trims, embroidery-thread tacking, and mid century closure options like buttons or snaps. Suddenly, your simple apron becomes the one everyone in your sewing circle asks about!
Store cut pieces in protective bags, so you’re ready for another batch.
High-Waisted Shorts
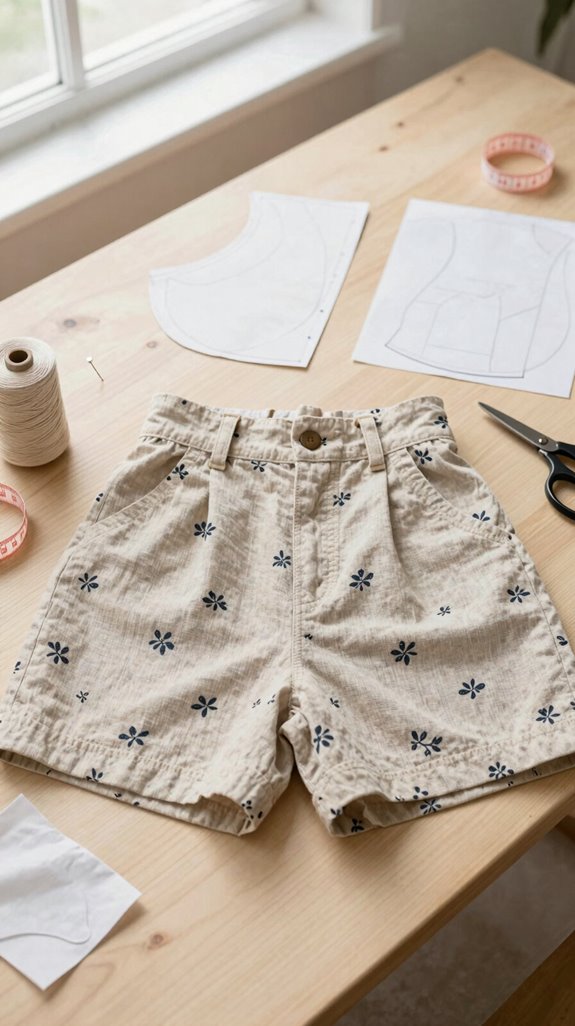
From a cute apron to high-waisted shorts, you can keep that vintage energy going with a project that feels playful, polished, and surprisingly wearable—yes, even outside a costume party!
Choose crisp cotton or linen, then check waist and hip measurements carefully. Pattern size selection matters: vintage envelopes are often single-size, so you’ll usually sew about two sizes up from ready-to-wear. Make a quick muslin first—your future self will cheer!
Next, use Underwear fit tips: period patterns expected different shapewear, so adjust the waist or hips as needed. A stable fabric helps that tall waistband sit smoothly.
Soon, you’ll have comfy shorts that make your handmade wardrobe feel like the coolest club around!
A-Line Skirt
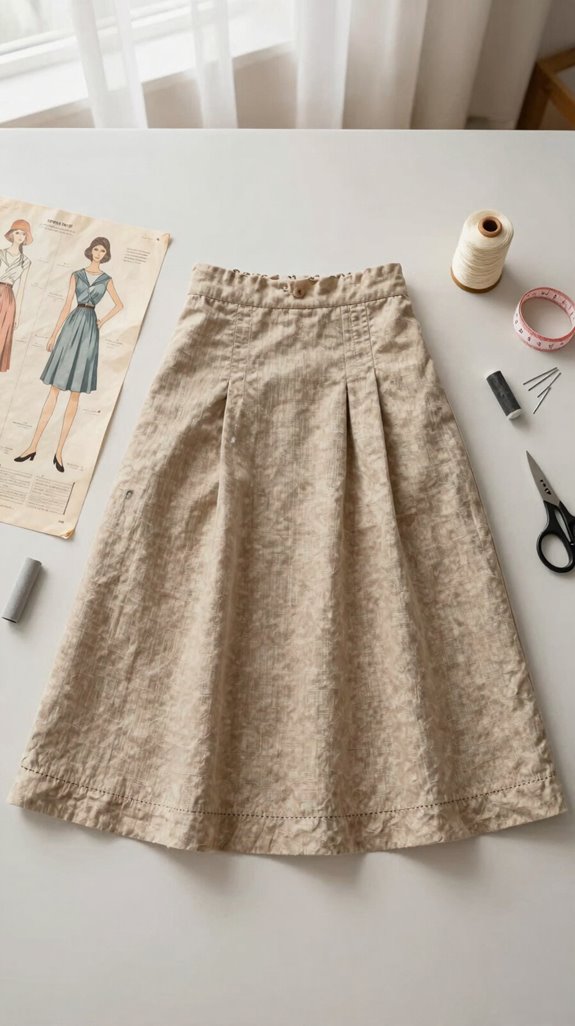
Nothing says vintage charm quite like an A-line skirt—it skims the waist, gently widens toward the hem, and gives you that easy swish without demanding a super-tight fit.
- Compare your waist and hip measurements to the envelope, not today’s labels. You’re joining a sewing tradition, not arguing with a number!
- Do Petticoat fit checks before finishing. Era-specific girdles and petticoats can shift where your waist sits, helping period sewing accuracy shine.
- Make a quick muslin from inexpensive woven fabric, then check for back pooling or a misplaced waistline. Choose the pattern’s suggested fabric, too; the wrong knit can make that lovely flare behave like a confused lampshade.
Button Front Dress
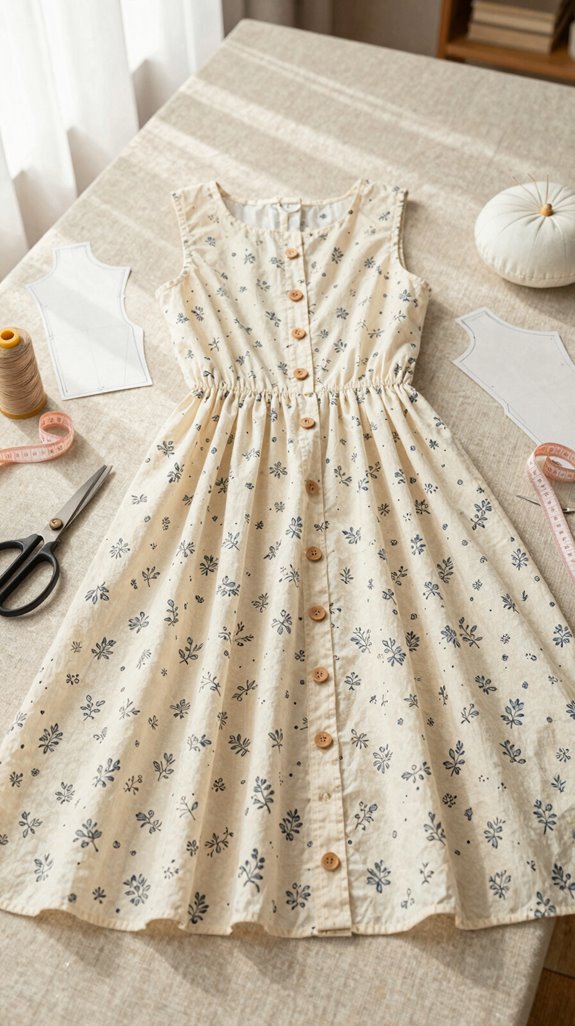
With its neat row of buttons and easy, wearable shape, a vintage button-front dress gives you plenty of room to play—change the sleeves, add lace, or wear it open like a light summer layer.
Start with a Vintage button placket in thin, crinkly cotton for that true mid-century feel. Add pin-tucks or insertion lace, then choose sleeve variation options that suit your crew: short, long, or softly puffed!
For a simple upgrade, gather 2-inch lace, narrow lace, buttons, and matching thread. Stitch wider trim along the front, fold a little at the neckline, and press carefully. You’ll get a polished dress that feels special, not costume-y—like you belong in the best-dressed sewing circle!
Tea Length Dress
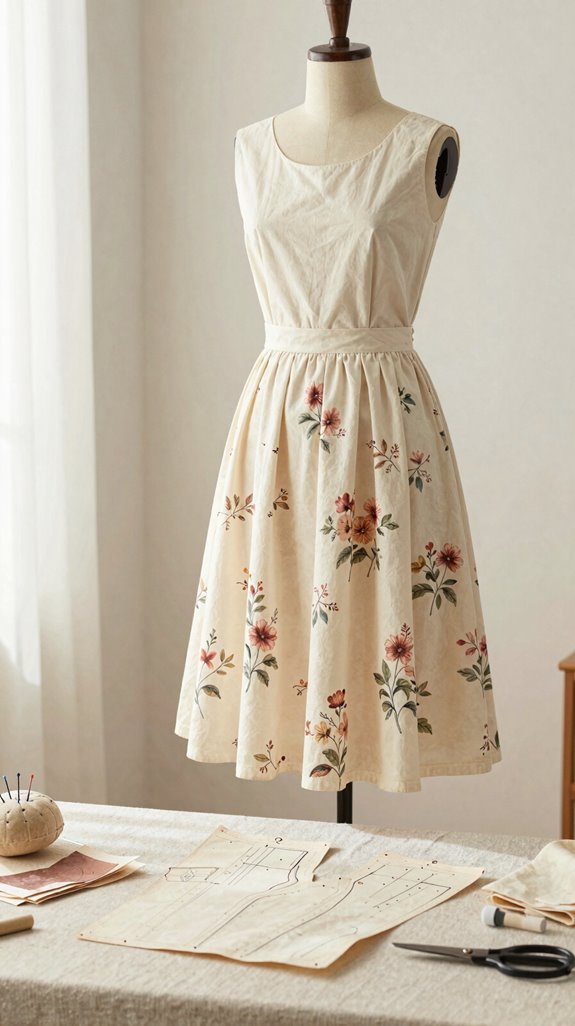
A vintage tea-length dress hits that happy mid-calf “midi” spot, so you get a polished 1940s–1960s look that still feels easy to wear today—no costume drama required!
- Choose a view with sleeves that suits your shoulders and coverage needs.
- Add charm with button fronts, yokes, contoured cuffs, or contrast trim in a solid fabric.
- Do vintage sizing checks, then try Sewing muslin first—your fitting crew will thank you!
If originals are pricey or scarce, printable reprints keep you in the club without the treasure-hunt bill.
Check fabric notes carefully: a late pattern may want double knit, not woven.
The surprise? You’ll often sew your usual modern size—hooray!
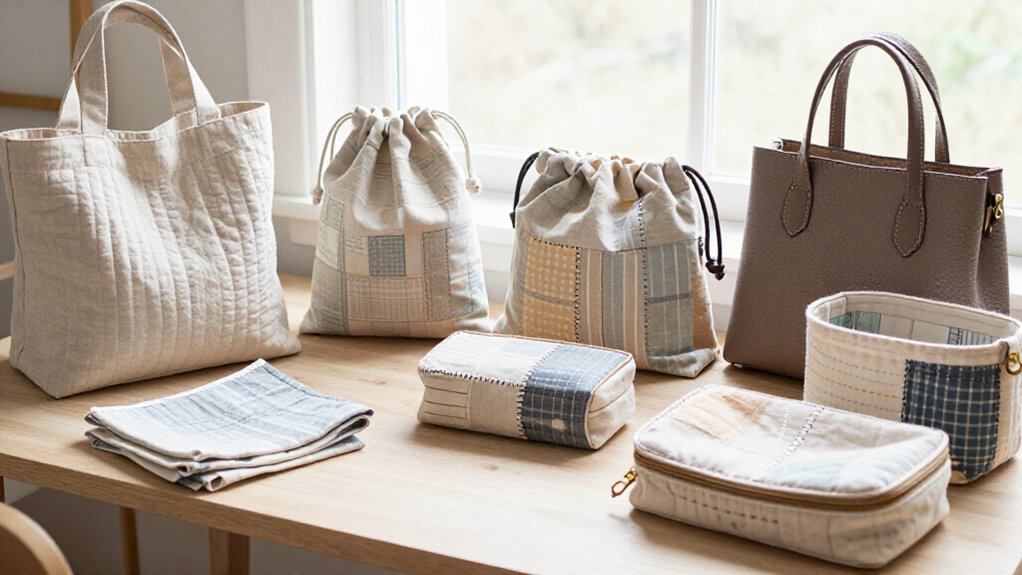
Vintage Market Tote
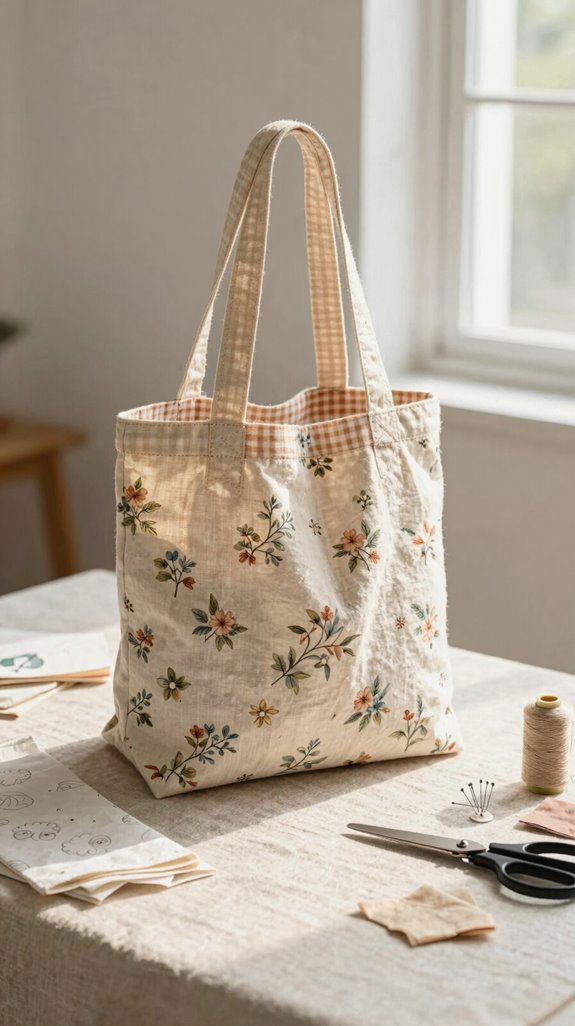
After twirling through tea-length dresses, you can put that same vintage charm to work on a market tote—an everyday carryall that’s fast, useful, and seriously cute!
Choose a pattern with boxed corners, then gather midweight cotton or canvas, thread, and small sturdy fabric cuts.
Make a quick test tote first; old patterns can surprise you with short handles or narrow widths!
Cut the single printed size carefully, sew the body, and use Vintage lining tips to create a neat inside.
Add handle reinforcement tricks at the seam lines, and you’ll have a shape-holding bag ready for groceries, library books, or your sewing group’s latest fabric haul.
Patchwork Quilt Block
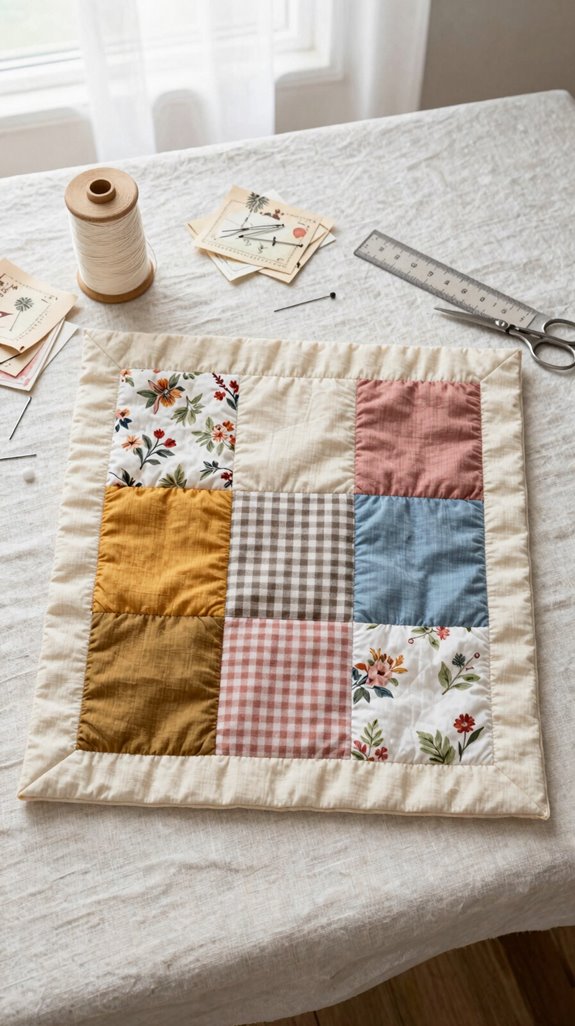
Although a vintage quilt block may look wonderfully complicated, you can start with one repeatable patchwork motif, a few cotton scraps, thread, a ruler, and a dependable ¼-inch seam allowance—easy, right?
Try these vintage pattern tips:
- Cut test squares first, then sew one unit to check size.
- Follow the original cut-and-sew order, using modern fabric swaps like bright cottons or prequilted fabric.
- Press every seam the same way and trim evenly for crisp edges.
You’ll soon join the cheerful quilt-making crowd, one neat block at a time!
Repeat your motif, and your accuracy grows.
Best surprise? Changing fabrics can make the same old layout look totally new.
Classic Pillow Cover
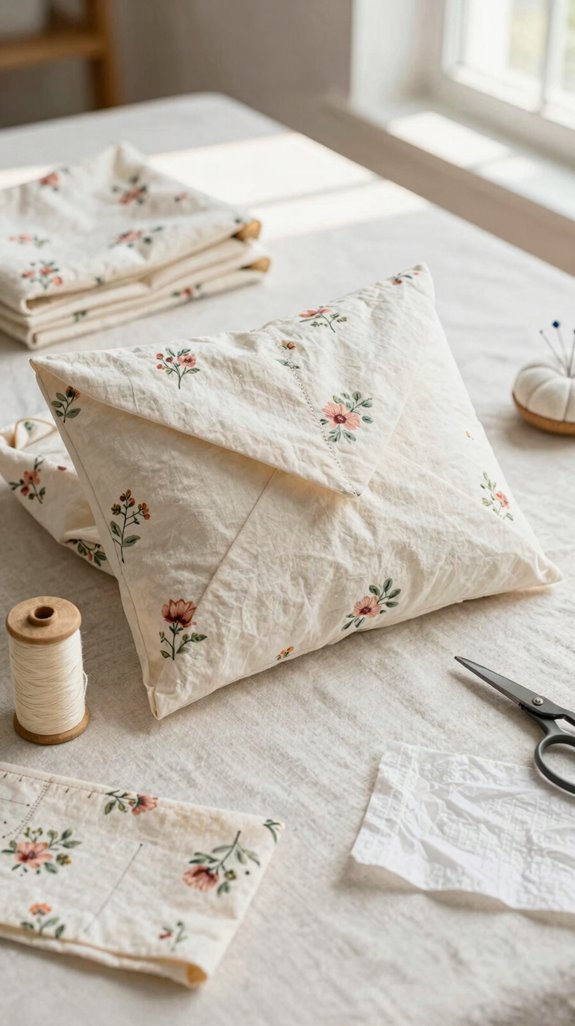
Your tidy quilt-block skills can now brighten the sofa with a classic vintage pillow cover—quick, practical, and much less likely to take over the dining table!
Choose cotton lawn, linen blend, or quilt-weight cotton for that crisp 1970s/80s look, then test an old sheet first.
Pillow insert sizing matters: check seams before cutting your favorite fabric, so nobody ends up wrestling a too-tight cushion!
Use envelope closure tips, or add buttons, for easy washing and a smooth silhouette.
Keep the simple shapes modern with fresh colors.
For the welcoming surprise, stitch lace or trim along the front opening—it’s like a tiny vintage blouse detail for your sofa!
Children’s Bonnet
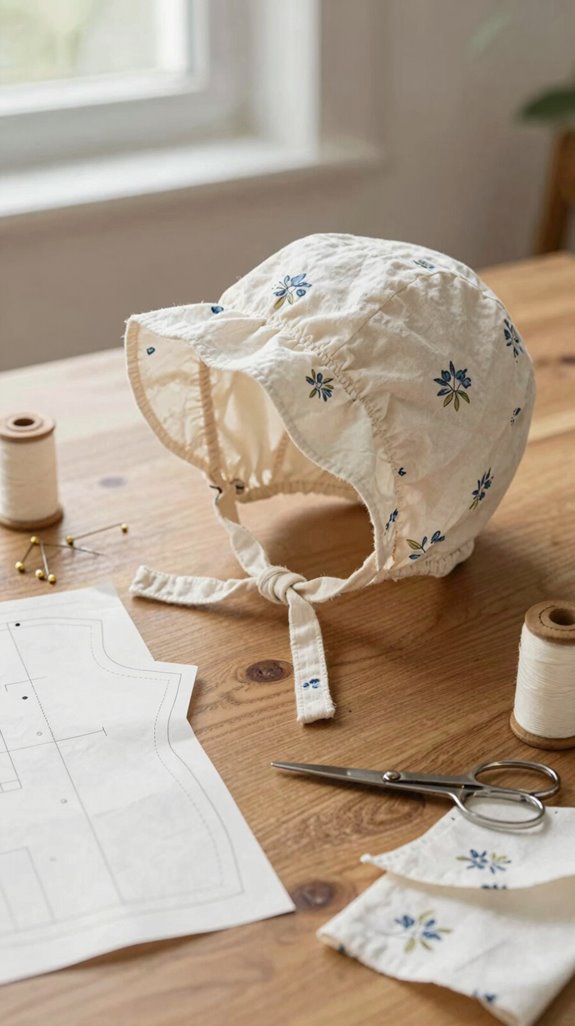
A child’s bonnet brings instant storybook charm to a vintage sewing day, and it’s a surprisingly manageable project—no tiny buttonholes required, hooray!
- Check the envelope’s head and chin measurements first. Vintage sizing differs, so you’ll get better Fit troubleshooting before cutting.
- Gather cotton, thread, and any lace early; insertions may need several widths. Choose curved brims and structured crowns for easy shaping.
- Sew a muslin mock-up with your sewing-circle spirit! A too-wide brim shows up fast, saving your pretty fabric.
Then store small crown and brim pieces in sleeves. You’ll protect collectible cover art—and keep every piece ready for the right size.
Baby Romper
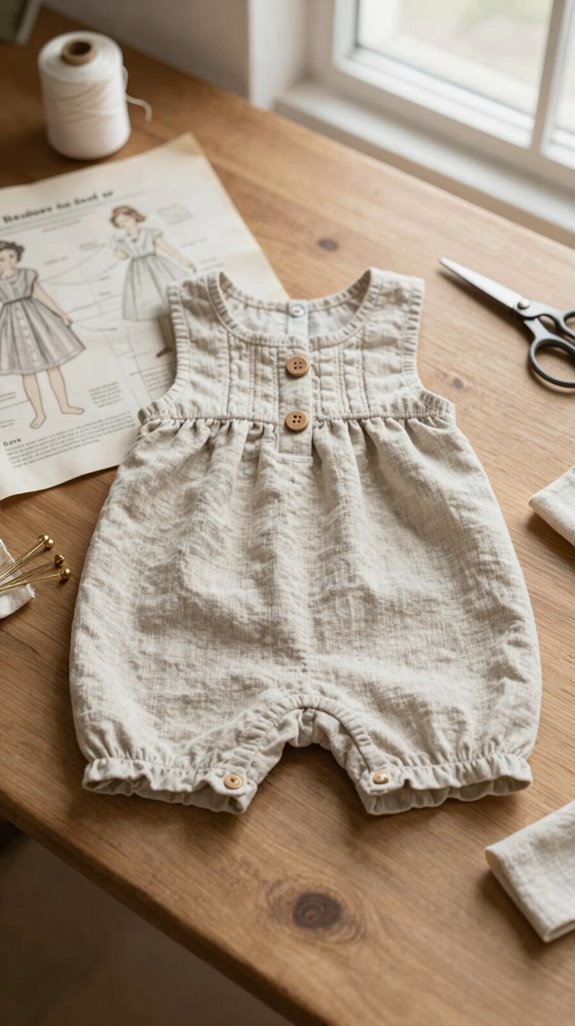
From a sweet bonnet to a playful baby romper, vintage sewing keeps the charm coming—now with room for wiggles, crawls, and the occasional diaper-change emergency! Choose Pattern sizing charts with multi-size guidance, then try muslin fit testing using an old sheet.
| Check | Why it matters |
|---|---|
| Snaps or buttons | Quick changes! |
| Neck and legs | Stops gapping |
Use soft cotton lawn, and check whether a “knit” design needs double knit before cutting. Review old-school interfacing and edging steps, too. Baste the hem before washing, especially around ruffles or bindings. You’ll create a comfy little heirloom that feels lovingly made for your family’s everyday adventures!
House Dress
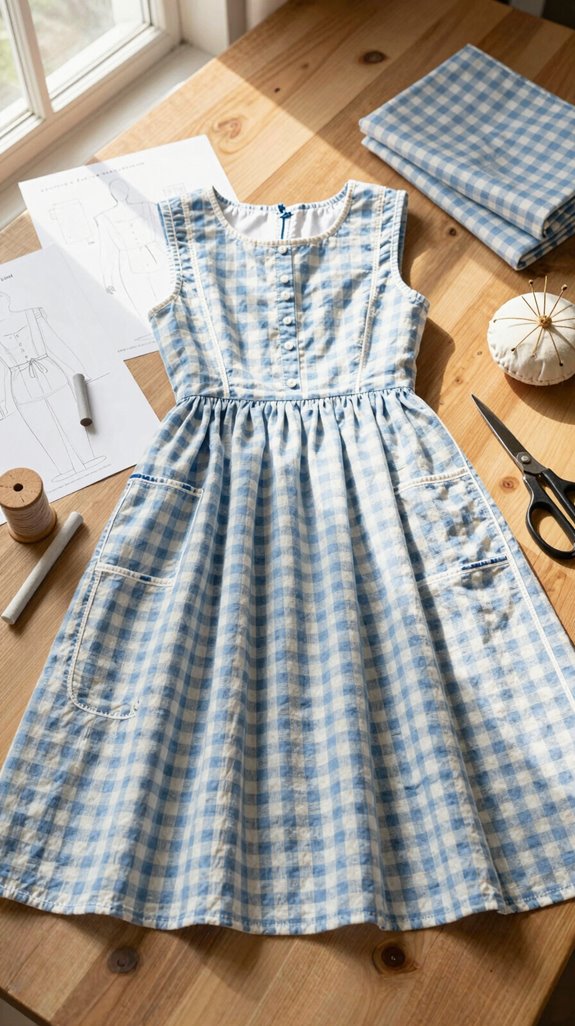
Although vintage house dresses were made for everyday chores, they’re wonderfully stylish, comfy, and quick to sew—hooray for pockets and button plackets! You’ll feel right at home among fellow makers in one.
- Choose lightweight cotton for crisp form; use knit only if the envelope requests stretch.
- Make a muslin from an old sheet, then handle fit adjustments before cutting your good fabric.
- Try tucks, a contoured yoke, or varied cuff and hem finish options for a fresh look.
Many reproductions cover bust sizes 32–50, so finding a close start is easier. Best surprise? One simple pattern can become a whole cheerful rotation!
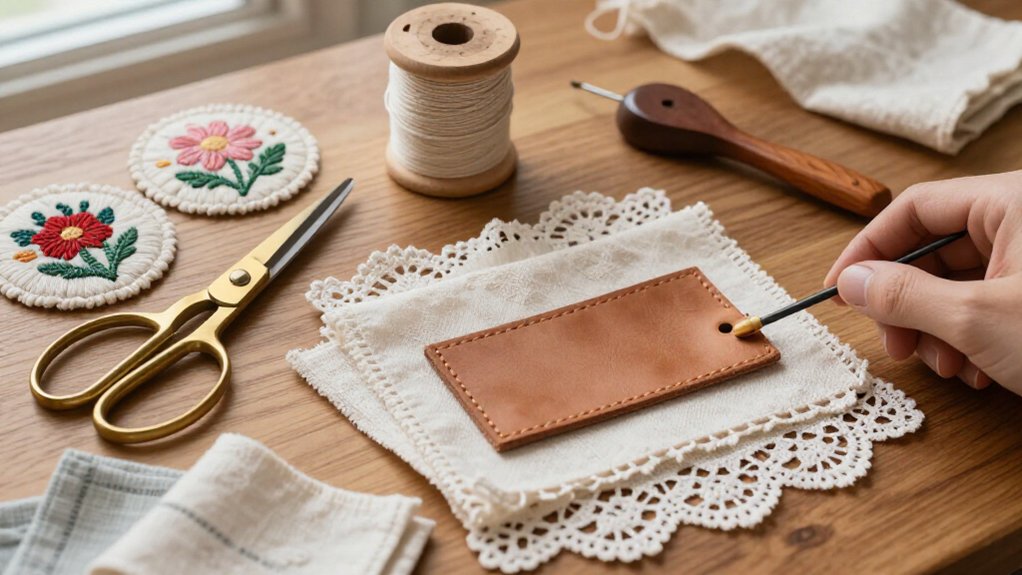
Embroidered Handkerchief
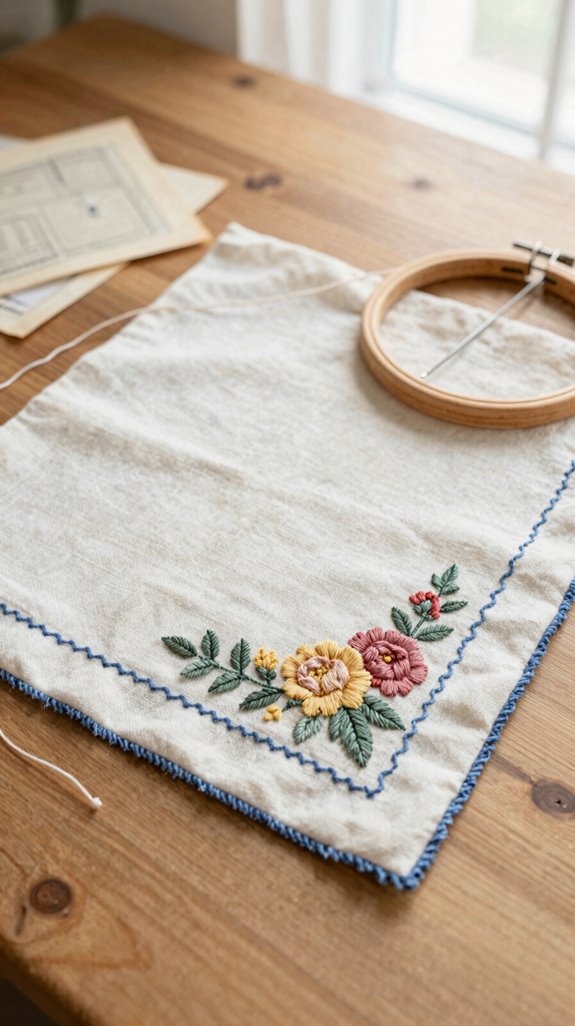
After sewing a cheerful house dress, you can use leftover cotton to make an embroidered handkerchief—tiny project, big vintage charm!
Choose a vintage design with a bordered edge, then gather cotton embroidery thread, a needle, scissors, and scrap fabric. You won’t need splendid supplies or garment-level courage—hooray!
First, test your motif and thread tension on a muslin-style square. Follow the pattern’s measurements for hems and corners, using an embroidery stitch guide to keep lines balanced.
Then add tucks, eyelets, or lace-like details with careful vintage edge finishing.
Use outlined or filled stitches as directed. The result feels personal, polished, and wonderfully at home among fellow vintage makers.
Picnic Tablecloth
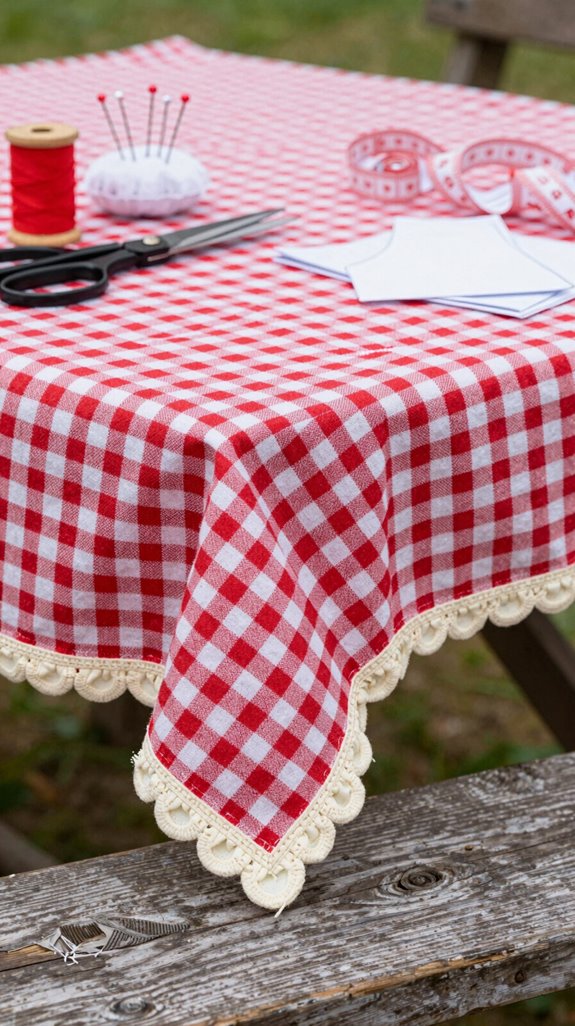
A vintage picnic tablecloth turns a simple outdoor meal into a sunny little scene, and you can sew one without wrestling a fussy pattern—hooray!
- Start drape and scale checking with muslin, your table measurements, and listed yardage. Aim for an even overhang so everyone’s setup feels welcoming.
- Choose tightly woven cotton or cotton-linen for that softly crinkly, mid-century look. Do fabric wash shrink testing before adding tucks or embroidered trim, or your cute motif may wander off-center.
- Finish strong with corner support planning: use double-turn hems or bias binding for Outdoor friendly finishing. Those sturdy corners survive grass, breezes, and enthusiastic potluck friends—pretty clever, right?
Fabric Bread Basket
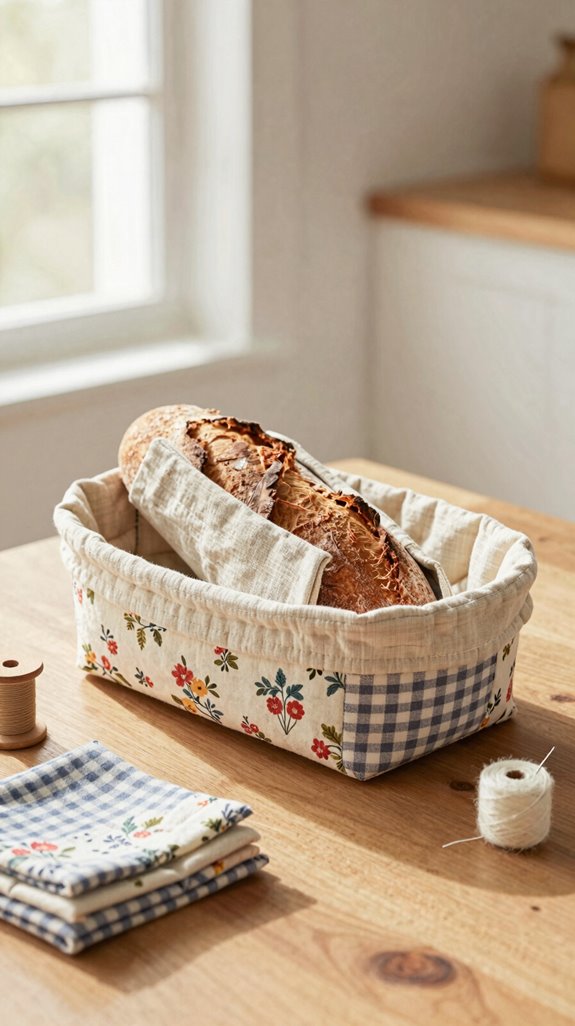
Once the picnic tablecloth is folded away, keep the sewing fun going with a fabric bread basket: a small, flexible stash of yardage and trims that lets you pull out the right vintage-style material when inspiration strikes—no frantic last-minute fabric hunt required!
Start with thin cotton, rayon, linen, and double knit, then add buttons, interfacing, and lace. Smart fabric matching makes favorites work harder!
For notion planning, stock 2-inch lace you can trim to 1 inch for necklines. Vogue 8894 needs crinkly cotton and plenty of lace, so you’ll be ready. Keep cotton lawn for easy dresses and knit-friendly fabric for sneaky 1970s patterns. You’re building a sewing-circle safety net!
Needle Book
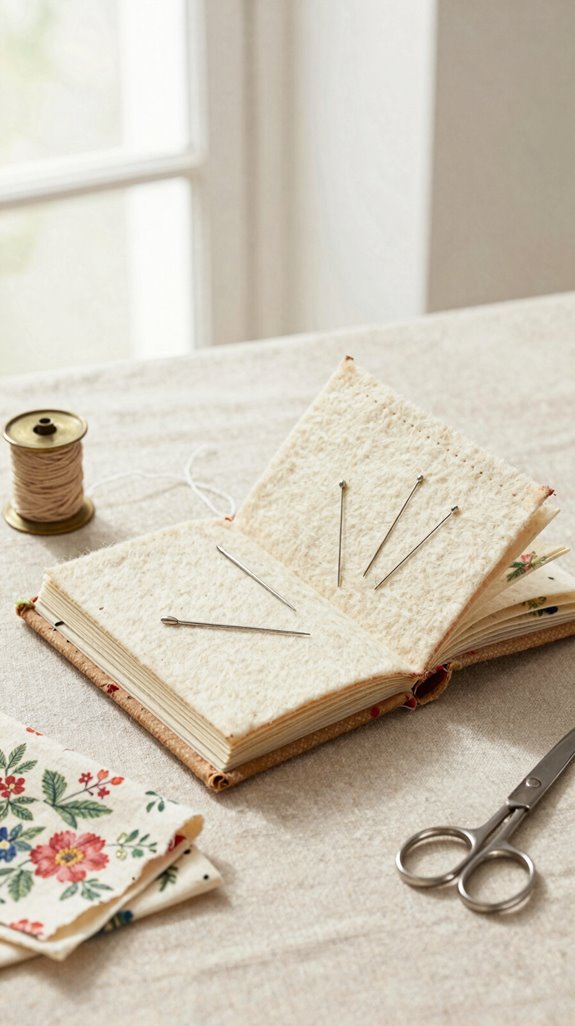
Tuck a tiny needle book beside your vintage patterns, and you’ll give every project a helpful little memory—no more staring at a mystery needle like it owes you answers!
- Gather: Use a pocket notebook, pen, and a scrap of fabric. It’s cheap, easy, and wonderfully personal.
- Record: Add Needle size tracking for thread, fabric weight, and stitch behavior. Note when linen skips or charmeuse puckers.
- Repeat: Try pattern view logging: record pattern numbers, sleeve versions, and lace details. For Vogue 8894’s 2-inch and 1-inch inserts, write the setup that keeps edges smooth.
Soon, you’ll sew with the confidence of your favorite sewing-circle friend!
Quilted Pot Holder
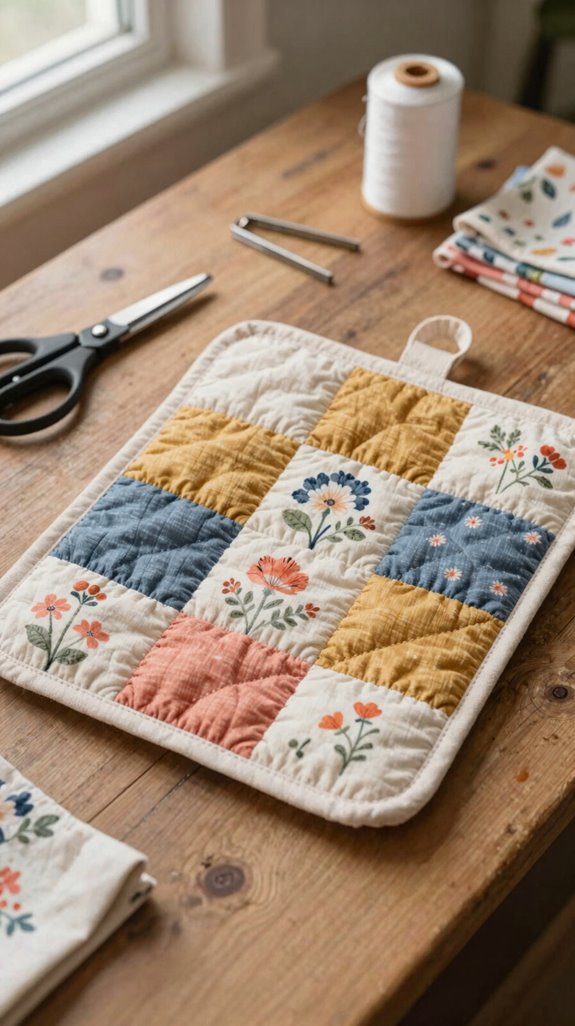
With your needle notes ready, you can put that know-how to work on a cheerful quilted pot holder—small, useful, and far more forgiving than a fitted sleeve!
Choose two cotton, quilt-weight fabric layers, then compare Heat resistant batting choices for a thick, safe center. Squares and rectangles keep cutting easy, so you’ll feel right at home, even if your seams wander a little!
Next, test quilting stitch placement on a small sample before committing. Close, even lines hold the layers together and help prevent shifting. Add a sturdy hanging loop, then stitch your final pair. You’ll have charming helpers that look vintage and handle hot pans beautifully!
Christmas Apron
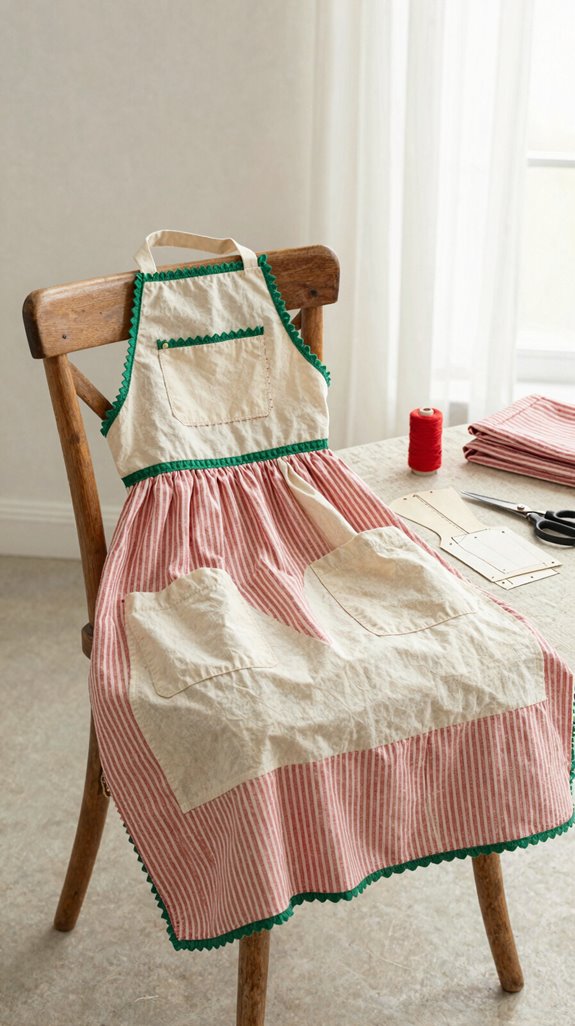
A Christmas apron is the kind of quick, cheerful project that makes holiday baking feel even more festive—flour dust and all! You’ll feel right at home beside friends and family in a bright, handmade design.
- Choose a 1970s–1990s pattern with contrast yokes, tucks, or appliqué trims.
- Check fabric needs: crinkly cotton or cotton-linen works best, while knits can alter fit.
- Follow pattern sizing advice, then sew a muslin before cutting your favorite fabric.
Use Vintage finishing techniques, including 1-inch or 2-inch lace, for a polished edge. Pick pocket or body-view options from your stash, and voilà—your apron becomes the conversation starter at cookie duty!
Where to Find Authentic Vintage Patterns
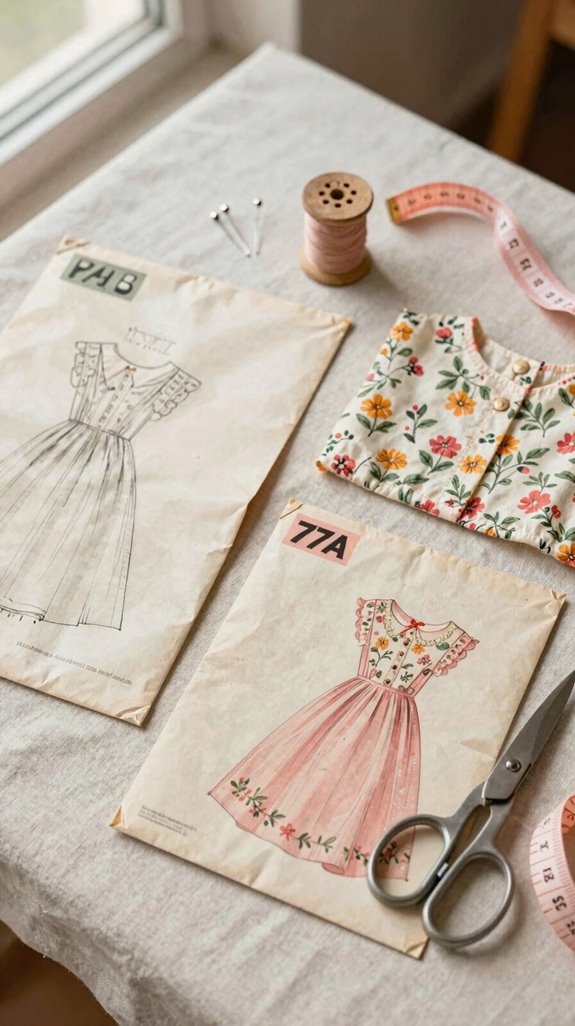
Treasure hunting for authentic vintage sewing patterns can start in the most ordinary places—thrift stores often price single envelopes at a dollar or less, and a dusty bundle may cost just a few dollars. Thrift store scouting and bundle hunting feel like joining a friendly club!
| Spot | What you’ll find | Quick tip |
|---|---|---|
| Thrift stores | Cheap singles | Check drawers |
| Marketplaces | Big collections | Ask for photos |
Try Craigslist, OfferUp, Freecycle, and Facebook Marketplace for longtime collectors’ stashes. Need a pattern number? Search Etsy, Amazon, or eBay. When originals vanish, Butterick reproductions help. Best secret: Vintage Patterns Wiki catalogs 83,500-plus patterns by decade, type, and designer—your treasure map!
Modern Fabrics That Match Vintage Styles
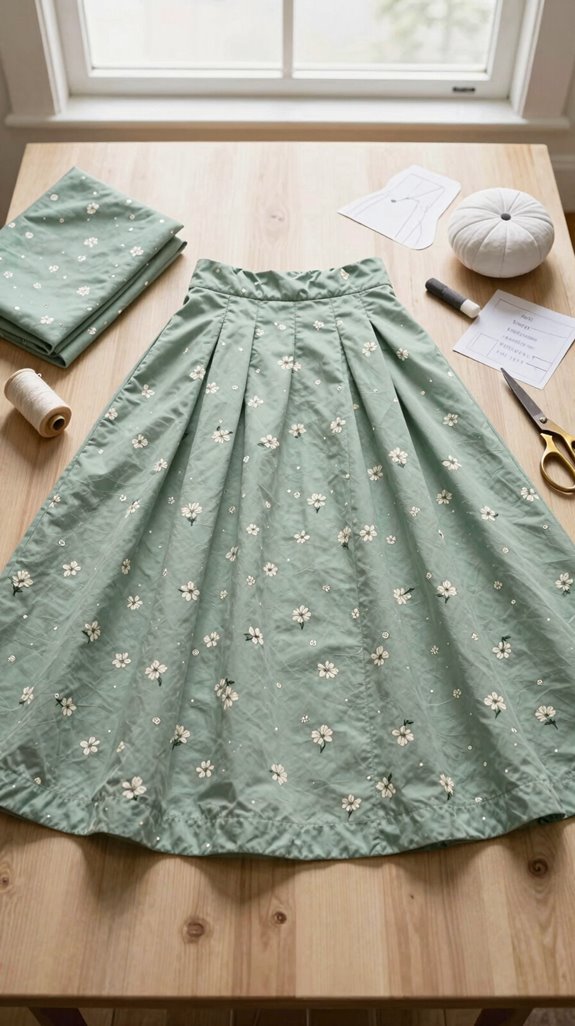
Once you’ve found that perfect vintage pattern, the fabric choice makes the look come alive—or makes it fit like a costume-shop surprise!
- Start with Fabric stretch matching: check whether the pattern needs knit give or a woven hold. Many ’70s “woven” looks actually need double knit.
- Try modern knit swaps, like polyester knit, for party dresses drafted to drape and stretch. It’s affordable, beginner-friendly, and keeps sizing trustworthy.
- Save the magic for texture! Use thin crinkly cotton for lace-and-tuck blouses, so trims sit neatly. For refined dresses, choose lightweight linen blends—your Vogue Americana-inspired silhouette stays crisp, elegant, and wonderfully wearable.