18 Fun Sewing Projects That Will Make You Want to Sew All Weekend
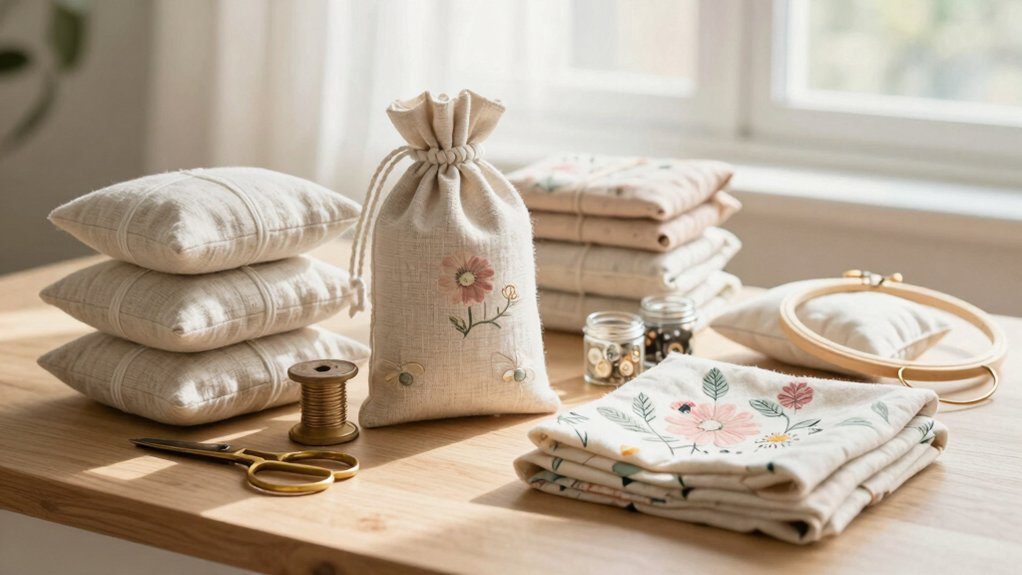
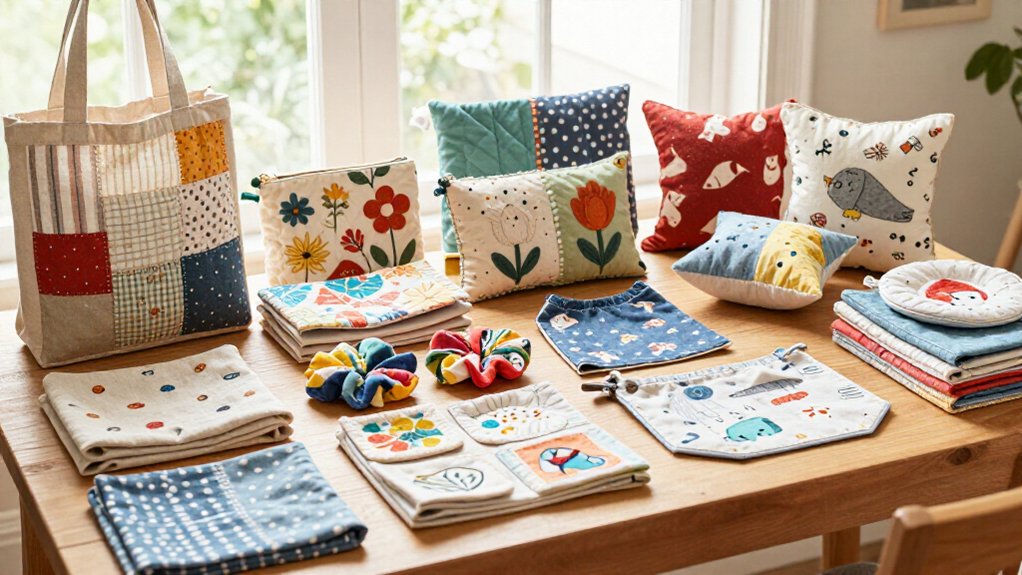
Turn scraps into cheerful patchwork pillows, polished table runners, scrunchies, headbands, and wristlet keychains—just stitch, turn, and enjoy! You can sew felt finger puppets, crayon rolls, dog bandanas, cat toys, and cozy pet blankets with simple seams. Need order? Make fabric baskets, hanging organizers, or drawer dividers. Build skills with zipper pouches, mug rugs, and drawstring bags. Grab cotton, fleece, thread, a ruler, and rotary cutter—then keep going for your weekend’s surprise favorite!
Love cozy DIY projects? 💕
Get free printable guides, exclusive tutorials & surprise craft goodies straight to your inbox.
Disclosure: This post may contain Amazon affiliate links, at no extra cost to you. Content on DiyCraftNest is created with research support from AI tools and carefully reviewed, edited, and fact-checked by the lead author, Daniel Pat, to ensure accuracy and reliability. Learn more
Key Takeaways
- Turn fabric scraps into patchwork pillows, table runners, and mug rugs for cheerful, practical home décor.
- Sew simple storage solutions, including fabric baskets, hanging organizers, drawer dividers, and structured bins.
- Make quick accessories such as scrunchies, headbands, wristlet keychains, and small zipper pouches.
- Create kid-friendly projects like finger puppets, plush monsters, and crayon rolls with basic straight seams.
- Sew useful pet items, including dog bandanas, cat toys, washable blankets, and bed covers from durable fabrics.
Home Decor
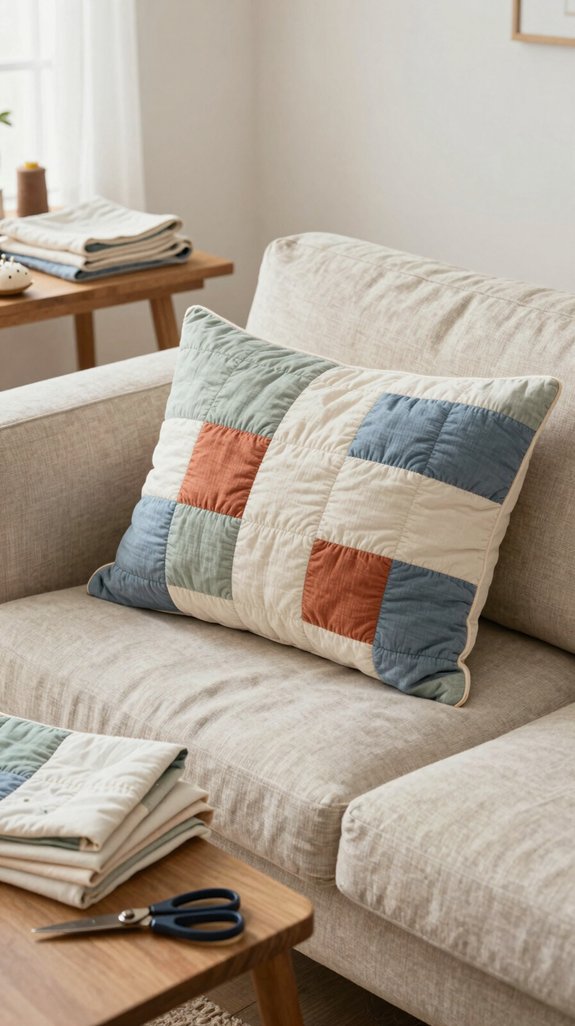
You can brighten a room with a patchwork pillow, using colorful scraps, simple squares, and a quick stitch-and-stuff finish—no elaborate skills needed!
Next, sew a fabric basket from sturdy cotton to tame little clutter, then add a table runner for a polished look that makes even Tuesday dinner feel special.
Patchwork Pillow
A patchwork pillow is a cheerful, beginner-friendly way to turn leftover fabric scraps into décor that looks totally planned—no one has to know your “design studio” was a basket of quilting cotton!
| What you need | Why it works |
|---|---|
| Bright scrap fabric | Creates a lively front |
| Solid backing | Keeps it polished |
| Insert and closure | Makes renewing easy |
Practice quilting basics by arranging squares to fit your insert, then stitch them into a cheerful grid. Use sturdy cotton, sew front and back right sides together, and finish seams. Add an overlap closure or hidden zipper—your sofa instantly feels more like home!
Fabric Basket
Those leftover scraps can do more than brighten a pillow—they can become a handy fabric basket for remotes, craft supplies, or even the growing pile of “too pretty to toss” fabric bits!
Choose sturdy cotton home decor prints, plus fusible interfacing if you want extra shape.
Fabric basket sizing is easy: measure what you’ll store, then add seam allowance.
For Quick assembly tips, sew simple outer panels or strips, make matching lining pieces, and stitch straight seams.
Box the bottom corners for depth, then turn and topstitch.
Mix bright summer solids with prints for a cheerful, made-by-you look.
Best part? Your shelf gets organized, and your scraps finally join the team!
Table Runner
Brighten up an everyday table with a handmade runner that fits your space, your colors, and your budget—yes, even a few yards of quilting cotton can look surprisingly stylish!
Choose cotton that feels at home with your decor, then plan the finished length and width for an even overhang.
Add seam allowances, cut, and sew straight seams—beginner-friendly, promise!
Press as you go, then hem or bind the edges for a sturdy finish.
For easy table runner styling, try a coordinating contrast border.
These fabric border tips make it simple: stitch the border last, press it flat, and topstitch it crisp.
Suddenly, your table looks ready for company!
Fashion Accessories
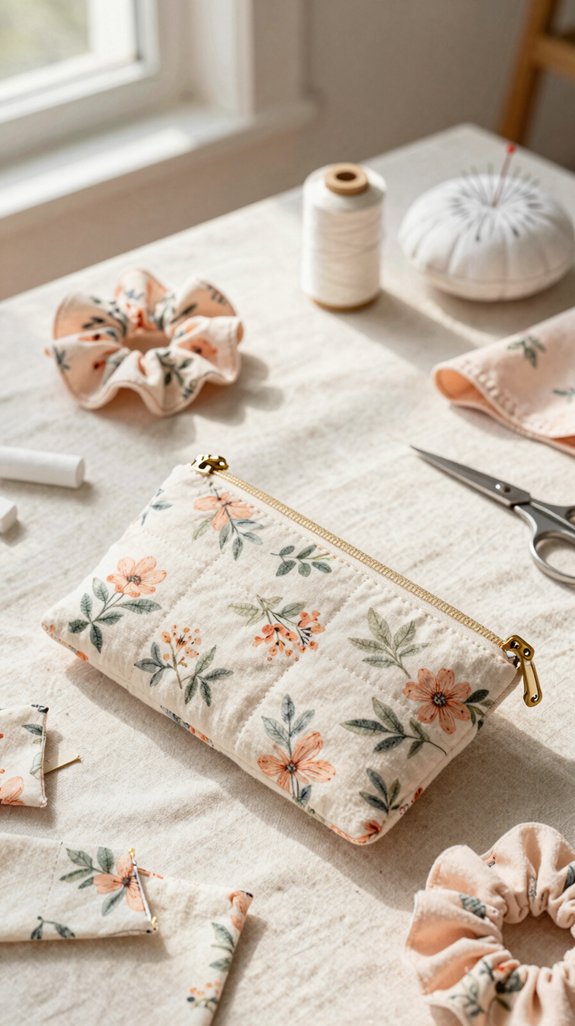
Turn scrap fabric into a cute scrunchie or headband with a few straight seams—your hair gets a fun upgrade, and your fabric bin gets less grumpy!
When you’re ready for something extra useful, sew a wristlet keychain from sturdy fabric and a key ring so you can grab your keys without the frantic bag search.
Scrunchie
From a small pile of fabric scraps, you can sew a comfy scrunchie in under an hour—no sophisticated skills or pricey supplies needed! Choose soft woven cotton or lightweight knit, elastic, thread, and a bold ’90s print that feels like you.
These Beginner friendly, quick projects use a simple fabric tube: stitch it, turn it right-side out, thread elastic through, then close the ends. Follow step-by-step guidance, such as Jessica Entwistle’s tutorial, and you’ll build confidence with every seam.
Make several at once, mixing colors and textures for your crew. Soon, you’ll have a cheerful collection—and smoother finishing edges than you expected. Tiny fabric, big style win!
Headband
After stitching up a scrunchie, use those last cheerful scraps to make a slim fabric headband—another easy accessory that looks far fancier than its price tag!
Choose jersey for soft stretch, or woven cotton with a snug seam allowance to prevent rolling.
Cut a strip in your preferred width, sew the long edges, turn it right-side out, and press.
Beginner Friendly Finishes include neat stitched ends, a tiny elastic insert, or a short overlap—no zipper drama!
Bring your bold summer prints to Scrap Fabric Swaps, then make a matching band for yourself.
In one evening, you’ll have a comfy, polished accessory that says, “Yep, I made this!”
Wristlet Keychain
A wristlet keychain turns a few small fabric scraps into a hands-free little helper, and it’s much cuter than digging through your bag like a raccoon hunting for keys!
Choose cotton quilting fabric, light interfacing, a sturdy key ring, and ribbon or padding.
Sew straight seams, turn the loop, then practice topstitching basics around the edges for a tidy finish.
Add a tiny zipper or Velcro pocket if you’d like cards or chapstick close by.
This is perfect Sewing practice for a quick weekend machine session, and it’s budget-friendly, too!
Pick a themed print or bright contrast thread so your wristlet feels like part of your crew—and matches your favorite outfit.
Kids Projects
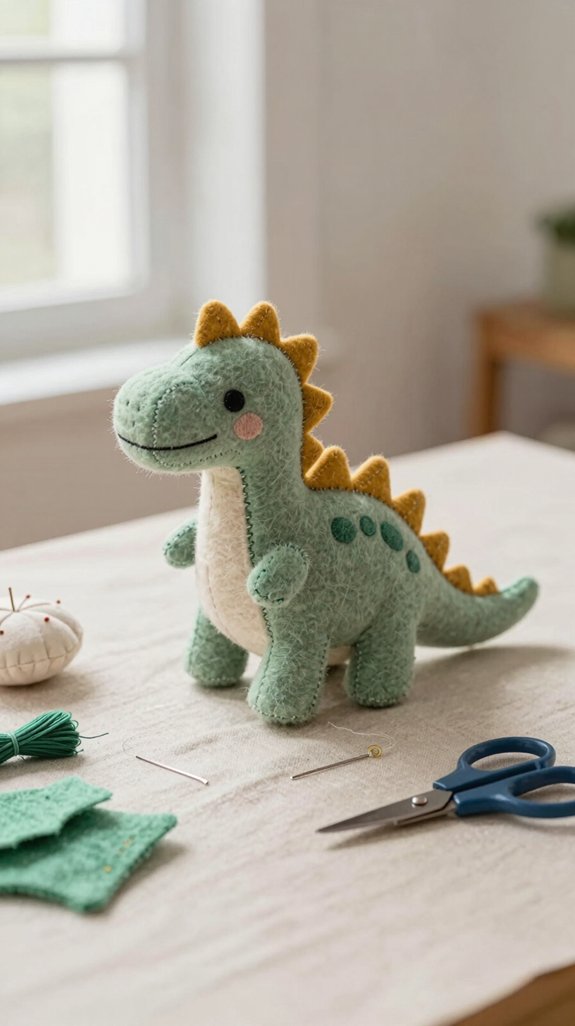
Start with cheerful finger puppets, using felt scraps, thread, and a few simple stitches to create tiny animal friends—no noncomplex supplies needed!
Next, you can sew plush monsters from bright stash fabric, then add goofy eyes and soft stuffing for a cuddly, one-of-a-kind buddy.
For a surprisingly useful finish, make a crayon roll with fabric pockets and a ribbon tie, so your child’s colors won’t escape like tiny waxy fugitives!
Finger Puppets
Finger puppets turn even the tiniest fabric scraps into a whole cast of playful characters—no elaborate skills or big budget required! Cut two felt, cotton, or fleece finger shapes, then stitch sides and tip.
| Fabric | Character |
|---|---|
| Yellow felt | Sunny lion |
| Blue cotton | Brave whale |
| Red print | Cheeky fox |
| Soft fleece | Sleepy bear |
Add stitched eyes, avoiding loose pieces for Safety tips during toddler playtime. Make three to five coordinated pals in one weekend session, so everyone can join the story! For a snug, comfy fit, sew a small elastic loop inside—your little troupe won’t slip off during the wildest puppet parade.
Plush Monsters
Once the finger-puppet parade winds down, you can turn those same cheerful fabrics into squishy plush monsters—bigger, sillier, and just as beginner-friendly!
Grab fleece or felt, stuffing, and monster cute templates, then cut simple shapes with your kids.
Sew straight outer seams, leave a gap, turn, and stuff during one focused afternoon.
These durable fabrics barely fray, so everyone can relax and learn basic machine stitches—hooray!
Next comes the fun: add eyes, horns, spikes, or yarn hair with quick hand embellishments and applique.
Each goofy creature becomes part of your family’s little monster crew, ready for endless hugs, playtime, and friendly couch invasions.
Crayon Roll
Roll up a little color-and-carry magic with a handmade crayon roll, a quick kids’ project that keeps stray crayons from turning into backpack confetti!
Choose durable cotton, add a thin lining if you’d like, and cut a strip wide enough for snug crayon pockets. Hem the edges, stitch simple vertical rows, then attach a wrap tie or button closure. It’s affordable beginner skill practice, too—just straight lines and big smiles!
Among crayon storage options, this one feels especially personal. Pick bright prints, then add a fabric name label or tiny appliqué. Suddenly, you’ve made a travel-ready art kit that belongs entirely to your favorite little creator!
Pet Sewing Projects
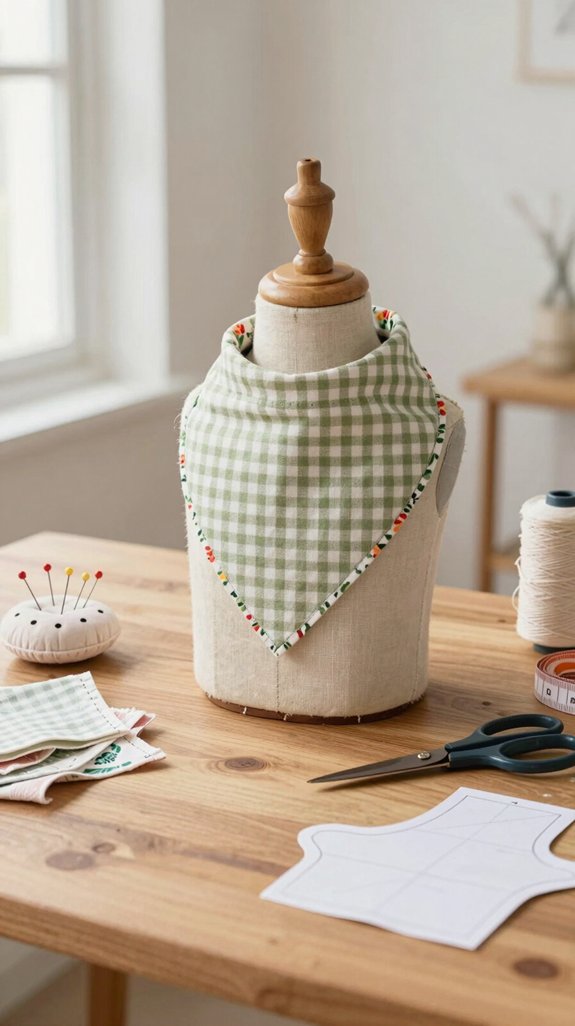
You can sew a bright dog bandana from sturdy denim or flannel, then hem the edges and tie it on for instant tail-wagging style!
For a cat toy, stitch small fleece scraps into a simple softie, but save the coziest project for last: a washable pet blanket that turns leftover fabric into your pet’s favorite nap spot.
Dog Bandana
With a bright cotton print or sturdy denim, you can sew a cheerful dog bandana in an afternoon—no elaborate gear or expert skills required! Measure your pup’s neck, cut a triangle, and enjoy beginner friendly sewing with your fellow pet lovers.
| Step | What you’ll do |
|---|---|
| Fabric | Choose cotton or denim |
| Edges | Fold, press, and stitch |
| Closure | Add ties or hook-and-loop |
| Finish | Topstitch for durable edging |
Use matching thread and an adjustable closure for a cozy custom fit that won’t limit playtime. Here’s the fun twist: make a second Dog bandana from leftover fabric as a sweet gift for another pet parent!
Cat Toy
Turn a few fabric scraps into a soft, swattable cat toy your kitty can chase across the floor—no elaborate supplies required!
Sew tightly woven cotton or fleece into a small pouch or tube, then stuff it lightly with scraps for an easy, budget-friendly project.
Use a strong seam allowance so it survives enthusiastic bunny kicks.
Follow Sewing safety tips: skip tiny plastic pieces, secure every attachment, and supervise the first few play sessions.
Want extra cat enrichment play?
Stitch on a firmly attached braided tail or elastic loop.
Make several prints and shapes at once—your cat will happily choose a favorite, like a tiny furry product tester!
Pet Blanket
After all that cat-toy chaos, a cozy pet blanket gives your furry friend a soft place to flop—much less likely to disappear under the couch! Choose washable fabrics like cotton flannel or fleece for lasting Pet comfort.
| Need | Simple choice |
|---|---|
| Small lap blanket | Use fabric scraps |
| Bed cover | Cut larger yardage |
Decide size before cutting, then sew easy seams. Fussy-cut scattered motifs for adorable, intentional little faces or paws—your pet’s unofficial fan club! Finish with secure binding or sturdy topstitching, because enthusiastic “testing” happens. You’ll have a weekend-friendly gift that makes your home feel even more shared.
Storage Projects
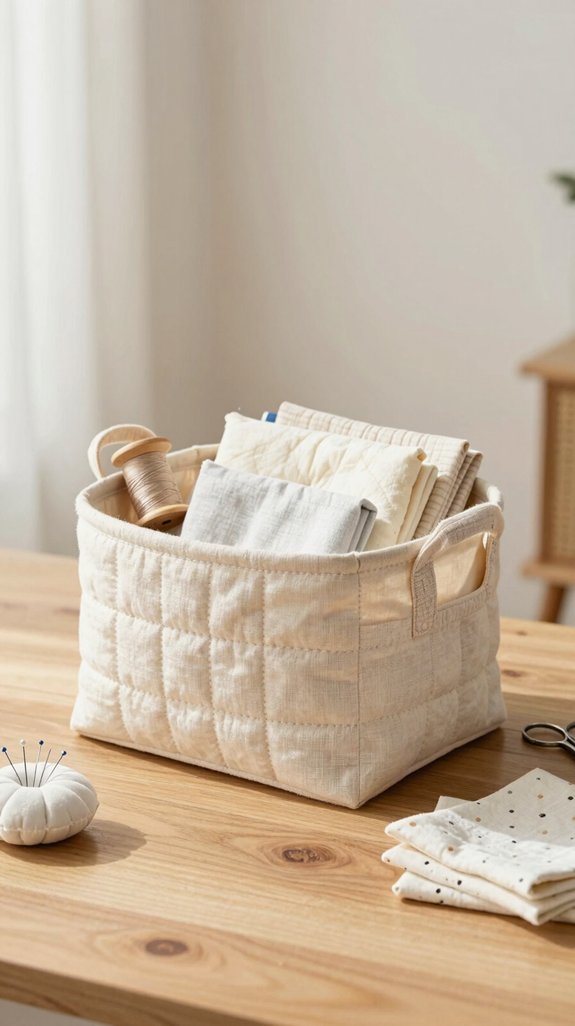
Turn spare fabric into smart storage—you can sew a hanging organizer with sturdy cotton, a dowel, and a few simple pockets for quick grab-and-go supplies!
For cluttered shelves, stitch a fabric bin from denim or canvas, then add easy drawer dividers with felt strips to keep small items from playing hide-and-seek.
Hanging Organizer
A hanging organizer gives you a quick, practical way to clear off a crowded table while keeping everyday supplies right where you can see them—so handy!
You’ll need a small amount of cotton canvas or denim, thread, and a hanger-friendly strip.
For easy weekend sewing, cut pockets in several sizes, sew each with simple straight lines, then stitch them onto a main panel.
Add rows for pens, chargers, or craft tools, and finish edges with neat seams or bias tape.
Making travel storage? Keep it lightweight, and add a top loop for quick hanging.
The best part: fussy-cut tiny fabric motifs for pockets that feel uniquely yours—no more mystery drawer chaos!
Fabric Bin
Fabric bins bring that same tidy, within-reach feeling to your sewing space, only now your scraps, fat quarters, and loose yardage get a cheerful home—hooray!
For easy fabric bin organization, stitch a modular bucket from sturdy cotton, batting, and thread. Straight seams make it beginner-friendly, and you can grab it at cutting time.
Want extra order? Add small zip pouches using coordinating prints, zippers, and scraps. Sew clean zipper seams, then sort solids, notions, and favorite fabrics inside.
Here’s the fun twist: fussy-cut a bold flower or tiny animal onto each pouch front. Your weekend sewing projects will look polished, personal, and proudly part of your creative crew!
Drawer Divider
When your drawer turns into a tiny avalanche of scissors, clips, and thread, a soft sewn divider can bring instant calm—hooray! You’ll join the happy crowd of makers who can actually find their supplies.
Cut fabric or quilted layers into rectangles that match your drawer’s width and depth. Add lightweight interfacing or fusible fleece, then stitch straight seams and reinforce each base so the walls stay upright.
Finish edges with bias tape, serging, or double-fold hems for tidy fabric storage that won’t fray.
Your drawer organization gets even sweeter when you use scraps: fussy-cut tiny flowers or add labels. Suddenly, every bobbin has a cozy little home!
Beginner Favorites
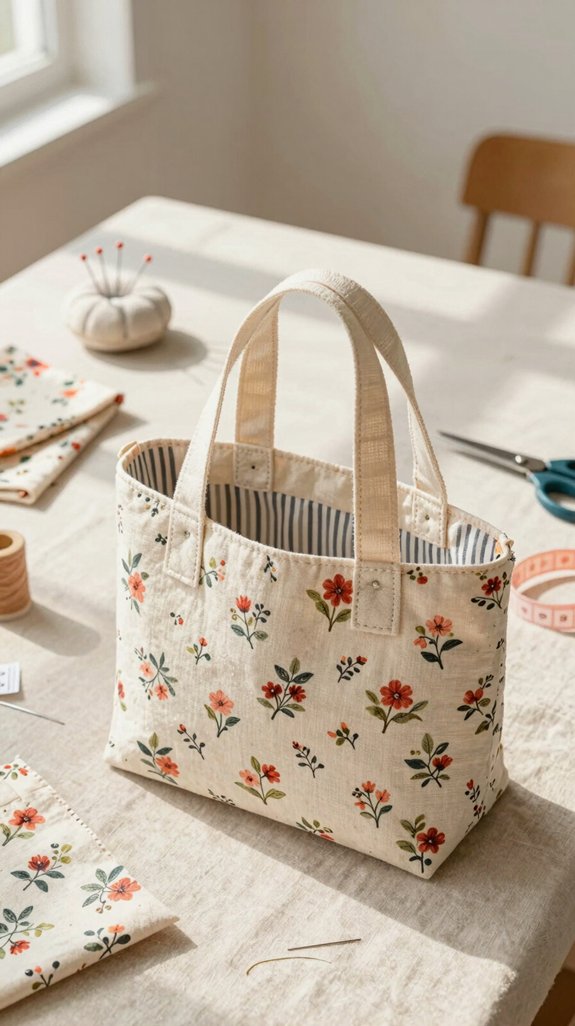
Start small with a cheerful mug rug or a simple drawstring bag—both need basic fabric, straight stitches, and very little fuss!
You can build confidence as you sew, then try a zipper pouch with an “install your first zipper” guide, because that tiny zipper opens up a whole new world of projects.
Before you know it, you’ll have useful handmade gear and a sewing machine that isn’t quite so intimidating!
Zipper Pouch
A zipper pouch is one of those small projects that feels extra satisfying—you’ll practice installing a zipper while making a handy home for pens, makeup, earbuds, or that mysterious pile of loose change!
Choose cotton or light canvas, a lining, and a zipper slightly wider than your finished opening. These zippers basics are budget-friendly and totally doable, even if you’re sewing alongside friends for the first time.
Attach the zipper edges with straight stitches, baste it so nothing wiggles, then sew the side seams and press them flat. Finish with neat topstitching for a polished look.
Soon, you’ll have a sturdy little organizer that feels proudly, wonderfully yours!
Mug Rug
Two favorite fabric scraps can become a cheerful mug rug in less time than it takes to finish a movie—pretty great, right?
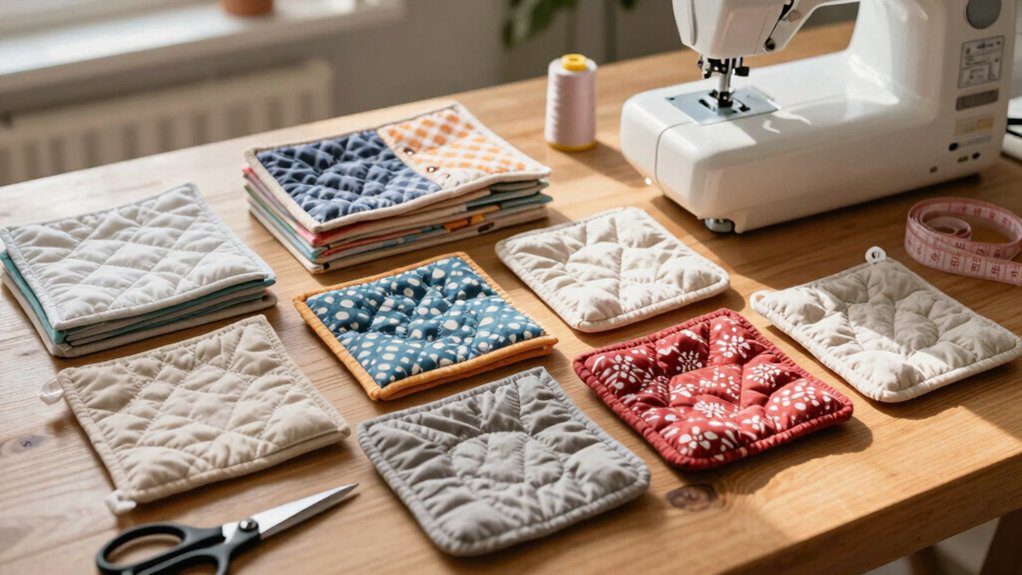
Gather beginner fabric scraps, a small piece of batting or insulated fabric, and matching thread. Layer your print, padding, and backing, then stitch around the edges—no tricky curves, no sewing drama!
Next, try simple Mug rug quilting with straight lines, a perfect way to practice keeping your seams steady. Trim and finish the edges for a polished little placemat.
You’ll have a cozy spot for coffee and a cookie, plus an easy last-minute gift. Make several; your sewing crew will want one!
Drawstring Bag
When you want a quick project that’s useful every single day, a drawstring bag is a beginner favorite—fast, forgiving, and perfect for a little weekend machine time!
Grab sturdy cotton or linen, plus fabric scraps, cord, and a few basic tools. Sew a rectangle along the sides, then stitch a neat top casing, leaving opening edges for the cord.
Keep seam allowances even, and check your drawstring length before threading it through. A clean casing edge, or bias binding, helps everything glide!
For extra durability, add grommets or reinforced buttonholes. Make a tiny pouch for sunglasses, or surprise your sewing crew with reusable produce bags and travel organizers—simple, useful, and seriously satisfying!
Projects That Build Sewing Skills
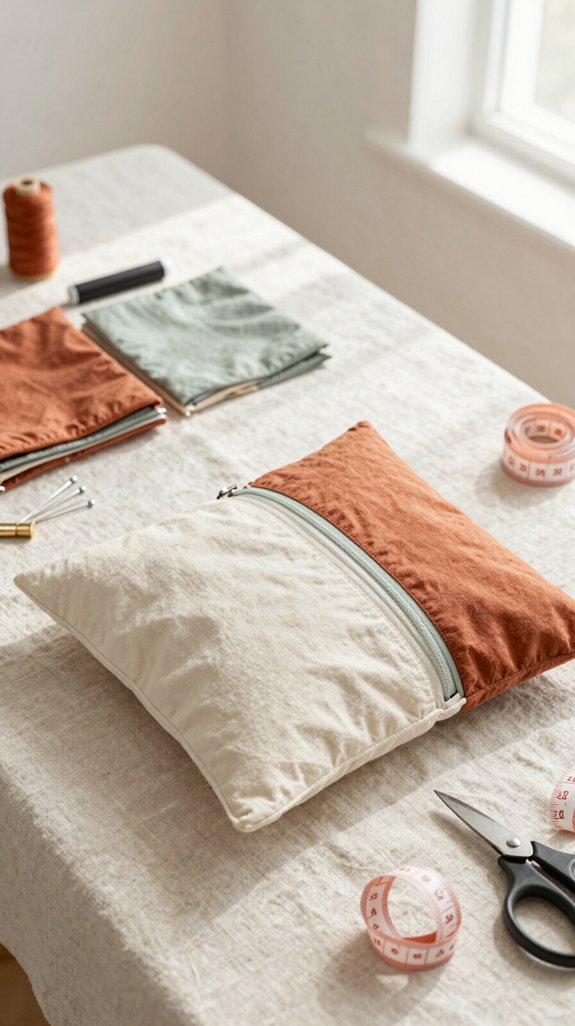
Start small, sew often, and you’ll be surprised how quickly those straight seams stop looking like a sleepy snake!
Try a six-fat-quarter infinity scarf or flap pillowcase; you’ll practice patience, neat edges, and even allowances.
| Project | Skill | Win |
|---|---|---|
| Key fob | Closures | Fast repeat |
| Luggage tag | Stitching | Personal flair |
Next, make bias tape for crisp necklines, hems, and seams. It’s inexpensive, friendly, and wonderfully useful!
Ready for a brave leap? Follow a first-zipper tutorial on a bag or skirt. Step by step, zipper confidence grows, and suddenly your handmade clothes feel possible. Join the weekend sewing crowd—those tiny wins add up!
Recommended Sewing Supplies
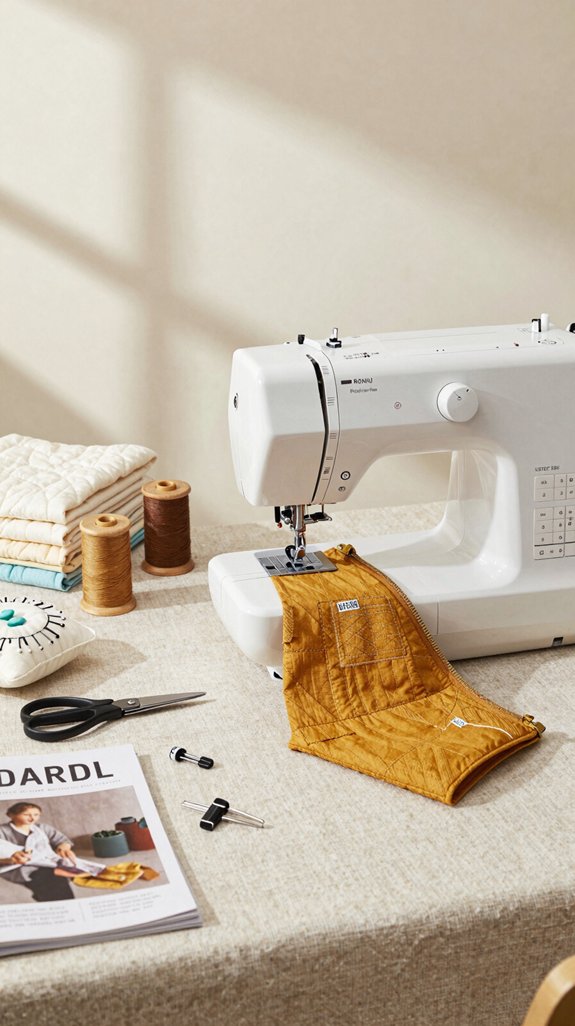
A few smart sewing supplies can turn a “maybe I’ll make it someday” idea into a finished project by Sunday afternoon—yes, really!
Keep a reliable sewing machine nearby, and add a serger if you love speedy seams.
Build your crew’s go-to zipper kit: zippers, a zipper foot, pins or clips, and matching thread.
It makes zipper troubleshooting and quick fixes far less scary!
Next, grab bias tape for polished necklines, armholes, and bag edges.
A rotary cutter, ruler, sharp scissors, and fabric scraps make accurate cuts easy.
Choose felt and Velcro for fast bookmarks, or flannel and fleece for cozy projects that forgive tiny oopsies.