13 Sewing Tools Drawing Ideas for Creative Artists and Crafters
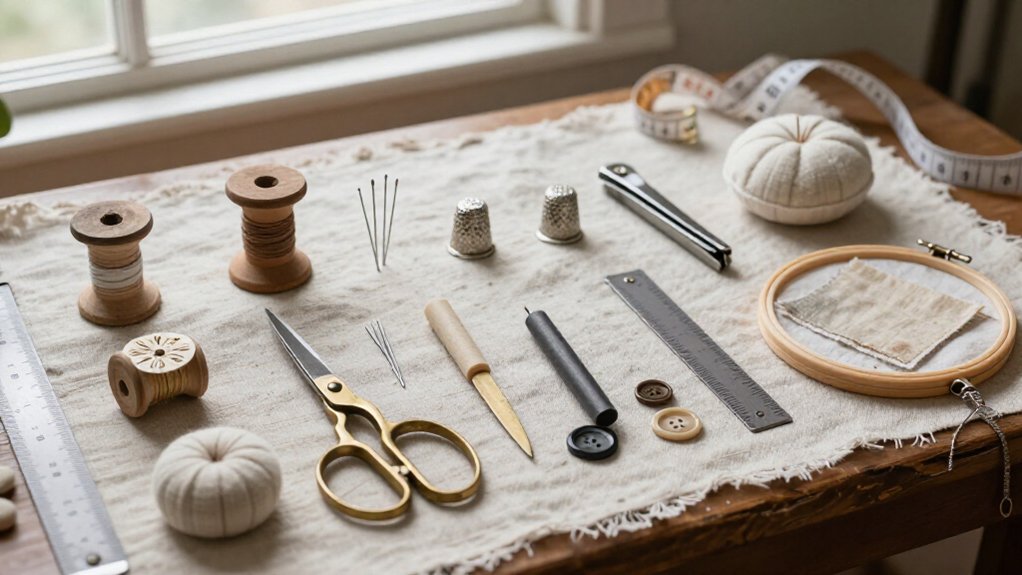
You can sketch 13 sewing tools with pencil, paper, a ruler, and simple shading—easy, cheap, and fun! Start with spools, pins, hoops, cushions, thimbles, and scissors; block basic shapes first, then add seams, thread arcs, and labels. Try a 9–11-inch shears side view, or shade metal with 2B–4B graphite. Save the vintage machine for last: its curved arm, handwheel, and tiny stitch icons make it a showstopper. Keep going for more handy drawing tricks!
Love cozy DIY projects? 💕
Get free printable guides, exclusive tutorials & surprise craft goodies straight to your inbox.
Disclosure: This post may contain Amazon affiliate links, at no extra cost to you. Content on DiyCraftNest is created with research support from AI tools and carefully reviewed, edited, and fact-checked by the lead author, Daniel Pat, to ensure accuracy and reliability. Learn more
Key Takeaways
- Sketch a vintage sewing machine with a curved arm, cast-metal base, handwheel, needle bar, and maker’s plate label.
- Draw tailor’s scissors or fabric shears in side view, using centered pivots, long blades, roomy handles, and balanced proportions.
- Build thread spools from flattened ellipses and cylinders, adding winding arcs, flange shadows, frays, and plastic texture.
- Illustrate embroidery hoops, pincushions, thimbles, needles, and measuring tapes as supportive textile-themed drawing subjects.
- Use centerlines, simple blocked forms, varied line weights, and graphite highlights to create accurate proportions and convincing metal surfaces.
Vintage Sewing Machine Sketch
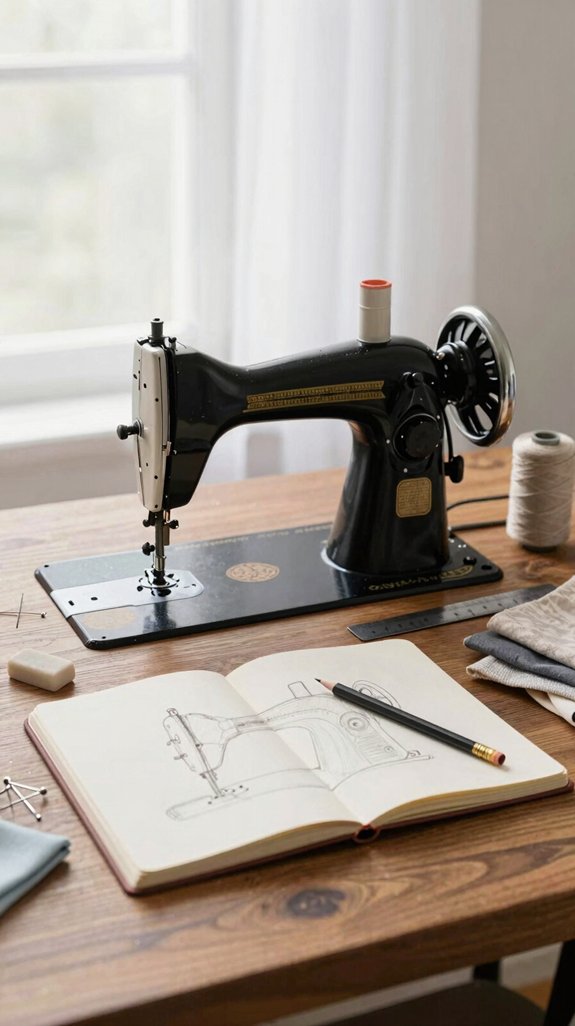
Start your vintage sewing machine sketch with a simple pencil, paper, ruler, and a good reference photo—no elaborate supplies needed!
You’ll fit right in with fellow tool-loving artists as you block in the cast-metal base, curved arm, and right-side handwheel.
Use reference measurements for a balanced 12–18-inch body, then add the belt guard, needle bar, presser foot, and stitch pattern icons.
Include a flat treadle and linkage below—tiny mechanics make it sing!
Try Museum label placement near the maker’s plate for a charming display-ready touch.
Finally, shade bright brushed-metal curves, deepen shadows under the bed, and add edge wear.
Voilà: convincing patina, no grease required!
Tailor’s Scissors Illustration
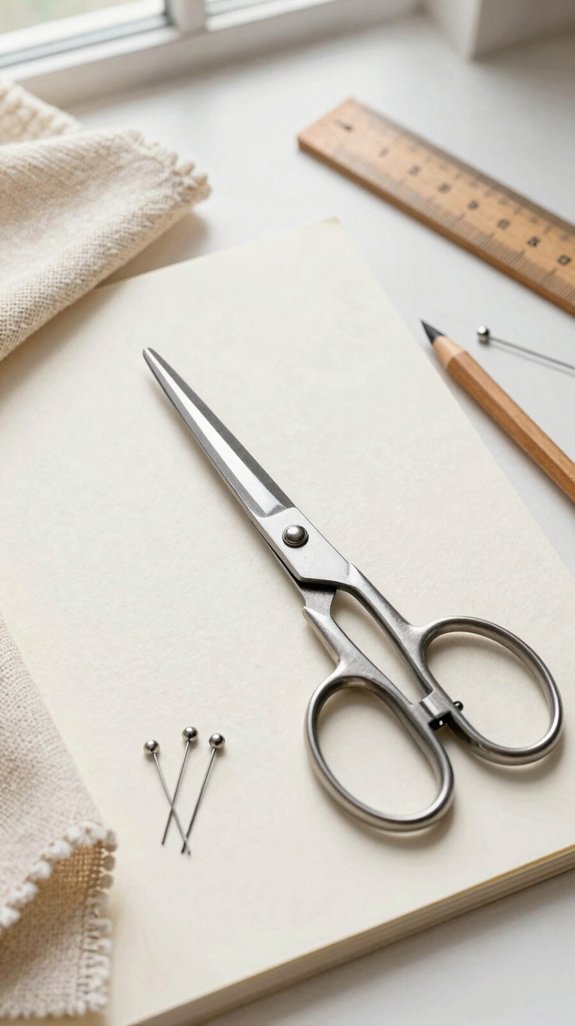
For a crisp sewing-tool drawing, sketch tailor’s scissors with long, straight blades, a centered pivot rivet, and roomy handle holes designed for comfortable control during long cutting sessions. You’ll fit right in with fellow makers using pencil, paper, and a ruler—easy, low-cost supplies!
Angle the cutting edges slightly, sharpen the tips, and add polished wear lines with a Color pencil technique. Include a mat edge or measuring tape in your composition thumbnail to show hand-length scale.
Keep the finger rest clear in the silhouette, then label it “tailor’s scissors (fabric).” Here’s the pro touch: add “sharp, long blades for clean straight cuts.” Fabric only, please—these scissors hate paper!
Thread Spool Drawing
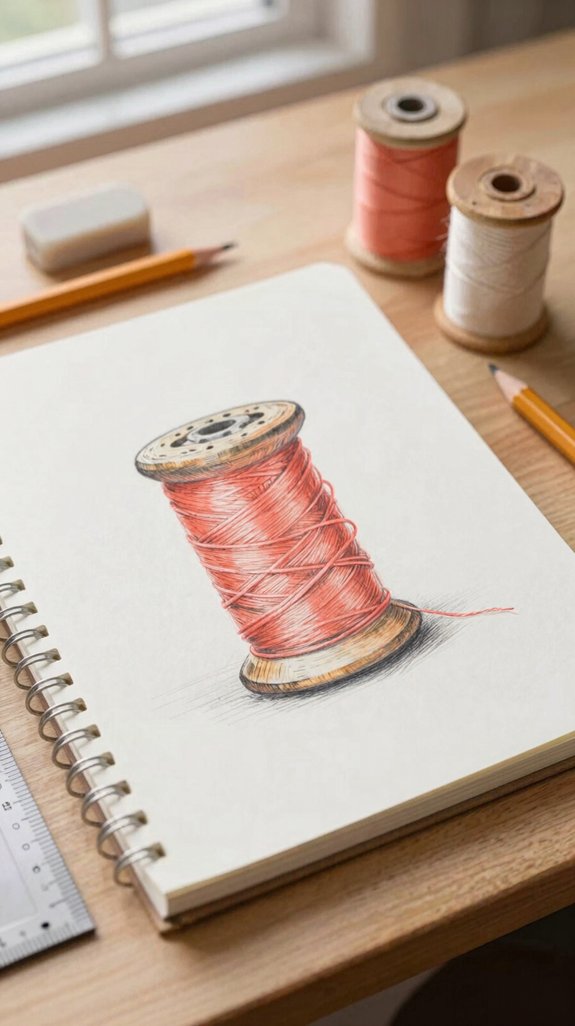
After sketching those sharp tailor’s scissors, give your page a softer, rounder companion: a thread spool!
Start with two flattened ellipse circles, then connect them with a center cylinder and wider flanges.
Use pencil or pen, and match your thread lines to its thickness.
Draw a spiral or neat stacked arcs around the core, keeping gaps even so your spool looks nicely wound—not like it lost a fight with a kitten!
Next, shade beneath the top flange and inside the core, leaving a bright outer rim.
Add thread wear effects, tiny frays, and concentric plastic marks.
Finish with creative spool labeling—your sewing-sketch crew will recognize the charm!
Embroidery Hoop Artwork
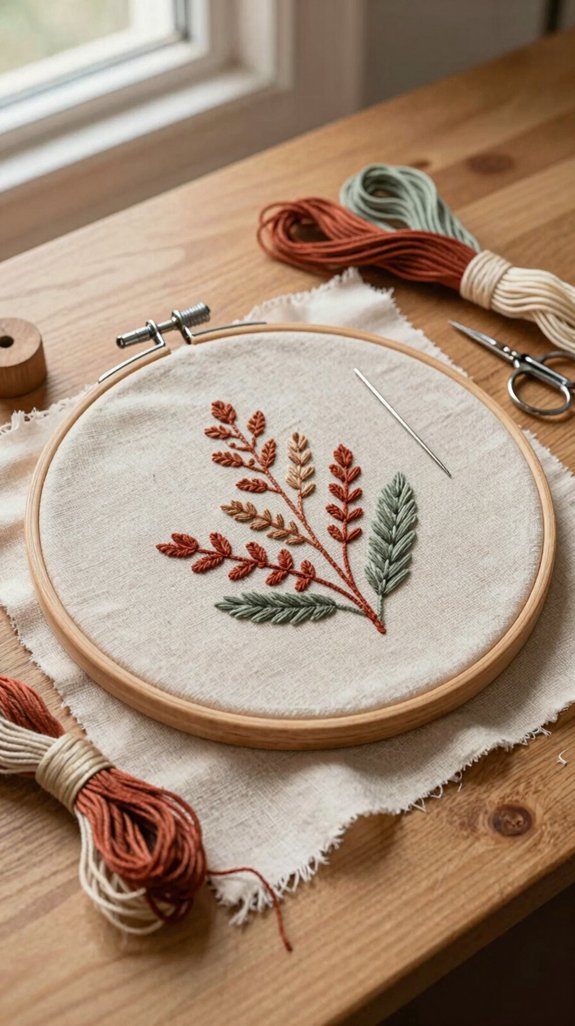
Turn a simple embroidery hoop into a tiny framed artwork, and you’ve got a sewing project that’s equal parts drawing, texture, and wall décor—how fun is that!
Choose cotton or felt, a 4–6-inch hoop for details, and stabilizer for dense stitches.
Tighten the screw until fabric is drum-tight—no puckers invited!
Sketch with thread paint on scraps first, using contrasting colors.
Change stitch direction and line density to build shadows, movement, and fabric texture.
Then add raw-edge appliqué, stitch it down, and layer free-motion lines or hand stitches for a surprisingly raised scene.
Trim the back neatly, add felt if you’d like, and hang your little masterpiece proudly with your creative crew!
Pin Cushion Sketch
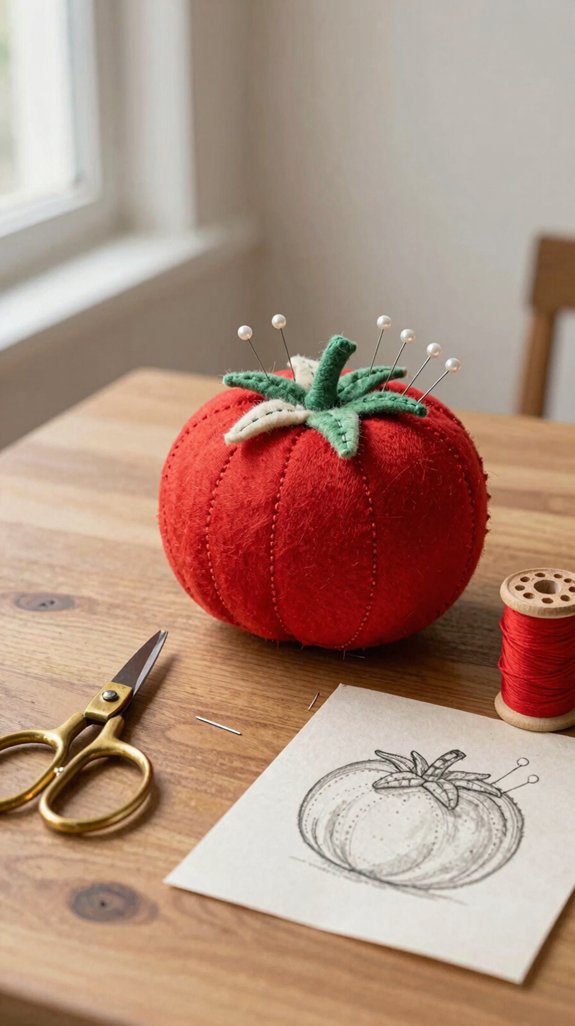
Sketch a cheerful pin cushion shape with a rounded top dome and a flat base, so it won’t wobble across your sewing table like a tiny fabric potato!
Add a 1/4–1/2-inch seam allowance, then choose a friendly fabric pattern that fits your craft crew’s style.
Next, draw running stitches or a blanket-stitch edge to map decoration and prevent fraying.
Mark embroidery placement lightly, and create a center pin-and-needle zone for fast grabbing—so handy!
Want an extra-smart touch? Add a small side pocket or stitched flap sized for your needle gauge set.
You’ll have a practical, personalized sketch that feels like it belongs beside every project.
Dress Form Illustration
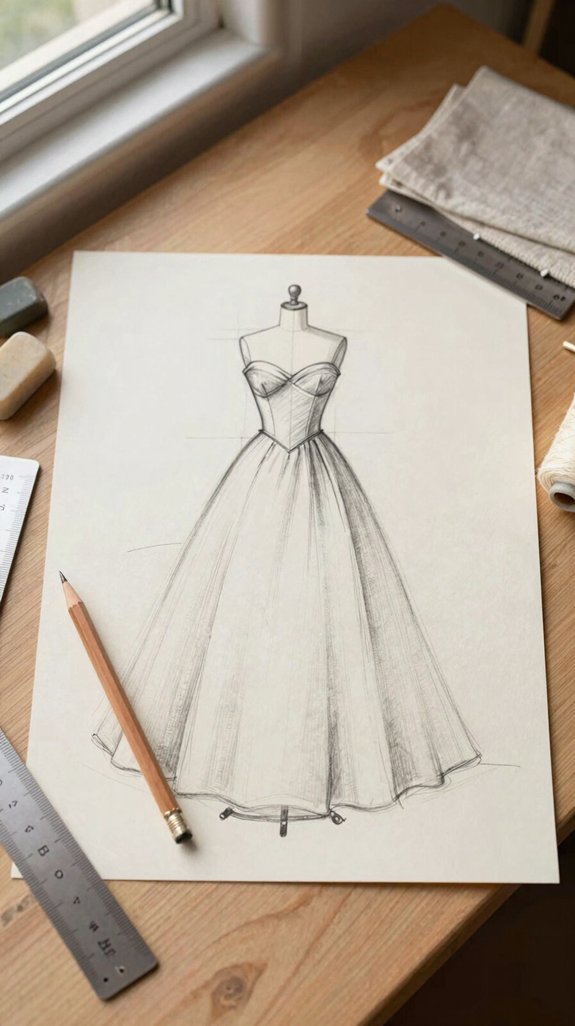
Start your dress form illustration with light geometric shapes: an oval torso, a small neck cylinder, sloped shoulder lines, and simple blocks for the waist and hips. Keep your pencil light—you’re joining a friendly sketching circle, not carving a statue!
Mark the neck base, high bust, underbust, waist, high hip, and full hip for wearable pattern mapping. Add center-front lines, armholes, and shoulder slopes.
Try front, side, and three-quarter views using Gesture based figure sketching to keep proportions steady. Finally, add seams, bust darts, waist darts, and bias pull lines. Suddenly, your form shows exactly how fabric might hug, stretch, or drape—magic!
Rotary Cutter Drawing
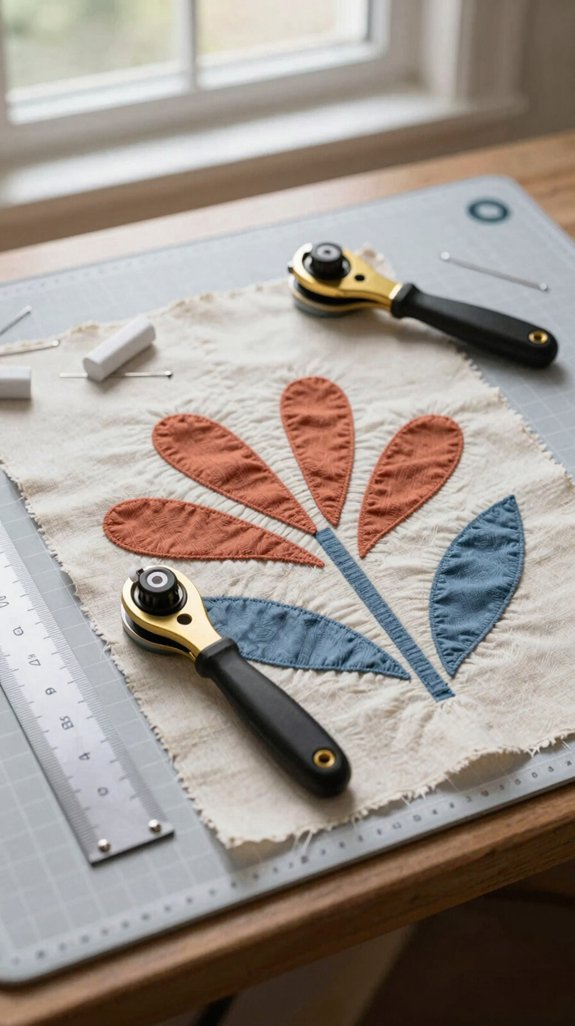
Once your dress form has its seams and darts mapped out, a rotary cutter drawing adds the clean, confident lines that make sewing plans feel real—so satisfying!
Join fellow makers with a 45mm or 28mm cutter, clear acrylic ruler, and self-healing mat. Sketch your layout with colorful fabric markers, then hold the cutter upright and glide it along the ruler for sharp lines.
For curves, trace paper first, transfer the shape, and use short, careful passes while nudging the ruler. Keep the blade covered between cuts and always cut away from yourself—no surprise nicks!
Add iron on transfer labels beside finished pieces for a polished studio look. Replace dragging blades; smooth cuts make everyone smile!
Measuring Tape Design
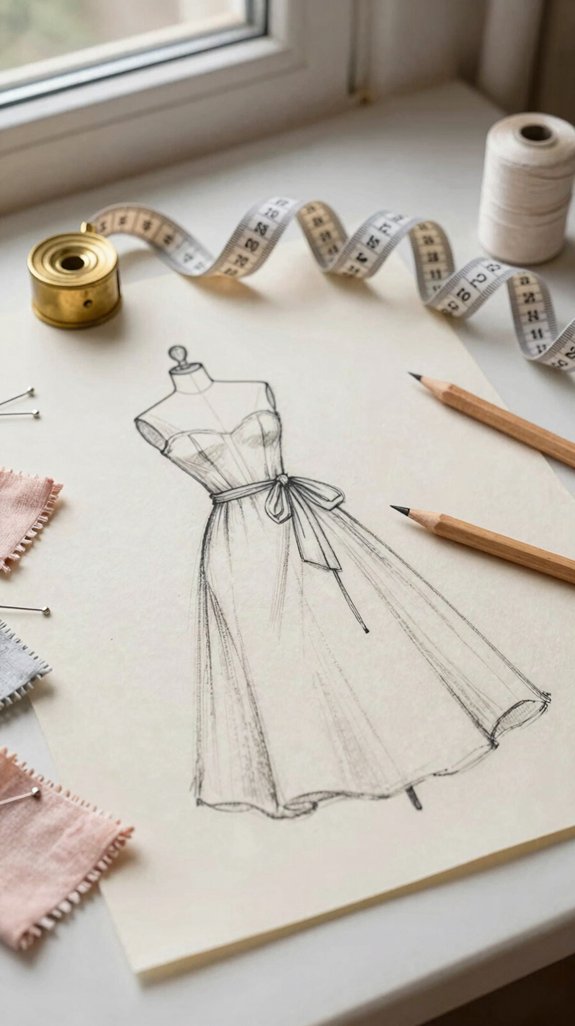
Turn a plain measuring tape into a handy sewing tool with crisp, high-contrast marks that are easy to read—no squinting required!
Use nonstretch backing materials, bold zero points, and colored zones. You’ll feel right at home among detail-loving makers!
| Feature | Why it helps |
|---|---|
| Major ticks | Quick inch reading |
| Minor ticks | Precise placement |
Print inches and centimeters, then check Fabric scale accuracy against a real 10 cm or 4-inch block. Add a tiny seam-allowance margin and test with scraps first.
For the winning touch, curve the layout gently for waists and bags, then choose a smear-resistant finish. Chalk won’t ruin your work—hooray!
Button Collection Illustration
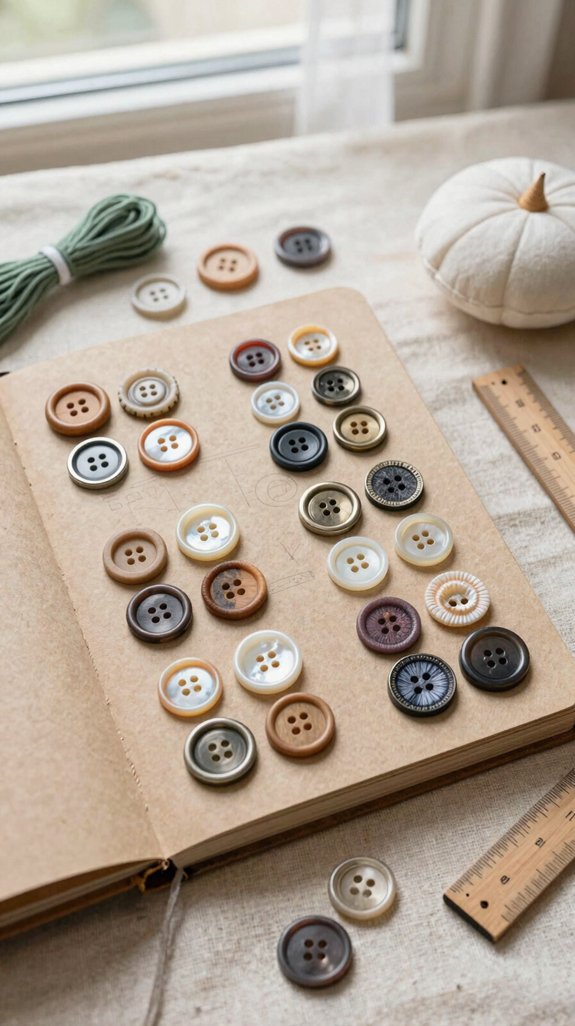
After sketching neat measuring marks, you can fill the page with a button collection illustration that feels like a tiny sewing-shop treasure tray—so satisfying!
Use pencil, markers, and a 3–5 color palette. Plan your button display layout in clusters: small, medium, and large, with even gaps.
Mix circles, squares, fabric-covered buttons, shanks, and two- or four-hole styles. Add a tiny key so fellow crafters can read it easily.
Show glossy plastic, matte metal, wood grain, and Embroidery floss textures with simple shading. Draw shanks with short stems, then add a color-count legend—blue 12, red 7, neutral 9. It’s like organizing your stash, without finding buttons under the couch!
Needle and Thread Art
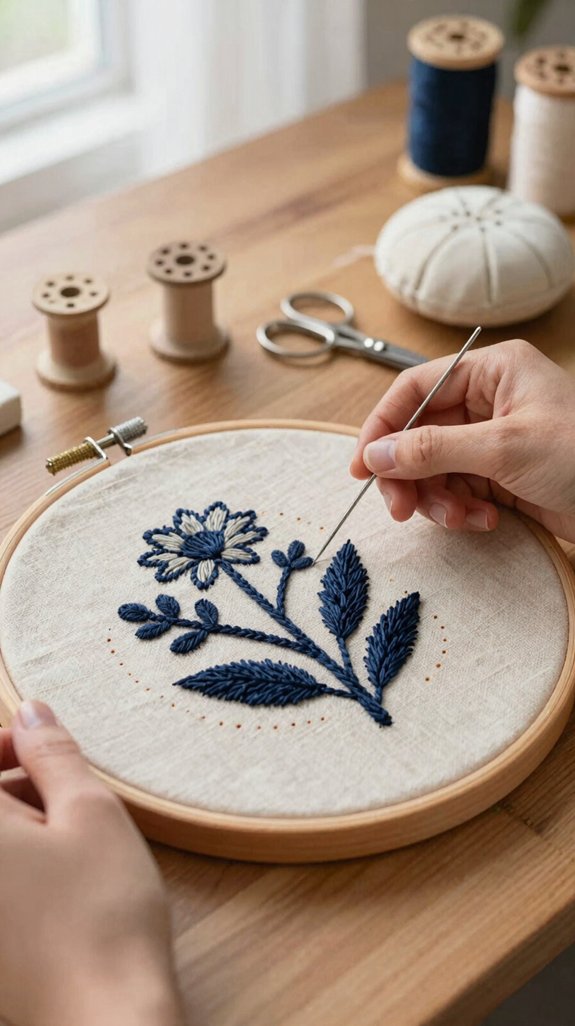
Needle and thread art turns a few basic sewing supplies into bold little drawings you can stitch, frame, or add to fabric—how fun is that?
Grab fabric, floss, a needle threader, and a hoop. The threader keeps fingers away from the tiny eye, so no slobbery thread drama!
Secure your start with a wrap-and-roll knot, or try a loop or double-knot.
Begin with running stitches like neat dashed lines; even tension makes your design look polished.
Add Hand lettering thread with back stitch, overlapping each stitch for strong words.
For color blending practice, use contrasting floss in a baseball stitch around an edge.
Those spiraling loops create texture everyone will notice!
Sewing Basket Sketch
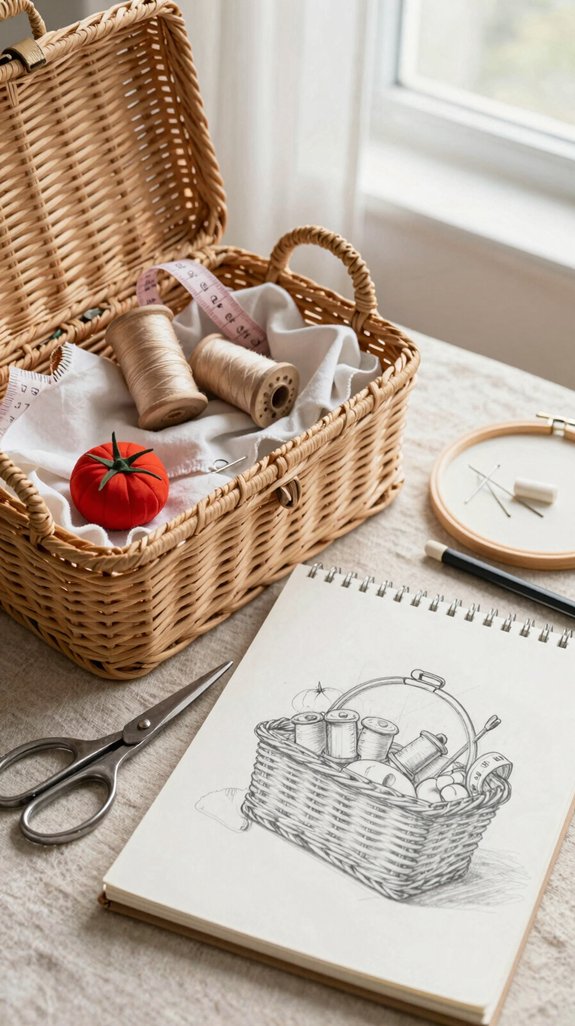
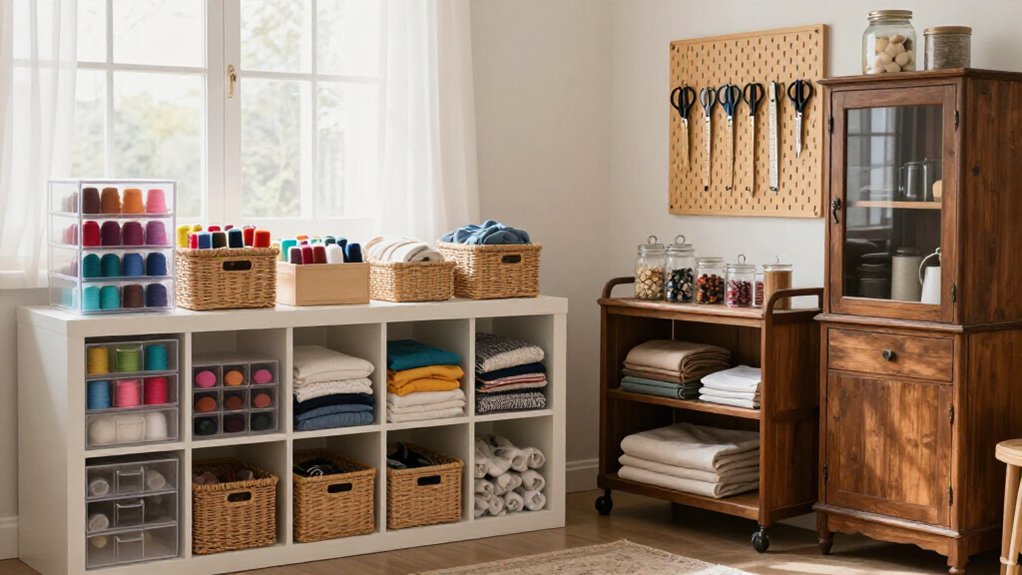
Your stitched drawings deserve an organized home, so sketch a sewing basket “map” before supplies start playing hide-and-seek!
- Draw a top view, marking scissors, pins, seam ripper, chalk, spools, and needle threader. Add the lid width, usually 20–30 cm (8–12 inches).
- Make a Color coded tool legend for thread and needles, cutting tools, fabric paints and pens, and small notions. You’ll feel like part of a well-prepared maker crew!
- Add a stitch workflow diagram: knot and thread first, choose hand or machine stitching, then finish with tail trimming.
Save roomy corners for snips and a darning foot.
Best surprise? Add compartments for muslin, freezer paper, glue, and found stamping treasures!
Fabric Shears Drawing
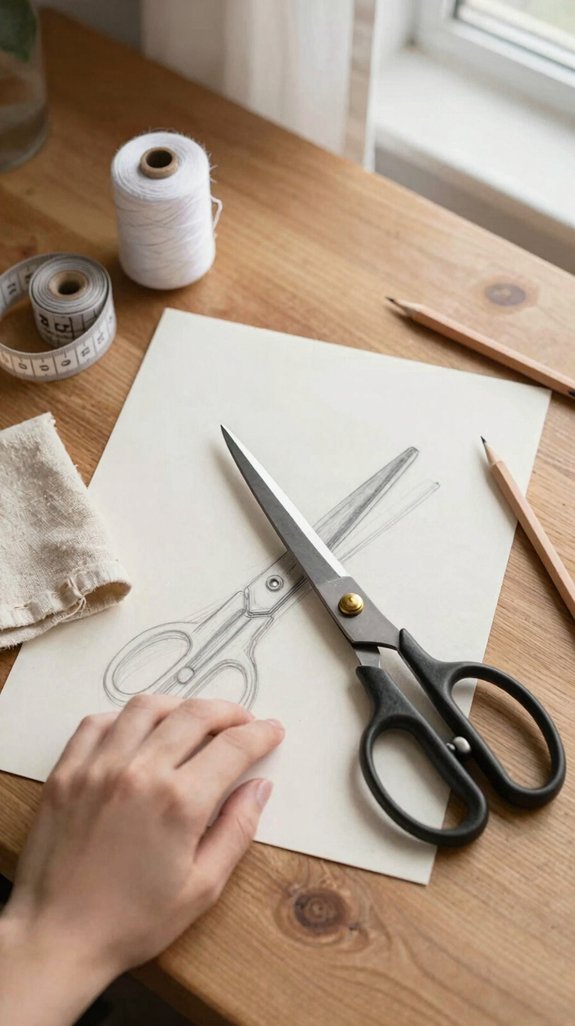
Start your fabric shears drawing with a bold side view, because these trusty cutters have more personality than a plain pair of office scissors! You’ll fit right in with crisp lines and cozy craft-table charm.
| Detail | Sketch tip |
|---|---|
| Overall length | 9–11 inches |
| Blades | 5–8 inches |
| Tips | Slightly pointed |
| Handles | One loop larger |
| Pivot | Center screw/rivet |
For sketching shears proportions, keep blades long and straight, then add inner bevel sharpening lines. Use drawing pivot details to show smooth, tight alignment—no wobbly spaghetti blades! Label stainless or carbon steel for a guide-ready result.
Thimble Illustration
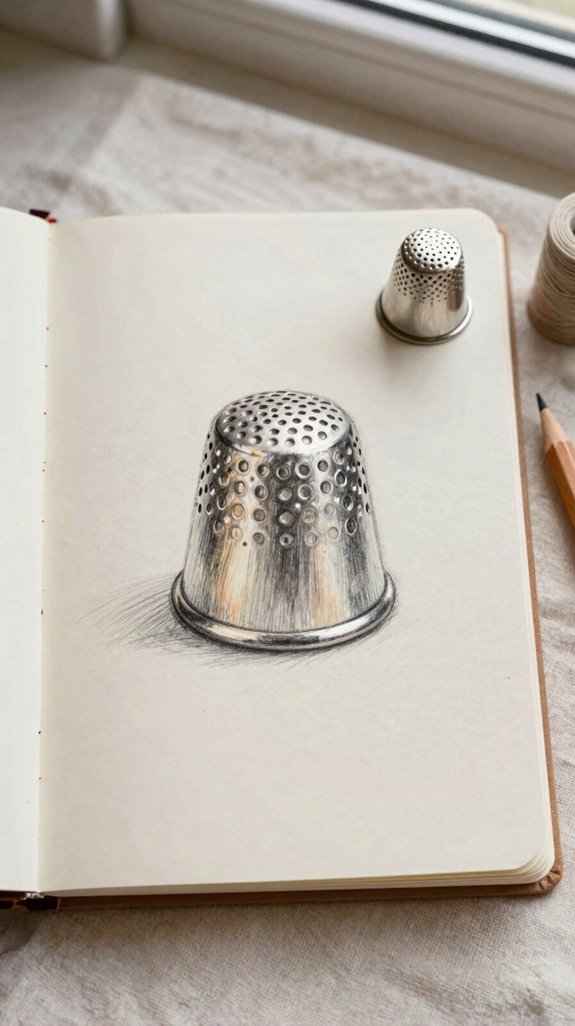
A thimble illustration may look tiny at first, but this little finger cap packs serious sewing force! You’ll join fellow makers by capturing its useful, cozy character.
- Draw a dome-shaped cap with a clear outline and bottom rim, showing where it meets your finger pad.
- Cover the top with evenly spaced dots or tiny rings. This gripping surface protects skin and boosts control in every stitching technique—no poked-finger drama!
- Add a needle beside it, then shade metal, plastic, or leather finishes differently for realism.
Thimble history makes this humble tool even cooler: it’s a tiny shield that helps your hand-sewing community create confidently!
Drawing Proportion Tips
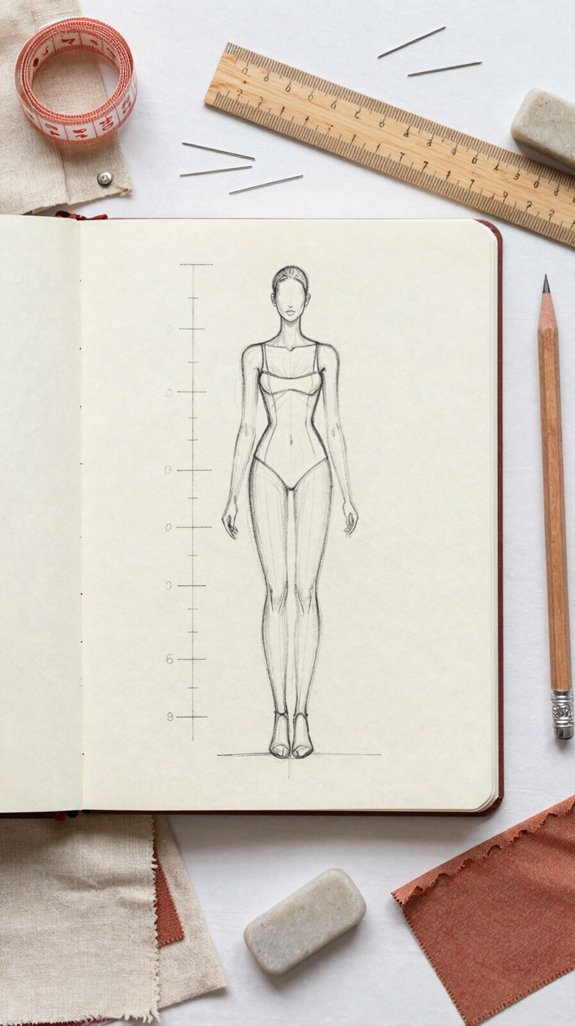
Good proportions make even a simple sewing-tool sketch look believable, and you don’t need elaborate supplies to get them right—just a pencil, paper, and a quick measuring habit!
Choose one unit, such as a handle’s width, then compare every part to it. Block rectangles and cylinders before details; your needle stays slim, not noodle-like!
Lightly add centerlines so scissor arcs match around the pivot. For tape measures, use a grid with equal intervals to keep ticks friendly and even.
Here’s the clever trick: split a needle threader into three parts—grip, head, and gap—and keep their shares consistent. Finish with clean line weights, then save Color harmony planning for later.
Shading Metal Sewing Tools
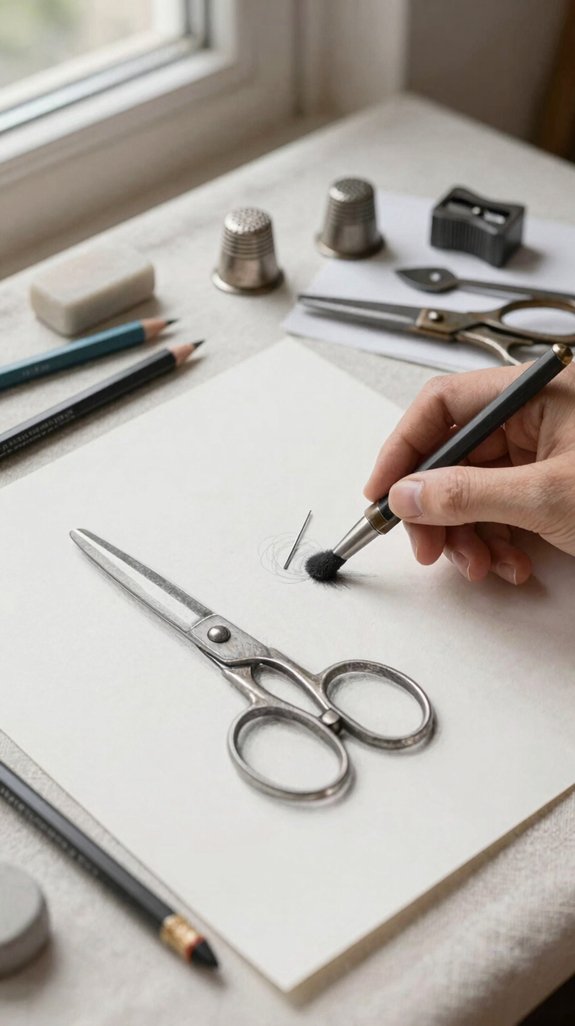
Metal sewing tools can look wonderfully real with just a few smart pencil moves—no elaborate art kit required!
- Block forms with a hard medium-gray pencil, then use 2B–4B graphite for curved, smooth shading. This texture practice helps your scissors feel like part of our crafty crew!
- Shade flat thimbles dark at edges, mid-tone in center, and light at highlights. Add sharp needle eyes and hinges with 4H–HB hatching, then deepen carefully.
- Try a light reflect study: leave tiny gaps or lift graphite with a kneaded eraser along bevels. Finally, darken contact shadows one or two steps—instant metal magic!