25 Easy Sewing Projects You’ll Finish in a Weekend
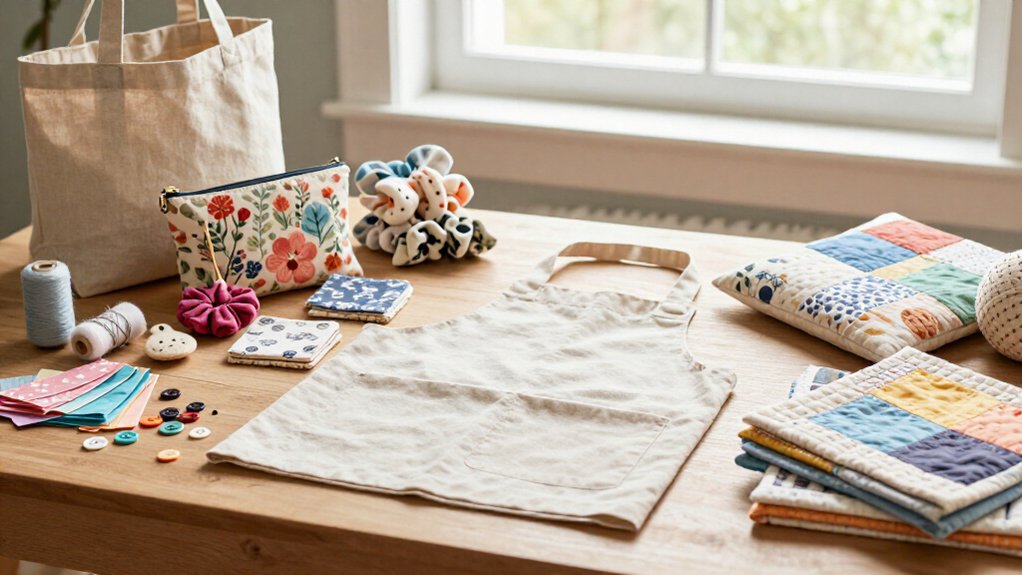
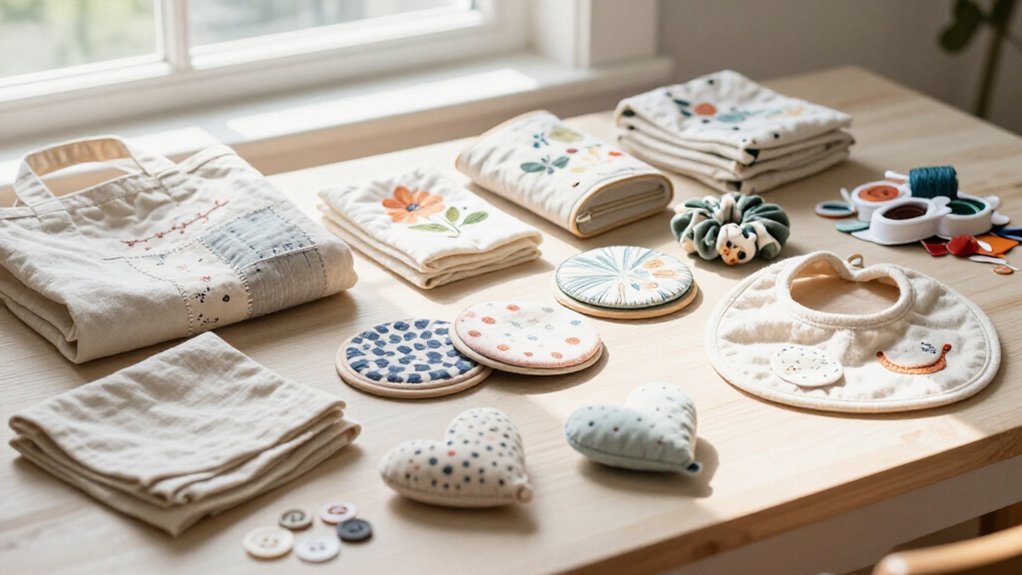
You can finish 25 easy weekend sewing projects with cotton scraps, thread, and basic straight seams—no high-end gear needed! Start with envelope pillow covers, fabric baskets, runners, napkins, and coasters for quick home upgrades. Then sew a bowl cozy or hanging kitchen towel for useful, giftable results. Choose medium-weight cotton, press often, and keep seams simple. Best surprise: reversible placemats look dinner-party polished but wash easily. Keep going for more fast, beginner-friendly makes!
Love cozy DIY projects? 💕
Get free printable guides, exclusive tutorials & surprise craft goodies straight to your inbox.
Disclosure: This post may contain Amazon affiliate links, at no extra cost to you. Content on DiyCraftNest is created with research support from AI tools and carefully reviewed, edited, and fact-checked by the lead author, Daniel Pat, to ensure accuracy and reliability. Learn more
Key Takeaways
- Refresh your table with reversible placemats, wipe-clean runners, fabric coasters, mug rugs, or rolled-hem napkins.
- Sew beginner-friendly home accents like envelope pillow covers, seasonal throw pillows, curtain panels, and upcycled wall art.
- Make practical organizers, including fabric baskets, bowl cozies, utensil rolls, padded glasses cases, and simple zipper pouches.
- Create quick bags and kitchen helpers, such as drawstring bags, reversible aprons, potato bags, washable sponges, and pot holders.
- Finish fast wearable projects with knit headbands, scrunchies, hair bows, bandanas, and two-layer fabric face masks.
Home Decor Projects
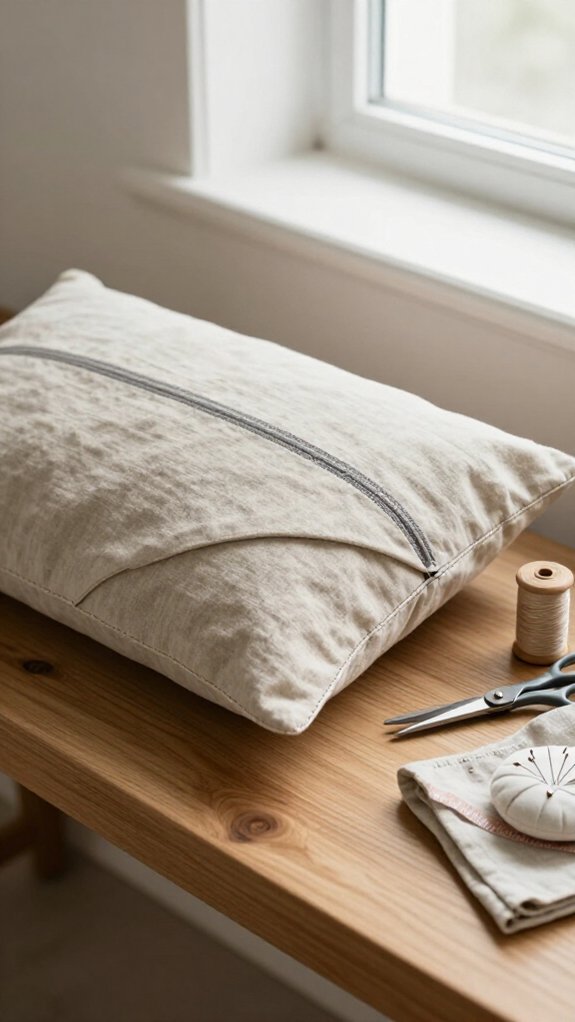
Home décor sewing projects are a great place to start because they’re useful, forgiving, and way more exciting than staring at a plain couch!
Join the handmade-home crowd with reversible cotton placemats: stitch two prints together, turn, topstitch, and machine-wash spills away. They’re cheap, cheerful, and dinner-party ready!
Next, make an oilcloth-style table runner with coated fabric, straight cuts, and three simple seams. It wipes clean fast—goodbye, mystery crumbs!
For a polished room, measure carefully and sew curtain panels or hidden-tab drapes. You’ll get a quick window makeover without advanced skills.
Save scraps for upcycled wall art or seasonal throw pillows; suddenly, your space feels like yours!
Envelope Pillow Cover
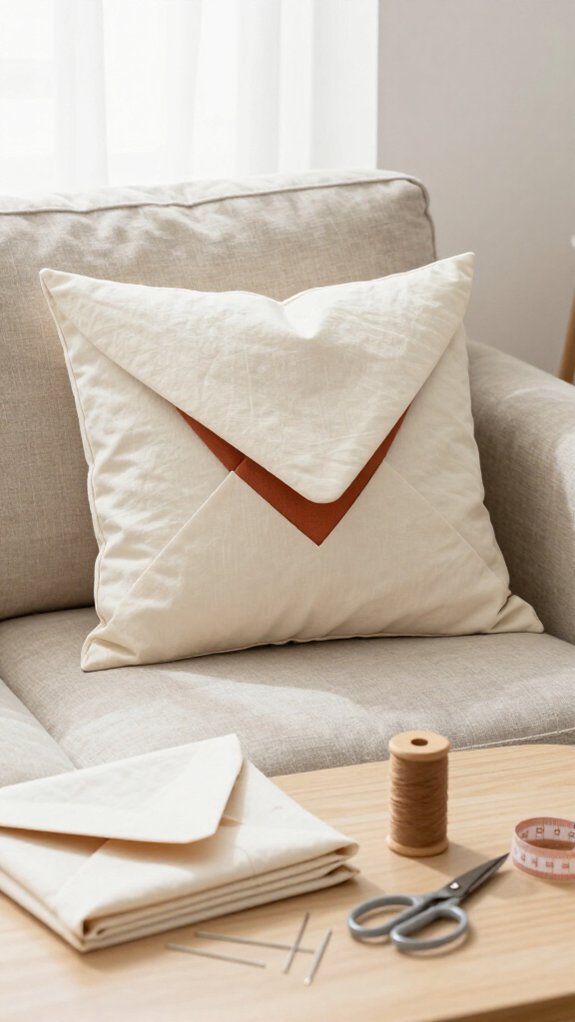
A fresh envelope pillow cover gives any couch or chair a fast, cozy upgrade—no zipper wrestling required! You’ll feel right at home making one for your favorite reading nook.
For easy Fabrics tips, choose medium-weight cotton or a cotton blend; it presses neatly and stays put better. With measuring guidance, cut two panels and an overlap flap, then double-fold hem the flap edges.
Layer the pieces, sew with a 1/2-inch seam allowance, and follow your presser-foot edge for straighter lines. Press the seams, slip in the insert, and check the snug wrap.
Want a polished surprise? Lightly topstitch the front edge—instant handmade charm!
Fabric Basket
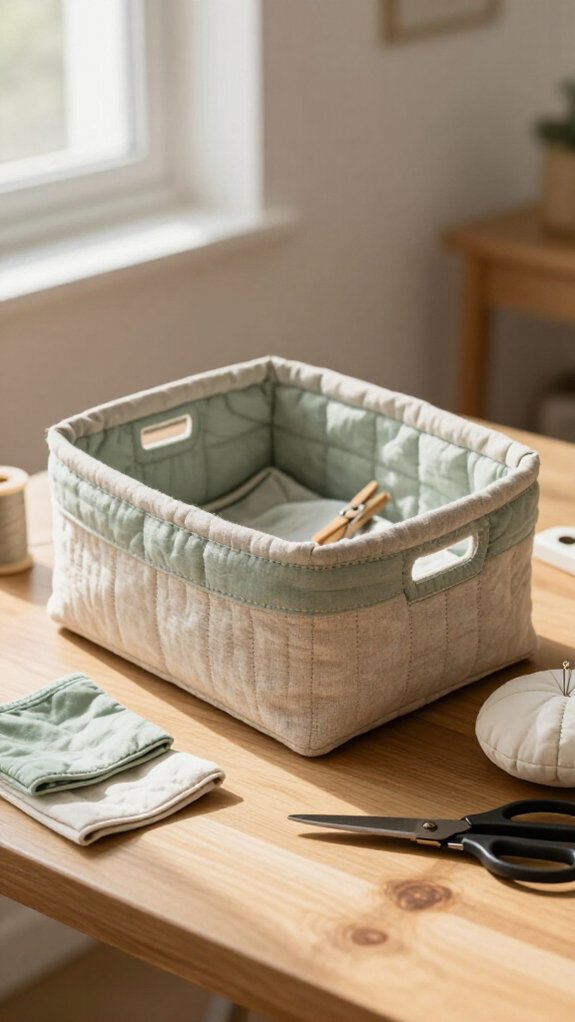
Turn a few fabric scraps into a handy basket, and you’ll have a cheerful spot for craft supplies, snacks, or that growing pile of mystery chargers—so useful!
Choose medium-weight cotton, plus interfacing if you want extra structure. Colorful fabric choices make it feel like it belongs in your space—and with your sewing crew!
Try these quick beginner methods: cut two body rectangles and a matching base, sew side seams with a 1/2-inch allowance, then press flat. Zigzag raw edges to stop fraying.
Next, stitch in the base, trim the allowance, and topstitch the rim. Add handles, reinforce their bases, turn it out, and press—ta-da, a basket that truly carries its weight!
Reversible Table Runner
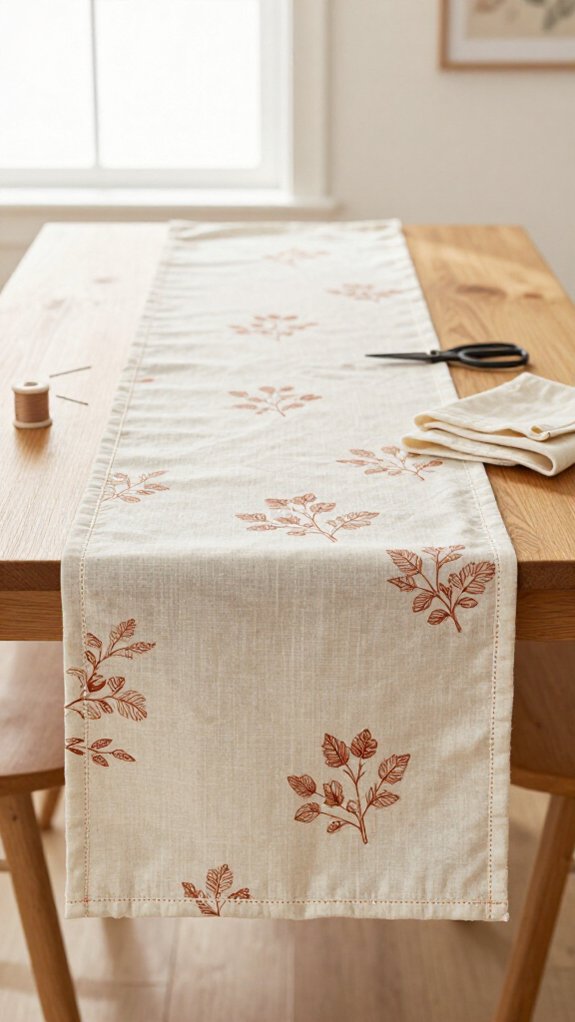
Dress up your table with a reversible runner that gives you two looks for the price of one—pretty clever, right?
Your Fabric selection starts with two coordinating cottons, cut 16–20 inches wide and 48–60 inches long.
Place right sides together, stitch the long edges with a 1/4-inch seam, and press before turning for crisp lines.
This beginner-friendly project takes about one to two hours, including finishing—perfect for a cozy weekend craft session!
For reversible finishing, topstitch around the perimeter or use a double-fold hem.
Want an extra-polished result? Stitch in the ditch near the center to stop thicker cotton from shifting.
Your table will look party-ready!
Bowl Cozy
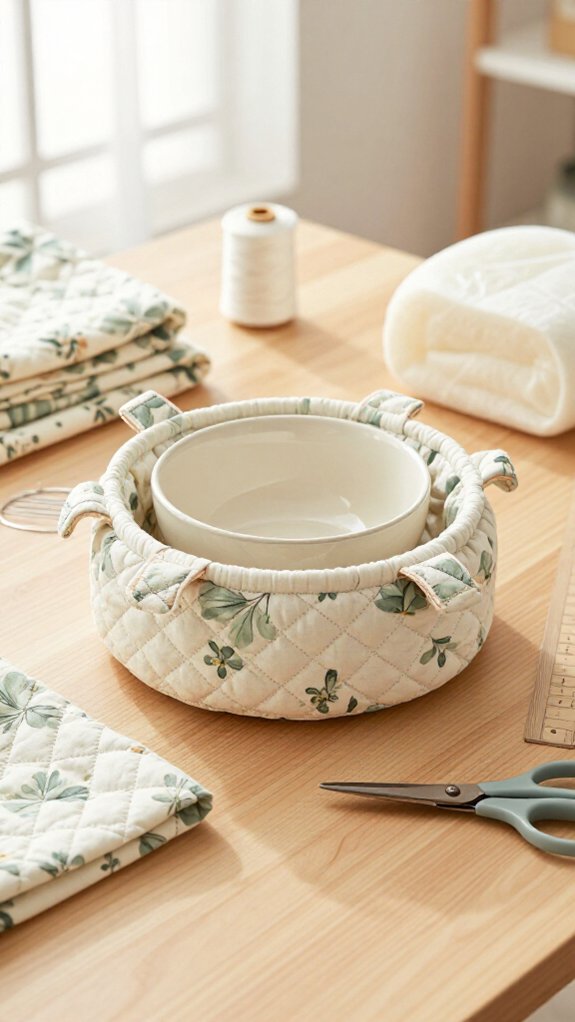
Keep hands comfy when you carry a hot soup bowl with a simple fabric bowl cozy—small project, big kitchen win! You’ll join the cozy-kitchen crowd with medium-weight cotton or a cotton-linen blend, thin batting, and a Velcro tab or ties.
Measure your bowl’s rim and height, then add 1/2 inch for seams and 1 inch for wiggle room. Cut straight rectangles, sew the shell, and press the top edge before stitching it neatly.
Next, add batting and topstitch or slip-stitch layers so they won’t wander off like a ruffle curtain in a breeze. Use leftover fabric placemats for a thrifty matchy-matchy finish—surprisingly cute!
Bags and Organizers
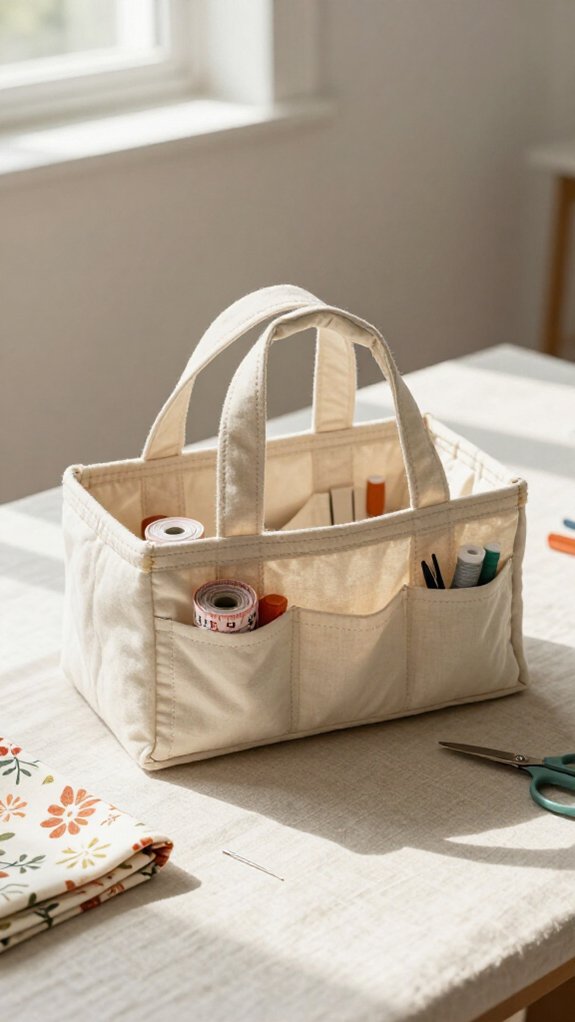
Once your bowl cozy is stitched, put those straight-seam skills to work on bags and organizers that tame life’s little clutter—pens, makeup, laundry, picnic forks, you name it!
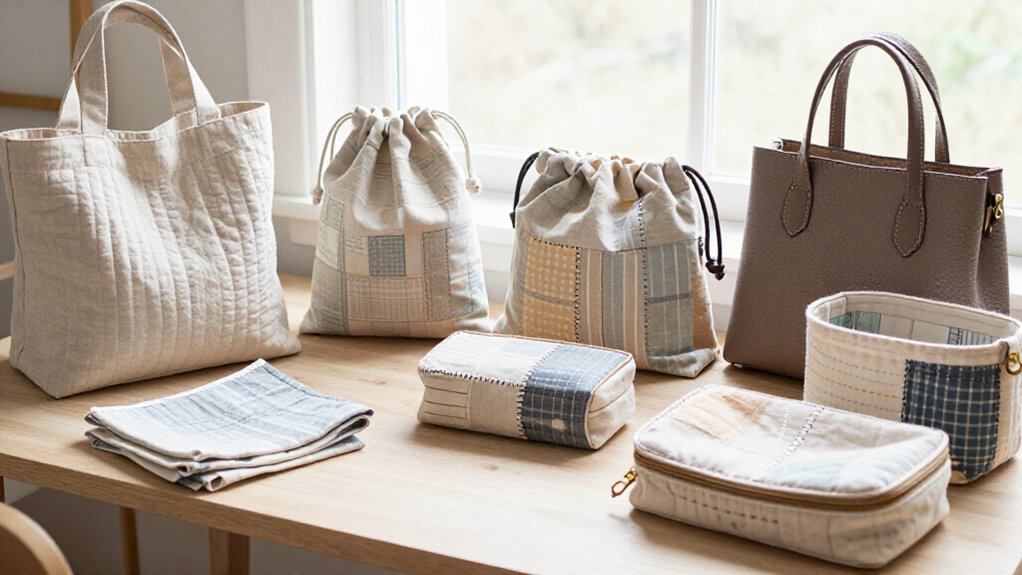
For Beginner sewing, make a rectangle zipper pouch: use a free pattern, small fabric yardage, a zipper, and important measurements for tidy panels. Stitch, turn, and enjoy simple finishing—instant purse peace!
Next, cut two rectangles for a Japanese knot bag; its looped closure feels clever, not complicated. Or sew a utensil roll with pocket divisions and ties, perfect for shared picnics.
Want a surprisingly useful win? A padded glasses case protects your specs from bag-bottom chaos!
Drawstring Bag
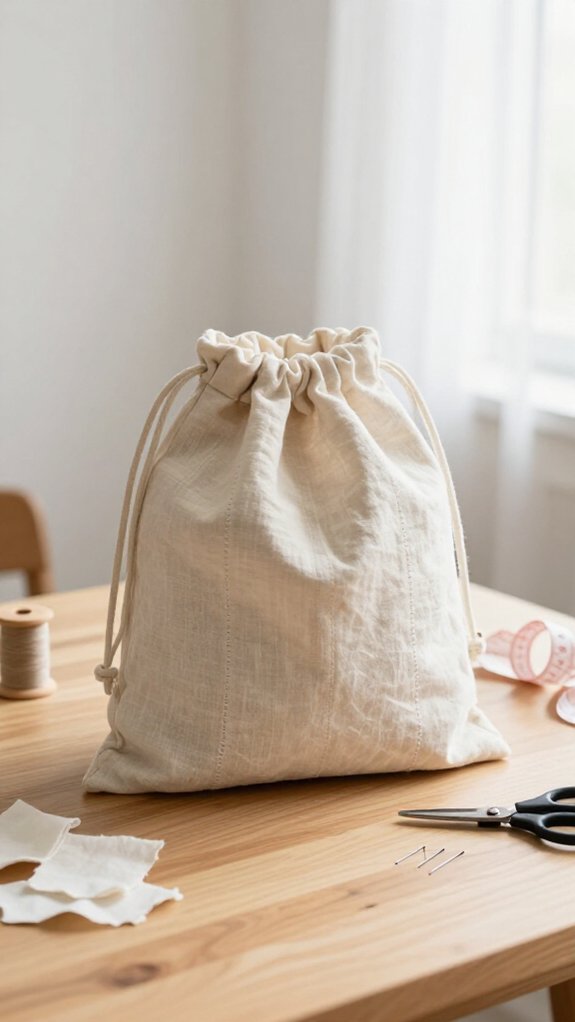
A drawstring bag is your next easy win: with mostly straight seams, washable medium-weight cotton, sturdy cord or twill tape, and a few basic tools, you can sew a useful little tote in an afternoon!
| You’ll use | You’ll get |
|---|---|
| Cotton blend | Shape control |
| Twill tape | Smooth closure |
| Iron | Crisp casing |
| Bodkin | Easy threading |
These fabric selection tips support Perfect beginner stitching: press the top, stitch a channel, and leave a gap. Try reusable cord options, then add quick bag customization with contrast stitching or a pocket. Your sewing crew will love it!
Zipper Pouch
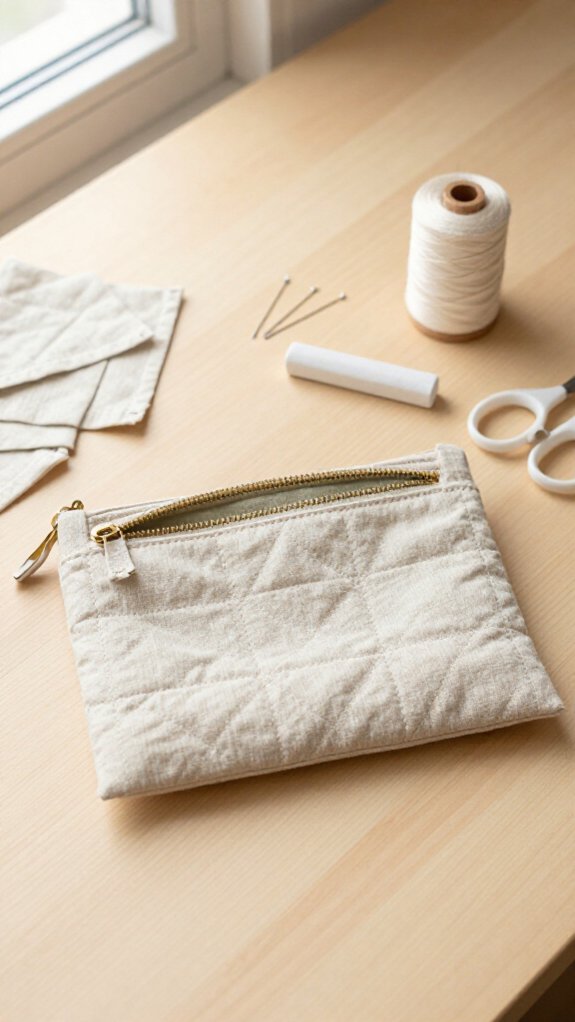
Ready for a slightly more polished project? You’ll love making an Easy zipper pouch that feels like it belongs with your favorite handmade pieces!
Choose a simple rectangle pattern, quality fabric, lining, a zipper, and optional thin interfacing. Cut your pieces, then line up raw edges and sew straight stitches.
Baste the zipper to the outer fabric first, so you can adjust it—no zipper drama here!
Use a zipper foot for neat stitching near the teeth. For handy lining tips, match outer pieces and lining pieces separately, then sew around the edges.
Turn it through the lining opening, poke corners gently, press, and topstitch 1/8 inch. Those finishing steps create a sturdy, shop-worthy edge!
Fabric Storage Bin
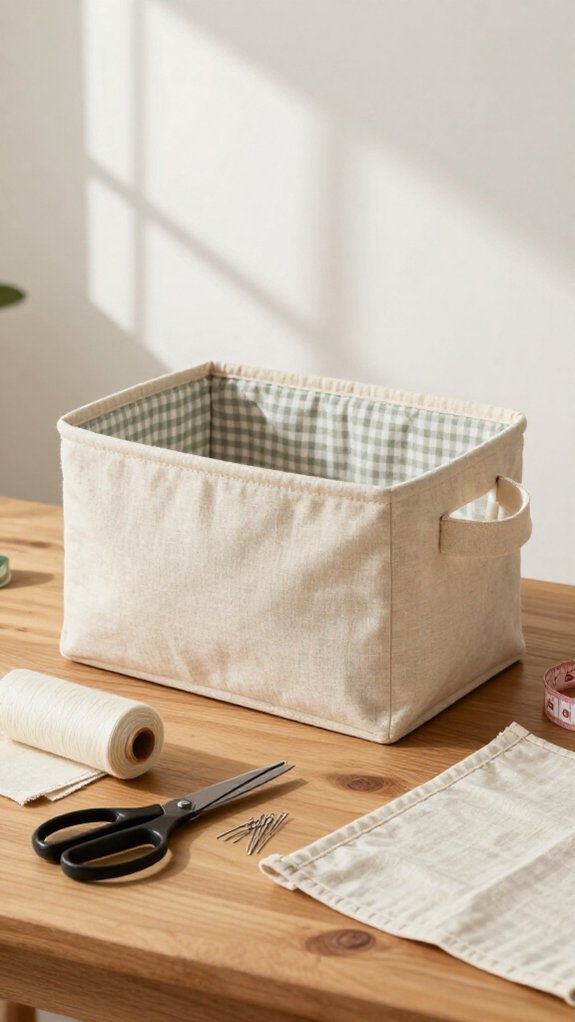
Fabric storage bins turn leftover cotton into cheerful, useful organizers—you’ll wonder why you waited!
Cut two matching rectangles, plus batting or fusible fleece for firmness, and sew right sides together, leaving a turning gap.
Press, turn, close the gap, then topstitch near the edge for a crisp finish.
Add a beginner friendly lining, a rolled bias-tape rim, or Velcro if you want a secure top—easy, affordable, and totally weekend-ready!
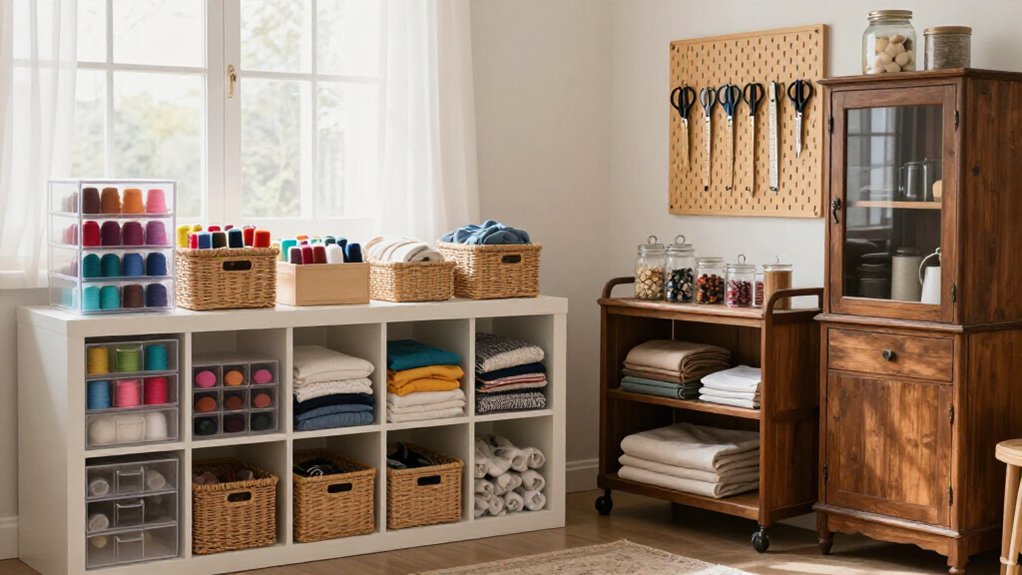
Measure your cubby or closet shelf first, then make matching bins for socks, craft supplies, or pet toys.
Add Fabric bin handles for the polished surprise: suddenly, your shelf looks like it belongs in everyone’s favorite organized home.
Hanging Organizer
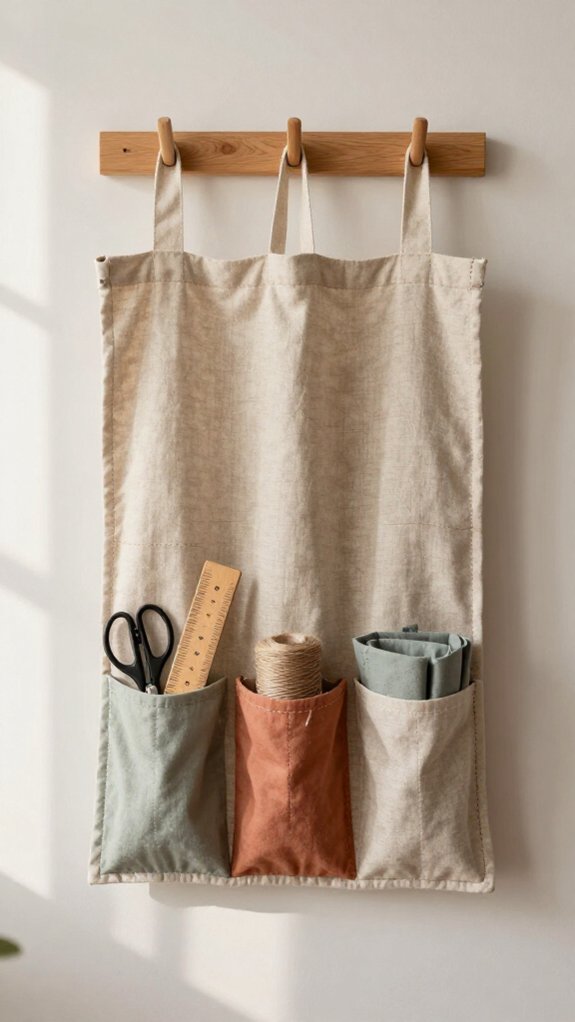
Turn leftover fabric into a handy hanging organizer, and you’ll clear countertop clutter without buying another plastic basket—win-win! Choose sturdy outer fabric, a simple lining, and cut matching rectangles.
Press edges, then use these pocket placement tips: measure, pin 3–6 pockets, and stitch straight. You’ve got this!
| Part | Easy choice | Result |
|---|---|---|
| Outer | Canvas | Holds up |
| Lining | Cotton | Sews smoothly |
| Pockets | Even rows | Finds necessities |
Explore Alternative lining options, like old sheets, to save money. Topstitch openings, snip threads, and add a reinforced dowel casing. Your neat little wall station will feel like it belongs in your home!
Wearable Sewing Projects
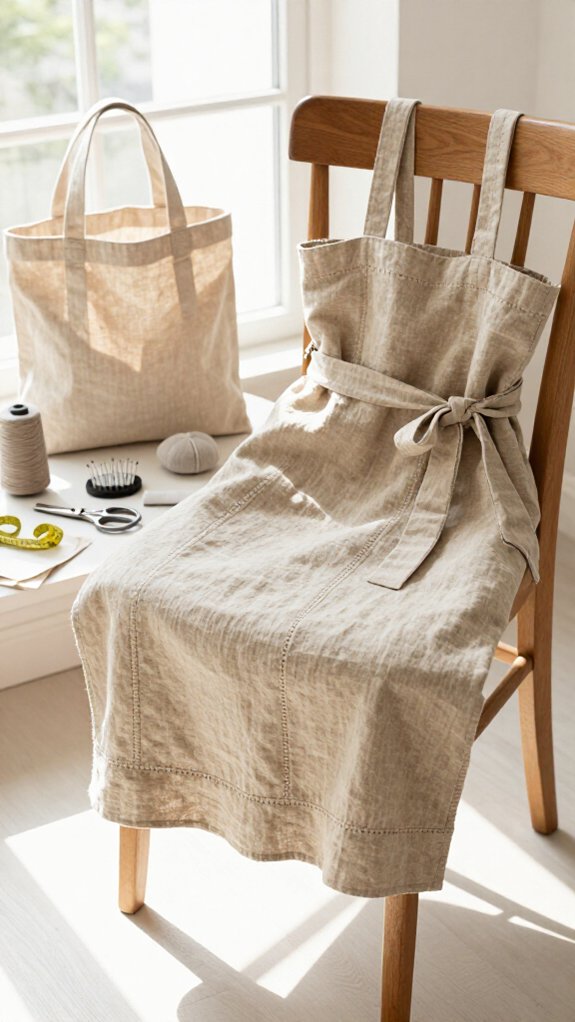
Wearable sewing projects let you make something useful, cute, and totally yours without wrestling a complicated pattern—hooray!
Start with a Fabric headband: grab knit fabric, stitch straight seams, turn it, and twist for a turban or ear-warmer style. You’ll have a cozy, team-craft-night look by Sunday.
Try scrunchie making with a fabric strip, elastic, and a few neat stitches. Hair bows take under 15 minutes, too—small wins count!
Before clothing, practice rolled-hem napkins or bandanas to master edges. Then sew a two-layer DIY face mask with an optional filter pocket. It’s practical, affordable, and teaches turning and steady seam allowances like a pro.
Infinity Scarf
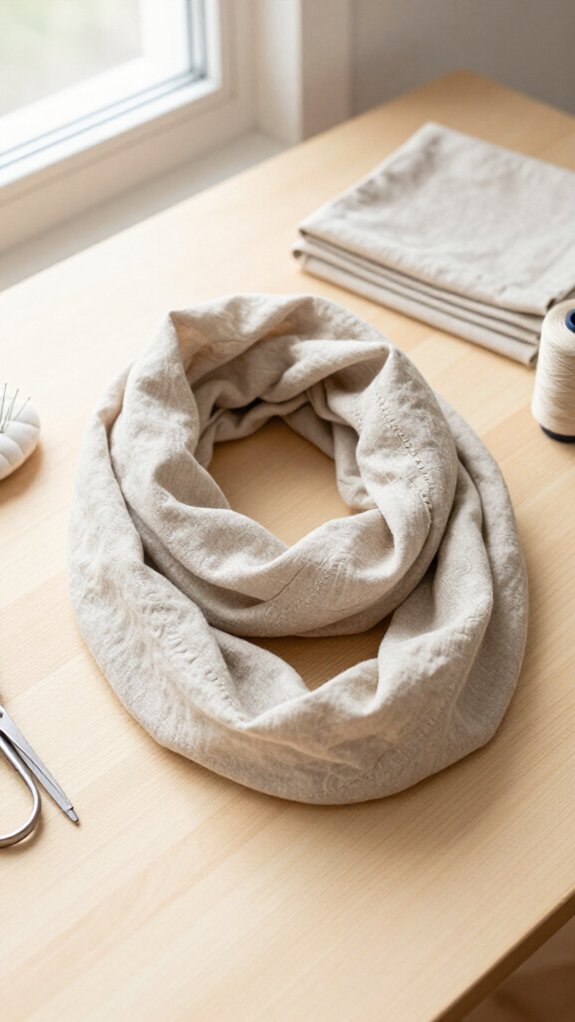
An infinity scarf is the perfect next step after small wearables: it’s one long, cozy loop with no knots, buttons, or fussy closures to figure out—yes, please!
Your Fabric choice can be medium-weight cotton jersey, soft knit, or flannel for a non-stretch feel. Prewash if your pattern recommends it, then cut on-grain for straighter seams.
Sew the long edges with a straight stitch, press the seam, and zigzag or serge the raw edges. Add a double-fold hem to stop fraying.
Now for the fun fit adjustments: make it 6–10 inches wide and 50–70 inches long. You’ll create a comfy loop that wraps twice and looks wonderfully put-together!
Reversible Apron
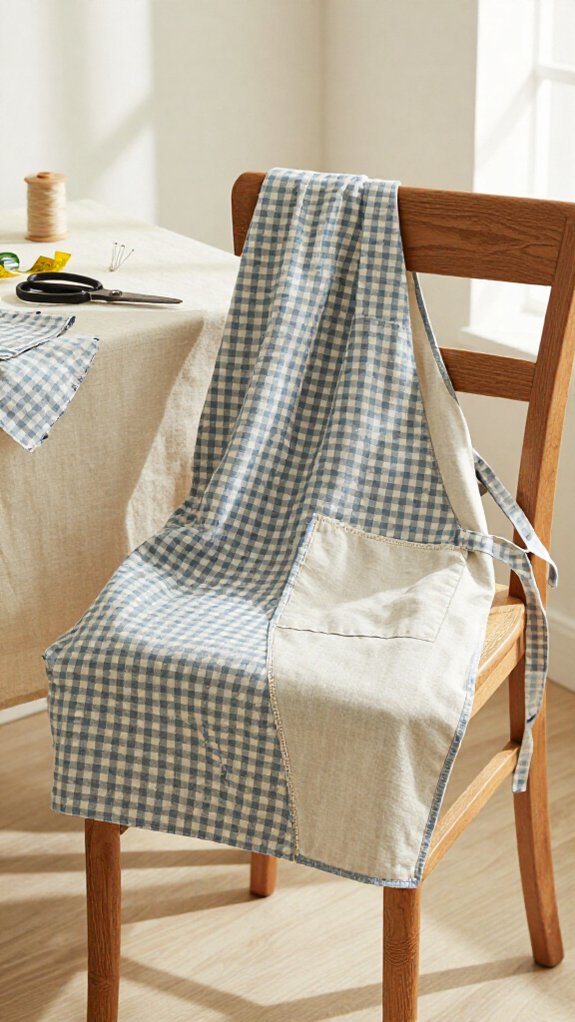
A reversible apron gives you two cheerful looks in one beginner-friendly project, and it’s much easier than it sounds—no stylish sewing magic required!
For Fabric selection, choose medium-weight cotton or denim-like fabric; it presses neatly and holds its shape. Use a pattern, or try pattern customization with a simple rectangle body and two ties. Cut two panels and straps.
Place the panels wrong-sides together, sandwich in the neck and waist ties, and straight-stitch the neckline and sides. Backstitch tie ends—they handle the tugging!
Turn, then topstitch near the edges.
Finish with a double-fold bottom hem. Flip it for a fresh kitchen look—your crew will think you’re a sewing star!
Headband
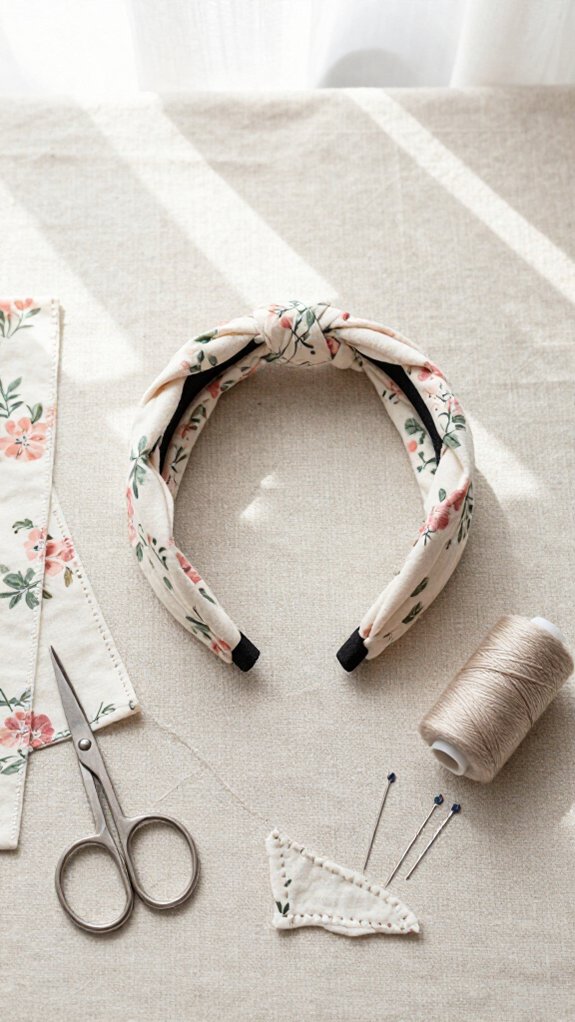
Turn a soft knit strip into a comfy headband, and you’ll have a cute weekend win before your coffee gets cold! You’ll need soft knit or cotton knit, scissors, pins, and a sewing machine.
It’s a friendly beginner project with only one or two straight seams—no pattern-matching drama!
For fabric sizing, measure your head and cut the strip 1–2 inches shorter for a snug stretch fit, usually 20–24 inches long.
Lightly stretch as you sew with a zigzag stitch, then press the seams.
Finish the ends, flip if needed, and join them neatly.
For polished stitch finishing, add a knotted twist or tiny bow—your new go-to look!
Scrunchie
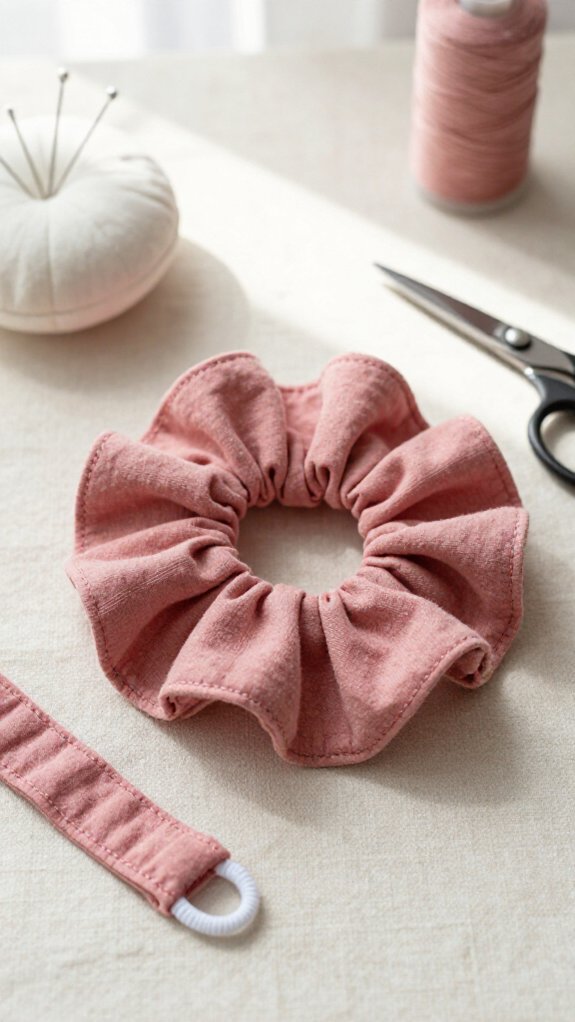
With a small strip of fabric and a bit of elastic, you can sew a custom scrunchie in under an hour—pretty handy, right?
Choose stretchy knit or jersey in a color that feels like you.
Cut a 7–10-inch rectangle, fold it right sides together, and stitch the long edge.
Turn the tube, then thread in 2–6 inches of elastic.
For Beginner troubleshooting, pin the elastic before stitching its ends with a zigzag or backstitch—no twists allowed!
Pull the fabric into soft gathers, close the opening with a neat topstitch, and try seam finishing with a short zigzag or fray-check.
You’ll have a durable, cheerful hair tie that looks totally shop-ready!
Gift Ideas
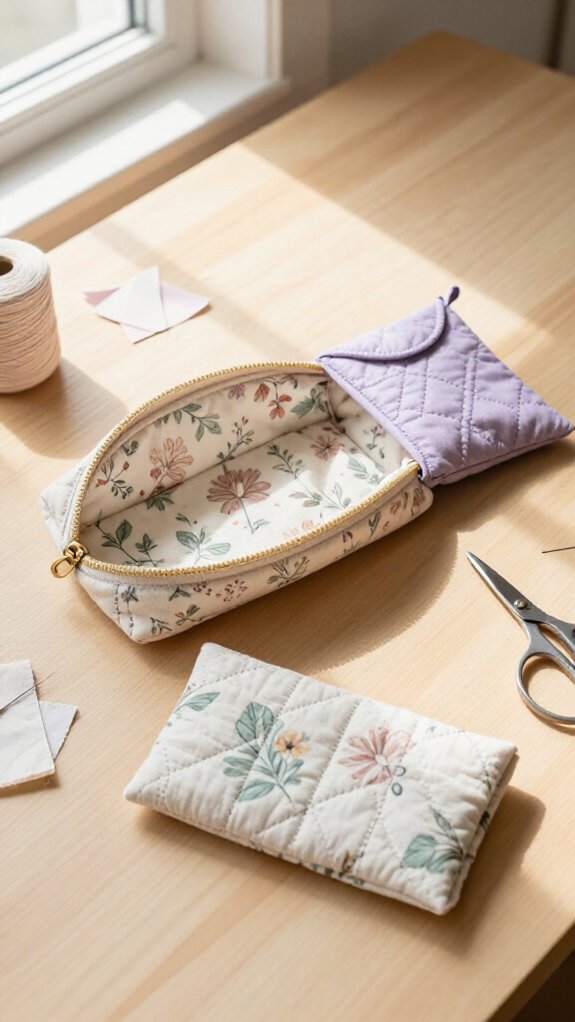
Need a thoughtful handmade gift fast? Turn Closet Cleanup fabric into a Quick Gift your people will actually use!
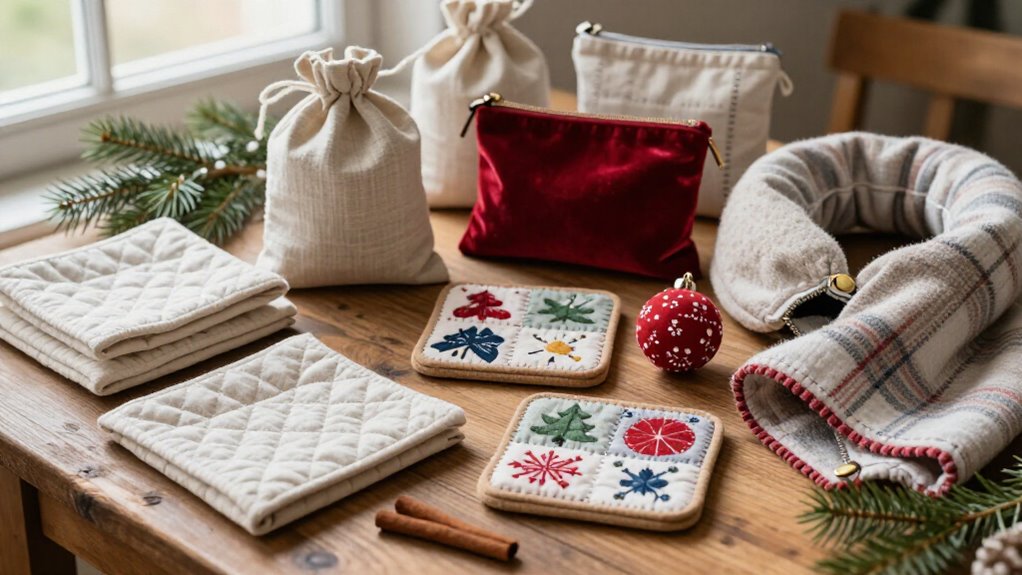
- Sew fabric coasters: cut squares, stack two layers, stitch, turn, and protect desks for teachers or friends.
- Make a tech zip pouch: use cotton, a zipper, and Simple Seams to hold earbuds or cords. It’s beginner-friendly, promise!
- Create a microwave potato bag: stitch cotton rectangles with simple closures, then gift cozy baked-potato magic.
For Sewing Survival, try baby bibs or burp cloths with free patterns. They’re inexpensive, useful, and make you feel part of the handmade-gift crew!
Mug Rug
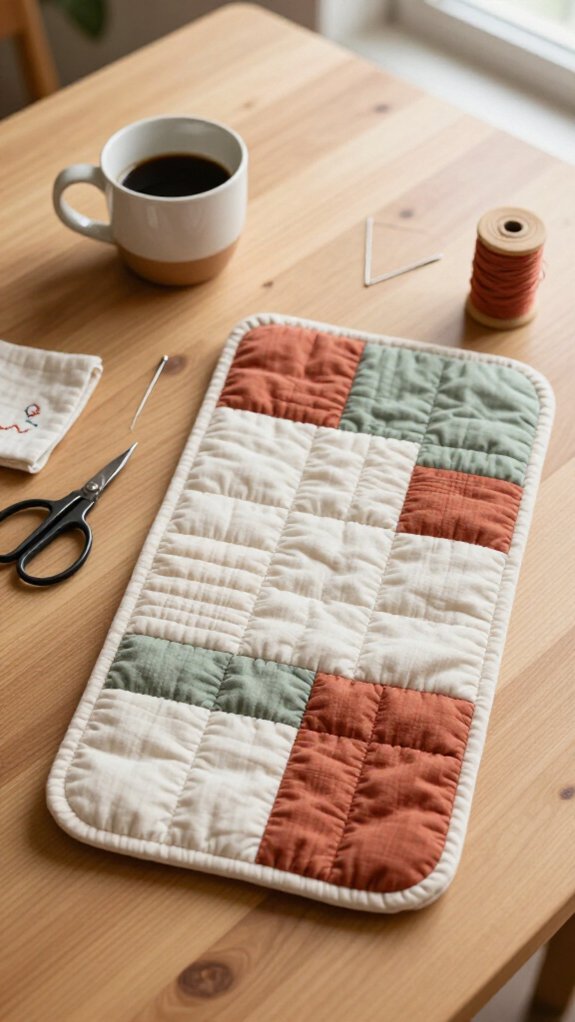
A mug rug is the cheerful little upgrade your coffee corner didn’t know it needed! You’ll use fabric scraps to make a cozy landing spot for your drink and spoon.
| Layer | What you use | Why it helps |
|---|---|---|
| Top | Medium-weight cotton | Adds color |
| Middle | Batting | Boosts heat resistance |
| Back | Cotton backing | Protects tables |
| Finish | Straight stitch | Keeps it tidy |
Cut 6–8-inch squares, stack top, batting, and backing, then sew around the edges. Trim corners, turn, press, and topstitch close to the edge. Add quilted lines for extra stability—suddenly, your coffee break looks like it belongs in the group chat!
Fabric Bookmark
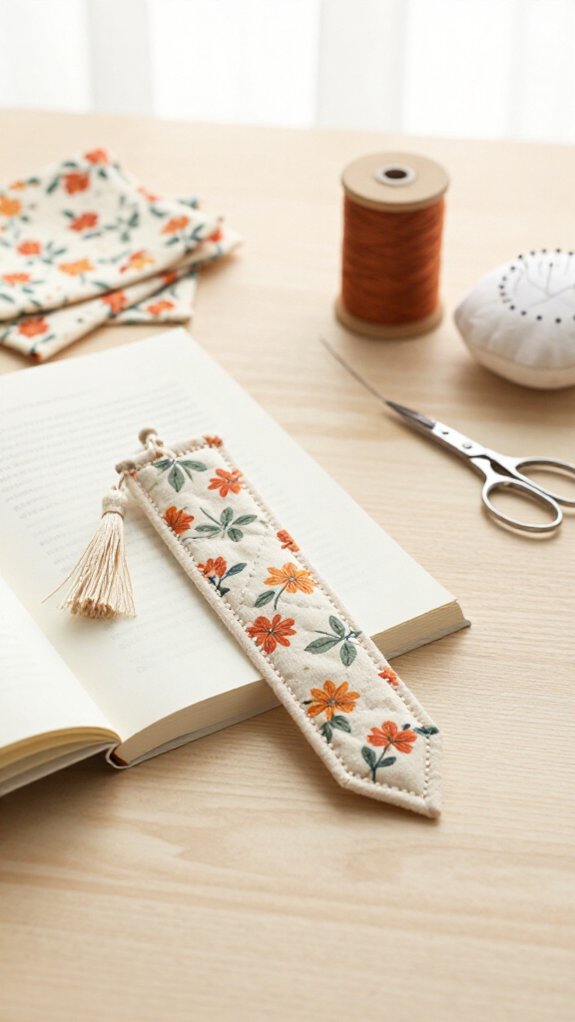
Fabric bookmarks turn even the tiniest scraps into a useful little project—plus, they’re much harder to lose than that receipt you’ve been using as a page marker!
You’ll need medium-weight cotton, thread, scissors, an iron, and optional ribbon. For easy bookmark sizing, cut a slim rectangle that fits your favorite novel.
- Sew straight seams around the rectangle, leaving an opening to turn it.
- Press lightly for crisp corners, then close the opening with a final stitch.
- Try fabric finishing with a zigzag edge or folded-and-stitched sides to stop fraying.
Add a bright tassel, ribbon, or contrasting patch at the top—your reading group will spot your handmade style instantly!
Reusable Gift Bag
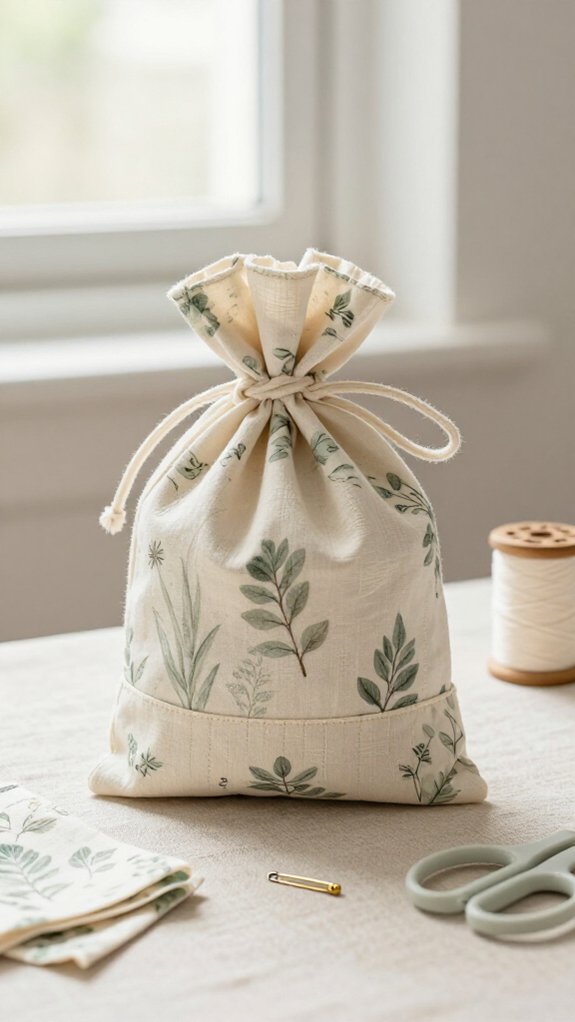
Reusable gift bags make wrapping presents feel less wasteful and a lot more personal—no tape battle required!
Choose medium-weight cotton or a cotton blend, then cut an all-purpose rectangle or reuse wine-bag dimensions. It’s an easy, budget-friendly win!
Press seam allowances and hems first, then sew straight side and bottom seams for crisp lines.
Add a drawstring casing or zipper, and your gift stays neatly tucked away.
Want extra strength? Line it with matching fabric, especially for fabric storage or heavier surprises.
Topstitch any handles to reinforce them.
Soon, you’ll create upcycled fashion-style packaging your friends will love reusing—birthday, holiday, or just-because treats included!
Eyeglass Case
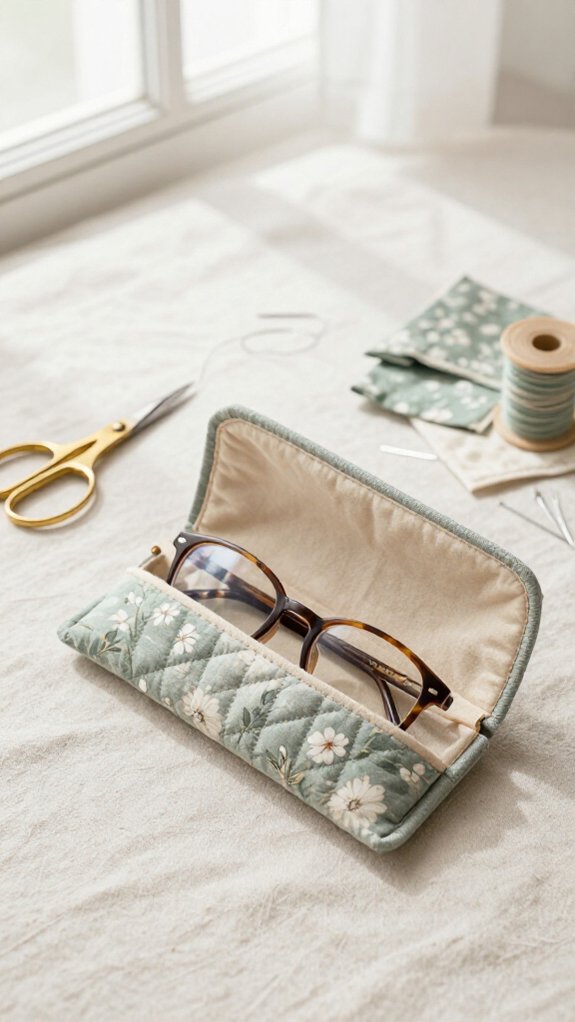
Keep your glasses safe in a soft, handmade case that takes just a little fabric, basic sewing supplies, and an afternoon—pretty great, right?
Choose Colorful fabric choices, plus batting or flannel, and use the free fabric glasses case pattern. You’ll feel right at home making this polished little project!
- Cut two exterior and two lining pieces to fit your frames.
- Layer in padding, straight-stitch, then press seams before turning.
- Add beginner friendly closures—a snap, button, or short zipper—and topstitch edges.
Measure first, then adjust the length for a snug fit. Your lenses stay scratch-free, and the case won’t squish your frames—win!
Kids Sewing Projects
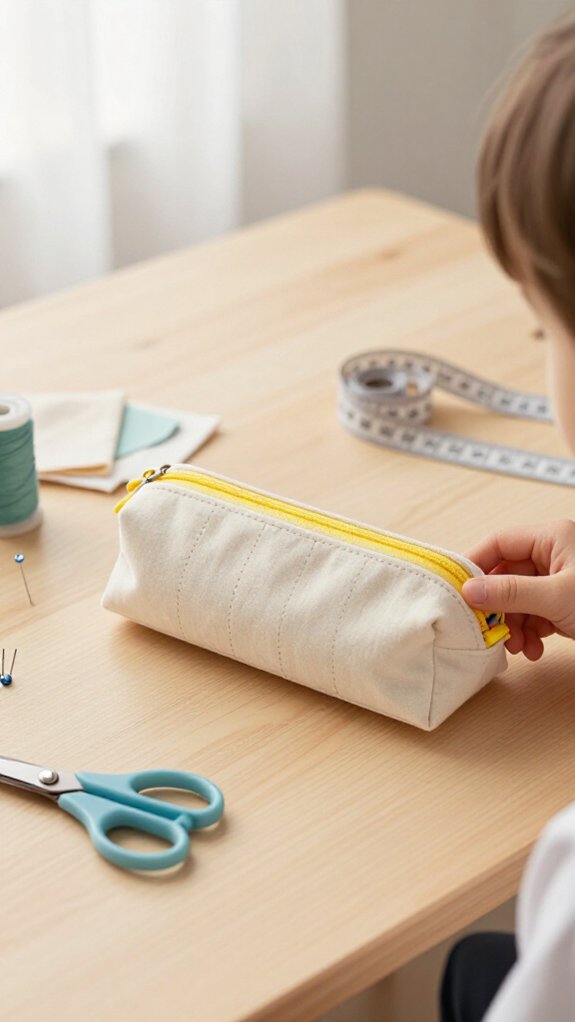
Kids can jump into sewing with small, colorful projects that build real skills without turning the table into a thread-covered disaster! You can make a fabric crayon roll-up with cotton scraps, ribbon, and a few stitches to Practice straight seams. It’s cheap, useful, and proudly shareable!
Next, try a circle zip earbud pouch. Add a zipper, sew around the curve slowly, and you’ll get zipper basics practice without a huge project.
For neat edges, stitch a simple bookmark or rolled-hem napkins. Ready for a surprise? Turn soft fabric, tags, and batting into a baby tag blanket—then enjoy a cuddly, washable creation together!
Felt Animal
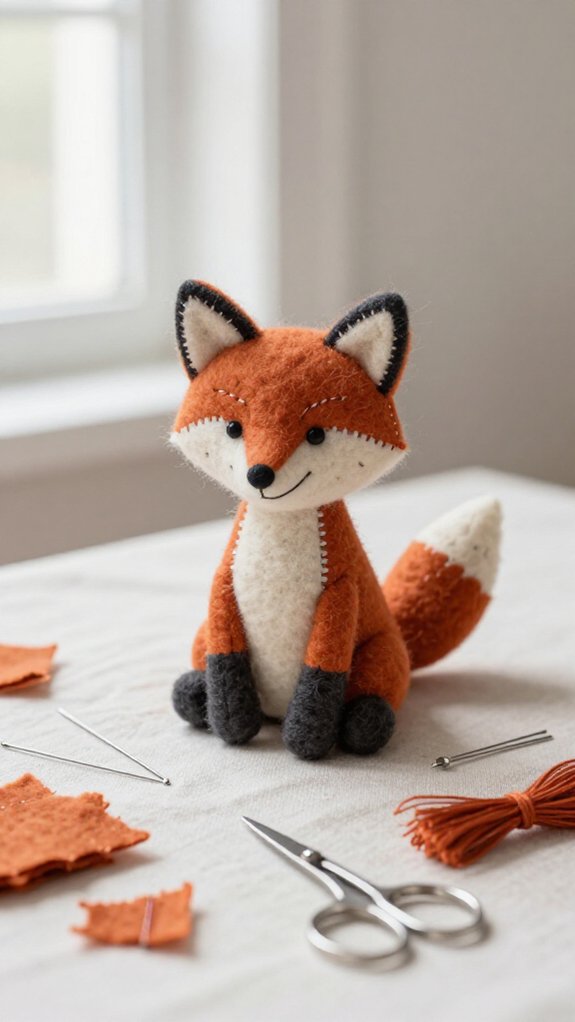
A felt animal is a cheerful, no-fuss project you can finish in an afternoon—no elaborate pattern skills or fraying fabric drama required!
Choose simple felt and beginner patterns, such as a goofy monster, then gather felt, thread, a needle, glue, and fiberfill. You’ll fit right in with fellow makers!
- Cut shapes directly from felt.
- Add bright eyes, a snout, or spikes, then whip stitch the layers.
- Lightly stuff it, close the opening tightly, and trim stray threads.
Skip stuffing for a flat version, or give it a squishy belly—either way, your tiny creature looks wonderfully handmade!
Mini Plush Pillow
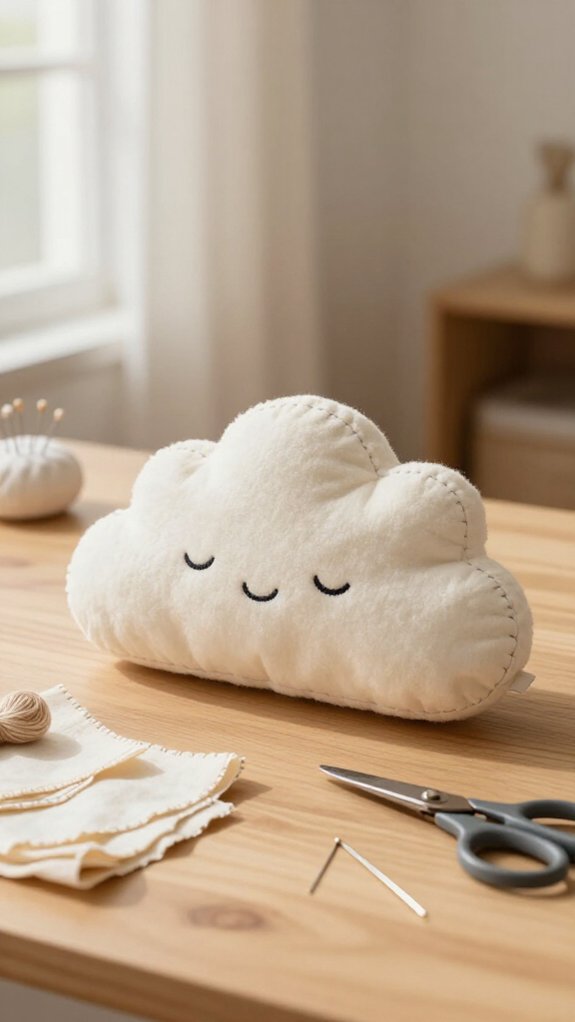
Turn a few soft fabric scraps into a mini plush pillow, and you’ll have a cozy little accent for a bed, desk chair, or doll corner—so cute!
Wash cotton first, then cut two 6–10-inch matching panels.
| Step | Your move |
|---|---|
| Stitch | Sew three sides, 1/2-inch allowance |
| Shape | Clip corners for corner shaping |
| Fill | Add Soft stuffing firmly |
Turn it right-side out, press seams, and close the gap with a ladder stitch. Sew slowly around corners; a seam ripper saves the day when stitches wander! Your tiny pillow looks handmade in the best way, ready to join your cozy crew.
Crayon Roll
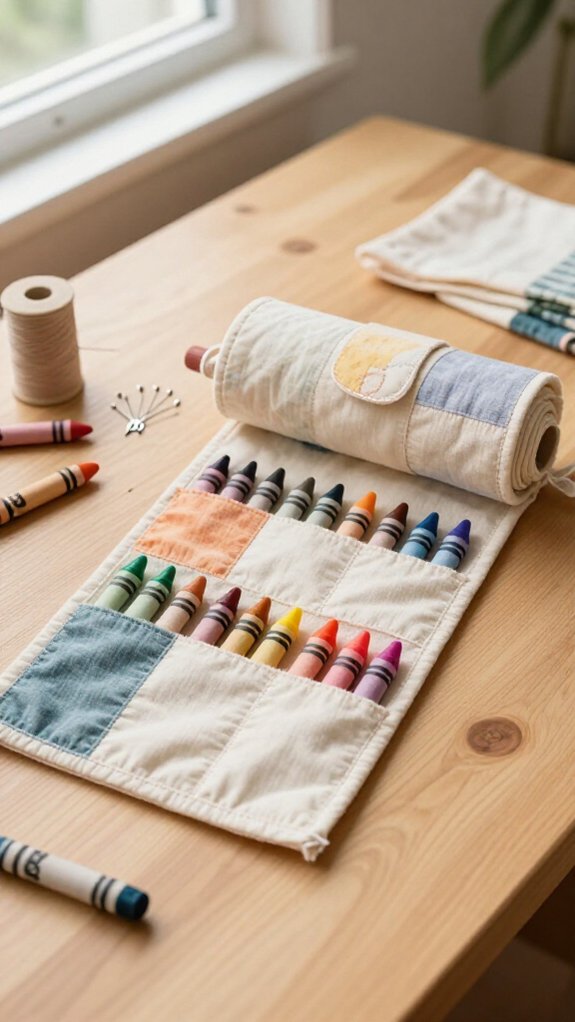
Keep every color in its place with a cheerful fabric crayon roll—an easy weekend sew that makes car rides, restaurant waits, and after-school art time much less chaotic!
Your fabric choice matters: use medium-weight cotton plus a coordinating lining for a tidy, sturdy roll. For Crayon safety, check crayons for broken pieces before packing—no mysterious wax crumbs allowed!
- Cut panels and stitch simple straight seams.
- Sew 8, 12, or 24 channels, then add an elastic loop closure.
- Press, topstitch, and test-roll it with crayons.
Add a tiny sharpener pocket for a handy surprise. You’ll create a useful little organizer your creative crew will love!
Tooth Fairy Pillow
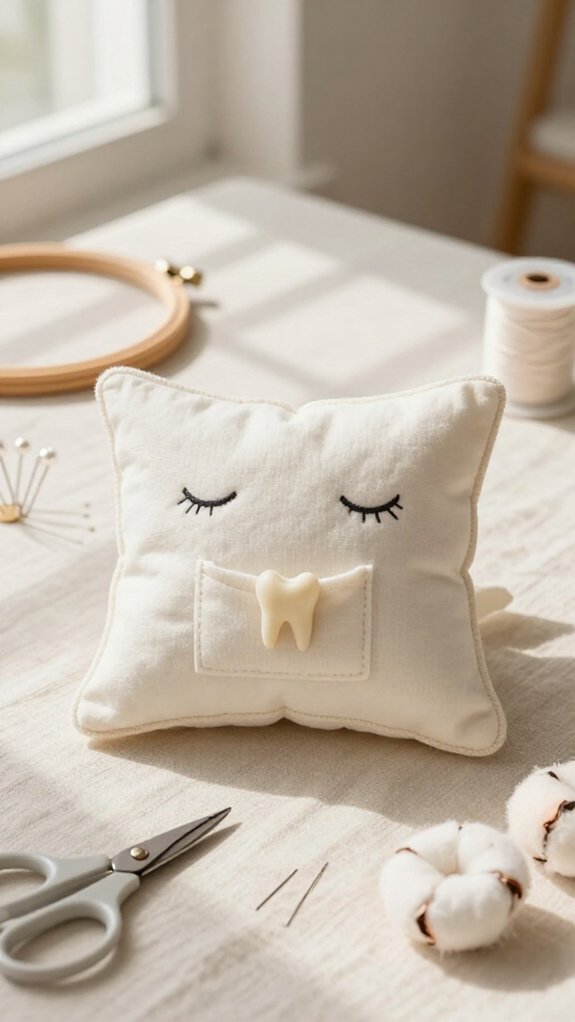
Make bedtime magic a little easier with a sweet tooth fairy pillow, a beginner-friendly weekend project that gives every tiny tooth a safe place to wait overnight!
Choose a rectangle or heart, then cut two cotton pieces, matching thread, polyfill, and a small fabric square for a Tooth pocket. Straight seams keep this affordable project simple—no wizard-level skills required!
Sew the pocket onto the front, press seams before topstitching, and lightly stuff the pillow. Keep the pocket accessible, so your child can tuck in their treasure without wrestling the pillow.
Finish with a secure sewing closure on the back. Add their name in embroidery or fabric marker—suddenly, it feels like part of the family!
Kitchen Sewing Projects
Your kitchen can become a mini sewing studio with a few easy projects that look useful, cheerful, and surprisingly polished—yes, even if your straight lines wobble a little!
- Make coasters from cotton scraps: stitch, turn, press, and protect your table in style.
- Sew rolled-hem napkins with matching thread. They’re inexpensive, beginner-friendly, and make family meals feel more welcoming.
- Ready for the surprise win? Create washable zero-waste sponges using cotton, coarse scrub fabric, and mildew-resistant batting. Sew around the edges, flip if needed, then topstitch. You’ll get a sturdy helper that skips the disposable pile—hooray!
These kitchen sewing weekend projects help you create useful pieces everyone can enjoy.
Pot Holder
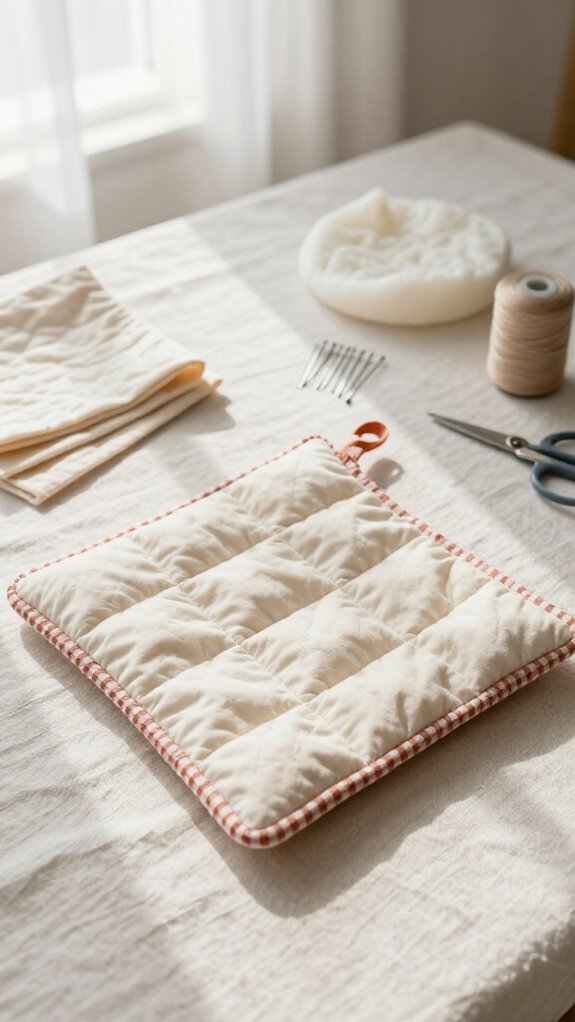
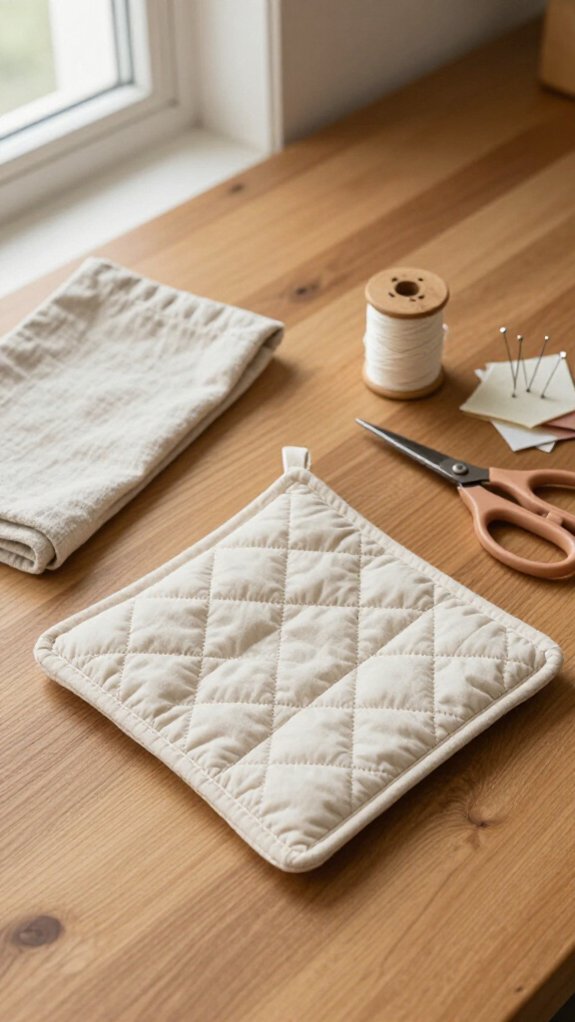
Pot holders are a weekend classic because they’re quick to sew, genuinely useful, and far more cheerful than grabbing a hot pan with a folded dish towel—yikes!
For beginner sewing, choose medium-weight 100% cotton or quilted pot-holder fabric, plus cotton batting for kitchen safety. Cut two matching squares and one batting square, then stack the outer pieces right sides together with batting underneath. Stitch around the edges, leaving a small opening.
Next, trim bulky seams, turn it right-side out, press flat, and topstitch close to the edge. Add a fabric hanging loop, doubling the fabric where it attaches for extra protection. You’ll have a sturdy, washable helper worthy of your cozy kitchen crew!
Cloth Napkins
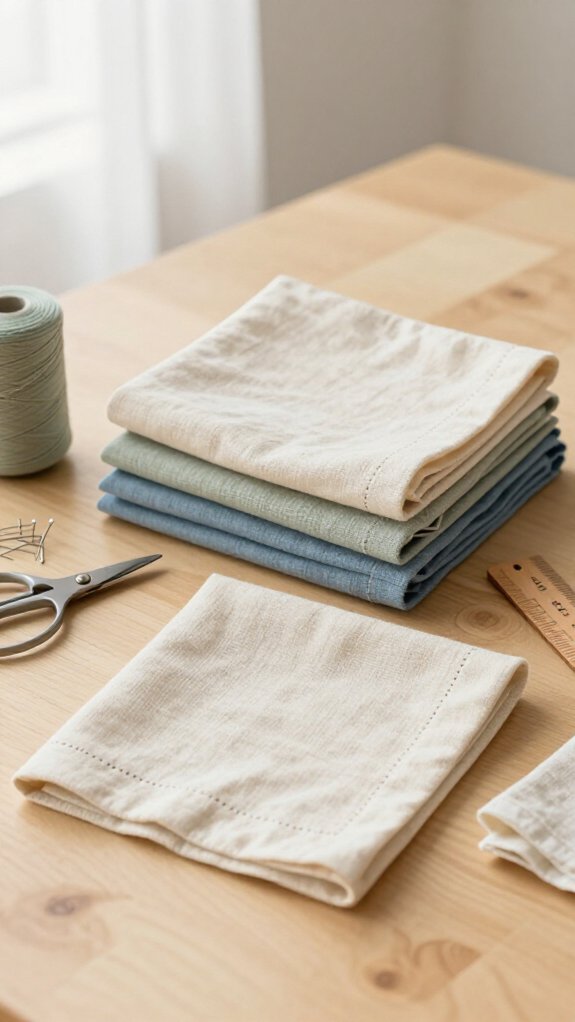
Cloth napkins bring that same handmade charm to the table, and they’re much easier than they look—no elaborate dinner party required! You’ll practice stitching basics while making something everyone can enjoy.
- Choose pre-washed, medium-weight cotton and cut squares in your favorite size.
- Use pressing tips: iron a narrow double fold, then roll the edge neatly.
- Match your thread to the fabric and stitch close to the fold.
Make four to eight for a coordinated weekend refresh—budget-friendly, too! Once you find your rhythm, corners become surprisingly tidy.
Set them out for pizza night, brunch, or your next family meal; suddenly, the table feels like yours.
Hanging Kitchen Towel
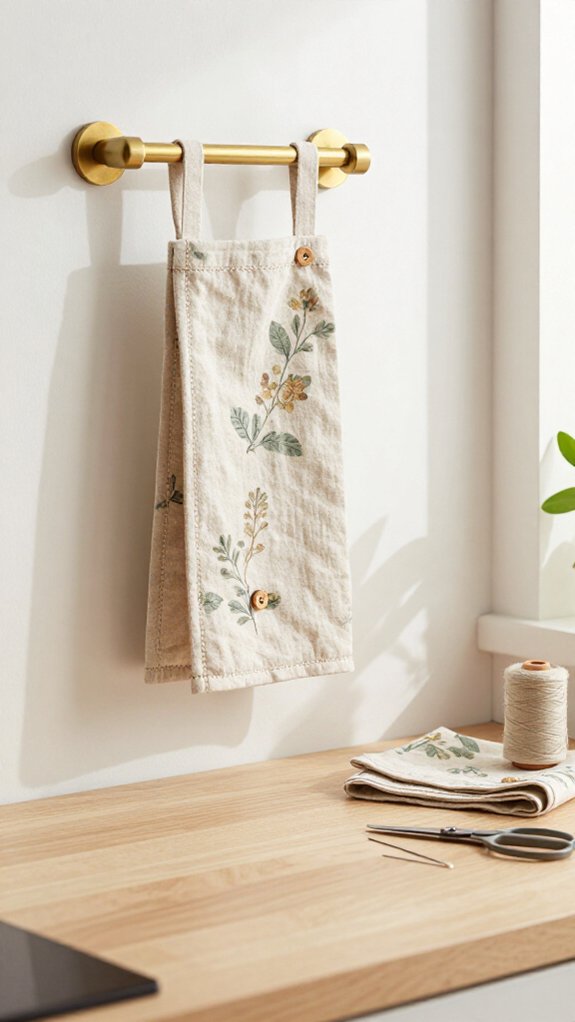
A hanging kitchen towel is a tiny upgrade that makes the whole room feel more put together—no more towel puddles on the counter! You’ll need a cotton towel, thread, an iron, and a rod, dowel, or farmhouse hooks.
Hem open edges with straight stitches, pressing after every fold for crisp, durable lines.
Next, fold a 1.5–2-inch header at the top, press it, and stitch it down to create a casing.
Want a little extra flair? Fold a 3–4-inch fabric strip into thirds and sew its ends into the top seam as a loop. Add a second stitch line below the first for strength.
Your towel styling will look polished, even on busy dish-duty days!
Fabric Coasters
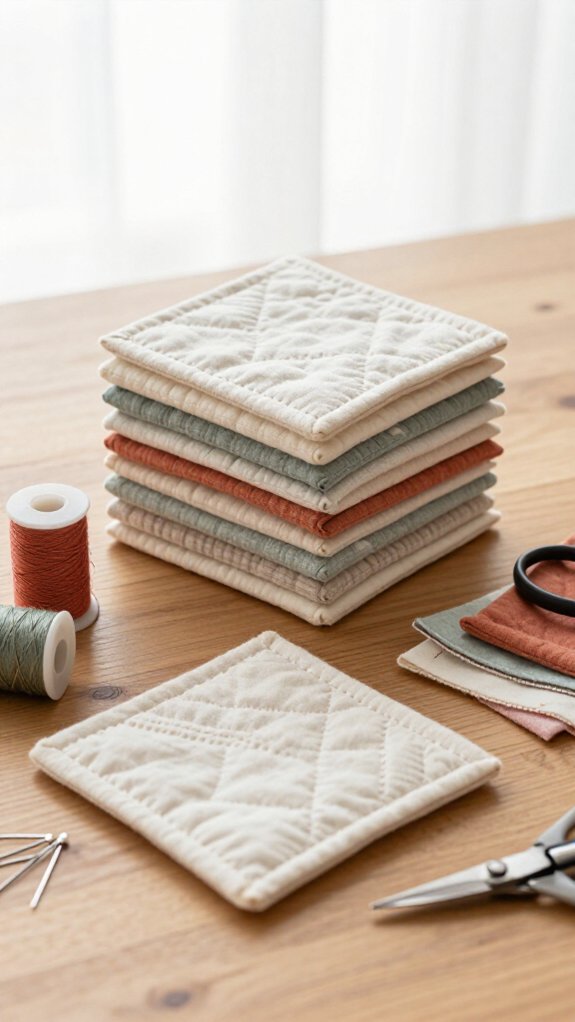
Fabric coasters are the perfect next little kitchen win, and they’ll keep cold-drink rings from sneaking onto your table—score!
You’ll need matching fabric circles or squares, plus optional batting, felt, or terry cloth.
- Stack layers, right sides together, and stitch around the edge.
- Leave a 2–3 inch opening, turn, then slip-stitch it closed.
- Press and topstitch for a crisp, flat finish!
Your Fabric coaster styling can match your kitchen, picnic basket, or favorite mug.
Make four to six at once—they’re quick, affordable, and perfect for coaster gift sets.
Suddenly, everyone wants handmade table protection!
Beginner Tips for Choosing Your First Project
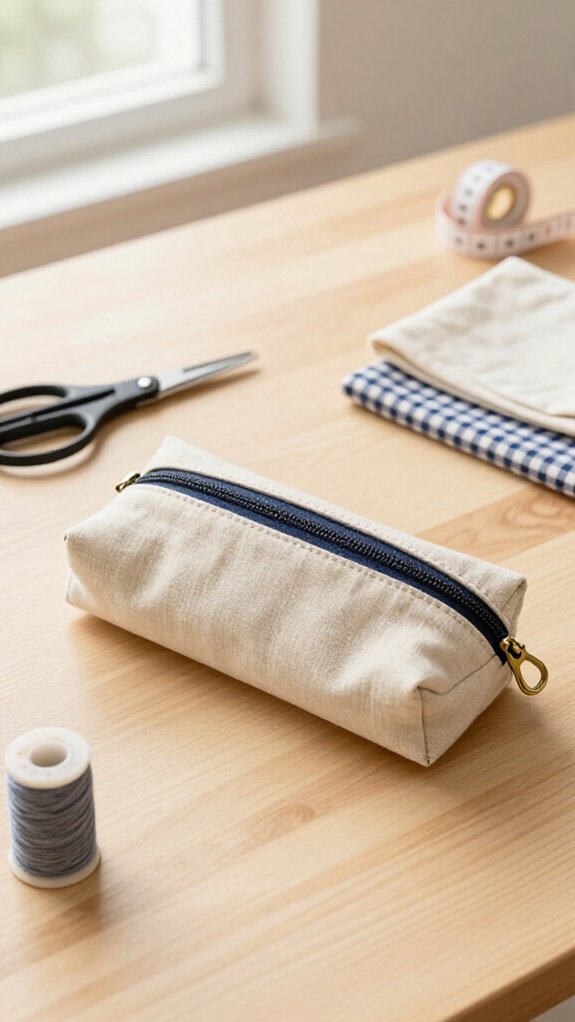
Choosing your first sewing project is easier when you skip anything with tricky curves, stretchy fabric, or body fitting—save those adventures for later!
For smart beginner pattern selection, join the crowd with a drawstring bag, pillowcase, or zipper pouch: straight seams feel friendly, and small slips won’t ruin the result.
Choose medium-weight cotton or a cotton blend; it presses neatly and behaves better than slippery synthetics.
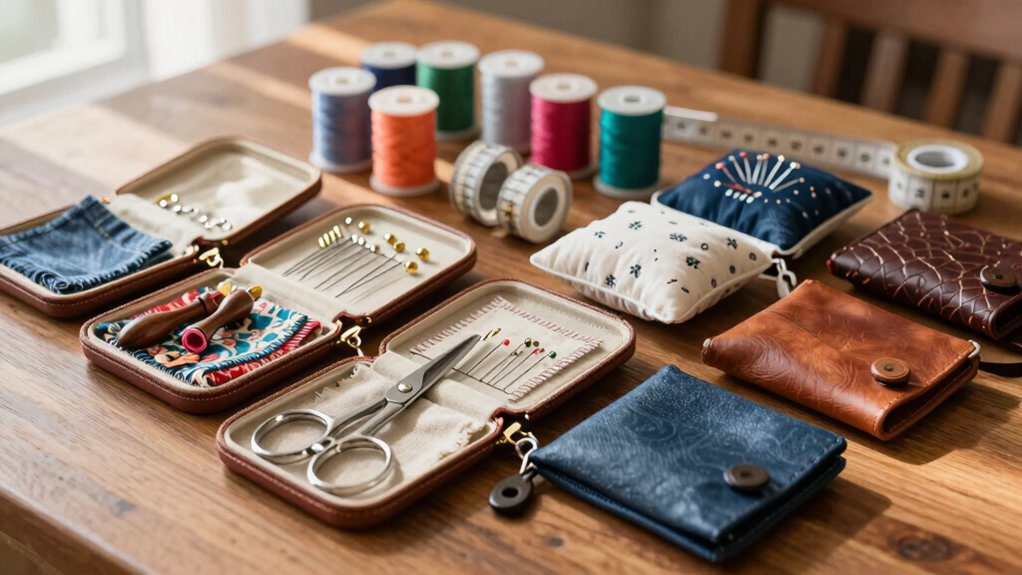
Keep pins, scissors, a seam ripper, tape measure, and thread nippers nearby—everyone unpicks sometimes!
Use your presser foot’s edge to guide straight stitching, and take your time.
Best of all, repeatable pieces and careful cutting support Fabric waste reduction.