22 Scrap Fabric Crafts DIY No-Sew Projects to Use Up Leftover Fabric
Disclosure: This post may contain affiliate links, at no extra cost to you. Content on DiyCraftNest is created with research support from AI tools and carefully reviewed, edited, and fact-checked by the lead author, Daniel Pat, to ensure accuracy and reliability. Learn more
Love cozy DIY projects? 💕
Get free printable guides, exclusive tutorials & surprise craft goodies straight to your inbox.
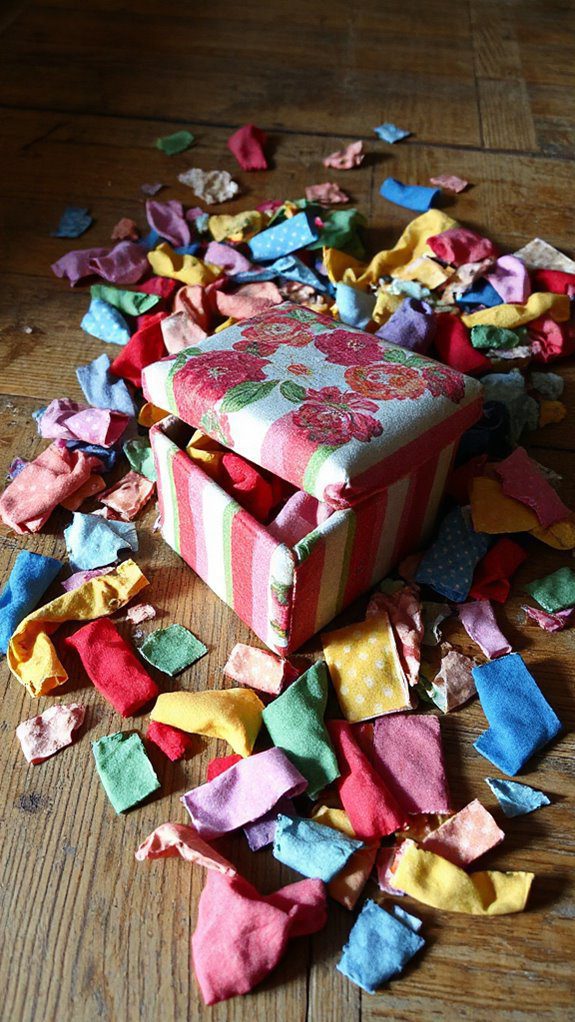
Let’s plunge into creative no-sew scrap fabric crafts perfect for any skill level. We can upcycle fabric into trendy fabric-covered boxes, drawers, or even personalized jewelry boxes. With simple techniques like Mod Podge application, crafting becomes a breeze. Exploring projects like DIY phone holders or fabric bowls offers budget-friendly decor while minimizing waste. By the end, an array of colorful and functional items will adorn our spaces, awaiting further inspiration and exploration!
Key Takeaways
- Craft fabric bowls by coiling and gluing fabric strips for eco-friendly storage solutions.
- Transform old items like lotion bottles into DIY phone holders with fabric and Mod Podge.
- Create artwork using fabric pieces on canvas, sealed with Mod Podge, for unique home decor.
- Decorate flower pots with fabric scraps to enhance garden aesthetics sustainably.
- Use no-sew techniques to upcycle and personalize everyday items with fabric scraps.
My Favorite Tools for Working with Small Scraps
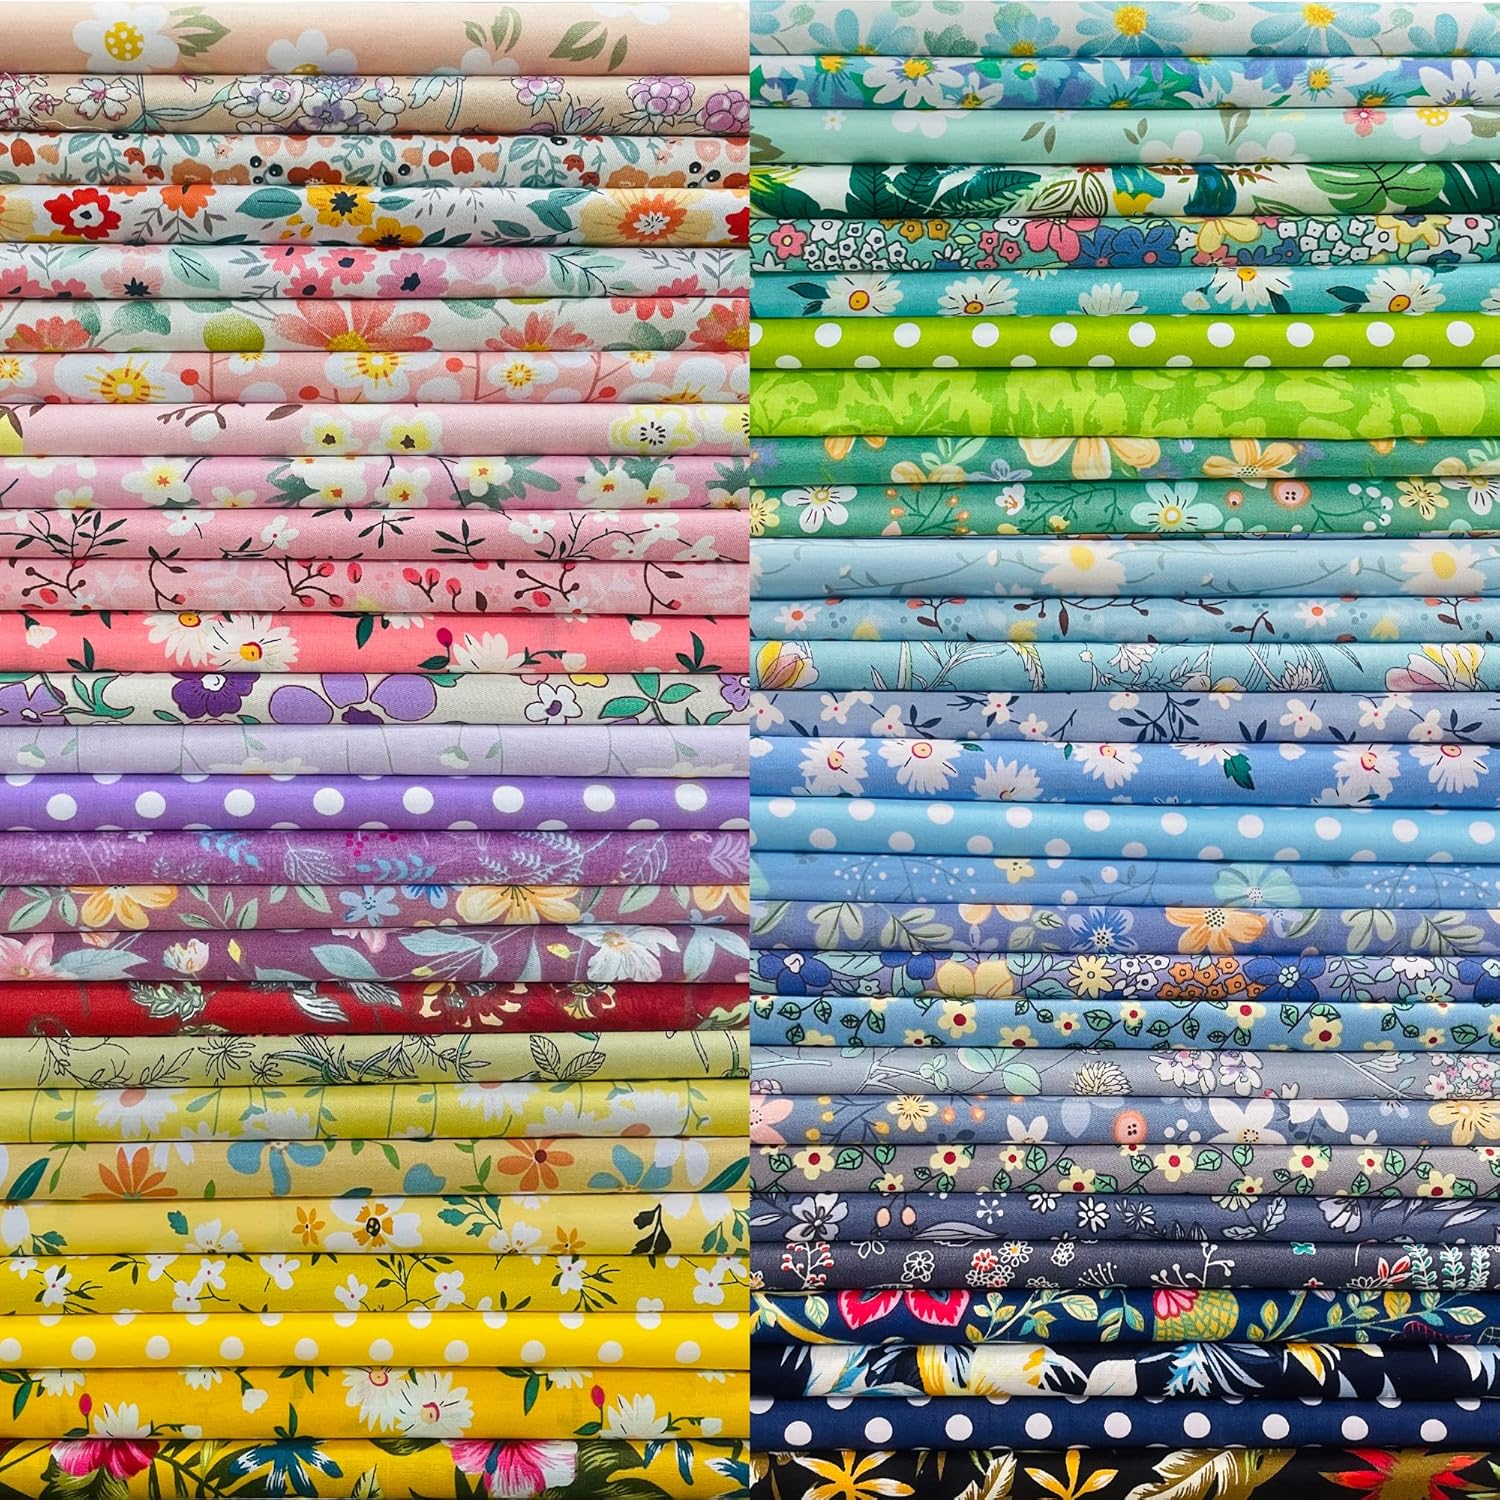
Cotton Fabric Bundles for Quilting Sewing DIY & Quilt Beginners
Pre-cut quilting fabric were made of 100% cotton with a sateen weave
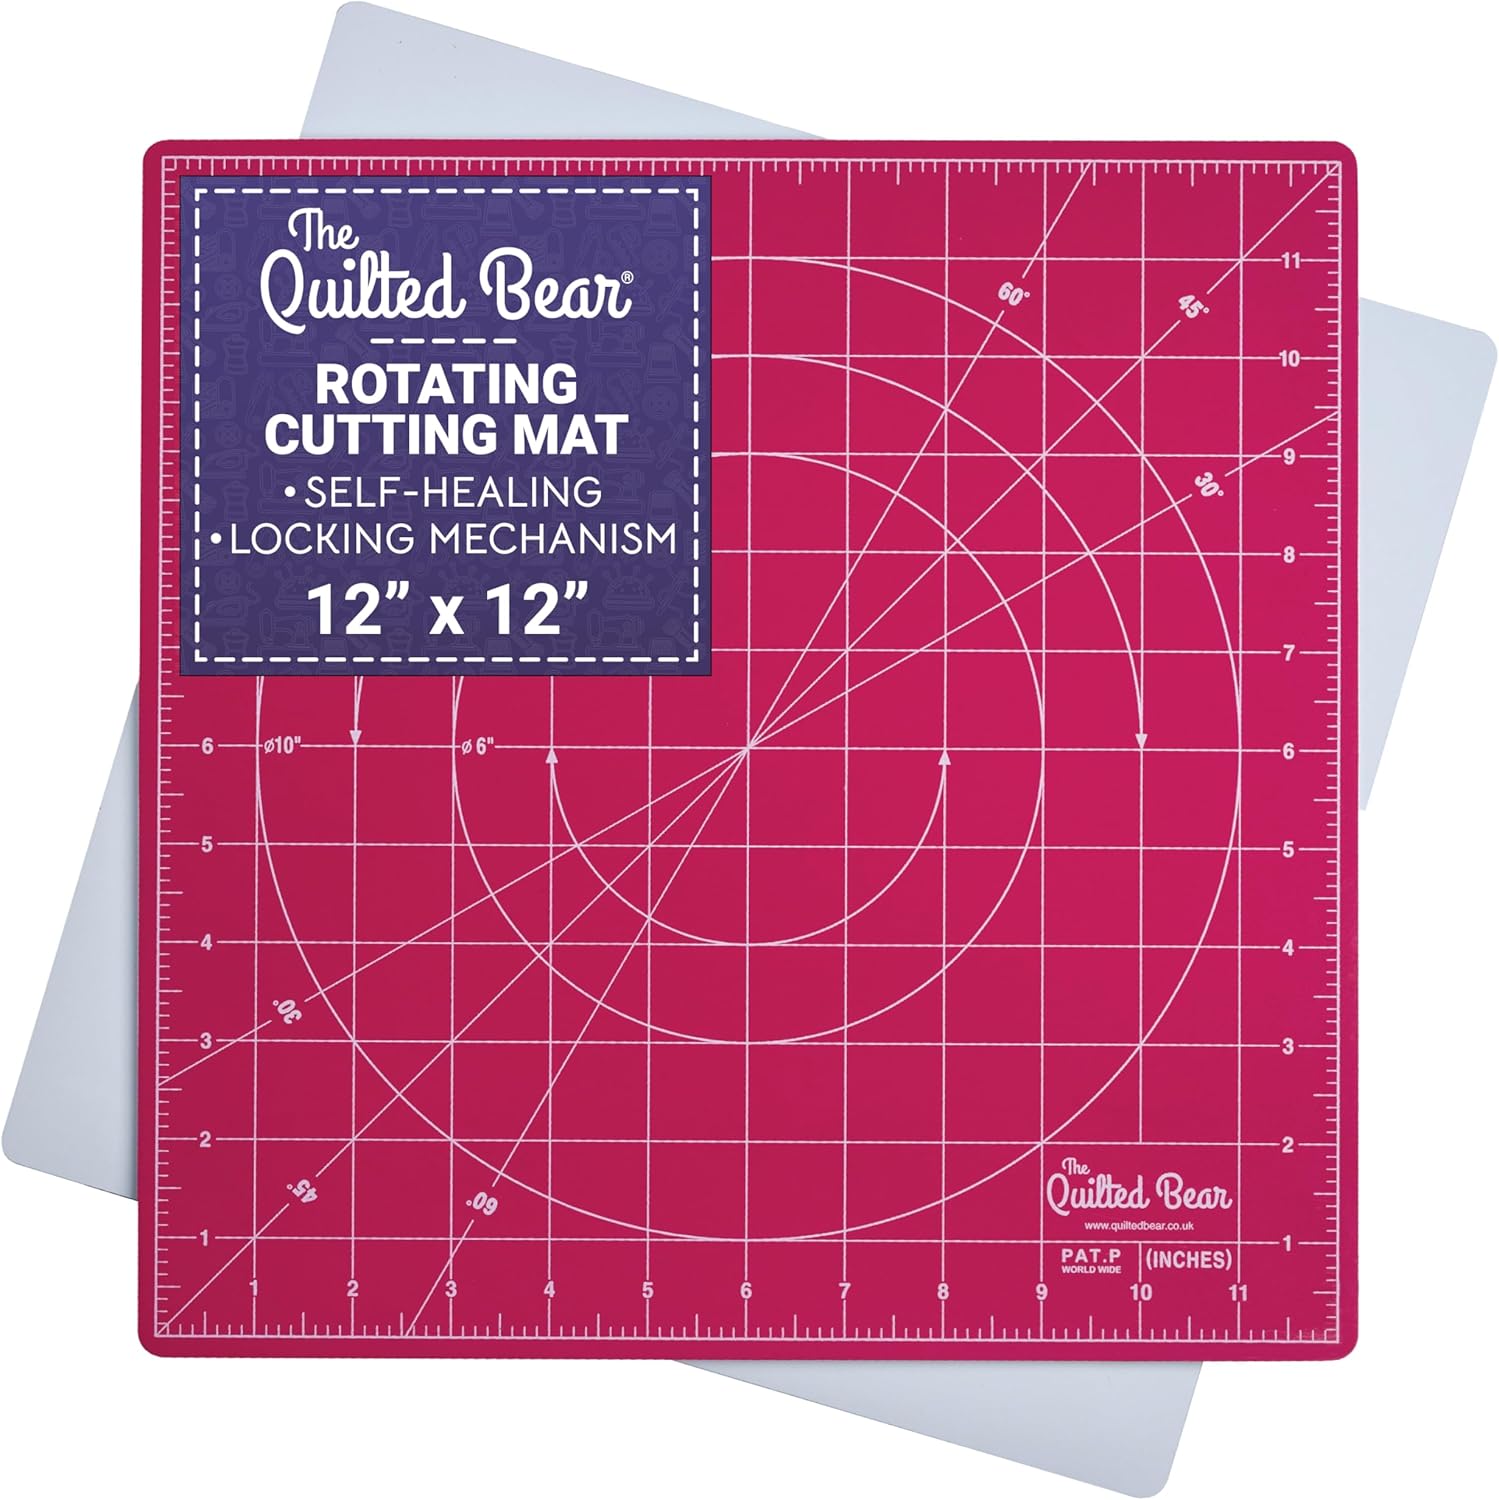
The Quilted Bear Rotating Cutting Mat
Rotating cutting mat boasts effortless rotation, rotate fabric smoothly while quilting, sewing, or crafting 360-degree rotation ensures precision
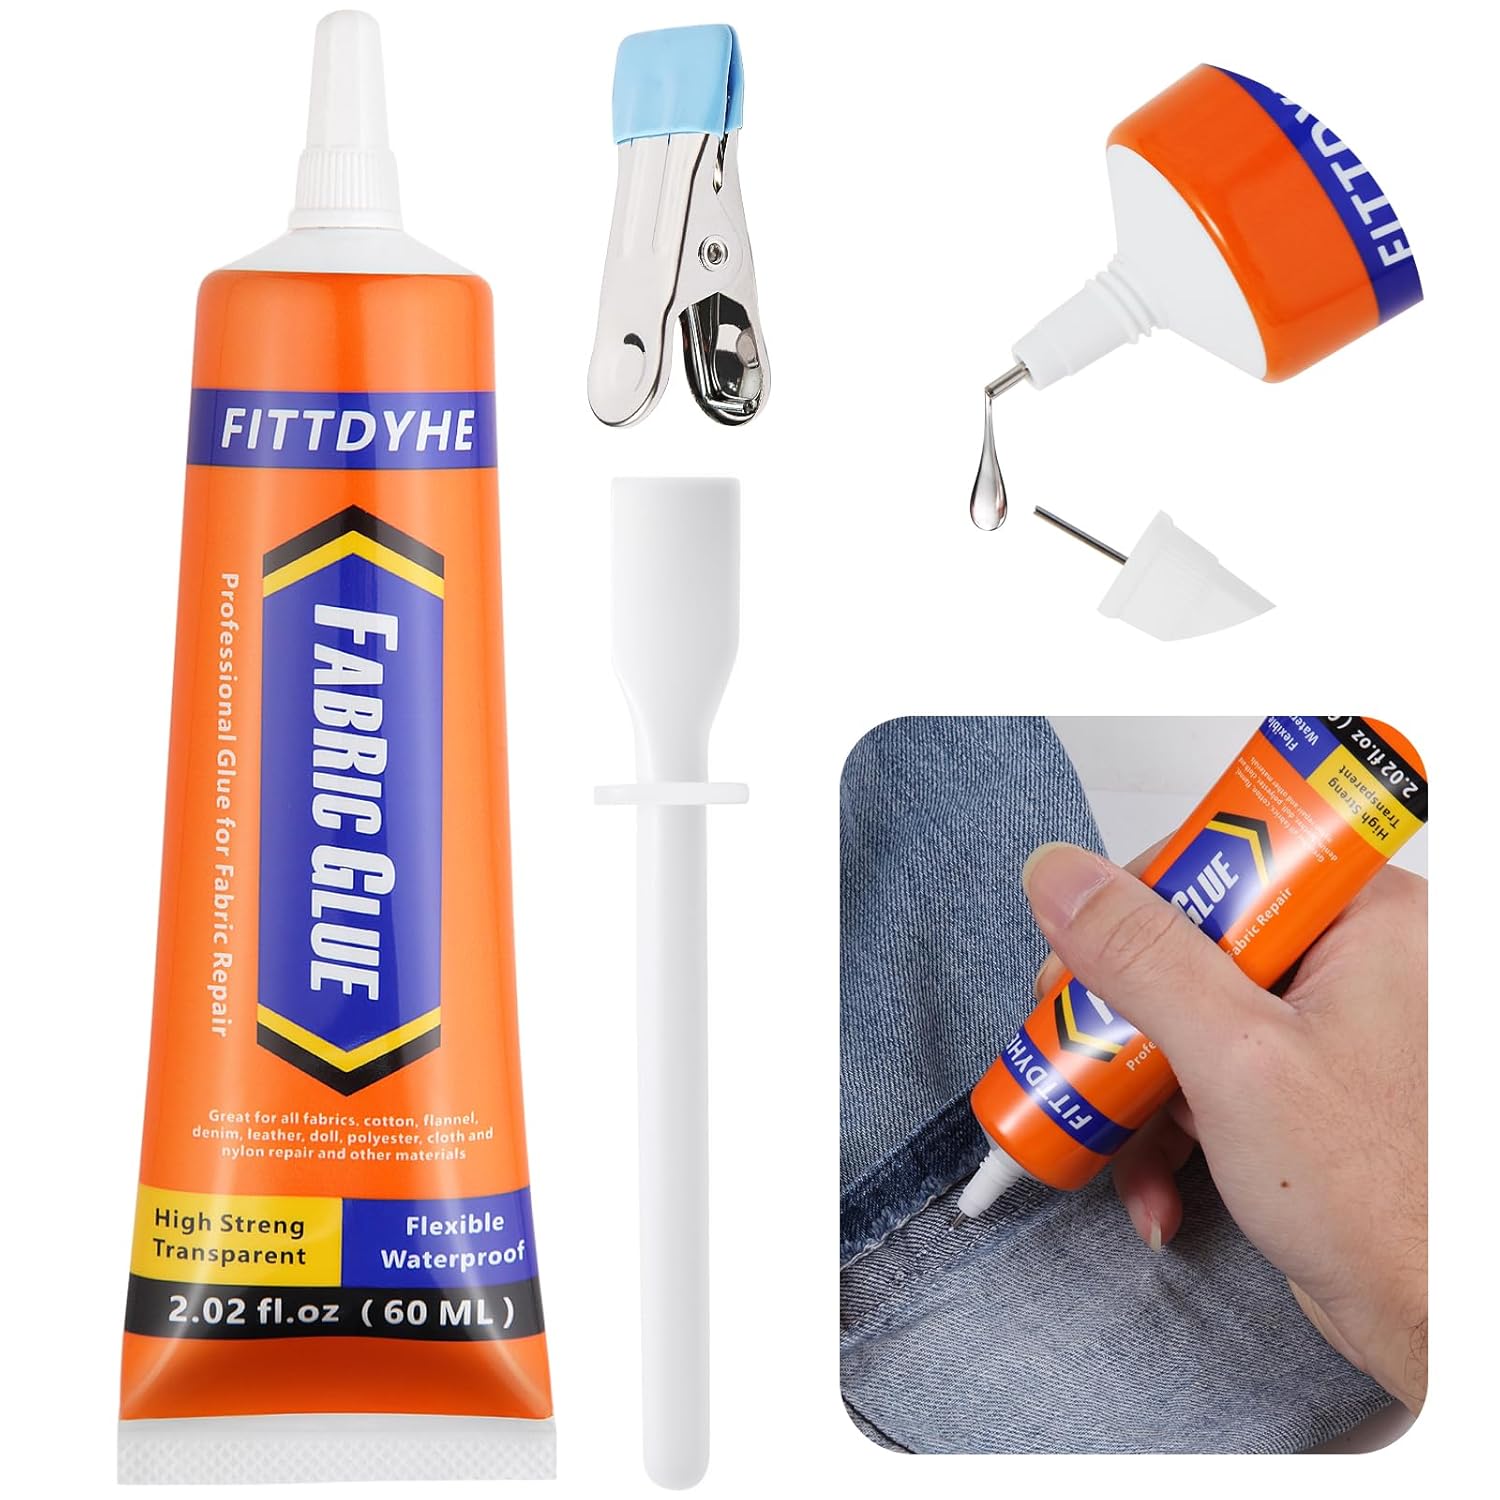
Fabric Glue Permanent
Fabric glue is suitable for all types of fabrics, including cotton, flannel, denim, leather, polyester, dolls, fabric, nylon, and other materials for repairs.
Fabric Covered Shelves
Let’s plunge into the delightful world of fabric covered shelves, where creativity meets practicality! We can transform ordinary shelves into extraordinary decor pieces by using Mod Podge to adhere vibrant fabric to their surfaces.
This no-sew project is beginner-friendly, allowing us to repurpose leftover fabric scraps in an eco-friendly and budget-conscious manner.
First, gather your favorite fabric patterns—those that resonate with your existing decor. Next, cut the fabric to fit the shelf dimensions.
Apply Mod Podge evenly, lay the fabric over it, and smooth out any wrinkles. In just a few hours, we’ll have stunning fabric covered shelves that add visual interest and a personalized touch to any room.
Let’s embrace this quick DIY project and elevate our living spaces effortlessly!
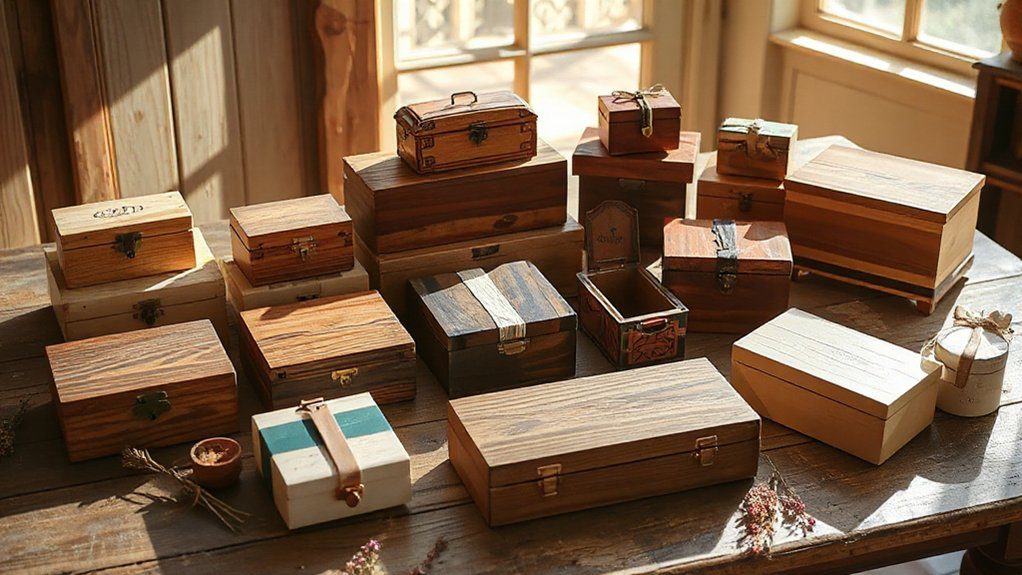
Fabric Covered Boxes
Fabric covered boxes offer us a fantastic way to blend functionality with creativity, breathing new life into our storage solutions.
Let’s explore this simple no-sew project that’s perfect for beginners. First, grab a box and some leftover fabric scraps. Apply a layer of Mod Podge onto the box’s surface. Carefully lay the fabric over it, smoothing out any wrinkles as you go. Once it’s perfectly placed, trim away the excess fabric for a neat finish.
These boxes aren’t just practical; they’re customizable, too. Choose vibrant patterns or subtle hues to match any room’s theme. By using recycled materials, we embrace sustainability, turning fabric scraps into stylish organizers for craft supplies or kids’ toys.
Let’s start crafting and upcycling with flair!
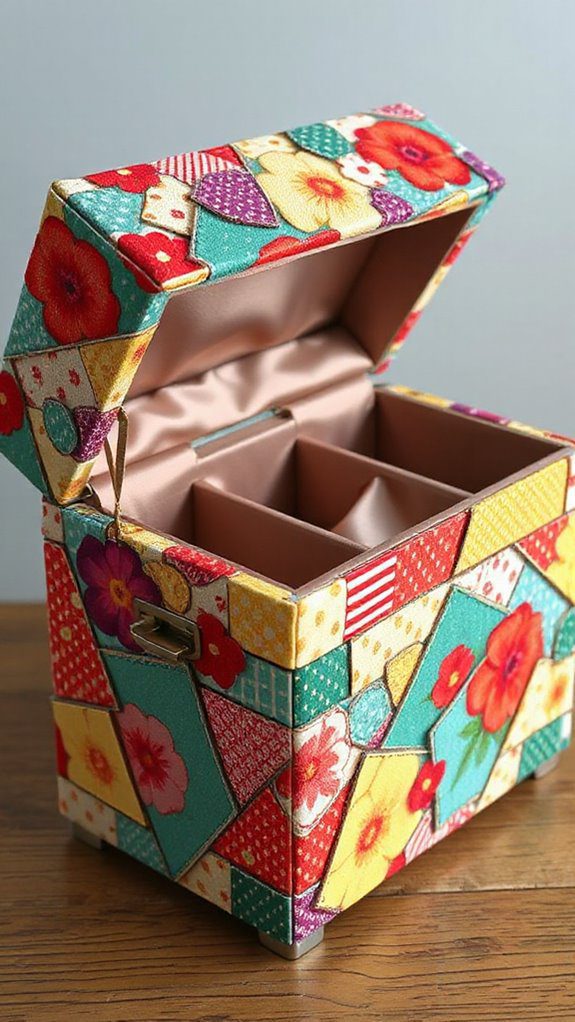
Fabric Covered Jewelry Box
Transform a plain jewelry box into a charming centerpiece with the simple use of vibrant fabric and Mod Podge.
Let’s plunge into this easy-to-make, no-sew project that’s perfect for turning scrap fabric into a stylish statement. Start by selecting fabric scraps that resonate with your personal style or complement your decor.
Cut the fabric to fit each section of your jewelry box. Next, apply a generous layer of Mod Podge to the box’s surface. Carefully smooth the fabric over the adhesive, ensuring no air bubbles disrupt your design.
This fabric covered jewelry box not only organizes your treasures but also adds a decorative flair to any room. It’s sustainable, personalized, and makes a lovely, thoughtful gift for any occasion.
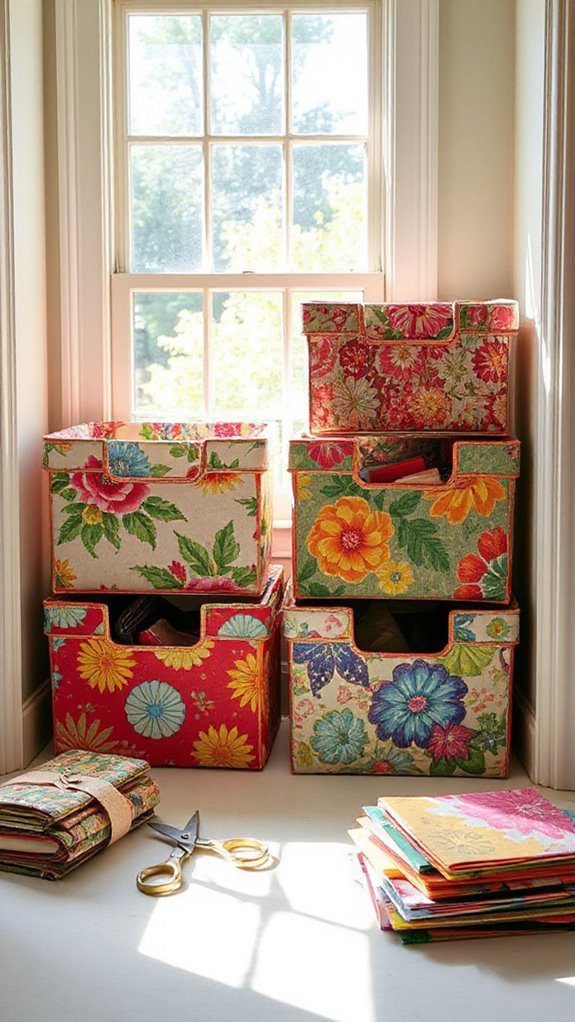
Fabric Covered Organizer Bins
Once we’ve mastered the art of transforming a jewelry box with fabric, it’s time to bring that creativity to a new project: fabric-covered organizer bins.
These fabric bins offer a perfect way to repurpose leftover fabric scraps while bringing order and style to our spaces.
Here’s how we can do it:
- Choose Your Bin: Opt for an inexpensive bin from stores like Dollar Tree. The simpler, the better!
- Select Your Fabric: Pick fabric that complements your decor style or color scheme for a cohesive look.
- Apply Mod Podge: Brush Mod Podge onto the fabric and adhere it to the bin’s surface—no sewing required!
- Mix and Match: Feel free to blend different patterns for a personalized design.
Let’s innovate our storage solutions with these chic, custom fabric bins!
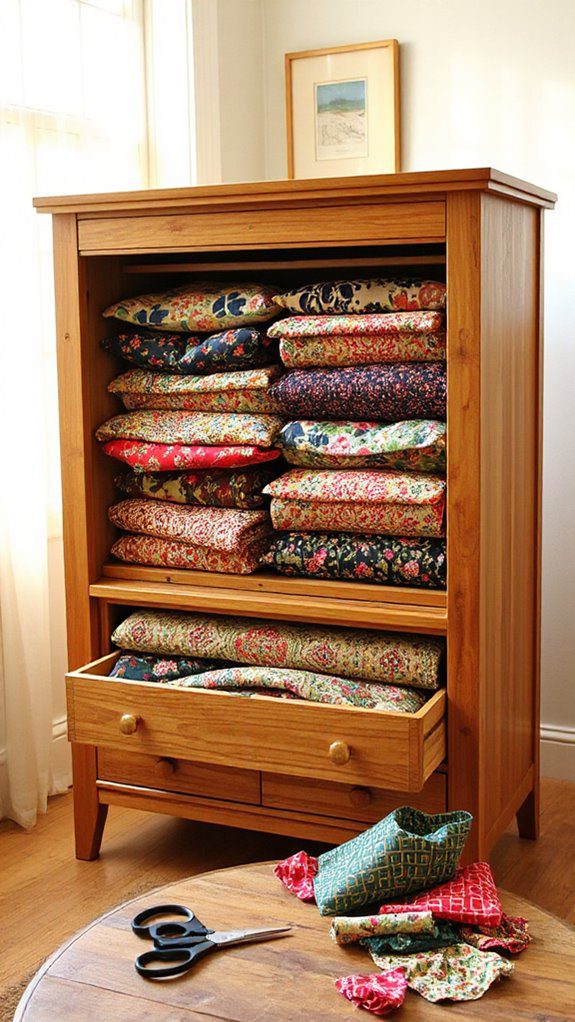
Fabric Lined Drawers
When it comes to enhancing our storage spaces, lining drawers with fabric is a creative way to add both flair and functionality.
Let’s explore transforming our ordinary drawers into fabric lined drawers that speak to our style. Begin by selecting scraps that complement our decor or express our vibrant personality.
A decoupage medium like Mod Podge will be our trusty companion, ensuring a smooth, secure application of fabric to the drawer interiors. As we work, we’re not just adding color and charm; we’re giving those delicate items a soft, protective cushion.
This project doesn’t just reduce fabric waste—it’s an indication of our innovative spirit. Let’s embrace this opportunity to combine creativity with practicality in our storage solutions!
Fabric Bowls
Crafting fabric bowls is a delightful way to infuse our spaces with color and character while making the most of those leftover fabric scraps.
Let’s commence on a creative journey to transform scraps into versatile, eco-friendly treasures. Here’s how we can craft our own fabric bowls:
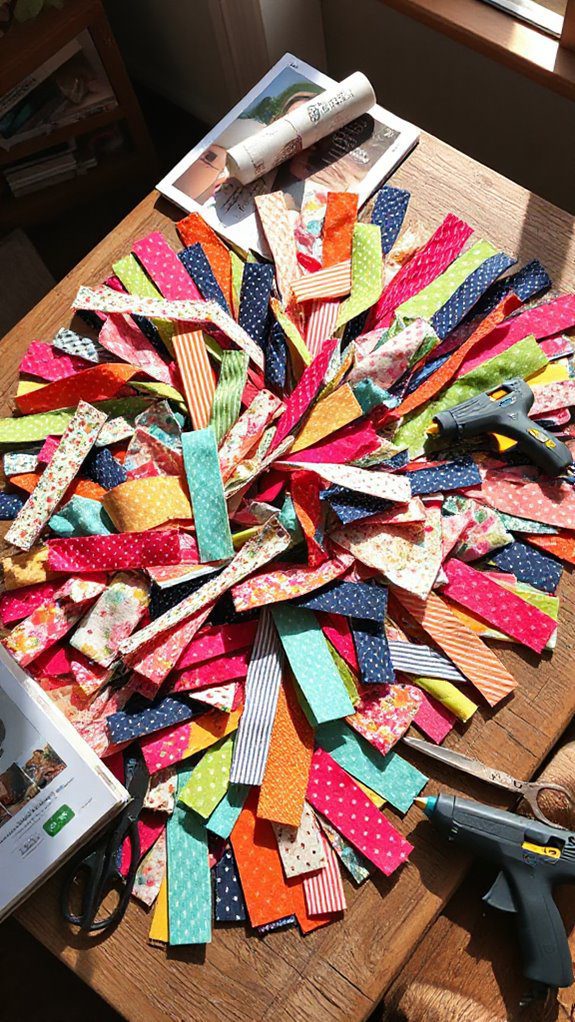
- Cut fabric into strips: Select vibrant scraps and cut them into strips that are roughly uniform in width.
- Coil and glue: Use a hot glue gun to coil and adhere the strips, shaping them into a sturdy bowl.
- Wrap for style: Experiment with wrapping techniques to achieve unique textures and patterns.
- Purposeful use: Use these bowls for storing trinkets, as decorative accents, or even gift containers.
Fabric bowls not only reduce waste but also bring a splash of personality to any room.
DIY Cell Phone Holder
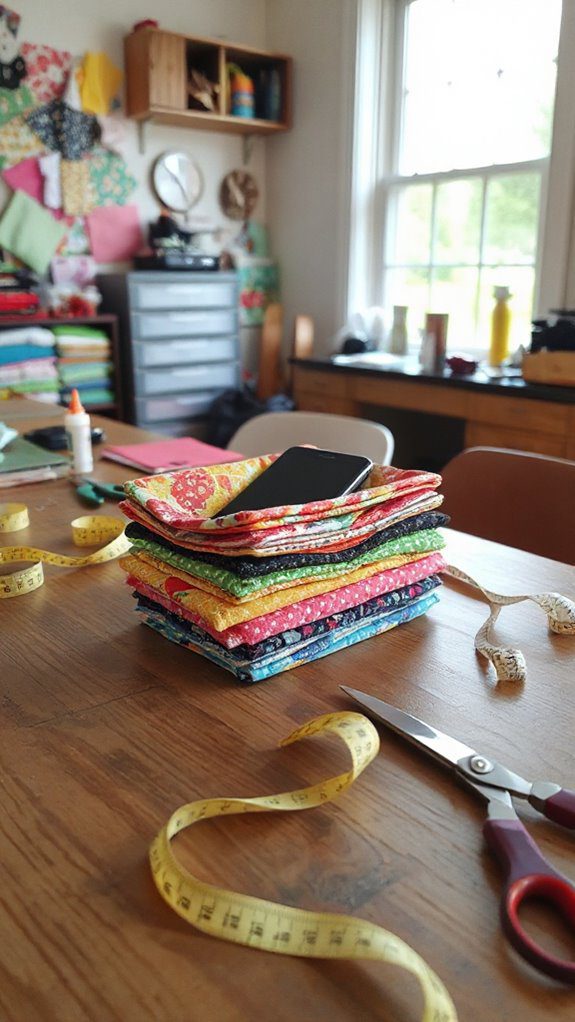
Transforming an ordinary lotion bottle into a stylish DIY cell phone holder might seem surprising at first, yet it offers a clever way to upcycle while adding a personal touch to our spaces.
Let’s explore this fabric crafts adventure! First, grab a clean, empty lotion bottle and carefully cut off the top, shaping it to snugly hold our phones.
Next, select vibrant fabric scraps that resonate with our style, and use scissors to trim them to size. With Mod Podge as our adhesive ally, we attach the fabric, smoothing out any wrinkles.
In no time, we’ve created a personalized phone holder that’s both functional and decorative. It’s a sustainable project that keeps our phones stylishly organized and within reach.
DIY Step Stool Makeover
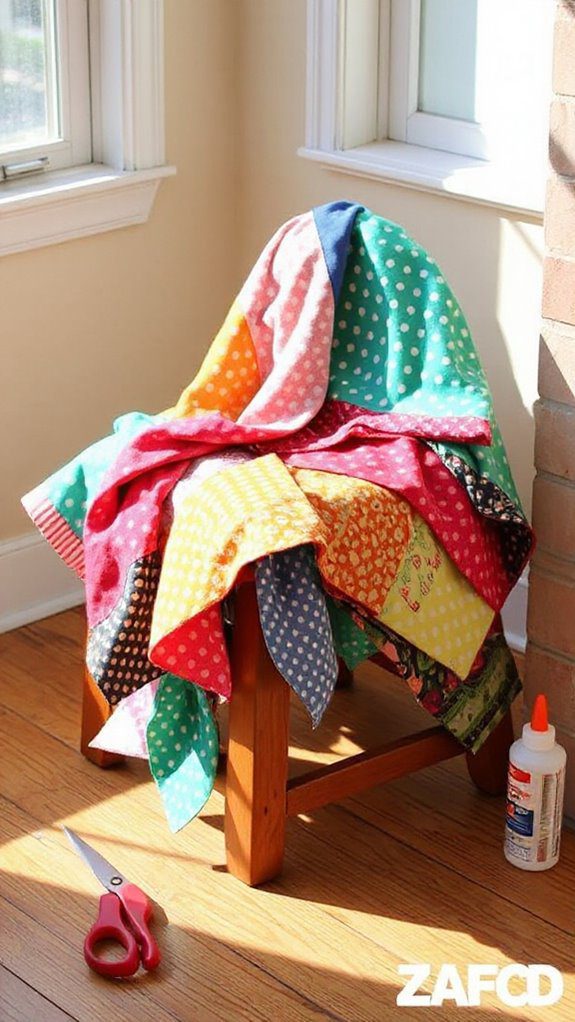
Although a basic wooden step stool might seem unremarkable at first glance, a DIY makeover can turn it into a stunning piece of home decor.
Let’s commence on a creative journey using fabric to make this transformation shine. Here’s how:
- Choose Your Fabric: Select vibrant scraps that complement your home. Patterns or solids—your choice!
- Cut and Arrange: Trim the fabric to fit the stool’s surfaces. Play with different layouts until you’re pleased with the design.
- Apply Mod Podge: Brush a layer onto the stool, place your fabric, and smooth out any wrinkles. Add another coat for a secure hold.
- Seal for Durability: Once dry, apply additional layers of Mod Podge to guarantee longevity and a glossy finish.
This project is both functional and fabulous!
Easy Fabric Canvas Art
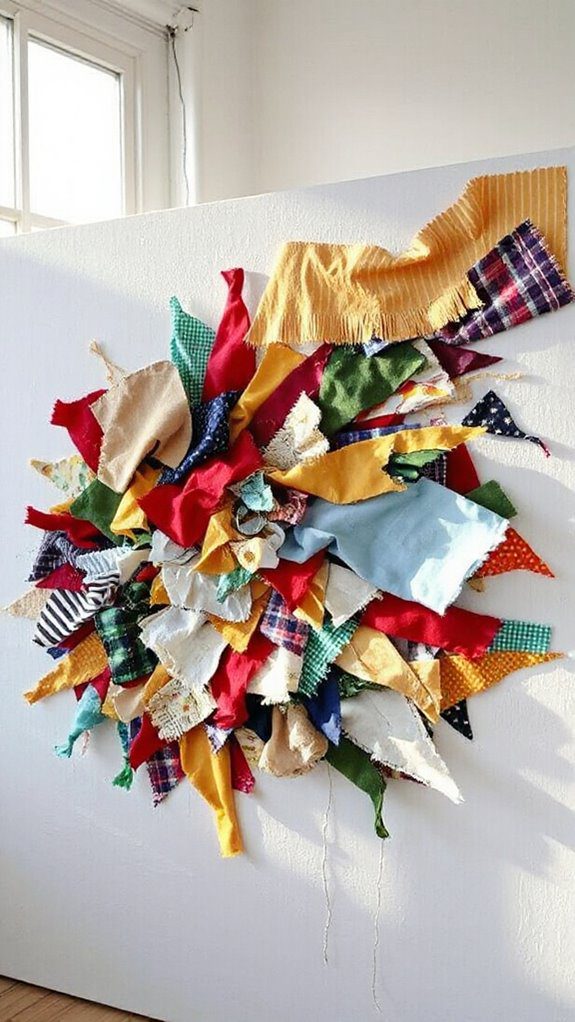
When we plunge into the world of Easy Fabric Canvas Art, we’re stepping into a domain where creativity knows no bounds.
Begin by gathering fabric pieces, a blank canvas, and trusty Mod Podge. Our first step is to envision a pattern or theme that speaks to us.
Lay the canvas flat and cut the fabric pieces into shapes or strips that fit our vision.
Next, apply Mod Podge to the canvas and arrange the fabric pieces. Layer them, mix colors, and let our artistic instincts guide us.
Once satisfied, brush a final coat of Mod Podge over the top to seal and protect our masterpiece.
In just a short crafting session, we’ve created vibrant artwork that will enhance any room or make a thoughtful gift.
DIY Flower Pot
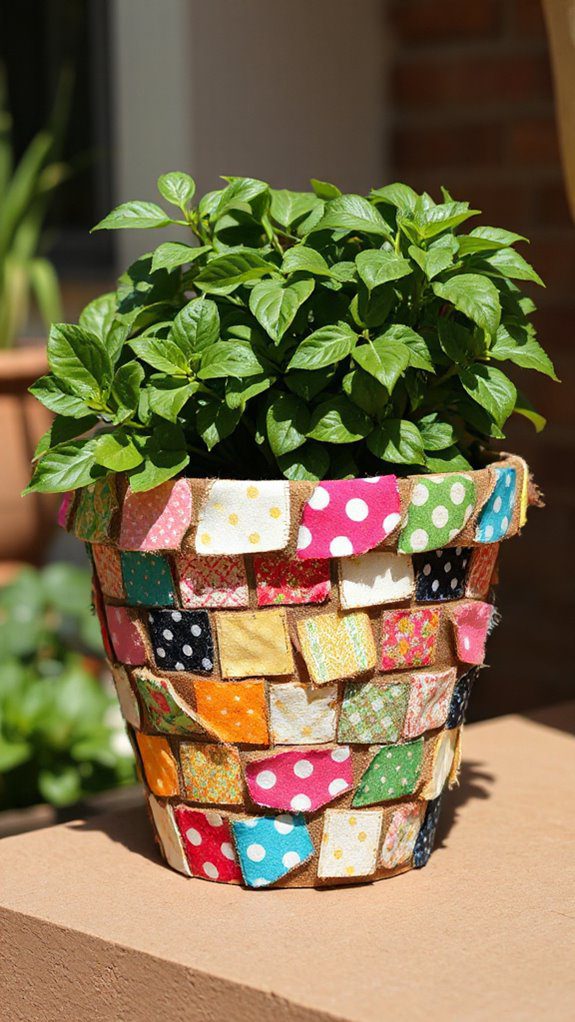
Ever wondered how to give ordinary flower pots a unique twist?
Let’s transform them using vibrant fabric scraps! Here’s how we can do it:
- Select Your Fabric: Choose fabric scraps that not only pop with color but also complement your decor. The more vibrant, the better!
- Apply Mod Podge: Generously coat the pot with Mod Podge, then carefully lay the fabric on, smoothing out any air bubbles for a seamless look.
- Seal for Durability: Once the fabric is adhered, apply another coat of Mod Podge to seal it. Let it dry completely to guarantee longevity.
- Use Liners: Consider adding waterproof liners or plastic inserts to protect your creation from moisture, extending its life.
Let’s get crafting and upcycle with style!
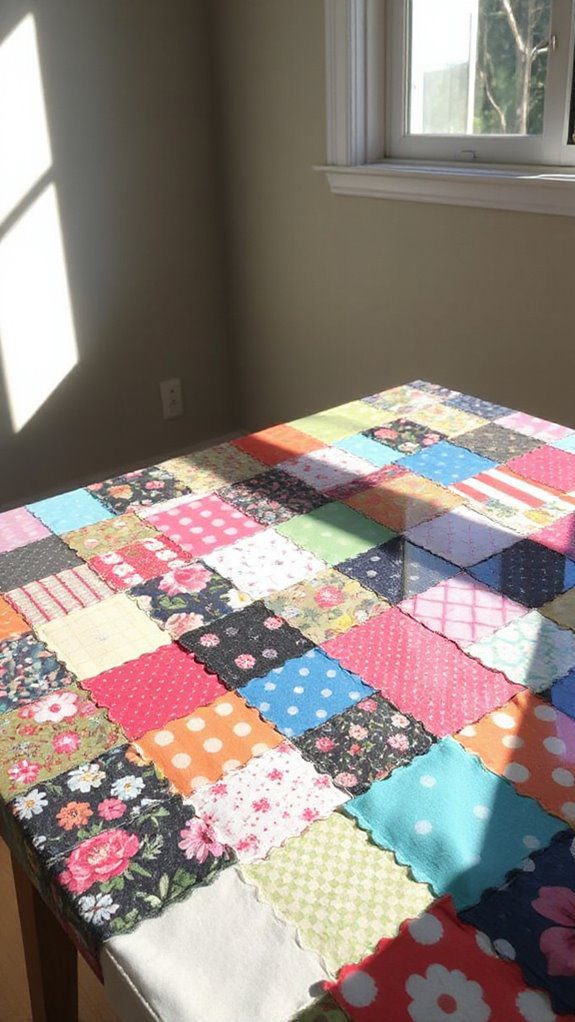
Decoupage Tabletop
With our flower pots now bursting with color, let’s bring that same creativity to our furniture by crafting a decoupage tabletop. This innovative project lets us transform plain surfaces into stunning statement pieces.
Start by gathering an eclectic mix of fabric scraps; think bold patterns and vibrant colors. Apply a decoupage medium like Mod Podge to the tabletop, carefully arranging our fabric pieces to create a unique mosaic.
Layer the fabric, smoothing out any wrinkles, and secure it with several more coats of Mod Podge. Once dry, finish with a protective sealant to guard against wear and tear.
This beginner-friendly technique not only repurposes leftover materials but also infuses our space with character, making each piece reflect our personal style.
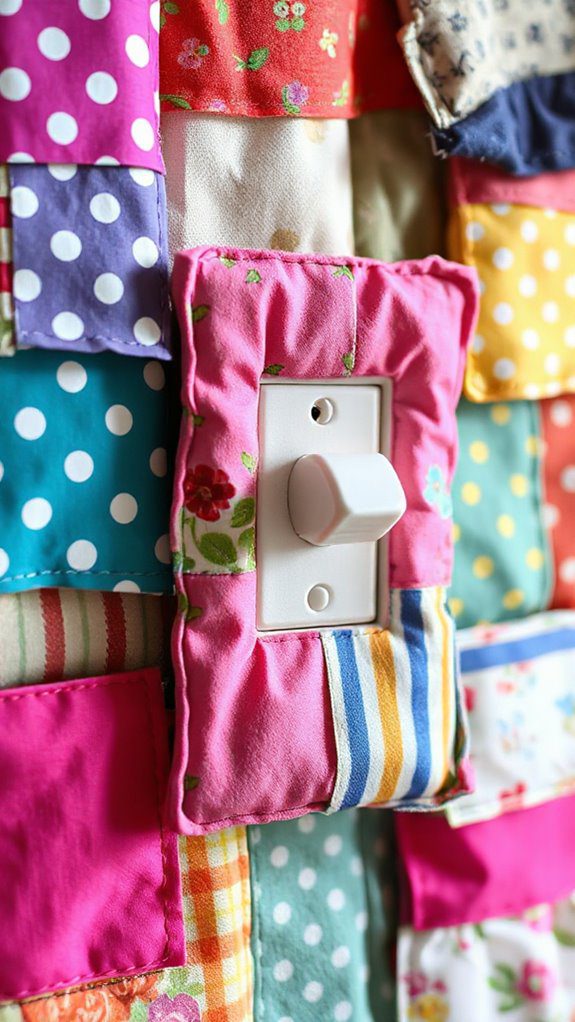
Decorative Light Switch Covers
Let’s add a splash of creativity to our homes with decorative light switch covers, a project that’s both simple and satisfying.
These fabric projects offer a budget-friendly way to transform a mundane switch into a dazzling design statement.
Follow these steps to repurpose leftover fabric scraps into personalized art:
- Select Your Fabric: Choose a fabric that complements your room’s color scheme for a cohesive look.
- Prepare the Fabric: Cut the fabric to match the size of the switch cover, allowing a little extra for overlap.
- Apply Mod Podge: Brush a layer of Mod Podge onto the cover, then smooth the fabric over it.
- Seal It: Once dry, apply another layer of Mod Podge to protect and finish your creation.
Your light switch covers will now radiate innovation!
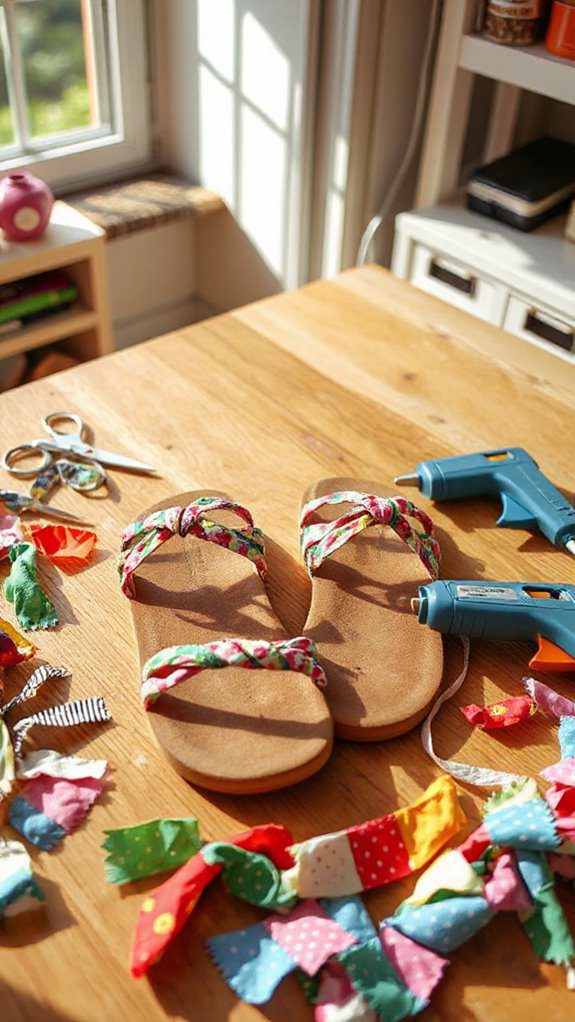
DIY Sandals Cost Zero Dollars to Make
Transforming leftover fabric scraps into chic DIY sandals isn’t only an ingenious way to upcycle but also a delightful zero-cost adventure for creative spirits.
We start by gathering an old pair of sandals or a sturdy base and our favorite no-sew fabric scraps. Let’s wrap the fabric around the straps and footbed, securing each piece with Mod Podge for a seamless finish.
The magic lies in mixing and matching patterns, letting our imaginations run wild. No sewing skills? No problem! This project’s accessibility means anyone can create a stylish, personalized pair perfect for a sustainable summer wardrobe.
As we craft, we’re not just saving money; we’re stepping into innovation, one vibrant, upcycled step at a time.
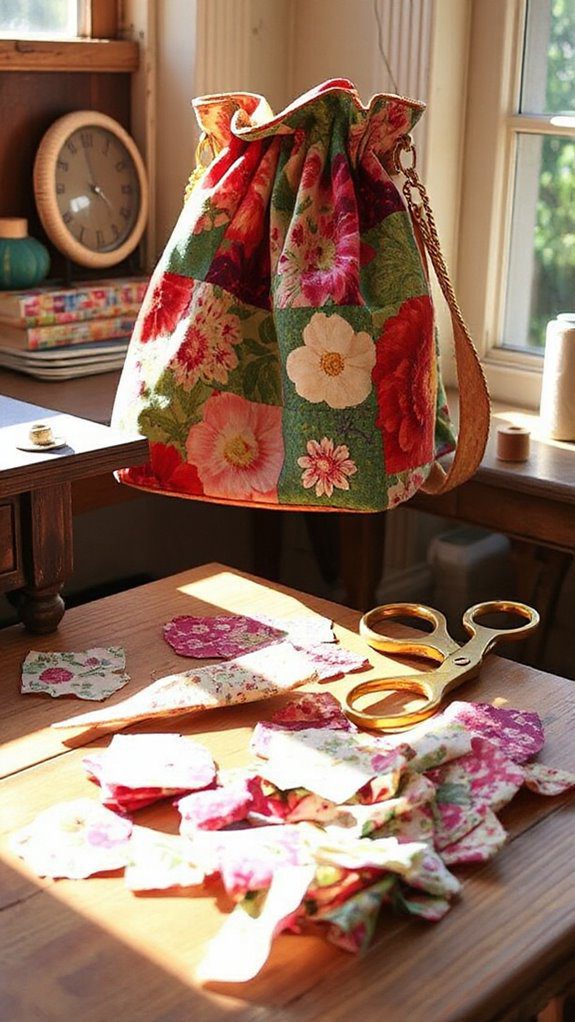
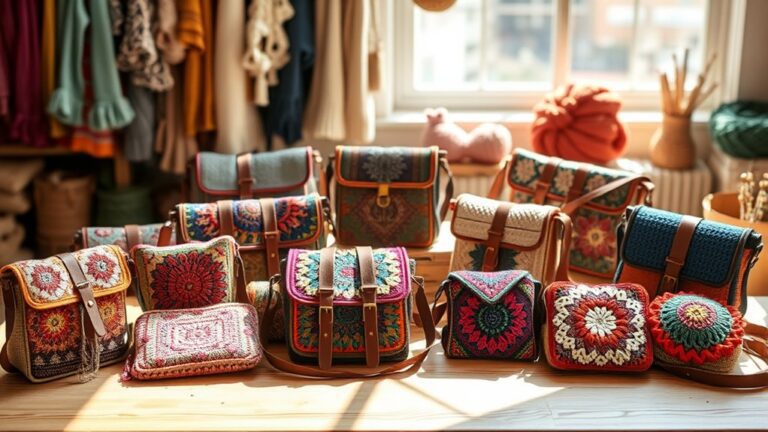
DIY Purse Refashion Using Vintage Florals
Even as we stand at the crossroads of creativity and sustainability, a DIY purse refashion using vintage florals offers a delightful way to breathe new life into a tired old accessory.
Let’s commence on this easy craft together, where innovation meets style. Here’s how:
- Gather Materials: Find an old purse and select a vibrant floral fabric that complements your design vision.
- Adhere Fabric: Use Fabric Mod Podge to securely attach the fabric to the purse, ensuring a durable finish.
- Personalize: Enhance uniqueness with embellishments like buttons or patches, adding character to your creation.
- Enjoy: Revel in your sustainable masterpiece, knowing you’ve upcycled beautifully and minimized waste.
This beginner-friendly project requires no sewing skills, making it an exciting way to refresh your wardrobe.
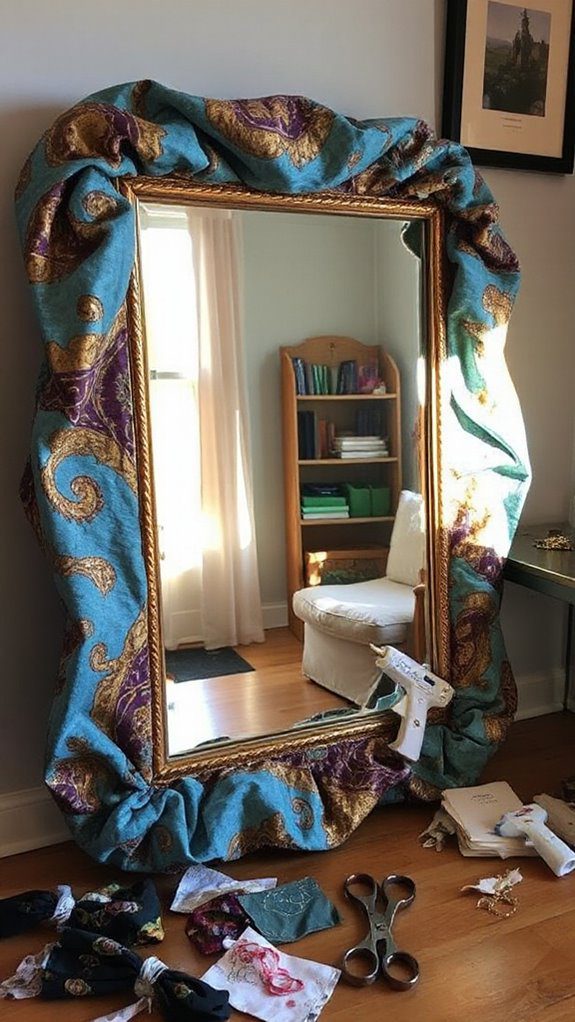
Mirror Frame With a Pillowcase
Imagine the satisfaction of turning an ordinary mirror frame into a vibrant centerpiece with just a simple twist—using a fabric from an old pillowcase.
Let’s plunge into this creative upcycling adventure! First, select a pillowcase with a pattern that complements your room’s aesthetic. Cut the fabric to fit your mirror frame snugly.
Now, grab some Mod Podge or a similar adhesive. Apply it evenly on the frame, ensuring full coverage. Carefully press the fabric onto the adhesive, smoothing out any wrinkles.
Let it dry completely, and voila! We’ve transformed an ordinary piece into a stylish decor centerpiece.
This no-sew project isn’t only straightforward but also an exciting way to repurpose materials, adding a personal, innovative touch to our home.
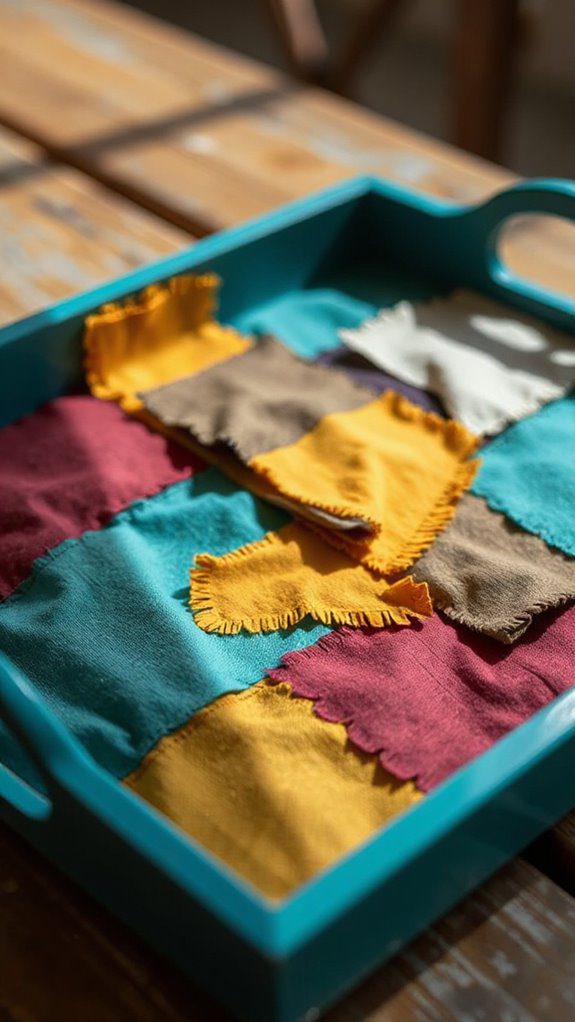
Easy DIY Tray
After turning our mirror into a piece of art with a simple pillowcase, let’s set our sights on crafting a personalized, easy DIY tray.
With this project, we’re transforming scraps into a functional masterpiece. Here’s how:
- Select a Foam Tray: Choose a size that suits your needs—whether for serving snacks or organizing trinkets.
- Pick Your Fabric: Opt for vibrant or patterned scraps that complement your decor, turning ordinary into extraordinary.
- Adhere with Mod Podge: Apply Mod Podge evenly to the tray, smoothing the fabric for a sleek, polished finish.
- Versatile Use: Once dry, our tray isn’t only an art piece but also a practical tool, easy to wipe clean and perfect for showcasing our craft skills.
Ready to innovate? Let’s create!
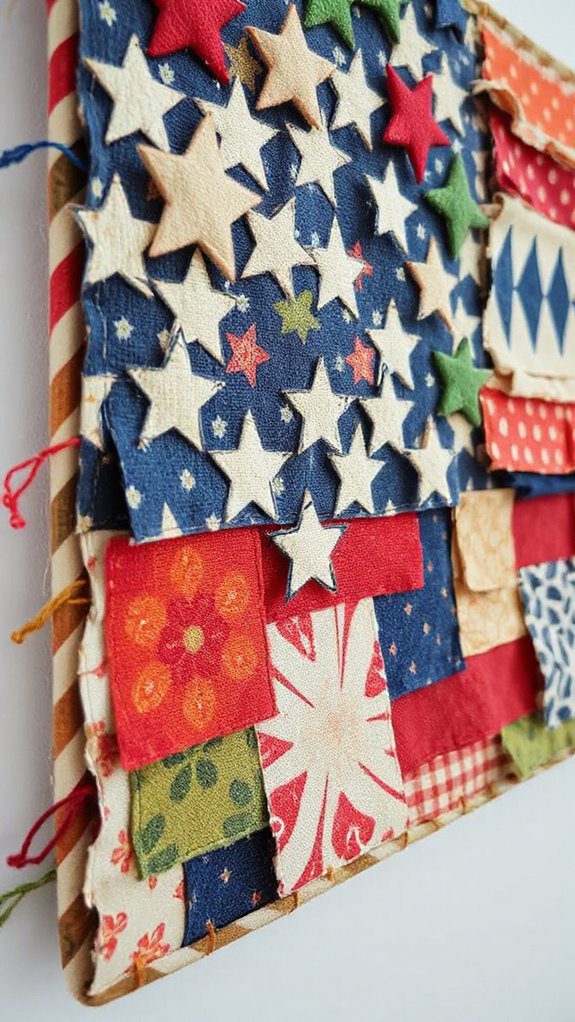
American Flag Wall Art
Let’s plunge into a creative journey with our American Flag Wall Art project, where we transform small fabric pieces into a stunning patriotic display.
First, gather your leftover red, white, and blue fabrics—perfect for those of us seeking innovative sewing projects without the sewing! Cut these fabrics into various shapes that reflect the American flag’s iconic design.
Next, arrange them artfully on a blank canvas. Use Mod Podge to adhere the pieces, ensuring each scrap’s securely in place. Seal the entire piece with another layer of Mod Podge for added durability.
As we craft, we’re not just decorating; we’re celebrating sustainability by giving new life to forgotten materials. Display your creation proudly as a symbol of resourceful artistry!
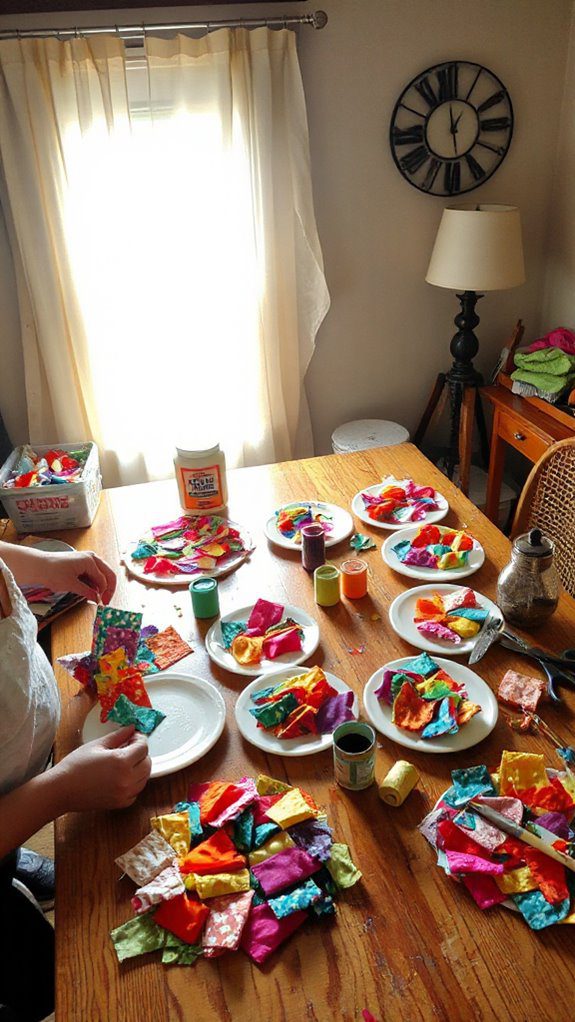
Mod Podge Plates
Transforming everyday glassware into eye-catching Mod Podge plates is a delightful endeavor that marries creativity with practicality.
We can make these unique plates by simply using leftover fabric and dollar store finds. Ready to plunge into this innovative project? Here’s how:
- Cut Fabric Shapes: Snip your fabric scraps into the shapes and sizes you love. This is where our creative ideas take flight!
- Apply Mod Podge: Brush the plate surface with Mod Podge; it’s the glue that binds our masterpiece.
- Place Fabric: Carefully lay the fabric pieces onto the plate. Smooth out wrinkles to guarantee a sleek finish.
- Seal with Mod Podge: Once dry, seal with another coat for durability.
These projects not only beautify our homes but also promote sustainability.
Scrapbook Paper Crafts
While the possibilities with scrapbook paper crafts are endless, we can’t help but get excited about the vibrant and patterned papers that bring our creative visions to life.
Let’s plunge into crafting cards or scrapbook pages that capture our personal stories with flair. We can elevate our designs by blending leftover fabric with these papers, adding texture and dimension that truly stand out.
Imagine creating paper flowers or festive banners, perfect for any special occasion.
Start by selecting your vibrant scrapbook paper and cut it to size. Next, incorporate fabric scraps, layering them for that unique touch. Use adhesive to secure everything in place.
This process not only allows us to repurpose materials but also encourages sustainable crafting. Let’s transform remnants into masterpieces together!
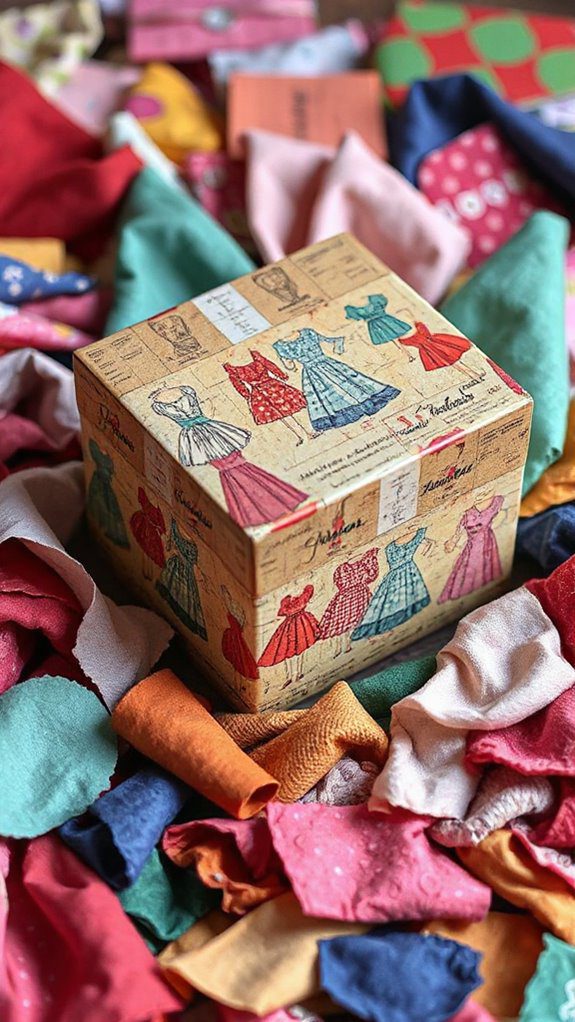
Decoupage Box With Vintage Sewing Patterns
After exploring the beauty of scrapbook paper crafts, we’re ready to extend our creativity to another dimension with decoupage boxes using vintage sewing patterns.
Let’s breathe new life into these nostalgic treasures and transform them into functional art. Here’s how:
- Gather Your Materials: Find a small wooden or cardboard box and select vintage sewing pattern pieces that inspire your sew ideas.
- Mod Podge Magic: Apply a layer of Mod Podge to the box, then carefully place the pattern pieces, smoothing out any bubbles.
- Seal the Design: Cover with additional coats of Mod Podge, ensuring each layer dries completely for a protected finish.
- Customize Your Style: Mix and match patterns for an eclectic look, creating a personalized storage solution for your sewing supplies.
Crafts With Magazines
There’s something truly magical about turning old magazines into beautiful crafts.
Let’s breathe new life into these vibrant pages with our own hands. Start by gathering a stack of magazines, each brimming with unique fabric-like textures and colors.
Our first project: a stunning magazine collage. Tear or cut pages to create a palette of colors and patterns. Layer them on a canvas or box using decoupage techniques. This simple step transforms paper into art, making it appear like a tapestry of unique fabric.
For a more practical approach, roll magazine pages into sturdy beads for jewelry or weave them into coasters.
These crafts with magazines not only reduce waste but also offer endless possibilities for innovation, ensuring each creation is as unique as you are.
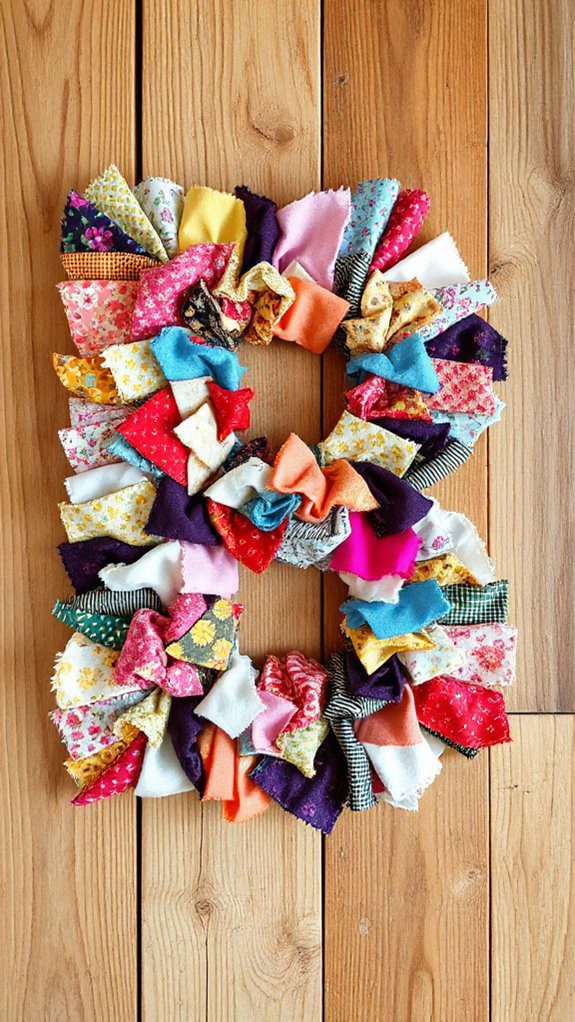
DIY Initial Wall Art
Creating DIY Initial Wall Art is an exciting way to add a personal flair to any space.
We can transform fabric scraps into stunning personalized decor using simple techniques and an embroidery hoop for display.
Let’s immerse ourselves in this innovative project:
- Choose Your Base: Select a wooden or canvas base to form the foundation of your art. The texture you pick sets the tone for your masterpiece.
- Prepare Your Fabric: Gather diverse scraps with varying patterns and textures, ensuring they reflect your unique style.
- Create Your Initial: Apply Mod Podge to the base and arrange fabric pieces to form your desired letter.
- Display: Once dry, place the fabric initial in an embroidery hoop and hang it up or gift it to someone special.
This no-sew project is perfect for adding a personalized touch to any room!

